This post may contain affiliate links. Please read our disclosure policy.
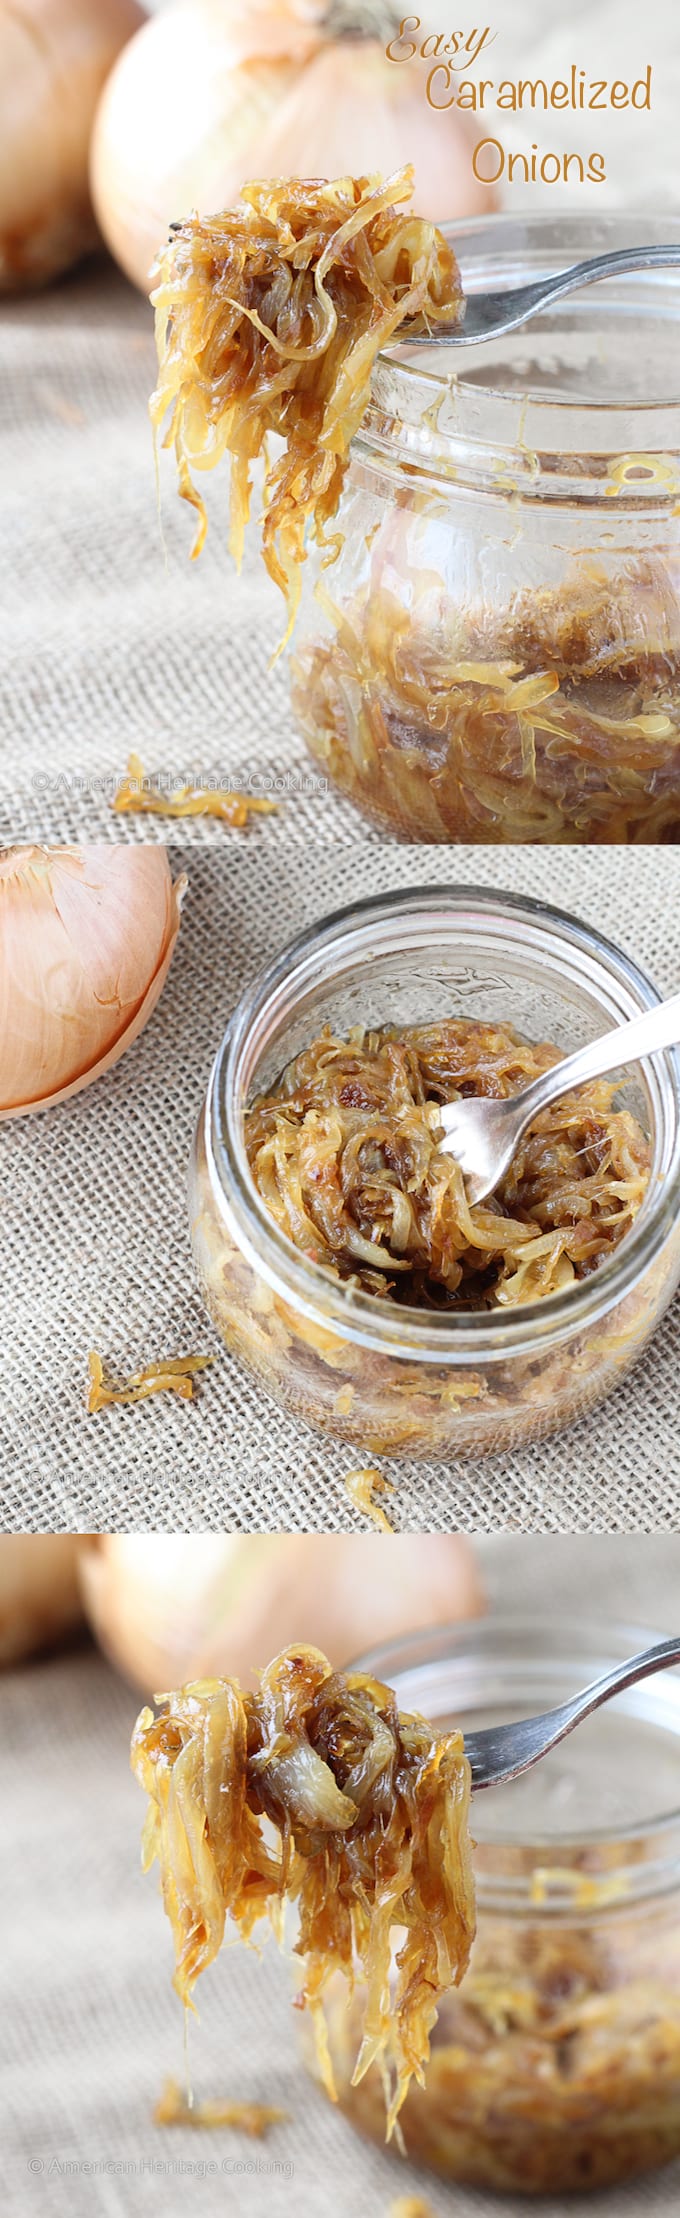
Learning how to caramelize onions is one of those foundational kitchen skills that changes everything you cook. With just a few ingredients and a little patience, you get deeply sweet, jammy onions that can take a dish from simple to unforgettable!
A Quick Look At The Recipe
This is a brief summary of the recipe. Jump to the recipe to get the full details.
Jump to RecipePrep Time
15 minutes
Cook Time
30 minutes
Total Time
45 minutes
Servings
4 servings
Difficulty
Easy, just requires patience
Calories *
227 kcal per serving
Technique
Slowly cook sliced onions in butter and olive oil until deeply golden and jammy.
Flavor Profile
Sweet, rich, deeply savory with a soft, melt-in-your-mouth texture
* Based on nutrition panel
The tip about using both butter and olive oil completely changed my results. Mine always burned before, but these turned out perfectly soft and golden. I used them for french onion soup and they were incredible! ⭐⭐⭐⭐⭐
Lauren
Why This Recipe Works
- Slow cooking builds deep flavor. Taking your time allows the natural sugars to develop properly.
- Butter and oil together prevent burning. You get the flavor of butter without the risk of scorching.
- Even slicing ensures consistency. Uniform onions cook at the same rate for better texture.
- A touch of sugar jumpstarts caramelization. It helps the onions develop color and sweetness early on.
Table of Contents
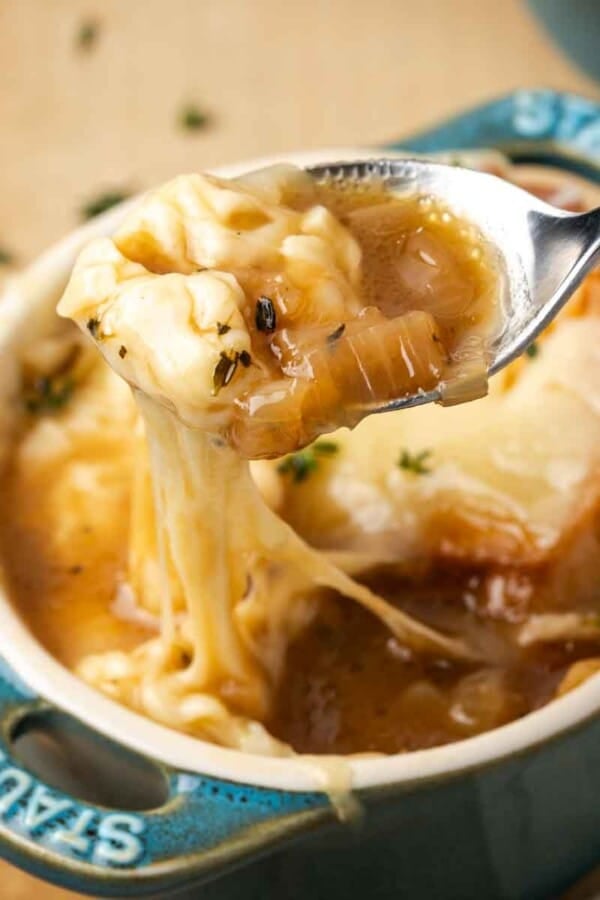
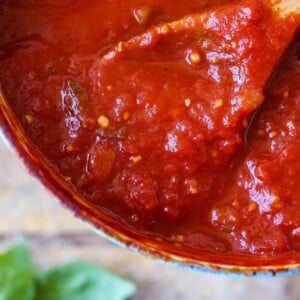
Caramelized onions are one of those recipes that feel like magic the first time you get them right. They shrink down, deepen in flavor, and suddenly you understand why they are essential in dishes like the best french onion soup or layered into something like a savory butternut squash carrot tart. This is the kind of technique you can master once and use on the stove any weeknight!
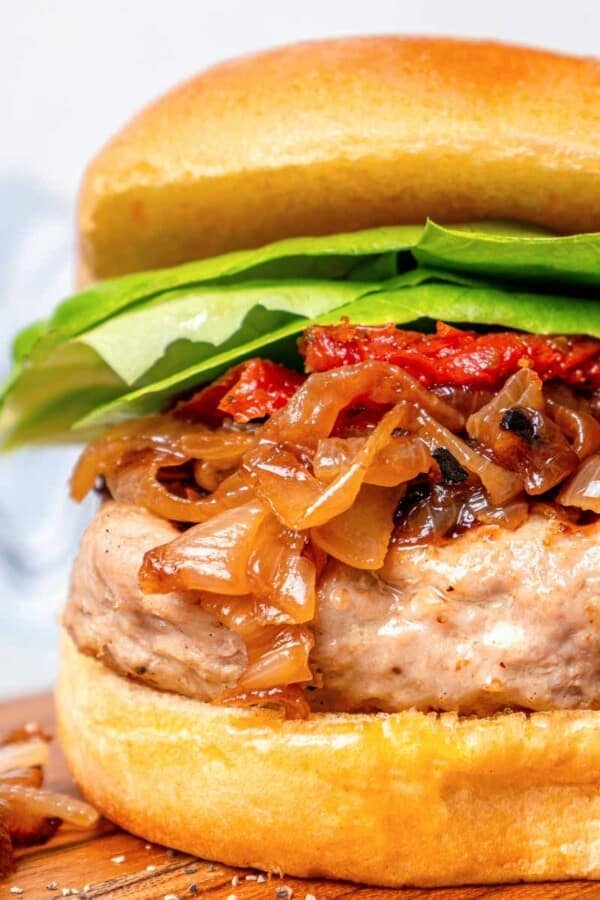
My favorite way to use them is anywhere from burgers to pizza to simple toast. I use them constantly: piled onto a turkey burger, stirred into a quick onion dip, or just eaten straight from the pan. If you want to see them really shine, try folding them into cheesy scalloped potatoes for a rich, savory side! Once you know how to caramelize onions properly, you’ll find excuses to make them.
Ingredients & Substitutions
- Yellow onions: These are the best choice for balanced sweetness and flavor. Sweet onions can work, but they tend to break down faster. Trim the root end and remove the peels before slicing for even cooking.
- Butter: Adds richness and flavor. This is where a lot of the depth comes from.
- Olive oil: Helps prevent the butter from burning while still allowing high heat at the start.
- Sugar: Just a small amount helps kickstart caramelization without making the onions taste sugary.
- Salt & pepper: Season at the end to control the final flavor.
See the recipe card for full information on ingredients and quantities.
Variations for How to Caramelize Onions
- Add depth. Deglaze with a splash of balsamic vinegar or wine near the end for extra complexity.
- Go savory. Stir in a pinch of thyme, rosemary, or minced garlic for a more herb-forward finish.
- Make it richer. Finish with an extra knob of butter right before serving for a silkier texture.
Professional Tips
- Don’t rush the heat. If the onions are browning too fast, lower it. True caramelization is slow, not aggressive.
- Stir strategically. You don’t need to stir constantly, but don’t walk away. Every 3–5 minutes is the sweet spot.
- Expect shrinkage. 2 pounds of onions will cook down to about 1 cup. That’s normal.
How do you caramelize onions?
Use these instructions to make perfectly caramelized onions every time. Full measurements are in the recipe card below.
Step 1: Melt fats. Add butter and olive oil to a large Dutch oven or non-reactive pan over medium-high heat. Stir until fully melted and combined. This should take about 1–2 minutes and look glossy and smooth.
Step 2: Add onions. Add sliced onions and stir to coat them evenly in the fat. Spread them into an even layer so they cook consistently.
Thin, even slices are key for consistent caramelization.
Step 3: Add sugar. Sprinkle the sugar over the onions. This helps start the caramelization process early.
Step 4: Cook slowly. Let the onions cook over medium to medium-low heat, stirring every 3–5 minutes. As you cook onions slowly, they will soften and release moisture (about 10–15 minutes).
Maintaining medium heat at the start of the cooking process helps prevent burning.
Step 5: Build color. Continue cooking, adjusting heat as needed so they don’t burn. After about 25–40 minutes, they will turn golden and begin to smell sweet and fragrant. As the onions cook, browned bits will develop on the bottom of the pan.
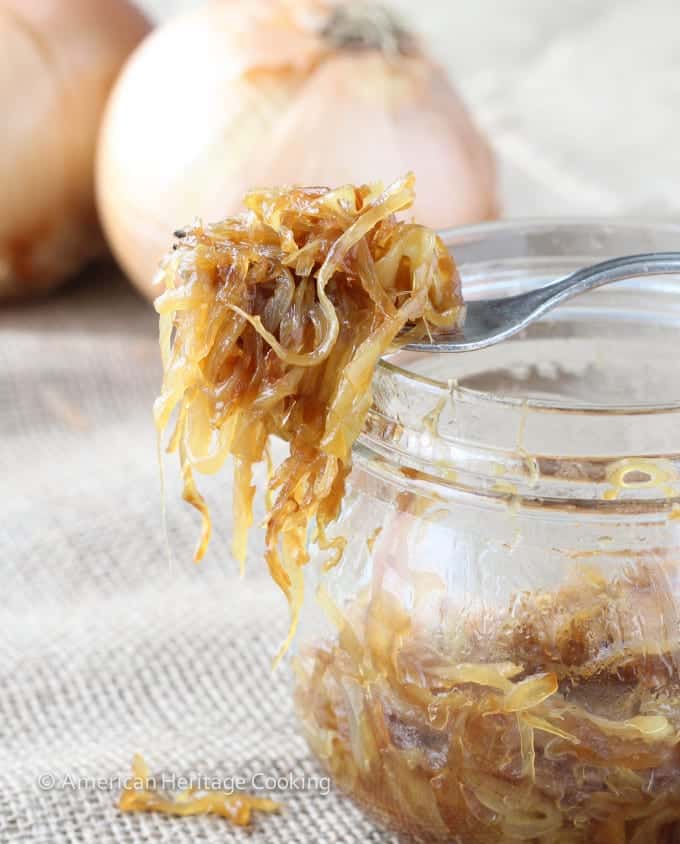
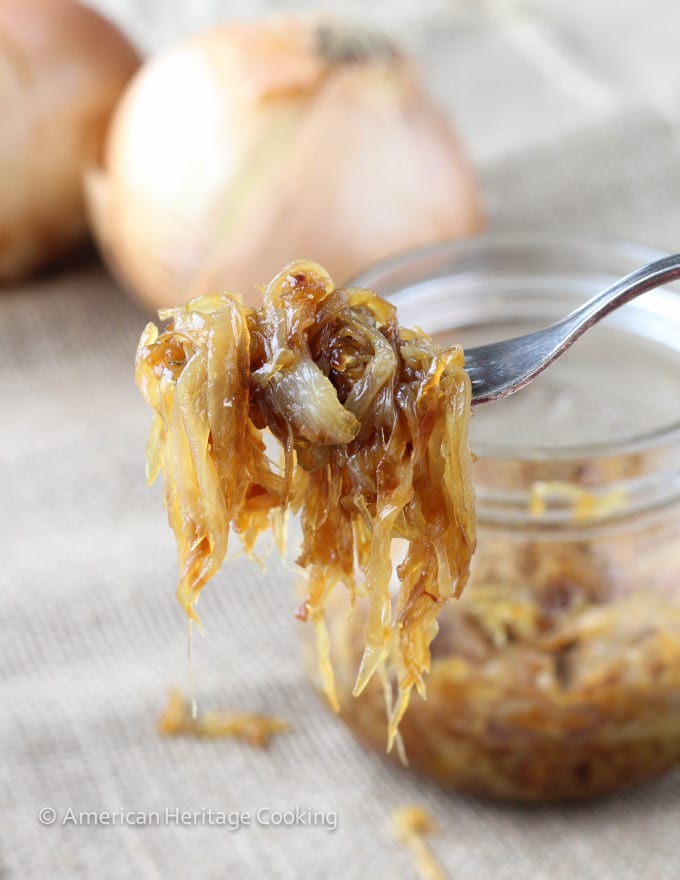
Step 6: Deep caramelization. Keep cooking until they are a deep golden brown and very soft, about 45–60 minutes total. They should look jammy and reduced.
How long does it take to caramelize onions properly? It typically takes 45–60 minutes to properly caramelize onions. Faster methods often result in uneven browning or burning.
Step 7: Season and finish. Remove from heat and season with salt and pepper to taste. Stir well and use immediately or store.
Professional Chef Tip
The biggest mistake people make when learning how to caramelize onions is rushing the process. If they start to brown too quickly, lower the heat. True caramelization is slow and controlled, not aggressive.
Recipe FAQs
A heavy-bottomed pan or skillet like a Dutch oven works best because it distributes heat evenly and prevents hot spots.
Onions won’t caramelize if the heat is too high, too low, or if the pan is overcrowded. High heat burns them before sugars develop, while low heat can steam them instead. If your onions are pale and watery after 20–30 minutes, increase the heat slightly and make sure they are spread in an even layer. Stir every 3–5 minutes so moisture can evaporate properly.
You can speed up the process slightly, but true caramelized onions take at least 45 minutes. Faster methods (like higher heat or adding baking soda) create browned onions, not deeply caramelized ones. For the best flavor and texture, cook them low and slow and allow time for the natural sugars to fully develop.
Recommended Lunch Recipes
Date Night
The Best French Onion Soup
Sandwich Recipes
Turkey Burger Recipe
Filling Salad Recipes
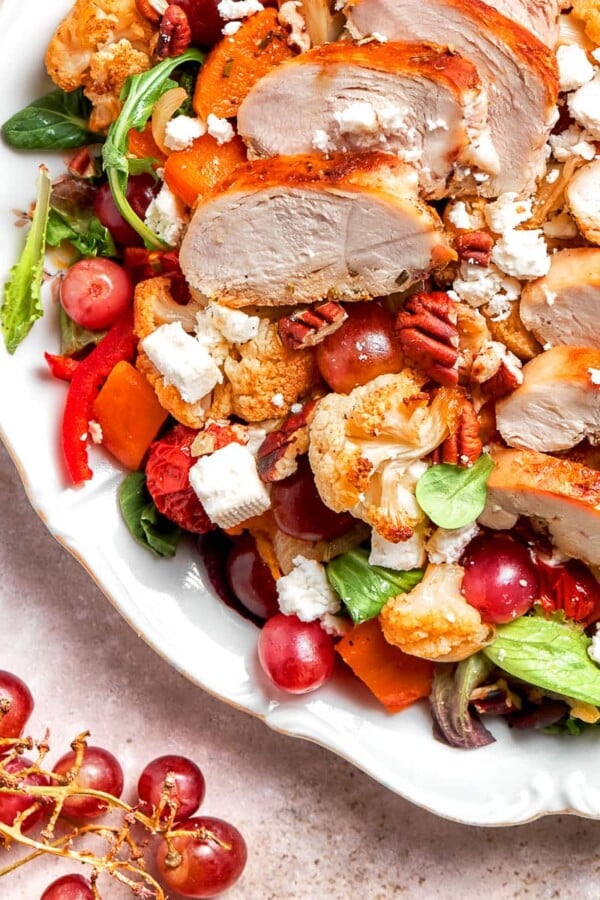
Roasted Vegetable Salad
Soup and Stew Recipes
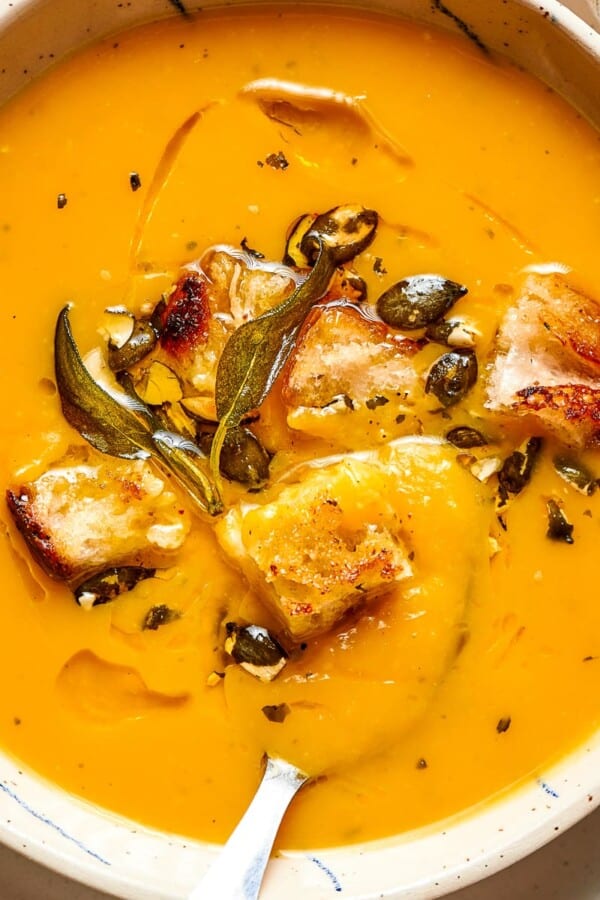
Squash Soup Recipe
If you tried this recipe and loved it please leave a 🌟 star rating and let me know how it goes in the comments below. I love hearing from you; your comments make my day!
How to Caramelize Onions
Ingredients
- ¼ cup unsalted butter
- 1 tablespoon olive oil
- 2 pounds yellow onions cut in half lengthwise and sliced ¼ inch
- 1 teaspoon sugar
- kosher salt to taste
- black pepper to taste
Instructions
- Melt butter and olive oil in a large pan over medium-high heat.
- Add onions and stir to coat evenly.
- Sprinkle it with sugar and spread it into an even layer.
- Cook, stirring occasionally, until softened, about 15 minutes.
- Continue cooking, stirring every few minutes, until deep golden brown and jammy, about 30–45 minutes more.
- Remove from heat and season with salt and pepper.
Notes
- Yield – About 1 cup caramelized onions.
- Flavor Tips – Add balsamic vinegar at the end for extra depth.
- Technique – Keep heat moderate and stir consistently to avoid burning.
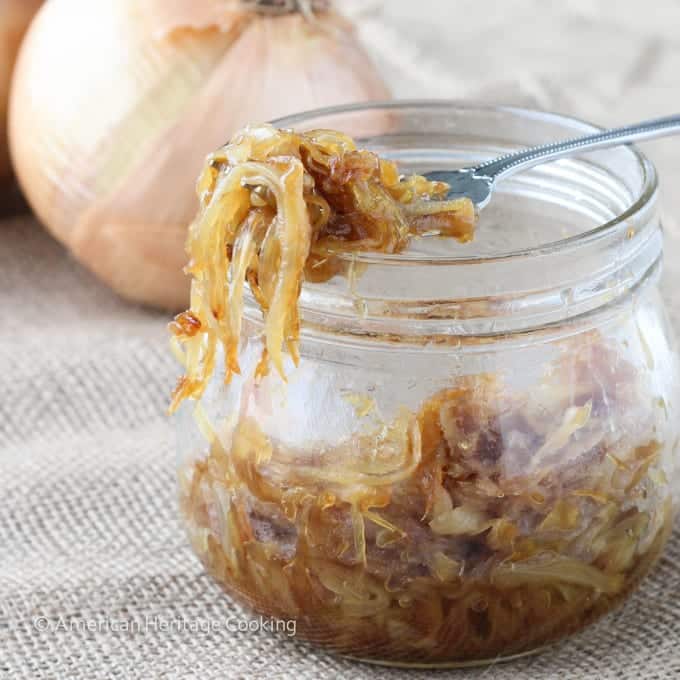
- Storage – Refrigerate up to 5 days or freeze up to 2 months.
Nutrition
Before You Go
I hope you enjoyed this rich, sweet, deeply flavorful recipe. Check out our other delicious, chef-tested dinner recipes to build your skills even further!


The tip about using both butter and olive oil completely changed my results. Mine always burned before, but these turned out perfectly soft and golden. I used them for french onion soup and they were incredible!
The butter and olive oil combination is genius! I’ve always burnt mine with just butter, but this method gave me the sweetest, jammiest onions I’ve ever made. I used them on a gourmet grilled cheese and then used the rest on a cheese board. This is the kind of foundational recipe that makes everything else taste like it came from a restaurant!
Horrible, way too greasy.
ahhhhhhhh yes!!! I totally need to make caramelized onions, soon!
You do!! You would probably wrap them up with some fabulousness inside of a homemade puff pastry! I can’t even imagine what you are going to do with all your newfound space!
LOL Lindsey! You crack me up! You have no idea how many times this song pops into my head when I start writing a post. I think I even mentioned it in a couple recipes. Unlike you I was a bit older when this song was popular and remember it quite well. It was also one of my sister and my favourite song and we used to sing and dance to it like we were 2 crazy girls. I miss those 90’s dance songs. Anyway I also love caramelized onions, I could eat it just like that, but I’ve made a pizza with it before and it’s yumm!!!!
Does it really!??! Thank heavens I am not the only one! Then you would totally understand how, when I was writing this post, I wasted more time than I care to say watching bad 90’s dance videos on Youtube!
In other news – you’re older than me?! I would never have guessed by your pic. So we shall add dancing around to 90’s music to our list of things to do when I show up at your door, camera in hand! 🙂
Absolutely, love that 90s music. And yes I am older than you, probably by a decade. 🙂 Doesn’t matter, it’s all about how old you feel.
True that! And to quote Tailor Swift, “I don’t know about you, but I’m feelin’ 22!”
I have a strong desire to jump up and down on my bed now. Hehe.
My dog would think I had lost my mind though.
LOVE caramelized onions. Yum!!!
Crank up the 90’s tunes and jumping on the bed will seem almost acceptable! Who’s the dog going to tell anyways?! 😉
Me too, Cristin, me too!
And now I’m craving French onion soup!!! I saw that episode of Martha’s Cooking School, too 🙂
My mouth just waters constantly during that show! It’s crazy!
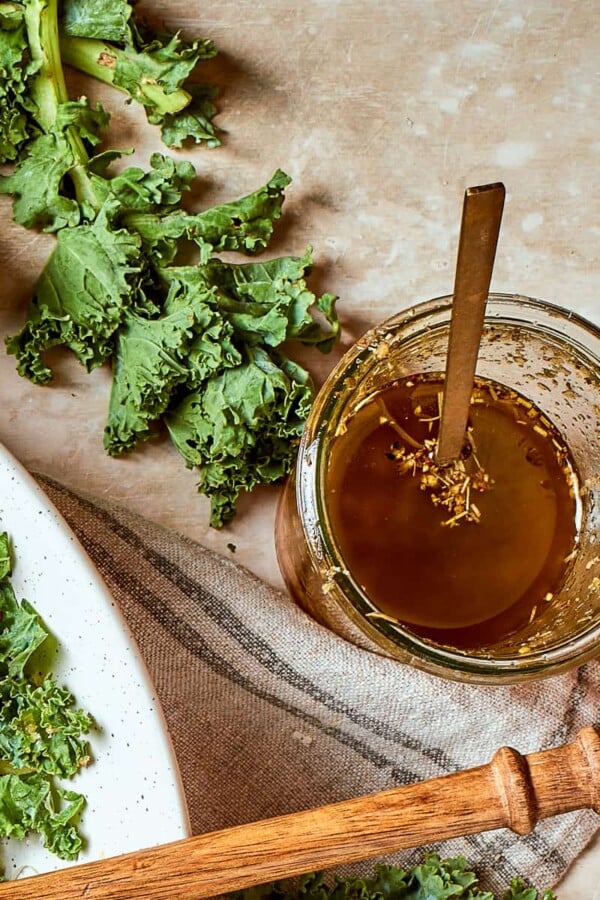
Is it ok to store these in a sealed jar in the frig for a few days or will they loose flavor ?
Hi Bill!! I didn’t know you read my blog 🙂 So glad you do!
I refrigerated them tightly sealed in the jar pictured for a week before using them up, and they tasted great each time!