
This post may contain affiliate links. Please read our disclosure policy.
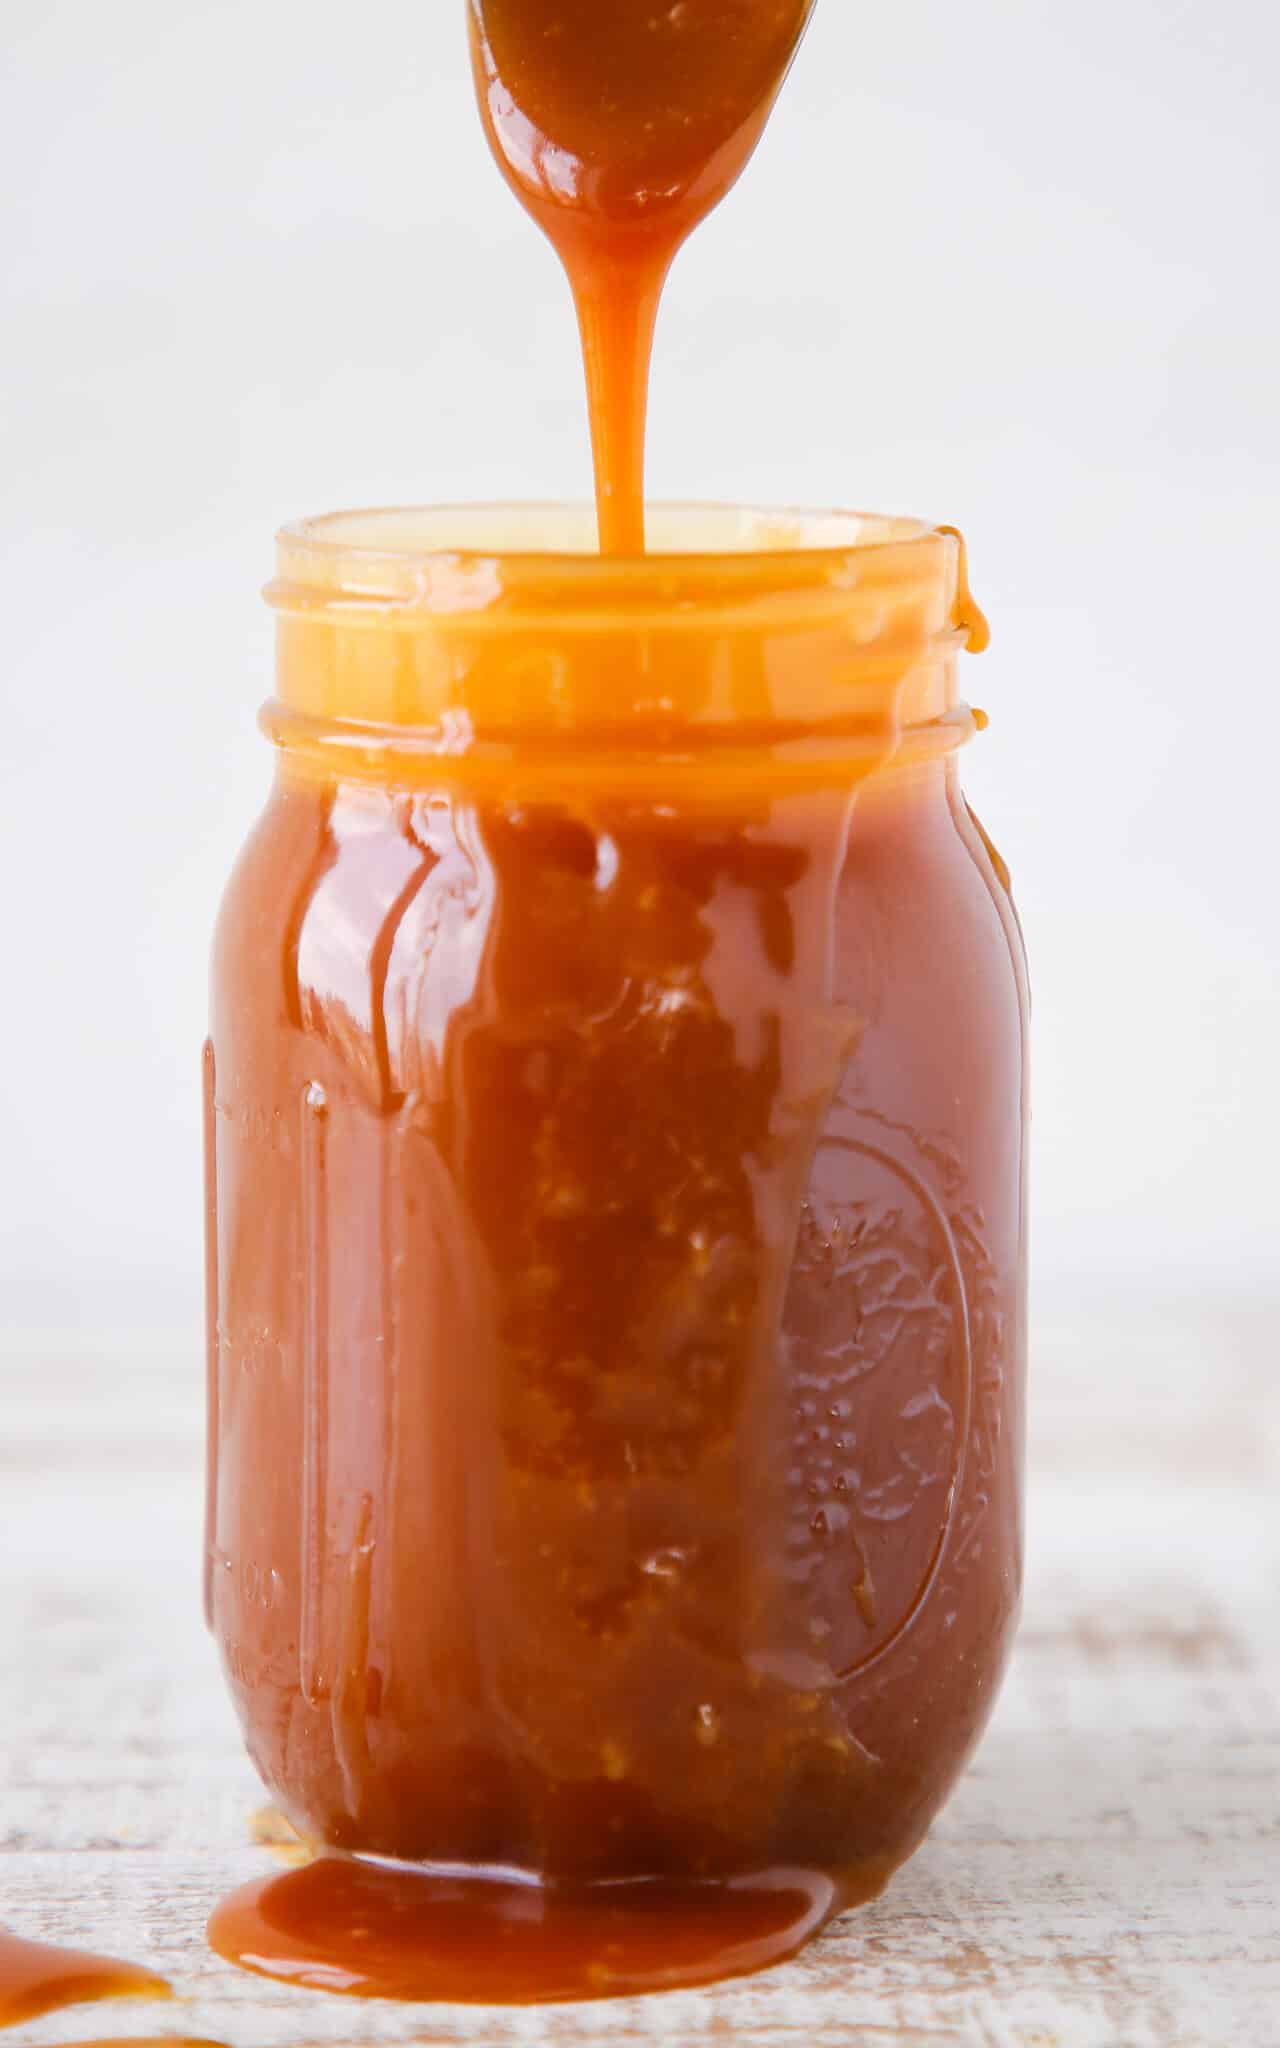
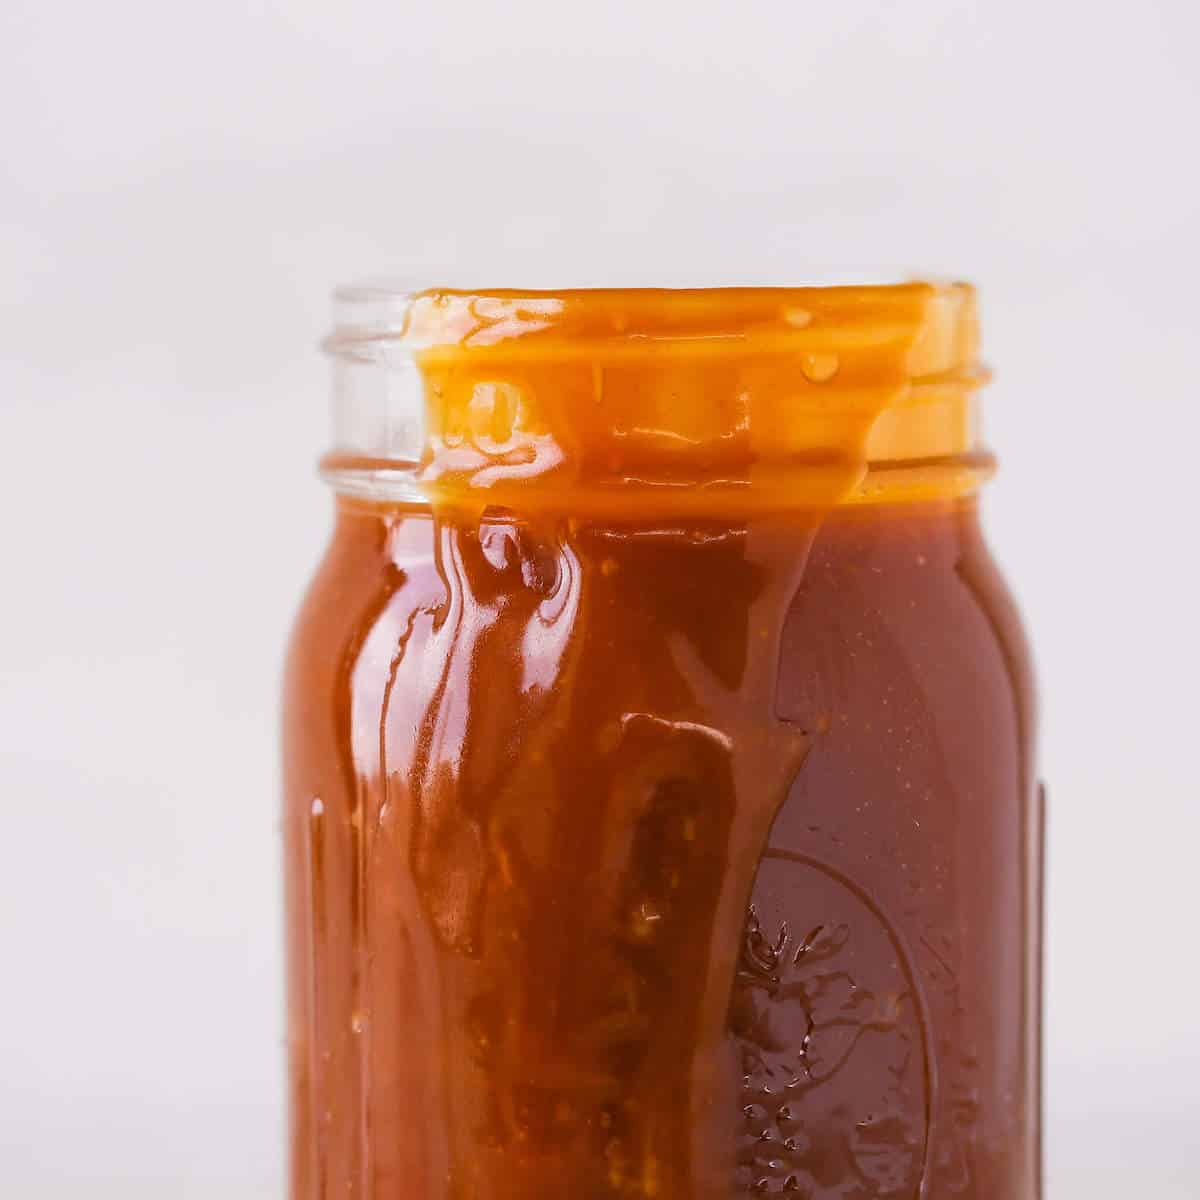
Salted caramel sauce is one of those foundational recipes every baker should have in their little black book. Learn the dry and wet caramel methods, and you will reach for this every time.
A Quick Look At The Recipe
This is a brief summary of the recipe. Jump to the recipe to get the full details.
Jump to RecipePrep Time
10 minutes
Cook Time
15 minutes
Total Time
25 minutes
Servings
18 people
Difficulty
Intermediate
Calories *
121 kcal per serving
Technique
Caramelize sugar using the dry or wet method into a smooth, pourable sauce.
Flavor Profile
Deep amber caramel, rich butter, balanced salt, faint vanilla.
* Based on nutrition panel
I made this using the dry method and took the sugar all the way to dark amber, just like Lindsey says, until it barely started to smoke. The depth of flavor compared to every other caramel sauce I have made before is remarkable. Poured it over ice cream the same night and it was gone in an hour. ⭐⭐⭐⭐⭐
Marie
Why This Recipe Works
- Both methods build deeper flavor. Melting sugar directly, without water, encourages more caramelization compounds to develop before the cream goes in, giving you a more complex sauce rather than a one-note sweet one.
- Dark amber color is the target, not a warning sign. Taking the sugar to the point where it just begins to smoke produces a sauce with real depth. Pulling it too early is the most common reason homemade caramel tastes flat.
- Warm cream creates the right emulsion. Adding warm heavy cream to hot caramel causes an aggressive bubble-up that forces the sugar and fat to combine into a smooth, pourable sauce as it settles.
Table of Contents
This salted caramel sauce is the one I come back to constantly, whether I am finishing a tart, layering it into a cake, or simply spooning it over ice cream. I’m sharing all my professional tips and tricks to help you make the perfect caramel every time and to teach you how to fix it next time, because bad caramel days happen to everyone.
If caramel is your entry point into sugar work, the same core technique carries into components like Caramel Pastry Cream, or this caramel Swiss meringue buttercream, where the finished sauce becomes the flavor base for so many possibilities.
Ingredients & Substitutions
- Granulated Sugar: The foundation of the sauce, and the ingredient that demands the most attention. You are dry-melting it directly in the pan, so the color it reaches determines the final flavor. Take it to a dark amber, right at the edge of smoking. This keeps the flavor from being too sweet or too bitter.
- Unsalted Butter: Added after the caramel is off the heat, it enriches the sauce and gives it a glossy, pourable consistency. Cut it into small pieces so it melts evenly rather than sitting in one mass and cooling the caramel unevenly.
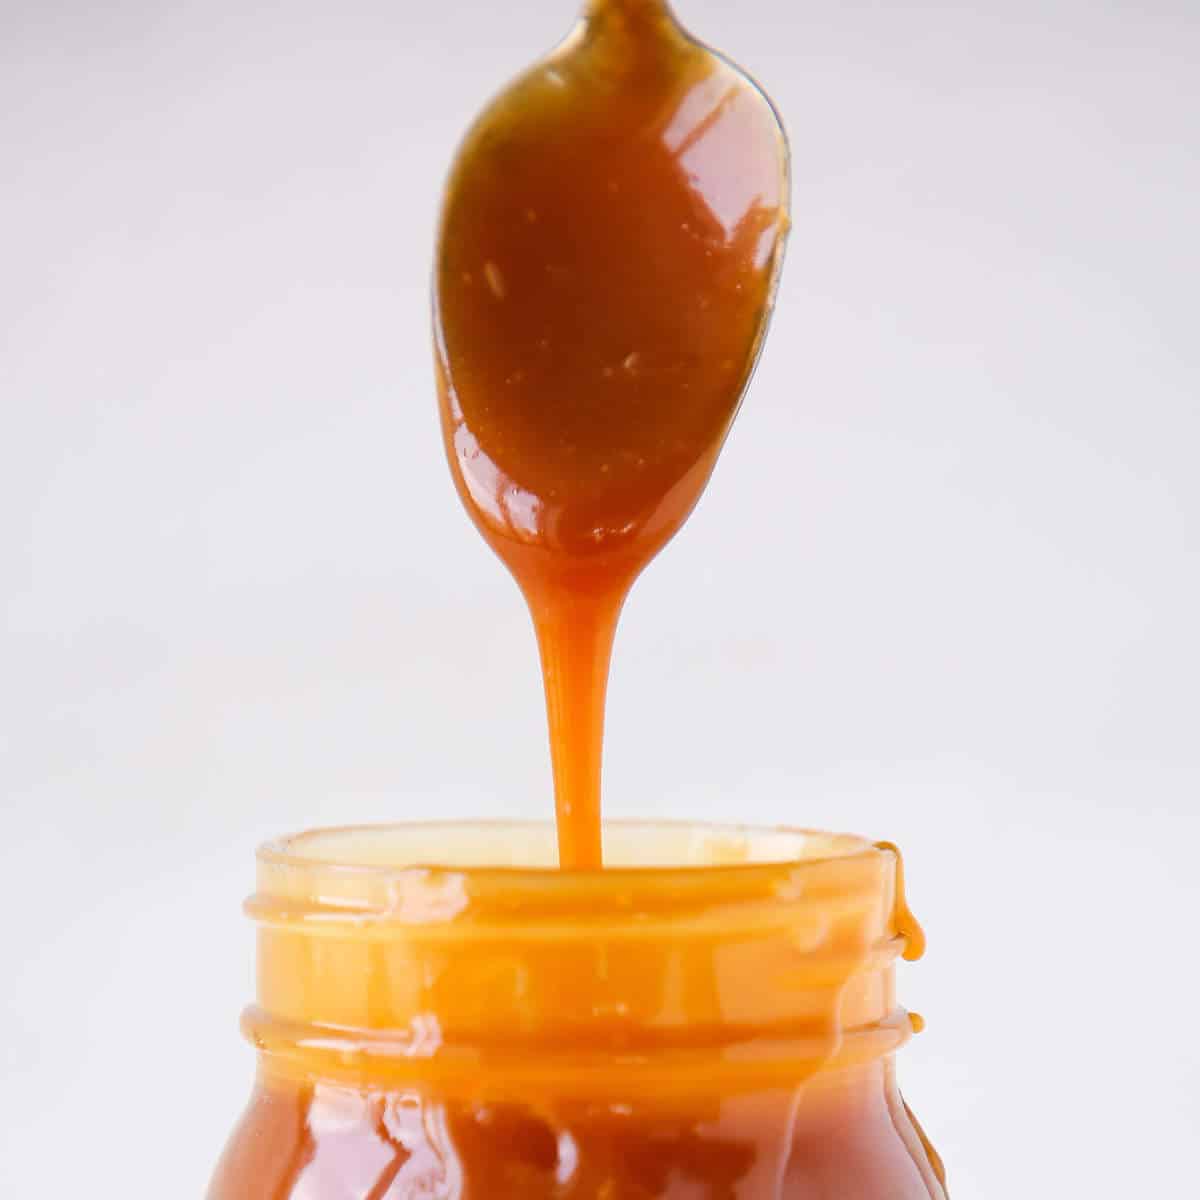
- Heavy Cream: The cream loosens the caramel into a sauce and sets the final texture. Use full-fat heavy cream here. Lower-fat alternatives will produce a thinner sauce that does not hold its consistency as well once chilled.
- Vanilla Extract
- Kosher Salt
See the recipe card for full information on ingredients and quantities.
Variations on This Salted Caramel Sauce
- Change the consistency. For a looser sauce, add more heavy cream to the recipe as written. I don’t suggest adding more than an additional ¼ cup and it would be perfect to serve over vanilla bean ice cream!
- Change the flavor. While technically a gastrique, you can use lemon juice, orange juice, or apple cider instead of heavy cream, which would be perfect in this caramel apple tart! This will make a bright caramel sauce that will temper some of the sweetness. I usually finish the gastrique with a touch of butter just for the added silkiness and to round out the flavor. Be sure to reduce the salt if changing out the dairy.
- Infuse the caramel sauce. This is ideal for adding flavors like whole cinnamon sticks, vanilla bean pods (spent), or other unexpected spices. I usually make the sauce, add the spice or vanilla bean, reheat both together, and then remove from the heat and cover to infuse. Taste as you go because some spices can be more overpowering than others.
Professional Tips
- The #1 Rule of Caramel is remembering that you are in control. You control the stove’s heat, and therefore you control how fast the caramel cooks.
- Sugar caramelizes at different rates in the same pot. Don’t freak out when you see that parts are already a dark amber and you have a bunch of unmelted sugar. This happens every time. Embrace it. Stir or swirl the sugar crystals into those pockets. This will melt the granules and also lower the temperature of those pockets.
- Don’t fear the caramel. Take precautions, but don’t be afraid. Fear makes people do dumb stuff or act erratically. Never act erratically around 340°F sugar. The worst thing that can happen is your sugar gets too dark, and you have to start over.
- Practice makes perfect. Sometimes you don’t know what “too dark” is until you take it there. Then you know, and next time you can add your cream/butter mixture earlier. When training new cooks, this is the best way for them to learn. I’m like Goldilocks: too light, too dark, waaaay too dark, just right.
How to Make Salted Caramel Sauce
This recipe gives you two methods: dry caramel and wet caramel. The steps below cover both. Start with whichever method you choose, but read through both before you begin so you understand where they diverge.
Step 1: Warm the cream mixture. Combine the cream, butter, vanilla, and salt in a small pot and bring just to a boil. Set it aside off the heat.
You want this mixture warm when it hits the caramel — cold cream added to hot sugar will seize and spatter aggressively.
Dry Method
Step 2: Build the caramel in stages. Heat a heavy-bottomed pot with high sides over medium-high heat. Sprinkle a thin layer of granulated sugar over the bottom and wait for it to begin melting before adding more. Keep sprinkling in thin layers, using a wooden spoon to gently break up clumps and push the melted sugar toward the dry spots. The goal is even melting without scorching any one area.
The sugar will look patchy and uneven for a few minutes, which is completely normal. Keep adding and stirring, and it will come together.
Step 3: Melt completely, then stop stirring. Once all the sugar is in the pot and fully melted, stop stirring. From here, swirl the pot to distribute heat and continue cooking until the caramel reaches a dark amber color.
If you have trouble reading the color against the pot, tilt the pot toward you so there is only a thin layer of caramel visible. The color is much easier to judge through a thin pool than a deep one.
Wet Method
Step 2 (Wet): Combine sugar, water, and corn syrup. Pour the sugar into a heavy-bottomed pot with high sides. Shake to level it, then pour the water around the edges and stir carefully to hydrate the sugar, keeping it away from the pot sides. Add the corn syrup and turn the burner to medium-high.
If a little sugar gets on the sides of the pot, don’t panic. Dip a clean pastry brush or a folded paper towel in water and wash it down. The amount of water doesn’t matter because it all evaporates anyway.
Step 3 (Wet): Cook without stirring. Allow the sugar syrup to come to a full boil before you touch it. From that point, swirl the pot occasionally rather than stirring — this redistributes the caramel and controls hot spots without introducing the agitation that causes crystallization. Continue cooking and swirling until a dark amber color is achieved.
Finish the Caramel
Step 4: Recognize the right color. A medium amber caramel is acceptable, but I take mine to dark amber, which is right when the caramel just begins to smoke but before it smells burnt. That extra depth is what keeps it from tasting one-dimensionally sweet.
Step 5: Add the cream mixture. Remove the pot from the heat and set it on a trivet or folded towel. Slowly pour the warm cream mixture into the caramel while whisking constantly. Go slowly — add it too fast and the caramel will bubble up hard and could burn you. It will foam dramatically regardless, which is exactly what you want to see. Just keep whisking through it.
Step 6: Transfer and cool. Once all the liquid is incorporated and the mixture is smooth, pour it into a heat-safe bowl (glass, ceramic, Pyrex, and metal all work). Let it cool to room temperature, then transfer to your storage container.
Chef Lindsey’s Recipe Tip
There is a sliding scale of acceptable caramel flavor. From very light in color and light in taste to the almost burnt, dark, sultry caramel I prefer. I add the butter when the sugar turns a deeper, rich amber color and there is just the slightest hint of burning scent when you waft the vapors (just like they taught in middle school chemistry).
Recipe FAQs
Cool it completely before storing. It is kept in an airtight container at room temperature for up to a month, in the refrigerator for up to 2 months, or frozen indefinitely.
Crystallization happens when agitation or stray sugar crystals on the sides of the pot trigger a chain reaction. For the dry method, avoid stirring once the sugar is fully melted; instead, swirl. For the wet method, use the corn syrup and keep the sides of the pot clean with a damp pastry brush.
Yes. Color is a more reliable indicator than temperature for caramel anyway. Pull the sugar at dark amber, right when it just begins to smoke, and you will have the depth of flavor you are after without any equipment beyond your eyes and nose.
Return the pot to low heat and whisk continuously. The hardened caramel will re-melt as the temperature rises again. Adding the cream too quickly or using cold cream straight from the refrigerator is usually the cause, so warm your cream mixture beforehand as the recipe instructs.
Recommended Dessert Topping Recipes!
Dessert Toppings & Sauces
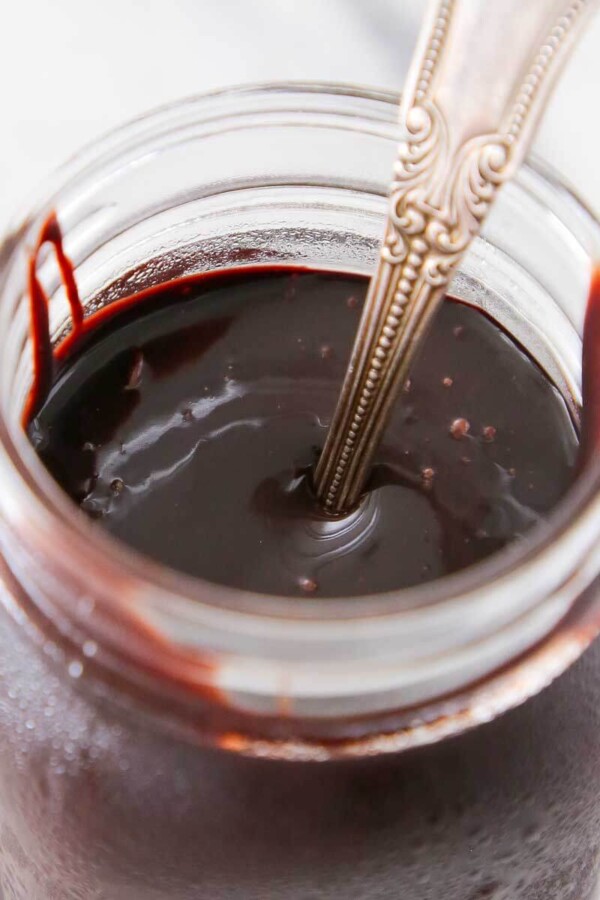
Hot Fudge Sauce Recipe
Dessert Toppings & Sauces
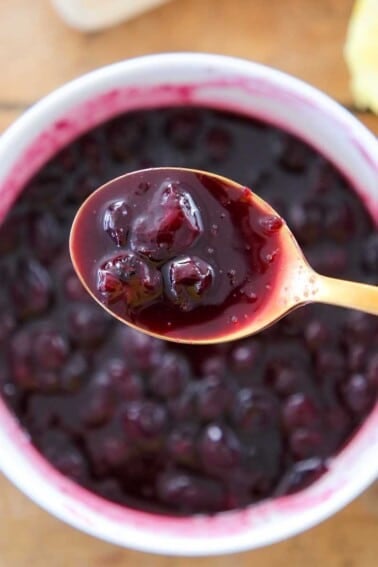
Blueberry Coulis

Dessert Toppings & Sauces
Butterscotch Sauce
Jams & Jelly Recipes
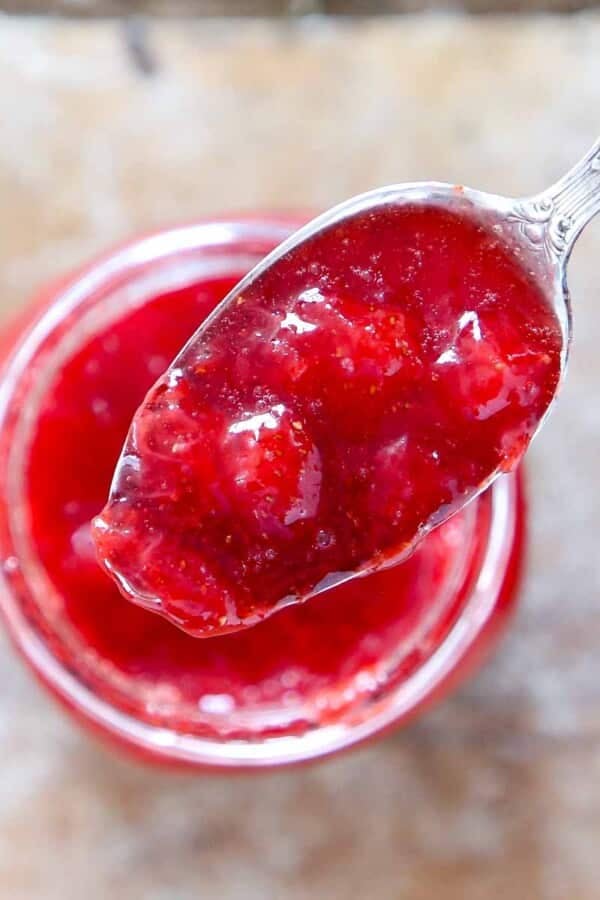
Easy Strawberry Jam Recipe
If you tried this recipe and loved it please leave a 🌟 star rating and let me know how it goes in the comments below. I love hearing from you; your comments make my day!

Salted Caramel Sauce
Ingredients
- 4 tablespoons unsalted butter — cut into pieces
- ¾ cup heavy cream
- ½ teaspoon vanilla extract
- ¼ tablespoon kosher salt
- 1 ½ cups granulated sugar
Instructions
Dry Caramel Method
- In a small pot, combine cream, butter, vanilla, and salt. Bring just to a boil and set aside.
- Heat a heavy-bottomed pot with high sides over medium-high heat. Begin by sprinkling the granulated sugar over the bottom in a thin layer, when that begins to melt, sprinkle some more. Keep sprinkling until all the sugar is in the pot. As parts begin to melt, gently stir with a wooden spoon and break up any clumps that form.
- Use the melted sugar to help melt the other sugar. Once the sugar has stopped melting, stop stirring and swirl until a dark amber color is achieved.
- If you have a hard time telling the color of the caramel, tilt the pot towards you so that there is only a thin layer. I find it easier to see that way. A medium amber is a perfectly acceptable color but I like to take mine to dark amber which is right when it starts to smoke but before it smells burnt.
- Remove from the heat and place on a trivet or folded towel. Slowly pour in your cream/butter mixture while constantly whisking. You don’t want to add the cream too fast or it will bubble up aggressively and could burn you. Don’t fear, just keep whisking.
- Once all the liquid is incorporated, pour into a heat safe bowl (glass, ceramic, pyrex, metal are all fine). Allow to cool to room temperature then pour into the storage container of your choice.
Wet Caramel Method
- You can make this recipe using the wet caramel method by adding ¼ water and ¼ cup light corn syrup. The corn syrup is optional but really helps avoid crystallization.
- In a small pot combine cream, butter, vanilla and salt. Bring just to a boil and set aside.
- Pour the sugar into a heavy bottomed pot with high sides. Shake to distribute sugar in an even layer over the bottom. Pour the water around the edges and stir to hydrate the sugar. Stir carefully so that no sugar gets on the sides of the pot. If you did get sugar on the sides, don’t worry. Dip a clean pastry brush (or folded paper towel) in water and wash the sugar off. Don’t be concerned with the amount of water because it will all evaporate anyways.
- Pour the corn syrup into the sugar water mixture and turn on the burner to medium high. Allow the sugar to come to a boil before you disturb it. Gently swirl the pot but do not stir! This will allow you to redistribute the caramel around the pot and control the hot spots.
- Continue to cook and occasionally swirl until a dark amber color is achieved.
- Remove from the heat and place on a trivet or folded towel. Slowly pour in your cream/butter mixture while constantly whisking. You don’t want to add the cream too fast or it will bubble up aggressively and could burn you. Don’t fear, just keep whisking.
- Once all the liquid is incorporated, pour into a heat safe bowl. Allow to cool to room temperature then pour into the storage container of your choice.
Video
Notes
Ways to use it! Add it to this caramel apple pie or add it as a layer in these chocolate tarts!
Storage: Cool completely, then store in an airtight container at room temperature for up to a month, in the refrigerator for up to 2 months, or frozen indefinitely.
Make Ahead: This sauce can be made well in advance and stored at room temperature or refrigerated. Warm gently before serving if it has thickened in the refrigerator.
Nutrition
Before You Go
If you make this buttery, deeply caramelized sauce and find yourself spooning it over everything in reach, that is exactly the right response. Browse more recipes in Sauces and Condiments or make this salted maple caramel sauce next!








I made this using the dry method and took the sugar all the way to dark amber, just like Lindsey says, until it barely started to smoke. The depth of flavor compared to every other caramel sauce I have made before is remarkable. Poured it over ice cream the same night and it was gone in an hour.
Marie, Trusting the process all the way to the smoke is the bravest, most delicious move you can make, and “gone in an hour over ice cream” is genuinely the highest compliment this sauce can get. So happy it delivered! ~CLF team
Your caramel is the first one I ever made. (Years ago, before you went to culinary school!)I used the “wet” method. Was it scary at first..sure a lot of things worth doing are.
Anyway well worth the time making your own caramel. And just in time for the holidays. It makes a great gift as well.
Hi Nikki! Always, always love hearing from you! Thanks for leaving a comment with your experience and I hope your holidays are very happy this year!
I tried both options for making the caramel; for some reason, the dry caramel seems slightly scarier, so I’m partial to the wet method. But your caramel sauce has the best flavor and texture.
Can I dip apples in this caramel/it stay on or do you have other tips or a recipe to successfully do that? Love caramel!
Hi Brittany! I’m also pretty into caramel myself! This recipe makes a thick, pourable sauce ideal for using in baked goods… as well as topping desserts, but it won’t harden enough to cling to apples for caramel apples. For that, you’ll want a traditional caramel that’s cooked to a higher temperature (firm-ball stage, around 245°F), so it sets as it cools. I don’t have a dedicated post up yet for caramel apples, but I’ll add it to my list!
Thanks Lindsey!
I’ll play around some. Should it be brought to that temp after butter and cream are added?
Flavor is amazing!! It wasn’t as thick as I needed it to be. Could I reduce the amount of cream to make it thicker?
Hi Krystle, yes that’s an option! Keep an eye on it though, a thicker sauce can set more quickly as it cools. So happy you love the flavor!
Delicious and quick to make.
Hi Terry! Thanks for taking the time to comment/rate, always makes my day!
I value the useful advice you have actually provided here.
Hi Roseanna! Thank you so much for letting me know and for stopping by. Enjoy!