This post may contain affiliate links. Please read our disclosure policy.
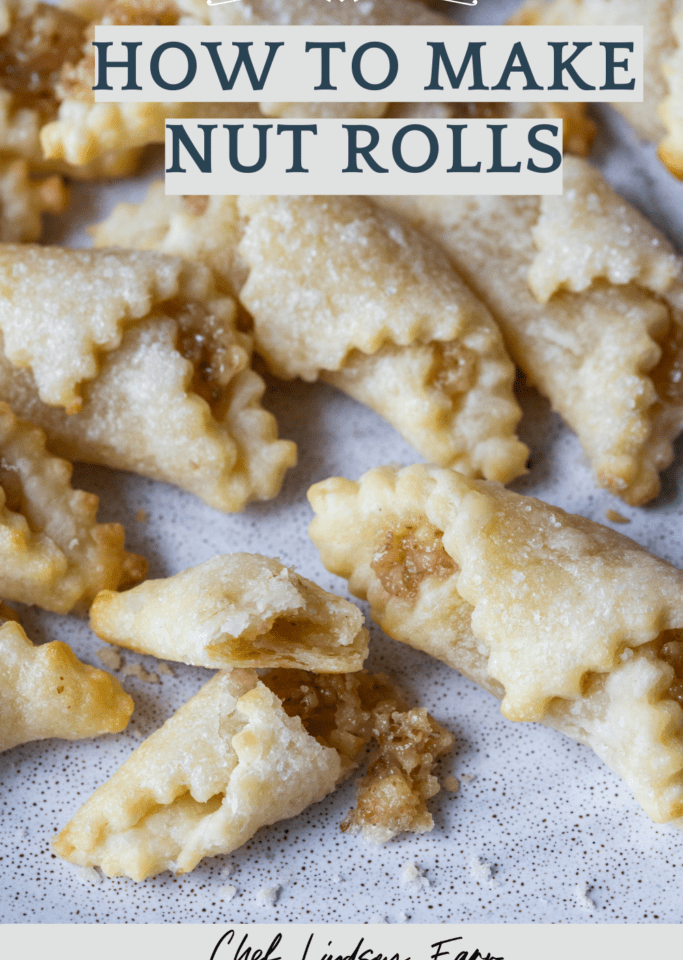
These Hungarian Nut Roll Cookies are a flakey, cream cheese pastry wrapped around a homemade walnut filling. The filling is sweet, crunchy, and caramelized around the edges!
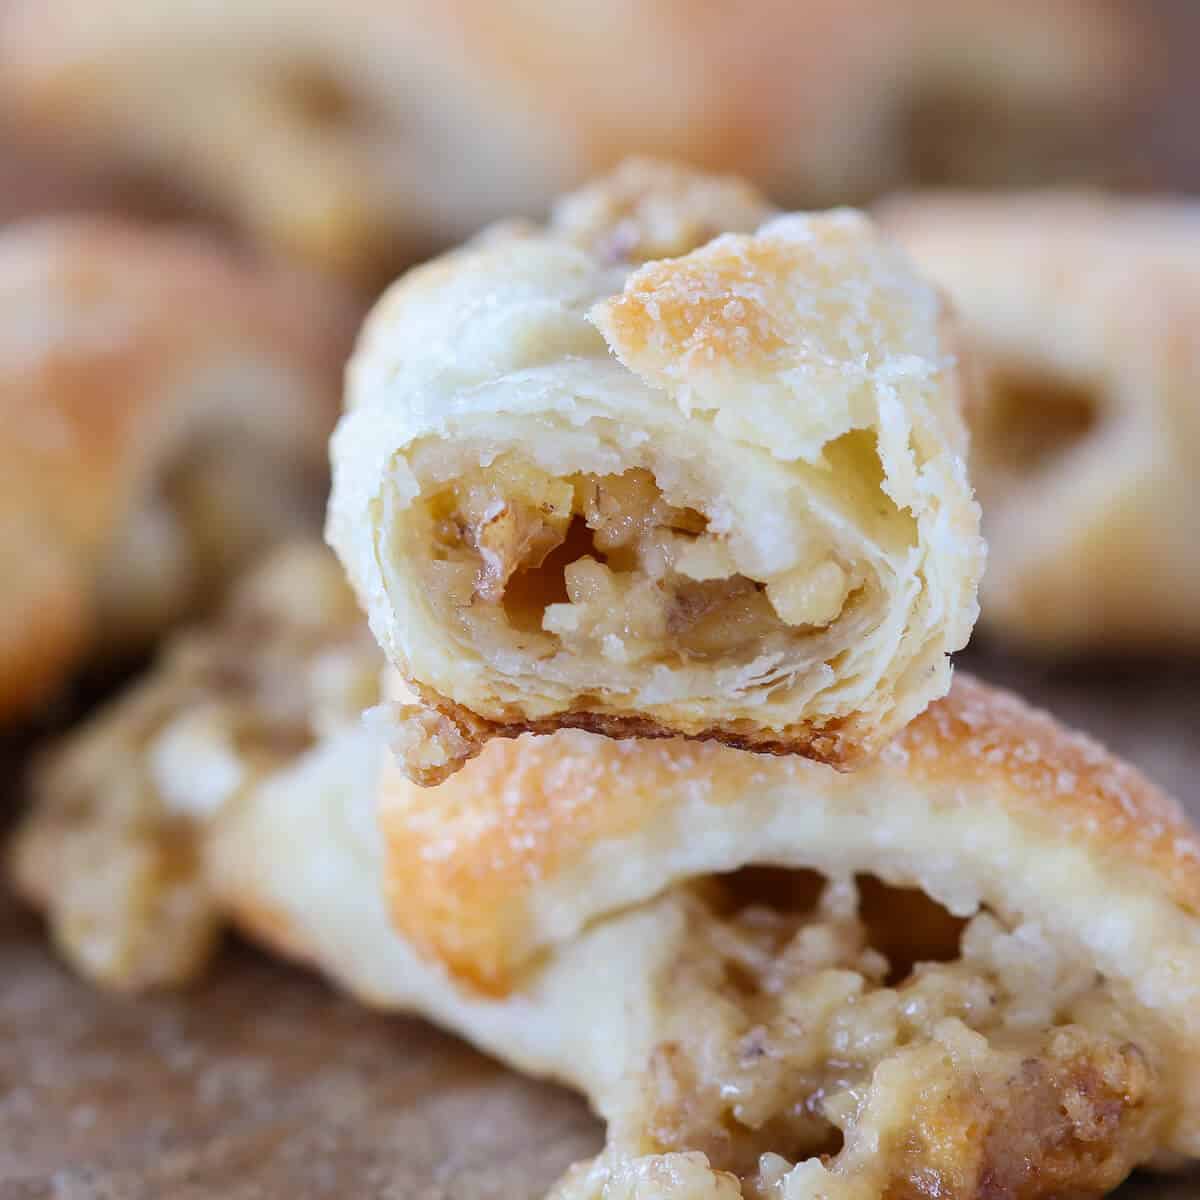
Nut roll cookies, which are also called Hungarian nut horns, are crunchy, sweet, addicting cookies. In the Hungarian, slovak and polish traditions, they are made at Christmas time; however, they are delightful all year round!
The simple cream cheese pastry crust is the same one used in this apricot kolacky recipe but they taste remarkably different. Both would be a wonderful addition to a cookie platter alongside these pecan snowball cookies, chewy gingerbread boys, and chocolate peppermint kiss cookies!
Table of Contents


Why you will love these walnut roll cookies:
- They have an easy crust with cream cheese that can be made in one bowl with a hand mixer. There is no additional moisture, which makes a very rich, tender pastry.
- The homemade walnut filling recipe is sweet, nutty and can be stored in the freezer for future cookie baking!
- The dough is rolled out in granulated sugar, which creates a sumptuous caramelized crust on the bottom and a crunchy, sweet coating on top. There is no sugar in the dough, so this is a welcome addition!
Ingredients
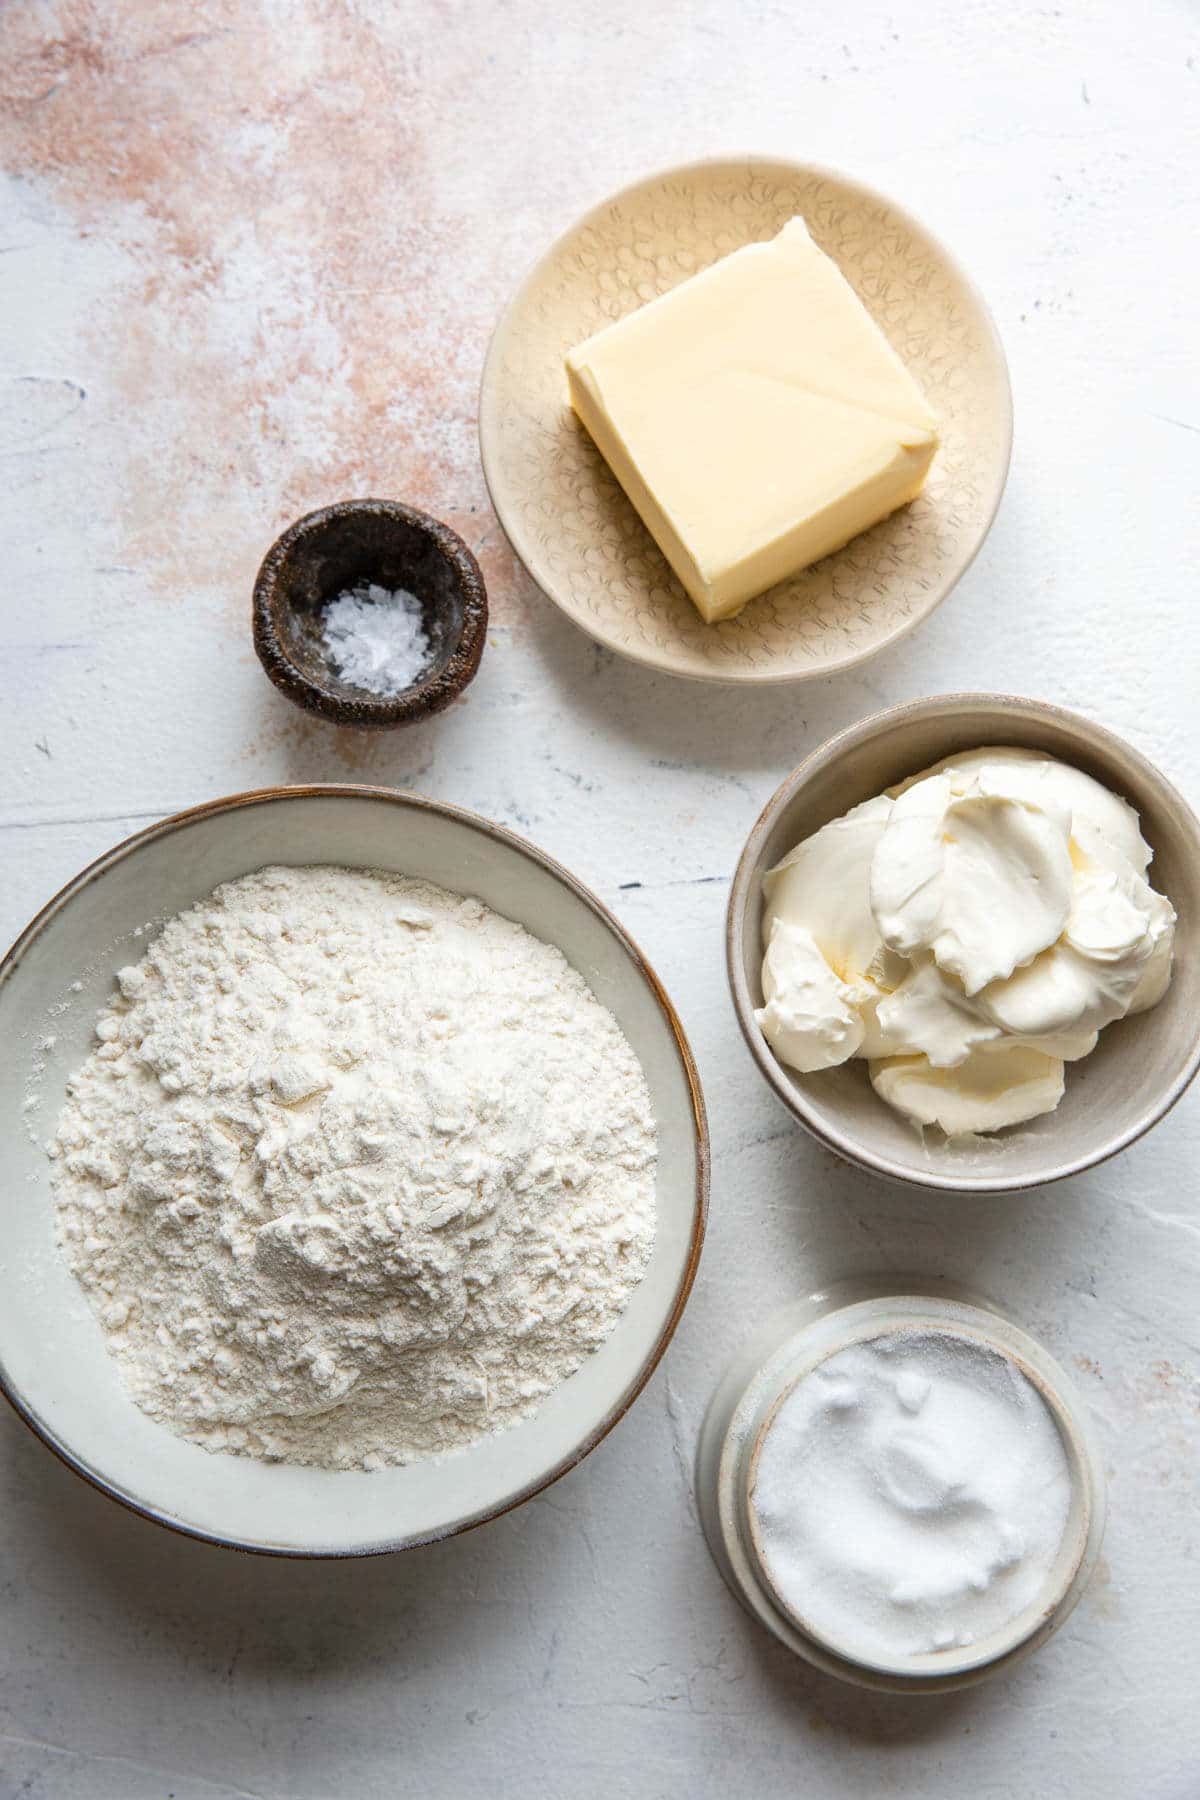
All-purpose flour: Be sure to measure your flour by fluffing up the flour in the bag then spooning it into a measuring cup. Level it off with a knife. Be careful not to tap or compress the flour. Not measuring correctly, will lead to dry cookies
Kosher Salt: Kosher salt is less salty than table salt and a teaspoon weighs less than other finer ground varieties. It heightens the flavor here and will keep your pastries from tasting dull or flat.
Cream Cheese: I use original full fat Philadelphia Cream Cheese for all my baked goods. Working the cream cheese into the dough adds fat and a little bit of tang. Cream cheese does not behave the same as butter when baked and will create a flakey, tender cookie.
Butter: I use unsalted butter for baking, because you want to control the amount of salt you are adding. Every brand is different and it makes adjusting the recipe a challenge.
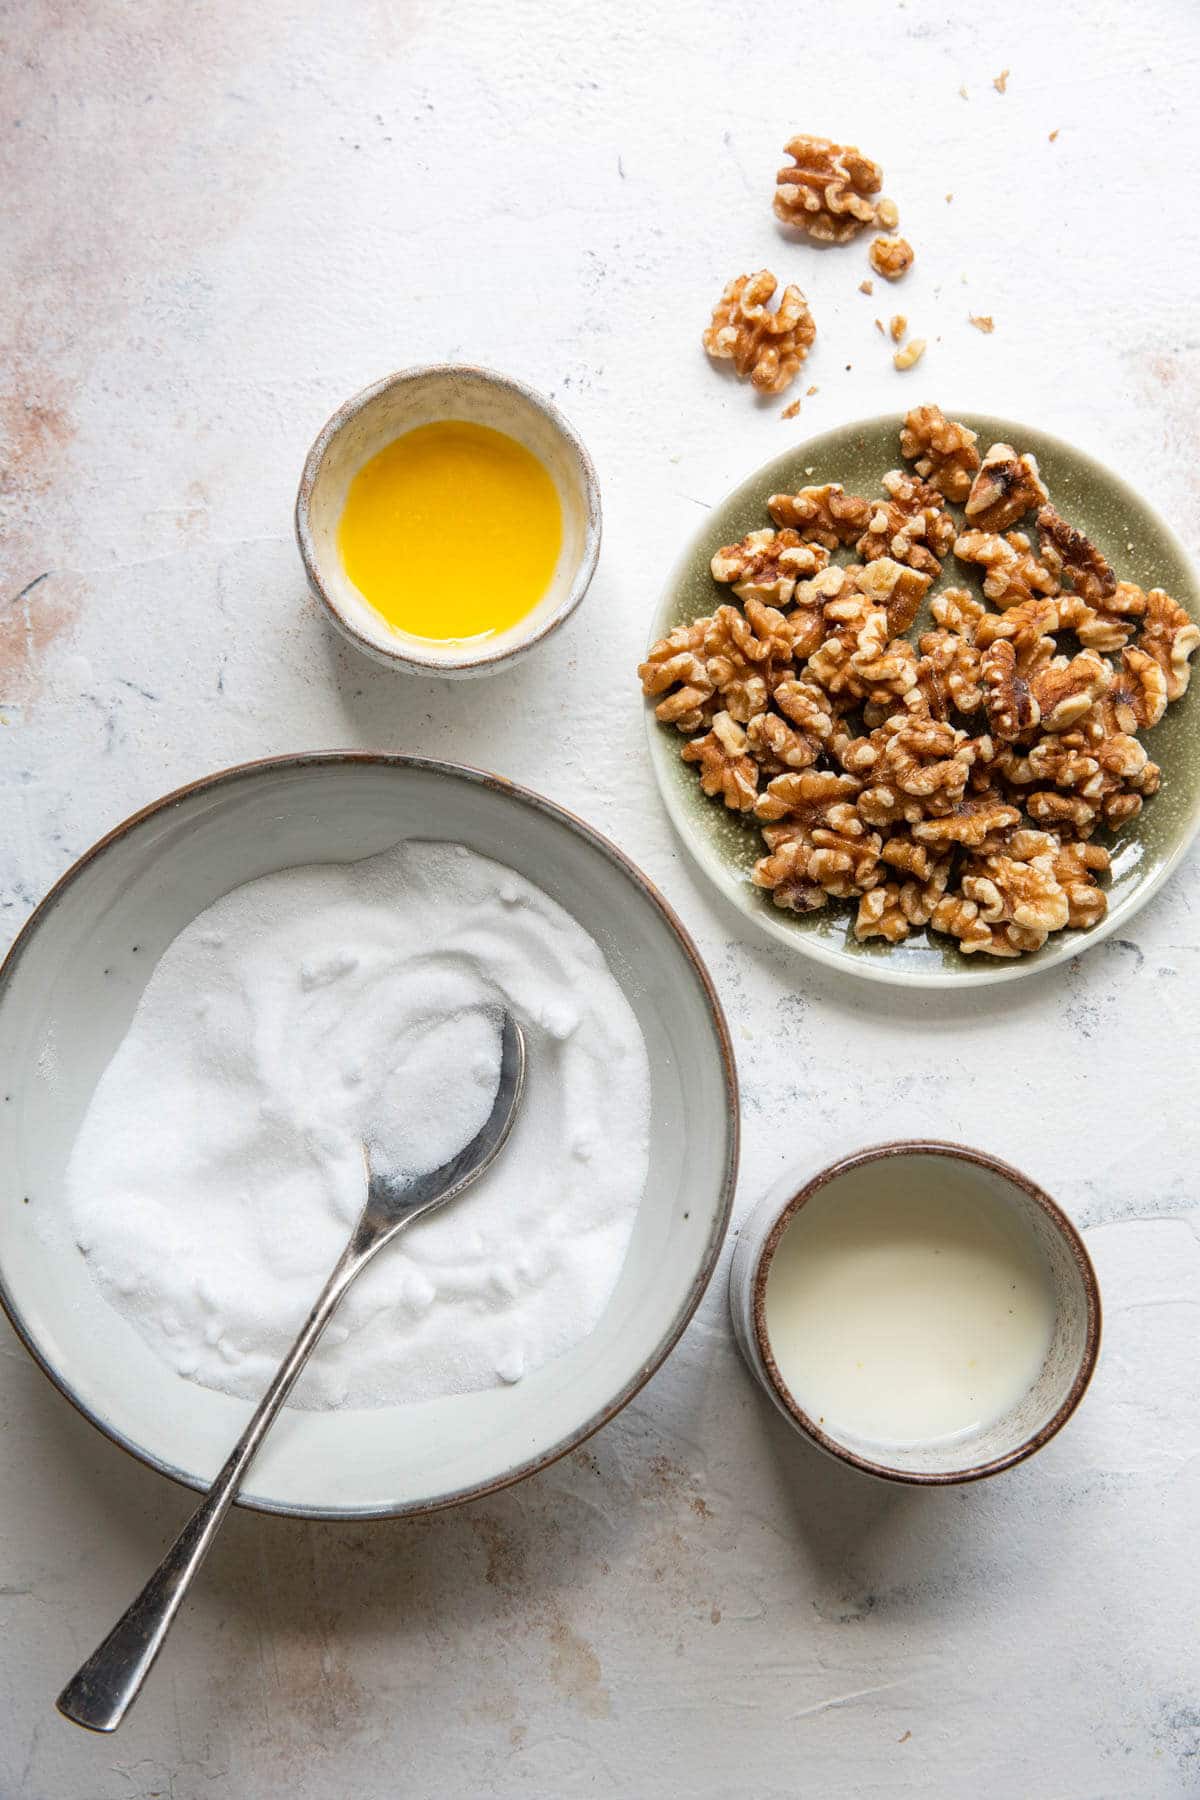
Granulated Sugar: The granulated sugar in the filling adds sweetness and caramelizes. There is additional sugar in the recipe for rolling out the pastry dough. This is optional but adds so much!
Walnuts: You can finely chop walnuts with a knife or pulse in a food processor until finely ground. I do not toast them for this recipe. They bake long enough to toast in the nut roll cookie!
Milk: I use whole milk for baking because it adds a richness to the final flavor and texture.
How to Make
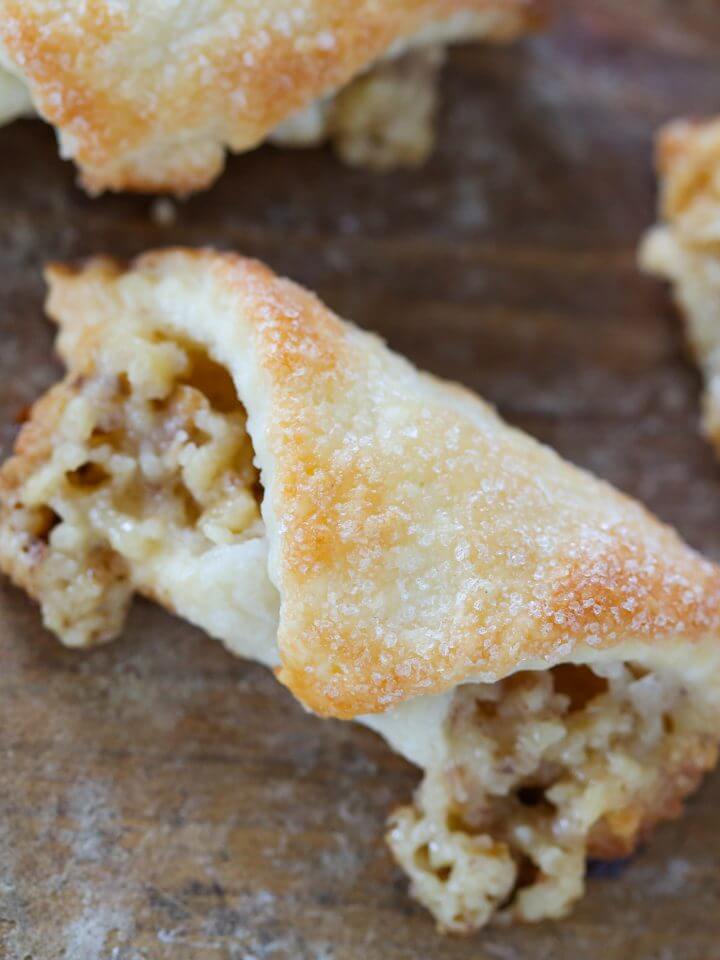
The below instructions and photos will give you all the tips you need to make perfect nut roll cookies from the very first time! There are additional instructions and measurements in the recipe card below.
Make the walnut filling:
Step 1: Finely chop walnuts with a knife or pulse in the food processor.
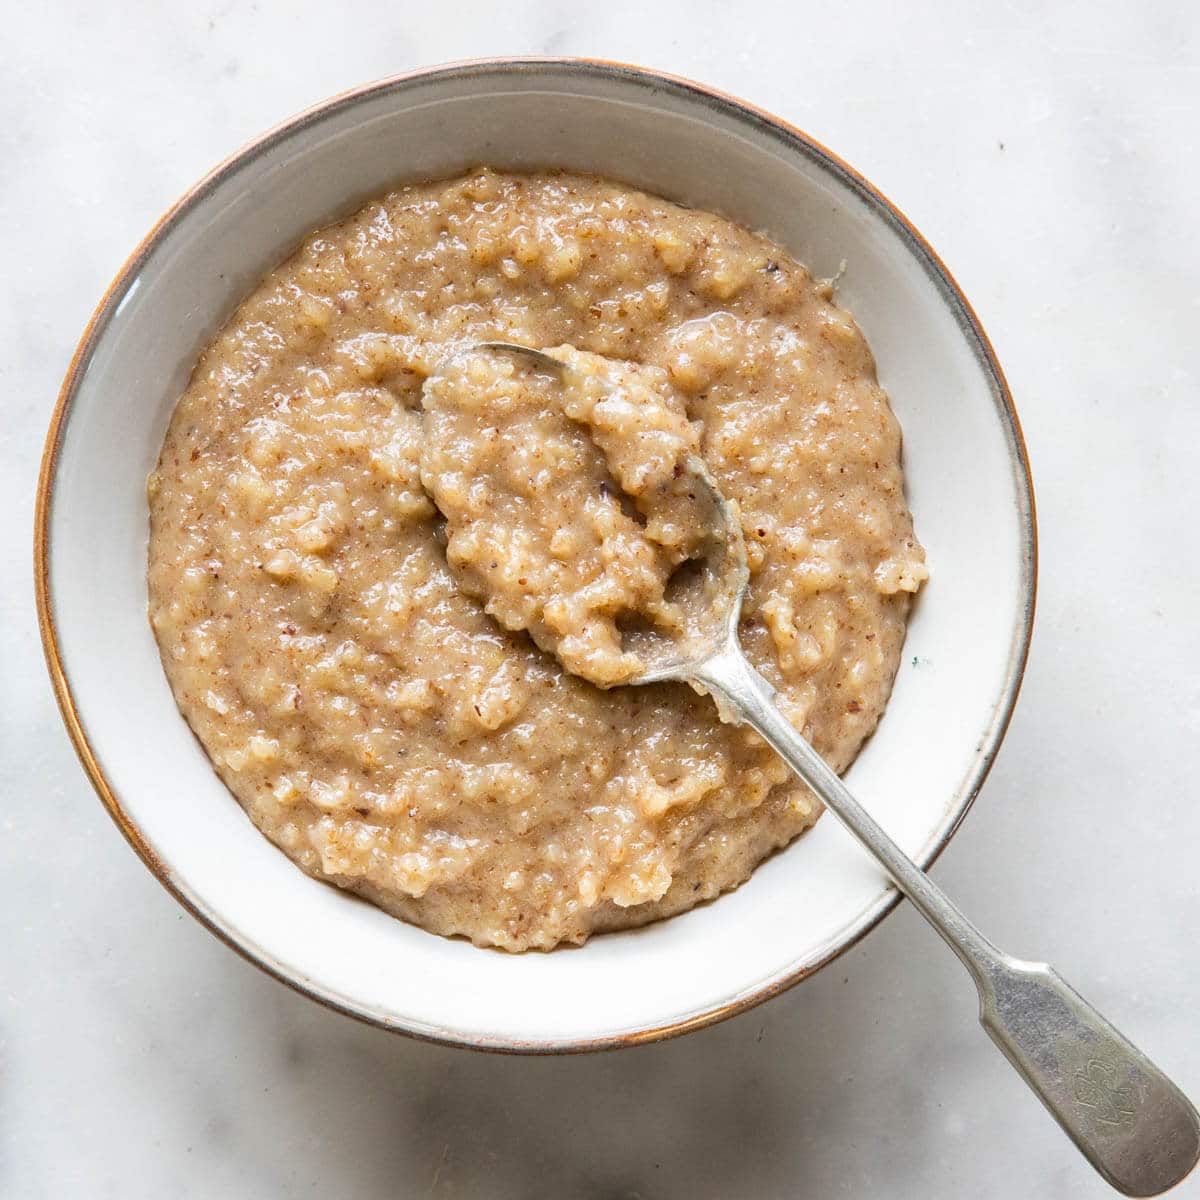
Step 2: Add chopped walnuts, sugar, melted butter and ¼ cup hot milk to a medium bowl. Stir together. The mixture should be thick.
Step 3: Allow to sit for 10 minutes then add more milk if it is not a spreadable consistency. The amount of milk varies by how finely your walnuts are chopped. The finer, the more milk. I used all of the milk for the cookies pictured. Filling can be made ahead and frozen. Thaw before assembling.
Make the dough:
Step 4: In a large bowl or in the bowl of a stand mixer fitted with the paddle attachment, beat together the cream cheese and butter until completely incorporated and creamy (approximately 3-5 minutes).
Step 5: Reduce the mixer to low and add the salt along with small additions of flour. Adding too much at one time will overwhelm the dough and take too long to mix it. This will create gluten and tough, shrinking cookies! The dough will be soft but not sticky.
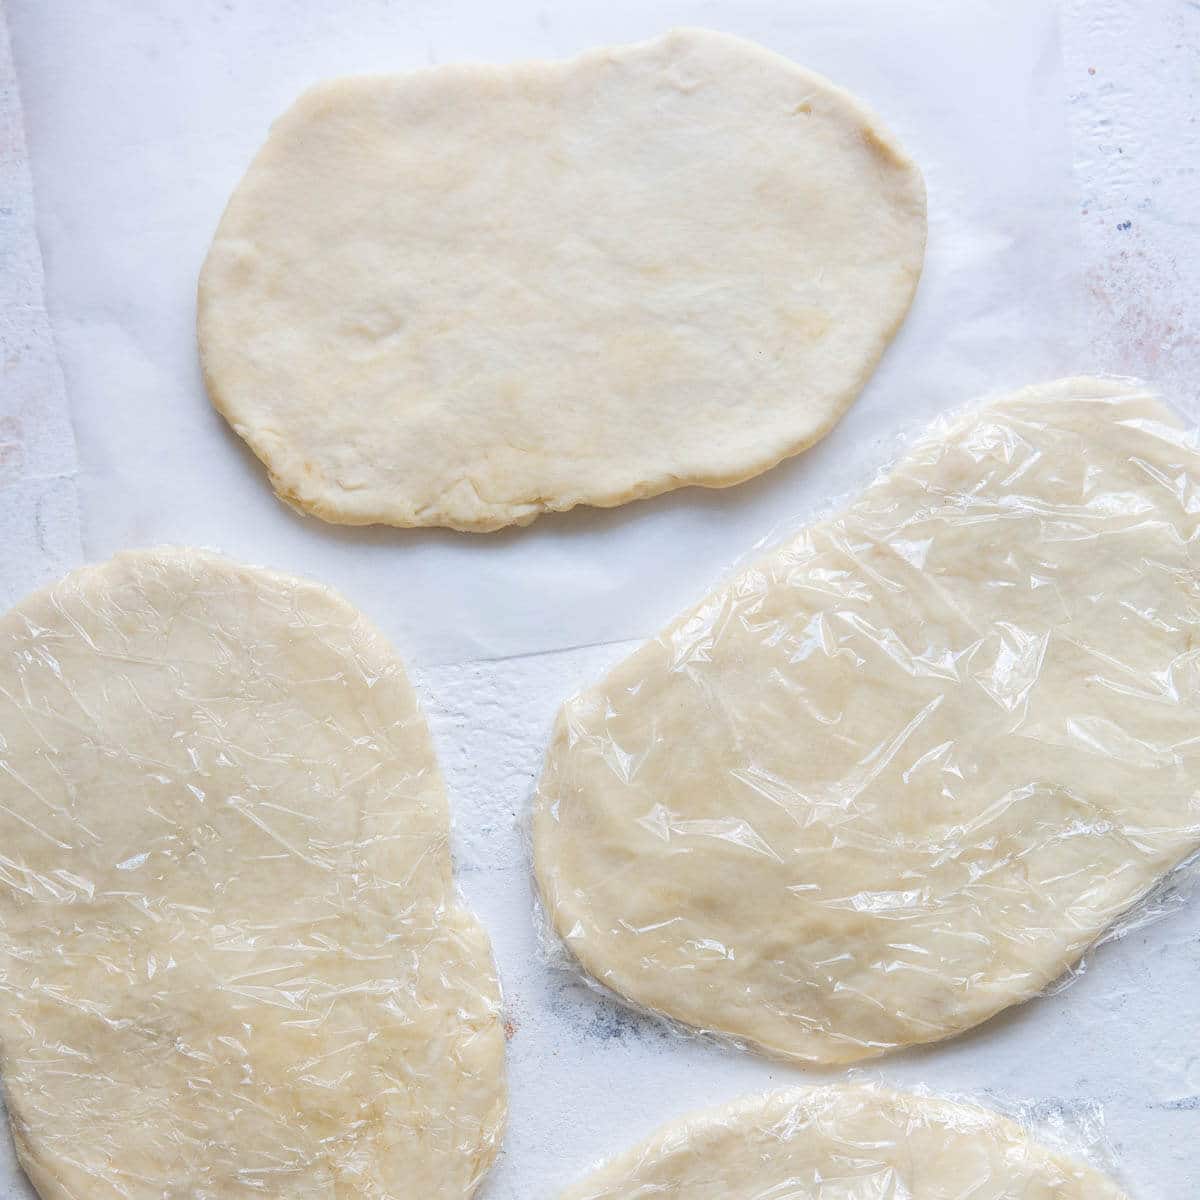
Step 6: Divide the dough into 4 equal parts and flatten each to ¾” thick. Wrap in plastic wrap and refrigerate until hard, at least 2 hours.
Even though there isn’t any liquid in the dough, gluten will still form if overworked. Divide the dough with a knife or bench scraper rather than tearing it, and only gently press the pieces slightly to flatten. You will do the rolling later. Let it rest!
Assemble the cookies:
Step 7: Pre-heat the oven to 375°. Move the oven rack one setting higher than the center. Line two baking sheets with parchment paper.
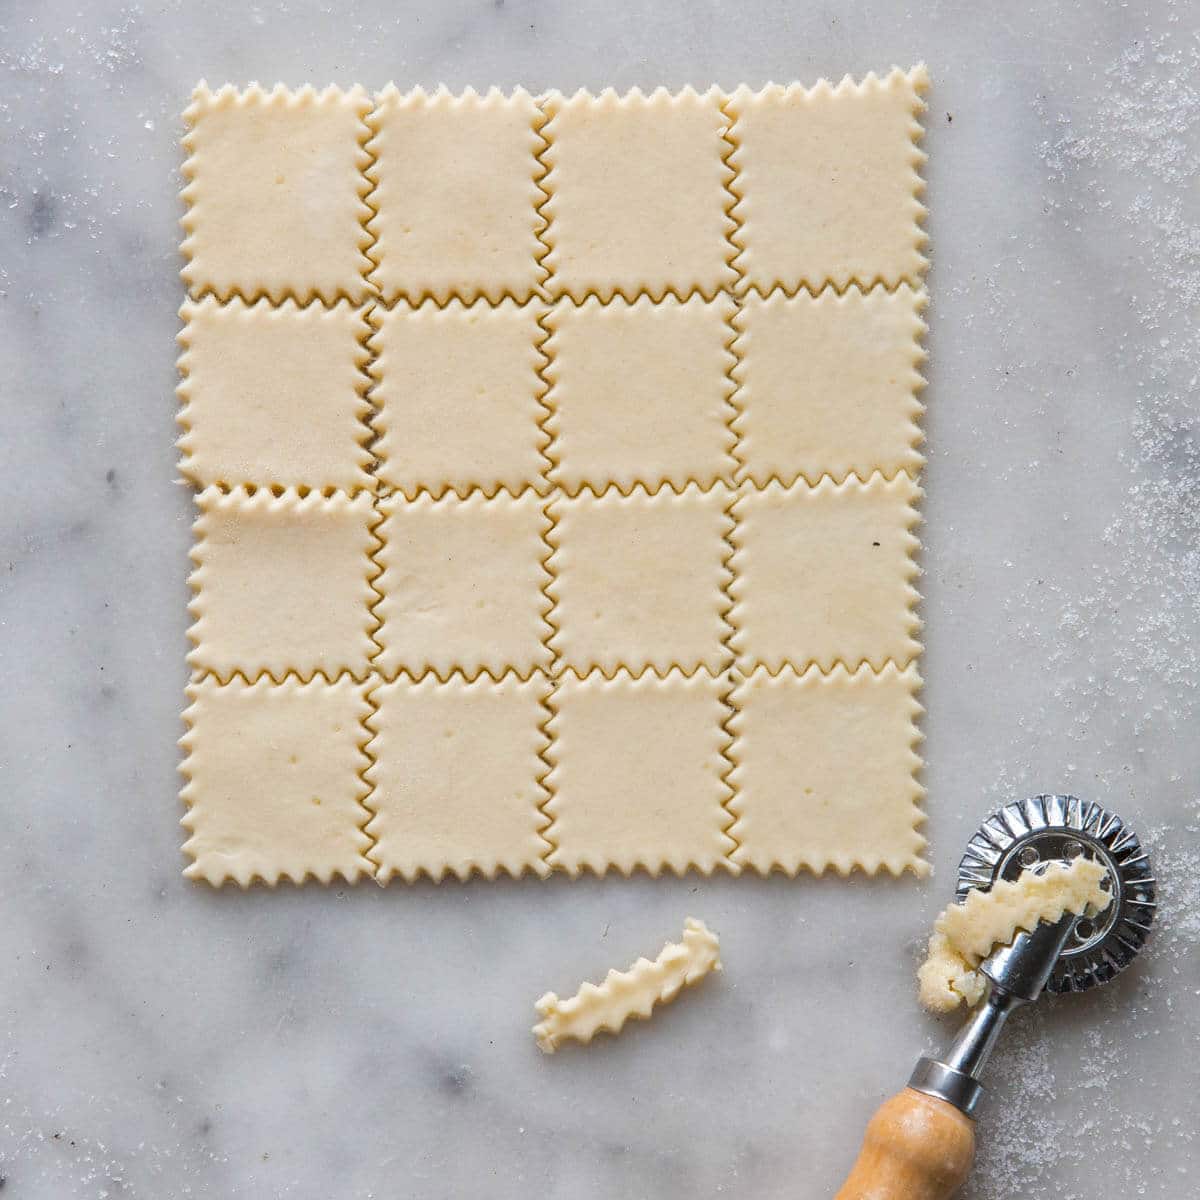
Step 8: Take one of the disks of dough from the refrigerator and lightly flour both sides. Spread granulated sugar on your pastry board or work surface. Place the dough on top and roll out pastry to 1/16” thick or as thin as possible. The thinner the better. If you roll them too thick, the bottom will burn before the inside has a chance to fully cook and puff up.
Step 9: With a pastry wheel or sharp knife, trim the dough into a square and then cut the square into 16 smaller squares. My dough never rolled out into a perfect circle so I would just cut as many 1 1/2 “ squares a possible, saving the scraps for later.
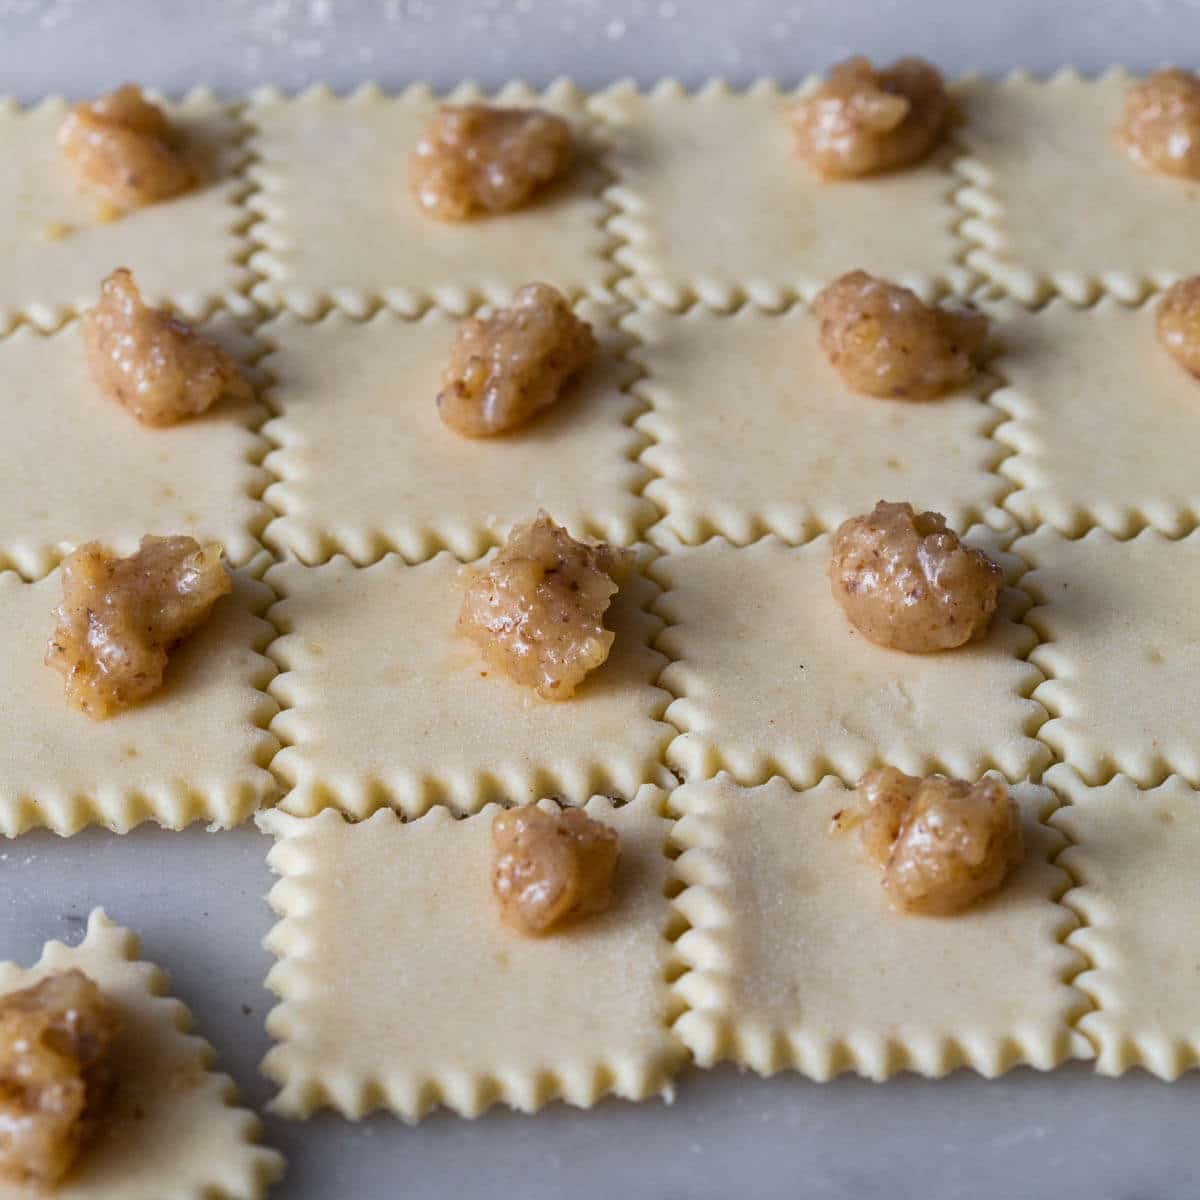
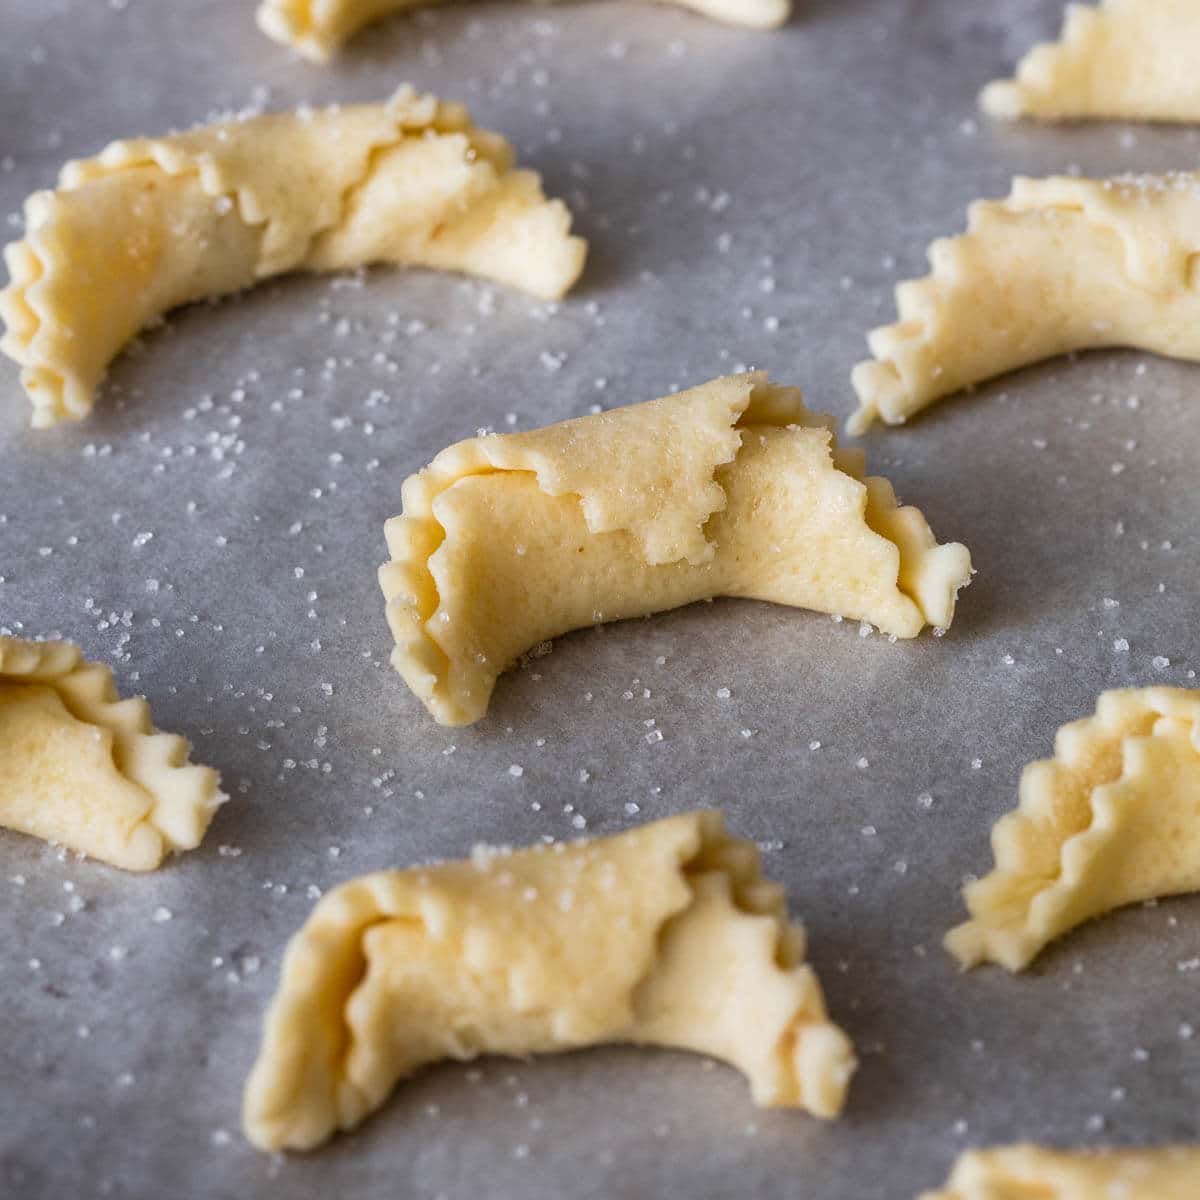
Step 10: Place a dollop of filling in one corner of each square. I used ½ teaspoon. Starting in the corner with the filling, roll the dough around the filling from corner to corner, gently pressing down as you roll. Grab the roll on both sides and pinch as you bend the roll to create a crescent shape. Move it to a parchment covered baking sheet, placing the Rolls no closer than 1” apart. You can offset them in a diagonal pattern to get more on a tray. Repeat with all remaining squares.
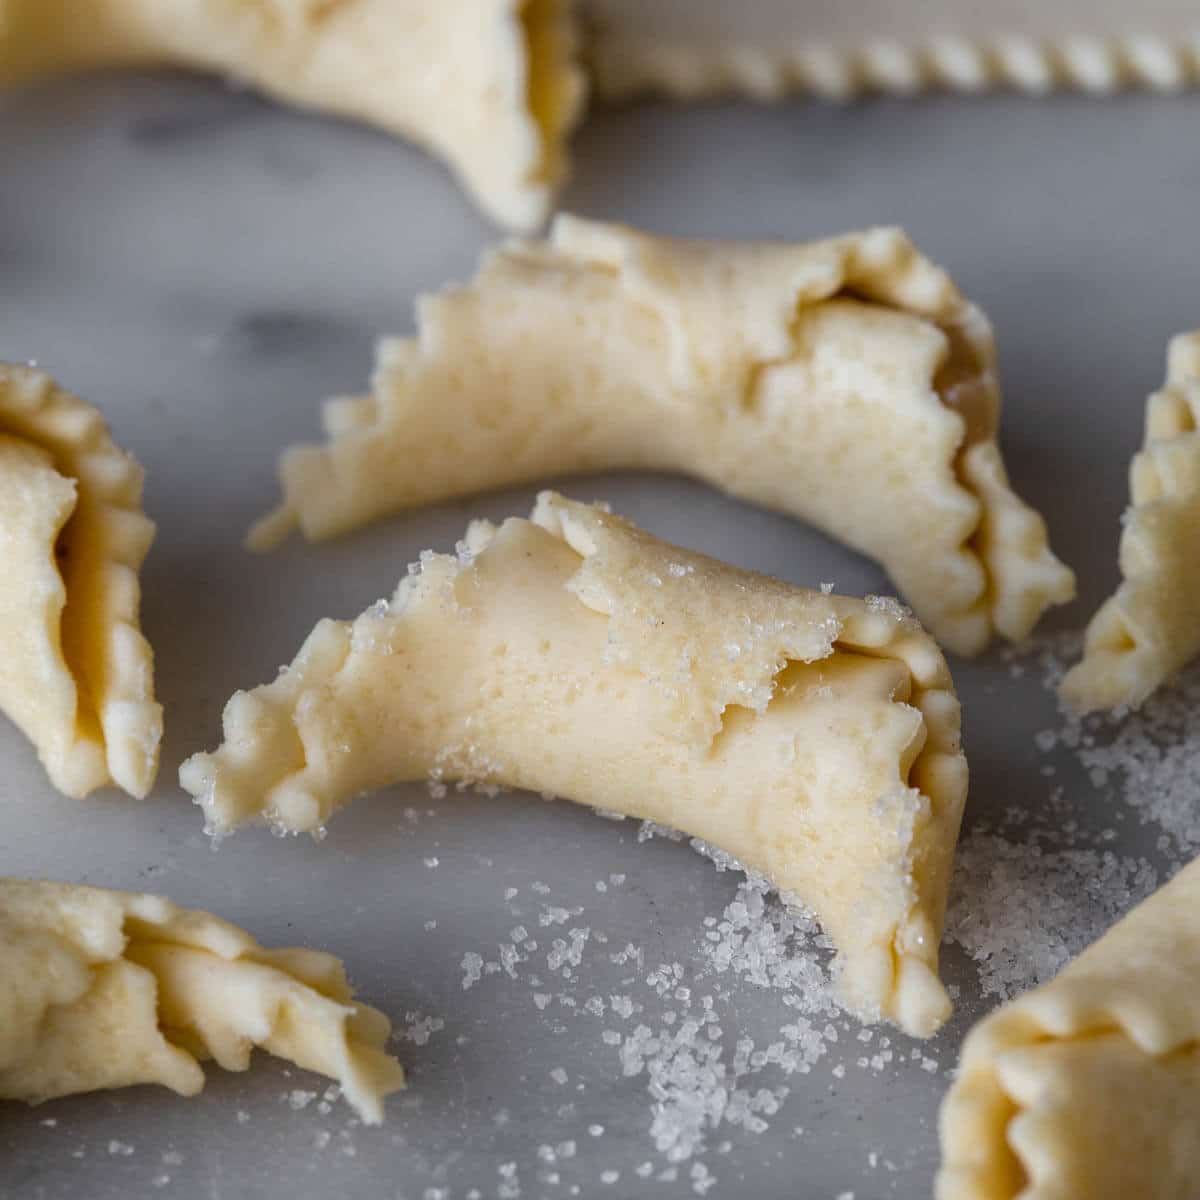
Step 11: Sprinkle the middles of the Rolls with just a touch of granulated sugar. Bake 12-14 minutes or until the bottom edges are a golden and you can smell them. They should puff up slightly in the middle. With experience you can see when the dough is cooked. Let cool slightly on the pan before moving them gently to a wire rack to cool completely.
Chef Lindsey’s Recipe Tip
Don’t chill the assembled cookies prior to baking them. This re-solidifies the butter in the dough and will cause them to puff too much. The extra puff will unroll the rolls!
This recipe is from June Meyer’s Authentic Hungarian Heirloom Recipes Cookbook with my technique tips.
Video Tutorial
Variations & Substitutions
Filling: These nut roll cookies are also delightful with apricot filling or a traditional poppyseed filling. Pecans can also be substituted for the walnuts.
Size: These can be made large or small depending on your preferences. They are very adorable when bite-sized but more challenging to work with.
How to store nut roll cookies:
Store baked, cooled cookies at room temperature layered between sheets of wax paper and then wrapped loosely in foil. I found that this will keep them as crisp as possible. You can also freeze them for up to three months.
The raw assembled cookies can also be frozen and then brought to room temperature prior to baking. I suggest freezing in a single layer then placing in a ziptop bag.
Freeze the dough packets and filling separately for later assembly.
Frequently Asked Questions
I do not suggest baking them from frozen or even refrigerated. This resolidifies the butter in the dough and will cause them to puff too much. The extra puff will unroll the rolls!
You can absolutely make as a large a batch as your mixer can handle. For larger batches, I do suggest making the dough in a stand mixer.
I do suggest chilling and re-rolling the scraps. They will shrink a little more than the first batch; however, the additional sugar in the dough from the first rolling makes them even more delicious!

Nut Roll Cookies (Walnut Filling)
Ingredients
For the Pastry:
- 2 ¼ cups all purpose flour
- ½ tsp kosher salt
- 8 oz cream cheese room temperature
- 1 cup unsalted butter softened
- ½ cup granulated sugar for rolling
For the Walnut Filling:
- ½ pound walnuts finely ground
- 1 cup granulated sugar
- ½ cup whole milk boiled
- 2 tbsp unsalted butter melted
Instructions
To make the Walnut Filling:
- Mix filling in a medium bowl using only ¼ cup of the boiled milk. The mixture should be thick.
- If the filling is not spreadable, use the rest of the milk. I used all of it. It will thicken as it sits.
- Note: You can make the filling ahead of time and freeze it until you are ready to use it. Just thaw at room temperature when you are ready to use.
For the Pastry Dough:
- Sift flour and salt together in a medium bowl and set aside.
- Beat the cream cheese and butter together with a stand mixer or a hand mixer until completely incorporated and creamy (3-5 minutes).
- Reduce the speed of the mixer and slowly add in the flour. I used 5 additions and completely mixed in the flour each time. The dough will be soft but not sticky.
- Divide the dough into 4 equal parts and flatten each to ¾” thick. Wrap in plastic wrap and refrigerate until hard, at least 2 hours.
Assembling the Walnut Rolls:
- Pre-heat the oven to 375F. Move the oven rack one setting higher than the center.
- Dust each side of the dough with flour. Generously coat a flat surface (countertop, marble board, etc.) with granulated sugar. Plop the dough on top and press gently to push some crystals into the dough. The sugar will keep your dough elevated off the rolling surface enough to keep it from sticking. Lightly coat the rolling pin with flour throughout the process, using as little as possible.
- With a pastry wheel or sharp knife, trim the dough into a square and then cut the square into 16 smaller squares. My dough never rolled out into a perfect circle so I would just cut as many 1 1/2 “ squares a possible, saving the scraps for later.
- Place a dollop of filling in one corner of each square. I used ½ teaspoon.
- Starting in the corner with the filling, roll the dough around the filling from corner to corner, gently pressing down as you roll. Grab the roll on both sides and pinch as you bend the roll to create a crescent shape. Gently move it to a parchment covered baking sheet, placing the Rolls no closer than 1” apart.
- Repeat with all remaining squares.
- Sprinkle the middles of the Rolls with just a touch of granulated sugar.
- Bake 12-14 minutes or until the bottom edges are a golden and you can smell them. They should puff up slightly in the middle. With experience you can see when the dough is cooked. Let cool slightly on the pan on a wire rack and then move them gently to a wire rack to cool completely.
- Repeat with all remaining dough. Refrigerate and re-roll your scraps. Amazing.
- For a more traditional cookie, you can omit the granulated sugar and dust the final, cooled cookie with powdered sugar. I will warn you that it won’t be as divine.
Video
Notes
Nutrition
Before you go!
Check out our other delicious, chef-developed cookie recipes!







4 years later, I still love this recipe! I still do a horrid job rolling them out and filling them, but they still taste like grandma used to make. Yes, I have this link saved and come back to it each year!
Hi Tom! Takes practice for sure, but sounds like you’re on your way! I’m glad they taste just like Grandma used to make, that means a lot to me. Thanks for commenting and happy baking!
This recipe has been in my mother’s family for many years, except they use confectioner’s sugar and cream instead of granulated sugar and milk. I can still see my mom at the stove, stirring the cream to be sure it wouldn’t scald. She never let us do that part of it! But we got to spread the filling and roll up the nut rolls. Over time my mom migrated away from individual rolls and rolled each segment into one long rectangle, spread the walnut mix, and rolled it up like a long yule log. So much easier to make and then give away at Christmas and Easter. Not that I’m all that as a baker, but for first-timers I would suggest: Don’t add all the milk to the nuts or you might regret it. Last time, I used only about two-thirds. If you find yourself fighting the dough with the stand mixer, finish it off on your counter by kneading it a bit with your hands just until it comes together nicely. When you roll it out, make sure it’s nice and thin. Try rolling it out on wax paper with some confectioners sugar on it, makes handling the dough so easy. And if some of the walnut mix seeps out during baking, don’t worry, that’s part of the joy of these flaky nutty pieces of heaven.
Hi Jill! I adore the visual of your mom at the stove!!! Also, the yule log is such a fun idea. Thanks for sharing your secrets, and happy baking!
These were very easy to make and delicious. The dough was very flaky and the filling tasty. I cut the dough in triangles and rolled them like crescent rolls instead of the squares but they came out beautifully. They kept well for over a week at room temperature.
Hi Janet! They sound wonderful! Thanks for coming back to rate and comment, makes my day!
Hi Lindsey. This recipe is very close to my grandmother’s recipe that I’ve been trying to replicate for years. Can you tell me how you make the squares of dough consistent in size so they’ll bake evenly? I always end up with some overbaked and some underbaked and they aren’t very pretty either although they taste good.
Hi Beth! I’m so happy this is close to your grandmother’s recipe! Honestly, sometimes I use a ruler! I always use a pastry wheel or sharp knife for cutting. I usually trim the dough into a square and then cut the square into 16 smaller squares. It’s important to roll the dough thin, to an even thinness throughout, and to let it rest! Hope that helps and happy baking!
I have been making these for years, but I can’t get them to stay together, the dough pulls apart even with a touch of water at the top. Any suggestions?
Hi Anet! A couple of things that could help include: chilling the dough longer and making sure it isn’t too dry or too wet (by adding a bit of flour or water). It’s important to be gentle with it. Even though there isn’t any liquid in the dough, gluten will still form if overworked. Divide the dough with a knife or bench scraper rather than tearing it, and only gently press the pieces slightly to flatten. Let it rest! Let me know how it goes, and happy baking!
Although tasty-ish, they wouldn’t stay closed during baking and leaked most of the nut mixture out. I tried four different ways with varying amount of filling and had almost no luck at all. In other words, only 4 or 5 stayed closed and kept the filling in.
Hi Marijane, sorry you’ve had some trouble, but if you’re willing to give it another go, it’s a super popular recipe for a reason!
1. Regarding the dough: The thinner the better. If you roll them too thick, the bottom will burn before the inside has a chance to fully cook and puff up. Also be sure you have a tight seal.
2. Regarding the filling, the mixture should be thick. So you might need to adjust the amount of milk you’re putting in.
Hope this helps and happy baking!
No wonder my cookie filling leaked out! I only ground one cup of walnuts. The cookies leaked all over, having opened, but are a delicious crispy gooey mess! I can, however, scoop them off the parchment with a flipper. And they taste divine …I am going to sprinkle them with powdered sugar and give them to my grandsons. I already ate four! The pastry itself if also very tender and delicate. If I add 8 more ounces of nuts, I am hoping the next batch is beautiful as well as yummy.
Hi Mil! Yes, give it another go! I’m glad you love the taste and happy baking!
Why is my flour too soft and sticky?
Hi Mary Anne! I’m not totally sure what you mean by that. If you’re talking about the dough, there’s a chance it’s because the butter or cream cheese was too soft/melted when you incorporated it. You might not have measured the flour accurately, this can totally happen with measuring cups (as opposed to doing it by weight). There’s also a chance your kitchen might be too humid/warm. Lightly flouring your dough will help with stickiness. Happy baking!