This post may contain affiliate links. Please read our disclosure policy.
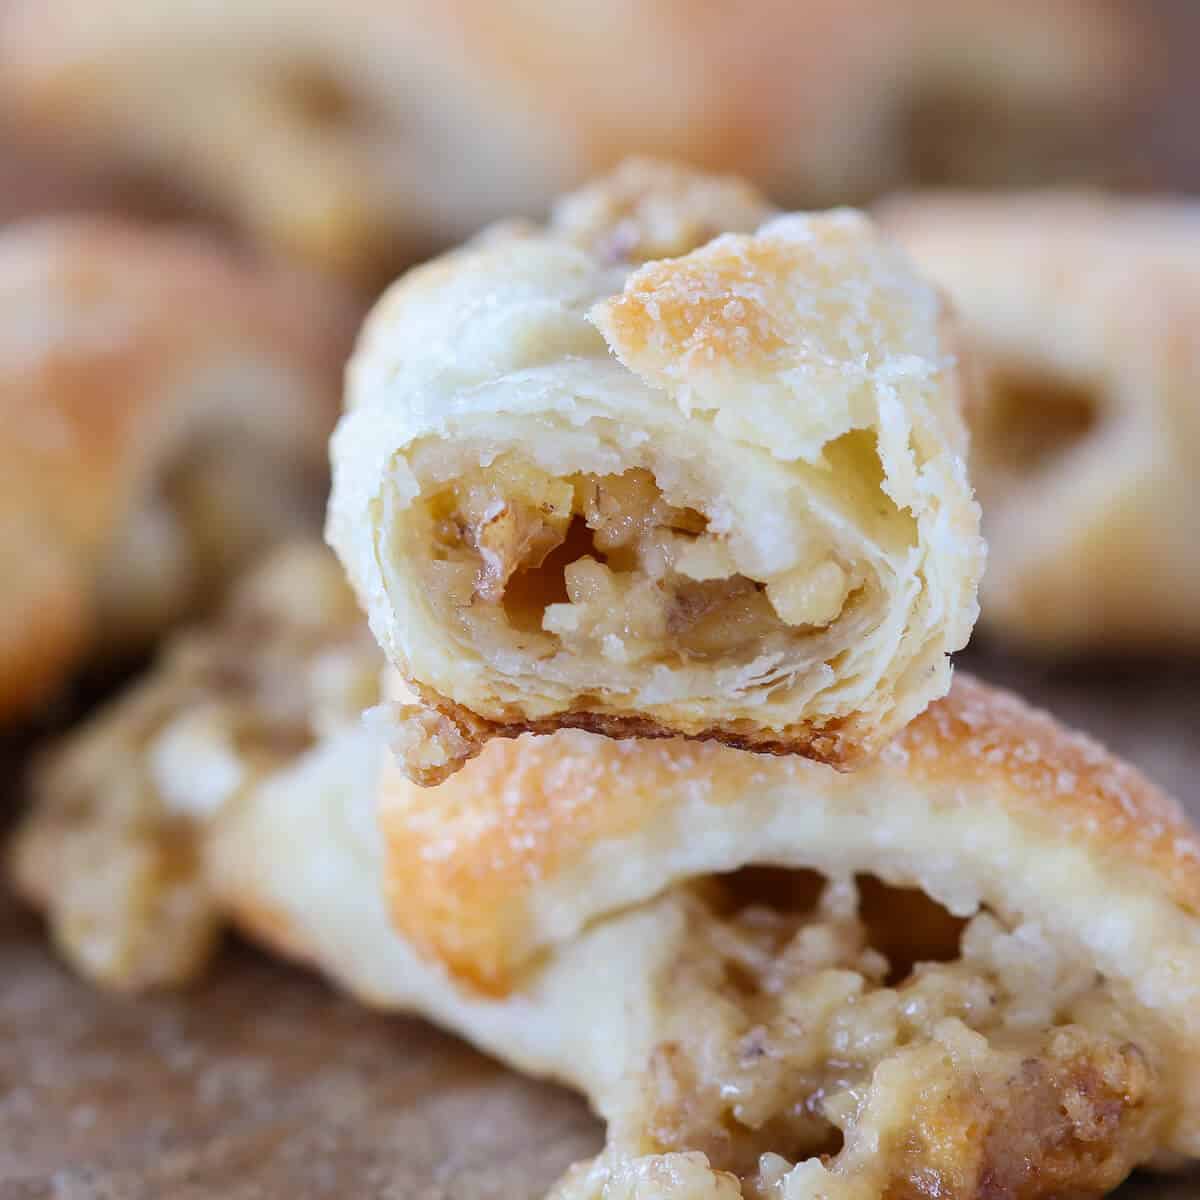
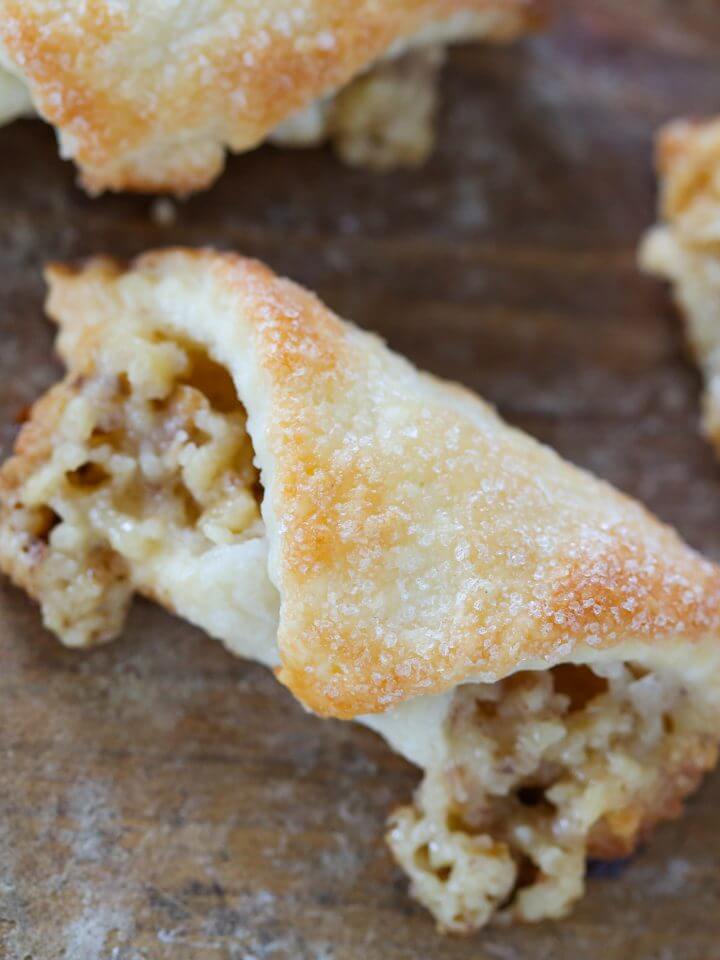
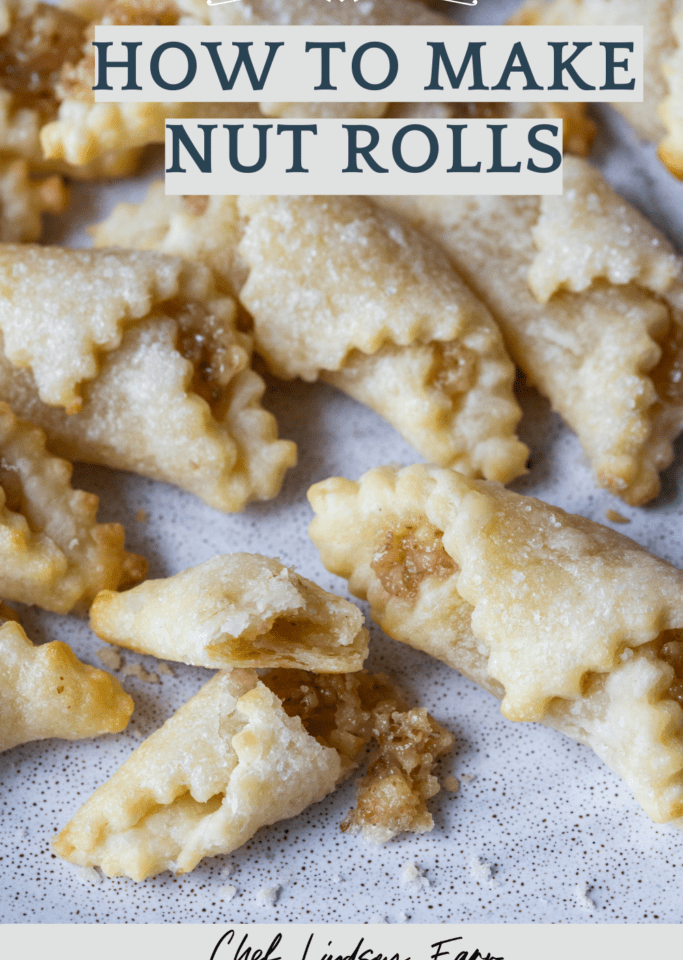
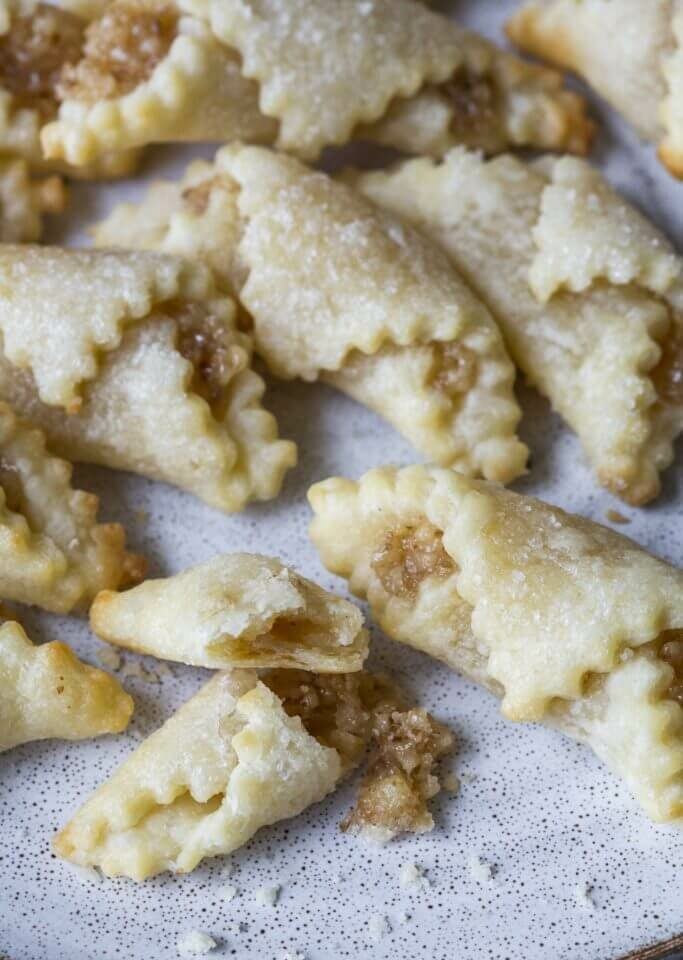
These Hungarian Nut Roll Cookies are a flakey, cream cheese pastry wrapped around a homemade walnut filling. The filling is sweet, crunchy, and caramelized around the edges!
A Quick Look At The Recipe
This is a brief summary of the recipe. Jump to the recipe to get the full details.
Jump to RecipePrep Time
30 minutes
Cook Time
12 minutes
Chill Time
2 hours
Total Time
2 hours 42 minutes
Servings
48 Cookies
Difficulty
Easy
Calories *
132 kcal per serving
Technique
Make walnut filling, make pastry dough, assemble walnut rolls, bake!
Flavor Profile
Flaky cream cheese pastry filled with a walnut filling.
* Based on nutrition panel
Beats my grandma’s and I didn’t think that was possible! ⭐⭐⭐⭐⭐
Vicki
Nut roll cookies, which are also called Hungarian nut horns, are crunchy, sweet, addicting cookies. In the Hungarian, slovak and polish traditions, they are made at Christmas time; however, they are delightful all year round!
The simple cream cheese pastry crust is the same one used in this apricot kolacky recipe but they taste remarkably different. Both would be a wonderful addition to a cookie platter alongside these pecan snowball cookies, chewy gingerbread boys, and chocolate peppermint kiss cookies!
Table of Contents
Why you will love these walnut roll cookies:
- They have an easy crust with cream cheese that can be made in one bowl with a hand mixer. There is no additional moisture, which makes a very rich, tender pastry.
- The homemade walnut filling recipe is sweet, nutty and can be stored in the freezer for future cookie baking!
- The dough is rolled out in granulated sugar, which creates a sumptuous caramelized crust on the bottom and a crunchy, sweet coating on top. There is no sugar in the dough, so this is a welcome addition!
Ingredients
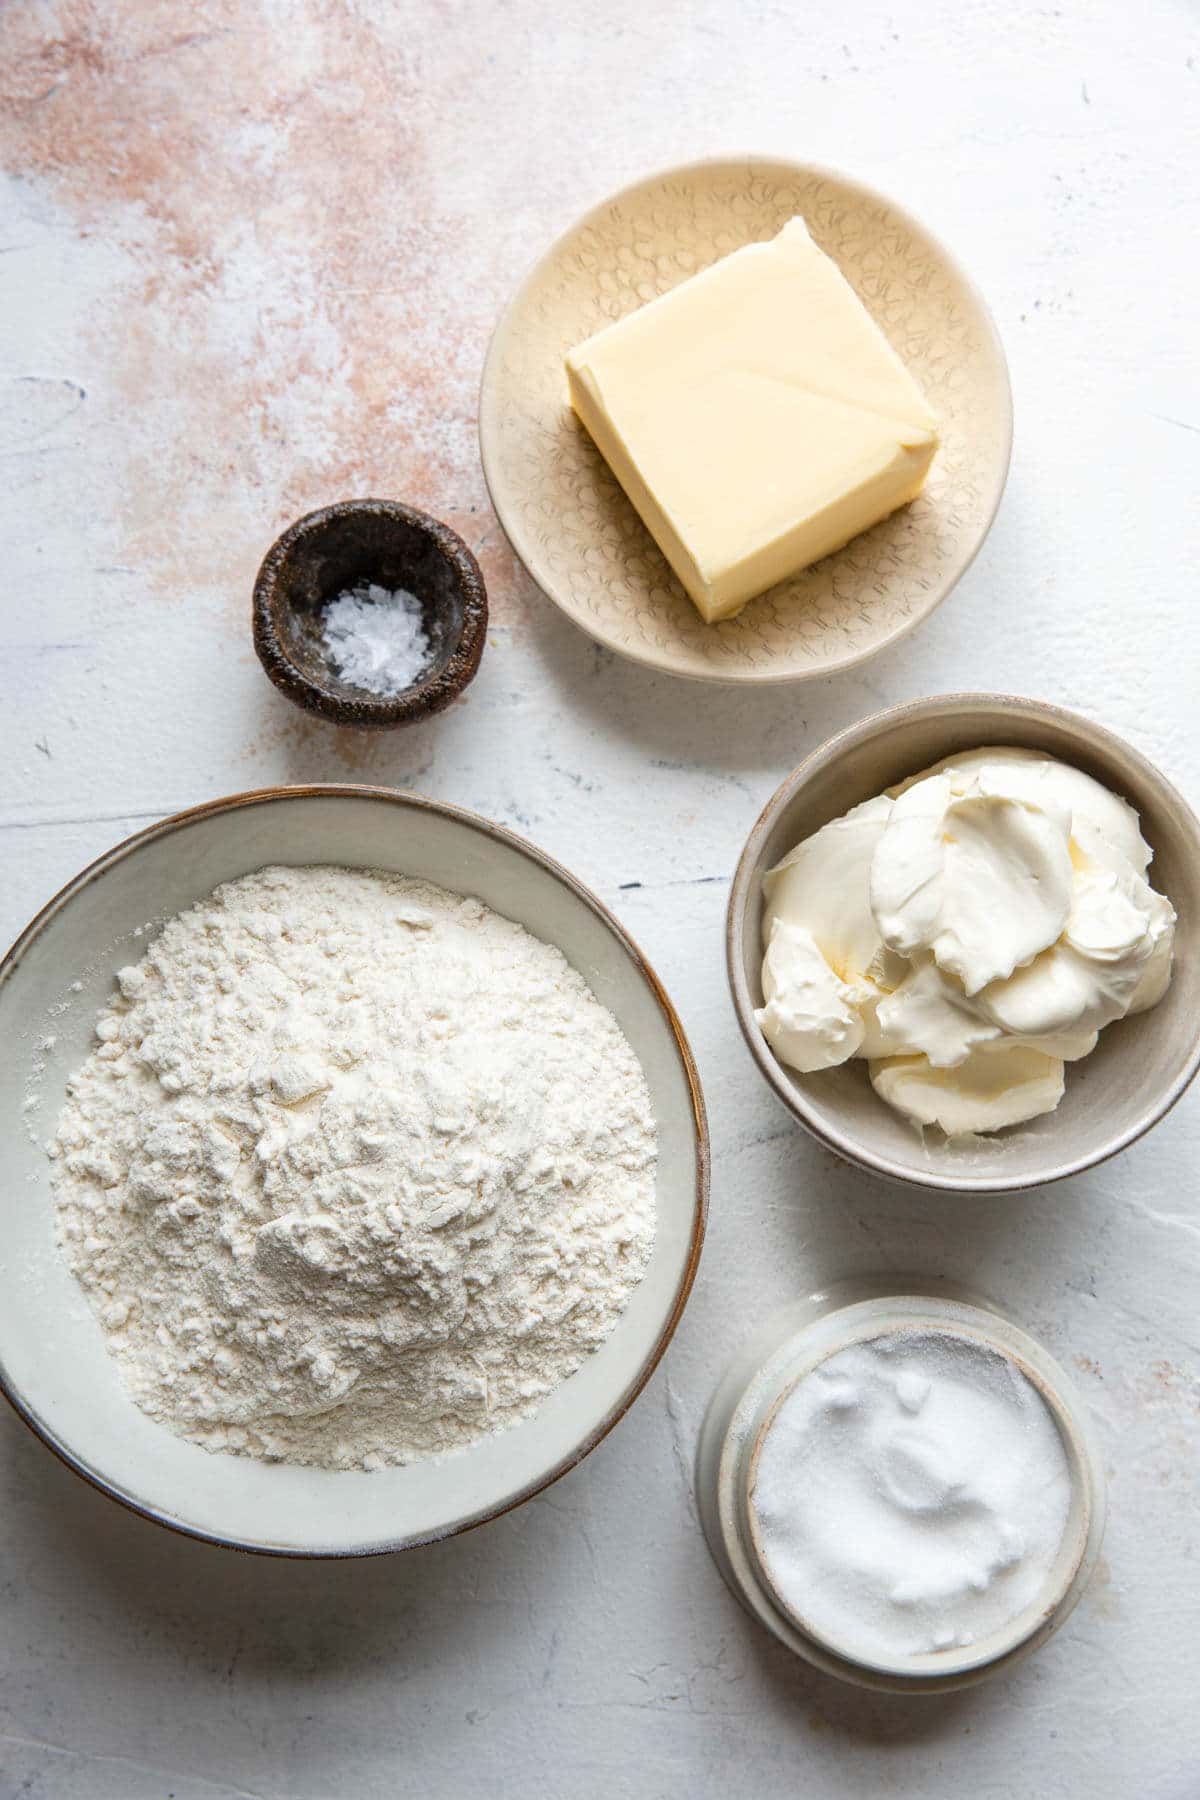
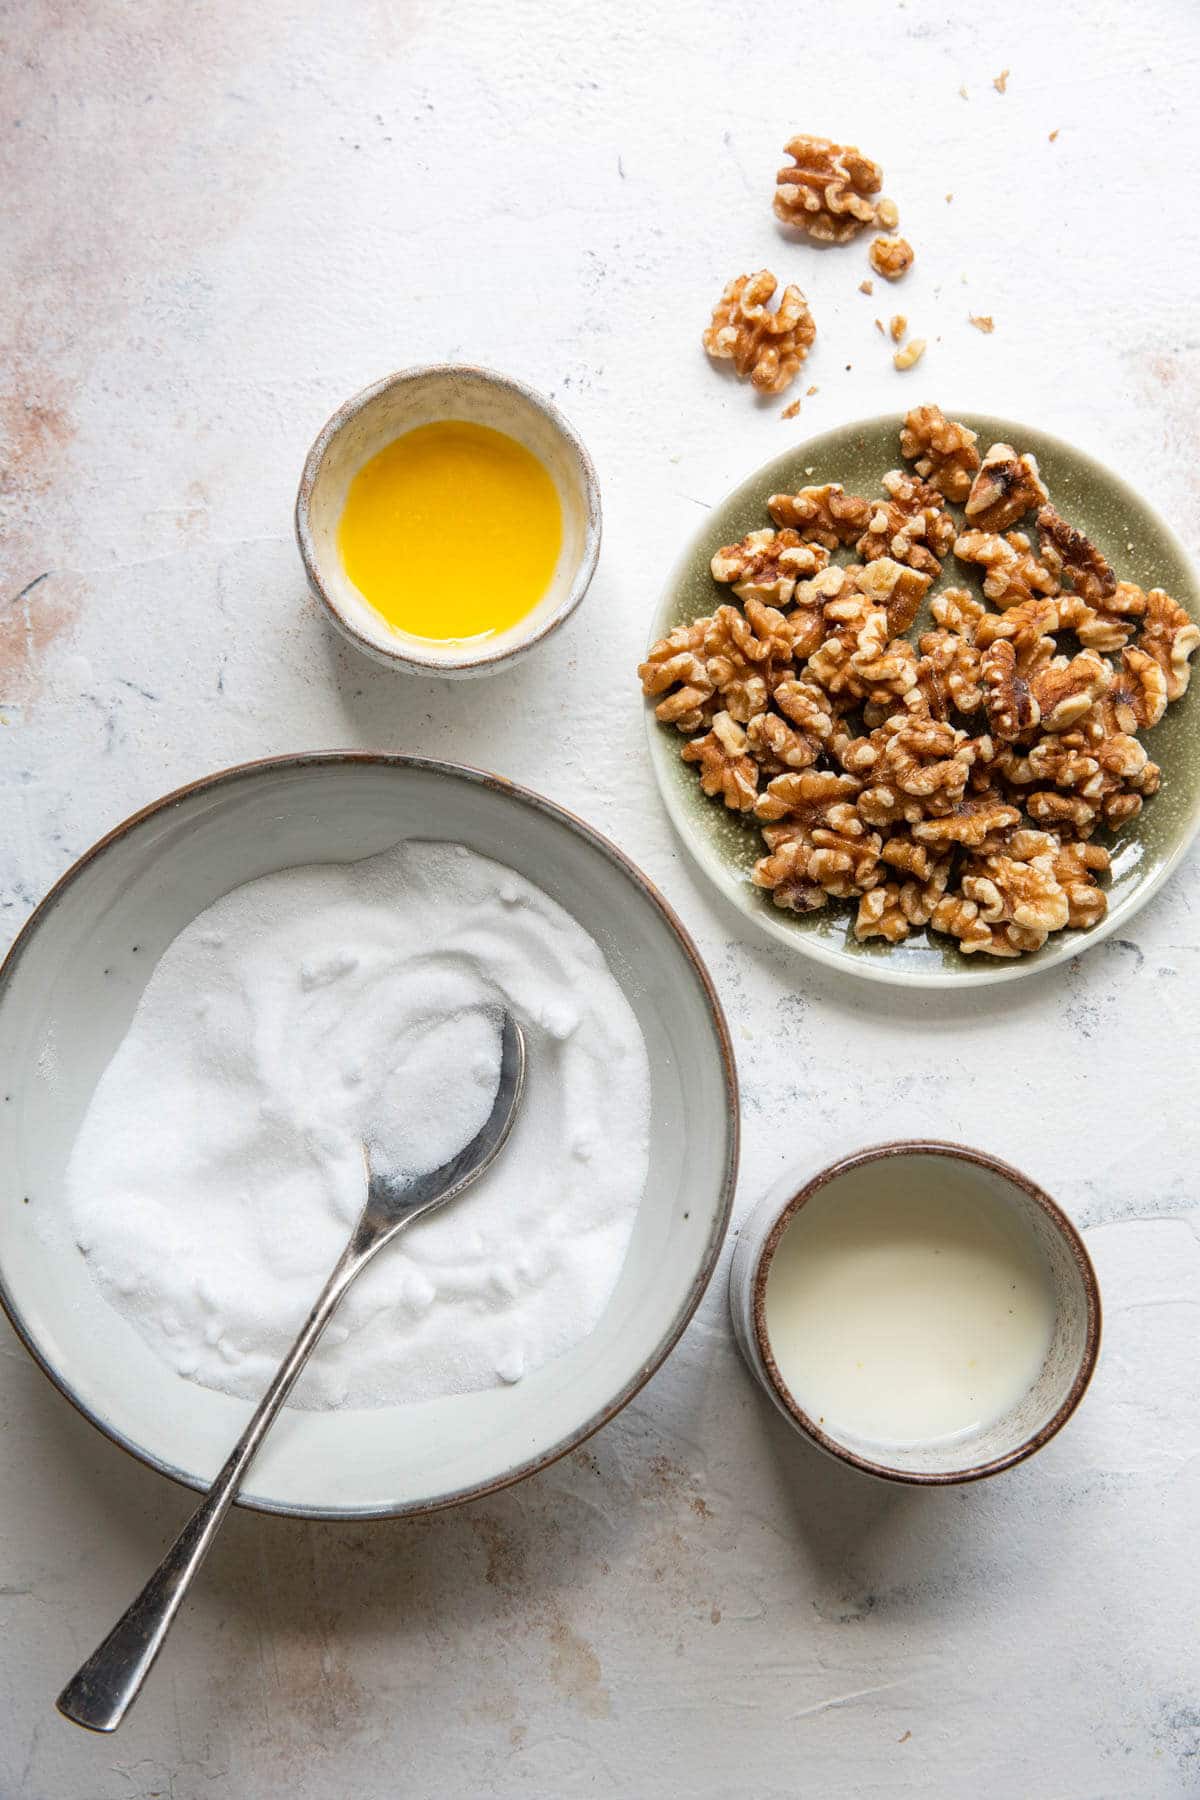
All-purpose flour: Be sure to measure your flour by fluffing up the flour in the bag then spooning it into a measuring cup. Level it off with a knife. Be careful not to tap or compress the flour. Not measuring correctly, will lead to dry cookies
Kosher Salt: Kosher salt is less salty than table salt and a teaspoon weighs less than other finer ground varieties. It heightens the flavor here and will keep your pastries from tasting dull or flat.
Cream Cheese: I use original full fat Philadelphia Cream Cheese for all my baked goods. Working the cream cheese into the dough adds fat and a little bit of tang. Cream cheese does not behave the same as butter when baked and will create a flakey, tender cookie.
Butter: I use unsalted butter for baking, because you want to control the amount of salt you are adding. Every brand is different and it makes adjusting the recipe a challenge.
Granulated Sugar: The granulated sugar in the filling adds sweetness and caramelizes. There is additional sugar in the recipe for rolling out the pastry dough. This is optional but adds so much!
Walnuts: You can finely chop walnuts with a knife or pulse in a food processor until finely ground. I do not toast them for this recipe. They bake long enough to toast in the nut roll cookie!
Milk: I use whole milk for baking because it adds a richness to the final flavor and texture.
How to Make
The below instructions and photos will give you all the tips you need to make perfect nut roll cookies from the very first time! There are additional instructions and measurements in the recipe card below.
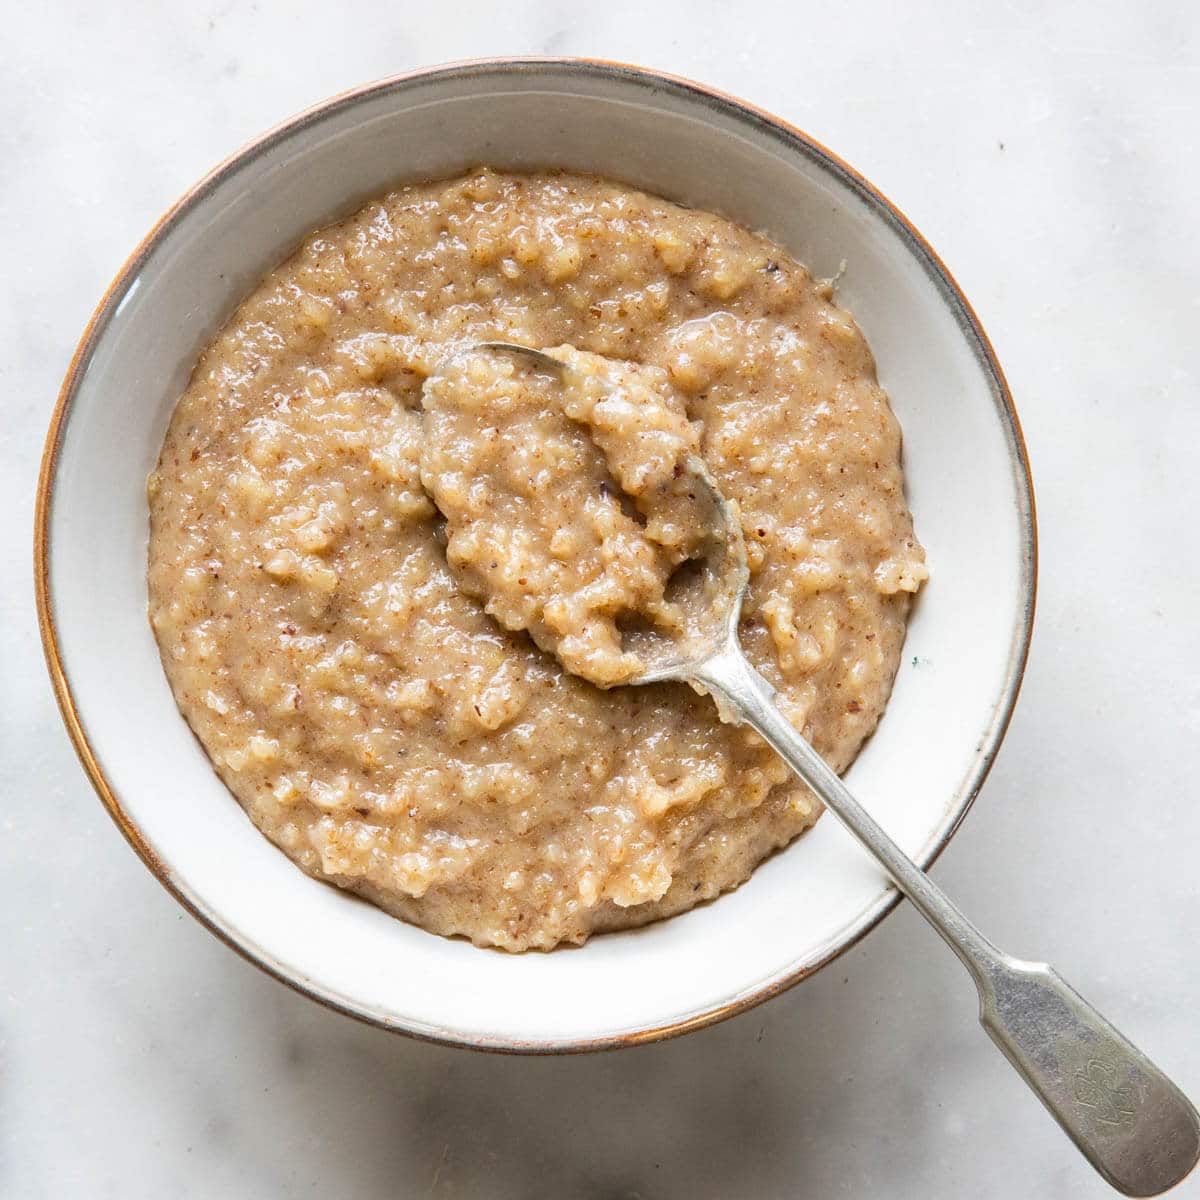
Make the walnut filling:
Step 1: Finely chop walnuts with a knife or pulse in the food processor.
Step 2: Add chopped walnuts, sugar, melted butter and ¼ cup hot milk to a medium bowl. Stir together. The mixture should be thick.
Step 3: Allow to sit for 10 minutes then add more milk if it is not a spreadable consistency. The amount of milk varies by how finely your walnuts are chopped. The finer, the more milk. I used all of the milk for the cookies pictured. Filling can be made ahead and frozen. Thaw before assembling.
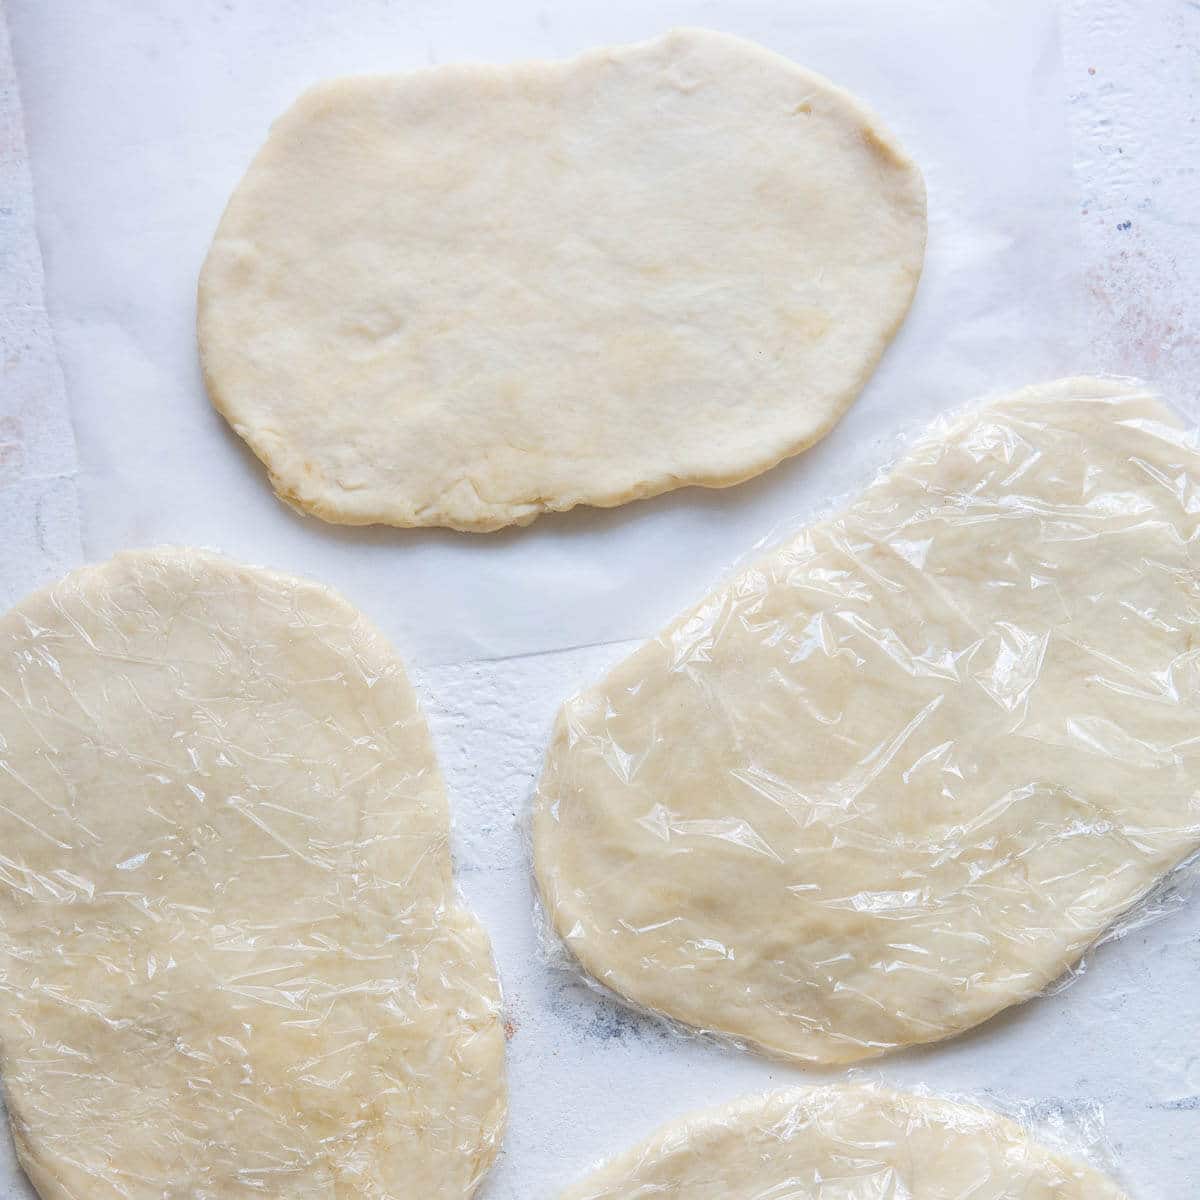
Make the dough:
Step 4: In a large bowl or in the bowl of a stand mixer fitted with the paddle attachment, beat together the cream cheese and butter until completely incorporated and creamy (approximately 3-5 minutes).
Step 5: Reduce the mixer to low and add the salt along with small additions of flour. Adding too much at one time will overwhelm the dough and take too long to mix it. This will create gluten and tough, shrinking cookies! The dough will be soft but not sticky.
Step 6: Divide the dough into 4 equal parts and flatten each to ¾” thick. Wrap in plastic wrap and refrigerate until hard, at least 2 hours.
Even though there isn’t any liquid in the dough, gluten will still form if overworked. Divide the dough with a knife or bench scraper rather than tearing it, and only gently press the pieces slightly to flatten. You will do the rolling later. Let it rest!
Assemble the cookies:
Step 7: Pre-heat the oven to 375°. Move the oven rack one setting higher than the center. Line two baking sheets with parchment paper.
Step 8: Take one of the disks of dough from the refrigerator and lightly flour both sides. Spread granulated sugar on your pastry board or work surface. Place the dough on top and roll out pastry to 1/16” thick or as thin as possible. The thinner the better. If you roll them too thick, the bottom will burn before the inside has a chance to fully cook and puff up.
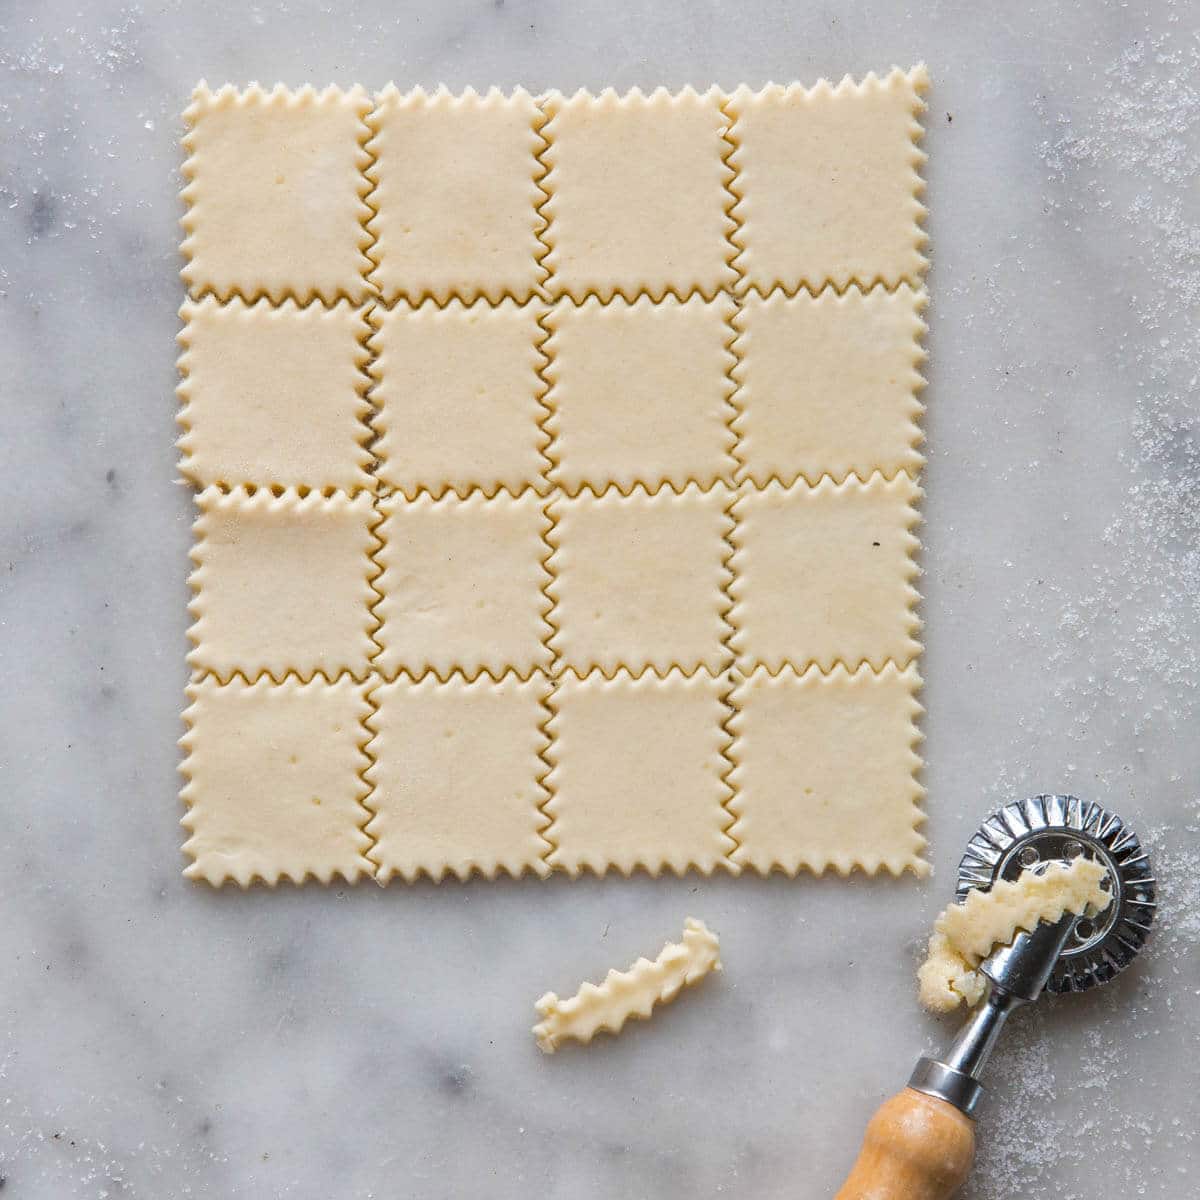
Step 9: With a pastry wheel or sharp knife, trim the dough into a square and then cut the square into 16 smaller squares. My dough never rolled out into a perfect circle so I would just cut as many 1 1/2 “ squares a possible, saving the scraps for later.
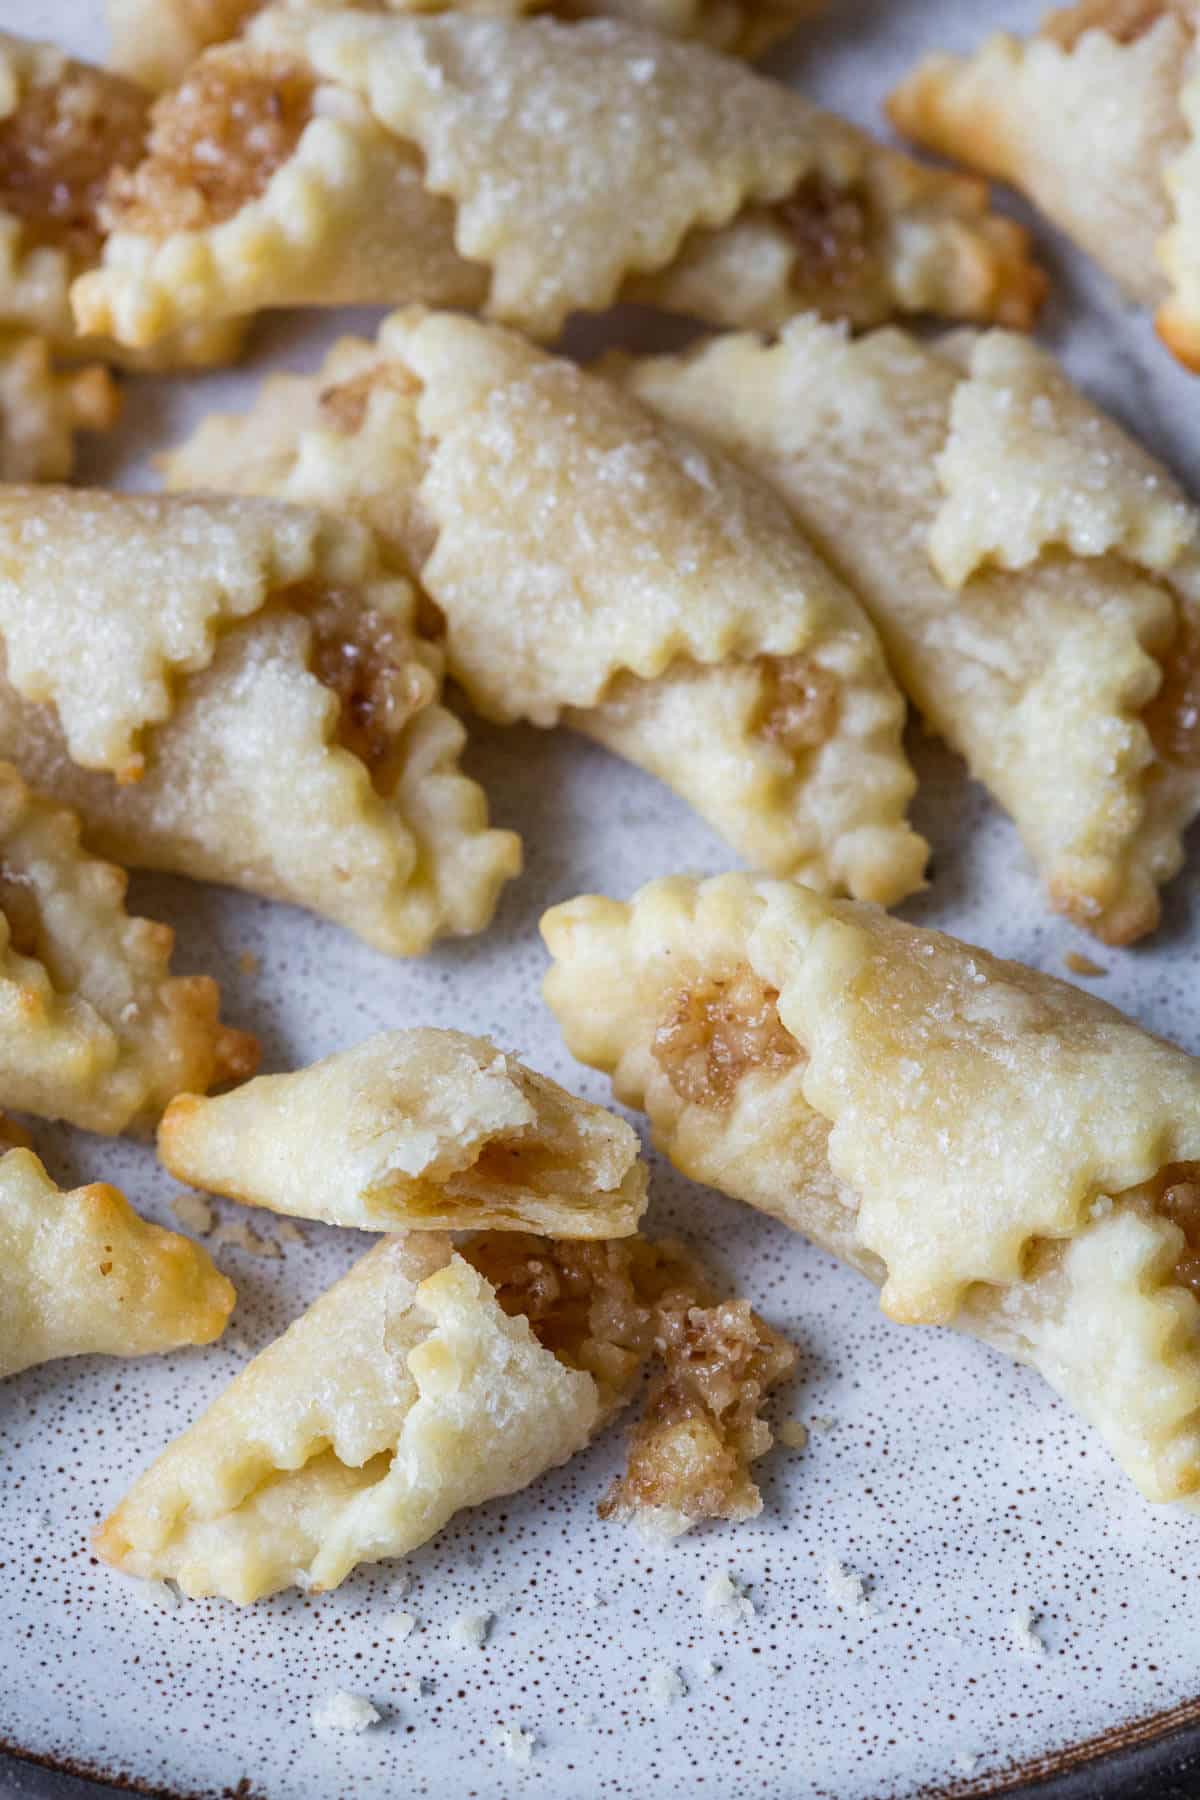
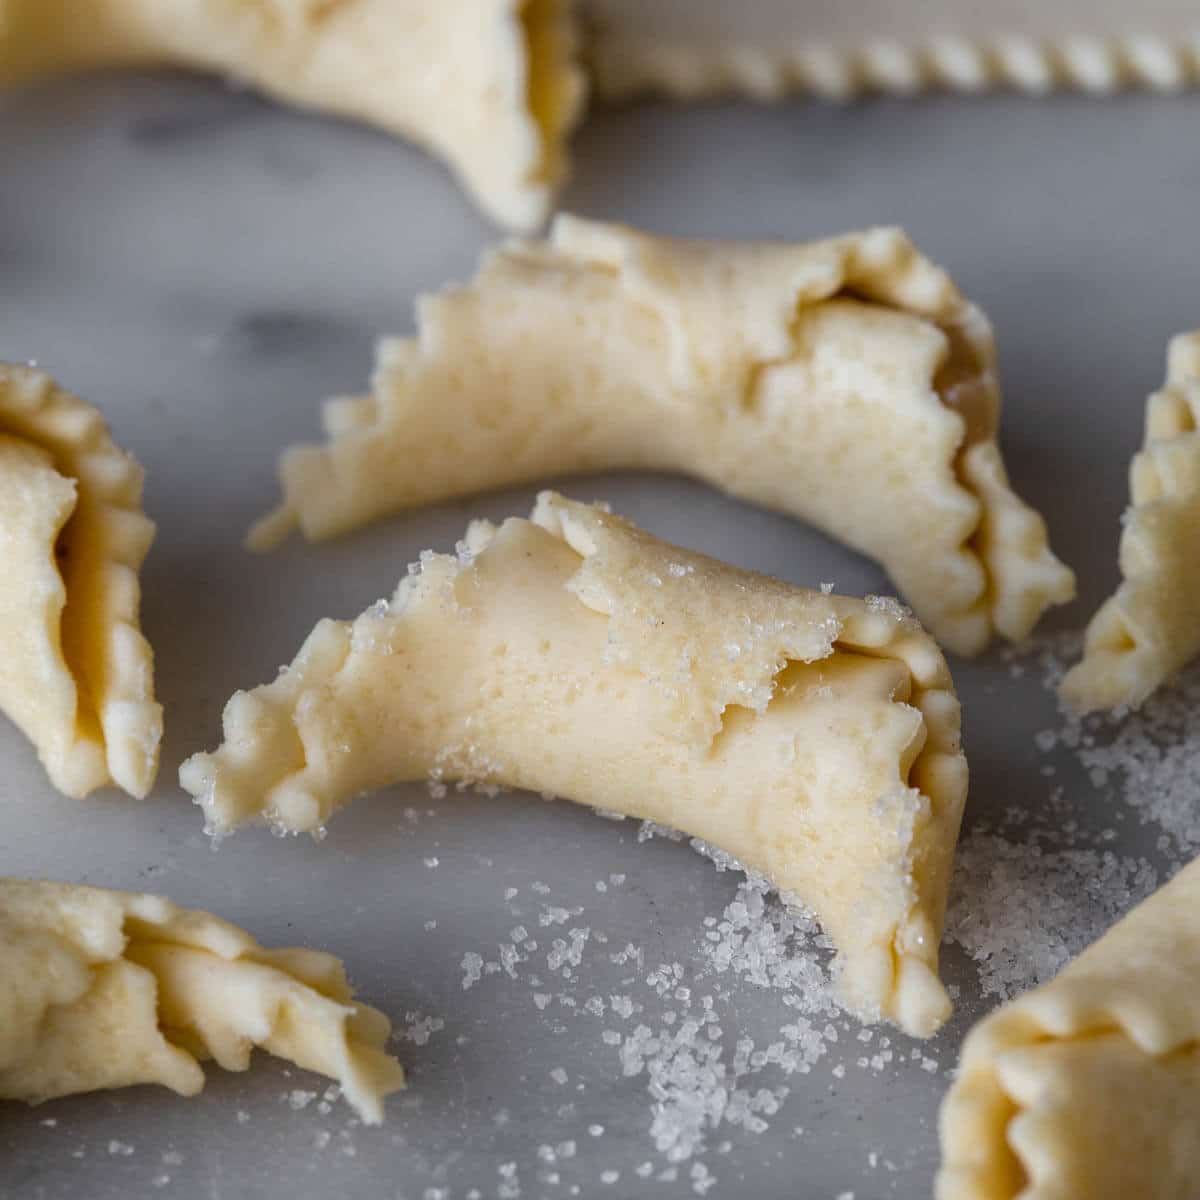
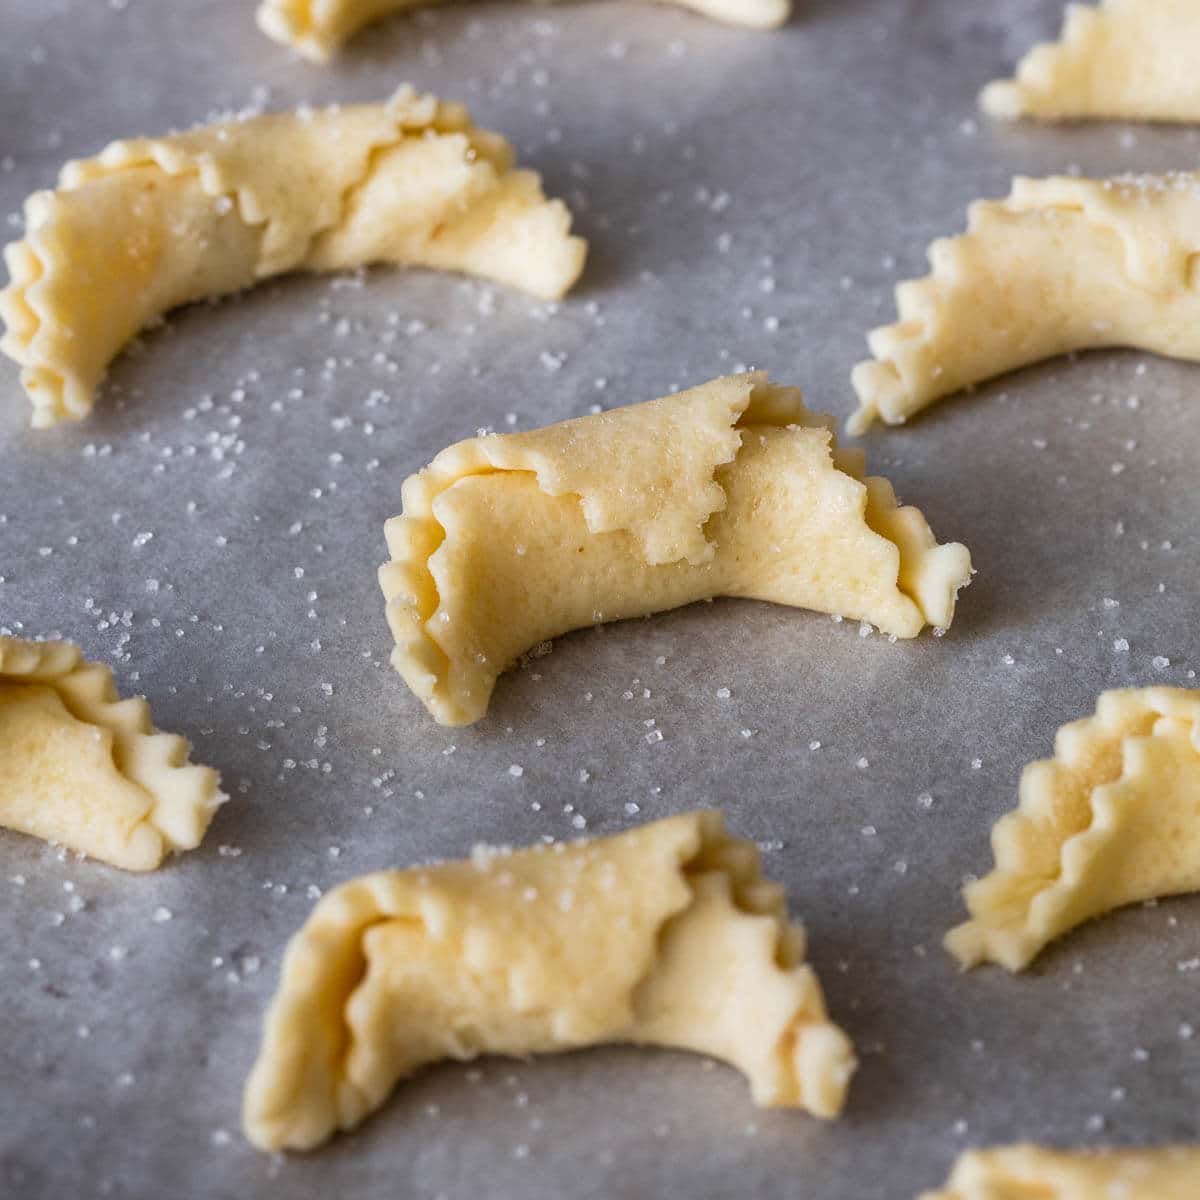
Step 10: Place a dollop of filling in one corner of each square. I used ½ teaspoon. Starting in the corner with the filling, roll the dough around the filling from corner to corner, gently pressing down as you roll. Grab the roll on both sides and pinch as you bend the roll to create a crescent shape. Move it to a parchment covered baking sheet, placing the Rolls no closer than 1” apart. You can offset them in a diagonal pattern to get more on a tray. Repeat with all remaining squares.

Step 11: Sprinkle the middles of the Rolls with just a touch of granulated sugar. Bake 12-14 minutes or until the bottom edges are a golden and you can smell them. They should puff up slightly in the middle. With experience you can see when the dough is cooked. Let cool slightly on the pan before moving them gently to a wire rack to cool completely.
Chef Lindsey’s Recipe Tip
Don’t chill the assembled cookies prior to baking them. This re-solidifies the butter in the dough and will cause them to puff too much. The extra puff will unroll the rolls!
This recipe is from June Meyer’s Authentic Hungarian Heirloom Recipes Cookbook with my technique tips.
Video Tutorial
Variations & Substitutions
Filling: These nut roll cookies are also delightful with apricot filling or a traditional poppyseed filling. Pecans can also be substituted for the walnuts.
Size: These can be made large or small depending on your preferences. They are very adorable when bite-sized but more challenging to work with.
How to store nut roll cookies:
Store baked, cooled cookies at room temperature layered between sheets of wax paper and then wrapped loosely in foil. I found that this will keep them as crisp as possible. You can also freeze them for up to three months.
The raw assembled cookies can also be frozen and then brought to room temperature prior to baking. I suggest freezing in a single layer then placing in a ziptop bag.
Freeze the dough packets and filling separately for later assembly.
Frequently Asked Questions
I do not suggest baking them from frozen or even refrigerated. This resolidifies the butter in the dough and will cause them to puff too much. The extra puff will unroll the rolls!
You can absolutely make as a large a batch as your mixer can handle. For larger batches, I do suggest making the dough in a stand mixer.
I do suggest chilling and re-rolling the scraps. They will shrink a little more than the first batch; however, the additional sugar in the dough from the first rolling makes them even more delicious!
Nut Roll Cookies (Walnut Filling)
Ingredients
For the Pastry:
- 2 ¼ cups all purpose flour
- ½ tsp kosher salt
- 8 oz cream cheese room temperature
- 1 cup unsalted butter softened
- ½ cup granulated sugar for rolling
For the Walnut Filling:
- ½ pound walnuts finely ground
- 1 cup granulated sugar
- ½ cup whole milk boiled
- 2 tbsp unsalted butter melted
Instructions
To make the Walnut Filling:
- Mix filling in a medium bowl using only ¼ cup of the boiled milk. The mixture should be thick.
- If the filling is not spreadable, use the rest of the milk. I used all of it. It will thicken as it sits.
- Note: You can make the filling ahead of time and freeze it until you are ready to use it. Just thaw at room temperature when you are ready to use.
For the Pastry Dough:
- Sift flour and salt together in a medium bowl and set aside.
- Beat the cream cheese and butter together with a stand mixer or a hand mixer until completely incorporated and creamy (3-5 minutes).
- Reduce the speed of the mixer and slowly add in the flour. I used 5 additions and completely mixed in the flour each time. The dough will be soft but not sticky.
- Divide the dough into 4 equal parts and flatten each to ¾” thick. Wrap in plastic wrap and refrigerate until hard, at least 2 hours.
Assembling the Walnut Rolls:
- Pre-heat the oven to 375F. Move the oven rack one setting higher than the center.
- Dust each side of the dough with flour. Generously coat a flat surface (countertop, marble board, etc.) with granulated sugar. Plop the dough on top and press gently to push some crystals into the dough. The sugar will keep your dough elevated off the rolling surface enough to keep it from sticking. Lightly coat the rolling pin with flour throughout the process, using as little as possible.
- With a pastry wheel or sharp knife, trim the dough into a square and then cut the square into 16 smaller squares. My dough never rolled out into a perfect circle so I would just cut as many 1 1/2 “ squares a possible, saving the scraps for later.
- Place a dollop of filling in one corner of each square. I used ½ teaspoon.
- Starting in the corner with the filling, roll the dough around the filling from corner to corner, gently pressing down as you roll. Grab the roll on both sides and pinch as you bend the roll to create a crescent shape. Gently move it to a parchment covered baking sheet, placing the Rolls no closer than 1” apart.
- Repeat with all remaining squares.
- Sprinkle the middles of the Rolls with just a touch of granulated sugar.
- Bake 12-14 minutes or until the bottom edges are a golden and you can smell them. They should puff up slightly in the middle. With experience you can see when the dough is cooked. Let cool slightly on the pan on a wire rack and then move them gently to a wire rack to cool completely.
- Repeat with all remaining dough. Refrigerate and re-roll your scraps. Amazing.
- For a more traditional cookie, you can omit the granulated sugar and dust the final, cooled cookie with powdered sugar. I will warn you that it won’t be as divine.
Video
Notes
Nutrition
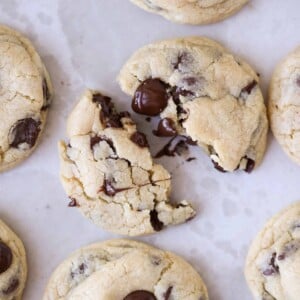
Before you go!
Check out our other delicious, chef-developed cookie recipes!


This recipe is absolutely exceptional!! Rolling out dough in sugar is totally worth the extra mess and difficulty. That crisp, caramelized bottom really is everything you said and more. I am going to make these every year without fail, and my ancestors will undoubtedly speak of these cookies in hushed, reverent tones. They’re that good. Thank you so much for sharing!
Your comment totally made my day, Nikki! And it seriously cracked me up! I hope my ancestors will speak about these cookies in hushed, reverent tones! Thanks for trying them and stopping back to let me know!
Your ancestors will not! Your descendants might tho. 🙂
I roll mine in confection sugar. Get very good.
My mother fixed these for me every christmas…when she died a year ago so did the receipt…now i can pass it on thanks to you..
Such a lovely memory, Jim! Thank you so much for sharing! I hope you enjoy these cookies as much as we have.
Oh my gosh! I remember these as a little girl, helping my mom bake them.she’s gone now but these are wonderful memories.god bless.
Your comment made me smile! Have a blessed holiday! My husband and his brother also have very fond memories around these walnut rolls, so these and the apricot kolaches have a special place in our household! I hope you give them a try!
Do these freeze well after they are made?
I have never tried to freeze them whole. I have frozen the filling and used it months later to make more, which worked very well! I do think they would freeze well. My great-grandmothers pecan tassies, that have a similar crust, freeze perfectly stacked with wax paper or parchment in between in a ziplock freezer bag or sealed container.
they do freeze very well. Freeze them plain on top, sprinkle with the sugar when ready to bake
[…] maybe one bite of each dish and a cookie or three. Fair […]
i love traditional cookies. these look amazing!
Thanks, dina!
I would like to make these tomorrow….why the boiled milk and how long to boil?? Thanks
Hi leanne, Lots of old recipes call for boiled milk but now it isn’t important because our milk is pasteurized; however, in this recipe you do still want it to be hot. If memory serves, I heated mine up in the microwave. You don’t need to boil it down or boil it for any length of time – it’s just a gauge of temperature. If it isn’t hot enough the ingredients won’t incorporate. Hope that helps!
What is the name of your china pattern? It’s the pattern I picked out in 1985 but ended up registering for another. I can’t remember the name!
I’m not sure, Kim! I got a few pieces at an estate sale 8 years ago! It is Vignaud Limoges, but as for the particular pattern, I’ve never been able to find it!
My mom did hers totally different. She just had the walnuts, sugar, and egg whites. That’s all she did, nothing about boiled milk.
Hi, Liz! I am sure there are many variations out there. I’ll have to give your mom’s a try! Sounds delicious!
U really only need to get the milk warm because it makes mixing the nut filling ingredients a little easier to mix well. The Walnuts absorb the milk as they sit. I usually make my nut filling night before the then in morning bring back out frig till almost room temp.
awwwww they make me miss Christmas!
I know, right!
These are beautiful – a work of art!
Thanks, Phillip! You’re too sweet!
I love to read over the recipes also do some of them,but why do we have to scroll down six or more pictures of the same products, one picture and directions. should be fine.. Just wondering.. Thank you.
Hi Nancy, because that’s how this blog is. It’s my little piece of the internet and I like it that way 🙂 Happy baking! I hope you do try the recipes.
You tell em Nancy
So many names for similar recipes! The sous chef at my last restaurant made rugelach but his had chocolate! sooooo delicious! Happy holidays, Rae.
375 is good 🙂 I am so happy to hear this recipe will because part of your family favorites! Happy baking!
Hi Cindy! That seems to be a common problem. Some of mine definitely popped open too. I bet if we “cheated” and used a bit of eggwash to seal them shut they wouldn’t pop open. Happy baking!
Here is a trick to seal them. After you cut your squares and fill them, lightly fold over one side (I do all at one time). Then using a small artist paint brush lightly brush the folded tip, then fold the next side on top of it and very gently pinch the very tip of the top layer into the lower dough. I wet about 2-3 at a time. Works great.
That is an excellent tip, Erin! Thank you so much for commenting! Happy baking!
Absolutely!!!!!
Hi Deborah! What a wonderful comment filled with memories and also a recipe that I MUST try!!! It is so heartwarming to hear that you are passing along that tradition with your granddaughter! I plan to do the same when I have the opportunity. Love from my family to yours. Have a wonderful holiday!
Hi Nancy, Some of my filling definitely ran out as you can see in the photos. I did let mine sit overnight in the fridge so it might have just thickened more than yours. The second time I made them I used the filling from the freezer and those didn’t spill out at all. Happy baking!
Hi Janet! Hmmm I don’t see why not. That sounds delicious! I am not sure how long to bake them…I follow the 7 minute rule. Set the timer for 7 minutes and go from there. They will be puffed and matte when they are done. Just knowing the dough, you’ll be able to pick them up and check the bottom which should be golden brown when they are done. Hope that helps! Happy baking! Don’t forget to stop back and let me know how it goes!
I wondered that also Nancy. Why so many duplicate pictures.
I am looking forward to making these cookies. Years ago I use to make something like these. We also used a ravioli cutter to cut them. It was a perfect square and had the pretty edges. Thank you for this recipe.
Thats a great idea!
I’ve tried these for first time
I could hardly get the dough 1/2 rolled before it got way too soft. Does that mean I needed more flour? I followed ingredients to the tea
Thanks
I’m not sure about the more flour as I haven’t tried this recipe yet, but based on other experiences you could try chilling the dough longer, split it up into batches prior to chilling so that you have smaller quantities to roll out (i.e. shorter rolling time, less time to soften), or you could try rolling it out on parchment or a silpat. If you notice it getting too soft mid roll, put the whole shebang back in the fridge. And if it gets soft on the parchment, etc. Dough can release easier from parchment, etc. as well. If you can somehow roll it out on a chilled surface, that’s good too. Make your environment cooler too. And, this one might be obvious, work more quickly. Unfortunately I have a wooden counter. The warmth is good for bread, but terrible for pastry. I feel your pain.
I am about to try these, middle in the middle of the summer while my dad put a ban on using the air conditioning. But it’s his birthday, and he likes these, so….Wish me luck lol, might have to use my own tips. Obvously, you can do all tips at once, but you don’t have to. Use what you think will work best for you. On SUPER hot days, I even put my pie crust in the freezer for a bit to get things extremely chilled down. Not to the point it’s frozen, just VERY cold.
Hope these help, good luck!
Good luck in the heat and happy baking!
Does the 1/2 pound of ground walnuts equal to 2 cups after grinding? Thank you
That’s such a good question – I was wondering same thing! Did you ever get an answer?
3.3 cups equals one pound
Right off the bat, I do not like walnuts in pounds, I LIKE cups!
my fathers mother came from hungry,when I was6 yrs old I used to watch her make those cookies,she taught my mother how to make,also my mother taught me to make them,as I used to help make them,grandma ,had a glack coal stove,in the 40
ies,when I was 45 yrs old I made them for my motherthat would be in the mid 70 years always loved them,gene ej2TWCNY.RR.COM ALSOloved nut kolach and poppseed rolls