This post may contain affiliate links. Please read our disclosure policy.
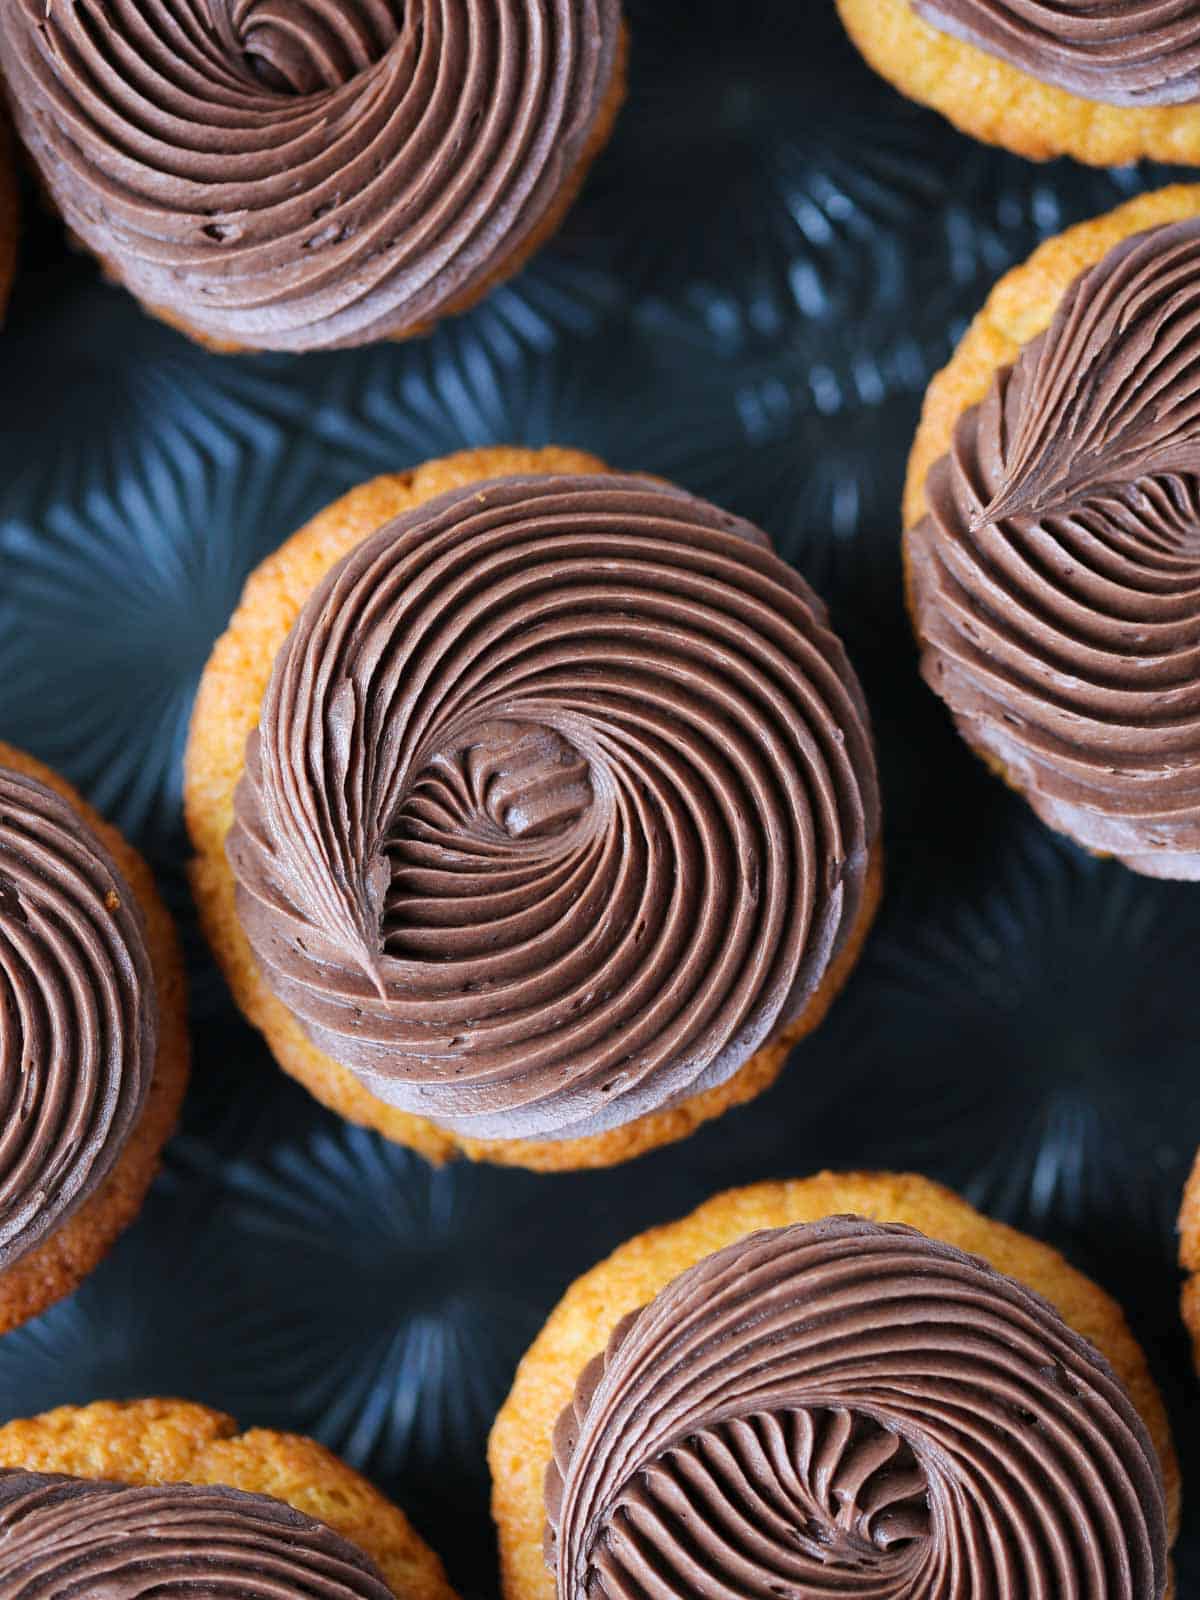
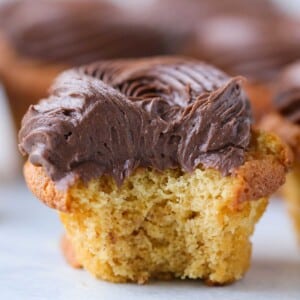
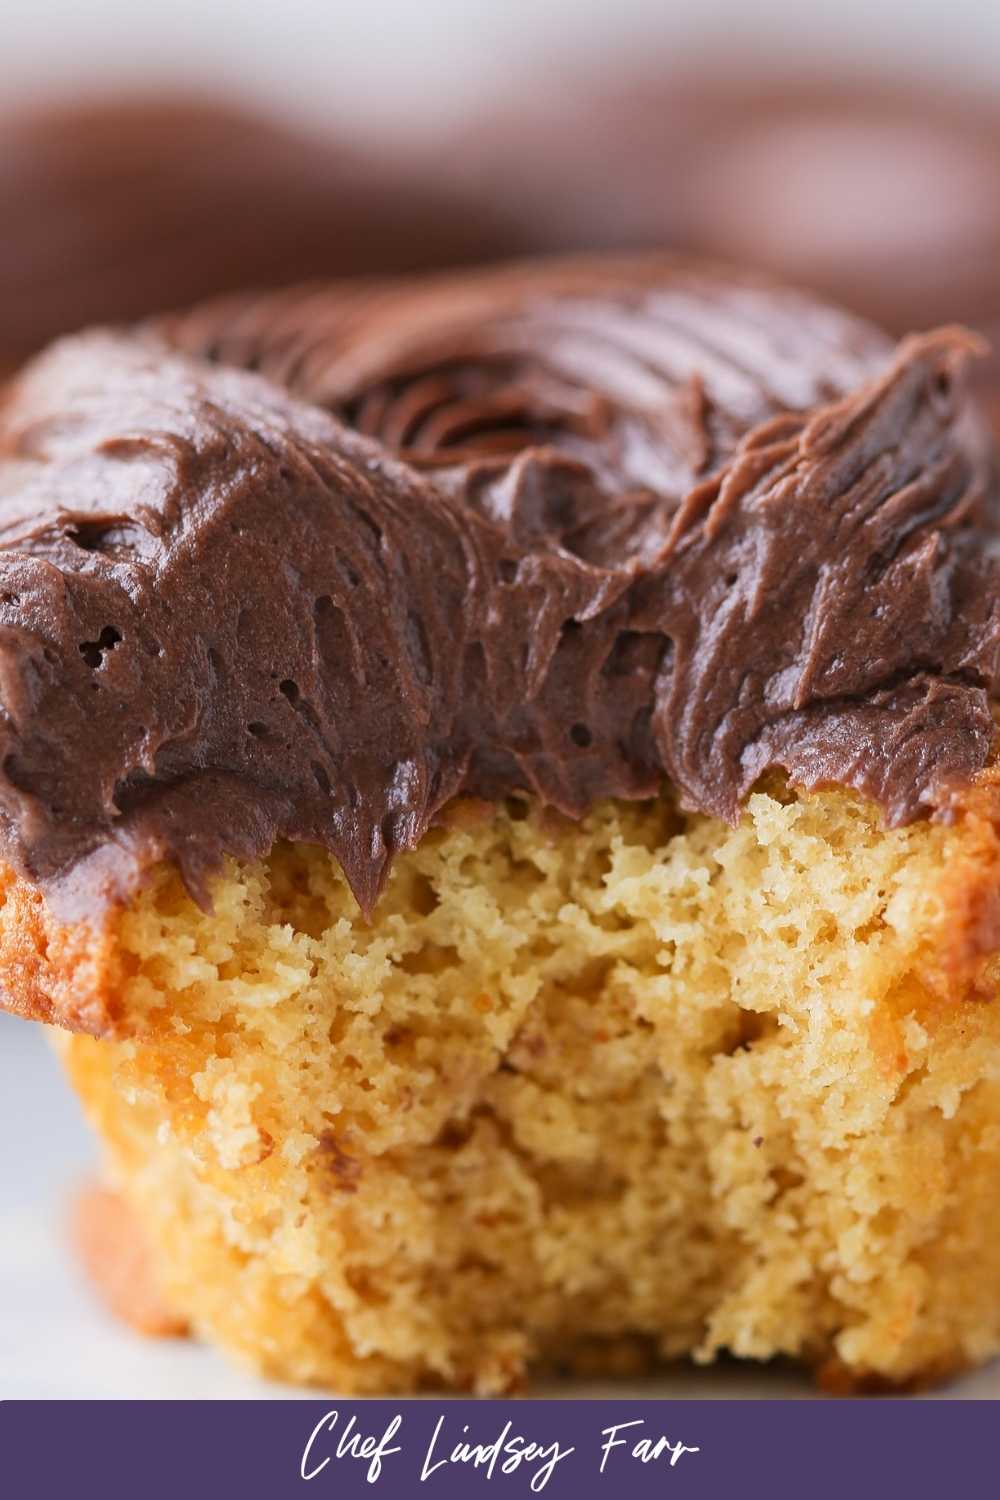
These Chocolate Caramel Cupcakes have a tender caramel cake topped with a silky smooth chocolate buttercream frosting! Fill them with more caramel sauce for a decadent treat!
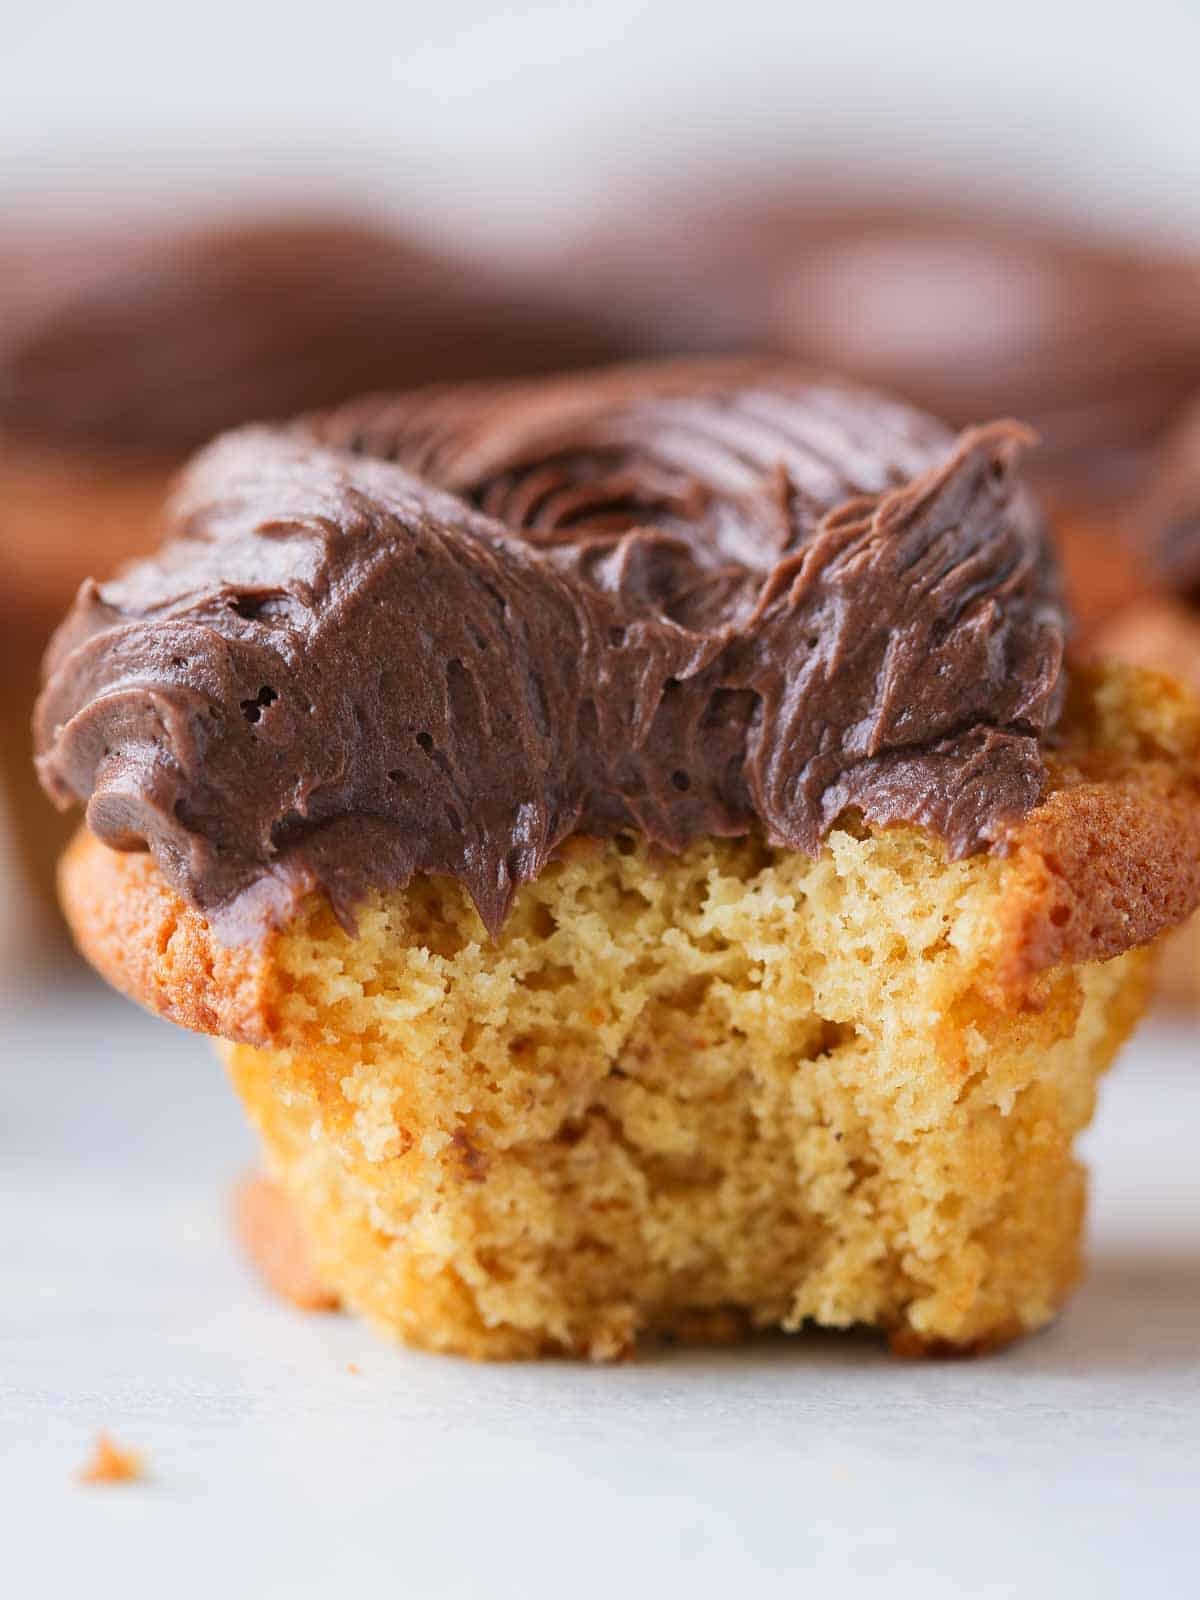
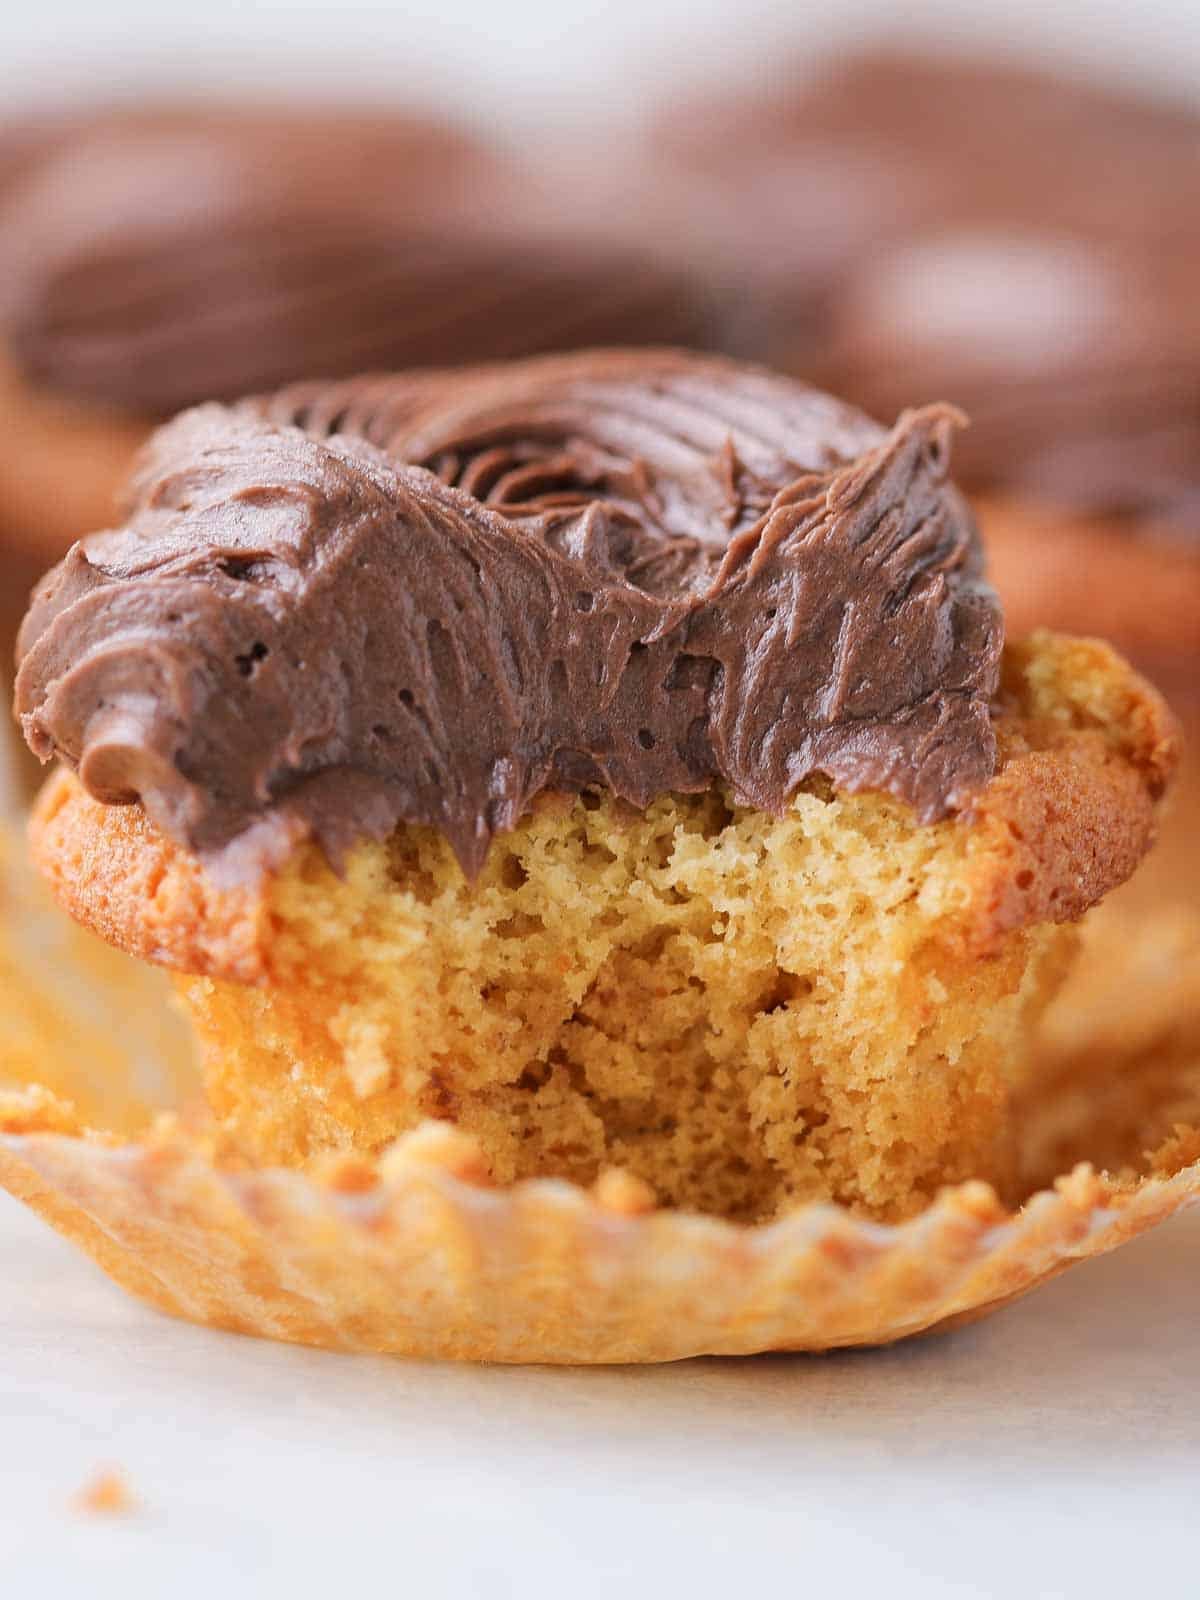
Most chocolate caramel cupcakes are simply vanilla cupcakes filled with caramel sauce. This seemed like a gross injustice to me, so I set to making a cake that was flavored with actual salted caramel sauce. This cake is tender, moist and tastes just like salted caramel.
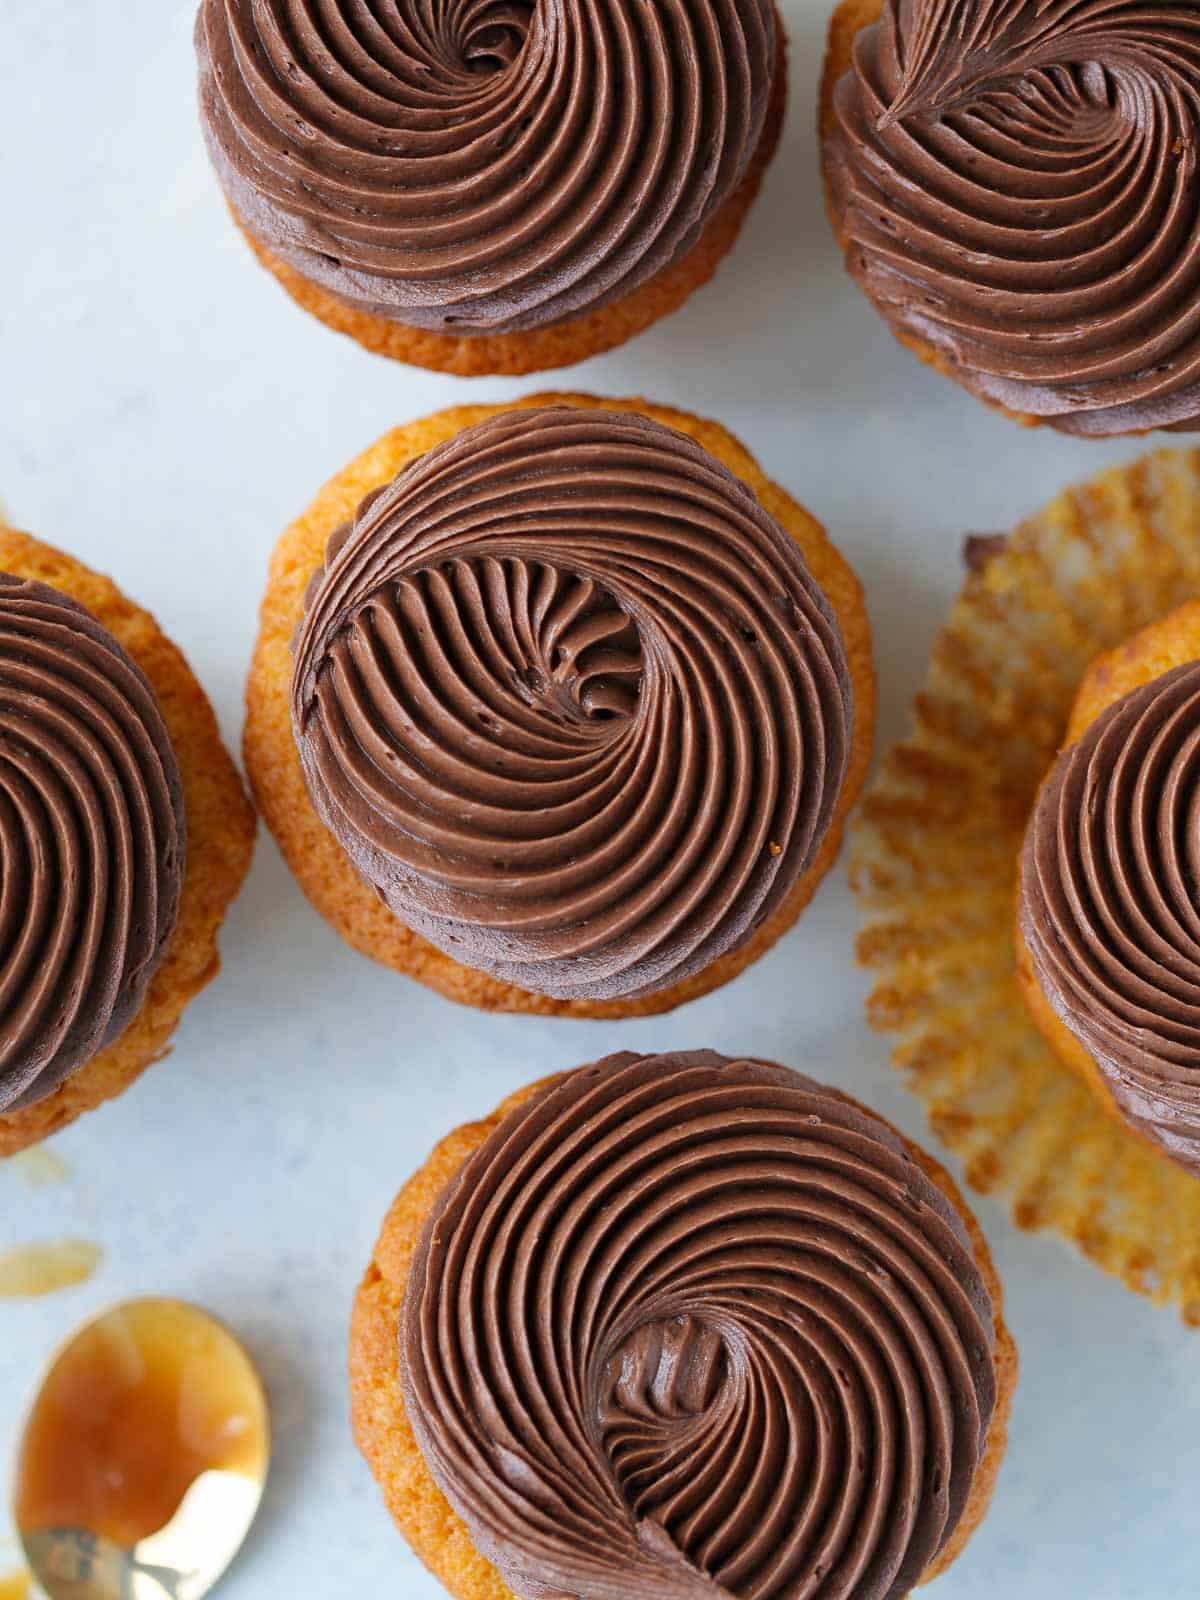
The cake is light and fluffy and the easy chocolate buttercream is just the right amount of sweet; however, you could top this with my Caramel Swiss Meringue Buttercream or the caramel frosting from my caramel apple cupcakes. You could also top them with this easy caramel puff corn recipe for crunch or a vanilla Swiss meringue buttercream!
I used my favorite Salted Caramel Sauce recipe in these and my St. Patrick’s Day cupcakes, but you could also use any thick store-bought caramel sauce.
Why not play with some adornments, like toasted pecans on top like my German chocolate cupcakes and my german chocolate cake? You know that’s a tried and true flavor combination from my chocolate pecan pie recipe. With these cupcakes, you really can’t go wrong!
If you tried this recipe and loved it please leave a 🌟 star rating and let me know how it goes in the comments below. I love hearing from you; your comments make my day!

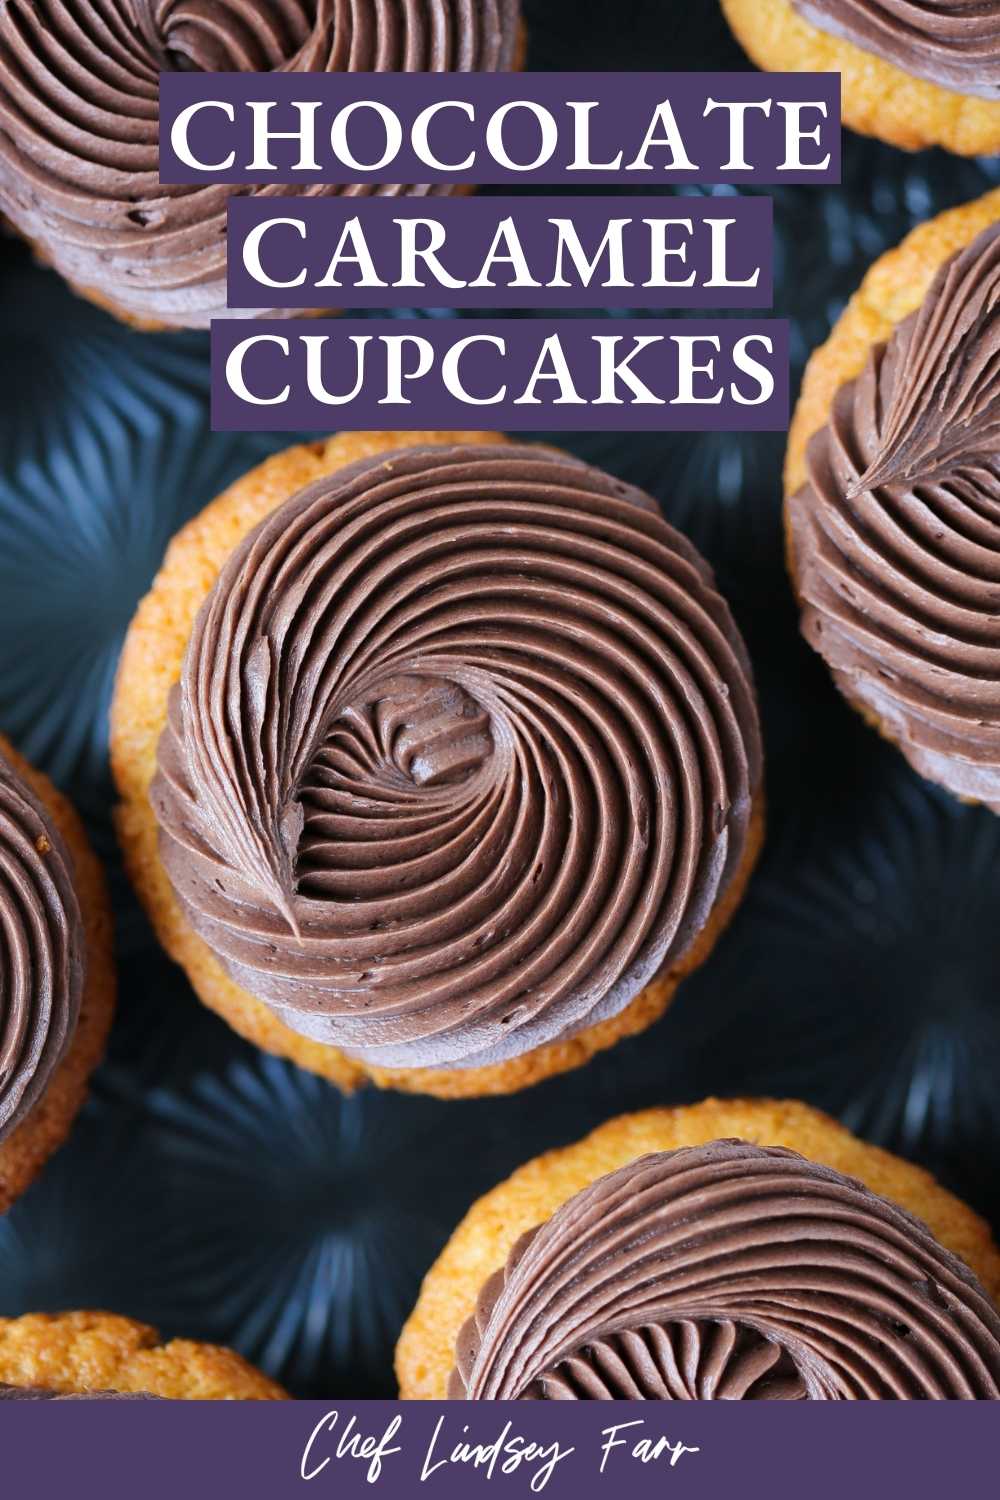
Chocolate Caramel Cupcakes
Ingredients
- 85 g Butter
- 173 g Sugar
- 75 g Eggs
- 1 teaspoon Vanilla
- 98 g Milk
- 150 g Cake flour
- ¾ teaspoon Baking Powder
- ¼ teaspoon Baking soda
- ¼ teaspoon Kosher Salt
- 100 g Caramel Sauce ⅓ cup
- Easy Chocolate Buttercream
Homemade Recipes to Next Level Your Cupcakes:
Instructions
- Preheat oven to 325°F convection.
- Line standard muffin tins with cupcake liners.
- Sift together cake flour, baking soda, salt and baking powder. Set aside.
- In the bowl of a stand mixer fitted with the paddle attachment, beat butter and sugar until light and fluffy. Beat in the eggs one at a time followed by vanilla extract, scraping down the sides of the bowl after every two eggs or so.
- Add the caramel sauce.
- Switch the mixer to low and then alternately add the flour mixture and milk. I don’t wait until all the flour has incorporated until I add the next batch. I just keep adding with two hands. Pro-style.
- Scoop or pour into prepared muffin cups. Make sure they are no more than ¾ full or they will overflow.
- Bake in preheated oven until a cake tester comes out with a few clinging crumbs. This will take about 10-12 minutes depending on your oven
- Cool about 5 minutes in the tins then turn them out onto a rack. Allow to cool completely.
- Transfer some of the salted caramel to a piping bag and inject some of the caramel into the center. You can also cut out a small piece and the fill it completely but that always seems unnecessary to me these days.
- Frost with your favorite buttercream! I used my easy chocolate buttercream.
Video
Notes
Nutrition
Before You Go
I hope you enjoyed this professional chef tested recipe. Check out our other delicious, chef-developed cupcake recipes! Or go in a chocolate direction with my thick chocolate chip cookies or vanilla with vanilla cupcakes!


Good morning!
I have been perusing your recipes for a couple of days. They al look/sound amazing And I want to make these cupcakes for my nephew (adult); who would love, love, love these Chocolate Caramel Cupcakes. I do have a question, please. I may have missed this; or maybe should know???
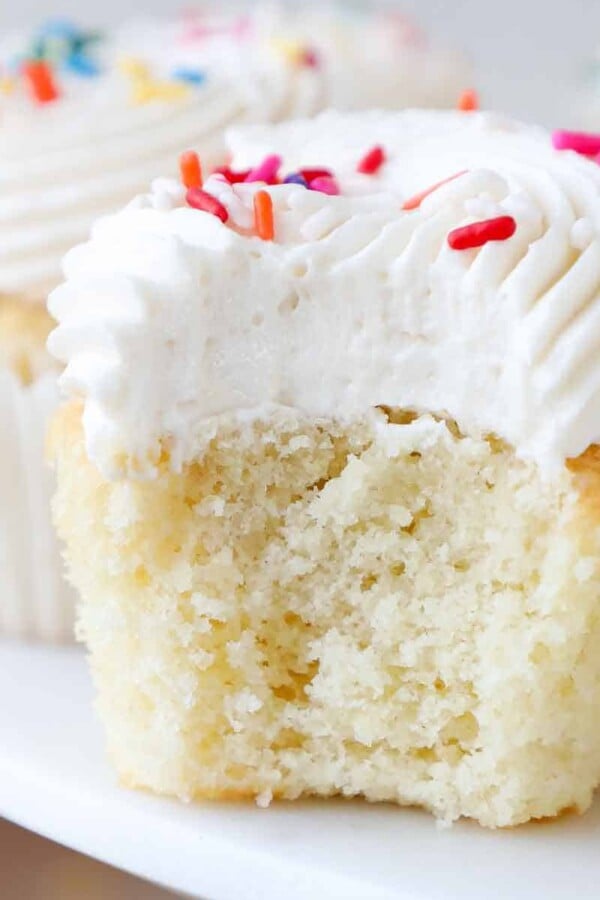
The swirled icing is beautiful; but I am wondering if you applied it with a swirl-tip? And if so, which tip. And if not, how did you decorate/frost it so attractively? I want to go ahead and get the ingredients and buy the right frosting tip, etc., so that can make them for him this weekend. Thanks. I will be drooling and planning to make your other recipes for those I love. Thanks so much!
Hi Pat! Thank you for all your kind words! I used a French Star tip (Ateco 869) to pipe the frosting on these cupcakes. You can see me make these cupcakes in the Youtube video. For some reason it wasn’t embedded in the post, so I updated that. You can also see it here ~Happy Baking!