This post may contain affiliate links. Please read our disclosure policy.
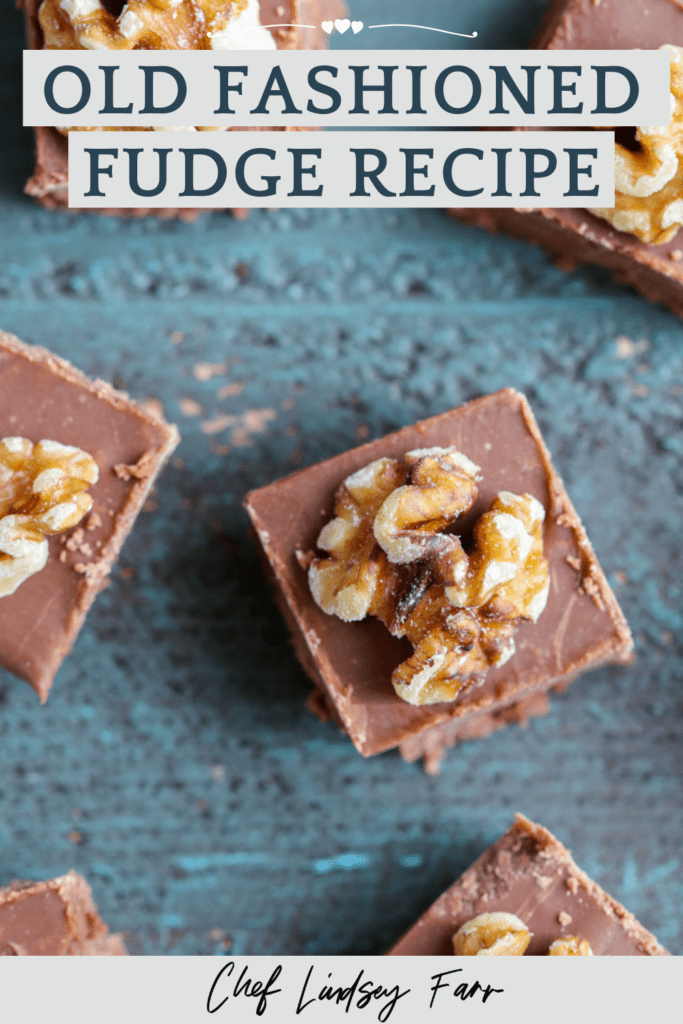
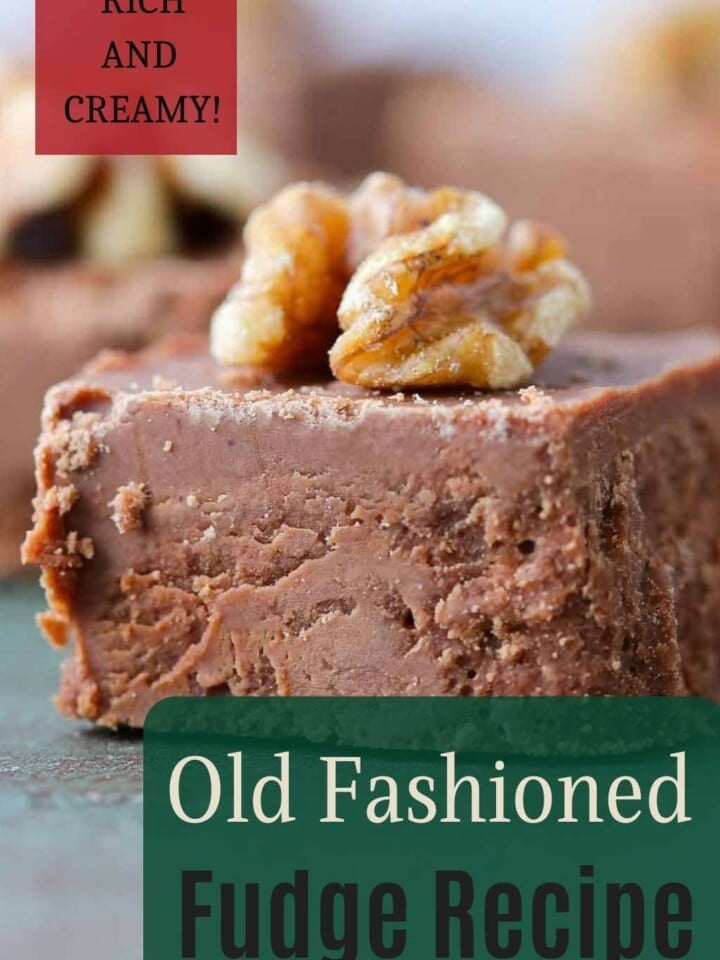
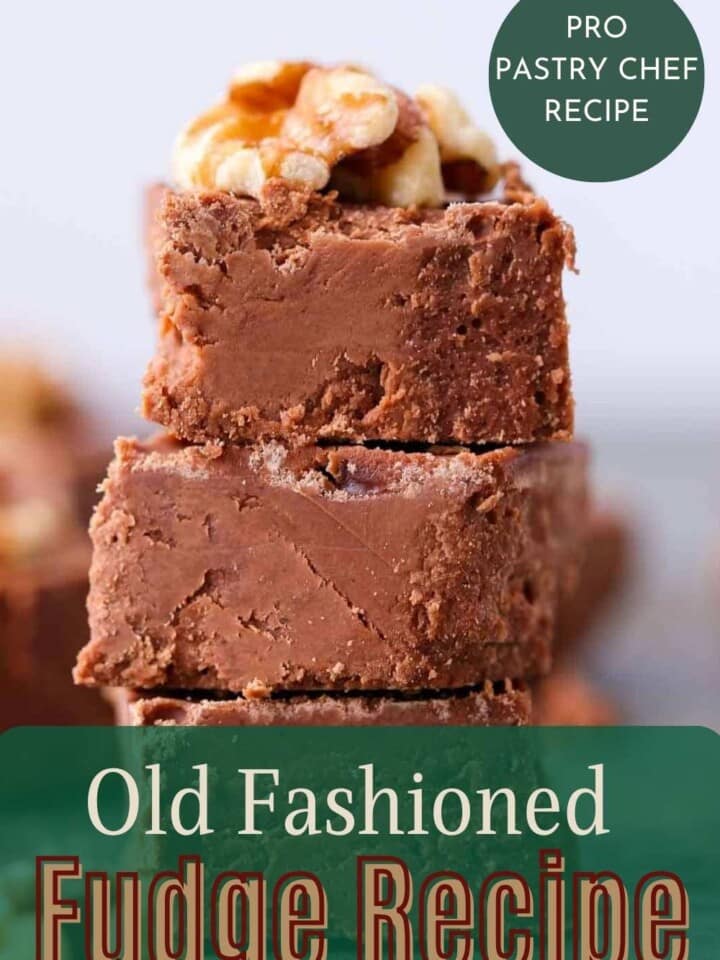
This Old Fashioned Chocolate Fudge Recipe is a chewy, creamy, rich chocolate fudge made with unsweetened chocolate. Detailed instructions with photos and tons of tips guarantee the perfect fudge every time!
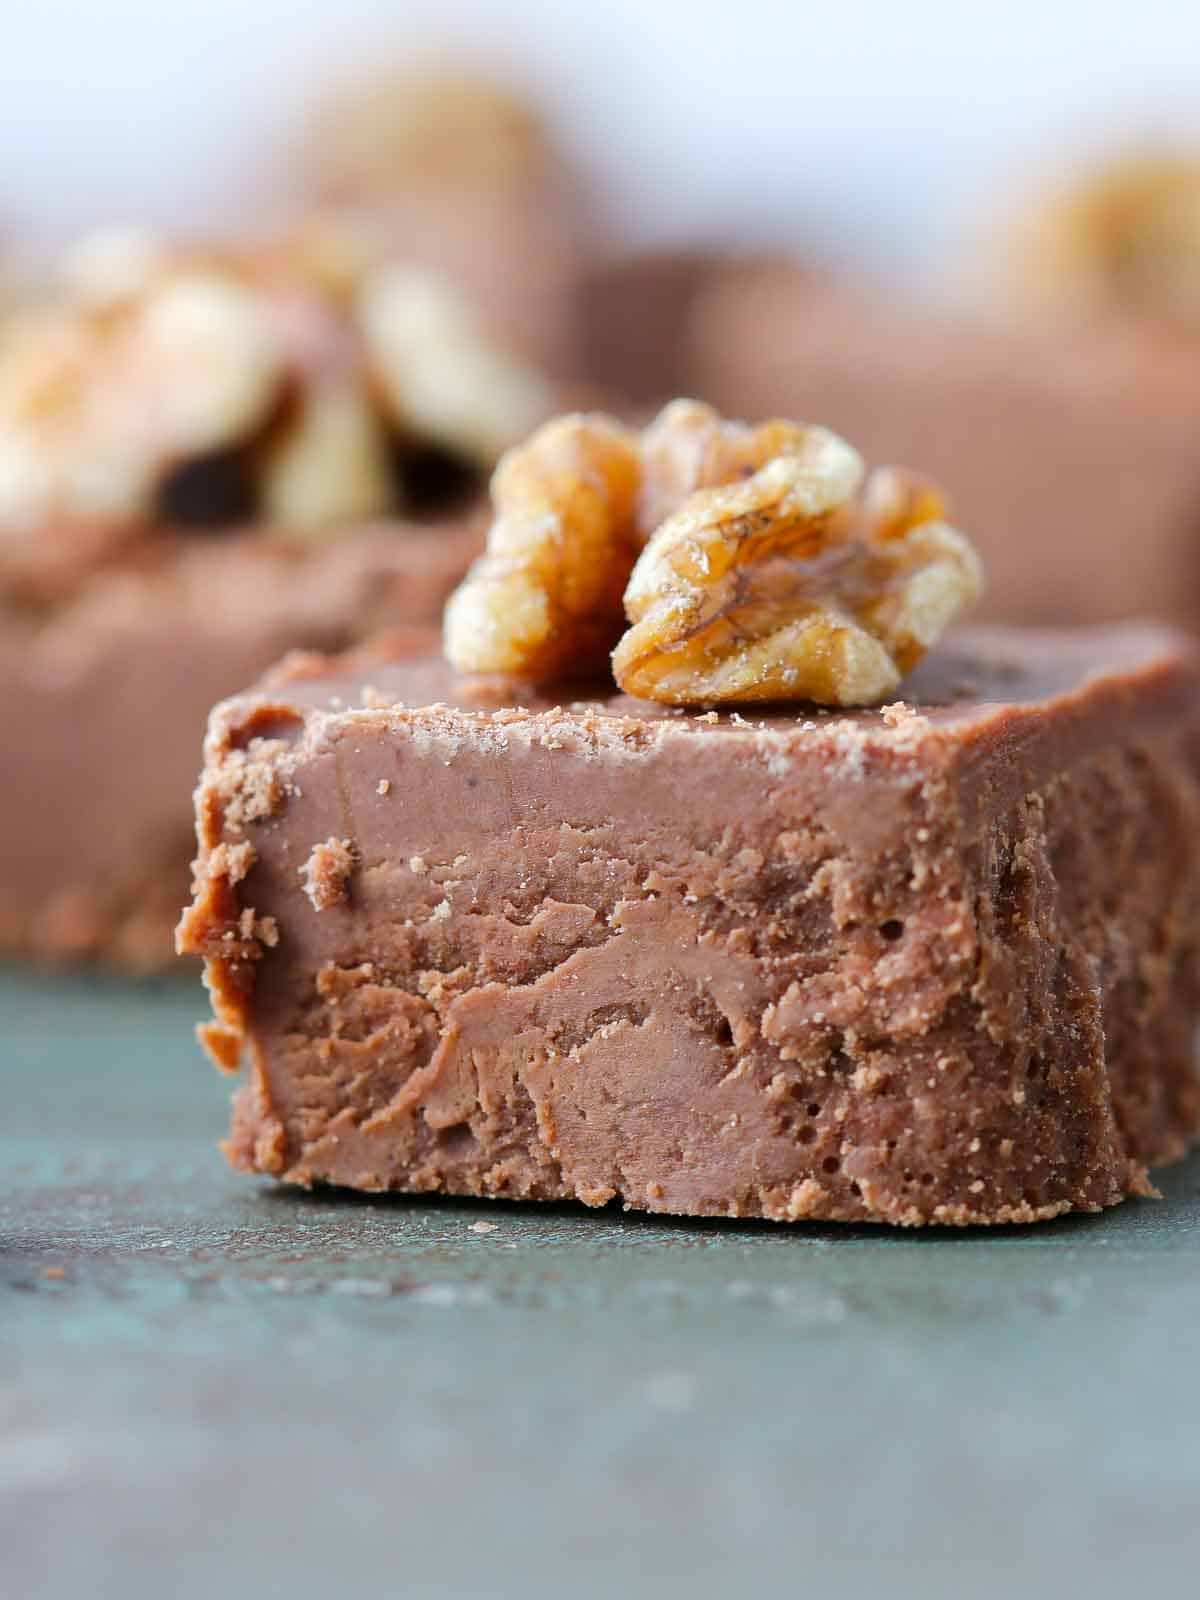
This chocolate fudge recipe has a chewy texture and a rich chocolate flavor from unsweetened chocolate not cocoa powder. I have been trying to make my grandmother’s fudge recipe for over a decade to limited success. She obviously didn’t need instructions where as I needed a full team of grandmothers to hold my hand. Some attempts didn’t set, some became crystallized rocks. None vaguely resembled fudge.
The problem with 96% of fudge recipes is that they are too general. I am not exaggerating when I say that I read every single recipe in my extensive vintage and modern cookbook collection, and I dove deep into the web looking for fudge illumination.
The winning instructions come from Better Homes & Gardens Cookies and Candies 1966 Cookbook. There may not be many recipe photos in the book, but I appreciate that the authors took an entire page to provide step by step photos of making fudge. They knew what was up. God bless. Now you and I can both serve this old fashioned fudge along with other family favorites like pecan praline, homemade toffee and bourbon chocolate truffles.
Table of Contents
- Why You Will Love this Chocolate Fudge Recipe
- Professional Tips for Making Old Fashioned Fudge
- Ingredients Needed
- Variations & Substitutions
- Why did my chocolate fudge crystalize?
- How to Make Old Fashioned Chocolate Fudge
- Chef Lindsey’s Recipe Tip
- Frequently Asked Questions
- Old Fashioned Chocolate Fudge Recipe
- Before You Go
Why You Will Love this Chocolate Fudge Recipe
- Rich chocolate flavor. Most recipes call for cocoa powder, but true old fashioned fudge is made with chocolate. It gives it a richer flavor and a slightly chewier texture.
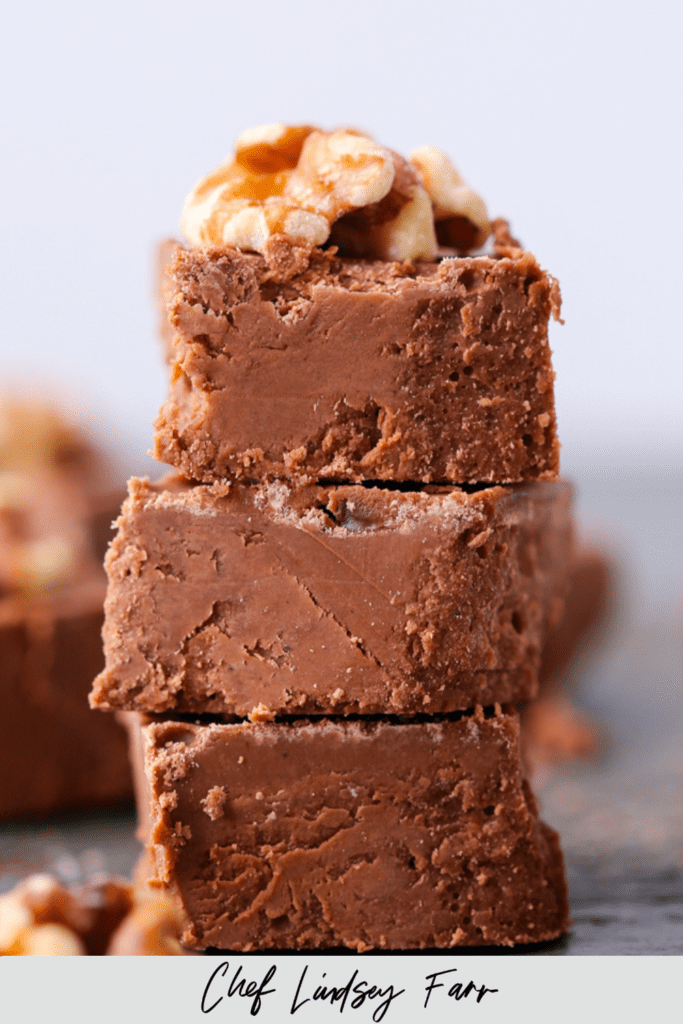
- Chewy fudge texture. This is not a soft fudge recipe. This is an old fashioned stirred fudge candy that is silky smooth and has that characteristic chewy texture.
- An old fashioned recipe with modern tips. This recipe is from Better Homes & Gardens Cookies and Candies 1966 Cookbook, but I have included all my professional tips for success in addition to all of their tips!
Professional Tips for Making Old Fashioned Fudge
- Don’t wing it. There are recipes where method doesn’t really matter or there are several means to the same end, but fudge does not fall into that category. Read the recipe twice, have all your ingredients ready and have the photos up while you are making it for reference.
- Enlist the help of a friend. Beating this fudge by hand with a wooden spoon is no small task and will tire out the strongest arm. Phone a friend, crank the tunes and have fun. That is my professional opinion!
- Take into account the weather. Making fudge on a humid day will keep the fudge from setting or it will set soft. Previously perfect fudge can also soften if stored in a humid environment (like the refrigerator!)
- Professional tips with the step-by-step instructions. I include more tips along with photos in the step by step instructions below so that you can follow along as you make your candy.
Ingredients Needed
- Sugar: Granulated sugar is the key to candies like fudge. I like to use extra-fine granulated sugar to ensure an even melting or dissolving. They are also less likely to crystallize. But any granulated sugar will do! So don’t stress.
- Milk: I use whole milk for candy making because the extra fat helps keep the sugar from crystalizing. It also adds a richness to the final flavor and texture. The higher fat also means less moisture, so using low fat milk will change the hydration of the fudge and it might not set.
- Unsweetened Chocolate: Using unsweetened chocolate such as Baker’s unsweetened chocolate allows you to control the sugar in the recipe. It also has more cocoa solids (100%) than semi-sweet, which adds fat and contributes to the texture and flavor.
- Kosher Salt: Kosher salt is less salty than table salt and a teaspoon weighs less than other finer ground varieties. It heightens the flavor here and will keep your fudge from tasting dull or flat.
- Light Corn Syrup: The corn syrup is here to stabilize the sugar syrup. You can substitute the light corn syrup with glucose, or omit it completely. If you omit the corn syrup, you run a greater risk of the fudge crystalizing or having a slightly grainy texture when cooled.
- Unsalted Butter: In candy making, the butter adds a smooth, richness to fudge, pralines, toffee and brittles. The added fat can keep the fudge from crystallizing.
- Vanilla Extract
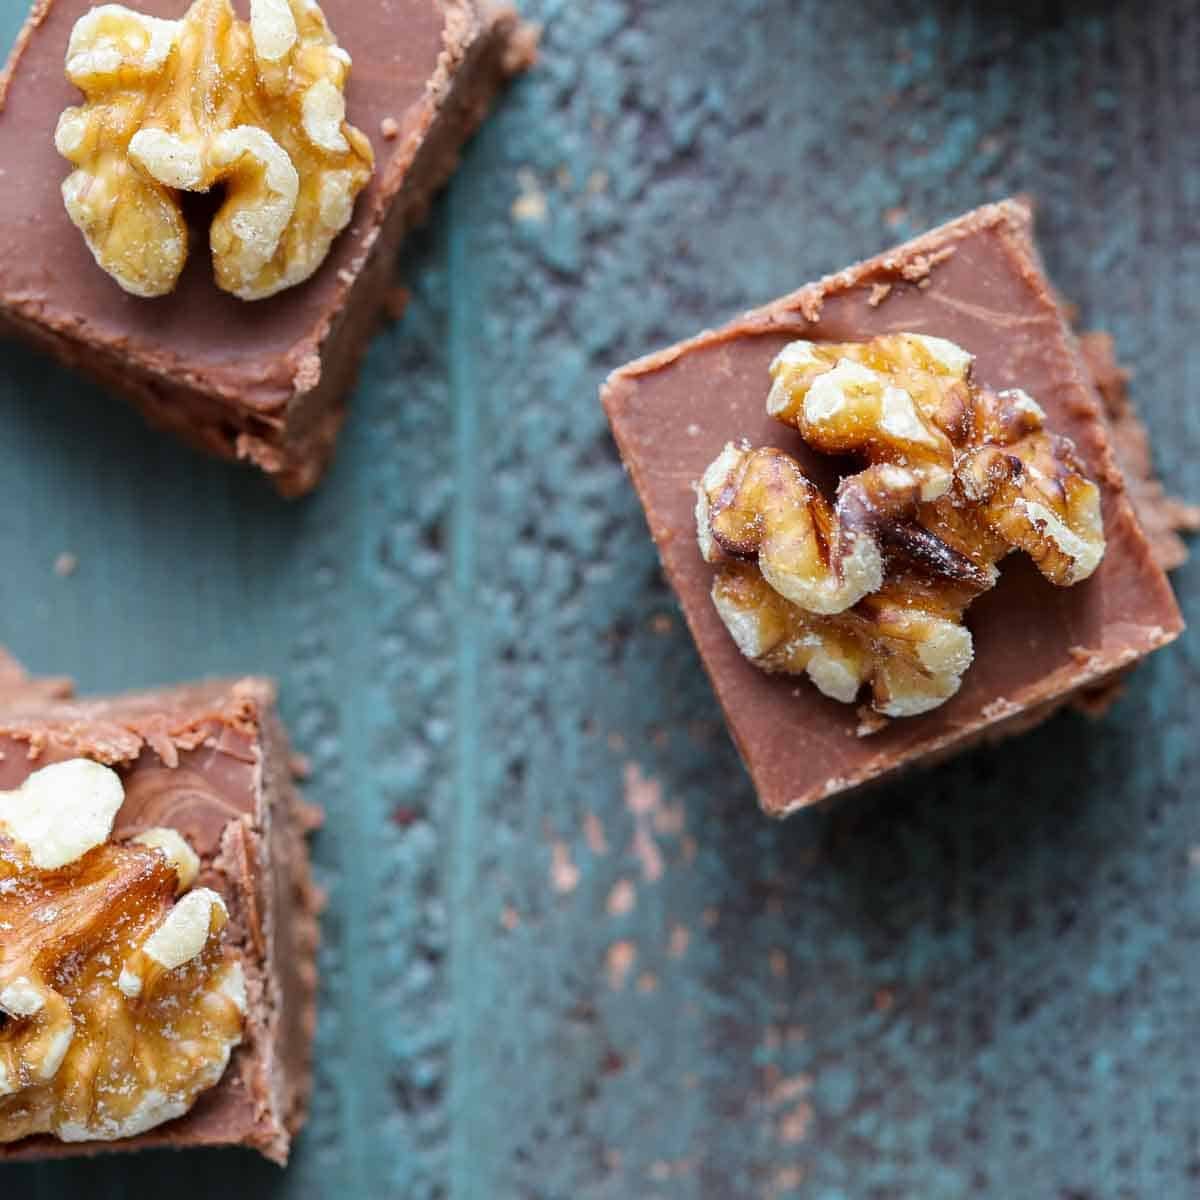
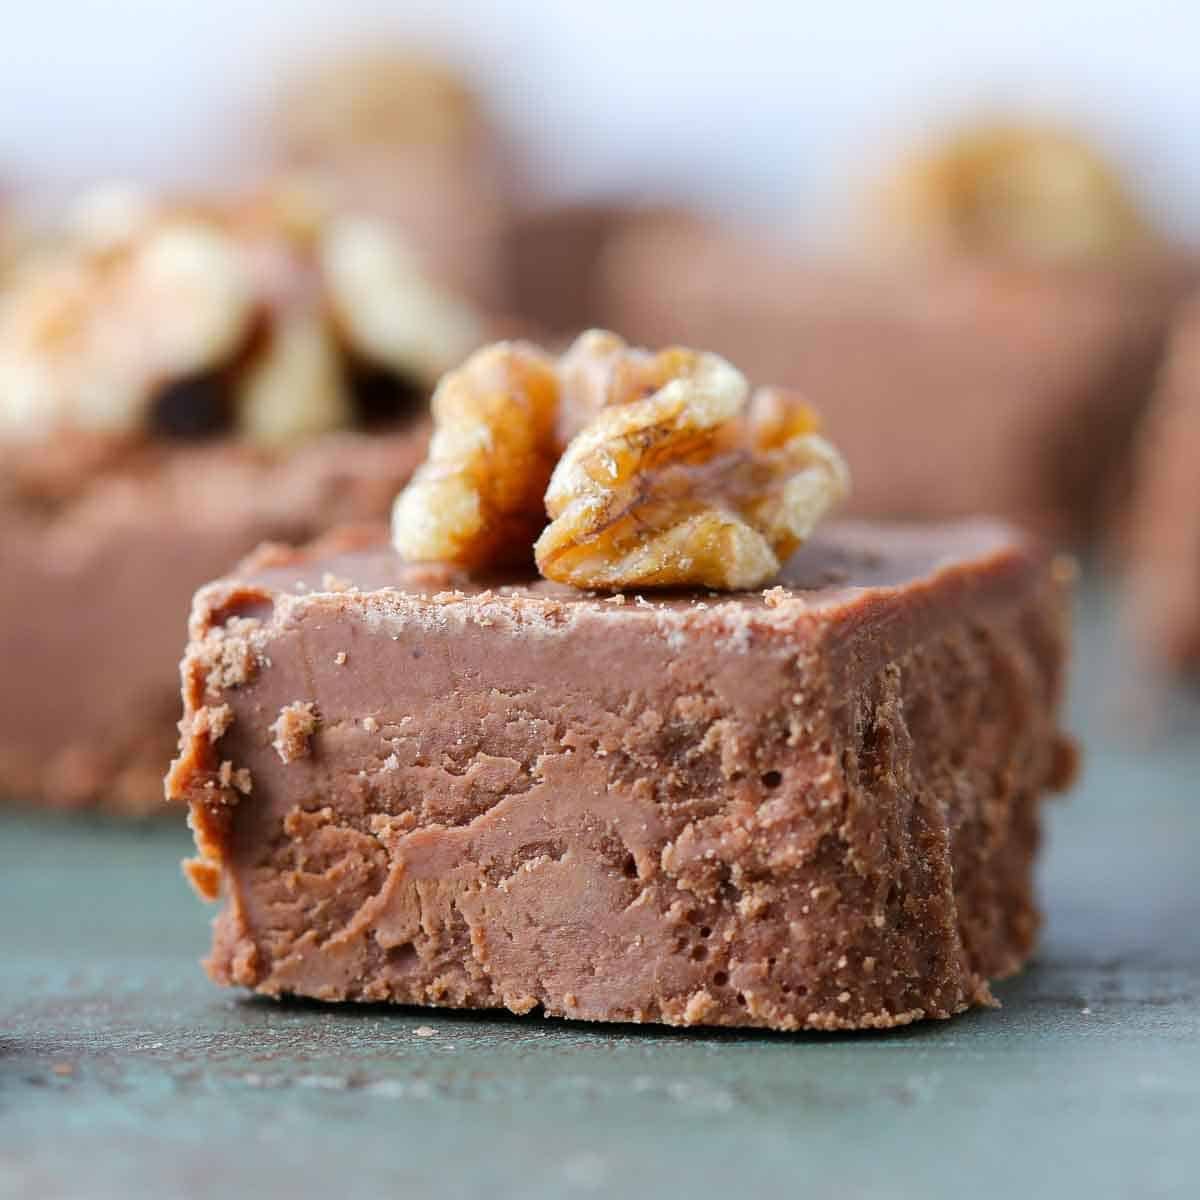
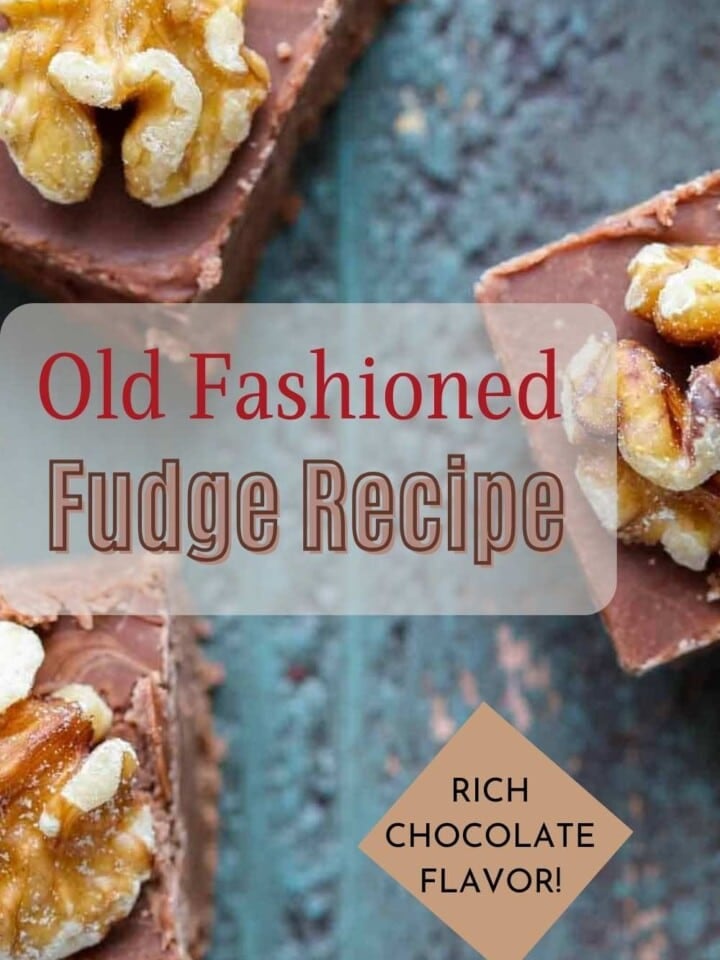
- Walnuts: You can chop the walnuts and mix them in or you can press one perfect half into each piece of fudge before it sets for a pretty top.
See the recipe card for full information on ingredients and quantities.
Variations & Substitutions
- Substitutions: I do not recommend any substitutions. Making fudge is simple but also precise. Each ingredient has a purpose and fulfills multiple functions. Feel free to experiment but with the understanding that it might not turn out as hoped. If you’d like a tiny bit more flexibility, head over to my Chocolate Fudge Cake!
- Stir in nuts: Add some crunch with toasted nuts! Chop or break your favorite nuts into large pieces and stir in. You know from my nutella truffles recipe that a nice hazelnut-chocolate combo is divine!
- Try a different extract: Instead of the vanilla extract try a little peppermint extract or coffee extract.
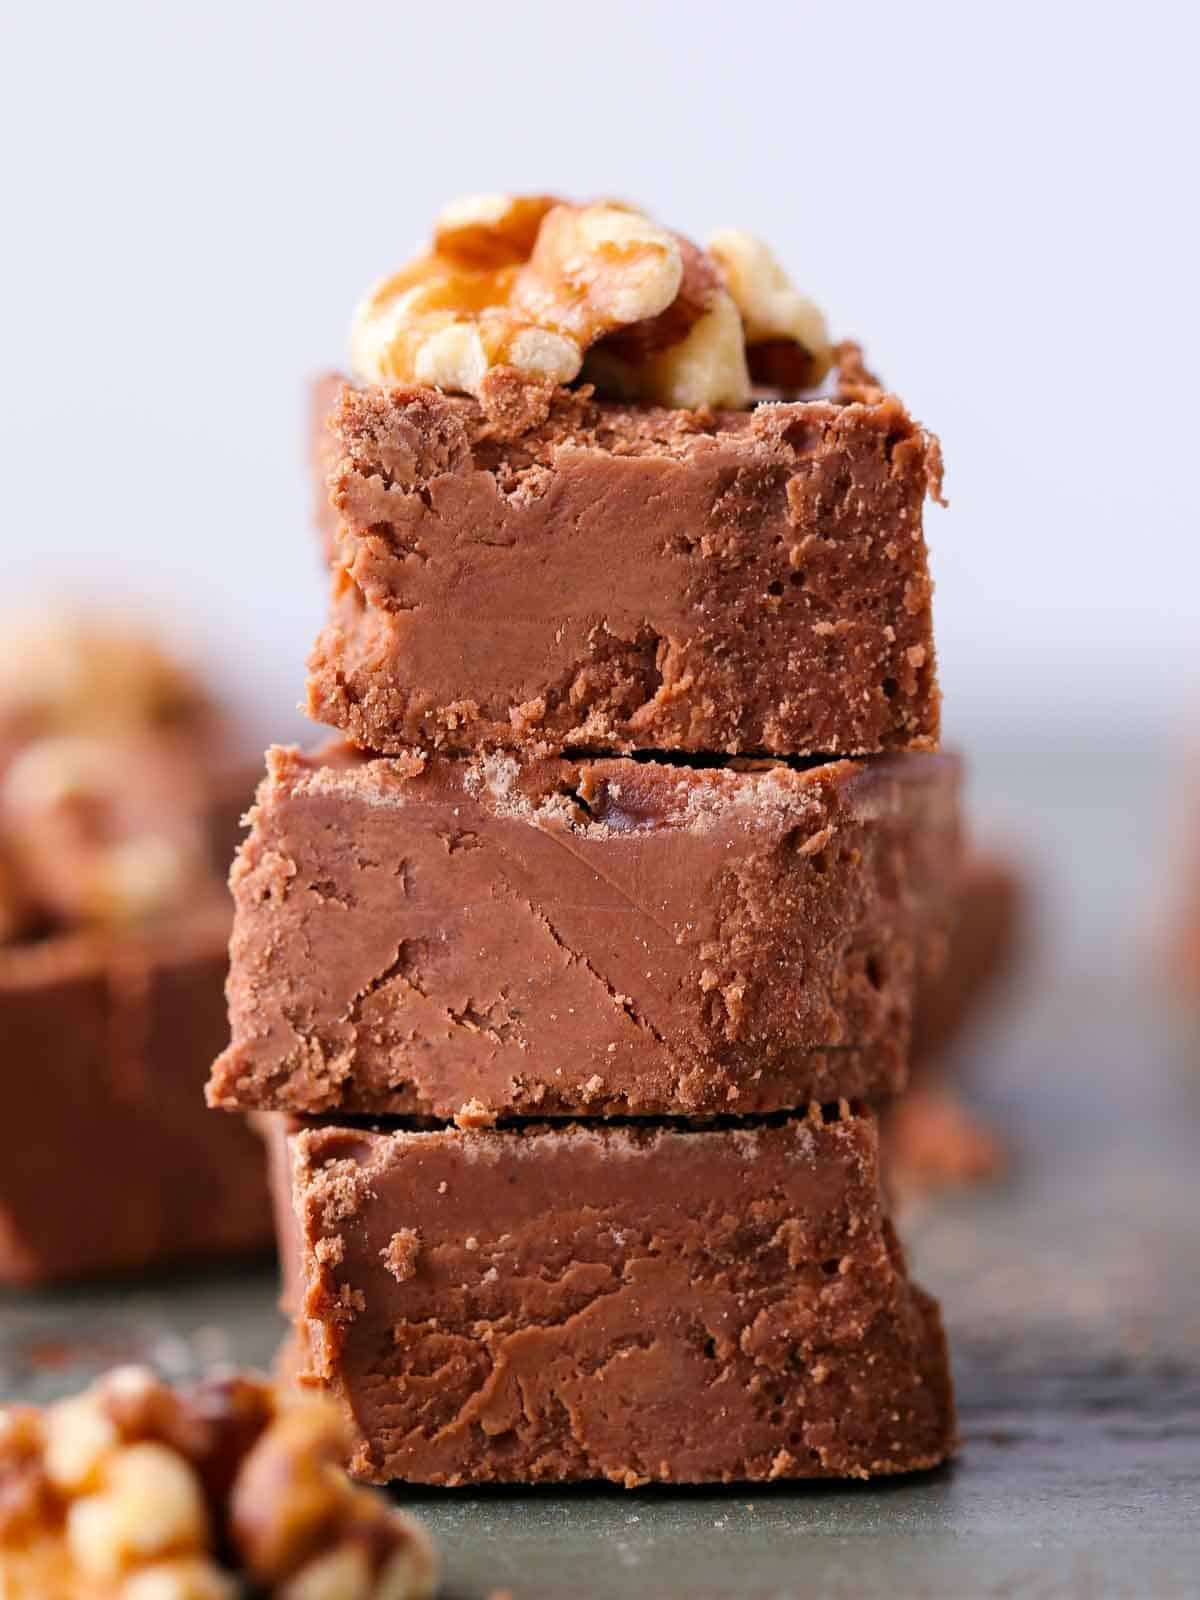
Why did my chocolate fudge crystalize?
- Beating too early: Allowing the fudge to cool without stirring will help prevent crystals from forming. I allow it to cool to 110°F, which takes 15-20 minutes depending on the temperature of your room.
- Cooling too slowly: Cooling fudge faster will limit the size and number of crystals that form. So recommend cooling in an ice bath but I find that letting the fudge set gradually at room temperature (60-70 degrees F) will produces the best texture.
- Scraping the sides of the pot. Like with other stirred candies like pralines, some of the fudge will set on the sides of the pot as your stir. It is best not to scrape the sides because that will mix sugar crystals back into the fudge and it can cause a chain reaction of crystallization.
How to Make Old Fashioned Chocolate Fudge
Use these instructions to make the perfect fudge every time! Further details and measurements can be found in the recipe card below.
Step 1: Butter the sides of a heavy, high-sided sauce pot and a 4×6” baking dish or loaf pan. I had the darndest time getting mine out and next time I will try lining it with parchment paper and then buttering!
Apply a thick coating of butter on the pot because when the fudge is bubbling, sugar can’t cling to the side and create unwanted crystals.
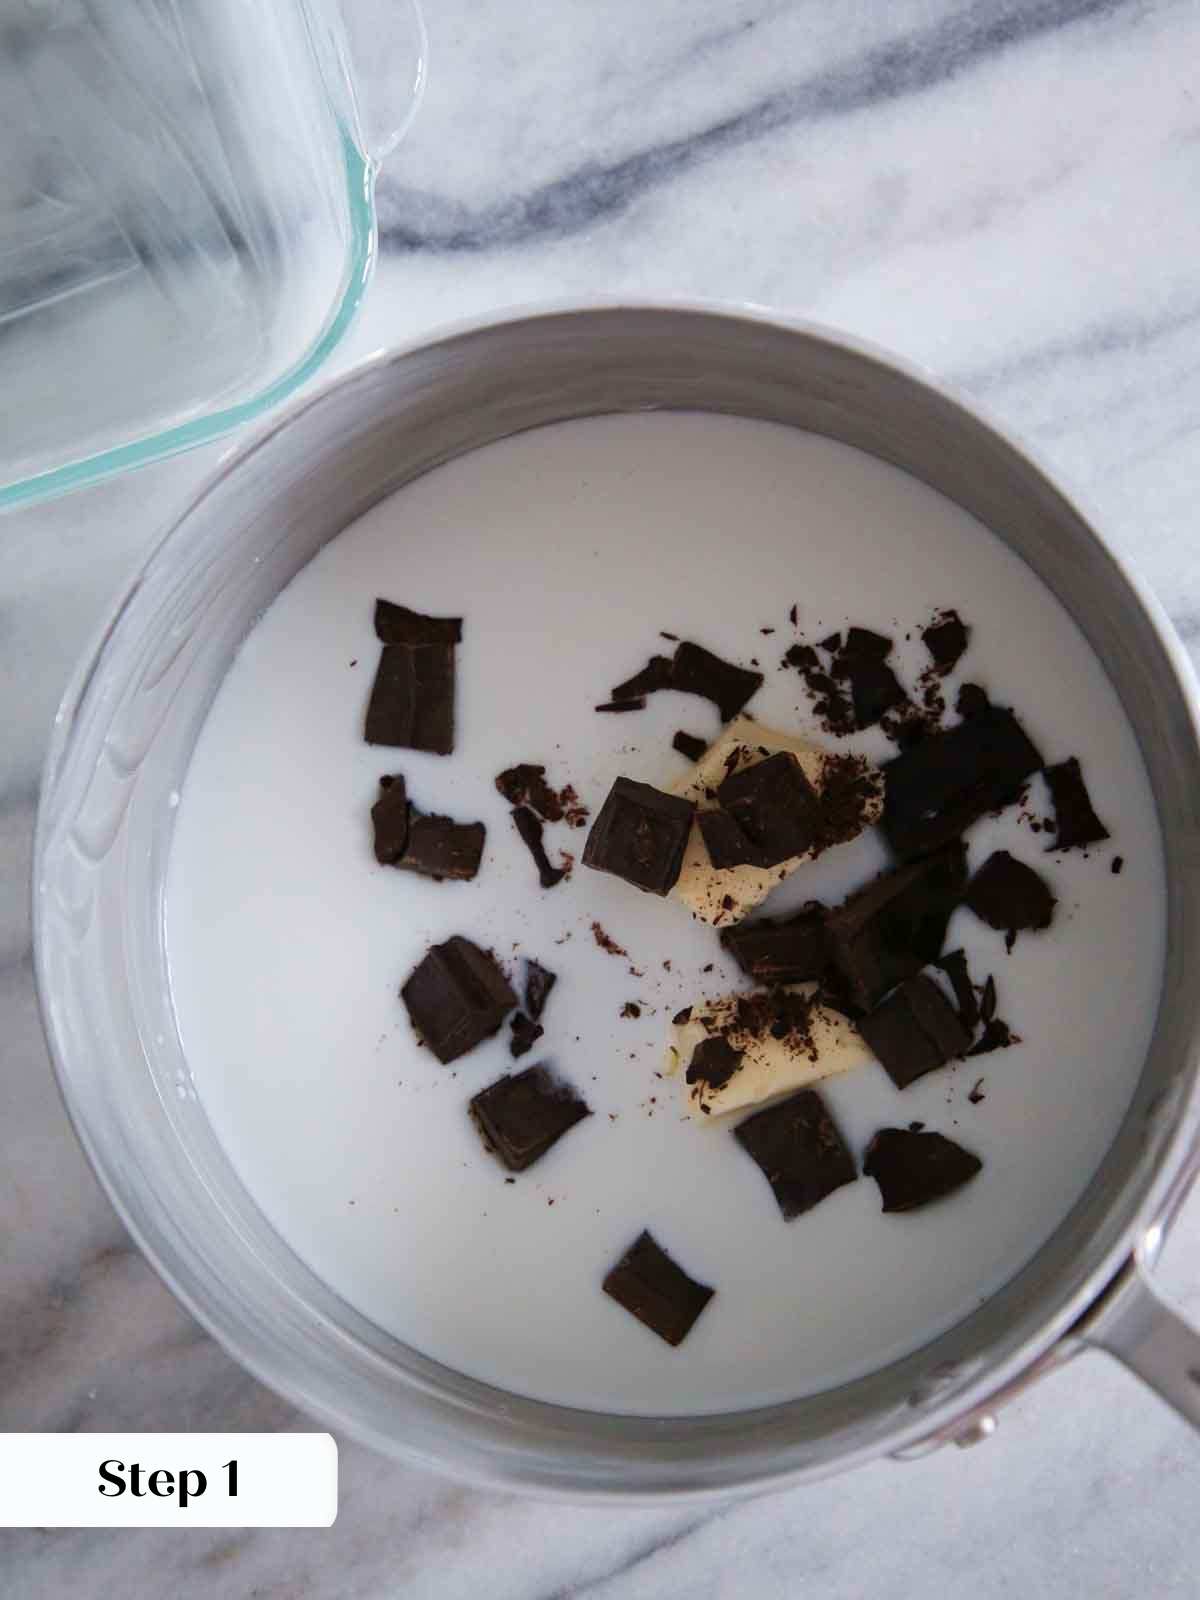
Step 2: Combine sugar, milk, chopped chocolate, salt, corn syrup and butter in the sauce pot. Stir carefully to keep sugar from getting stuck on the sides. Cook over medium high heat. Stir the mixture occasionally until the sugar dissolves and it comes to a boil.
Try to ensure the sugar has dissolved before the mixture comes to a boil. This will help keep it from crystalizing.
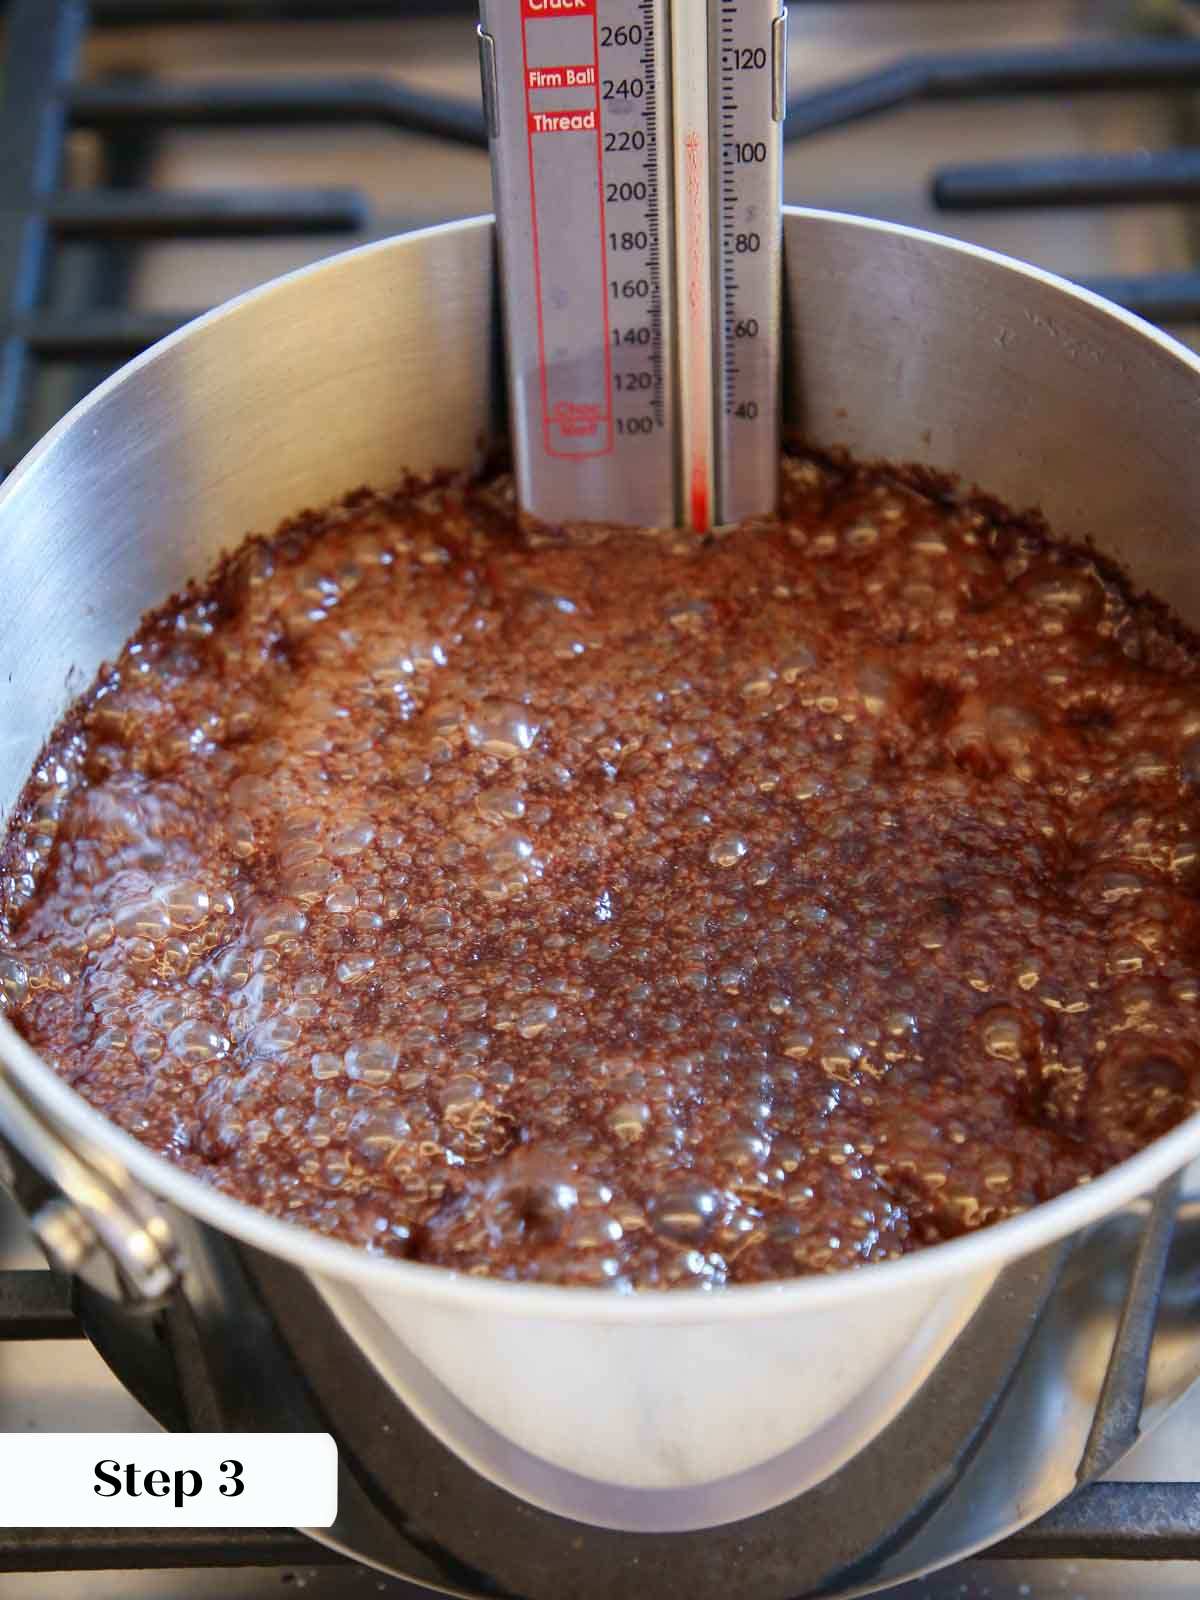
Step 3: Attach a candy thermometer to the side of the pot. Cook, without stirring or swirling, until it reaches soft-ball stage (236°F). You can double check (or test without a thermometer) by dropping a small spoonful in ice water. It should form a soft, pliable ball of candy.
Step 4: Remove from the heat and allow to cool undisturbed to 110°F. The bottom of the pan should feel comfortably warm to your hand.
This cooling without stirring is critical to getting a smooth, uncrystallized fudge. Stirring will encourage sugar to crystallize.
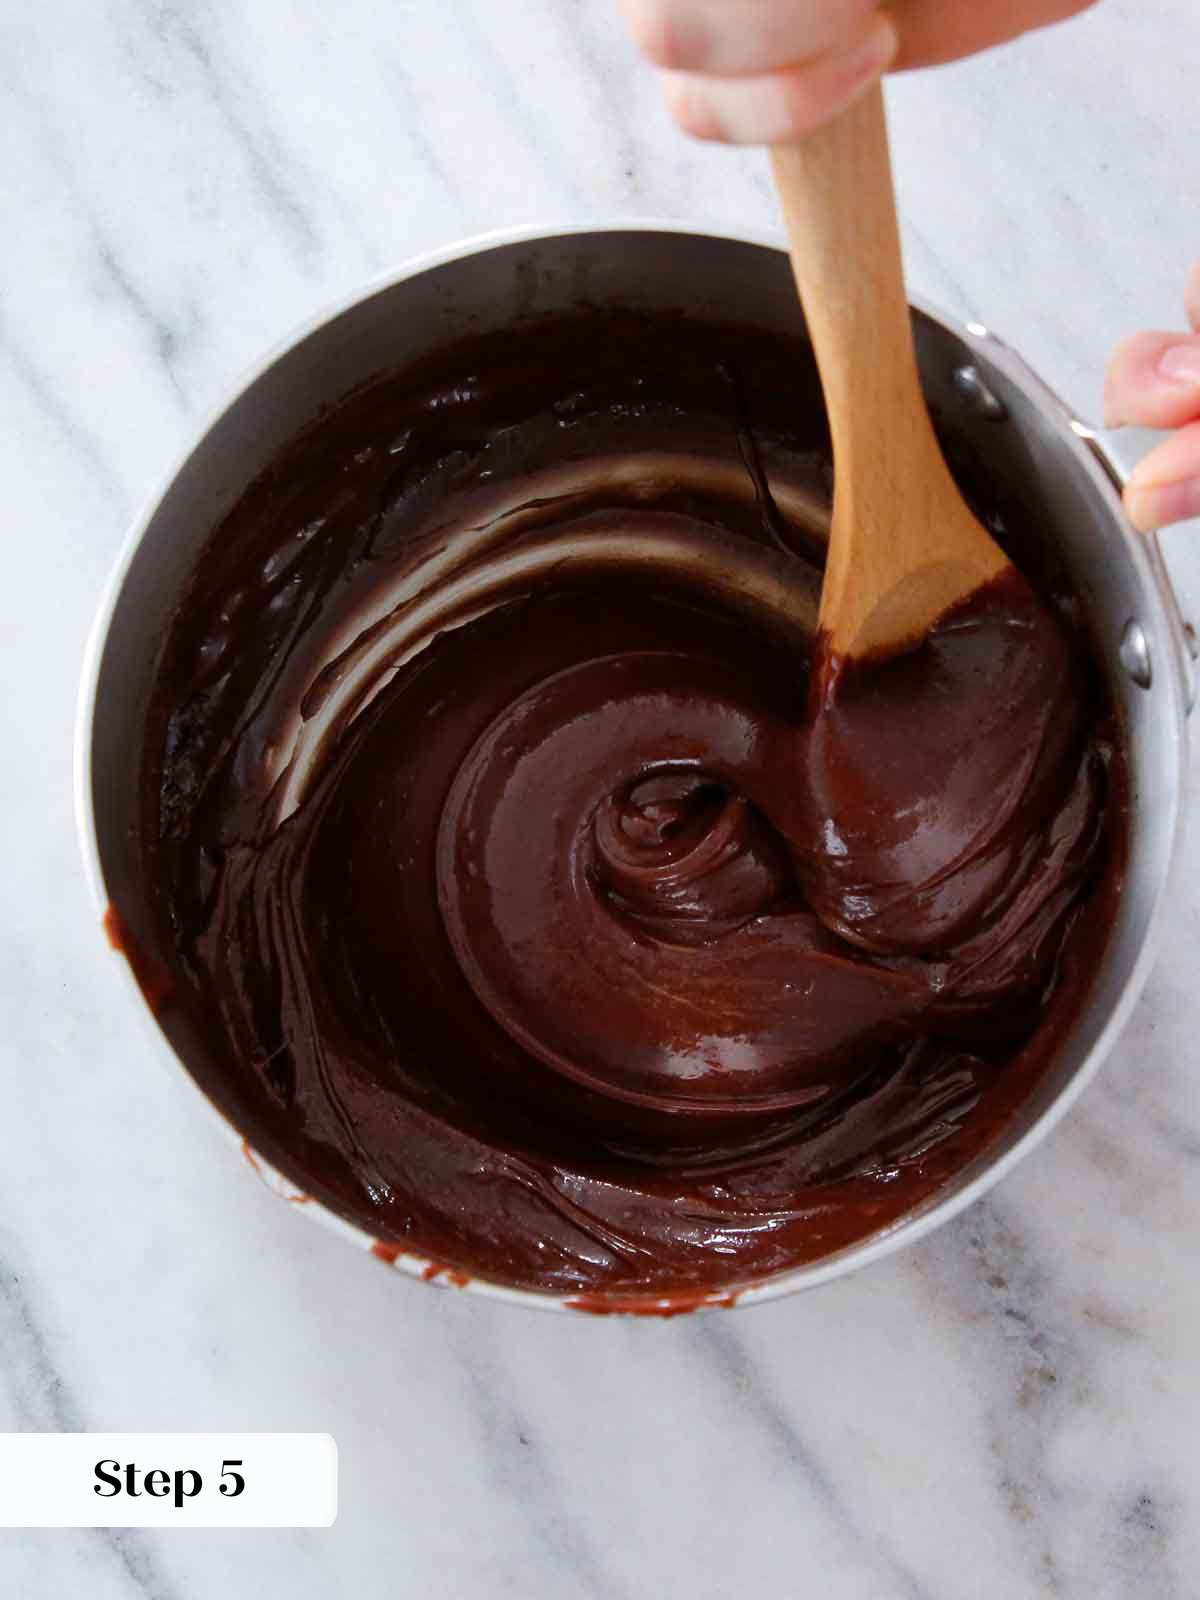
Step 5: Add the extract and begin beating vigorously with a wooden spoon. Don’t stop beating! No resting! Enlisting the help of a friend is highly recommended. Try not to scrape around the edges. You can see in the Step 5 photo that the fudge is thickened but still very shiny.
Step 6: The fudge will begin to stiffen and lose its gloss slightly. The longer you beat it, the more air that will be incorporated. This will change the texture ever so slightly. It will make it more crumbly but will have a magically chewy, fudgy texture.
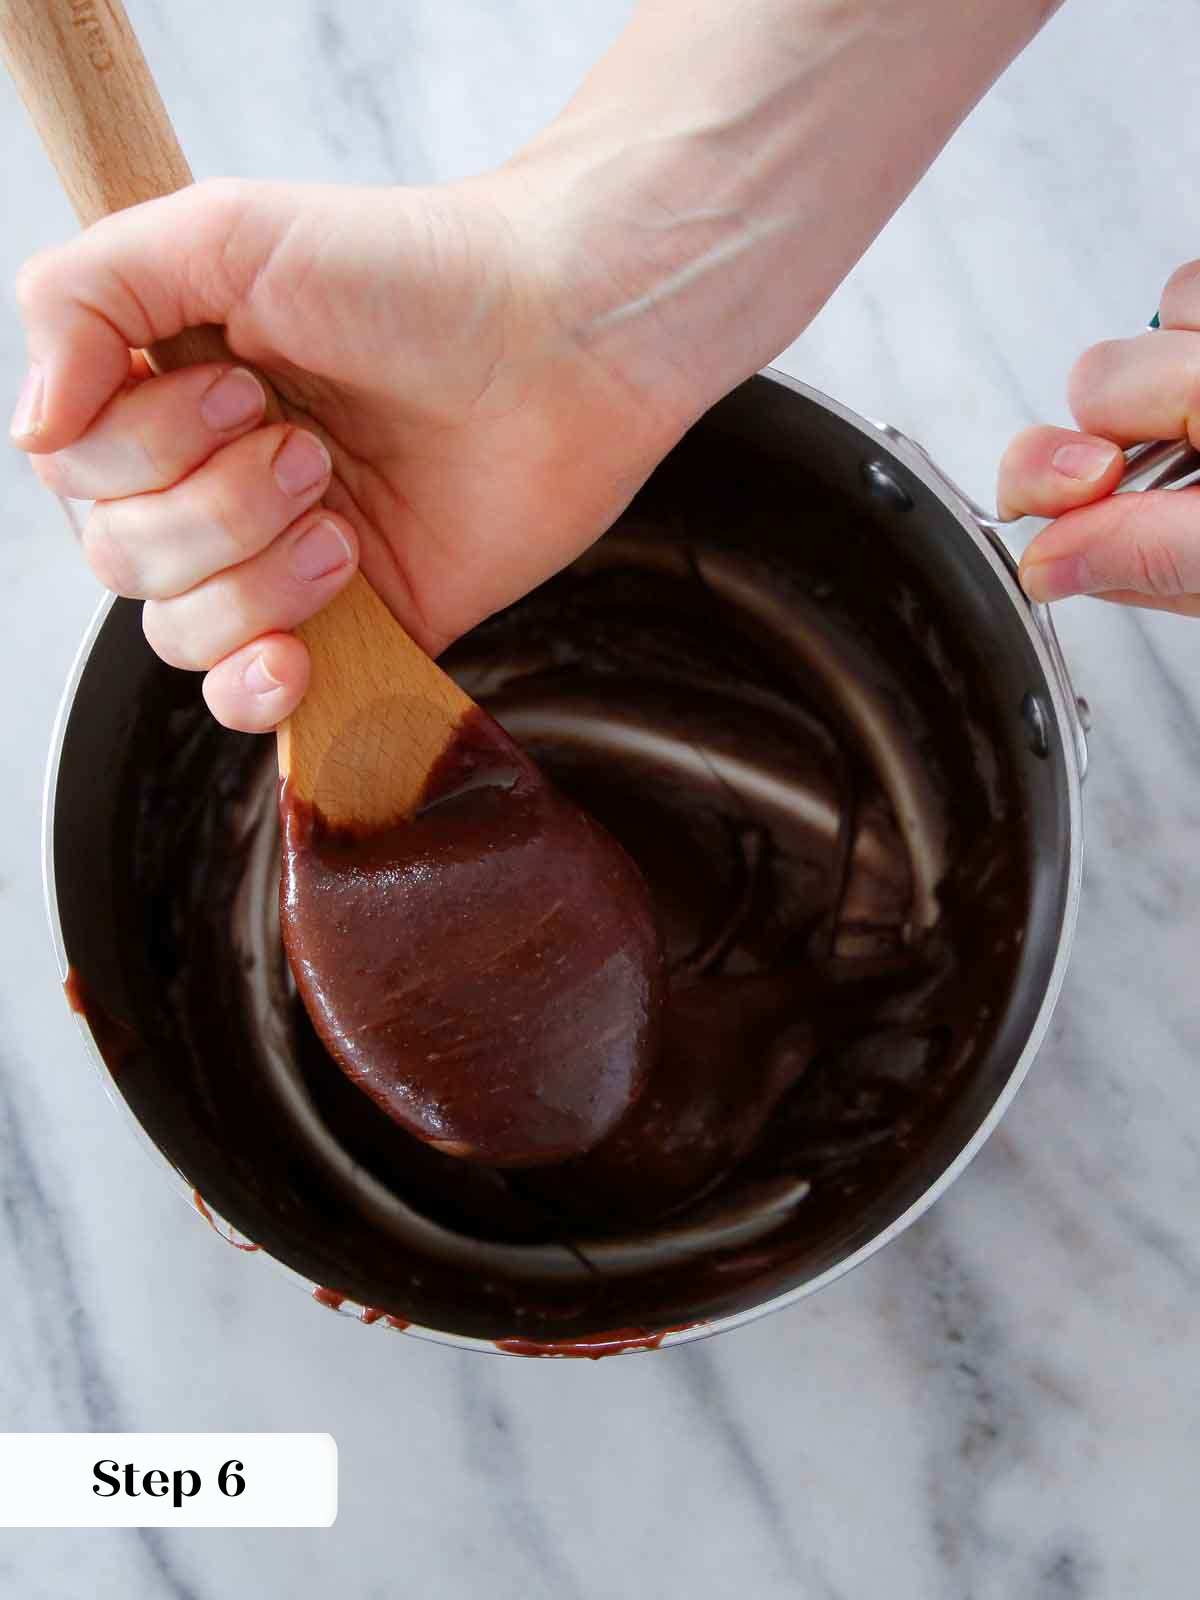
You can see in the Step 6 photo that the fudge is very thick (it doesn’t run back into itself), has visible tiny air bubbles, and is mostly matte. There is a little shine to it still but much less than the previous photo.
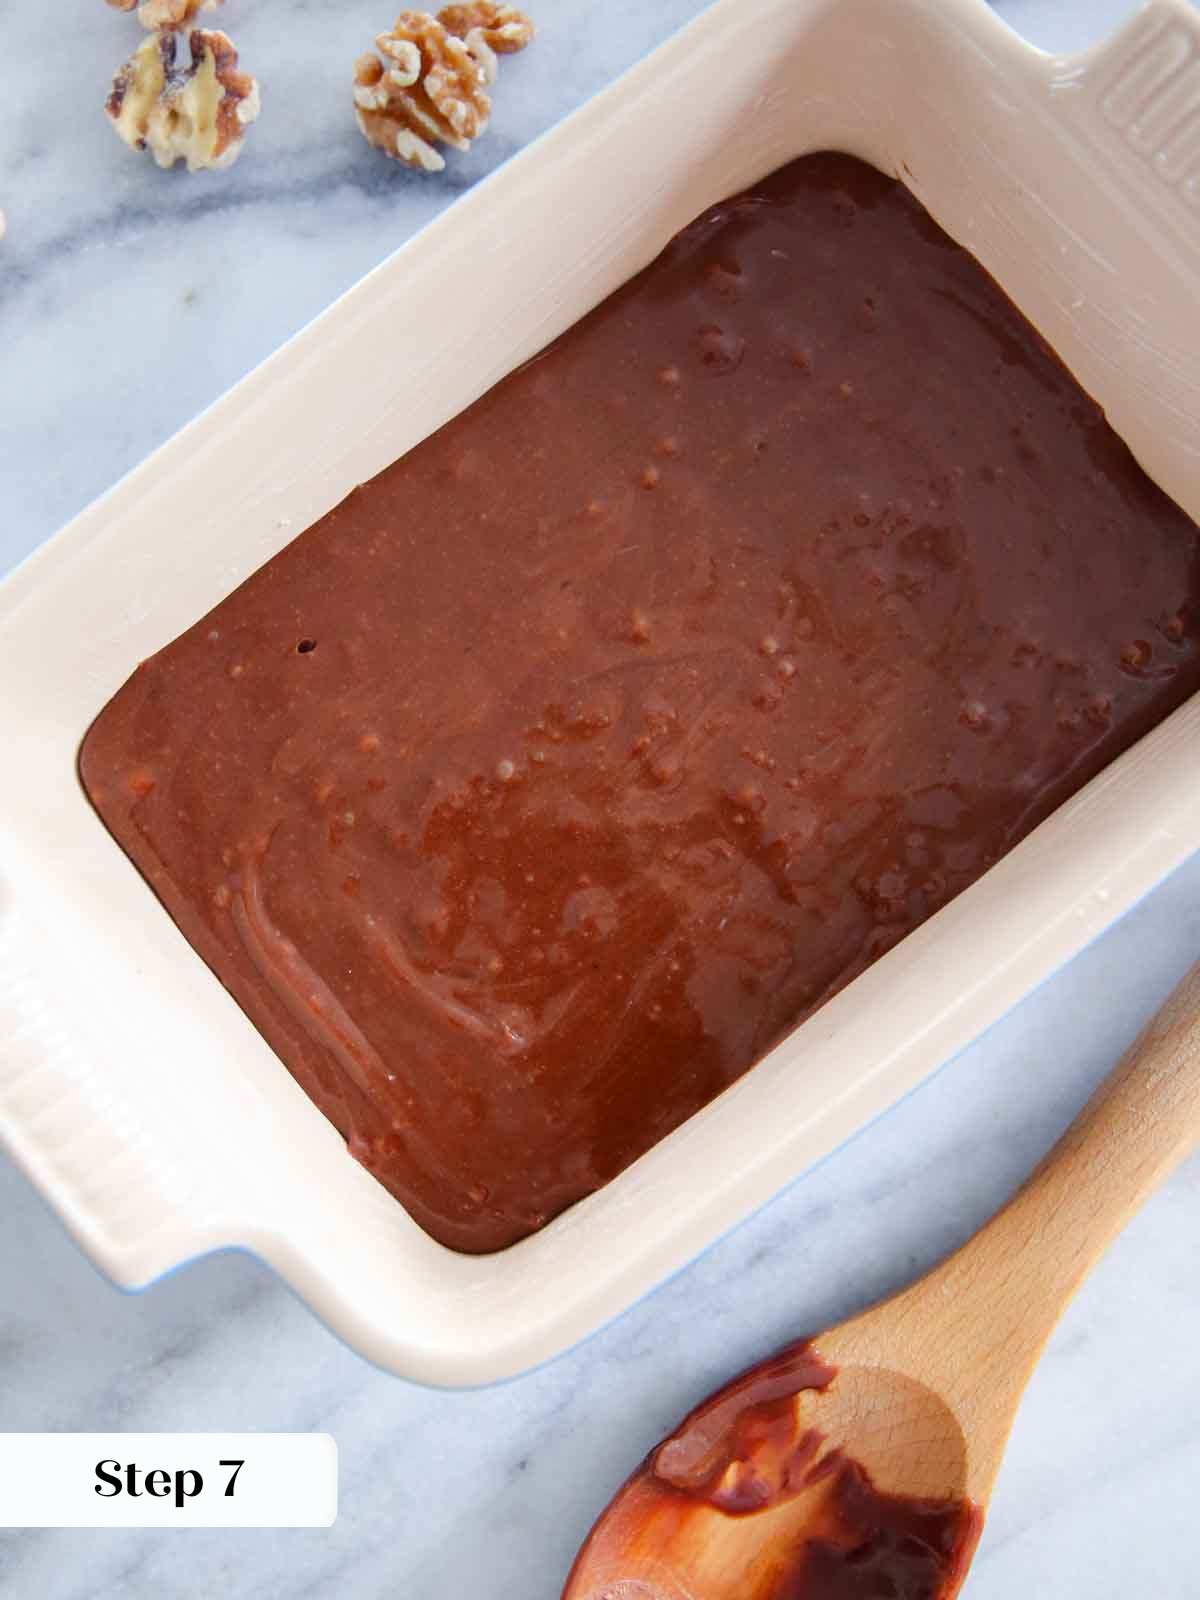
Step 7: Push the mixture from the pan into prepared dish and don’t scrape around the sides. It seems wasteful but the crystals will ruin the texture of your fudge! Smooth out the surface.
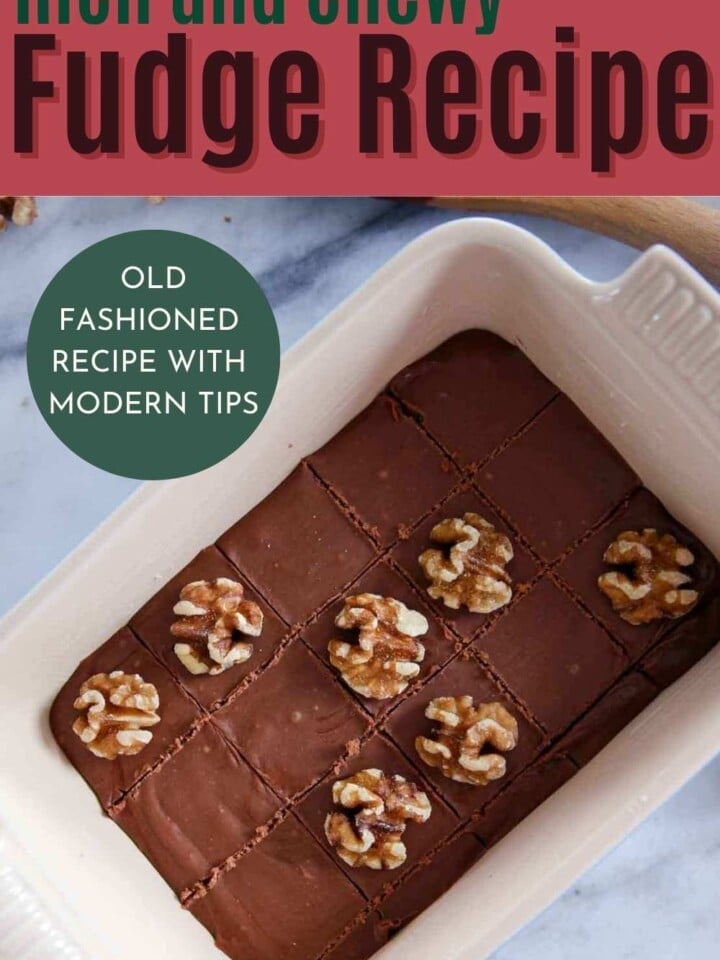
Step 8: Score the squares with the tip of a knife for neater slices later. Press a perfect half walnut into the top of each square before they set completely. [Try not to stress.]
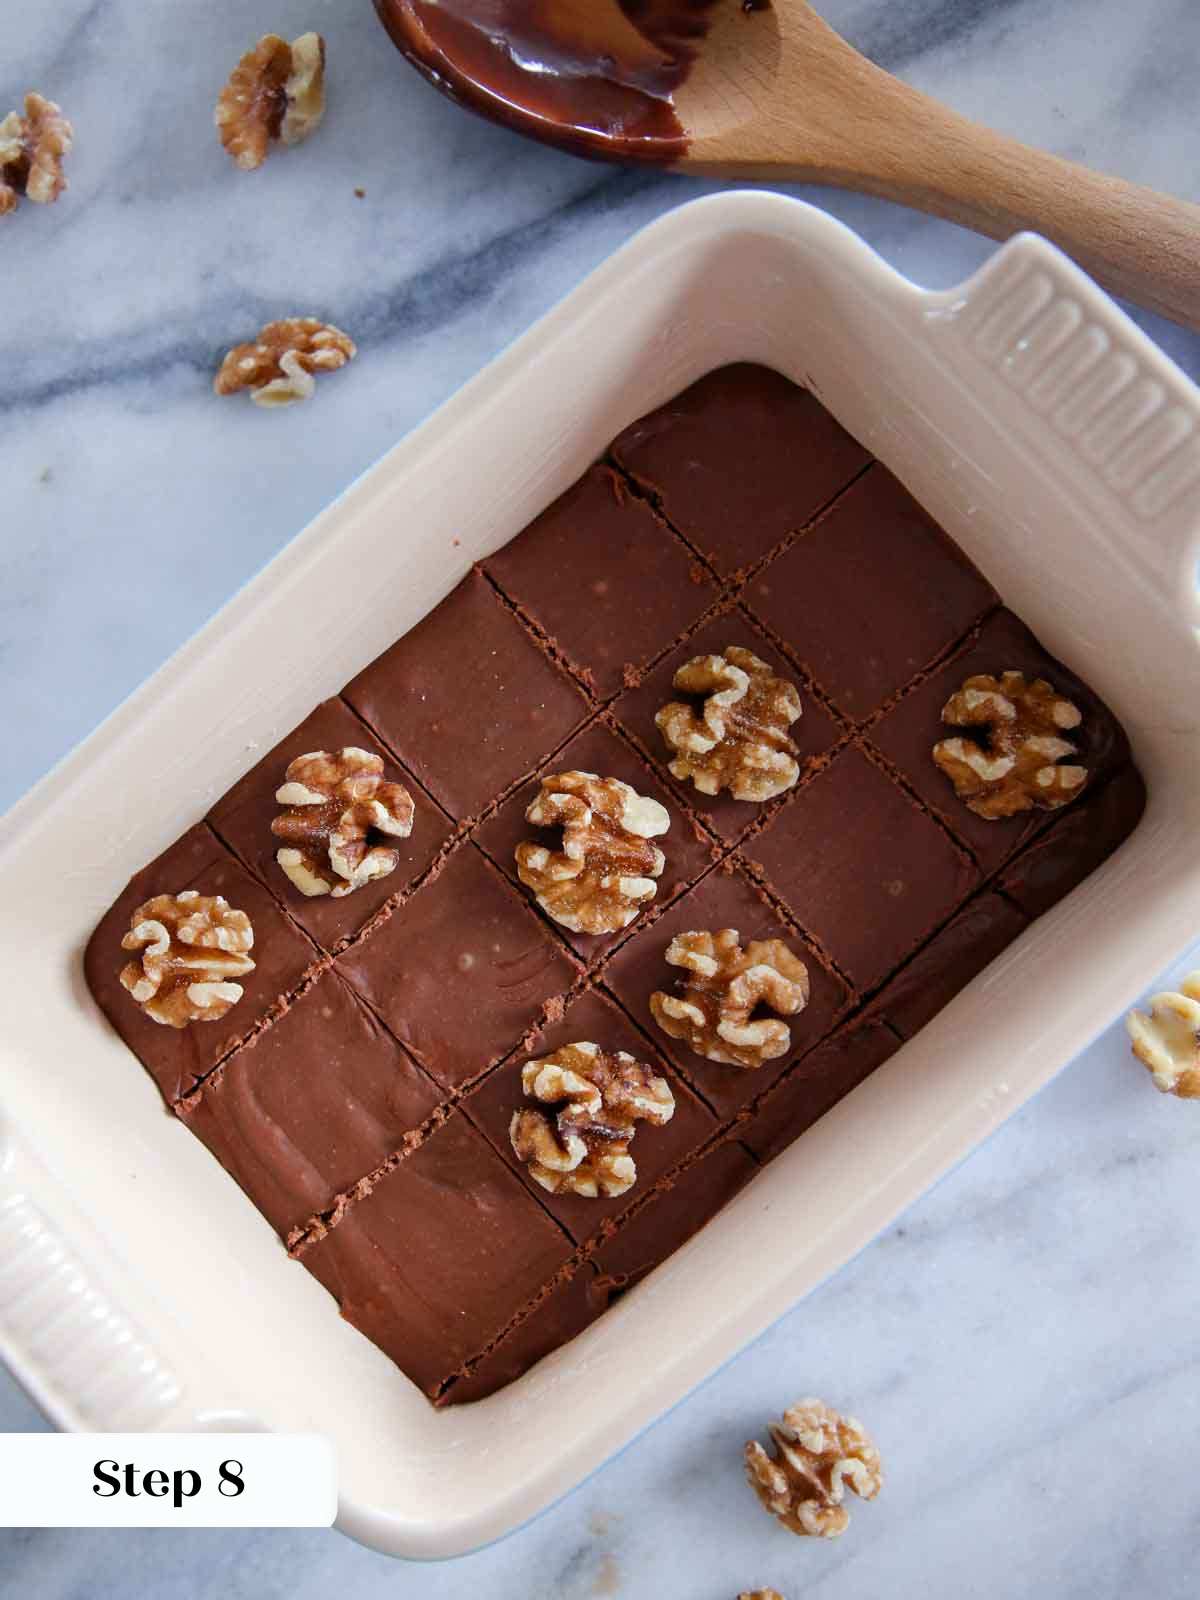
Step 9: Once it cools, cut along score marks and admire your handiwork. Bravo! You made fudge!!!
Chef Lindsey’s Recipe Tip
Check the calibration on your candy thermometer before starting. Place it in boiling water. It should read 212°F. These thermometers break easily, so it is best to check.
Frequently Asked Questions
Store fudge at room temperature for up to a month, but it will taste the freshest within the first 2 weeks. You can also freeze fudge for up to 3 months.
Many things can cause fudge not to set. It could be an inaccurate candy thermometer (test in boiling water first), not beaten long or vigorously enough, humidity, or low-fat ingredients.
If you tried your best but it never thickened or lost its gloss, all is not lost, you could spoon it over ice cream as a fudge sauce or serve it with cake.
If you tried this recipe and loved it please leave a 🌟 star rating and let me know how it goes in the comments below. I love hearing from you; your comments make my day!
Old Fashioned Chocolate Fudge
Ingredients
- 2 tablespoons unsalted butter plus additional for the dish & pot
- 2 cups sugar
- ¾ cups milk
- 2 oz unsweetened chocolate 2, 1 oz squares, chopped
- ½ teaspoon kosher salt
- 1 tablespoon light corn syrup
- 1 teaspoon vanilla extract
- walnut halves for finishing; optional
Instructions
- Butter the sides of a heavy, high-sided sauce pot. Don’t skimp. This is crucial because then when the fudge is bubbling, sugar has a possibility of clinging to the sides and creating unwanted crystals.
- Also butter a 4×6” baking dish or loaf pan. I had the darndest time getting mine out and next time I will try lining it with parchment paper and then buttering! Don’t worry, the scraps didn’t go to waste.
- Combine sugar, milk, chopped chocolate, salt, corn syrup and butter. Cook over medium high heat. Stir the mixture until the sugar dissolves and it comes to a boil.
- Attach a candy thermometer to the side of the pot. Cook, without stirring or swirling, until it reaches soft-ball stage (236°F). You can double check by dropping a small spoonful in ice water. It should form a soft, pliable ball of candy.
- Remove from the heat and allow to cool undisturbed to 110°F. The bottom of the pan should feel comfortably warm to your hand.
- Add the vanilla extract and begin beating vigorously with a wooden spoon. Don’t stop beating! No resting! Enlisting the help of a friend is highly recommended. Try not to scrape around the edges.
- The fudge will begin to stiffen and lose its gloss. The longer you beat it, the more air will be incorporated. This will change the texture ever so slightly. It will make it more crumbly but will have a magically chewy, fudgy texture. I was paranoid about stopping too soon and mine never really lost its gloss, so I finally just had to call it.
- Push the mixture from the pan into prepared dish and don’t scrape around the sides. It seems wasteful but the crystals will ruin the texture of your fudge! Smooth out the surface.
- Score the squares with the tip of a knife for neater slices later. Press a perfect walnut half into the top of each square before they set completely. [Try not to stress.]
- Once it cools, cut along score marks and admire your handiwork. Bravo! You made fudge!!!
Notes
Nutrition
Before You Go
I hope you enjoyed this professional chef tested recipe. Check out our other delicious candy recipes! You might also enjoy these 20 traditional Christmas cookies or homemade gift ideas.


First time making fudge and in my opinion the taste is AWESOME! My wife’s dad use to make fudge every Christmas until he passed away from covid a few years ago. She tasted it and was blown away. Got it setting now fingers crossed it’ll set.
Hi Jason! I’m sorry for your loss. Means a lot that you’re carrying on the fudge tradition with this recipe. Thank you for coming back to rate and comment!
this is the real one! no marshmallows no cheese!!!
Couldn’t agree more!
Can I use heavy cream in this recipe?
Hi Karen! You could use heavy cream in place of the milk in this recipe, the taste will just be a little creamier. Enjoy!
Can you please tell me how to double this recipe? Thank you ever so much.
Multiply everything by two! Happy baking
I made this fudge yesterday and it turned out great. Thank you for the excellent instructions!
I’m so glad you enjoyed! ????