This post may contain affiliate links. Please read our disclosure policy.
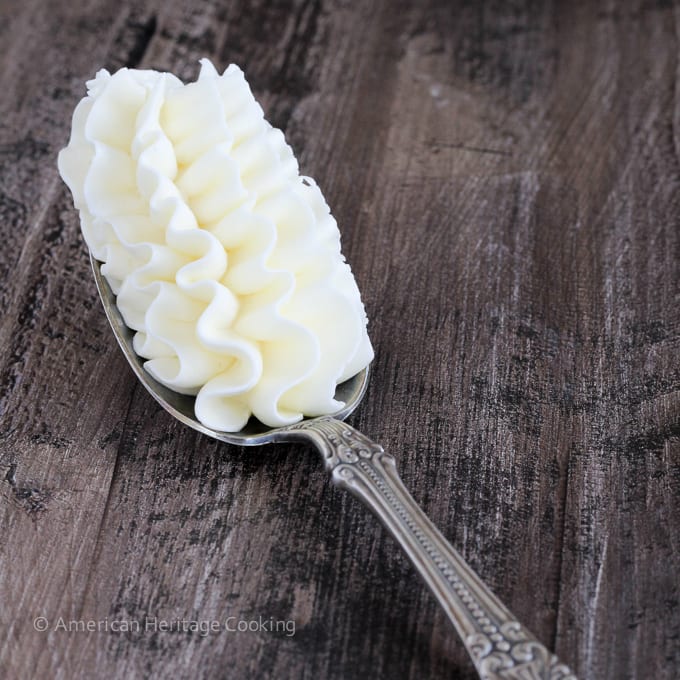
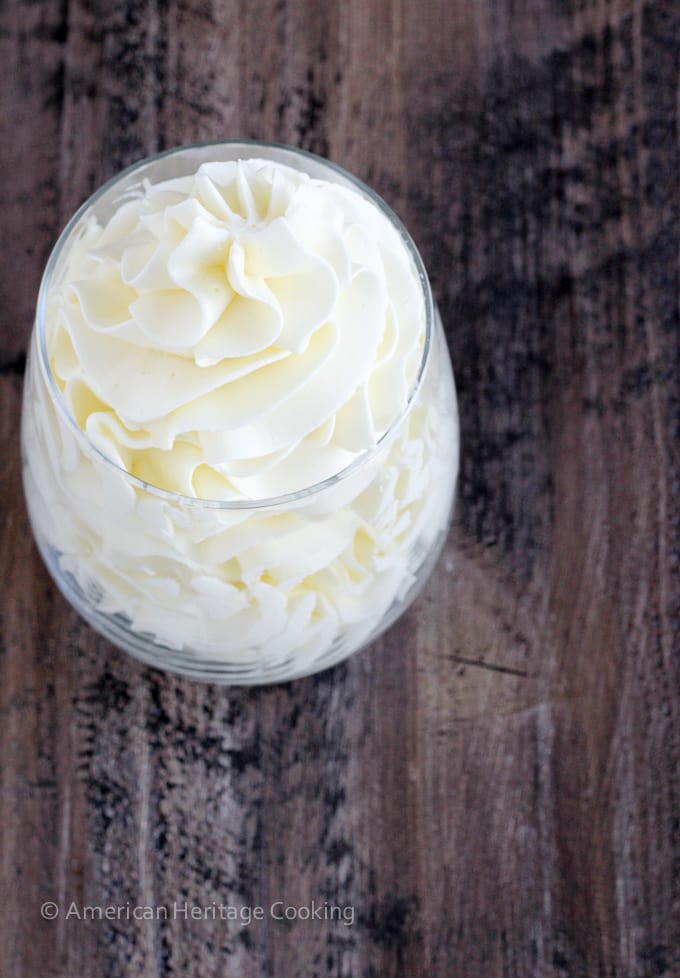
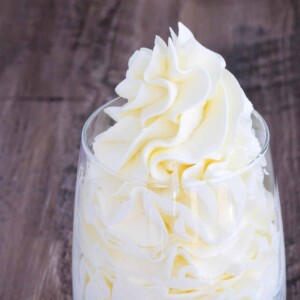
Italian Meringue Buttercream is silky, smooth, and airy. Use it to frost smooth, professional looking cakes or pipe on cupcakes! It is also a lot easier than it seems! I am here to give you all the professional techniques and troubleshooting tips to set you up for success!
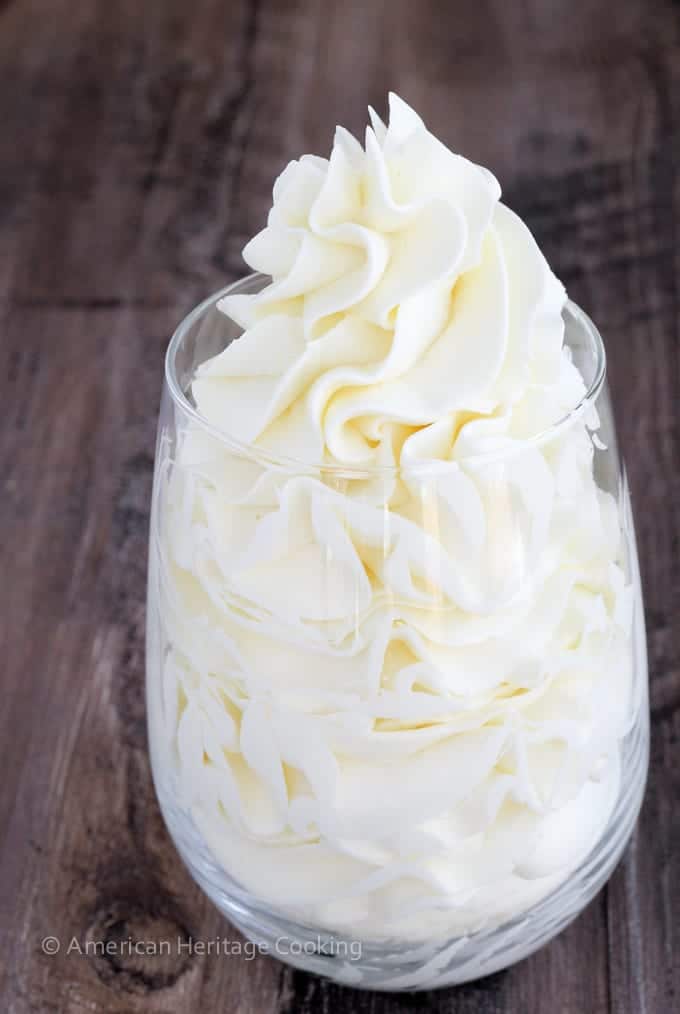
I love Italian Meringue Buttercream because it is light and airy but simultaneously rich and creamy. It is also magically stable and will keep for months in the freezer! So stable, in fact, if you think you totally messed it up, take heart, it’s probably totally fixable! I will give you all the troubleshooting advice below.
It is perfect for building professional layer cakes like I did in this layer cake assembly tutorial using this devil’s food cake or piping on cupcakes like these lemon coconut cupcakes or German chocolate cupcakes!
Table of Contents
- Why you will love this Italian Meringue Buttercream:
- What is Italian Meringue Buttercream?
- How is Italian Meringue Buttercream different than other types?
- Professional Tips for Success:
- Ingredients Needed
- How do you flavor Italian Meringue Buttercream?
- How do you color Italian Meringue Buttercream?
- How to Make Italian Meringue Buttercream
- Chef Lindsey’s Recipe Tip
- How to refresh refrigerated Italian Meringue Buttercream?
- How to fix Italian Meringue Buttercream
- Storage
- Italian Meringue Buttercream Recipe
- Before You Go
Why you will love this Italian Meringue Buttercream:
- It is less sweet than American buttercream. If you don’t love the sweetness of frostings then you will love IMB. It is creamy and just the right amount of sweet.
- Versatile base: This of this recipe as your white canvas ready for your masterpiece! Add melted chocolate, salted caramel sauce, lemon curd, Nutella and anything else you can think of!
- Stability: Italian meringue buttercream is the most stable of the meringue buttercreams. It holds up to heat better than Swiss meringue, but it will still melt over 70 degrees F.
- Professionally tested: This is the buttercream that I used in my former life as an Executive Pastry Chef and currently use for custom cake orders. I have made it close to a thousand times. You can trust that it is going to work.
What is Italian Meringue Buttercream?
Italian meringue buttercream (IMB) seems complicated at first; it’s definitely the most sophisticated of its peers. Simply put, it is made by whipping egg whites to stiff peaks while simultaneously cooking sugar to the soft ball stage; you then slowly pour the sugar into the whipping egg whites; and, finally, add butter.
How is Italian Meringue Buttercream different than other types?
Italian Meringue Buttercream is made using an Italian meringue as the buttercream base as the name suggests. It has a lighter texture and taste than Swiss Meringue Buttercream and German; it doesn’t taste like pure butter like French Buttercream; and it isn’t as sweet as American Buttercream.
Professional Tips for Success:
- Go at your own speed. There is no rule that you have to whip the egg whites on high while you cook your sugar, so if they have reached stiff peaks and your sugar syrup is stubbornly stuck at 220˚F (been there), just turn down the mixer to low. Don’t stop that mixer! I didn’t say that! I said LOW.
- Pour your sugar in with the mixer on HIGH. Do you want scrambled eggs on your cupcakes? I didn’t think so. Turn that mixer up!
- Pour the sugar down the side of the bowl. Don’t hit the whisk because 235˚F syrup in the face is unpleasant. Don’t be that person. You will know if you did it right because there will be one little lava trail of cooled sugar down one side of the bowl.
- This sounds obvious but I’m going to say it anyways: cook your sugar to 235˚F. Soft ball syrup is a range. But, if you shoot for 235˚F, then by the time you get from the stove to the mixer, if the syrup has inched up a few degrees, no love has been lost. You will know if you overcook your sugar because there will be a pool of cooked sugar in the bottom of your mixer.
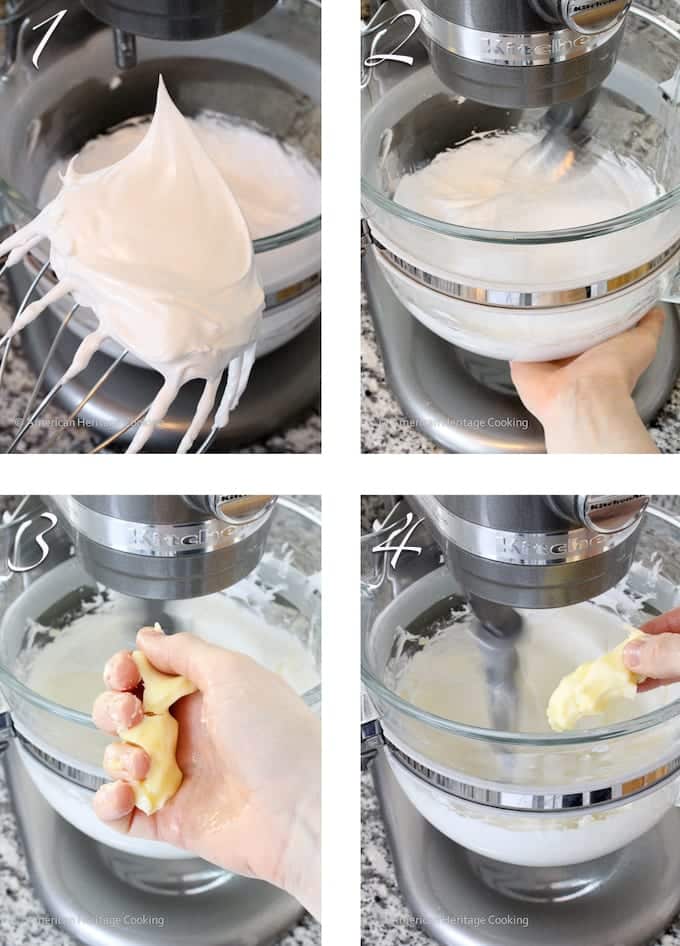
- When you start adding your butter, you want it to be soft but still a little cool. If it’s not totally soft enough, add it a little bit at a time and squeeze each piece before tossing it in. That’s right, squeeze your butter! It’s kinda fun. And kinda gross at the same time.
- If your buttercream gets soupy, switch from the paddle back to the whisk and beat it on high. All is not lost. Trust me. More tips below.
- If your buttercream breaks (looks curdled) when you start adding the butter, take heart, it will come together. Add the butter in little pieces and squeeze each one to soften it. If you have a kitchen torch you can torch the outside of the bowl with the mixer on high, but keep the torch moving! You want to warm the bowl not melt the buttercream.
Ingredients Needed
- Granulated Sugar: The granulated sugar in the meringue is here for stability as well as sweetness. The more sugar in the meringue, the more stable and the less volume.
- Water: Unlike when making a wet caramel the amount of water in a buttercream matters. In a caramel all the water will evaporate before caramelizing but that is not the case in an Italian meringue. Be sure to measure your water for the best results.
- Egg Whites: For the best results use separated egg whites. The stabilizers and foaming agents in liquid egg whites keep them from being as stable. They will curdle more easily when the syrup is added. Use the egg yolks to make lemon curd. Mix it into your buttercream for a fun lemon twist!
- Kosher salt: Kosher salt is optional but it will balance the sweetness slightly and also add stability to the meringue.
- Cream of tartar: Cream of tartar will also stabilize the meringue. It is optional but why not stack the deck in your favor.
- Unsalted butter: Use a good quality unsalted butter for the most stable buttercream. If you use salted butter, your buttercream will be salty! Eww.
How do you flavor Italian Meringue Buttercream?
- Lemon: You can use lemon extract (I only use Nielson Massey lemon extract), lemon paste (again only Nielson Massey lemon paste), lemon zest mixed with the sugar for the meringue, or lemon curd.
- Strawberry: Strawberry puree will break the buttercream. Use strawberry jam such as my strawberry jam without pectin, or dehydrated strawberry powder.
- Berries: For all other berries I prefer using jam.
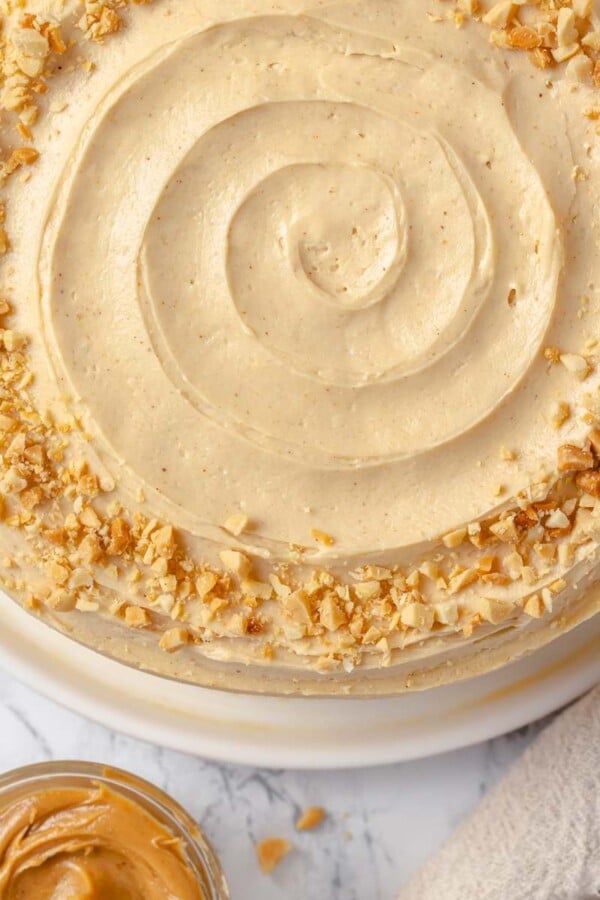
- Peanut Butter: For this recipe as written, add ½ cup smooth peanut butter. You could also use chunky for texture, but I would add crushed salted peanuts as a garnish instead. Check out my peanut butter buttercream for all the details!
- Nutella: Add ½ cup Nutella or another chocolate hazelnut puree.
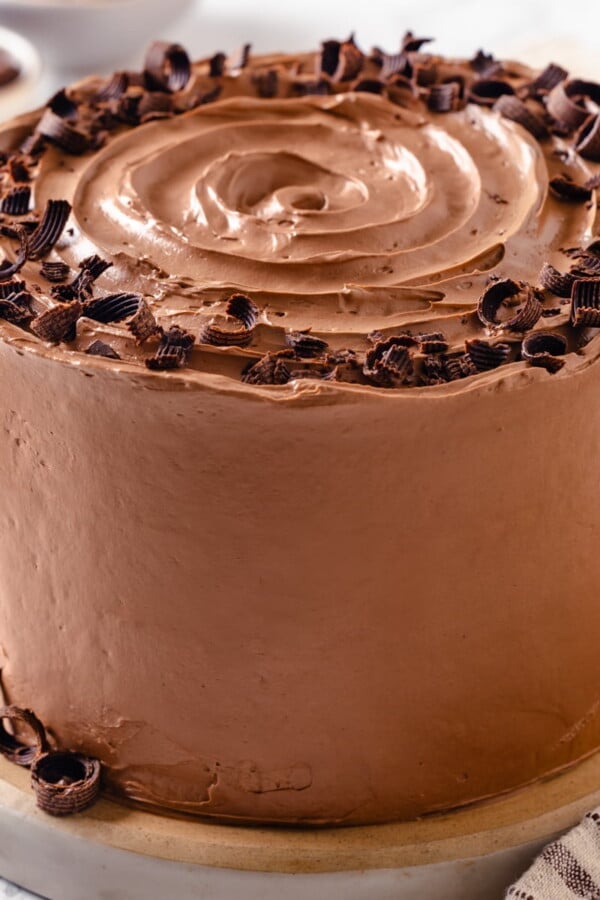
- Chocolate: Add 200 g (approximately 7 ounces) of melted and cooled chocolate to the finished buttercream. Use milk chocolate, semi-sweet or unsweetened to your taste.
- Vanilla: Add up to 2 tablespoons vanilla extract, 1 tablespoon vanilla bean paste or 2 split and scraped vanilla bean pods. Save the pods for vanilla bean anglaise or vanilla bean pastry cream!
How do you color Italian Meringue Buttercream?
You can use gel food colorings. You could also use natural colorings like dehydrated strawberries or beet powder.
How to Make Italian Meringue Buttercream
Prepare your ingredients:
Step 1: You want to make sure that you have everything measured out and ready to go. This step is critical. In the professional kitchen it is called mis-en-place. This recipe is simple but it does require seamless execution.
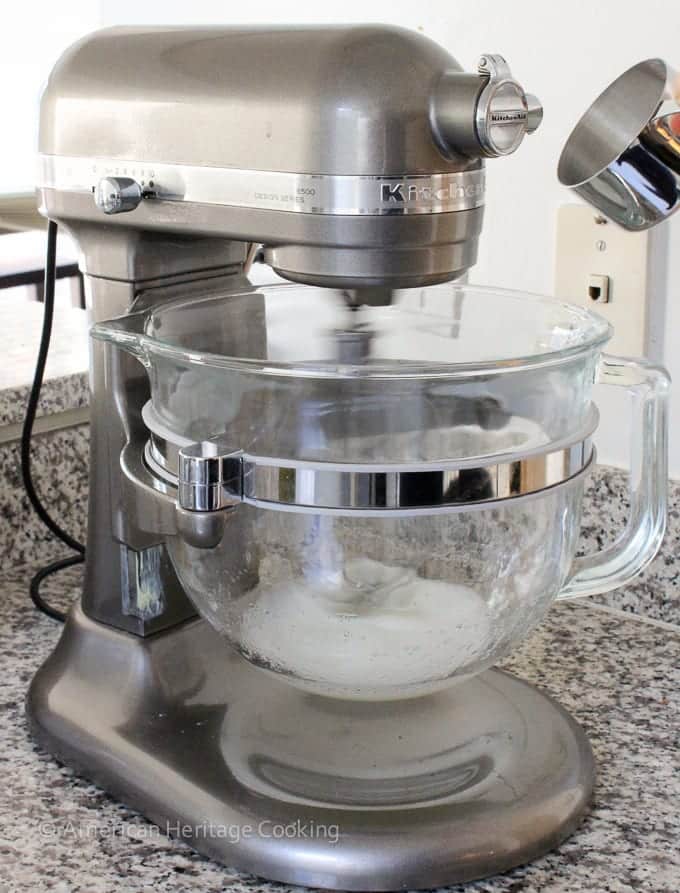
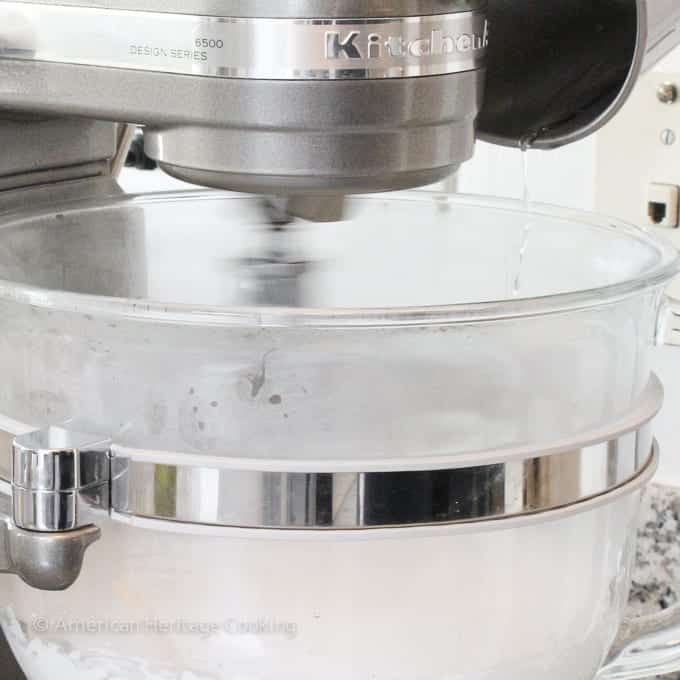
Step 2: Prepare your tools. Be sure that your mixing bowl is clean and free of any residual fat, or your meringue will not whip up and there will be sadness abound. You also want to make sure that your pot is clean. Dirty residue can cause the sugar to crystallize.
Prepare the Italian meringue:
Step 3: Mix half of the sugar with the water in a medium saucepan over medium heat, stir just until the sugar dissolves. When the pan heats up, brush around the sides of the pot with a clean pastry brush dipped in water to dissolve any sugar crystals adhered to the sides of the pot. You can also use a paper towel that you roll up or your clean finger in a pinch.
Step 4: When the sugar syrup starts to bubble begin whipping your egg whites in the bowl of a stand mixer fitted with the whisk attachment. You can add a pinch of salt and/or cream of tartar for stability if you wish. When your eggs begin to look frothy, slowly begin adding your reserved sugar, whipping constantly on medium-high.
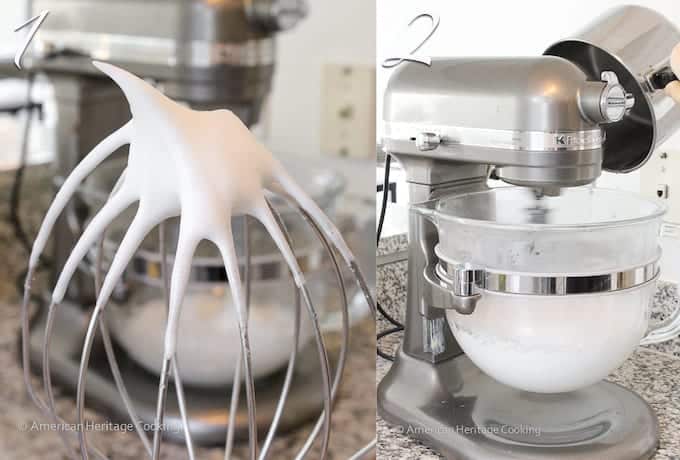
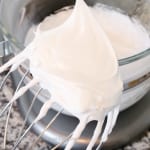
Step 5: Continue whipping your egg whites until they form stiff peaks (photo 1 above). Ideally your meringue should reach stiff peaks at the same time that your sugar syrup reaches 235˚F.
If your egg whites are whipping too fast, reduce the mixer speed to medium or even low. You can also adjust the heat on the sugar syrup to make it cook faster or slower. Just be aware that turning the heat on the sugar syrup too low will cause it to crystallize. I know. It’s frustrating but we can do this!
Step 6: To test your syrup you can either use a candy thermometer or you can do it the old-fashioned way, which is what I did here. Take a tiny bit of the syrup on a spoon and dip it into ice water, reach in and grab the sugar. If it dissolves, it isn’t close to ready; if it forms a little malleable ball, it’s ready!! I don’t have a photo of this stage because if I had taken the time to snap a photo, my sugar would have over cooked.
Step 7: Turn your mixer up to high and SLOWLY pour the sugar syrup down the side of the bowl as in photo 2 above. Be very careful not to hit the whisk. Ideally you pour it in one solid stream down the edge because it will solidify where it hits the bowl, so if you pour it in three different places, you will be losing sugar. Sadness.
If you look closely at the above photo you can see where my sugar hit the side of the bowl. One little stream. No excess sugar lost. Go ahead, take a closer look…This is what perfection looks like. 😉
Finish the buttercream:
Step 8: Keep whipping the Italian meringue on high until it forms stiff peaks like in the first photo below, but what is more important than the stiffness of the meringue is the temperature of the meringue. Before you begin adding the butter, the bottom of the bowl should feel barely warm (picture 2).
There is so much sugar in this meringue that it will not over-whip before it cools appropriately. Even though my meringue had reached stiff peaks in photo 1, I still needed to whip it another few minutes for it too cool.
Step 9: When the bowl feels just slightly warm, switch to the paddle attachment and begin adding your butter a piece at a time like in picture 3. I take my butter out of the fridge when I begin measuring my ingredients. Before adding each piece squeeze the butter. I do this to finish warming it and to make sure it is the right temperature. It isn’t necessary. In full disclosure, I stopped doing this years ago as my comfort level grew.
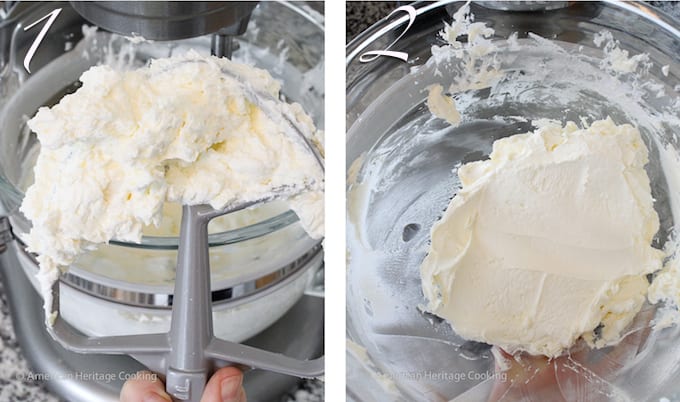
Step 10: Continue to beat the butter in on medium-high until the buttercream is smooth and there are no remaining pieces of butter. The buttercream in photo 1 above is still a bit lumpy. Not there yet!!! Photo 2 is smooth and creamy. At this stage I switch back to the whisk, add any desired flavorings and beat it until it is light and fluffy. You are now ready to frost!
Step 11: Add any flavorings such as extracts, lemon curd, salted caramel sauce, melted chocolate, jam or nut pastes.
Chef Lindsey’s Recipe Tip
The biggest take-away here is that you are in control! You control the heat of your sugar and how quickly it cooks; you control the speed at which your egg whites whip; and you control the temperature delta of your butter and meringue. If one is getting away from you, adjust and keep going!
How to refresh refrigerated Italian Meringue Buttercream?
- To refresh refrigerated buttercream: Throw it in the mixer and beat with the paddle attachment until smooth; then switch to the whisk to whip it up until light and fluffy.
- To refresh frozen buttercream: Thaw in the refrigerator overnight, let warm slightly at room temperature and then proceed with the refreshing refrigerated buttercream instructions above.
- Speed it up! You can speed up the refreshing process by warming the bowl over a gas stovetop flame or with the kitchen torch. Just be careful because you don’t want to melt your buttercream.
How to fix Italian Meringue Buttercream
It will look curdled if it is too cold. This is most common when trying to refresh or rewhip cold buttercream. The easiest way to fix it is to gently heat the bowl with a kitchen torch while beating it with the paddle attachment. Keep the torch moving so you don’t melt the butter. You can also just let it mix on medium-low speed with the paddle attachment until it warms itself up enough and comes together.
It is soupy if it is too warm. The meringue was too warm for the temperature of the butter that you added. You can add slightly cold butter to warm meringue but adding perfectly room temperature butter to warm meringue will lead to soup. To fix the soupy buttercream, place the bowl, buttercream and mixer attachment in the refrigerator. Chill 30 minutes to 2 hours depending on how warm it is. Continue to mix on medium speed until it comes together. As a last resort when you have tried everything else, just keep mixing it on medium with the paddle attachment. Go do something else and come back. Sometimes, just sometimes, all she needed was time to get herself together. And I think we can all feel that.
Sadly the butter was too cold when it was added to the buttercream. You can try to fix this by gently warming the entire bowl with a kitchen torch while beating the buttercream with the paddle attachment. Most likely in order to get rid of the lumps you will have to make the whole buttercream too warm to use. Pop it in the refrigerator and then beat it again with the paddle attachment once cool. Alternatively, you could just use it with some butter pieces because continuing to heat it you run the risk of melting all your butter and ruining your buttercream. Cover the cake in sprinkles and no one will notice. And that is my professional opinion.
Unfortunately this is the one mistake that you cannot come back from. If you start adding the butter and you see it melt in the meringue, stop adding butter. Keep beating and allow the meringue to cool before continuing to add more butter. A little melted butter is okay; all the butter melted is ruined.
Storage
Store Italian Meringue Buttercream at room temperature for 2-3 days or refrigerated for 2 weeks. It can also be frozen for 3 months. Before using, mix cold buttercream in the bowl of a stand mixer fitted with the paddle attachment on medium until it comes together. It will look curdled first. Don’t stress, just keep mixing!
If you tried this recipe and loved it please leave a 🌟 star rating and let me know how it goes in the comments below. I love hearing from you; your comments make my day!
Italian Meringue Buttercream
Ingredients
- 2 cups sugar divided
- ⅔ cup water
- 5 large egg whites
- pinch kosher salt optional
- pinch cream of tartar optional
- 2 cups unsalted butter cubed, cool but not cold
- 2 teaspoons vanilla extract
Instructions
- You want to make sure that you have everything measured out and ready to go. This recipe is simple but it does require seamless execution. You also want to make sure that your mixing bowl is clean and free of any residual fat, or your meringue will not whip up and there will be sadness abound.
- Mix half of the sugar with the water in a medium saucepan over medium heat, stir just until the sugar dissolves. When the pan heats up, brush around the sides of the pot with a clean pastry brush dipped in water to dissolve any sugar crystals adhered to the sides of the pot. You can also use a paper towel that you roll up (I did because I forgot my brush at school.)
- When your sugar starts to bubble begin whipping your egg whites in the bowl of a stand mixer fitted with the whisk attachment. You can add a pinch of salt and/or cream of tartar for stability if you wish. I only used salt in the photos you see. When your eggs begin to look frothy, slowly begin adding your reserved sugar, whipping constantly on medium-high.
- Continue whipping your egg whites until they form stiff peaks. Ideally your meringue should reach stiff peaks at the same time that your sugar syrup reaches 235˚F. If your egg whites are whipping too fast, reduce the mixer speed to medium. You can also adjust the heat on the sugar syrup to make it cook faster or slower.
- To test your syrup you can either use a candy thermometer or you can do it the old-fashioned way, which is what I did here. Take a tiny bit of the syrup on a spoon and dip it into ice water, reach in and grab the sugar. If it dissolves, it isn’t close to ready; if it forms a little malleable ball, it’s ready!
- Turn your mixer up to high and SLOWLY pour the sugar syrup down the side of the bowl. Be very careful not to hit the whisk. Ideally you should pour it in one solid stream down the edge because it will solidify where it hits the bowl, so if you pour it in three different places, you will be losing sugar. Sadness.
- Keep whipping the Italian meringue on high until it forms stiff, but what is more important than the stiffness of the meringue is the temperature of the meringue. Before you begin adding the butter, the bottom of the bowl should feel barely warm.
- When the bowl feels just slightly warm, switch to the paddle attachment and begin adding your butter a piece at a time. I take my butter out of the fridge when I begin measuring my ingredients. Before adding each piece squeeze the butter.
- Continue to beat the butter in on medium-high until the buttercream is smooth and there are no remaining pieces of butter. Add the vanilla extract or other flavorings. At this stage I switch back to the whisk and beat it until it is light and fluffy. Pipe or spread as desired!
Video
Notes
Nutrition
Before You Go
I hope you enjoyed this professional chef tested recipe. Check out our other delicious, chef-developed cake frosting recipes, or bake up my moist vanilla cake recipe to pair with them!


Can cocoa powder be put into Italian meringue buttercream? Last time I tried to put melted chocolate and it did not turn out well. Any suggestions?
Hi Stephanie! Cocoa powder is a great way to go if melted chocolate didn’t behave for you. Just sift it well and add a bit at a time to taste. When you tried the melted chocolate, if it seized or curdled the buttercream, it was likely too warm when added, so make sure it’s fully cooled next time. I dive more into chocolate buttercream with my chocolate American buttercream, if you want another reference! Happy frosting!
Can you put IMB in a pumpkin roll and freeze ahead?
Hi Kim! Absolutely, IMB works beautifully in a pumpkin roll. You can make and fill your roll, wrap it tightly in plastic and foil, and freeze. When you’re ready to serve, thaw overnight in the refrigerator, then let it come just to room temp so the buttercream softens again before slicing. Generally freezing for pumpkin rolls is not my favorite plan, because though you could freeze a pumpkin roll for up to 2 months, when it’s thawed it sometimes gets a bit soggy.
Hi Chef Lindsay,
This was my first try with IMB – it came out great. I did some test batches at home, but the final cake was prepared at 6500 feet elevation – so I did not think about the different boiling point for water and candy. I also loved your “How to Fix Italian Meringue Buttercream section” It helped reduce some anxiety when things were not going as planned.
A fan forever!
Ron
Hi Ron! Oh wow, I’m so impressed you pulled this off at 6500 feet, high-altitude sugar work is no joke. Welcome to the IMB fan club, and thank you for sharing your success!
My first attempted with Italian meringue buttercream! Success!! So simple and delicious. Thank you for all the tips along the way, and the video. I made the chocolate; next up, lemon curd.
Hi Marian! That’s such a huge deal! Welcome to the IMB club, thanks for taking the time to rate and comment, always makes my day!