This post may contain affiliate links. Please read our disclosure policy.
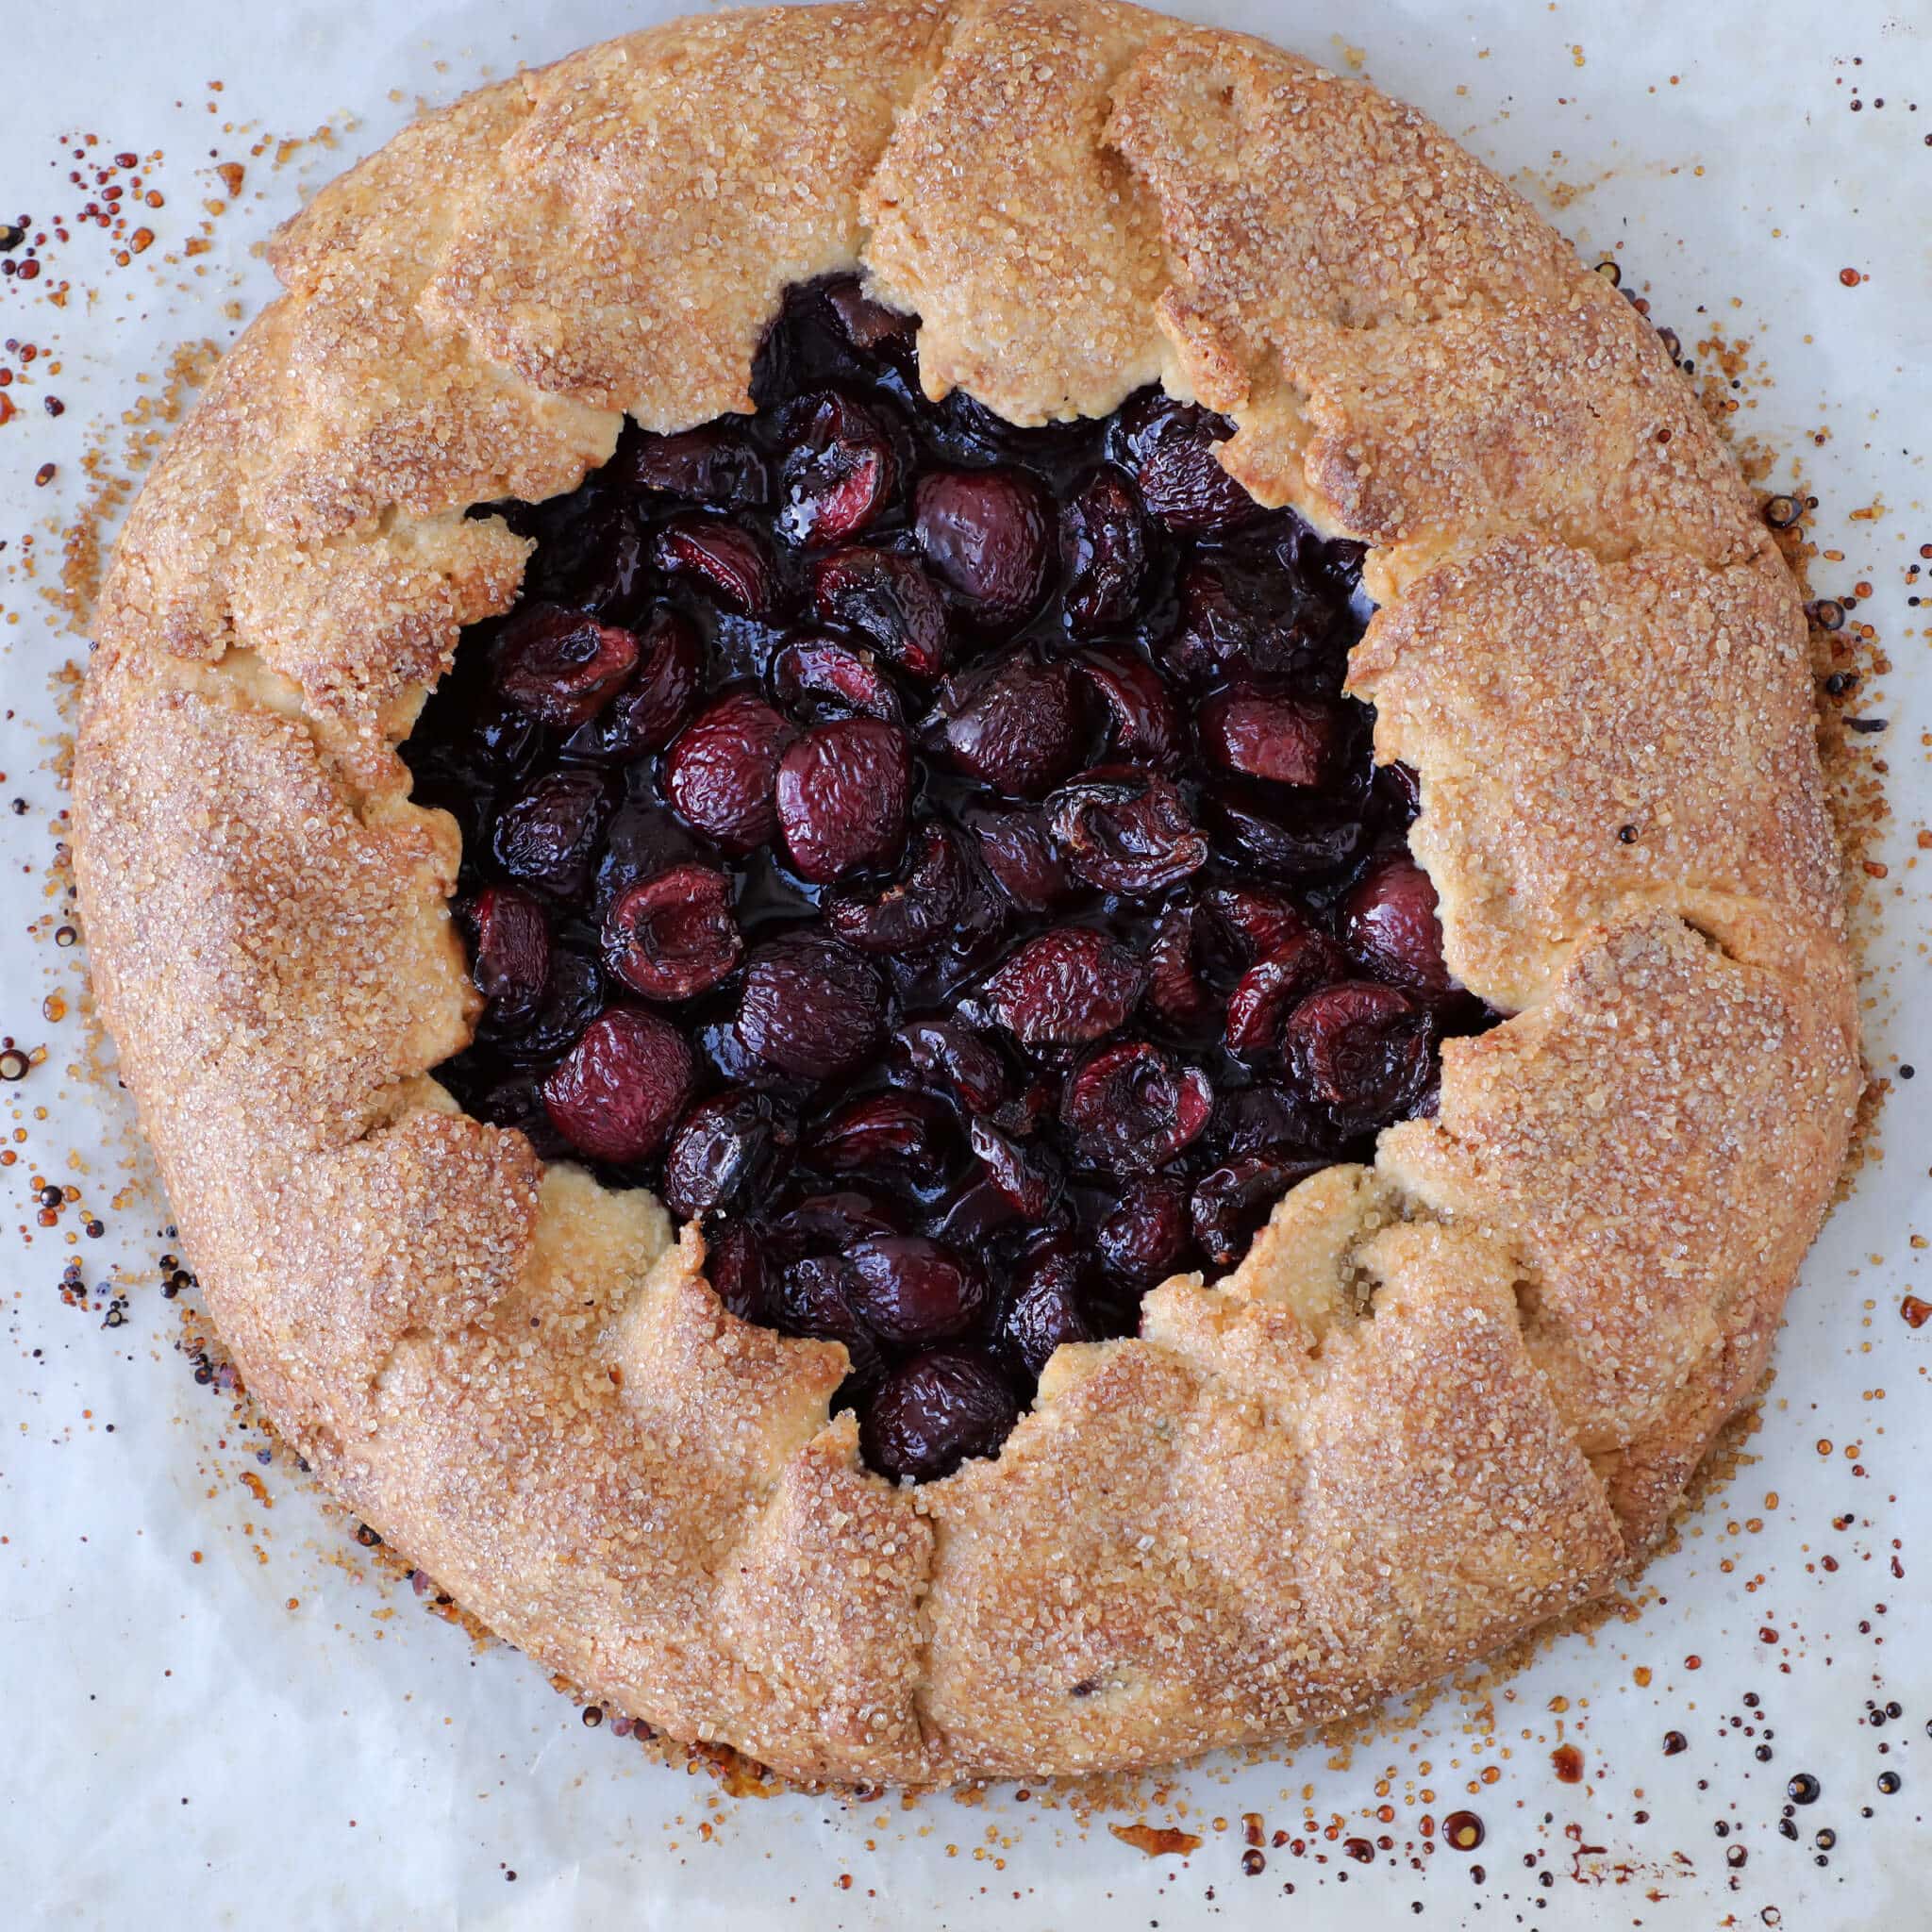
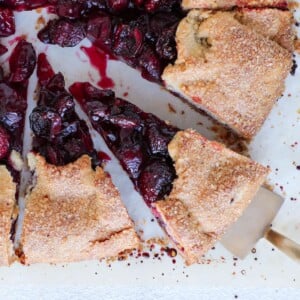
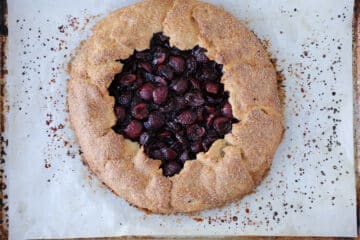
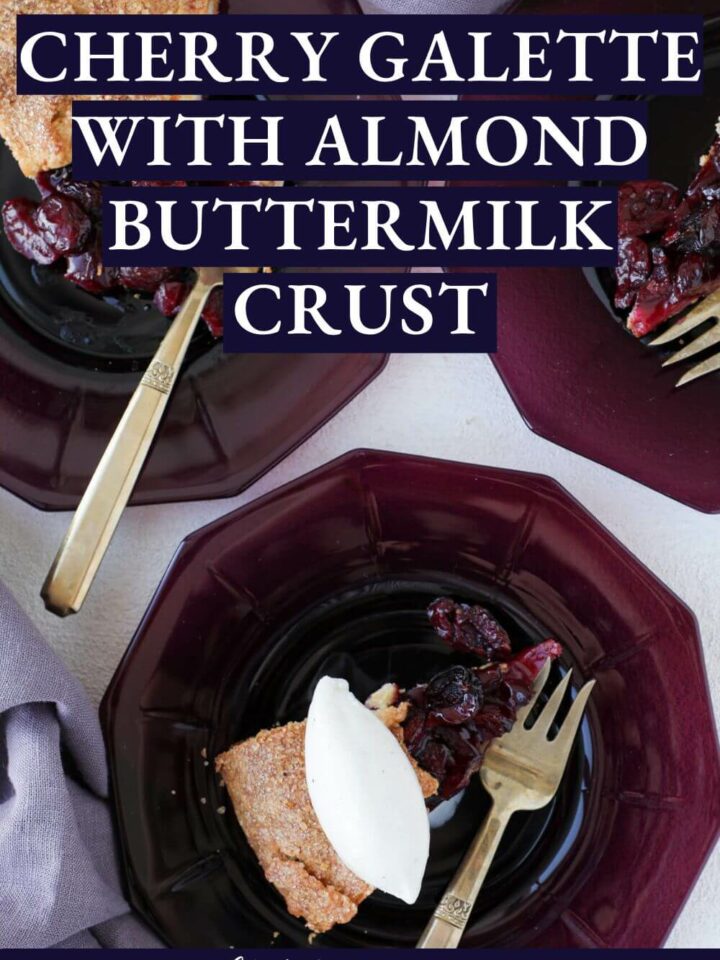
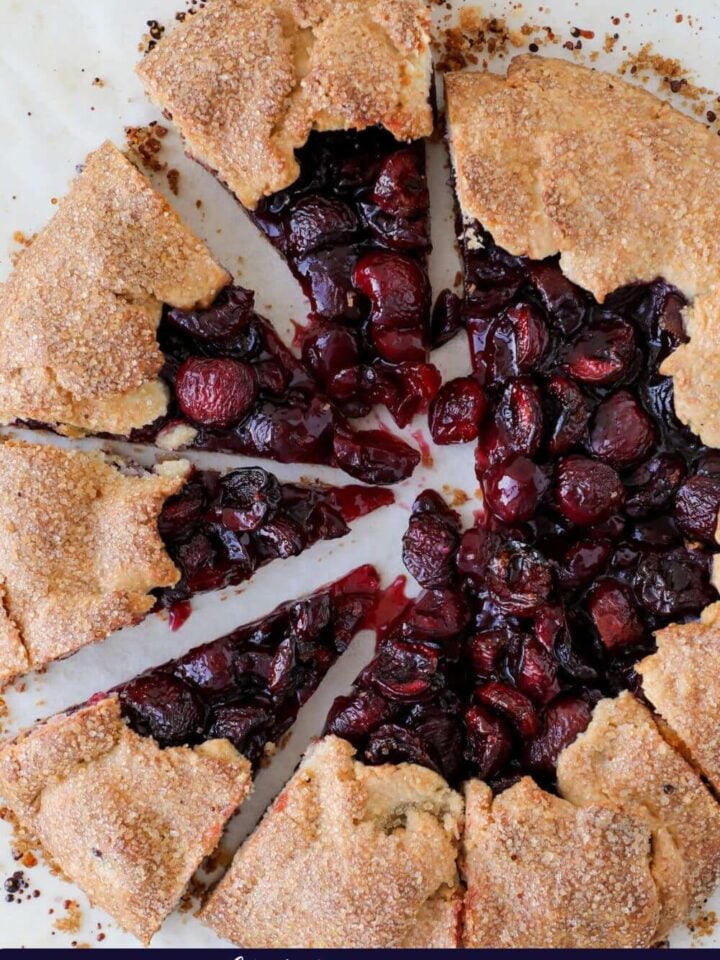
This Cherry Galette with an Almond Buttermilk Crust has sweet, roasted cherries and the all-butter, buttermilk crust has a wonderful texture and just a hint of almond.
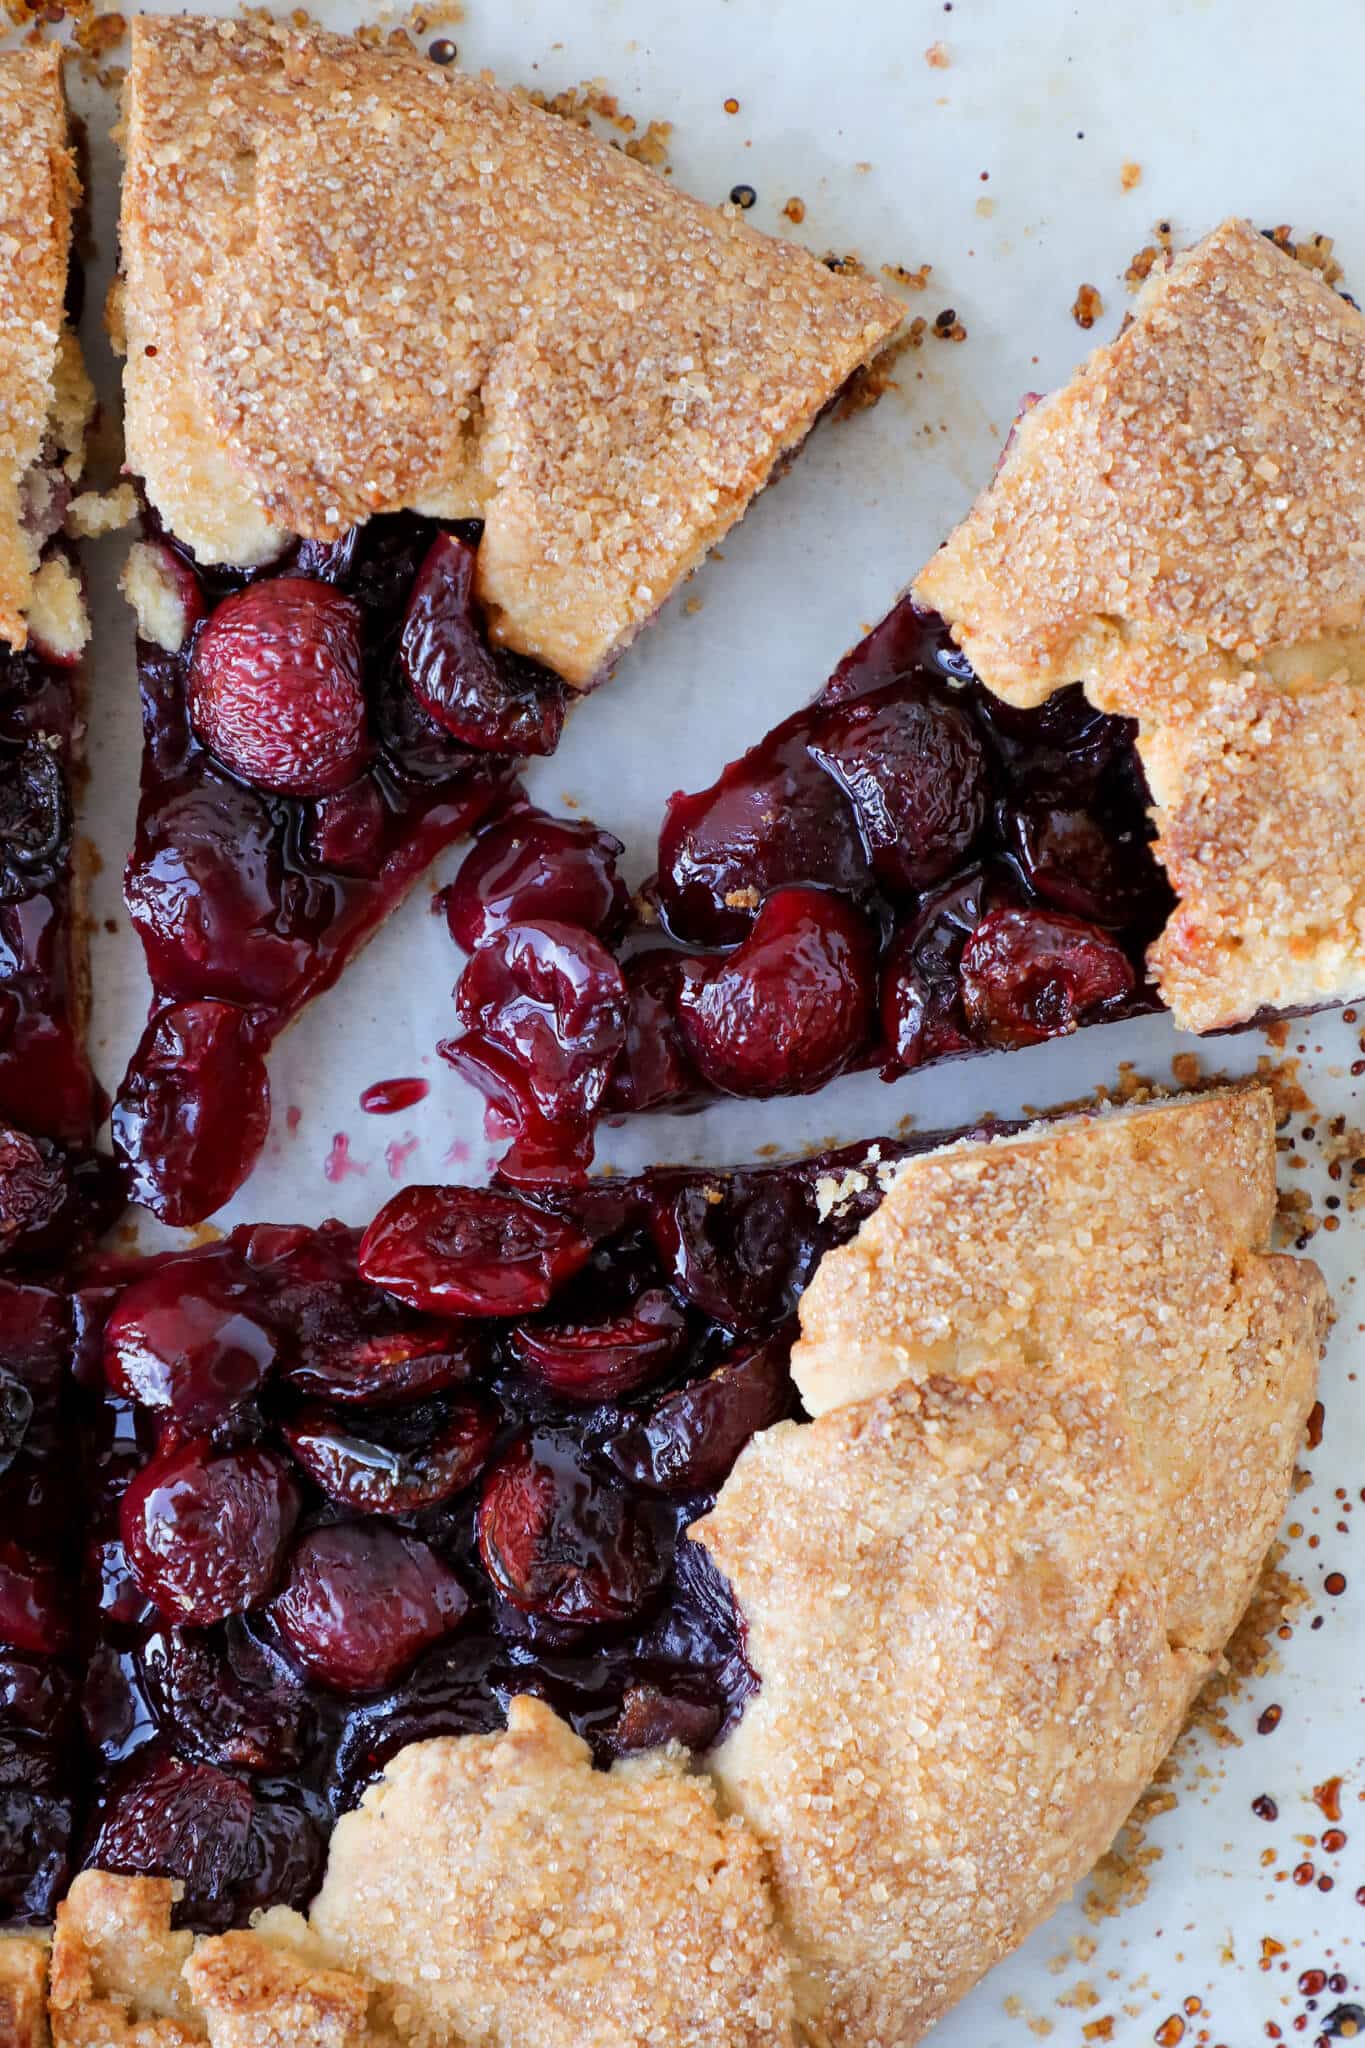
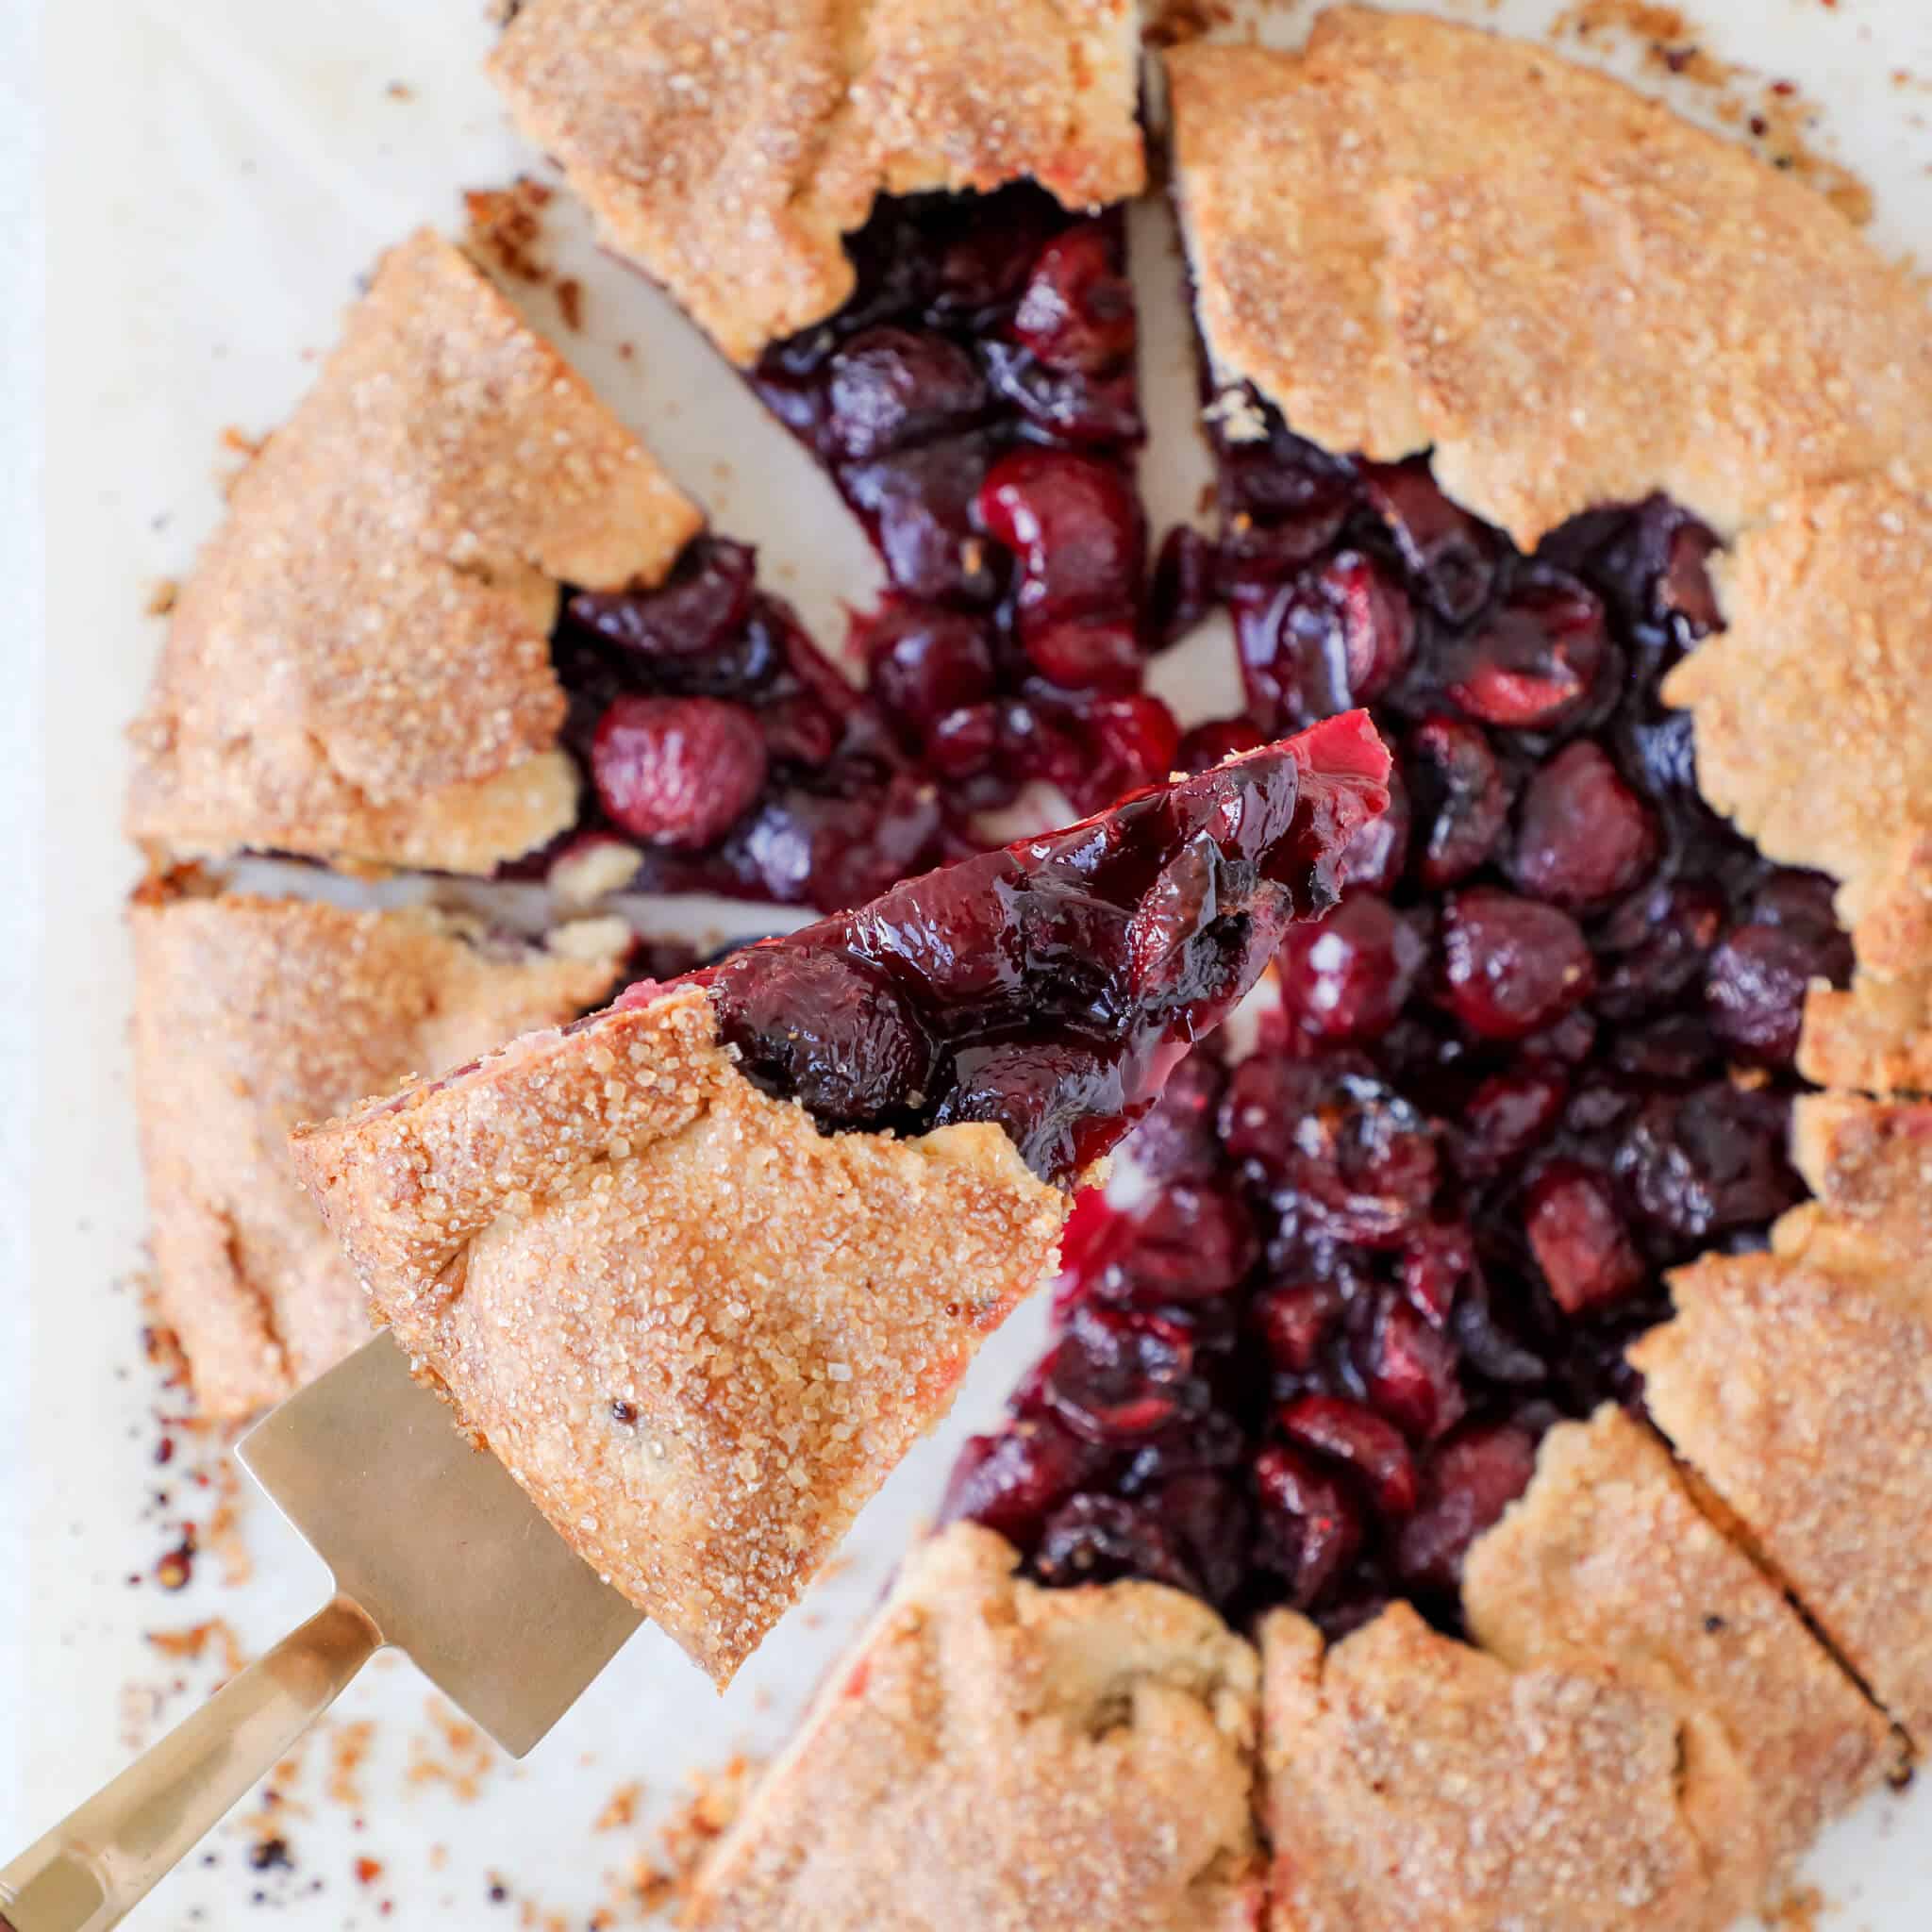

I was positively giddy rolling out the dough and forming the galettes. I’ve never made a galette before, so I wasn’t really sure what to expect. Sometimes the easiest looking treats can be the most complicated. These really are super easy.
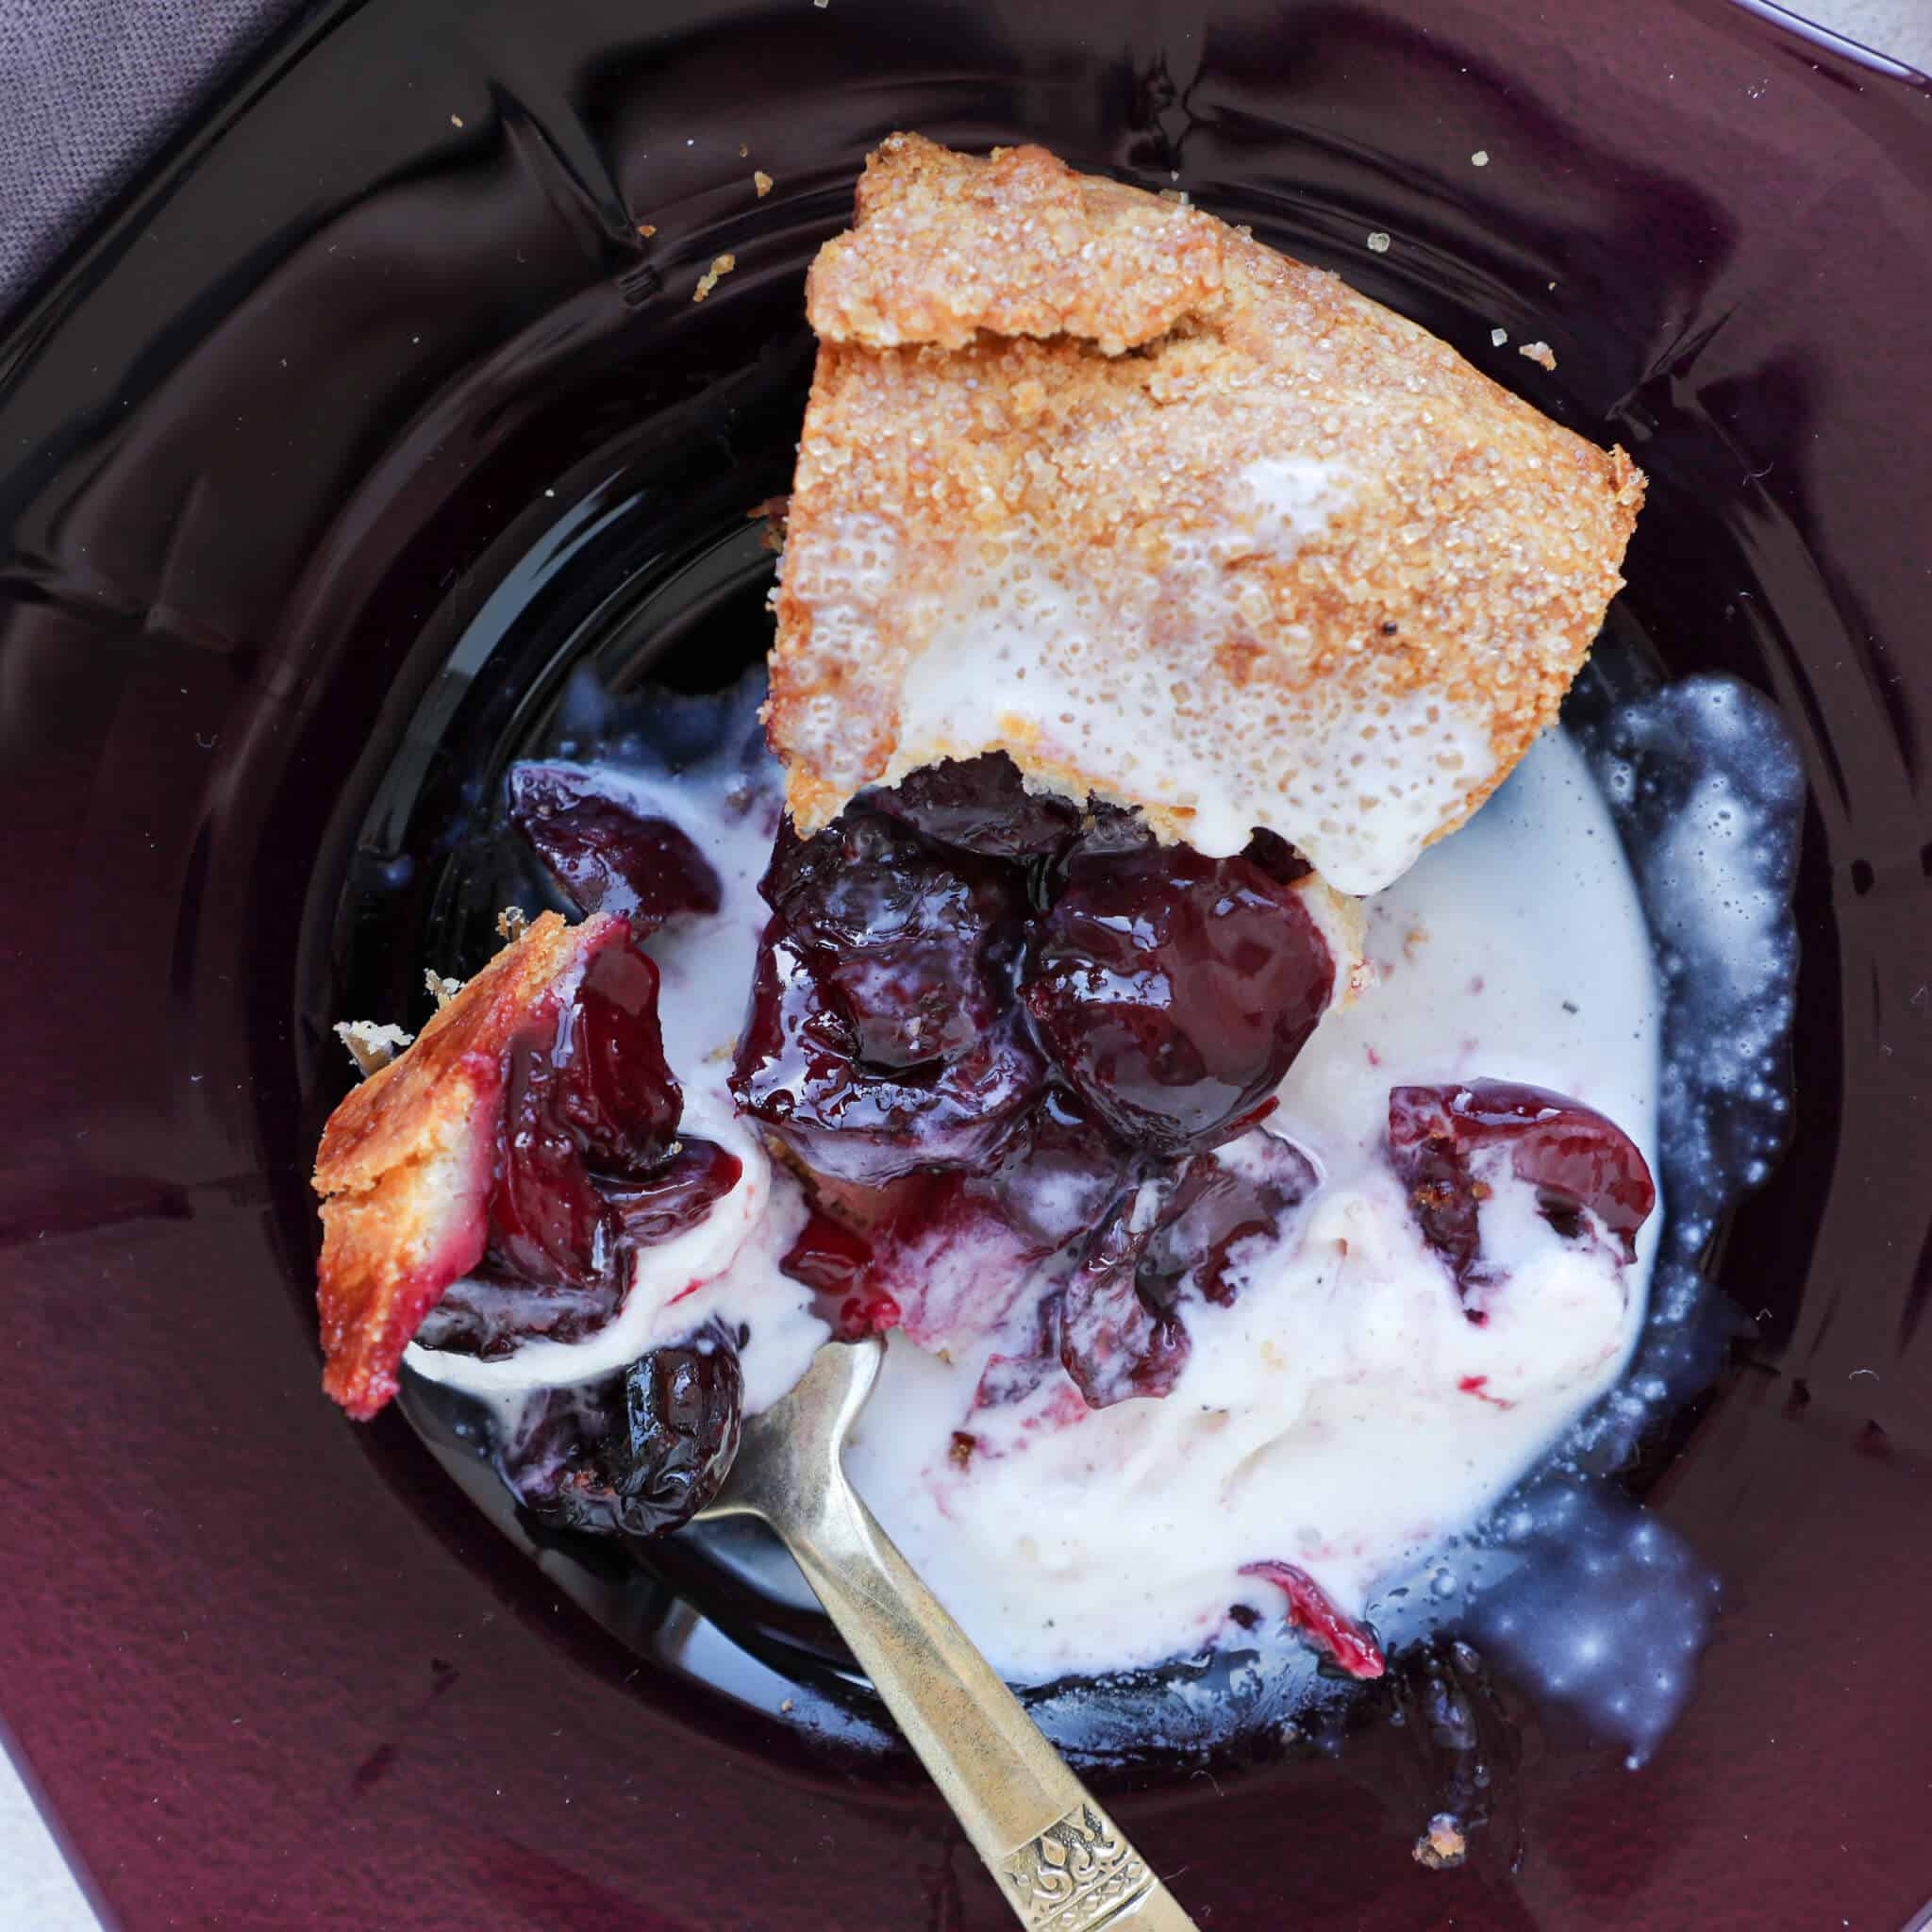
Not even burning my finger on the oven rack could stymie my enthusiasm for this Cherry Galette!
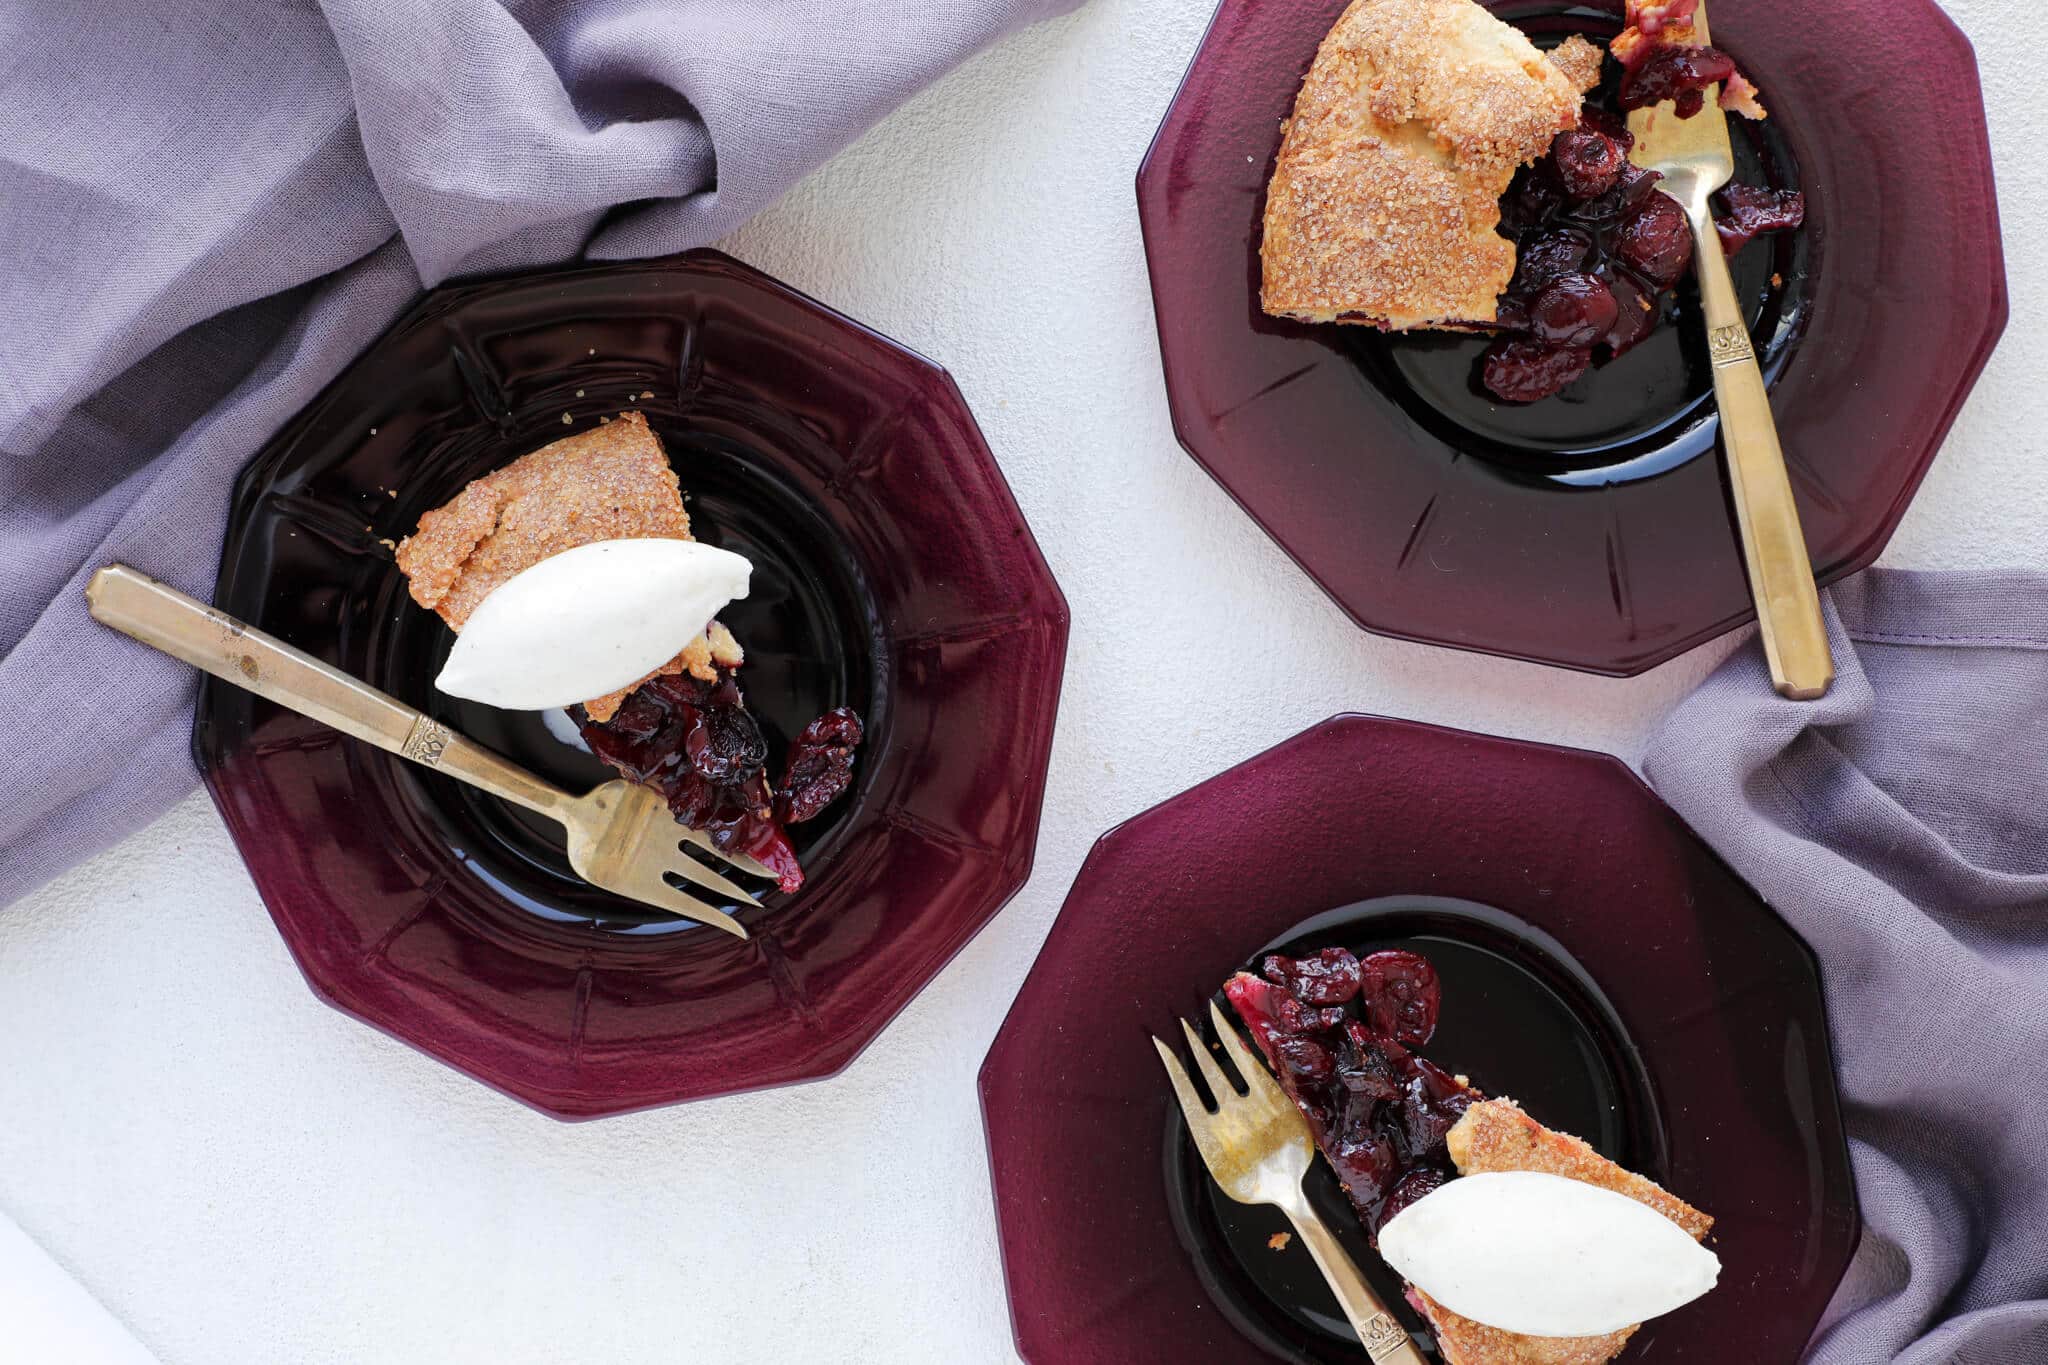
The all-butter, buttermilk crust has a wonderful texture and just a hint of almond. Next time I will brush the top with heavy whipping cream before sprinkling the sugar – the additional buttermilk was too much for my taste. I also think that this crust deserves more cherry filling, and would probably add another cup of berries and an extra tablespoon of sugar.
If you loved this cherry galette, you won’t want to miss these 20 Easy Summer Desserts! You can also use the remaining buttermilk to make buttermilk biscuits and buttermilk pie!
Cherry Galette with an Almond Buttermilk Crust
Ingredients
For the Cherry Filling:
- ¼ cup granulated sugar divided
- 1 ½ teaspoons cornstarch
- 3 ½ cups sweet cherries pitted
- ½ teaspoon lemon zest
- 2 teaspoons fresh lemon juice or less if you want a less lemony taste
For the Almond Buttermilk Crust
- 1 ¾ cups all-purpose flour
- ¾ cups almond meal
- 2 tablespoons granulated sugar
- ½ teaspoon salt
- ¾ cups cold unsalted butter, cubed
- ½ cup buttermilk
- 1 ½ tablespoons heavy whipping cream or egg wash
- Turbinado sugar for sprinkling
Instructions
To Prepare the Crust:
- Cube your butter, re-wrap in the wrapper, and place in freezer. This is probably a bit much but I’m a touch superstitious about my pastries. Everything has to be done “just so” because I want them to be perfect. No more of this!
- Mix flour, almond meal, sugar and salt together in a medium bowl.
- Add the butter cubes to the flour and cut in the butter using a pastry blender or two knives until the mixture resembles course crumbs.
- Slowly drizzle the buttermilk over the dough a little at a time and toss gently with a fork until the dough holds together. You can add up to an additional tablespoon of buttermilk if you need to. The dough should not be “wet”.
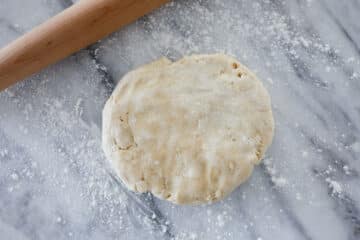
- Form the dough into a ball (or two!) and gently flatten into a disk. Wrap tightly in plastic wrap or a plastic baggie and place in the freezer while you prepare the filling.
- Preheat the oven to 400F
Prepare the Filling:
- Pit your cherries. [I read in Fine Cooking that you can use a straw, but this has yet to work for me. I use a potato peeler for the ones I am leaving whole and then on all the rest I slice around the middle with a paring knife, twist apart the halves, and then dig out the pit with my fingernail or the potato peeler. I really should just get a cherry pitter. ]Halve all but 1 cup of the pitted cherries.
- Add the lemon zest, lemon juice and sugar to the cherries and toss to coat evenly.
Assembling the Cherry Galettes
- Take your dough out of the freezer and let it rest at room temperature if it is too hard (like, if you decided to go to the gym and left it in the freezer for more then 20 minutes.)
- Line your flat baking sheet with parchment paper
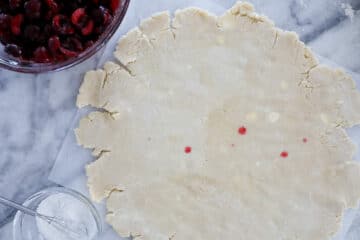
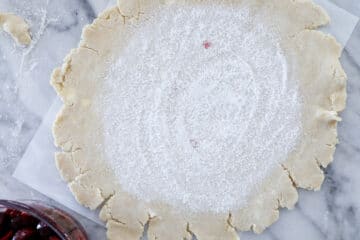
- Roll out your dough until it is just shy of ¼ inch thick, paying little attention to the jagged edges or cracks. Think of these things as giving your galette character!
- Roll the dough over your rolling pin and unroll it on the parchment paper
- Mix the cornstarch and 1 tablespoon of sugar together with a whisk and spread on the dough, leaving a 2-inch border.
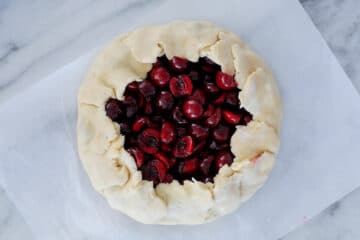
- Unceremoniously dump the filling into the center of the dough and spread gently, mounding slightly in the middle and leaving a 2-inch border.
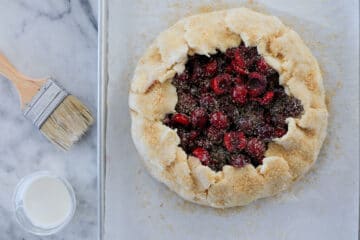
- Fold dough border over cherries, pressing gently to seal the edges. Overlap decoratively.
- Brush the exposed crust with heavy whipping cream and then generously sprinkle cherries and crust with turbinado sugar.
- Bake in pre-heated oven at 400F for ~35-40 minutes or until the crust is a golden brown.
- Let cool on the cookie sheet at least 20 minutes before serving.
- Serve with vanilla ice cream!



So beautiful and rustic looking. It’s been a long time since I’ve made a galette. Love the use of almond meal in the dough!
Thanks Christin! I love the galette’s rustic beauty too! I would be hard pressed to choose a favorite between pies and galette!
These look beautiful! The tomato mozzarella one sounds great too!
Thanks, Laura! As soon as I typed that I ran and added heirloom tomatos and fresh mozzarella to my grocery list!
Wooo…your photos are sooo delicious looking! I just want to bite into them. I love easy baking. What other flavors have you tried making this dish with?
Thanks, Kim! This was my very first galette, but I want to try peach, blueberry and some savory ones like tomato mozzerella!
I’ve always wanted to make a galette!! Yours looks so good!
Thanks, Ashley! This was my first try! I was really afraid it would be difficult to shape or mine would be hideous, but it really was beyond easy. The Cooking Light recipe actually calls for store-bought pie crust. Imagine the simplicity there!
Beautiful galette! I love cherries and this is a lovely way to make a dessert out of them. And I agree, more cherry filling is better (if you can squeeze it in 🙂
The more the merrier is the rule in my kitchen!