This post may contain affiliate links. Please read our disclosure policy.
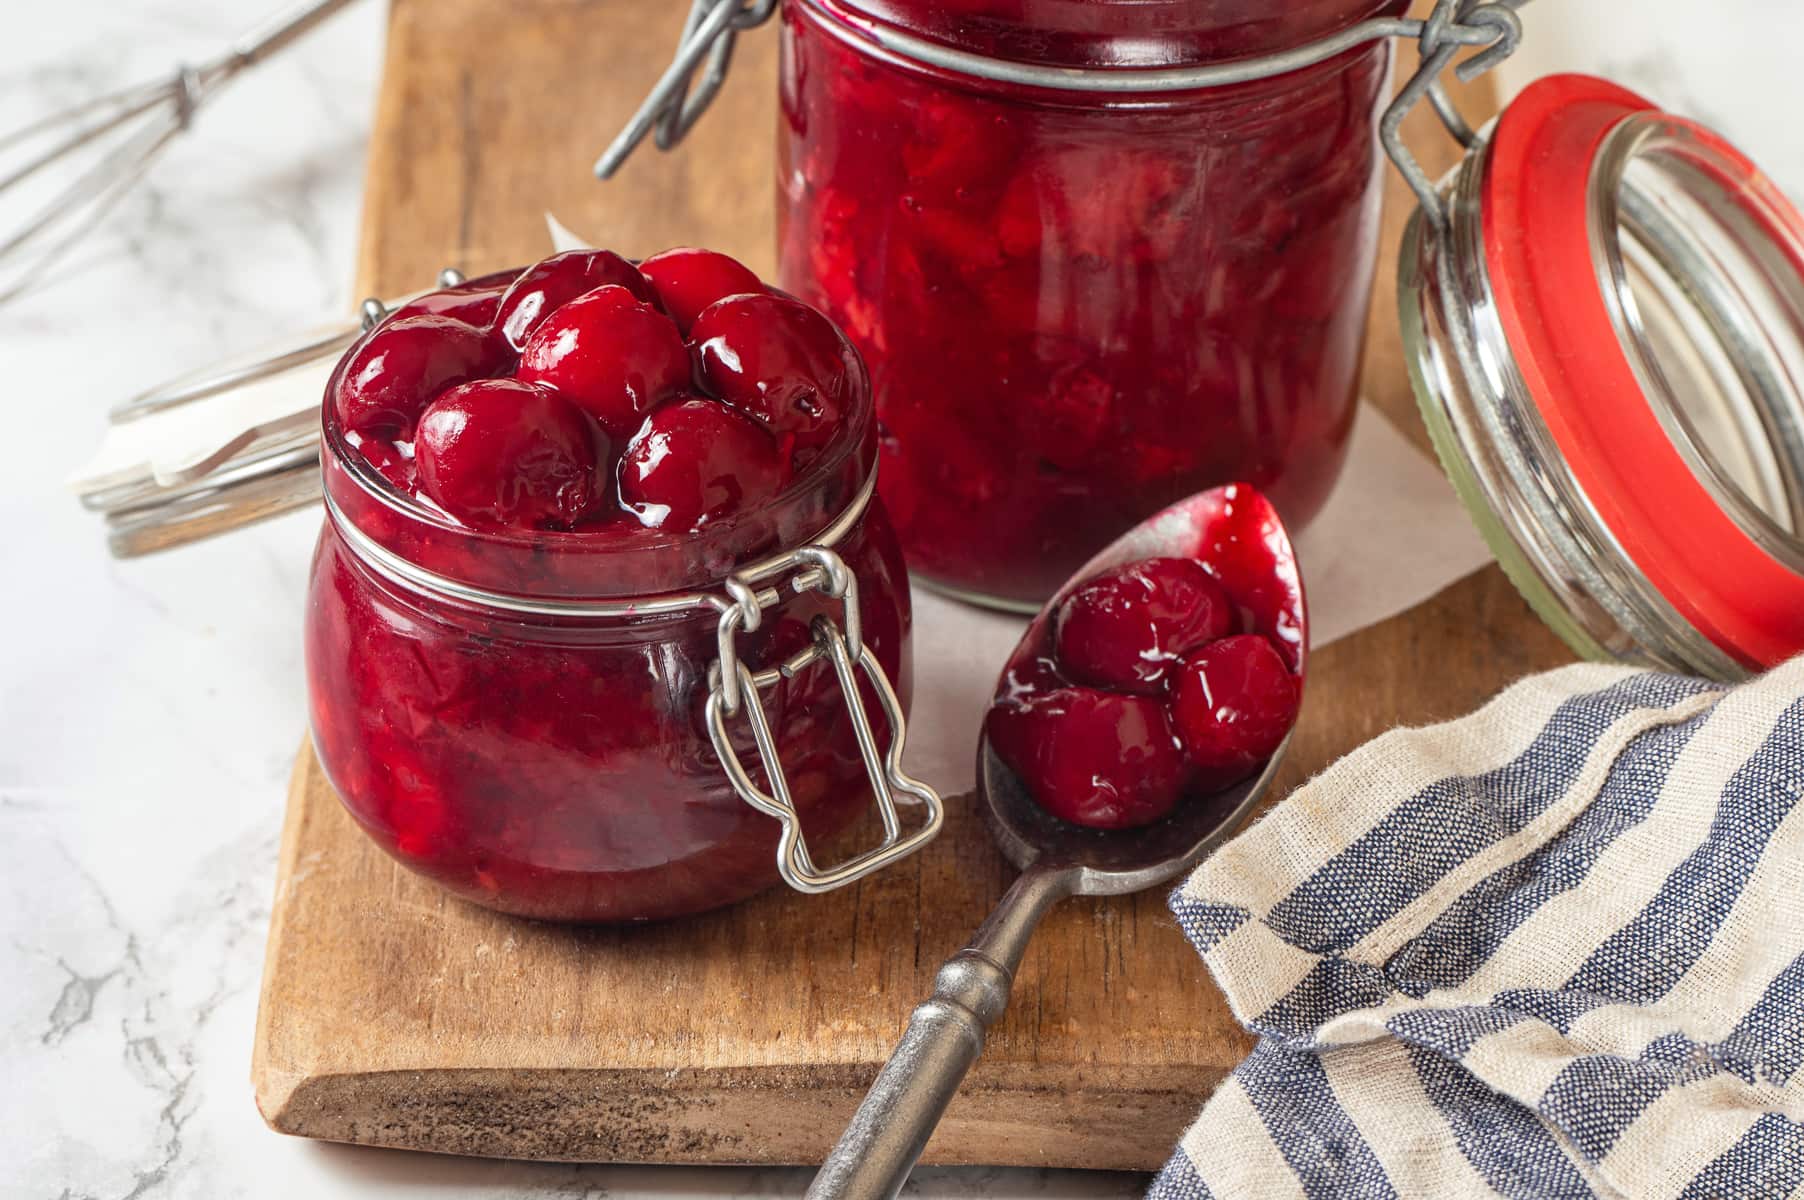
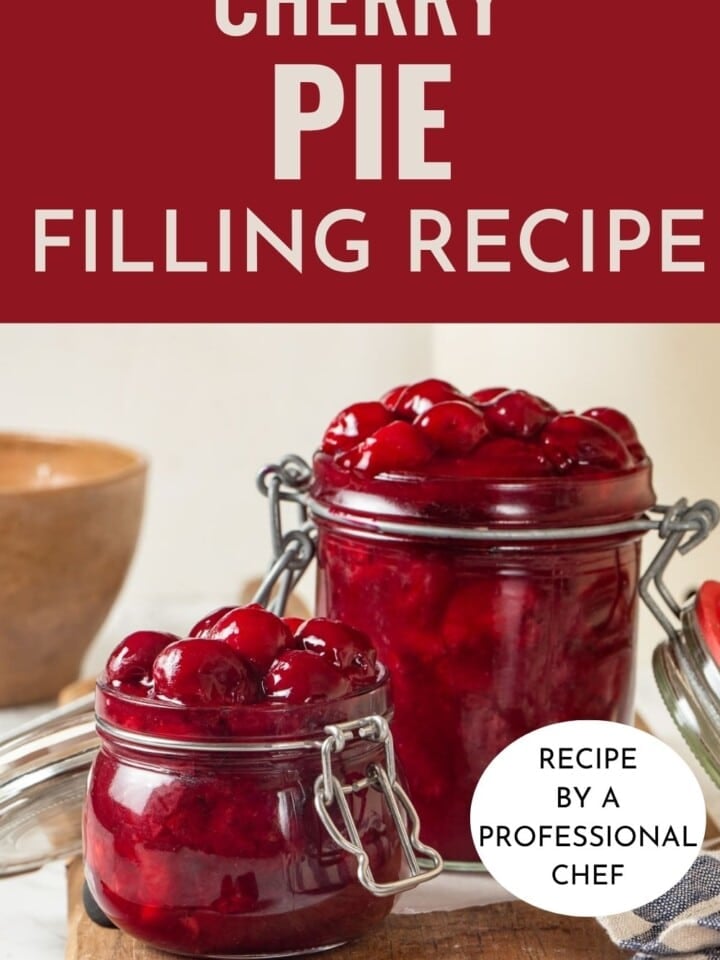
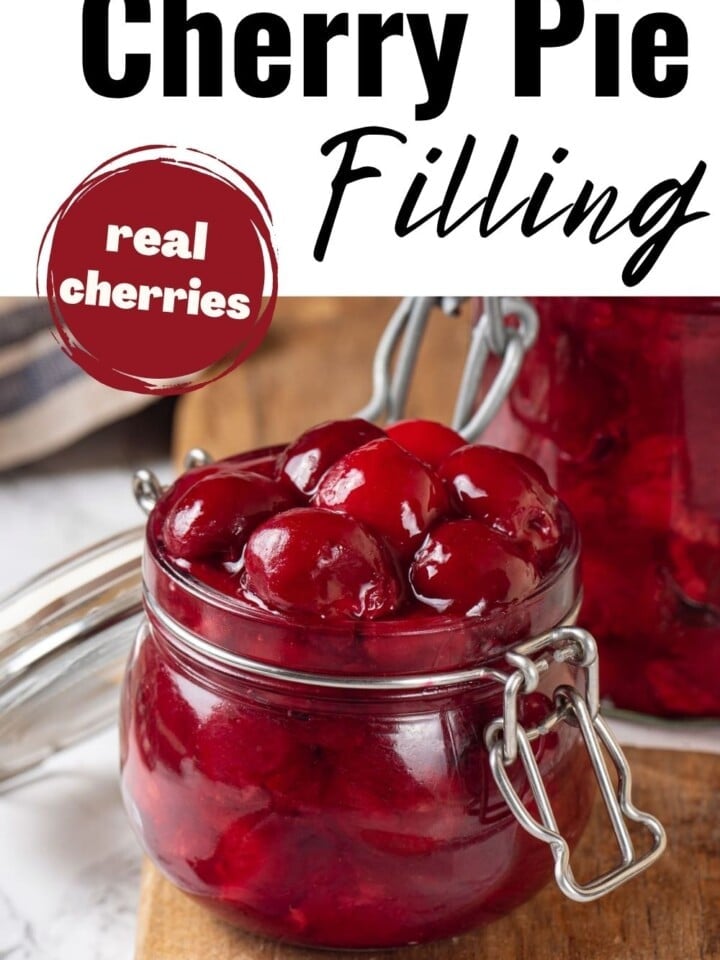
This Cherry Pie Filling Recipe is made with just four ingredients and comes together quickly. It’s thickened to perfection and ideal for pies, cobblers, crisps, or cakes.

Nothing is better than homemade pie filling! The almond extract accentuates the cherries and gives this filling a more elegant and elevated flavor.
I love it when you go to the farmer’s market and you see all these bright red cherries. So, of course, I buy as much as I can carry! In addition to this filling, I make this cherry preserve recipe and these pickled cherries, which are perfect additions to my summer panzanella salad!
Why You Will Love This
- Thick and luscious filling, cooked to perfection! Use it to make a cherry pie that will hold its shape when cut! You can adjust the cooking to create the perfect texture for cobbler, cakes, and more. If you plan to cook the filling again, be careful not to overcook it on the stovetop!
- It’s super easy to make. This homemade, perfectly sweet and tart filling can be done in under 20 minutes! Trust me, you will never go back to store-bought pie filling again.
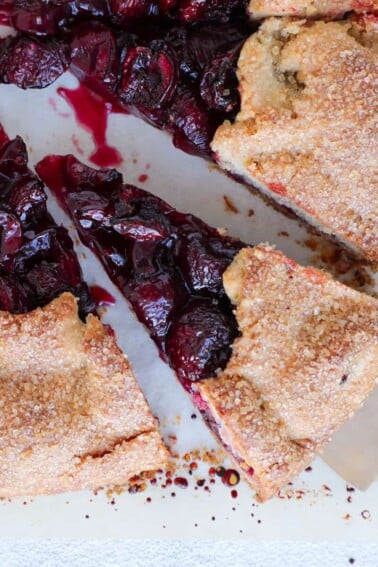
- Perfect year-round: Cherry pie bars for the Fourth of July, cherry cobbler for Thanksgiving, and a cherry crisp for Christmas! This filling can be made year-round using frozen cherries. You can also make large batches and freeze them for future use!
Ingredients & Substitutions
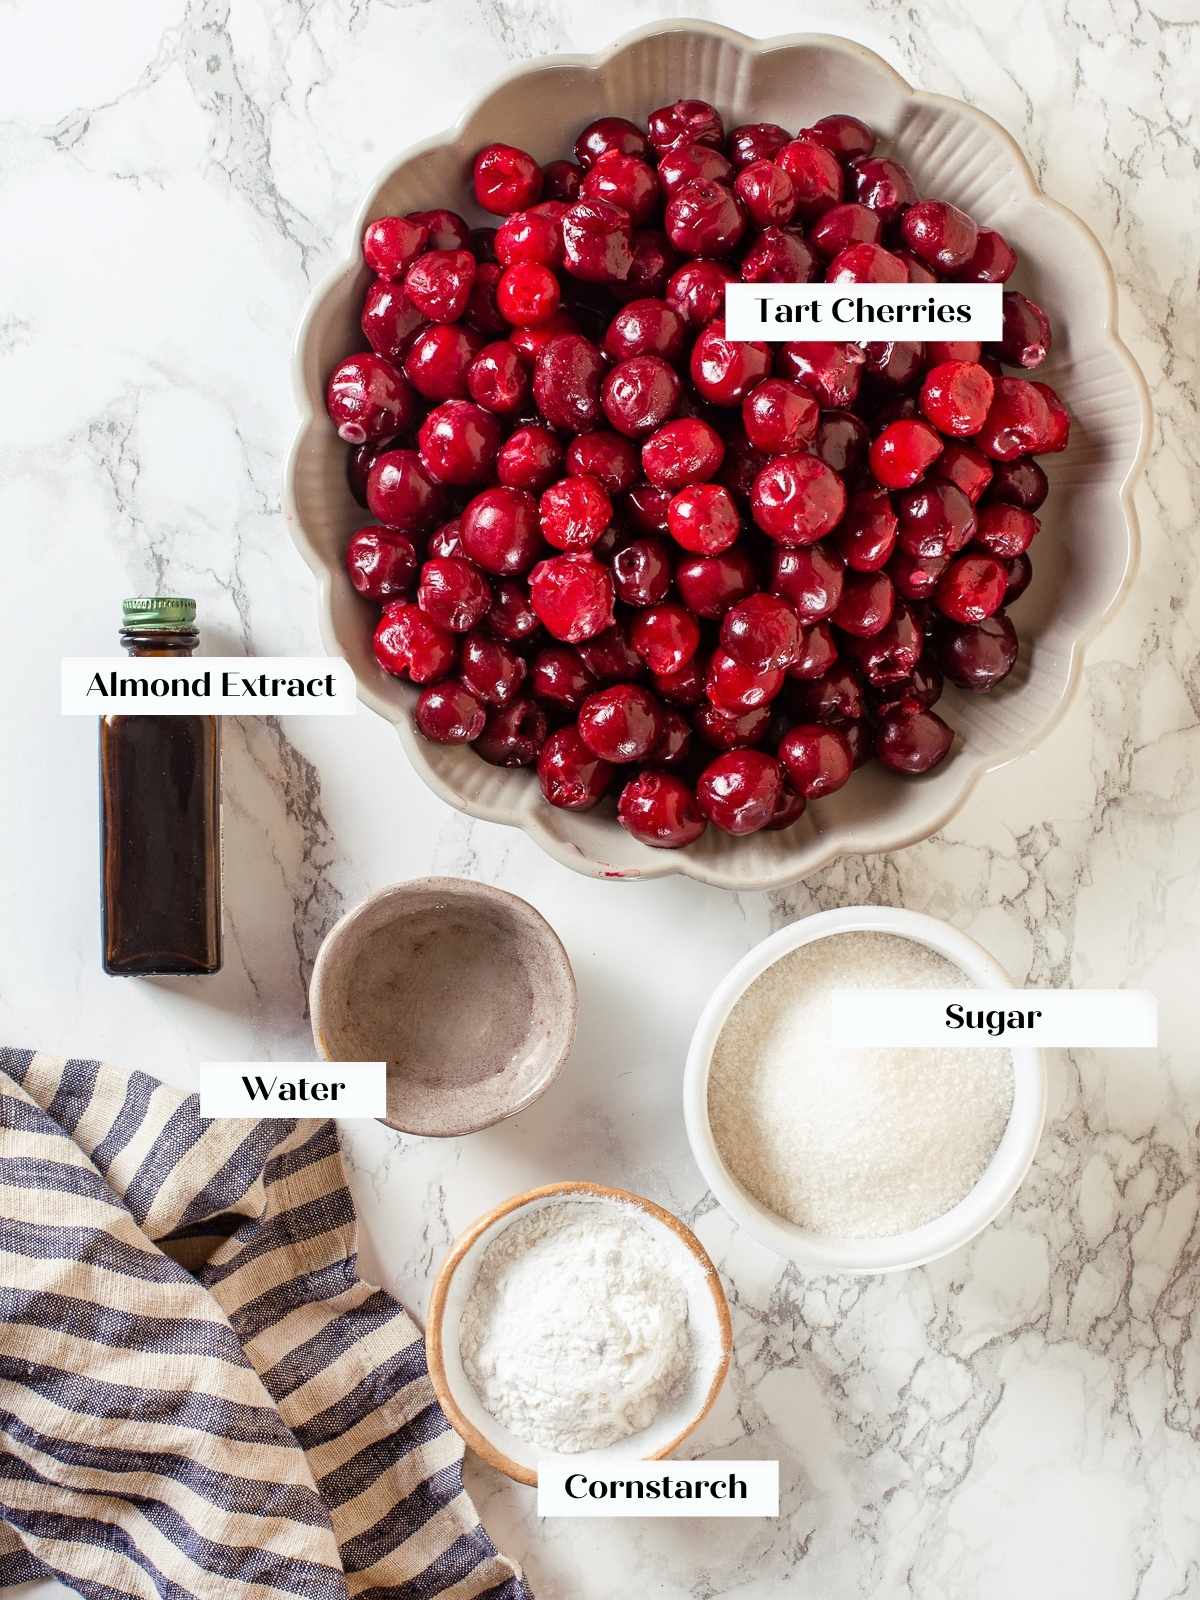
- Tart Cherries: You can make this pie filling with sweet cherries, tart cherries, or a mix of both. The cherries can be fresh, frozen, or canned.
- Cornstarch or Tapioca Flour: I prefer tapioca to thicken my fruit pie filling. It thickens better than cornstarch and doesn’t have an off-putting flavor. I use Bob’s Red Mill tapioca flour. You can also use cornstarch as the thickener in this pie filling. It will become clear and tasteless as long as you allow it to boil for at least a minute.
- Water: Only necessary if using cornstarch to make the slurry.
See the recipe card for full information on ingredients and quantities.
Variations
- Infuse the filling. While the filling is cooking, you can infuse it with whole spices. Try infusing vanilla beans, cinnamon sticks, cloves, ginger, or nutmeg. Remove the spices before using the filling.
- Add different fruits. For example, add blueberries to the filling, like with this blueberry cherry cobbler. You can even try cherries with blackberries or raspberries, or you can make a stone fruit filling with peaches and apricots and use that with my favorite peach cake!
- Stir in some chocolate. When the filling is done cooking, stir in some dark chocolate. It will thicken the filling further. I would use this as a filling for a tart, cake, or ice cream topping. Once you add the chocolate, you don’t want to cook it again because it can cause the filling to seize and become grainy.
- Add some citrus. Swap the almond extract for citrus. Lime, clementine, blood orange or lemon juice would be a delicious addition.
- Mix in some booze. Once the filling is thickened, add cognac, brandy, bourbon, amaretto, or Frangelico. You can continue to cook out the alcohol or leave it as is.
How to Use Cherry Pie Filling
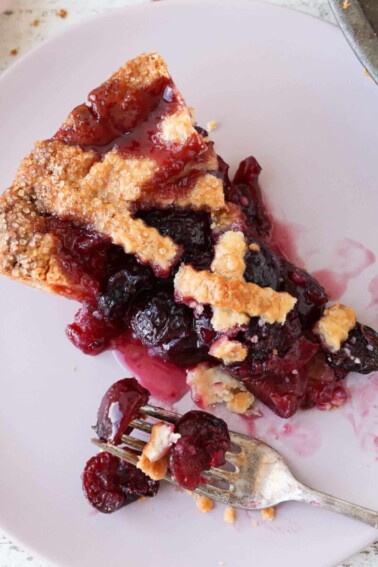
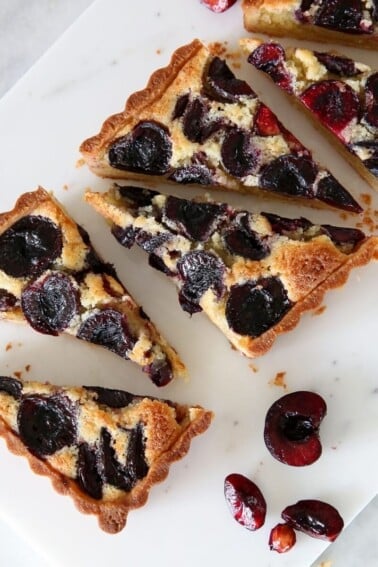
- Pies, tarts, crisps, and cobblers! Use the filling in a double crust pie using this vodka pie crust or this all-butter pie crust for a delicious cherry pie! You can also bake a cherry galette with this Crisco pie crust recipe or a simple cherry cobbler. Or use a homemade pie crust or almond flour pie dough and fill it with frangipane to make an almond cherry tart!
- Make a seasonal trifle. Grab your favorite pound cake and layer it with cherry filling and whipped cream! For extra creamy goodness, make it a crème légère with this pastry cream recipe! If you want to accentuate the almond in the filling, you can use this cherry almond pound cake!
- This pie filling is perfect for cakes. Layer it between chocolate fudge cake or replace the blueberries in these blueberry cheesecake bars. You can even swirl it into this chocolate cheesecake recipe for a chocolate cherry cheesecake or as a topping for my favorite cherry cheesecake!
- Serve it over ice cream, pudding, or pavlova. It’s the perfect addition to your summer desserts! You can serve it over this chocolate ice cream recipe or homemade vanilla pudding. It would also be a delicious variation on this lemon berry pavlova cake.
- Use it for brunch! Add this filling to the top of your sourdough pancakes or sourdough waffles, or add it to the best cinnamon rolls! You can also use it to make a yogurt parfait!
How to Make Homemade Cherry Pie Filling
Use these instructions to make this perfectly tart and sweet cherry filling! Further details and measurements can be found in the recipe card below.
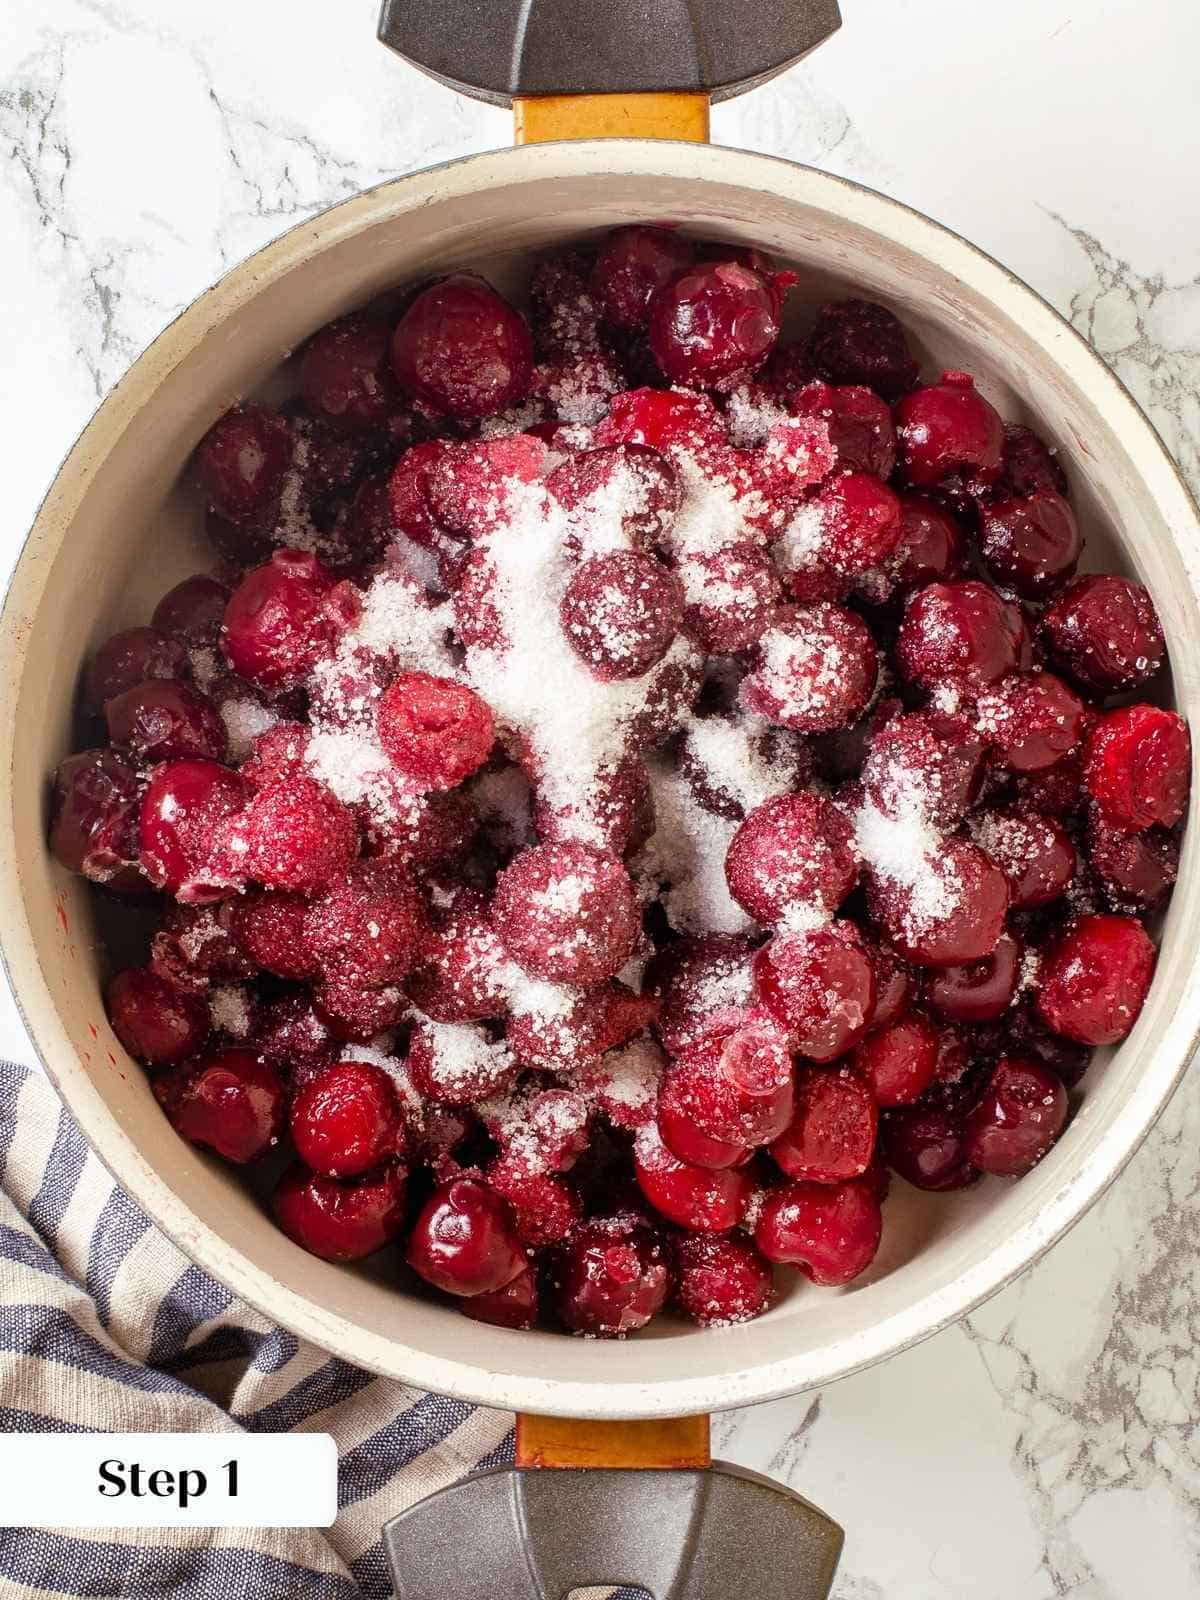


Step 1: Combine cherries and the accumulated liquid, almond extract, and granulated sugar in a medium saucepan. If using fresh cherries, remove the pits using a cherry pitter.
If you are using tapioca flour, add it to all the other ingredients and cook the mixture over low heat until the cherries release their juices.
Step 2: Cook slowly over low heat until the cherries release all their juices. If you are using canned cherries, I recommend boiling the mixture for 5-10 minutes to evaporate some of the additional water, just be careful that it doesn’t burn.
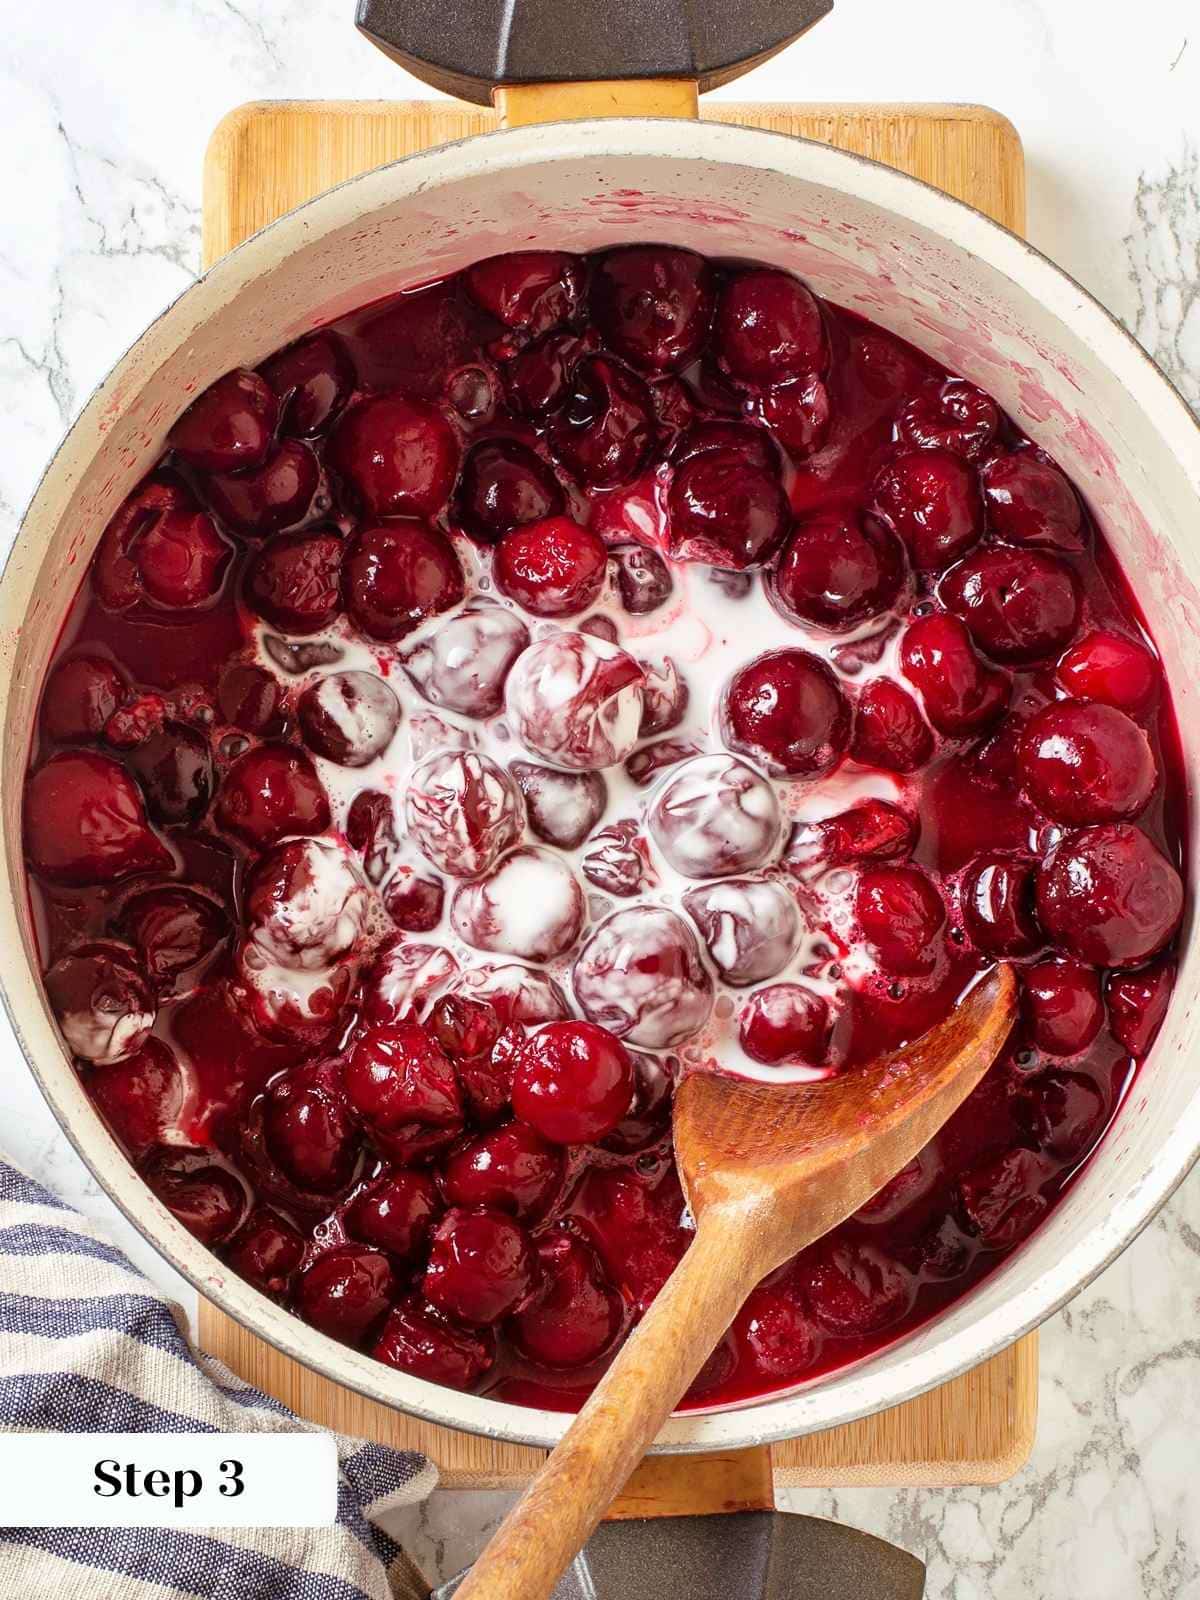
Step 3: In a small bowl, whisk together cornstarch and cold water. Reduce the heat to low and slowly pour the cornstarch slurry into the cherry filling, stirring constantly.
Step 4: Turn up to medium heat and boil the mixture for one minute to begin activating the tapioca or cornstarch.
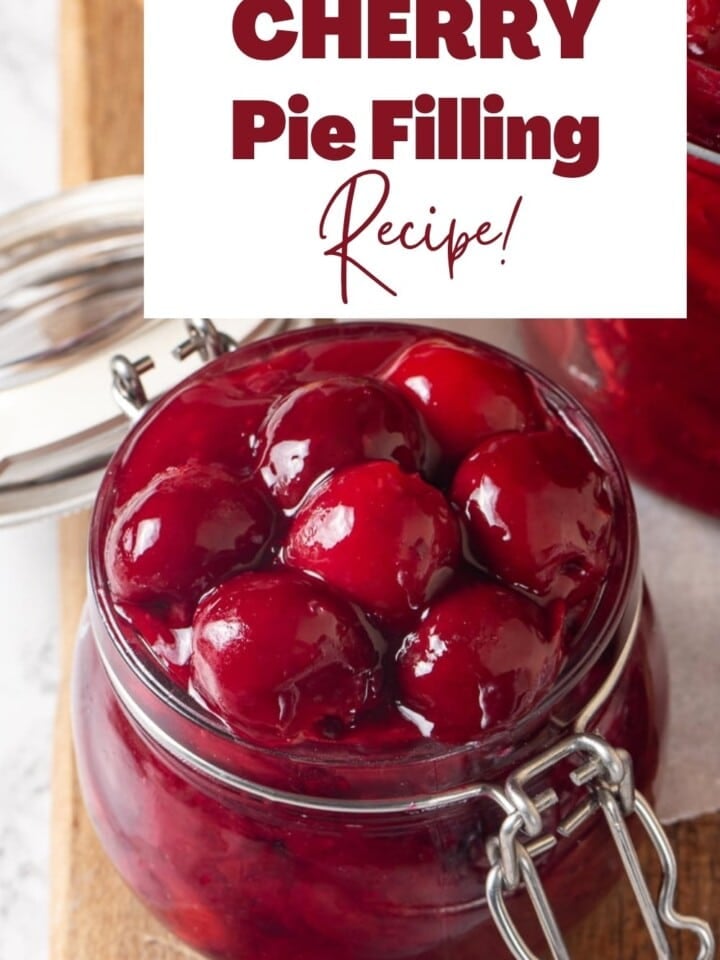
The filling will turn opaque once the slurry is added and translucent when the starch is fully activated.
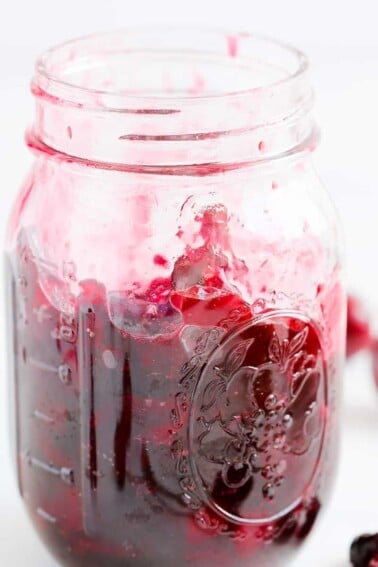
Step 5: Pour the mixture onto a parchment-lined rimmed baking sheet or pan and cool completely at room temperature. The pie filling is now ready to use, or you can spoon it into a clean, airtight container and refrigerate for up to 2 weeks or freeze for 3 months.
Chef Lindsey’s Recipe Tip
If you have tapioca flour, use it! Tapioca holds better and longer than cornstarch. Sauces, puddings, pastry cream, or fillings thickened with cornstarch will gradually begin to leach moisture. Fillings with more cornstarch tend to break down faster. Tapioca has a firmer hold and does not lose its grip as quickly as cornstarch.
Recipe FAQs
Store cooked and cooled cherry pie filling in an airtight container in the refrigerator for a week or up to 2 months in the freezer. Allow to defrost in the fridge or at room temperature.
If you used canned cherries in water, it could be that you didn’t let the water boil off enough. If you freeze your filling the defrosting can cause the cornstarch to lose some of its thickening power. Otherwise, the problem could be that the cornstarch wasn’t properly activated by the boiling.
Fresh sour cherries or frozen, pitted cherries will produce the most vibrant red filling with the best flavor. Using sweet cherries will yield a darker and duller filling. Canned tart cherries in water were a better option than using sweet cherries because they have excellent flavor.
It can be served over vanilla bean ice cream, this chocolate pudding recipe, or Bircher Müesli overnight oats.

Recommended Cherry Recipes
Pies and Tart Recipes
Cherry Pie
Summer Dessert Recipes
Cherry Almond Tart
Jams & Jelly Recipes
Easy Cherry Preserves
If you tried this recipe and loved it please leave a 🌟 star rating and let me know how it goes in the comments below. I love hearing from you; your comments make my day!

Cherry Pie Filling
Ingredients
- 29 ounces tart cherries pitted (2 cans)
- ¼ teaspoon almond extract
- ¾ cup granulated sugar or more to taste
- 3 tablespoons cornstarch or tapioca flour
- 1 tablespoon water
Instructions
- Combine cherries and their accumulated juices, almond extract, and granulated sugar in a medium sauce pot. If you use tapioca flour, add it with all the other ingredients and cook them over low heat until cherries release juices.
- Cook slowly over low heat until the cherries release all their juices. If you are using canned cherries, I recommend boiling the mixture for 5-10 minutes to evaporate some of the additional water, just be careful that it doesn’t burn.
- In a small bowl, whisk together cornstarch and cold water. Reduce the heat to low and slowly pour the cornstarch slurry into the cherry filling while stirring constantly. Turn up the heat and boil the mixture for one minute to begin activating the tapioca or cornstarch.
- Pour the mixture onto a parchment-lined rimmed baking sheet or pan and cool completely at room temperature. The pie filling is now ready to use, or you can transfer it to a clean, airtight container and refrigerate for up to 2 weeks or freeze for 3 months.
Notes
Nutrition
Before You Go
I hope you enjoyed this sweet summer pie filling recipe. Check out our other delicious pie and tart recipes like this tart and easy key lime pie or these rich chocolate tarts!


I have had frozen cherries in my freezer for a few months now, and I finally used them for this filling! I love the addition of almond extract; it really brings out the sweetness in the cherries! I used the filling to layer with your moist chocolate cake with some whipped cream for black forest cake, and it was so good, I will have to use it in a tart or pie next!
I used canned tart cherries and simmered them a little longer, like the notes suggested. The almond extract made it taste like real pie filling, not overly sweet or fake. I let it cool on a sheet pan, and then had it as my topping on yogurt for breakfast all week. Is it weird that I didn’t even make a pie with it yet? I’ll have to make another batch to try that next!