This post may contain affiliate links. Please read our disclosure policy.
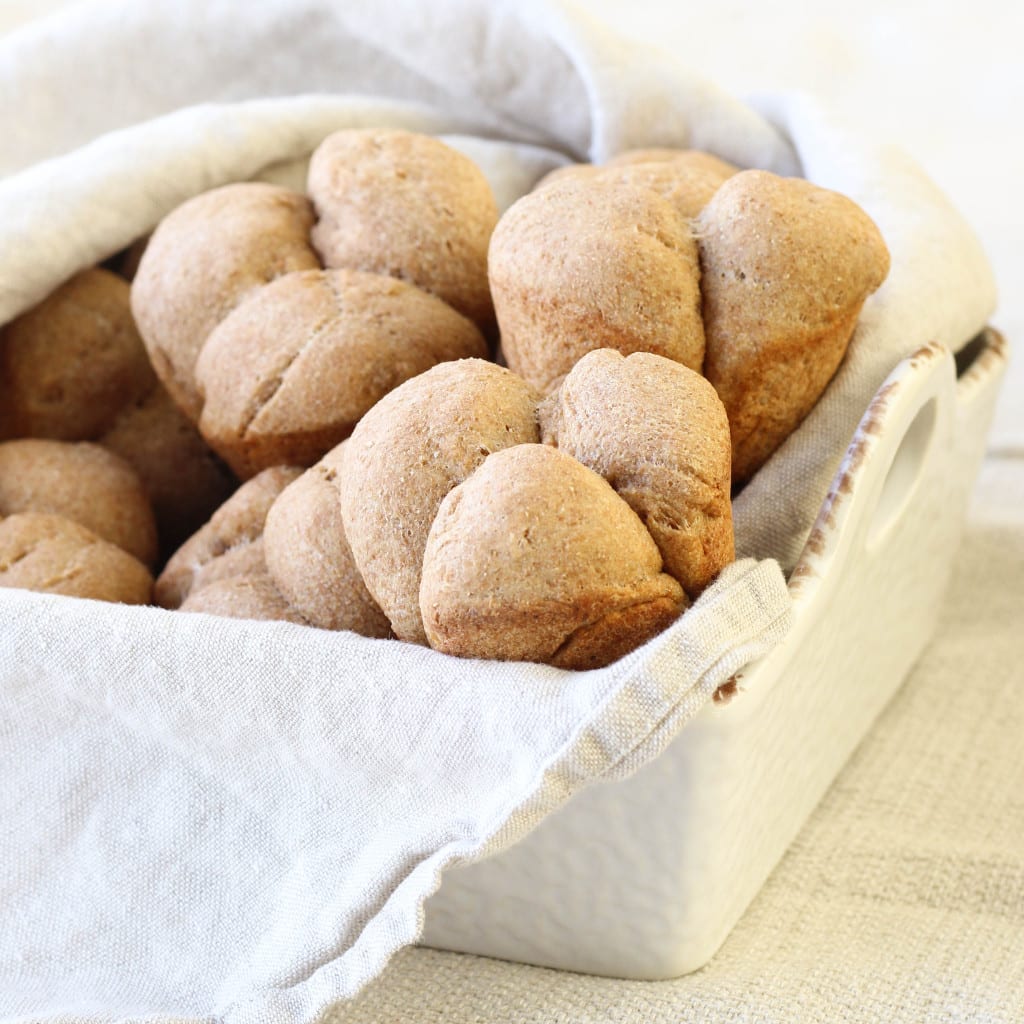
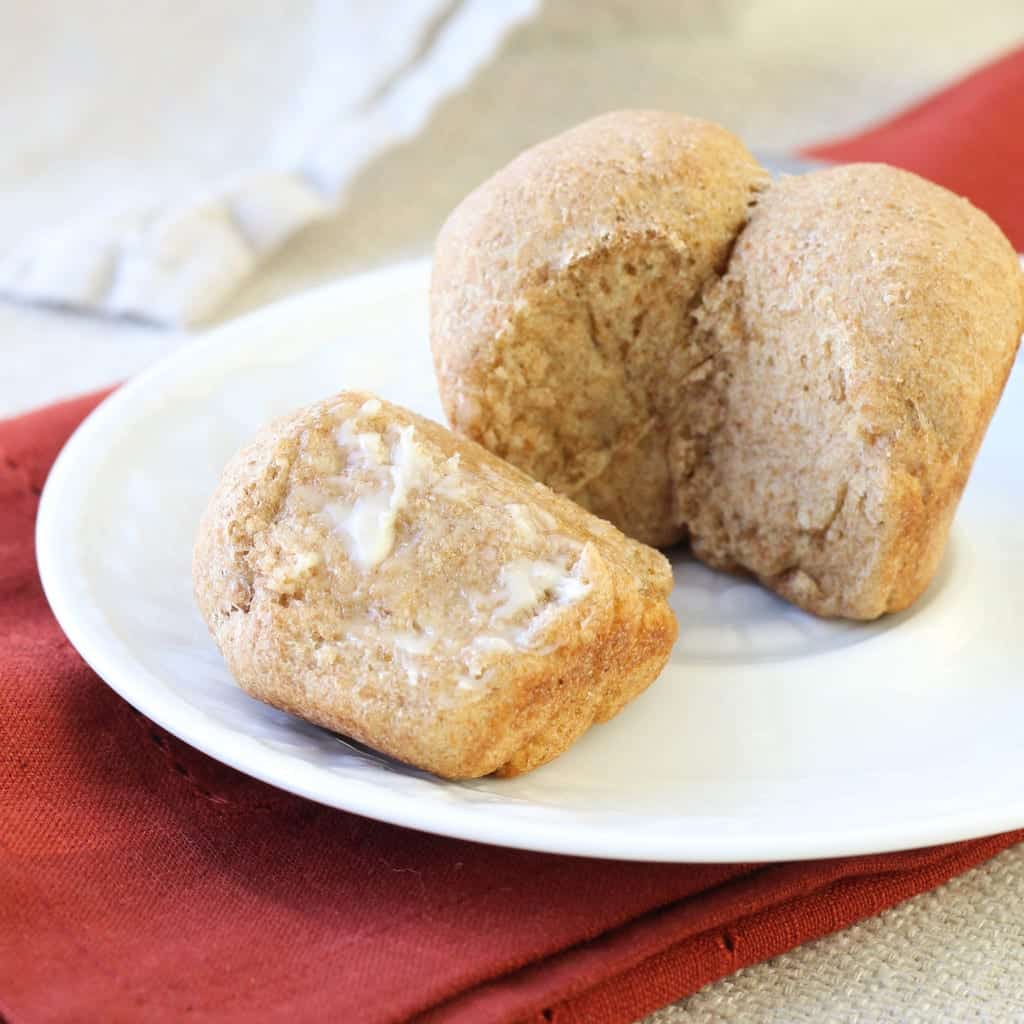
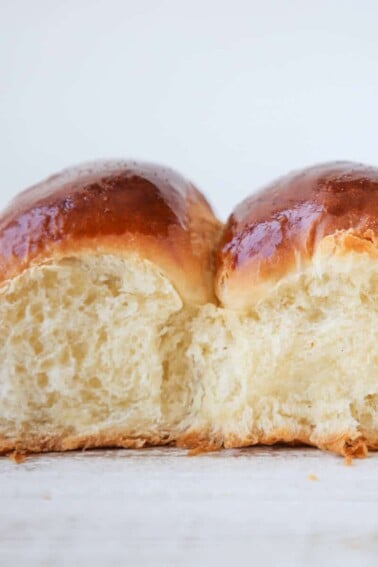
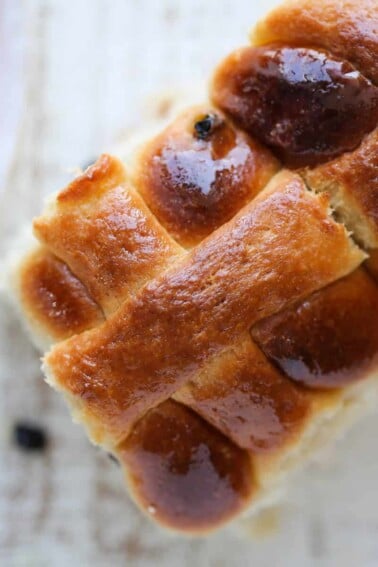
These Graham Clover Rolls are hearty, filling and only 85 calories a piece! The bread is the perfect consistency, not too dense and not too airy, and the crust is crisp while the inside is moist and chewy. They are the perfect accompaniment to any stew, pot roast, or soup.
Today is my One-Year Bloggerversary! I contemplated baking a cake to celebrate, but in the end, bread seemed more appropriate. Sound odd? Well, you see Whole-Wheat Bread from the American Woman’s Cookbook (1939 Edition) was my very first post.
[Let’s all take a moment to cringe at the pictures. Wow. Yeah. Okay, moving on.]
These Graham Clover Rolls, also from the American Woman’s Cookbook, feel like coming full circle while acknowledging the strides that I have made this past year in cooking, blogging and photography.

I feel like I took a crash course in food staging, plating, photography, photo editing, website building, HTML, and SEO. I also feel like I learned everything the hard way (or the long way! Lol). I still, to this day, have no idea why I thought last February would be a good time to start a food blog.
There’s no time like the present, I guess.
Last February I had 20 page views (Thanks, Mom & Aunt Susan!), and this month I had over 8,000 views in the first 5 days! I so rarely look back and think about how far I have come because I am constantly looking towards where I want to be!
It has been a wonderful journey! I’ve made some new friends; mastered certain aspects of website building that I once thought insurmountable; and have really grown as a cook and a baker. I’ve most enjoyed hearing from you! I’ve learned so much from readers’ comments and feedback. You’re responses mean so much to me!
There are so many things about AHC that I want to change, tweak or add! I can’t wait to see what this next year brings! But enough about me…back to these amazing rolls!
I get a strange primeval satisfaction from making my own bread from scratch. It’s just so gratifying. I love watching the dough rise as if by magic or the hand of some bread fairy; I love knowing that I can pronounce each ingredient; and I love the yeasty smell that fills the condo.
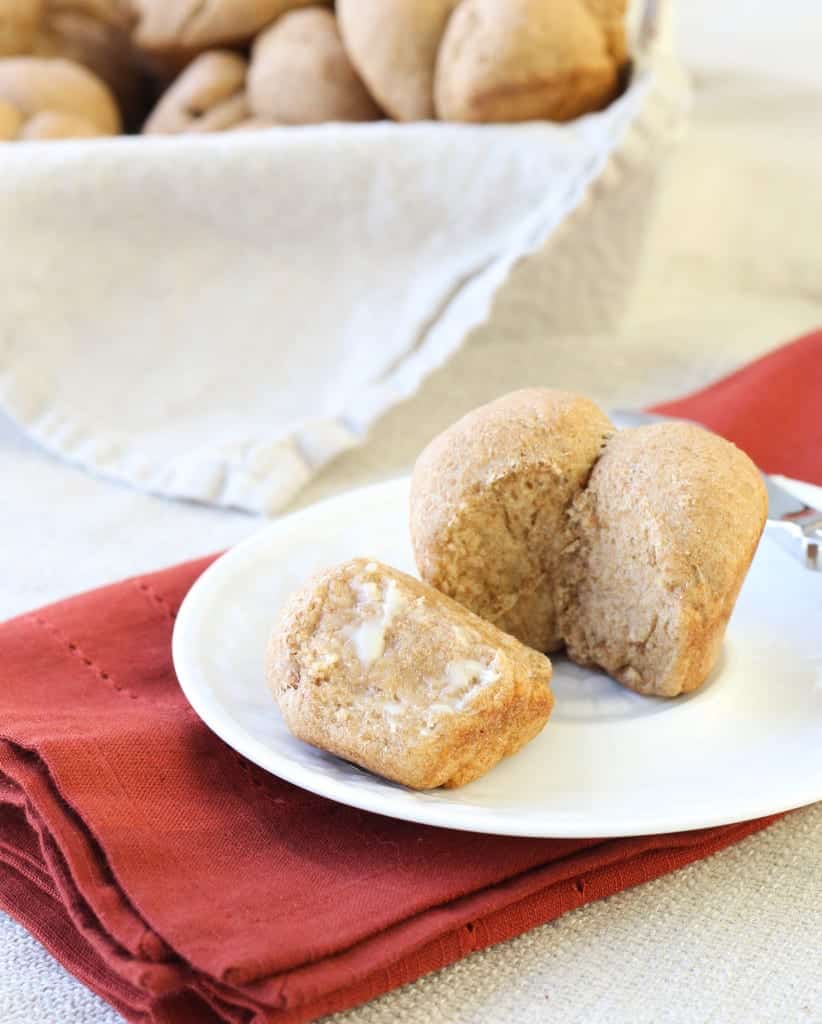
These Graham Clover Rolls are hearty, filling and only 85 calories a piece! The bread is the perfect consistency, not too dense and not too airy, and the crust is crisp while the inside is moist and chewy. They are the perfect accompaniment to any stew, pot roast, or soup.
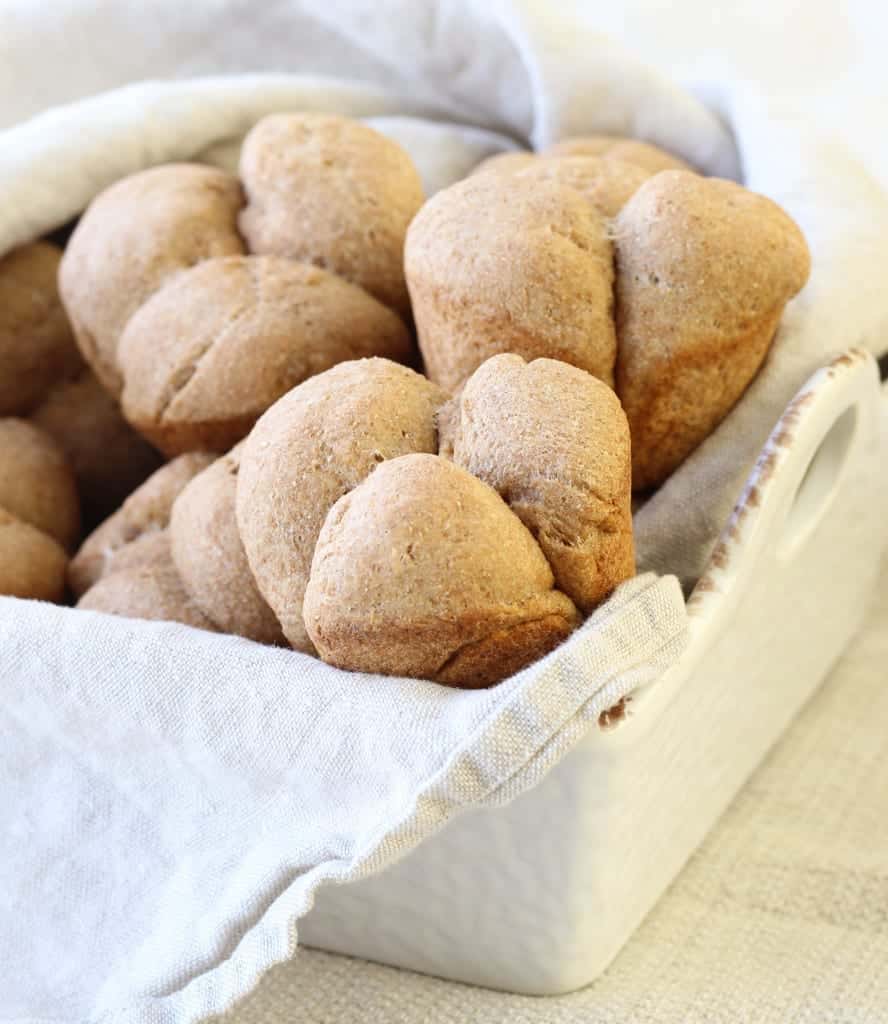
And they are crazy healthy! Graham flour is roller-milled wheat flour where each of the three components of the grain (bran, germ, and endosperm) are ground separately and then recombined. It is believed that the resulting flour is more nutrient-rich and has a higher protein content and more dietary fiber than whole-wheat flour.
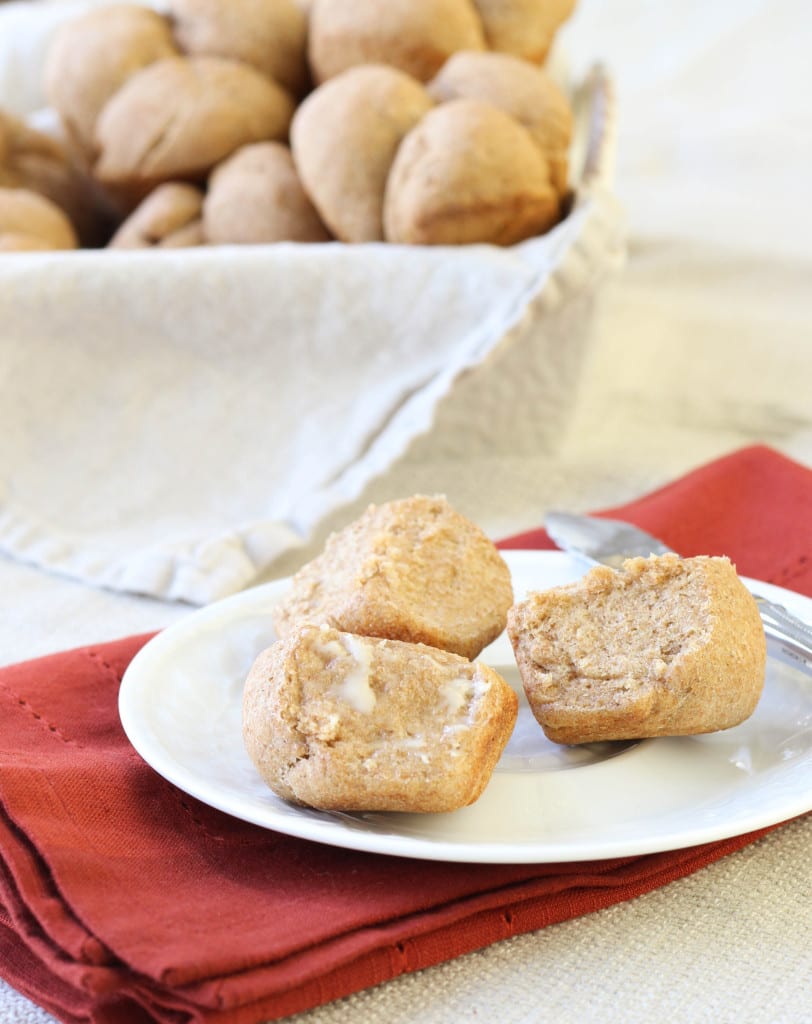
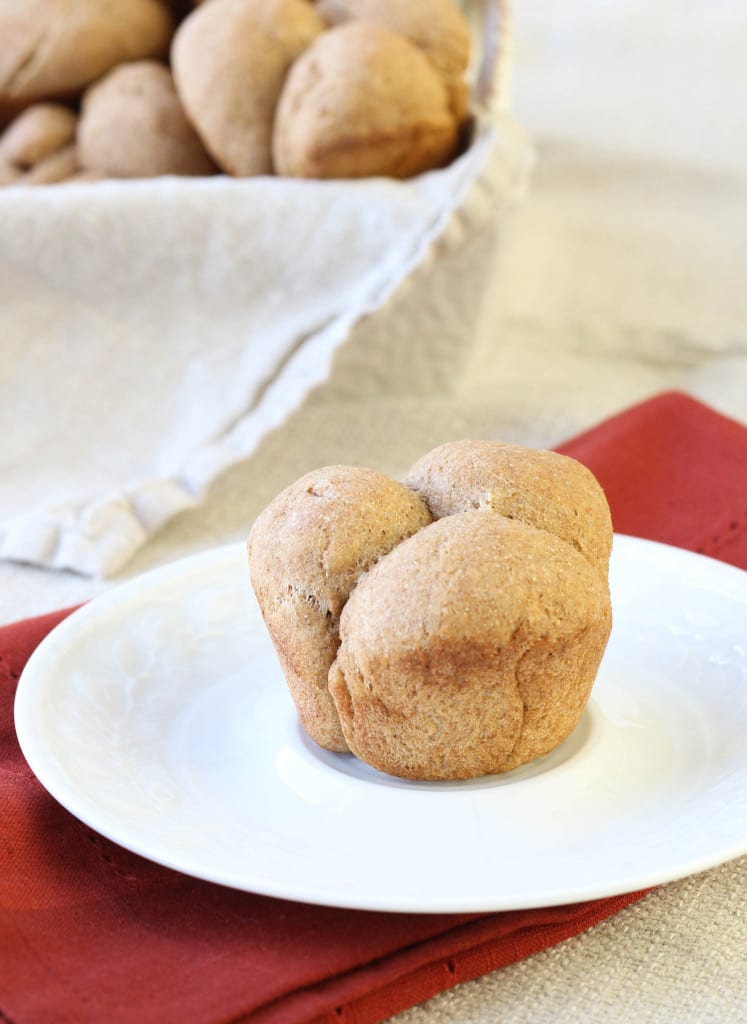
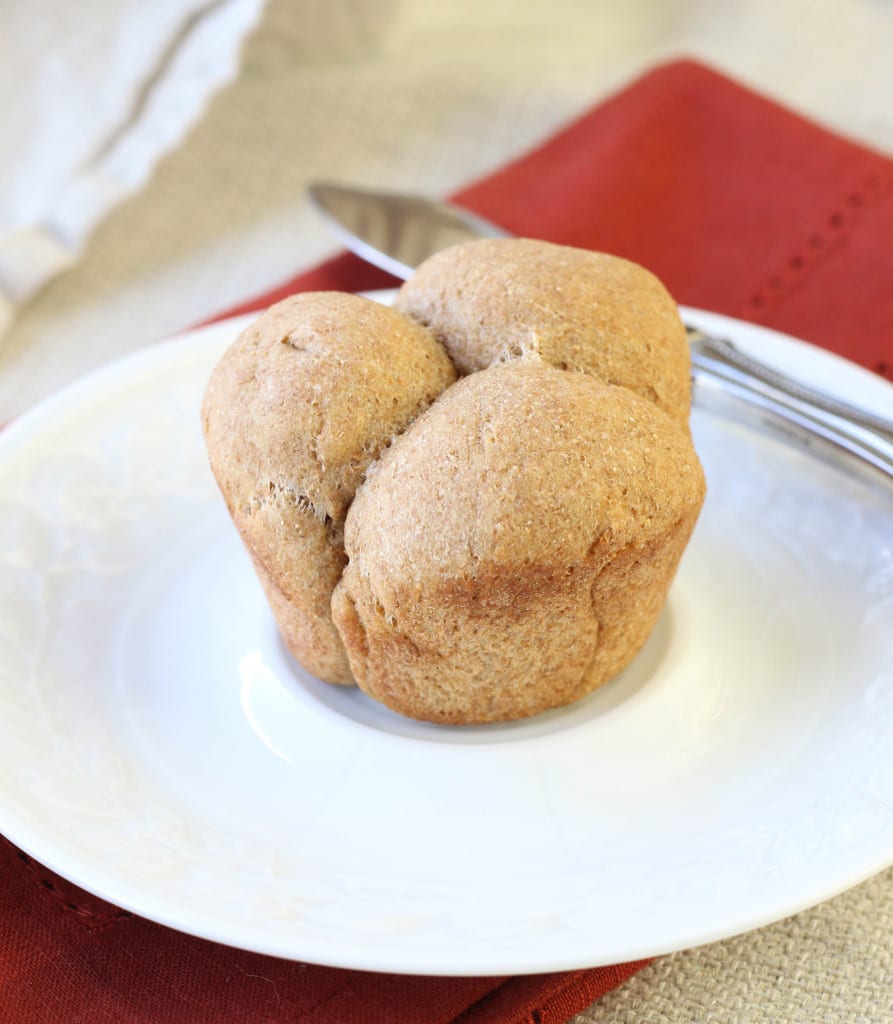
Don’t be daunted by the clover shape. It’s definitely not necessary but super easy if you want to try it! They are super fun to pull apart and eat.
Kind of like an extremely healthy Monkey Bread: all of the fun with a fraction of the calories.
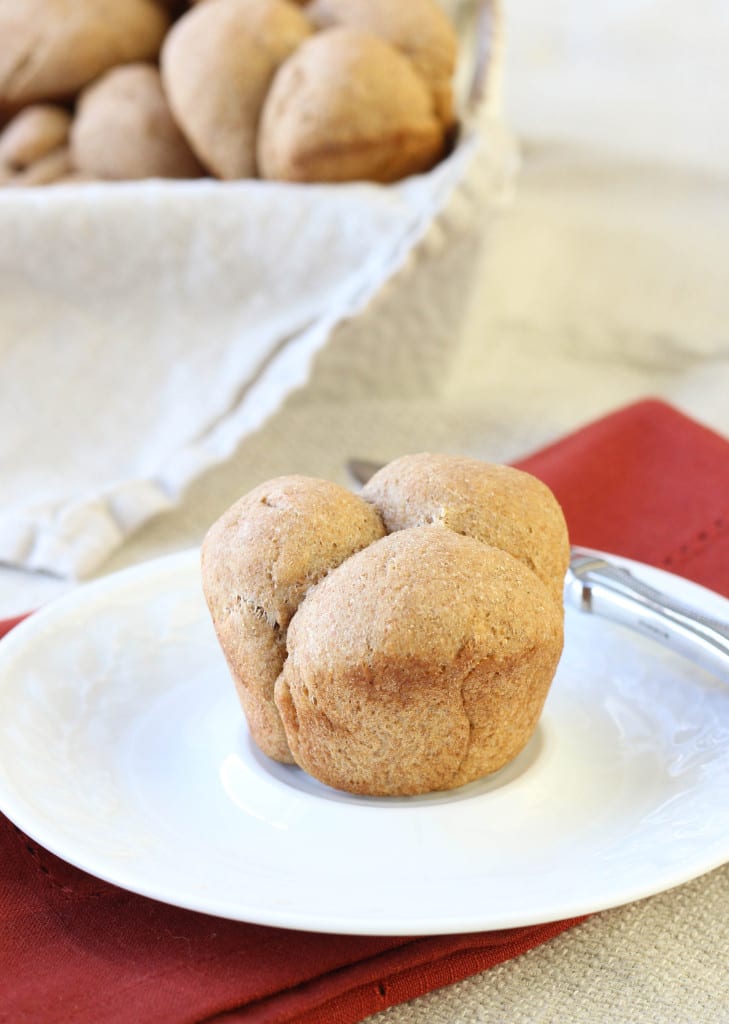
I found this recipe for Graham Clover Rolls in the American Woman’s Cookbook, which is still my favorite cookbook for breads. She has never let me down. It was originally written as a loaf but I prefer to bake rolls these days so that I can freeze the majority and pull them out of the freezer as needed. I’ve included instructions for partially baking and then freezing below.
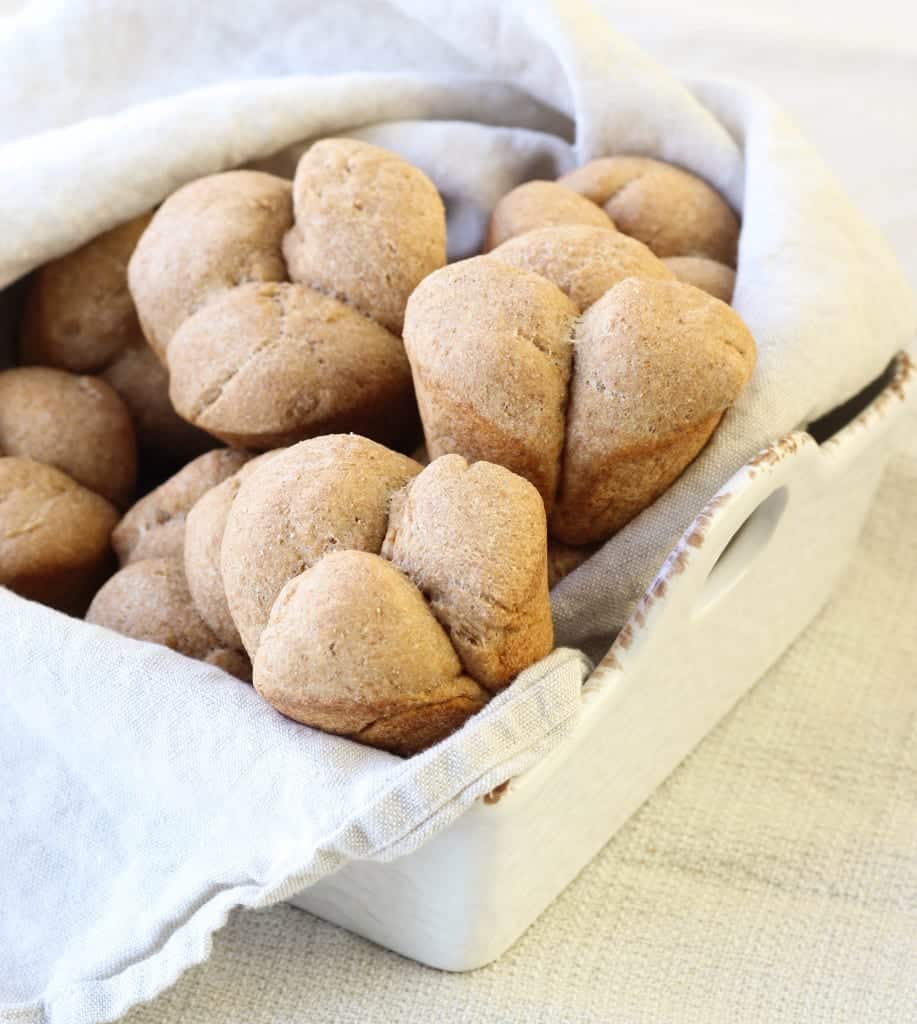
Graham Clover Rolls
Ingredients
- 2 cups whole milk warm
- 1 ½ teaspoons salt
- 2 tablespoons molasses
- 2 ¼ teaspoons dried active yeast 1 packet
- 1 cup whole-wheat flour
- 5 cups graham flour
Instructions
- Add molasses and slat to the hot milk and let it cool until it is lukewarm. [Note: I am impatient, so I placed my mixer bowl in a larger bowl filled with cold, but not icy water and stirred until the mixture reached a temperature of 100 ° – 110° F]
- While your milk mixture is cooling, Add ¼ cup of warm water (100 ° – 110° F) to the yeast and stir to mix. Then added 1 t of sugar to proof the yeast. Wait 10 minutes and if the mixture has tripled in size then the yeast is healthy & ready to use.
- Add the proofed yeast to the milk mixture and stir to mix.
- Add all the whole wheat flour and three cups of graham flour. Using a bread hook attachment on your mixer or a wooden spoon, mix and continue adding graham flour until you have a stiff dough. I used about 4 ½ cups of graham flour.
- I then set my Kitchen Aid mixer with the bread-hook attachment on speed 2, and let it work it’s magic until the dough climbed up the hook and cleaned the sides of the bowl, about two minutes. Then knead on speed 2 for an additional two minutes. With this bread you want to be careful not to over knead because it is already a very dense bread.
- If you are doing the kneading by hand Ruth explains, “Press the dough away with the palms of your hand. Stretch the dough from the edge, folding back edge over to the center. Press the dough away with the palms of your hands, exerting sufficient force to cause the part folded over to adhere to the mass under it, and repeat folding. Turn dough one-quarter around and repeat kneading. Continue turning, folding and kneading until dough is smooth and elastic and will not stick to an unfloured board.”
- FIRST RISING – Grease large bowl with vegetable oil. I pour a little oil in my hands and then spread the oil over the insides of the bowl with my hands like fingerpainting. I find this more efficient and rather fun! Place dough in bowl and turn the dough in the bowl to cover all sides of the dough with oil. Cover with damp towel and place in a warm place (80 ° – 85°) for an hour, or until the dough is triple its size. There is no warm place in my condo at this time of year, so I pre-heated the oven for 10 minutes and then let it cool down to a comfortable temperature. An oven thermometer would be very helpful here.
- Sometime during the final proofing, you will want to grease your pans: two standard loaf pans or 32 muffin tins.
- SHAPING THE LOAVES – Separate the dough into two halves. Place dough into well-greased pans. Cover with a damp cloth and let rise until doubled in volume.
- SHAPING CLOVER ROLLS – I pinched off pieces of dough that were roughly the size of two large grapes, shaped them like a grape, and pressed three into each greased muffin tin. Working quickly, repeat this step until all the dough is gone. Cover pans with a damp cloth and set aside to rise.
- Cook loaves at 400° for 15 minutes and then decrease the temperature to 350° for the remaining 45 minutes. The loaves are done when the sides pull away from the pan, the crust is a rich, golden brown, and the loaves sound hollow when you firmly tap the top. You can also insert a toothpick into the center; the loaves are done when it comes out clean. Immediately remove the loaves from the pans to cool on a rack.
- Cook rolls for 8 minutes at 400° and then decrease the temperature to 350° for the remaining 10-20 minutes. I would start checking these after 10 minutes. I use the toothpick test for rolls. The others are too unreliable.
Notes
Nutrition



Congrats on your one year mark too! The pics from your earlier posts still look far better than mine today. Here’s to another year and many more!
Thanks, Kim! Here’s to improvement and progress!
Happy 1 year anniversary
Thanks, Barbara! And thank you for reading!
Yay!!! Happy Blogaversaryyy!!!! You’re doing SO amazingly, especially since you’ve only been blogging a year! I’m jealous lol.
These rolls look so fluffy and hearty and tastyyy!
Get outta here with your jealousy! I can only dream of having the following that you have, girl. And thank you!!!
These rolls will fill you up! No one likes eating a roll and still feeling empty inside. And I love that I can partially bake them and then freeze to always have on hand, because, I don’t know about you and Michael, but Hubs and I can only eat so many rolls in one sitting!! lol
Happy one year anniversary!
Thanks!
Happy blog day girl! I couldn’t think of a better way to celebrate than bread!
Thanks, Pamela! Mmmm I love bread, so I must agree with you there!
Wow! Congratulations on your one year anniversary! I only just recently discovered your blog, but I love love love the concept! I am fascinated by the foods that people used to eat before everything came in a shelf-stable package, as I am sure you are. Can’t wait to see what the next year brings for you!
Thanks, Kate! I do love studying old cookbooks as more than just a collection of recipes. I’ve learned so much! I love “rediscovering” heritage recipes that fell out of popularity decades ago but deserve a revival. But there are definitely some recipes that have been forgotten for a reason! lol
So true! Have you ever read “Food of a Younger Land” by Mark Kurlansky? Very interesting look at traditional American food though sadly lacking in recipes
I haven’t but I can’t wait to check it out! I can never seem to have enough cookbooks and books about food!