This post may contain affiliate links. Please read our disclosure policy.
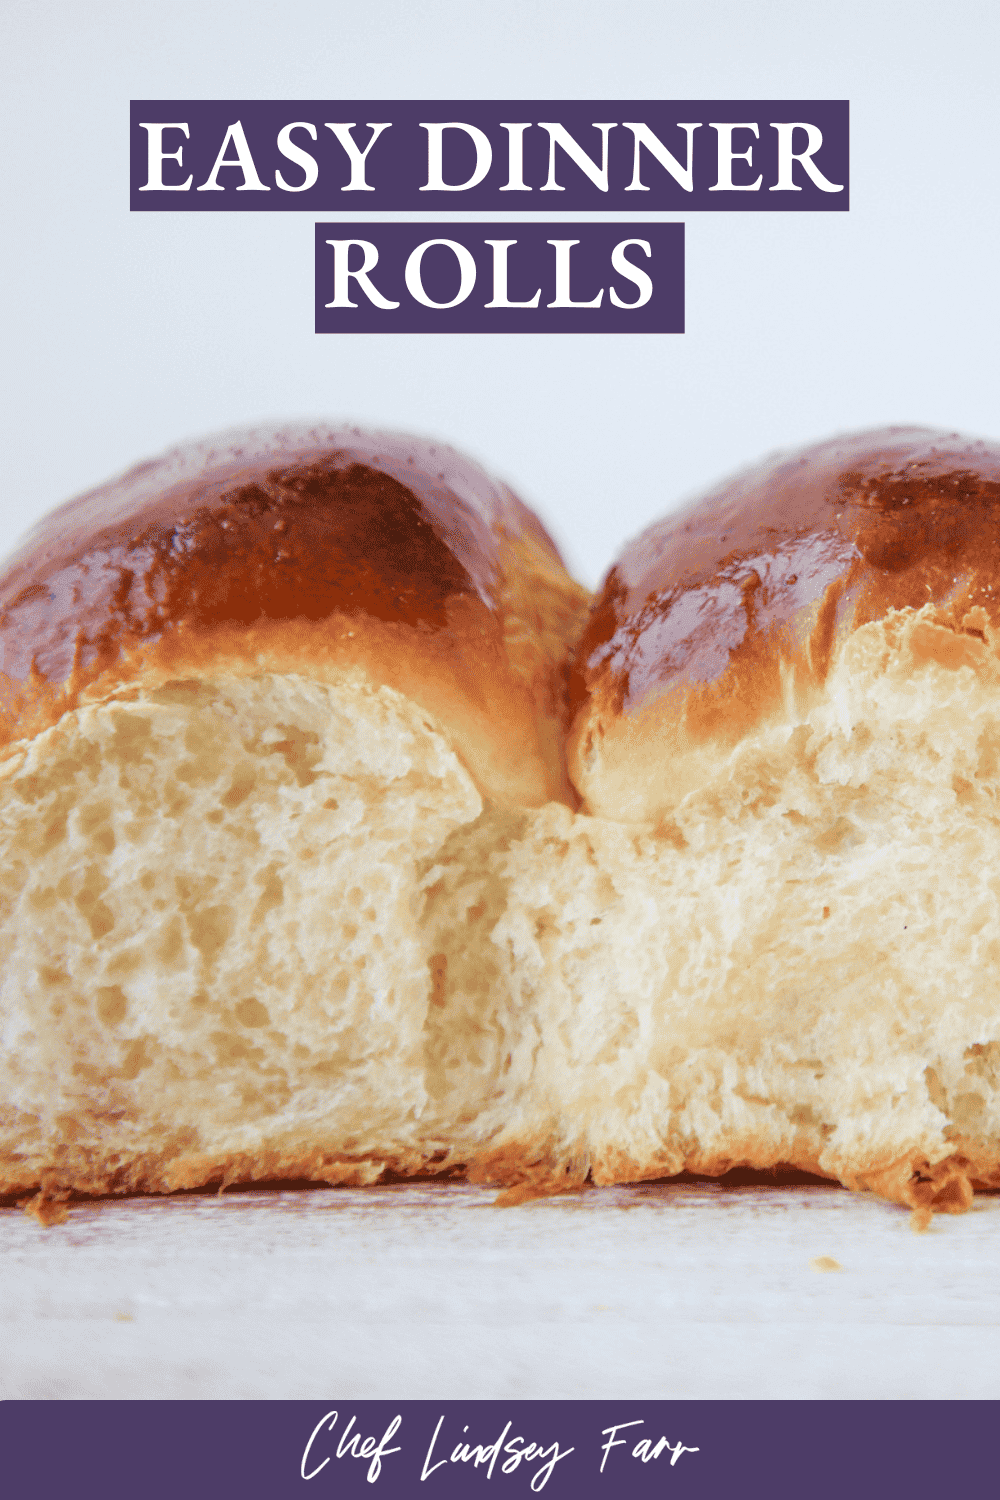
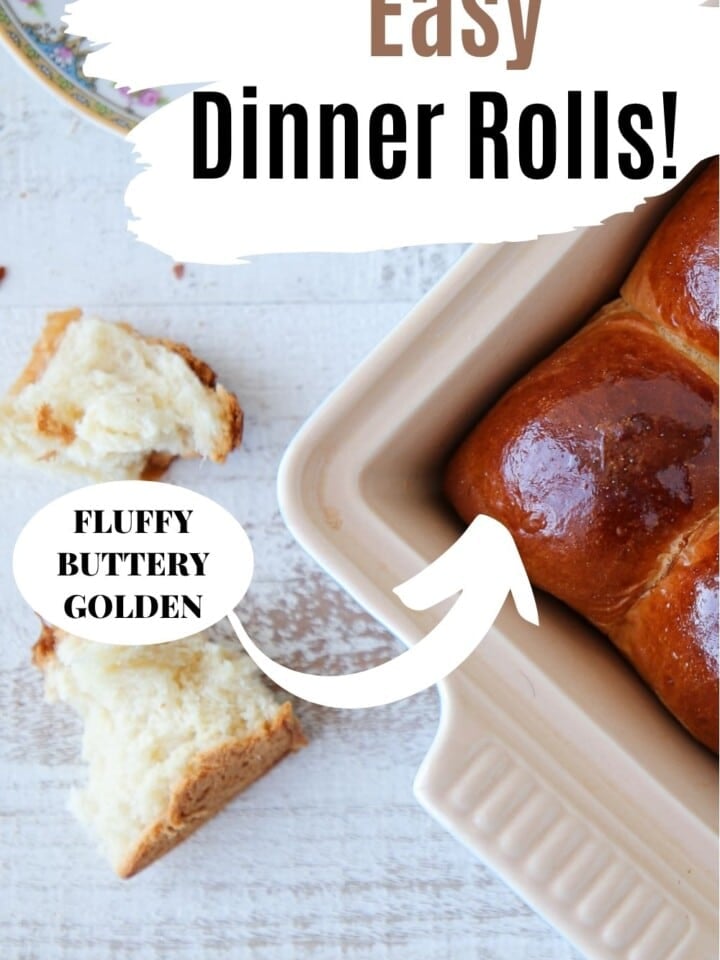
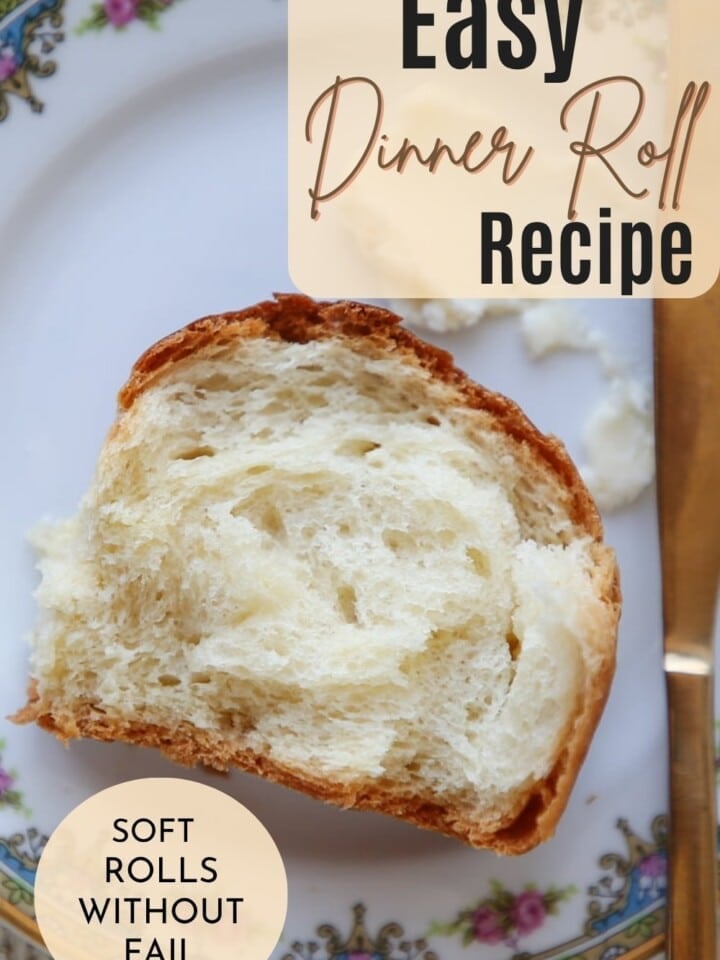
This easy dinner roll recipe makes soft, fluffy, buttery rolls with minimal effort. Step-by-step instructions ensure perfect results, even for beginners!

A Quick Look At The Recipe
This is a brief summary of the recipe. Jump to the recipe to get the full details.
Jump to RecipePrep Time
30 minutes
Cook Time
22 minutes
Proof
1 hour 20 minutes
Total Time
2 hours 12 minutes
Servings
12 rolls
Difficulty
Moderate
Calories *
525 kcal per serving
Technique
Make a sponge, knead until windowpane forms, proof twice, shape, and bake.
Flavor Profile
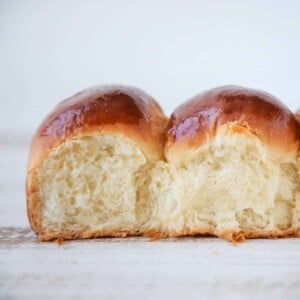
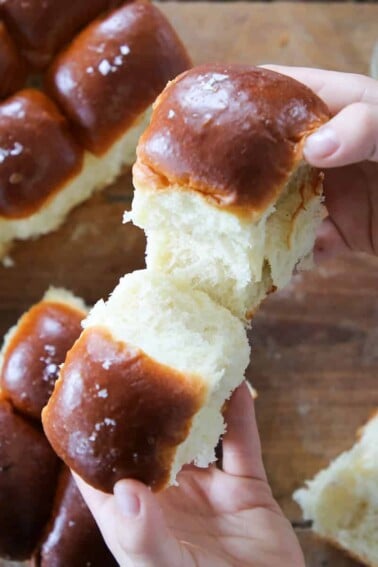
Buttery, lightly sweet, and perfectly fluffy with a soft, cloud-like crumb.
* Based on nutrition panel
I made these for dinner last night and they were exactly what I hoped for: super soft, fluffy, and just the right touch of sweetness. The sponge step made a real difference in flavor…Will be making again! ⭐⭐⭐⭐⭐
Lauren
Why You Will Love This Recipe
- Light, buttery rolls. These dinner rolls are soft, light, and buttery. Using a sponge aids in the light texture of these rolls. Plus, there is more butter brushed on after baking!
- Easy homemade dinner rolls! You can have homemade rolls in 2 hours! The enriched dough is easy to work with and foolproof!
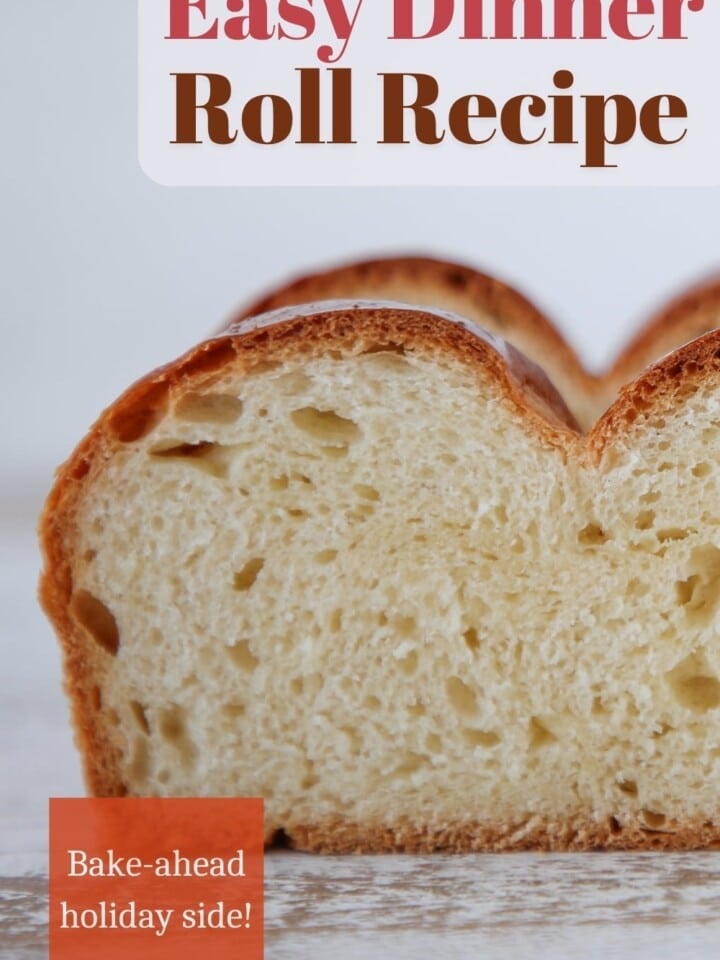
- Can be made ahead! You can make the dough, shape it, and leave it in the refrigerator overnight to bake the next day. This makes them perfect for prepping for Thanksgiving, Christmas, or even Easter, though I would suggest making my sourdough hot cross buns for Easter!
Table of Contents
These easy rolls are based on my potato rolls. The forgiving dough bakes into a light, fluffy, and buttery roll. Don’t be fooled by the name, you can have homemade restaurant quality rolls for breakfast, lunch, dinner, or a snack! You’ll find yourself craving them nightly.
Make sure you eat some rolls fresh out of the oven (that is the baker’s reward) then serve the rest with a bowl of vegan chili, ricotta meatballs, this brown sugar glazed meatloaf recipe, or even this mustard crusted pork.
Ingredients & Substitutions
- All-Purpose Flour: All-purpose flour has the perfect amount of gluten for developing a strong network while remaining tender and soft. If you only have bread flour, you can use that instead, but it will take less time to develop the gluten, and your final product will be a bit chewier than tender.
- Water & Milk: In this recipe, I use a combination of water and milk for hydration. I do this because I want a bit of the fat and flavor from the milk, but not too much flavor that it takes all the glory from the butter. I prefer baking with whole milk, but you could use skim milk, alternative milks, or even make this recipe using all water. You could even use buttermilk, like I do in my whole wheat rolls!
- Kosher Salt
- Active Dry Yeast: Active dry yeast requires the added step of hydration, but it is fast yet controllable. If you don’t have active dry yeast, you can substitute double the weight of fresh yeast or half the weight in instant yeast. If using either fresh or instant yeast, you can add it straight to the batter, but mixing it into the sponge will still kickstart the fermentation and gluten development!
- Granulated Sugar: A little bit of sugar is added here for flavor and caramelization of the crust and to give the yeast an easy, readily accessible food supply to get the party started! You can substitute dark brown sugar, honey, or maple syrup. The honey and syrup will make the dough slightly more sticky.
- Butter
See the recipe card for full information on ingredients and quantities.
Variations
- Make into a loaf. Divide and shape this same recipe into two loaves. Follow my brioche bread recipe for dividing, shaping, and baking.
- Add some nuts and dried fruit. You can add raisins like in my sourdough raisin bread, or take inspiration from this cherry sourdough bread. You can add any combination of dried fruit or nuts you wish, up to one pound.
- Cheese! After you reach the window pane test mix in some hard cheeses like cheddar, parmesan, or gruyere! Sprinkle some on top before baking too! Maybe serve it with some tomato soup!
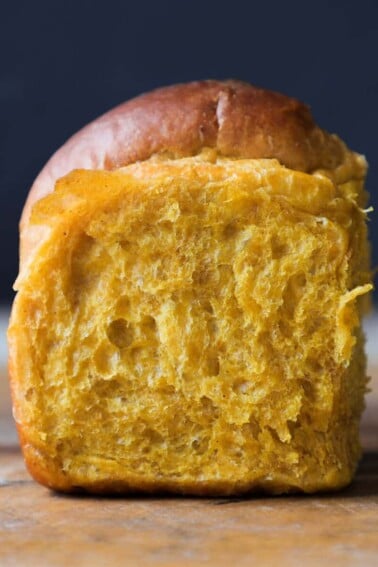
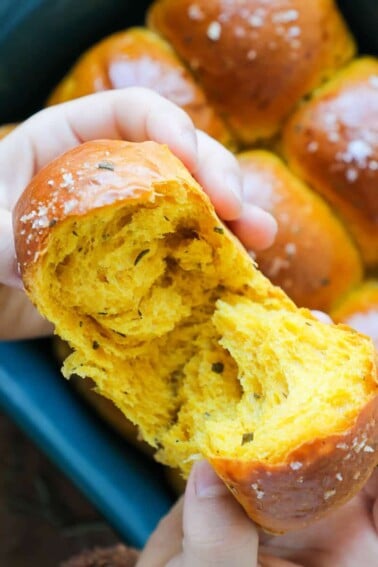
- Spice up the bread! Use my pumpkin spice recipe, like I do in these pumpkin dinner rolls. You can add up to a tablespoon of spice without changing the recipe.
Professional Tips
- Make sure your yeast is active. If the sponge has set for a few minutes and there are no bubbles, it means the yeast is dead. It’s time to get new yeast and start over. Don’t continue to make the bread; you will just end up with dense “rolls.”
- Use room temperature butter and milk. This will make it easier to mix and faster to proof. The softer butter will mix in quicker and won’t cool the dough, so it will proof faster.
- Don’t skimp on the proofing. It is tempting to skip the bulk proof (the first proofing), but that’s one of the most important aspects of fluffy and soft bread! It needs that time to develop its flavor and structure.
How to Make Homemade Easy Dinner Rolls
Use these instructions to make these pillowy dinner rolls! Further details and measurements can be found in the recipe card below.
Make the Sponge:
Step 1: Mix the sponge. Combine all the ingredients for the sponge in a medium bowl and mix with your hands. You can mix with a spoon, but it will be more difficult because the mixture is so wet.
Step 2: Let it rest. Cover with plastic wrap and set in a warm spot until visibly bubbly, about 20 minutes.
Mix the Dough:
I usually scale the remaining ingredients while the sponge is sitting. (Scale is just a fancy chef word for weigh.)
Step 3: Combine the dough. Add the flour, remaining sugar, salt, butter, egg, and sponge to the bowl of a stand mixer. Mix on low speed with the paddle attachment until combined.
Step 4: Switch to the dough hook and mix on medium speed until a rough window pane can be pulled. This can take 10- 15 minutes. It is an enriched dough, meaning the gluten will develop slower.
A ‘window pane’ means the dough will have pulled together, making one cohesive dough around the hook and pulling off the sides of the bowl. To test, pinch off a piece and gently pull the sides apart, rotate, and pull again. The dough should not tear; you should be able to see through some of the dough like a window pane, but then there will be pieces of dough that look rough. This is what you want.
Proofing and Shaping:
Step 5: First proof. Scrape the dough into a well-oiled bowl, cover with plastic wrap or a kitchen towel, and allow it to proof for 30 minutes in a warm place.
Step 6: Fold the dough by grabbing one side, pulling it upwards out of the bowl, and then folding it over ⅓ of the dough. Rotate the bowl 180 degrees and repeat with the opposite side. Rotate a quarter turn and repeat the same folding technique. Rotate the bowl 180 degrees and make the final fold. You should have a nice, tight square packet of dough.
Cover with plastic wrap and allow to double in a warm place. Mine took about an additional 30 minutes.
Step 7: Prepare the pan. While the dough is finishing its bulk proofing, grease a 9 x 13-inch baking dish with cooking spray or butter.
Step 8: Turn out dough. When the dough has doubled and feels light and airy when touched, turn it out onto an unfloured surface. The dough is soft, supple, and not sticky!
Step 9: Divide into 12 equal portions. You can eyeball or weigh them.
For perfectly portioned buns that bake evenly, use a kitchen scale. They should weigh about 87 grams each.
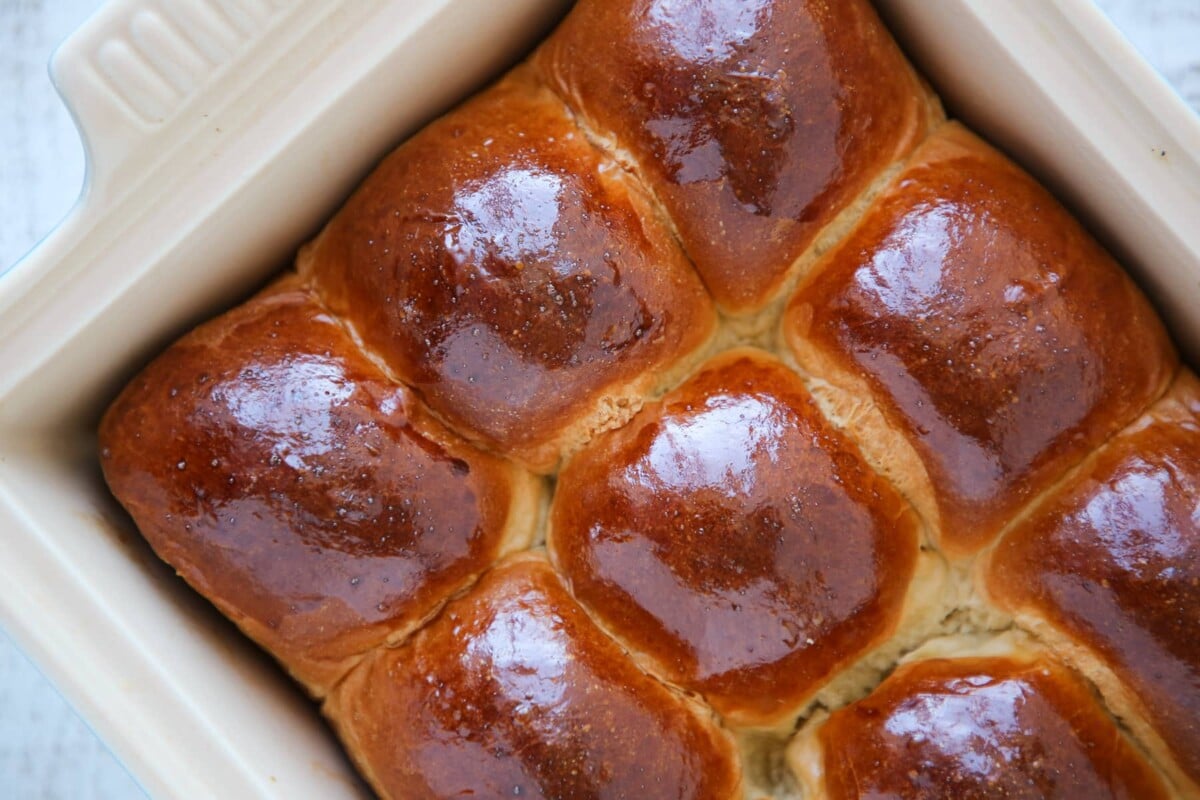
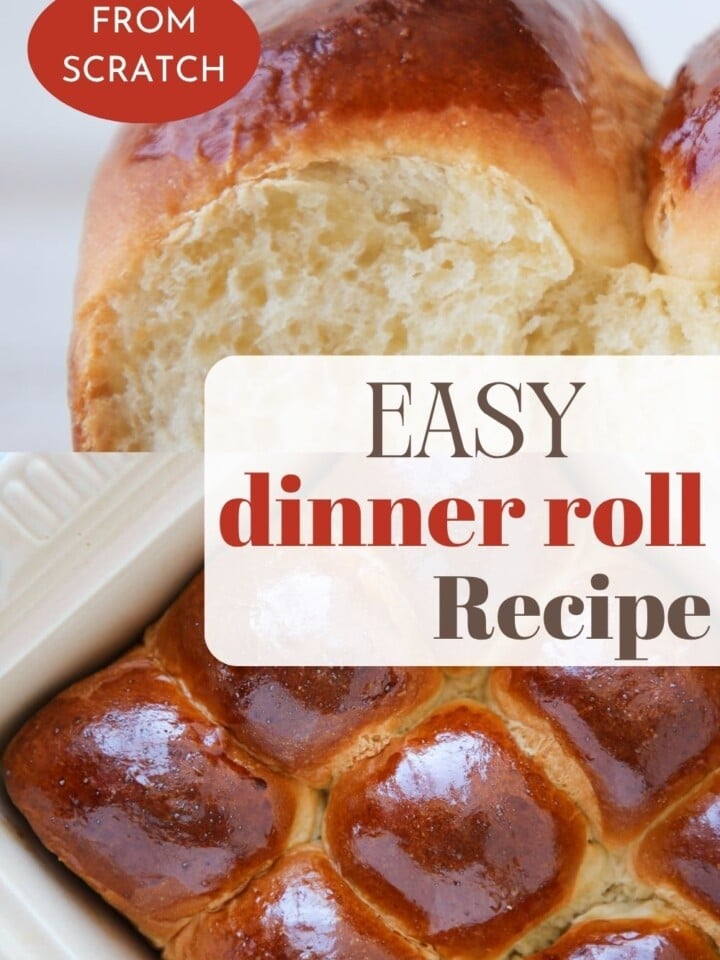
Step 10: Shape the rolls. Take a portion and fold it in half, and then place the seam side down on the counter. Roll in the palm of your hand into a ball and shape each into boules, using your thumb as a guide. Place each roll equidistant apart in the prepared baking pan.
Step 11: Final proof. Cover and place back in the warm spot to double. This took about 30 minutes for me. Preheat the oven to 350°F.
Time to bake:
Step 12: When the buns are ready to bake (doubled and light and airy), brush with beaten egg.
Step 13: Bake in the preheated oven for 20-22 minutes until golden brown or until an instant-read thermometer reads 185°F when inserted into the center of one of the middle buns. If you don’t have a thermometer, you can insert a cake tester or toothpick into the center, and it should come out with clinging crumbs but no streaks of dough!
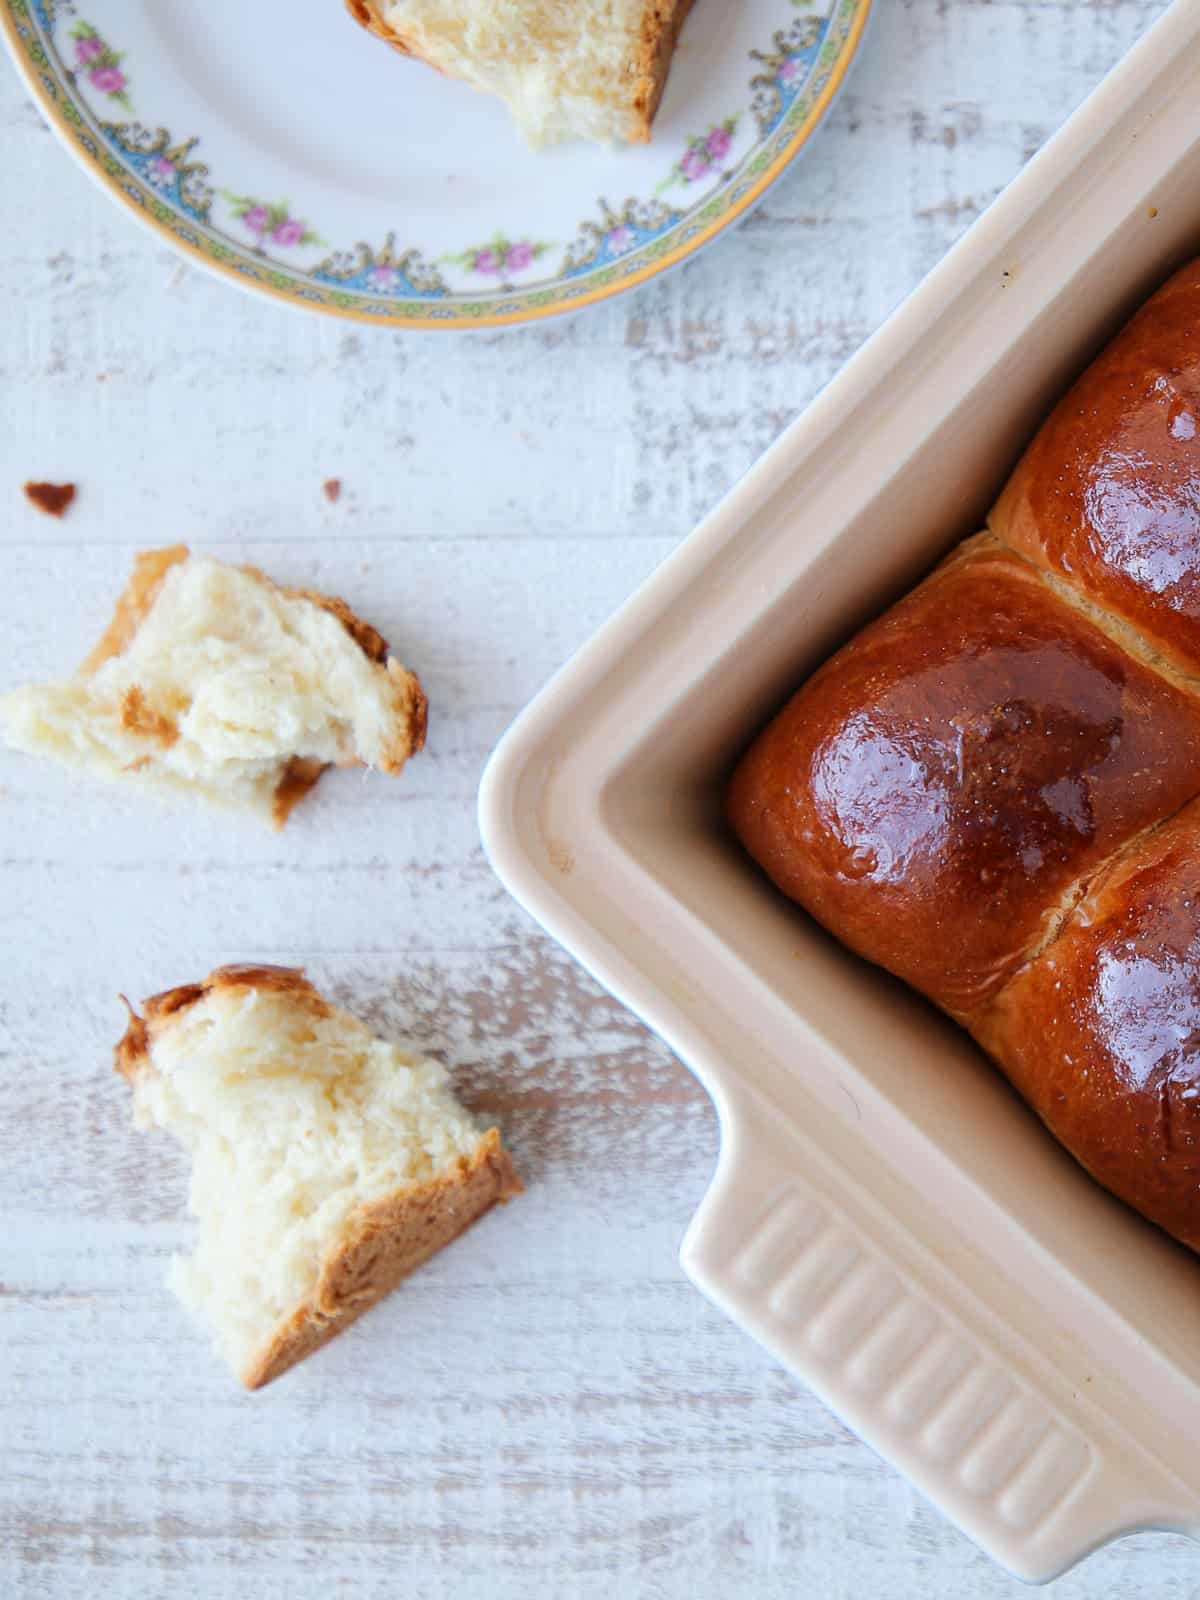
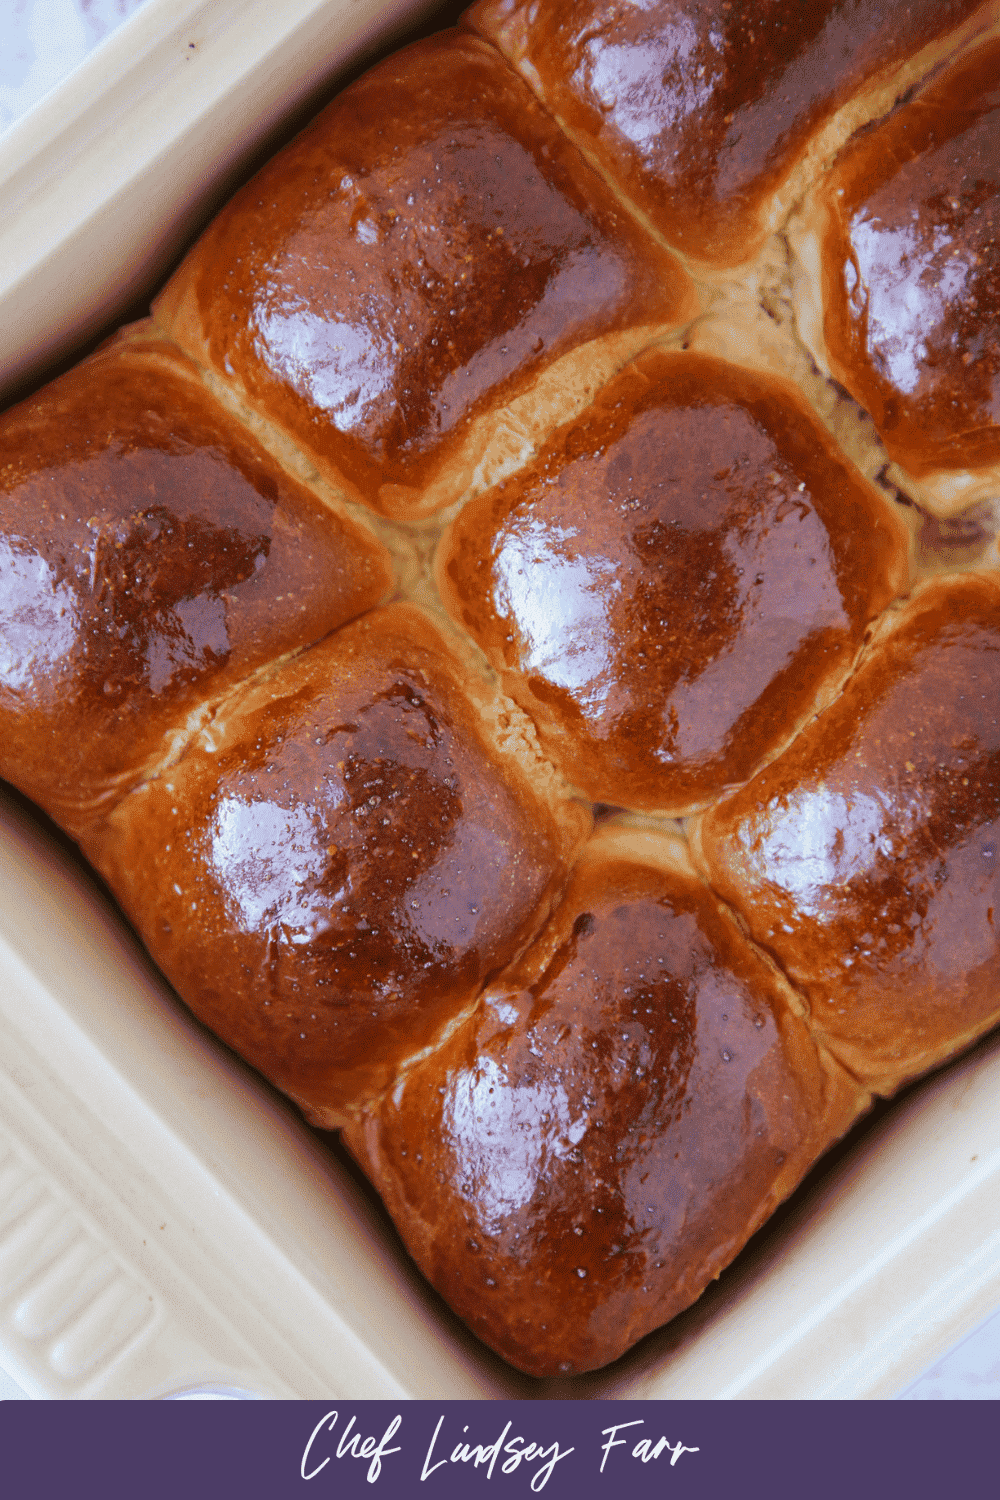
Step 14: Brush the hot buns with melted butter to emulate my shiny, enticing tops! Technically, they should cool, but who has the patience? I say dig right in.

Chef Lindsey’s Recipe Tip
When it comes to baking, especially bread, I’m a stickler for weighing my ingredients (this is my favorite kitchen scale). Conveniently, since this bread is made with a sponge, I usually scale the remaining ingredients while the sponge is sitting. Efficient use of time for the win.
Recipe FAQs
For optimal freshness, consume or freeze within two days. If you have leftovers, they are also phenomenal in this easy bread pudding recipe! You can also make this pumpkin bread pudding with bourbon sauce for the Fall or lemon bread pudding in the Summer!
A sponge is a bread-making technique where a portion of the flour is combined with the yeast and all of the liquids—in this recipe, that is, milk and water. The sponge not only activates and gives the yeast time to start fermenting but also allows the gluten network to begin forming. This decreases the total amount of time you have to mix or knead the bread and will make the whole process faster!
Dense rolls are caused by under-proofing, over-proofing, or dead yeast. If you under-proof the bread, the yeast isn’t fully activated and fed, so it won’t bake as tall in the oven. If you over-proof the bread, it will rise really fast and then fall in the oven. And if your yeast is dead, it will be hockey pucks. Using a sponge is helpful because it’s a way to make sure the yeast is active.
Recommended Dinner Roll Recipes
Dinner Roll Recipes
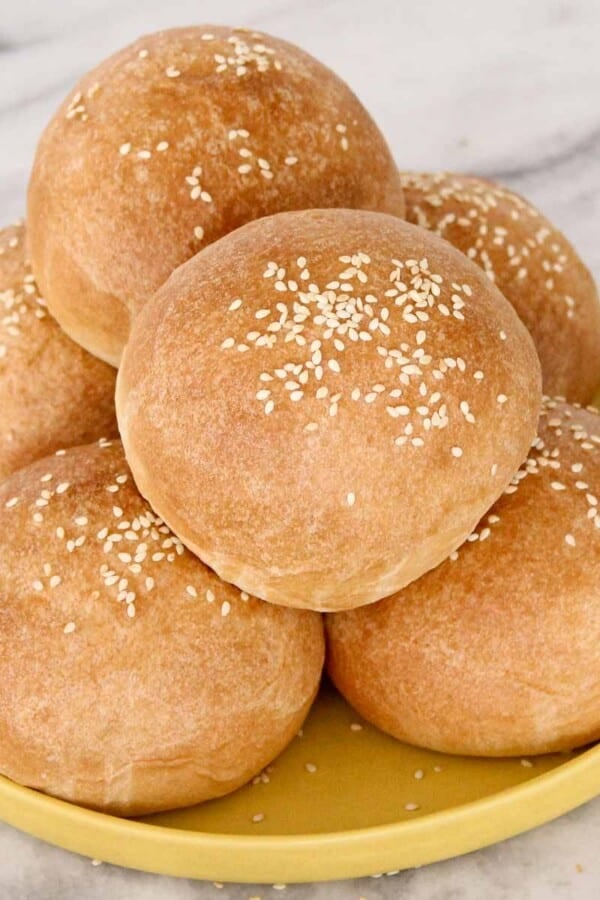
Potato Rolls
Dinner Roll Recipes
Pumpkin Dinner Rolls
Dinner Roll Recipes
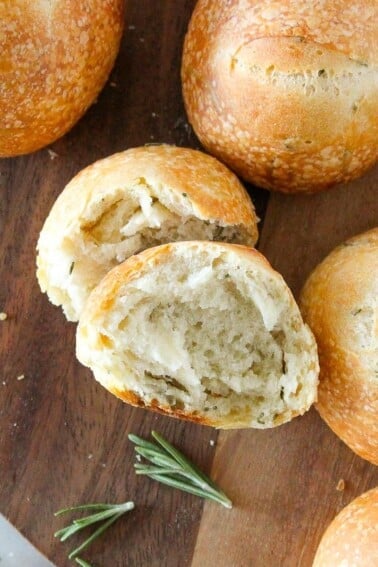
Sourdough Rolls
Dinner Roll Recipes
Brioche Bun Recipe
If you tried this recipe and loved it please leave a 🌟 star rating and let me know how it goes in the comments below. I love hearing from you; your comments make my day!

Easy Dinner Rolls
Ingredients
Sponge:
- 2 ¼ teaspoons dry active yeast
- 14 tablespoons whole milk 100°F
- ⅓ cup water 100°F
- 1 tablespoon sugar
- 1 ¼ cups all-purpose flour
Final Dough:
- 3 cups all-purpose flour
- 4 ½ tablespoons sugar
- 1 teaspoon kosher salt
- 6 ½ tablespoons unsalted butter softened
- 1 egg
Total Dough:
- 2 ¼ teaspoons active dry yeast
- 14 tablespoons whole milk 100°F
- ⅓ cup water 100°F
- 5 ½ tablespoons sugar
- 4 ⅓ cups all-purpose flour
- 1 teaspoon kosher salt
- 6 ½ tablespoons unsalted butter softened
- 1 egg
Instructions
Make the Sponge:
- Combine all the ingredients for the sponge in a medium bowl and mix with your hands. You can mix with a spoon, but it will be more difficult because the mixture is so wet.
- Cover with plastic wrap and set in a warm spot until visibly bubbly, about 20 minutes.
Mix the Dough:
- Add the flour, remaining sugar, salt, butter, egg, and sponge to the bowl of a stand mixer. Mix on low speed with the paddle attachment until combined.
- Switch to the dough hook and mix on medium speed until a rough window pane can be pulled. This can take 10- 15 minutes. It is an enriched dough, meaning the gluten will develop slower.
Proofing and Shaping:
- Scrape the dough into a well-oiled bowl, cover with plastic wrap or a kitchen towel, and allow it to proof for 30 minutes in a warm place.
- Fold the dough by grabbing one side, pulling it upwards out of the bowl, and then folding it over ⅓ of the dough. Rotate the bowl 180 degrees and repeat with the opposite side. Rotate a quarter turn and repeat the same folding technique. Rotate the bowl 180 degrees and make the final fold. You should have a nice, tight square packet of dough. Cover with plastic wrap and allow to double in a warm place. Mine took about an additional 30 minutes.
- While the dough is finishing its bulk proofing, grease a 9 x 13-inch baking dish with cooking spray or butter.
- When the dough has doubled and feels light and airy when touched, turn it out onto an unfloured surface. The dough is soft, supple, and not sticky!
- Divide into 12 equal portions. You can eyeball or weigh them.
- Take a portion and fold it in half, and then place the seam side down on the counter. Roll in the palm of your hand into a ball and shape each into boules, using your thumb as a guide. Place each roll equidistant apart in the prepared baking pan.
- Cover and place back in the warm spot to double. This took about 30 minutes for me. Preheat the oven to 350°F.
Time to bake:
- When the buns are ready to bake (doubled and light and airy), brush with beaten egg.
- Bake in the preheated oven for 20-22 minutes until golden brown or until an instant-read thermometer reads 185°F when inserted into the center of one of the middle buns. If you don’t have a thermometer, you can insert a cake tester or toothpick into the center, and it should come out with clinging crumbs but no streaks of dough!
- Brush the hot buns with melted butter to emulate my shiny, enticing tops! Technically, they should cool, but who has the patience? I say dig right in.
Video
Notes
Nutrition
Before You Go
I hope you enjoyed this buttery and soft dinner roll recipe! Check out our other delicious, yeasted bread recipes like these parmesan garlic knots, this potato bread, or my easy sourdough bread recipe!


I made these for dinner last night and they were exactly what I hoped for: super soft, fluffy, and just the right touch of sweetness. The sponge step made a real difference in flavor. We definitely skipped the cooling and tore into them warm with butter (maybe we were a little ravenous with it after the smell permeated the house!). Will be making again!
Hi Lindsey … can these rolls be made with vegan butter and almond milk? Thank you !!
Hi Marie! I prefer baking with whole milk for the flavor and fat, but you could use skim milk, alternative milks or even make this recipe using all water. I haven’t tried to make them with vegan butter yet, but they should turn out delicious. Please report back your findings for future bakers! 🙂 Happy baking!