
This post may contain affiliate links. Please read our disclosure policy.
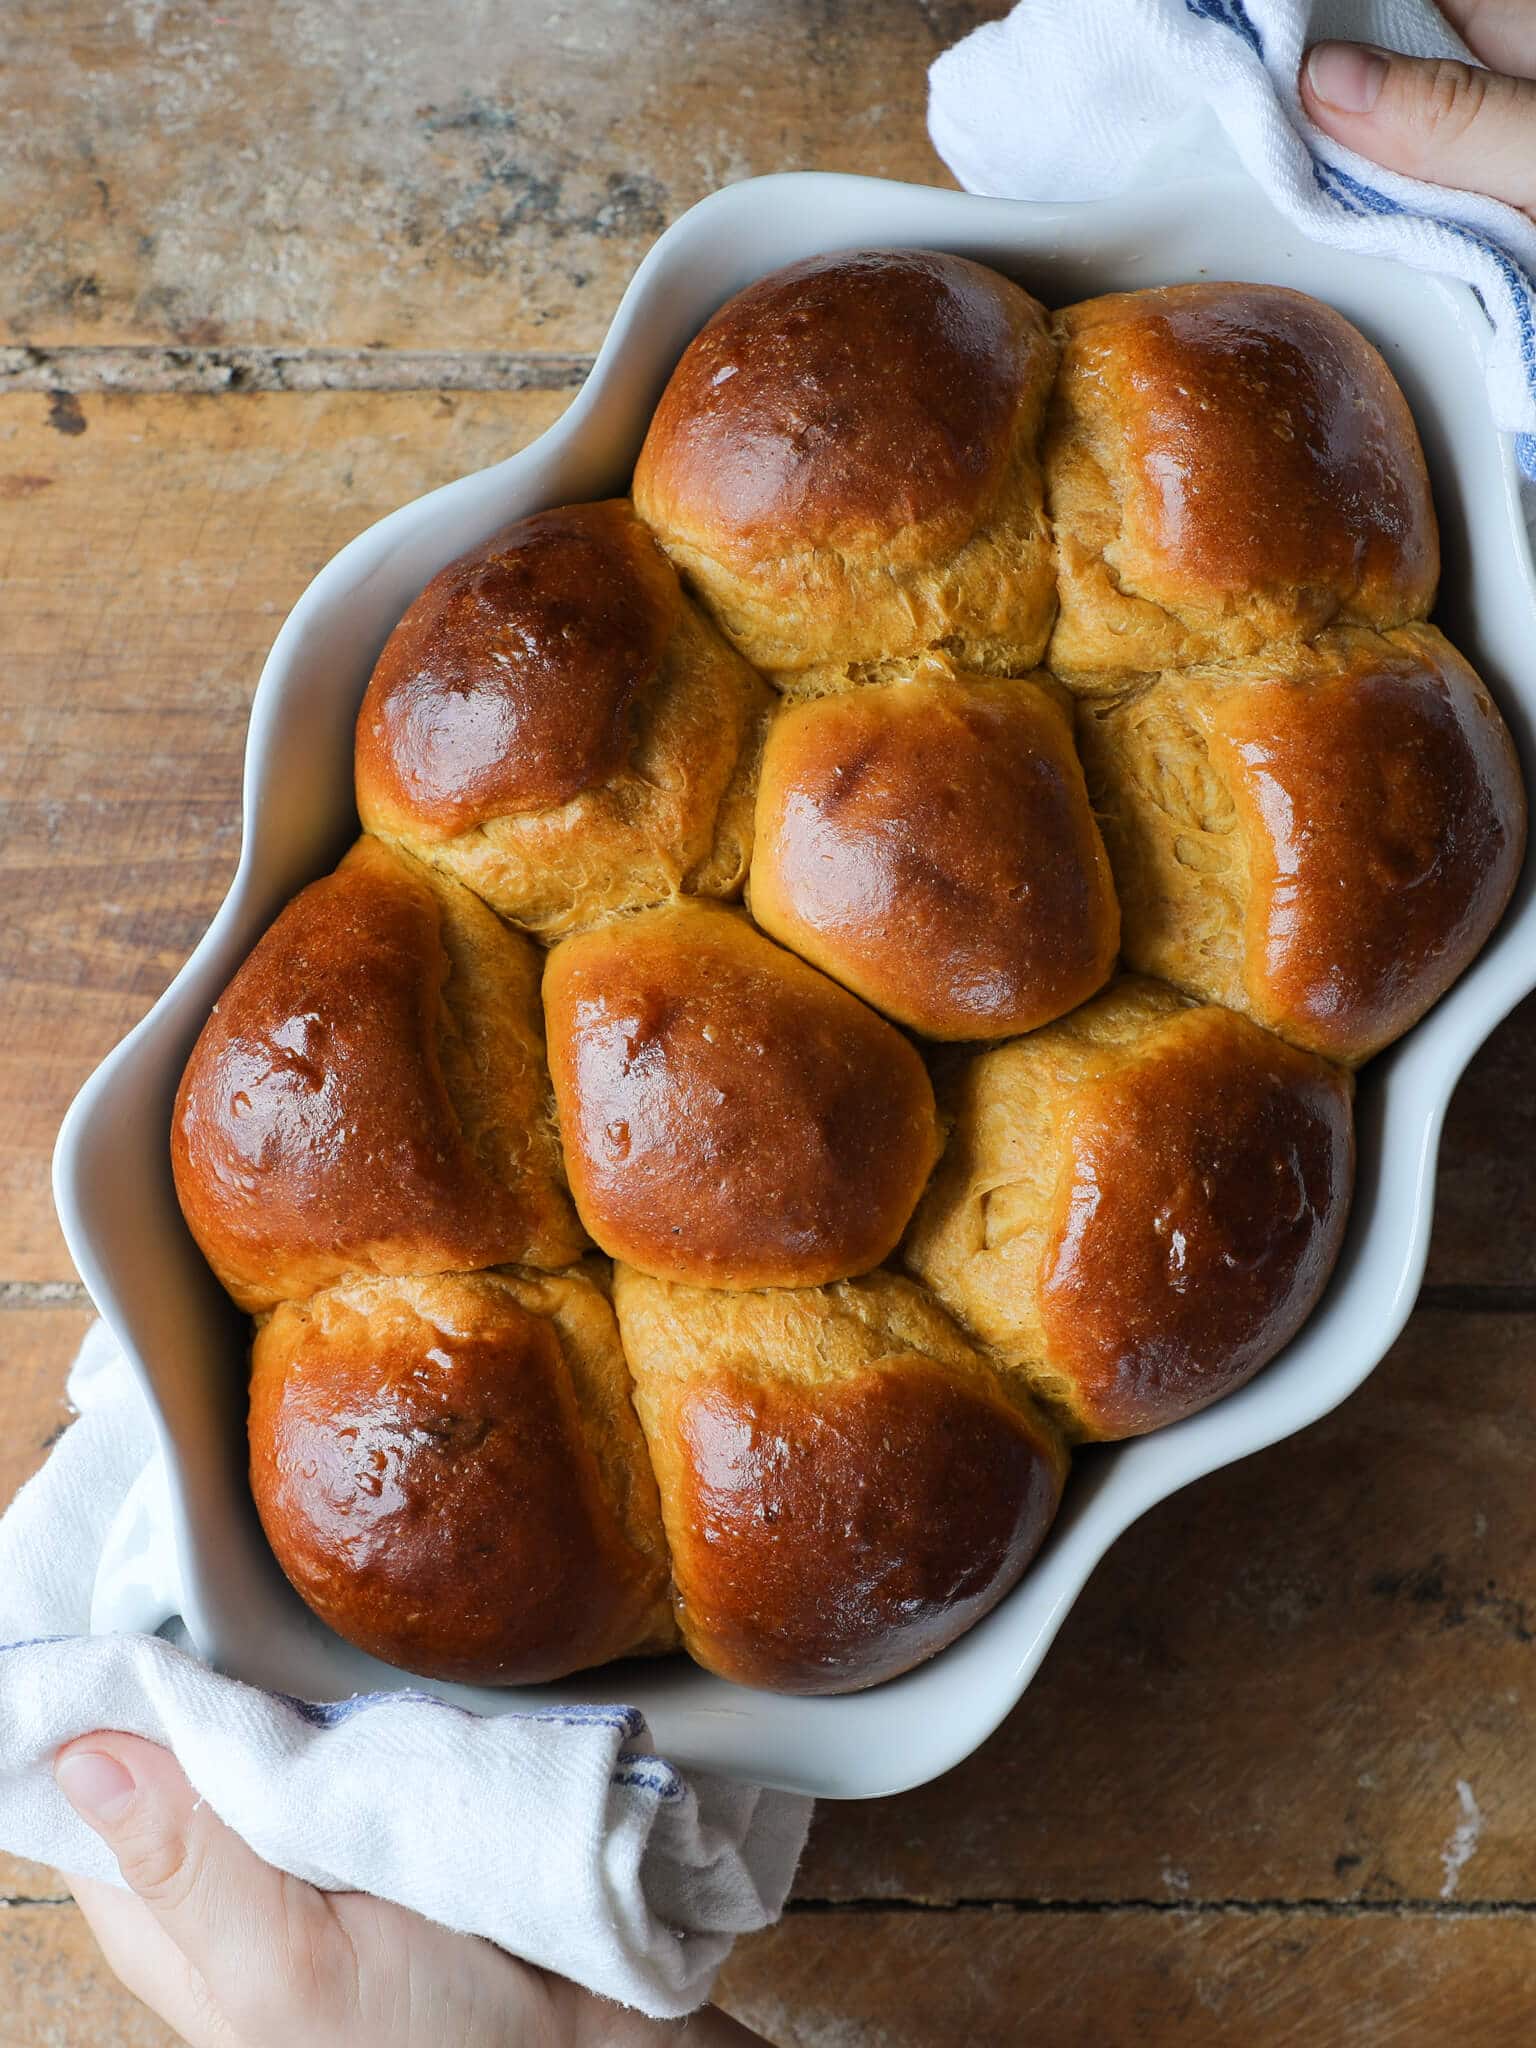
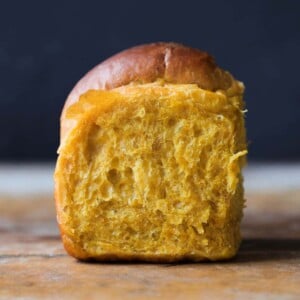
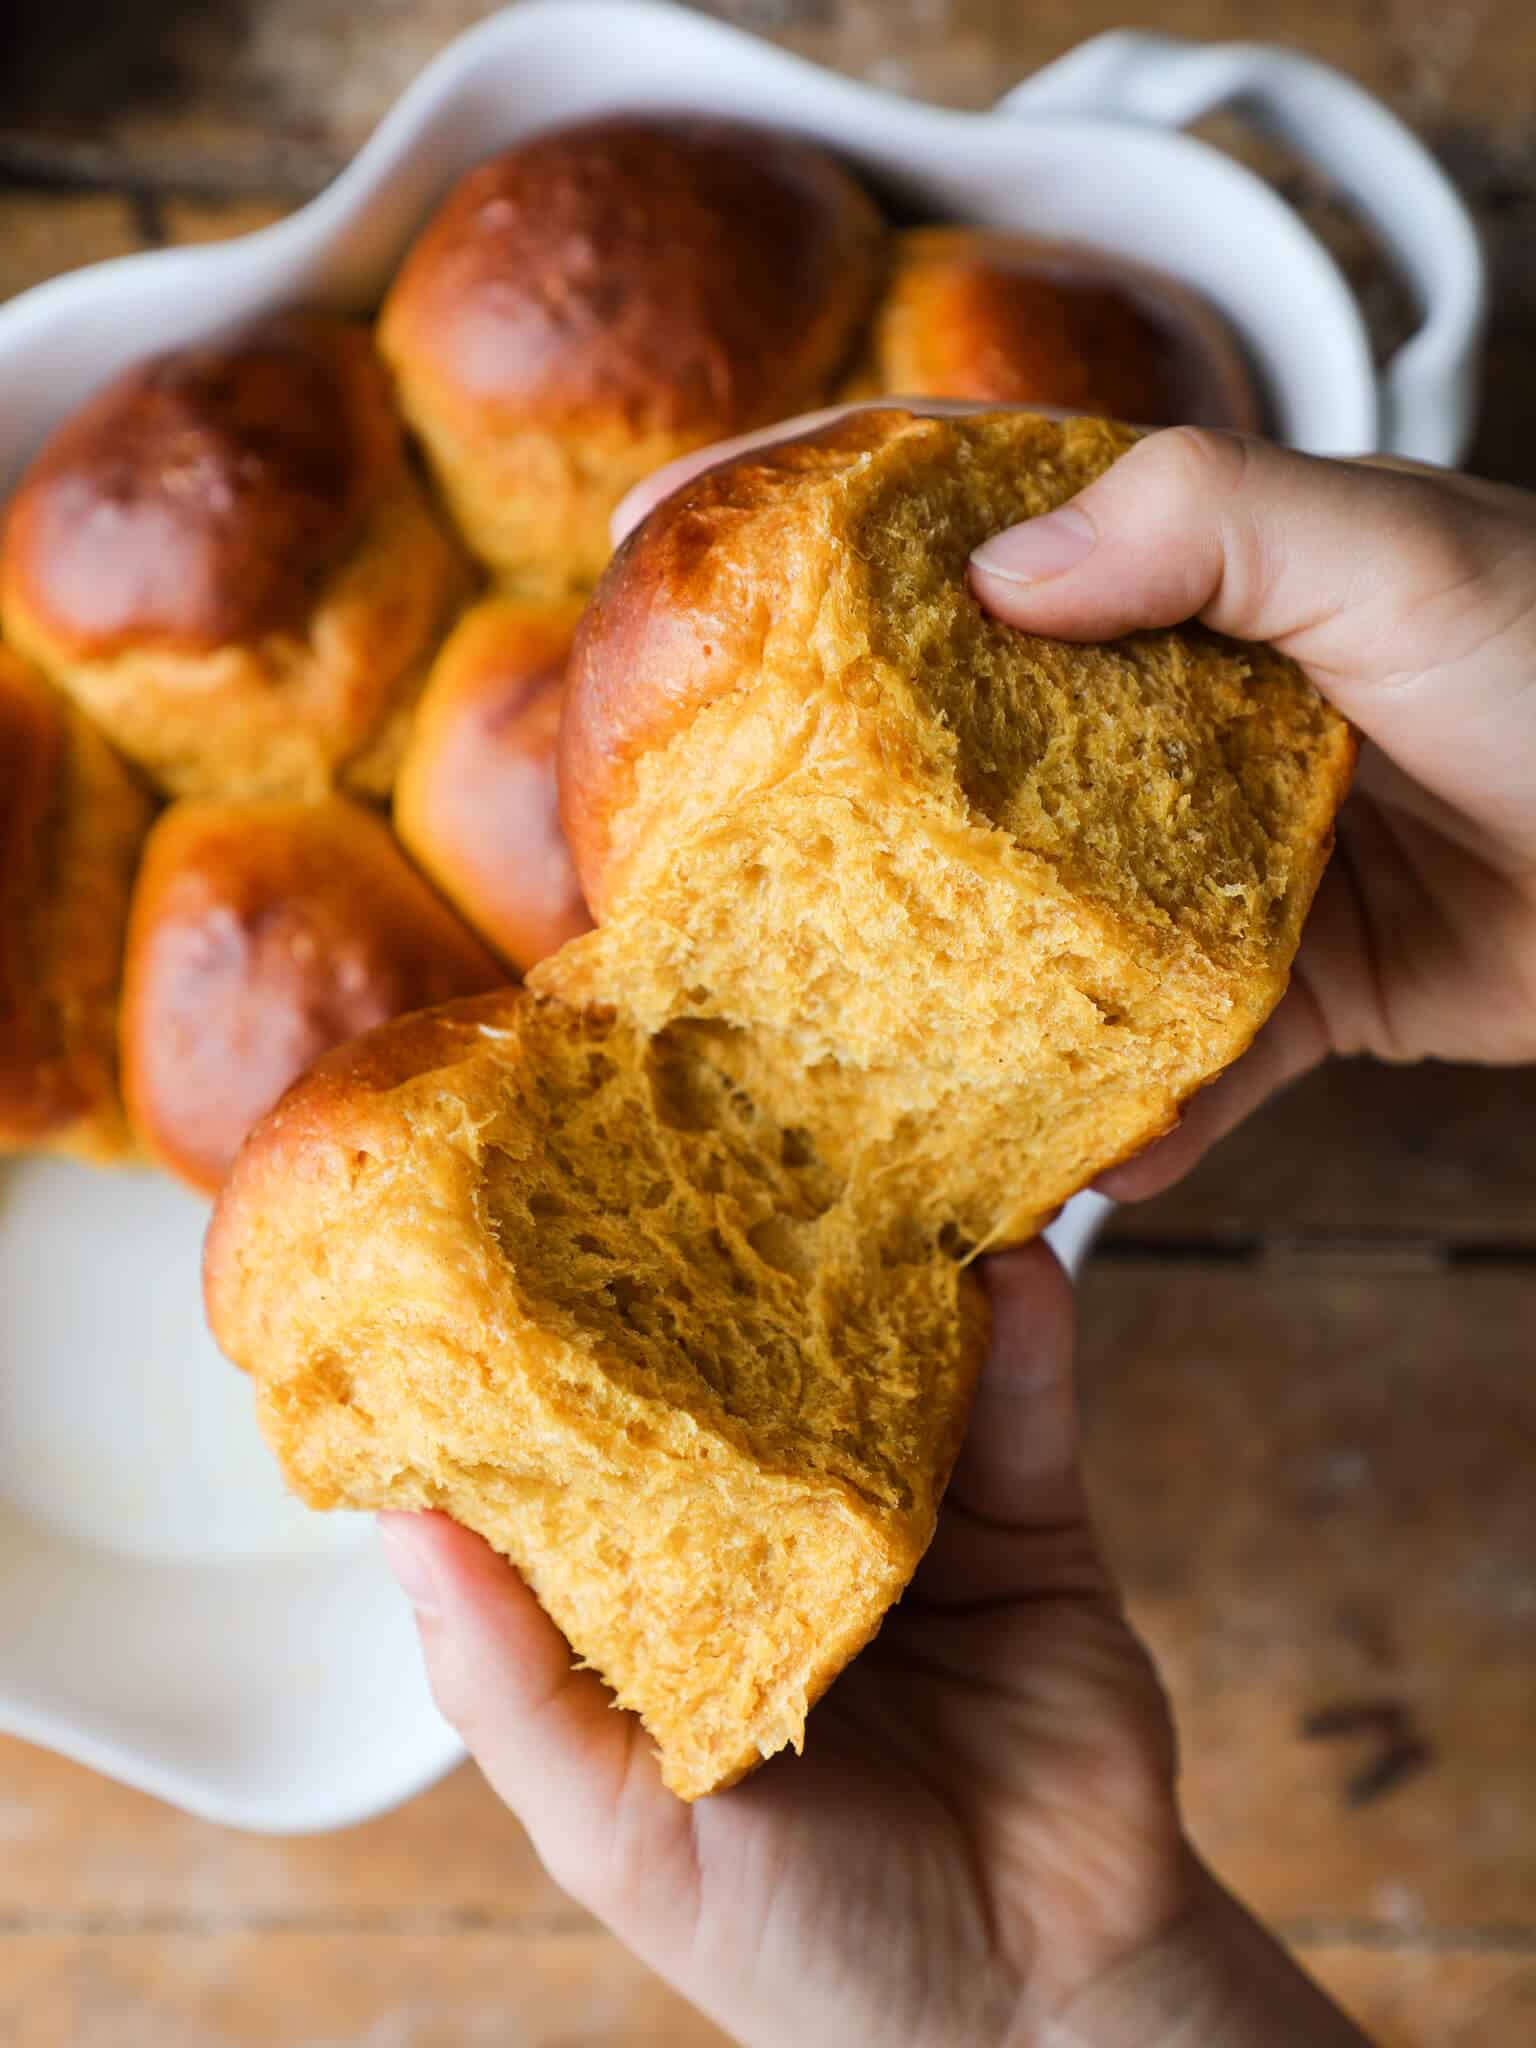
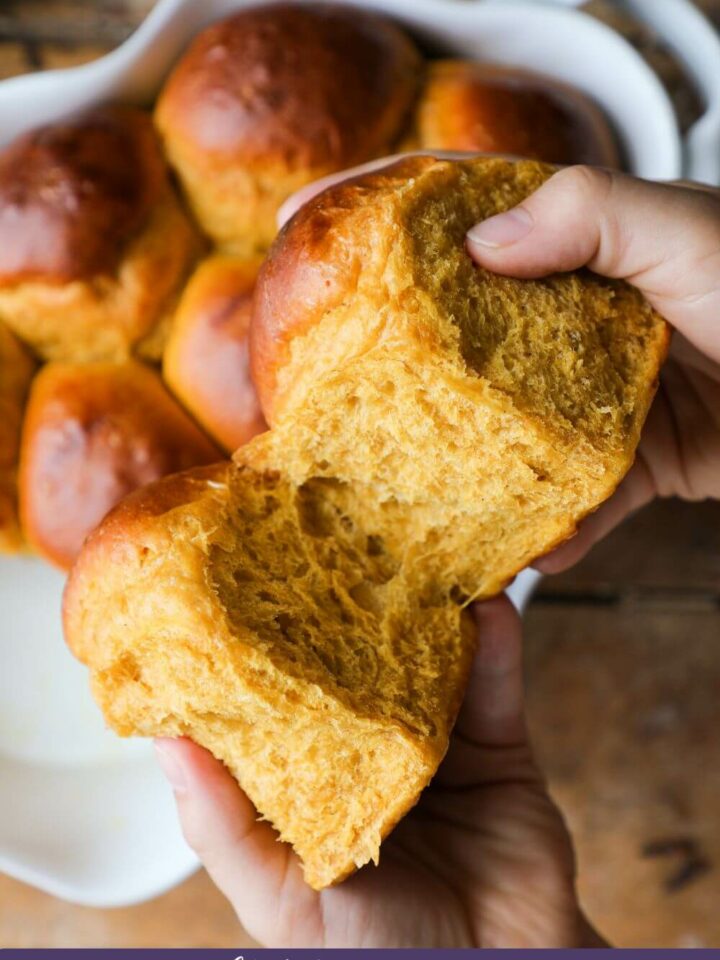
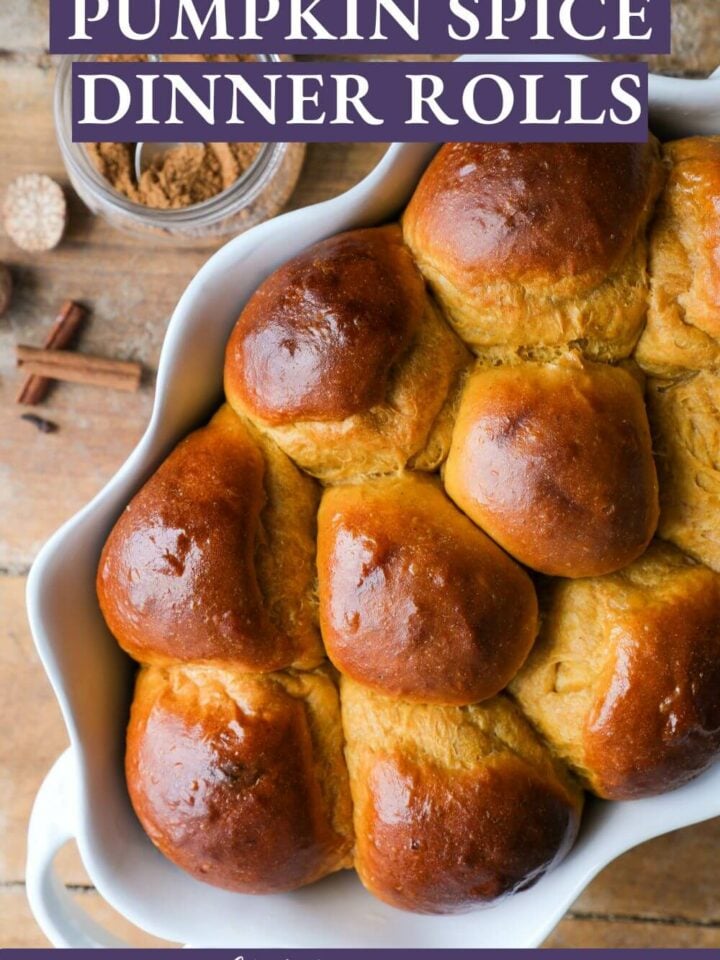
These savory Pumpkin Dinner Rolls are the perfect addition to a Fall dinner menu! They have all the pumpkin spice flavors you love, but are soft, tender, and chewy. An easy, yeasted dinner roll to spice up any occasion.
A Quick Look At The Recipe
This is a brief summary of the recipe. Jump to the recipe to get the full details.
Jump to RecipePrep Time
25 minutes
Cook Time
22 minutes
Proof
1 hour 30 minutes
Total Time
2 hours 17 minutes
Servings
12 rolls
Difficulty
Intermediate
Calories *
241 kcal per serving
Technique
Sponge-started enriched dough, folded for structure, proofed in two stages, and baked until the center reads 185°F
Flavor Profile
Warm pumpkin spice, buttery richness, faintly sweet brown sugar
* Based on nutrition panel
These rolls went perfect with my fall dinner. I used freshly ground spices in my recipes when I can and there was so much flavor in these rolls. The spice ratio is not overpowering…Thanks Chef Lindsey, all of the recipes I have tried have been perfect! It’s the perfect ratios for the best bread! ⭐⭐⭐⭐⭐
Chelsea Boyd
Why This Recipe Works
- Pumpkin adds structure and moisture. The puree replaces some of the liquid in a standard enriched dough, contributing both color and a tender, pillowy crumb.
- Blooming the spices in the dough develops a deeper flavor. Rather than sprinkling spice on top, working it directly into the dough means every bite has warmth and complexity.
- An enriched base keeps the rolls soft. Butter, egg, and a touch of sugar slow gluten development and trap moisture, giving these rolls that pull-apart softness that sets them apart from a lean dinner roll.
- Proper shaping ensures an even rise and a tight crumb. Tensioning each roll on the counter before the final proof creates surface tension that helps them rise upward rather than spread, so you get tall, domed rolls instead of flat ones.
Table of Contents
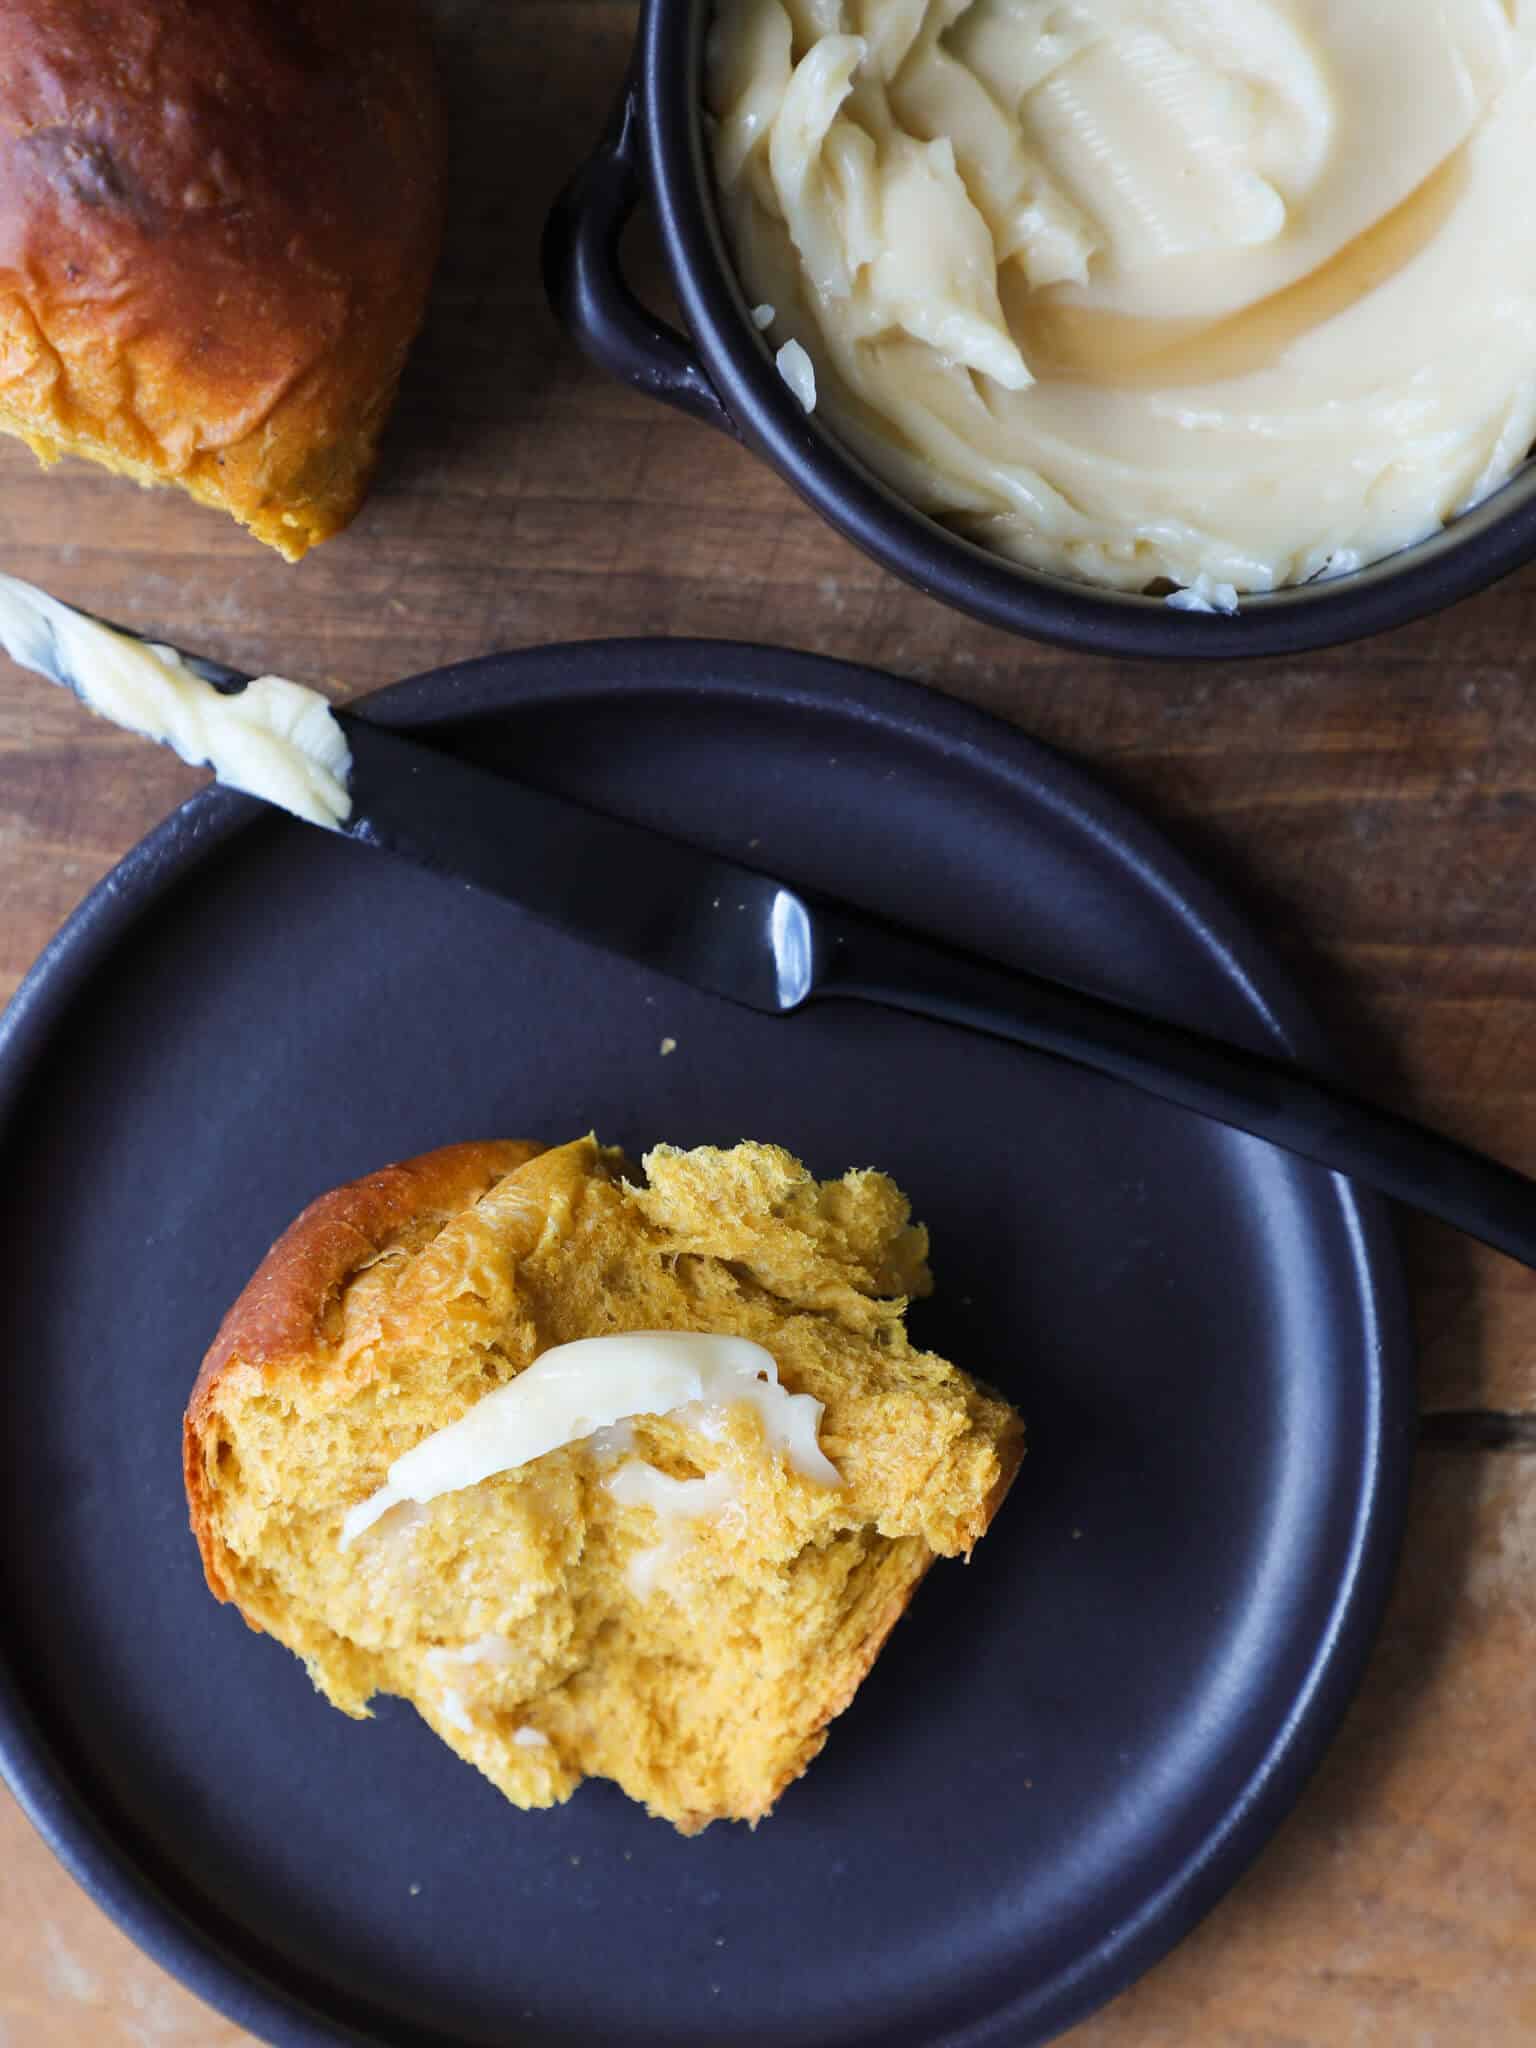
These pumpkin dinner rolls take my Pumpkin Spice Recipe in a savory direction. There is just enough spice to make these rolls a warm, comforting side dish. They would be an excellent roll for Thanksgiving, but too good to limit to one day a year! Stir up a little Homemade Maple Butter to slather on each pumpkiny bite.
If you are new to enriched doughs, my Easy Dinner Rolls walks through the foundational technique in detail, and most of what applies there applies here. Once you understand how an enriched dough should feel at each stage, the rest comes together with very little guesswork.
Ingredients & Substitutions
- Dry Active Yeast: Activates the dough and provides the lift that gives these rolls their open, pillowy crumb. Proof it in warm milk before mixing to confirm it is alive, then add the rest of your ingredients.
- Whole Milk: Adds fat and protein to the dough, contributing to a tender texture and a golden crust. Heat it to around 100°F before adding the yeast; cooler milk will slow activation, and warmer milk will kill it.
- Sugar and Dark Brown Sugar: Granulated sugar feeds the yeast and balances the savory notes, while dark brown sugar adds a deeper molasses warmth that pairs well with the spices. I use dark brown rather than light because the flavor difference is noticeable, which is my go-to move with any spiced dough.
- Bread Flour: Higher protein content than all-purpose flour develops more gluten, giving these rolls the structure to hold their shape and the chew to complement their softness. You can substitute all-purpose flour in a pinch, but the rolls will be slightly less chewy and may spread a little more during the final proof.
- Kosher Salt
- Unsalted Butter
- Egg
- Pumpkin Pie Spice Mix: The spice blend is what makes these rolls distinctly autumnal rather than just pumpkin-flavored. I recommend making a full batch of my Pumpkin Spice Recipe ahead of time, but if you only want enough for this recipe, see the notes for the individual spice measurements.
- Pumpkin Puree: Replaces some of the liquid in the dough, contributing moisture, color, and a subtle earthiness that keeps the rolls from tasting one-dimensional. Use plain canned pumpkin puree, not pumpkin pie filling, which is pre-sweetened and spiced.
See the recipe card for full information on ingredients and quantities.
How to Use Leftover Pumpkin Dinner Rolls
- Make Dessert. You can also cube them and make pumpkin bread pudding or slice them and make mini French toasts.
- Croutons. Tear or cut into cubes and make croutons for a salad.
- Bread Crumbs. Tear and toast in the oven until dried. Pulse in the food processor to make homemade bread crumbs!
- Sandwiches. These pumpkin spice dinner rolls make fantastic sandwich rolls for lunch the next day!
Professional Tips
- Weigh your dough portions. Each roll should be about 99 grams. Eyeballing works in a pinch, but uneven portions proof and bake unevenly, and you will notice the difference in the finished pan.
- Use a thermometer to confirm doneness. The internal temperature of the center rolls should reach 185°F. The outer rolls always read done first, which is why you check the middle ones specifically.
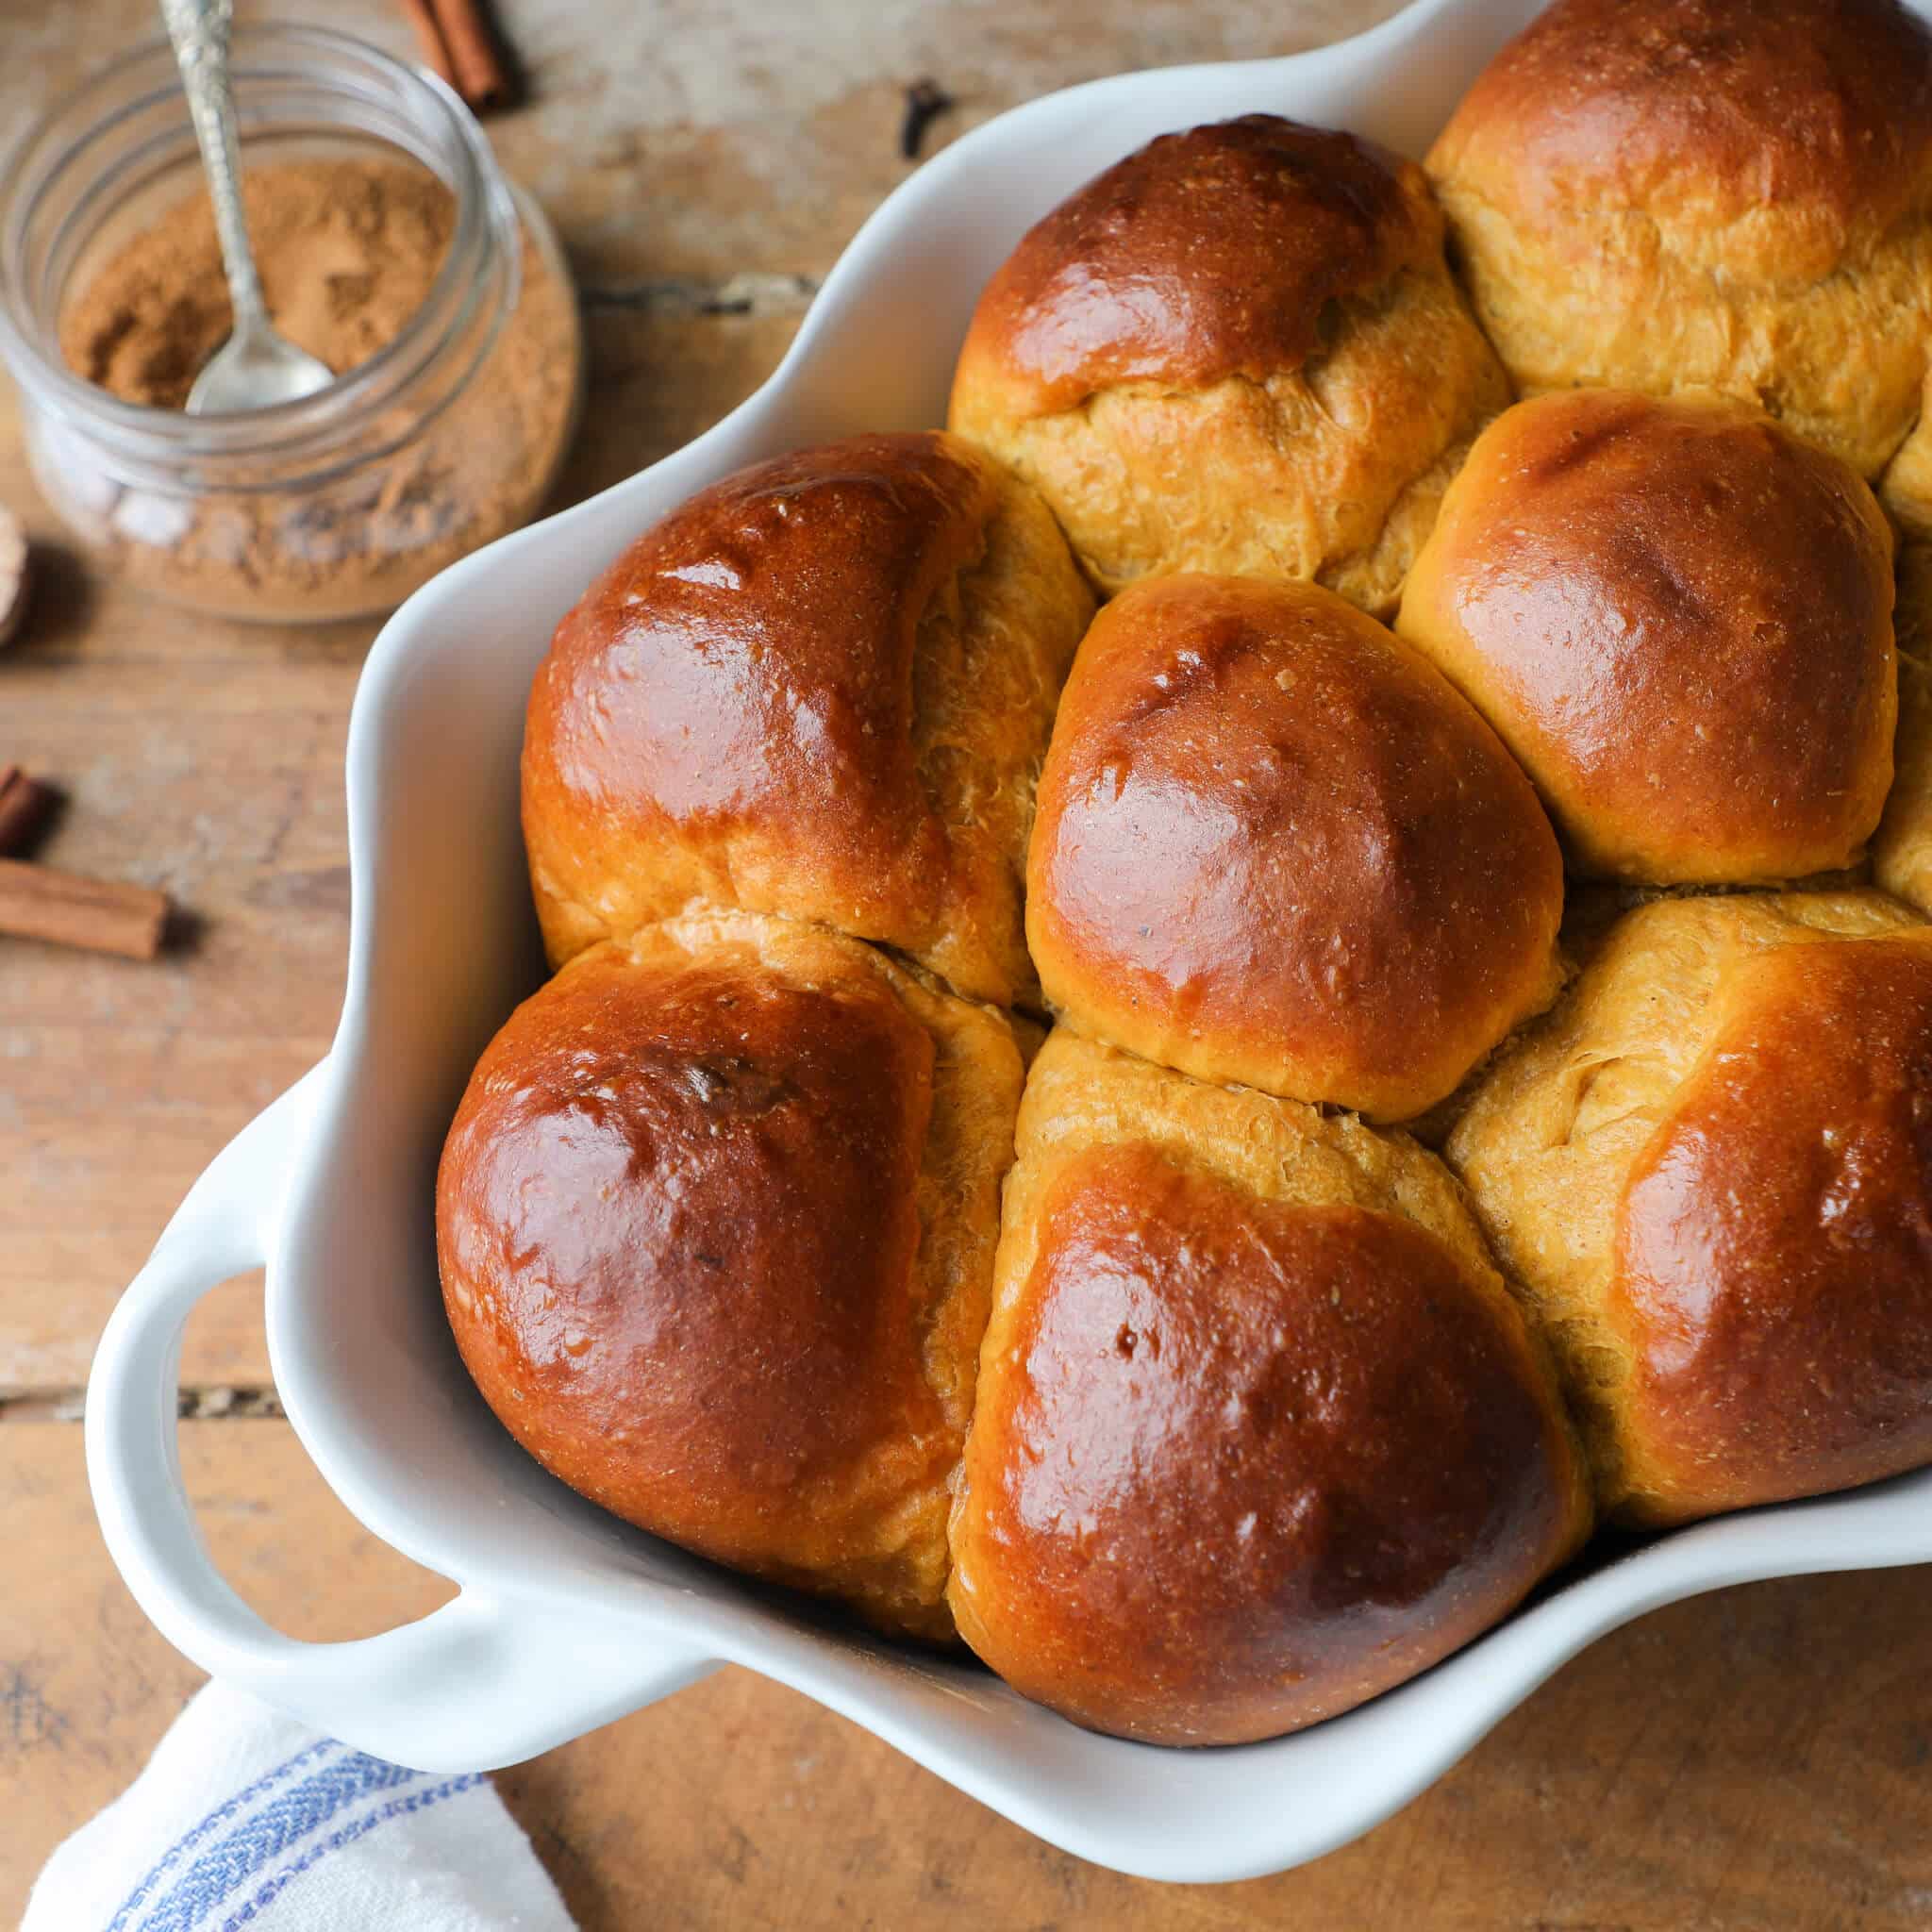
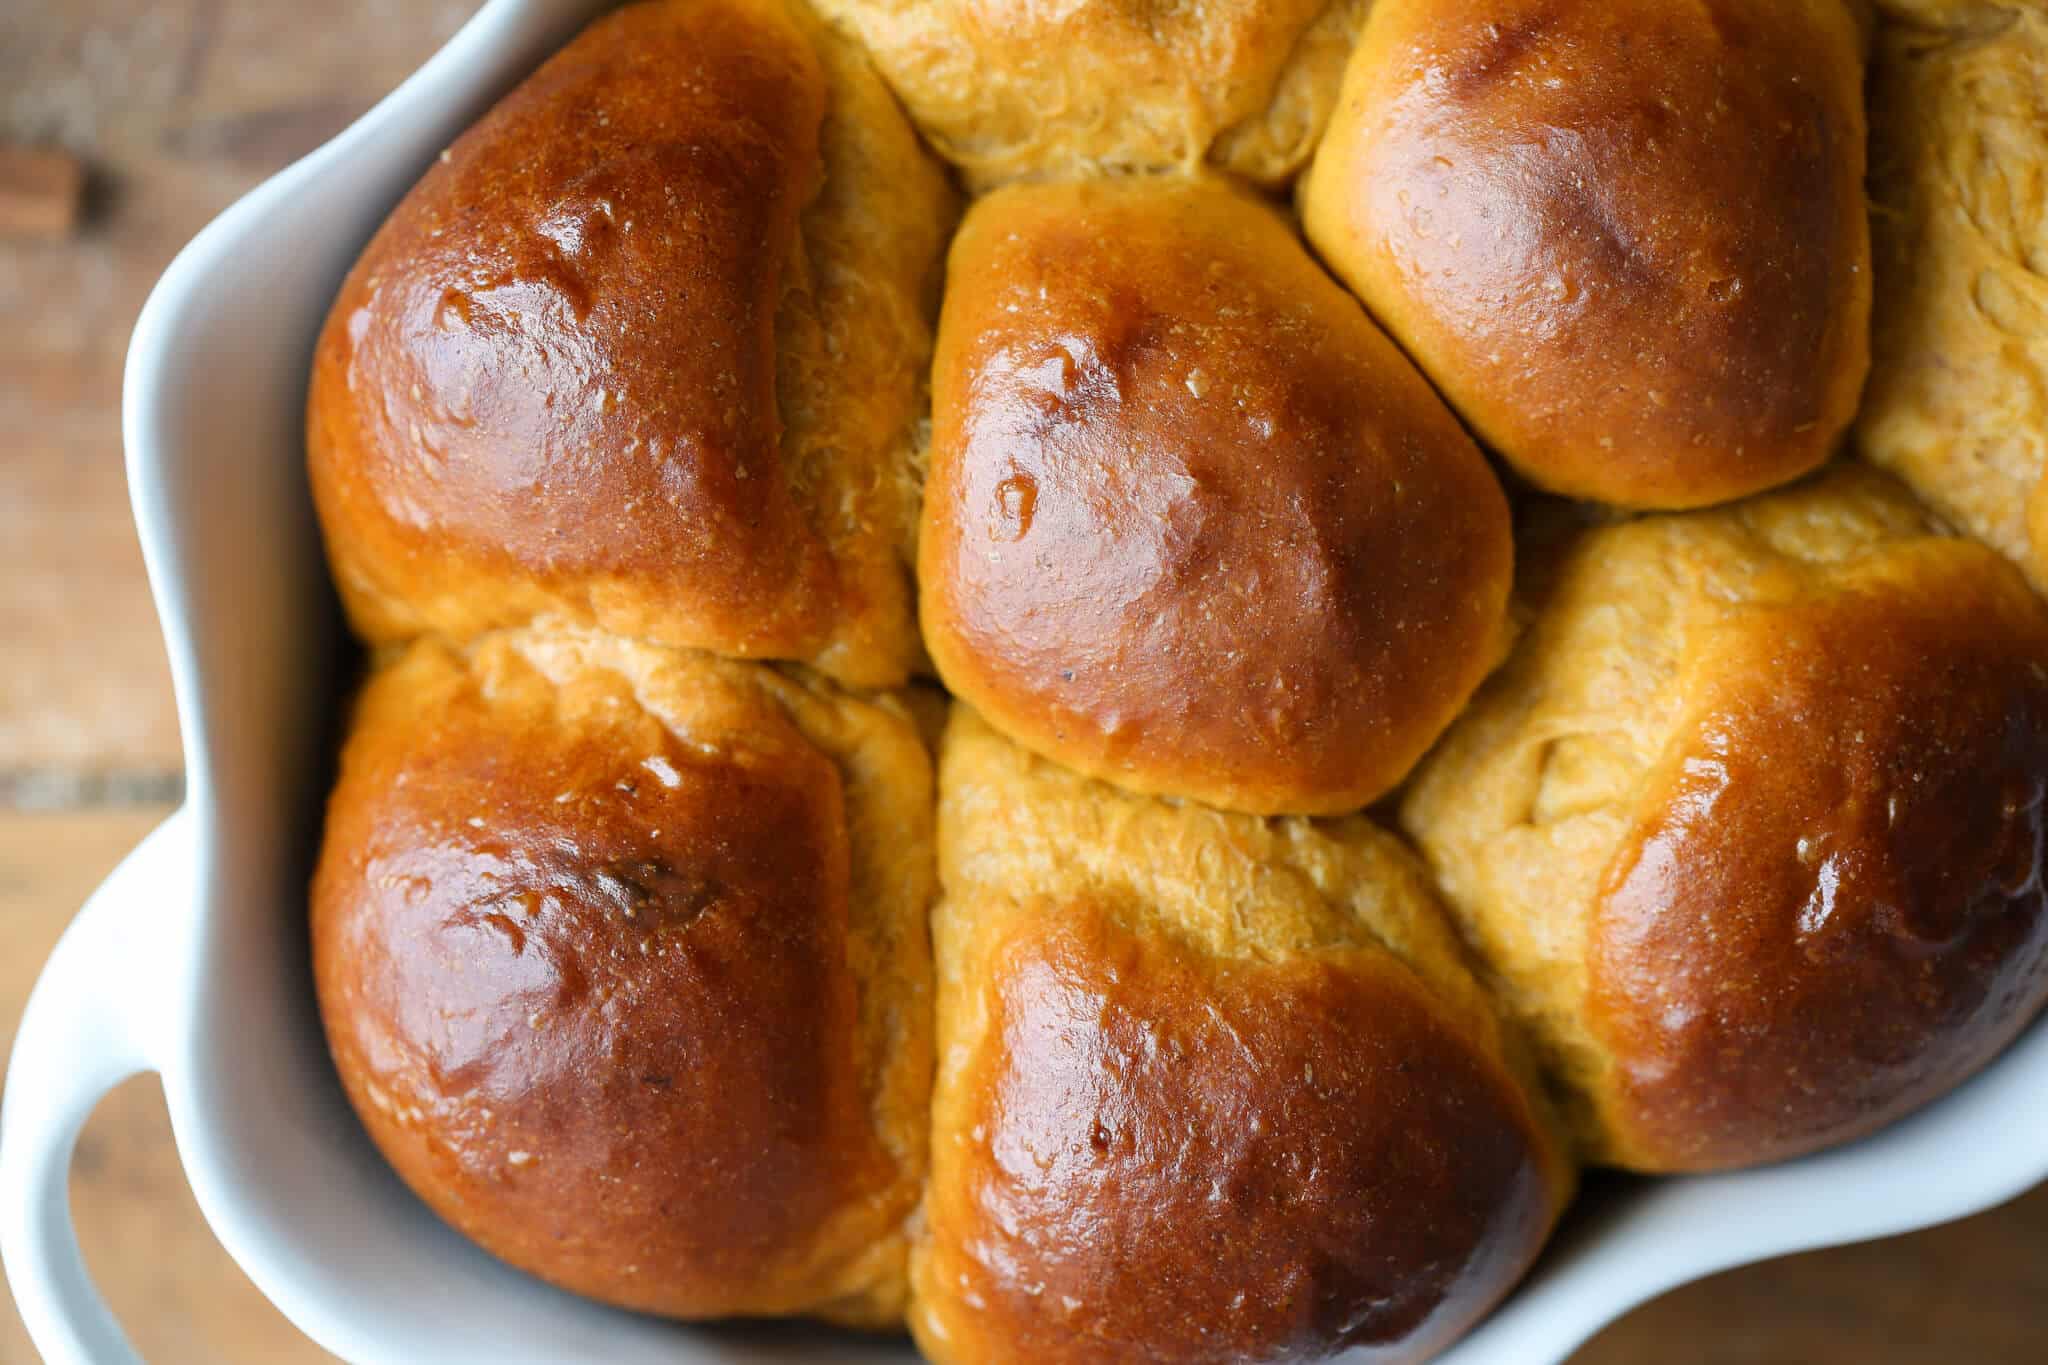
- Do not skip the butter finish. Brushing the rolls with melted butter straight out of the oven is what gives them that glossy top.
- Serve the same day. These rolls are best eaten the day they are made. If you have leftovers, a few minutes in a warm oven the next day brings them back close to fresh, but the texture will not be quite the same as day one.
How to Make Pumpkin Dinner Rolls
Start with the sponge since it needs about 20 minutes to activate before you build the full dough.
Make The Sponge
Step 1: Heat the milk. Warm the milk to around 95 to 100°F, either in a small saucepan over low heat or in the microwave in 15-second intervals. You want it to feel warm but not hot against the inside of your wrist. Too hot and you risk killing the yeast; too cool and the sponge won’t activate properly.
Step 2: In a medium bowl, combine the yeast, warm milk, and sugar and mix with your hands until everything is incorporated. The mixture will be very wet and shaggy, which is completely normal. A spoon works in a pinch, but your hands move through it more efficiently, and you’ll feel when everything is actually combined. Cover the bowl tightly with plastic wrap and set it somewhere warm until the surface is visibly bubbly and domed, about 20 minutes.
I use this time to scale out all the remaining dough ingredients, which means everything is ready to go the moment the sponge is bubbly.
Make the Dough
Step 3: Combine dough ingredients. In the bowl of a stand mixer fitted with the paddle attachment, add the remaining bread flour, dark brown sugar, salt, softened butter, pumpkin puree, spice mix, egg, and the activated sponge. Mix on low speed with the paddle attachment until the ingredients come together into a rough, unified mass.
The paddle does a better job of pulling these wet, enriched ingredients together at this stage than the dough hook would.
Step 4: Develop the dough into a rough window pane. Switch to the dough hook and mix on medium speed until the dough passes a rough window pane test. This does not mean the dough will look perfectly smooth and silky. What you’re looking for: the dough has pulled away from the sides of the bowl and formed one cohesive mass around the hook. Pinch off a small piece, hold it between your fingers, and gently stretch it outward, rotating it to form a rough square shape. You should be able to see light through parts of the dough without it tearing completely, while other areas will still look textured and uneven. That is exactly what you want at this stage.
If the dough tears immediately without any stretch, give it another 2 to 3 minutes on medium and test again. Rushing past this step will affect the final texture of the rolls.
Proof and Shape
Step 5: First proof and fold. Scrape the dough into a well-oiled bowl and cover tightly with plastic wrap. Let it proof in a warm place for 30 minutes. Once the time is up, fold the dough: grab one side with slightly damp hands, pull it upward out of the bowl, and fold it over the top third of the dough. Rotate the bowl 180 degrees and repeat on the opposite side. Rotate a quarter turn and fold again, then rotate 180 degrees once more and make the final fold. You should end up with a neat, taut square packet of dough that feels noticeably more structured than when you started.
Step 6: Bulk proof until doubled. Re-cover the bowl with plastic wrap and set it back in the warm spot to double in size. Mine took about 30 more minutes, but your kitchen temperature will determine the pace. The dough is ready when it looks puffy and feels light and airy when you gently press a floured fingertip into the surface, which is my go-to test for any enriched dough.
Step 7: Prepare the pan and divide the dough. While the dough finishes its bulk proof, grease a 9 x 13-inch baking dish with cooking spray or butter. When the dough has doubled and feels light and airy when you press it, turn it out onto an unfloured surface. It will be soft and supple and will not stick to the counter at all. Divide it into 12 equal portions, either by eye or by weight. Each piece should be about 99g.
Weighing the portions takes less than a minute with a digital scale and guarantees every roll bakes at the same rate.
Step 8: Shape and arrange the rolls. Working one piece at a time, cup your hand over the dough and roll it on the counter in a tight circle until you have a smooth, taut ball. Place the shaped rolls equidistant apart in the prepared baking dish.
Final Proof and Bake
Step 9: Final proof until doubled. Cover the dish loosely with plastic wrap and return it to the warm spot. The rolls need to double in size again before baking. Mine took about 30 minutes, but start checking at 20. When they are ready, they will look noticeably puffed and will feel pillowy and light when you gently nudge the edge of the pan.
Step 10: Preheat the oven. Set your oven to 325°F convection or 350°F conventional. Get it fully preheated before the rolls finish proofing, so you are not waiting on the oven while fully proofed rolls sit and over-proof on the counter.
Step 11: Egg wash the rolls. When the rolls have doubled and feel airy, brush the tops gently with beaten egg. Use a light hand here: pressing down with the brush will deflate the surface, which is the one thing you do not want after all that proofing work.
Step 12: Bake until cooked through. Bake in the preheated oven for 20 to 22 minutes, start checking at 20. The rolls are done when an instant-read thermometer inserted into the center of one of the middle rolls reads 185°F. If you do not have a thermometer, a cake tester, or a toothpick, one inserted into the center should come out with a few clinging crumbs but no wet streaks of dough. The tops will be deep golden brown, and the whole kitchen will smell incredible.
The middle rolls always take the longest. If your outer rolls look done but you are not sure about the center, trust the thermometer over the color of the tops.
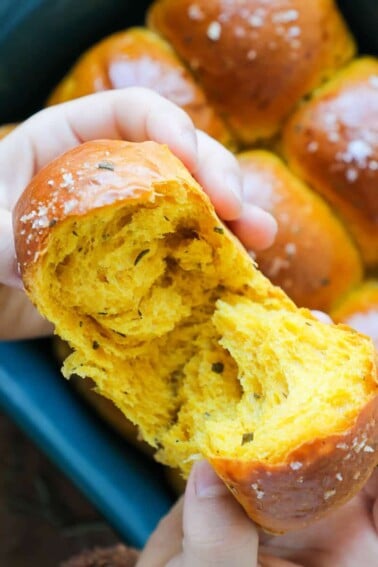
Step 13: Brush with butter and serve. The moment the rolls come out of the oven, brush them generously with melted butter. This is what gives them that glossy, pull-apart top you see in the photos. Technically, they should cool before you dig in, but I have never once waited, and I am not going to tell you to either.
Chef Lindsey’s Recipe Tip
The sponge method here does two things at once: it gives the gluten a head start in an environment where spice, fat, and pumpkin would otherwise slow it down, and it builds flavor you simply cannot get from a straight dough mix. Do not rush the sponge past the bubbly, domed stage, even if it looks close at 15 minutes. Those bubbles are the signal that fermentation is active enough to carry the full, enriched dough all the way through its bulk proof and final rise.
Recipe FAQs
You can prepare the dough through the shaping step, arrange the rolls in the greased pan, cover tightly with plastic wrap, and refrigerate overnight before the final proof. The next day, let them come to room temperature and proof until doubled before egg washing and baking. The rolls are best eaten the day they are baked.
A 9 x 13-inch baking dish is the right fit for 12 rolls at this weight. A smaller pan will crowd them and affect how they proof and bake; a larger pan will leave too much space and the rolls will spread rather than push against each other for that pull-apart texture.
They are a natural fit alongside the rest of your spread. If you are planning the full menu, my Best Thanksgiving Side Dishes collection has everything you need to round it out.
Yes. You can mix the dough by hand using a large bowl and a sturdy spoon for the initial combine, then knead on a lightly floured surface until the dough passes the rough window pane test. It will take longer than the mixer, closer to 10 to 12 minutes of active kneading, but the result is the same.
Recommended Dinner Rolls!
Dinner Roll Recipes
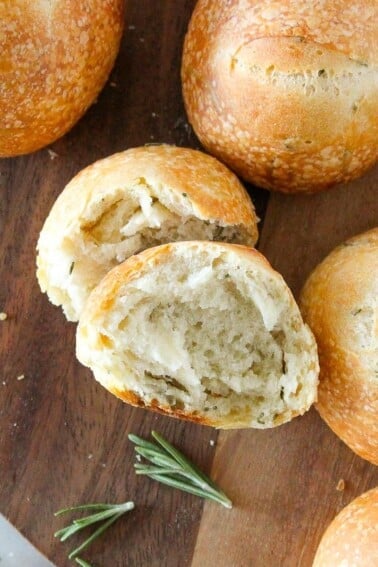
Sourdough Rolls
Dinner Roll Recipes
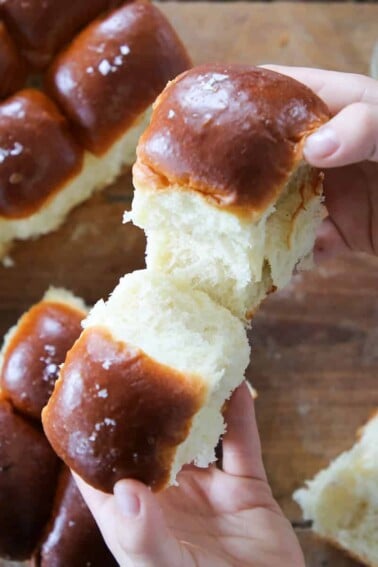
Potato Rolls
Dinner Roll Recipes
Easy Dinner Roll Recipe
Dinner Roll Recipes
Savory Pumpkin Rolls
If you tried this recipe and loved it please leave a 🌟 star rating and let me know how it goes in the comments below. I love hearing from you; your comments make my day!
Pumpkin Dinner Rolls
Ingredients
Sponge
- 2 ¼ teaspoons dry active yeast — 1 packet
- 14 tablespoons whole milk — 100°F
- 1 tablespoon sugar
- 1 ¼ cups bread flour
Dough
- 3 cups bread flour
- 4 ½ tablespoons dark brown sugar
- 1 teaspoon kosher salt
- ¼ cup unsalted butter — softened
- 1 tablespoon Pumpkin Spice Mix
- 1 egg
- 1 cup pumpkin puree
Instructions
Make the sponge
- Heat the milk to 95–100°F. In a medium bowl, combine the yeast, warm milk, and sugar. Mix with your hands until combined, cover with plastic wrap, and set in a warm spot until visibly bubbly, about 20 minutes.
Make the dough
- In the bowl of a stand mixer, add the remaining flour, dark brown sugar, salt, softened butter, pumpkin puree, spice mix, egg, and the sponge. Mix on low speed with the paddle attachment until combined.
- Switch to the dough hook and mix on medium speed until the dough passes a rough window pane test: pinch off a piece, gently pull and rotate into a square shape. The dough should not tear, and you should be able to see through portions of it without it ripping.
Proof & Shape
- Scrape the dough into a well-oiled bowl and cover with plastic wrap. Allow to proof for 30 minutes in a warm place, then fold: grab one side, pull it upward, and fold it over one-third of the dough. Rotate the bowl 180 degrees and repeat. Rotate a quarter turn and repeat twice more until you have a tight square packet.
- Cover again and allow the dough to double, about an additional 30 minutes. Meanwhile, grease a 9 x 13-inch baking dish with cooking spray or butter.
Proof & Bake
- Turn the doubled dough out onto an un-floured surface and divide into 12 equal portions, approximately 99g each. Place equidistant in the prepared dish, cover with plastic wrap, and proof until doubled, about 30 minutes.
- Preheat the oven to 350°F. When the rolls have doubled and feel light and airy, brush with beaten egg.
- Bake for 20 to 22 minutes, until an instant-read thermometer inserted into a center roll reads 185°F. If you don’t have a thermometer, a toothpick should come out with clinging crumbs and no streaks of raw dough.
- Immediately brush the hot rolls with melted butter and serve warm.
Notes
Doneness Cue: An instant-read thermometer inserted into a center roll should read 185°F. A toothpick will come out with clinging crumbs and no streaks of dough.
Storage: These rolls are best eaten the day they are made. Store any leftovers at room temperature and reheat in a warm oven the next day.
Make Ahead: Shape the rolls and arrange in the greased pan, cover tightly, and refrigerate overnight before the final proof. The next day, bring to room temperature and proof until doubled before egg washing and baking.
Nutrition
Before You Go
These pumpkin spice dinner rolls, with their soft, pillowy crumb and warmly spiced orange-hued dough, are the kind of thing I want on every autumn table. If you are looking for more to make, browse my Bread Recipes or make these savory pumpkin rolls next!









These rolls went perfect with my fall dinner. I used freshly ground spices in my recipes when I can and there was so much flavor in these rolls. The spice ratio is not overpowering.
The rolls itself had the perfect texture. I will definitely make this one again. Only difference was I used 2% instead of whole milk.
Thanks Chef Lindsey, all of the recipes I have tried have been perfect!
It’s the perfect ratios for the best bread!
Hi Chelsea! Thank you so much for coming back and commenting after your success! I’m thrilled they were as delicious for you as they were for me!