
This post may contain affiliate links. Please read our disclosure policy.
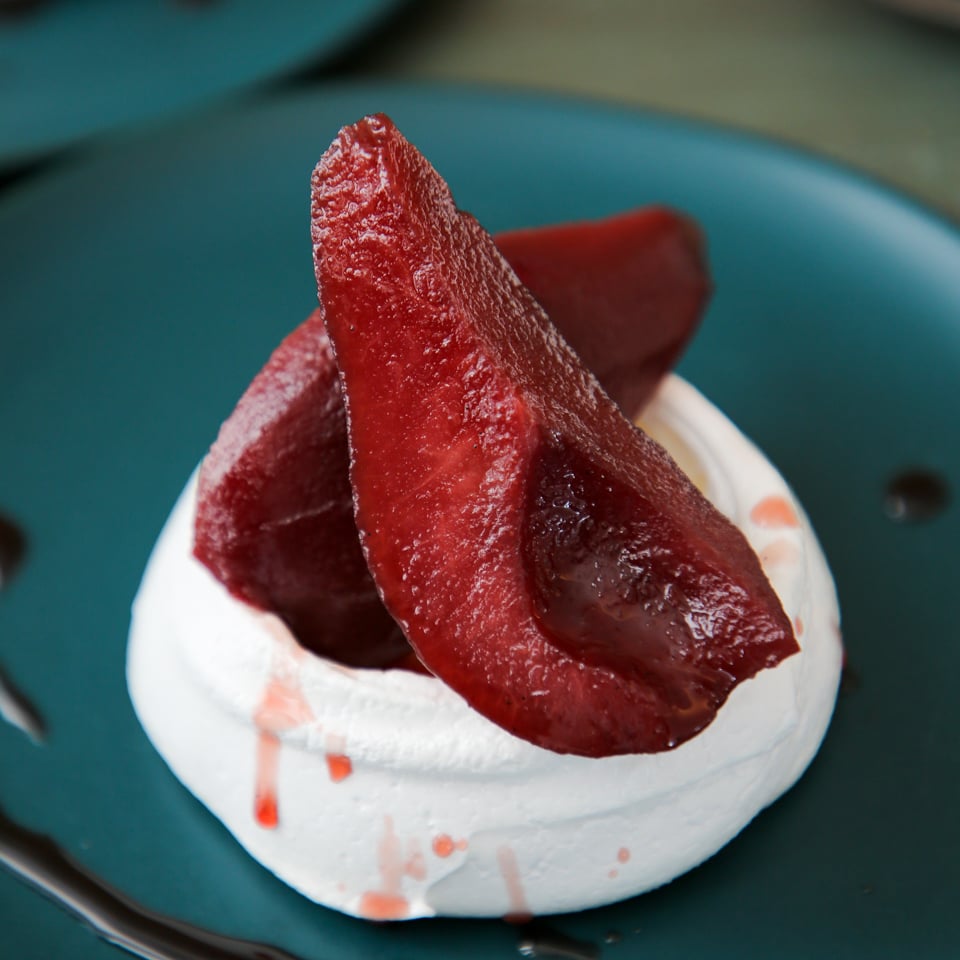
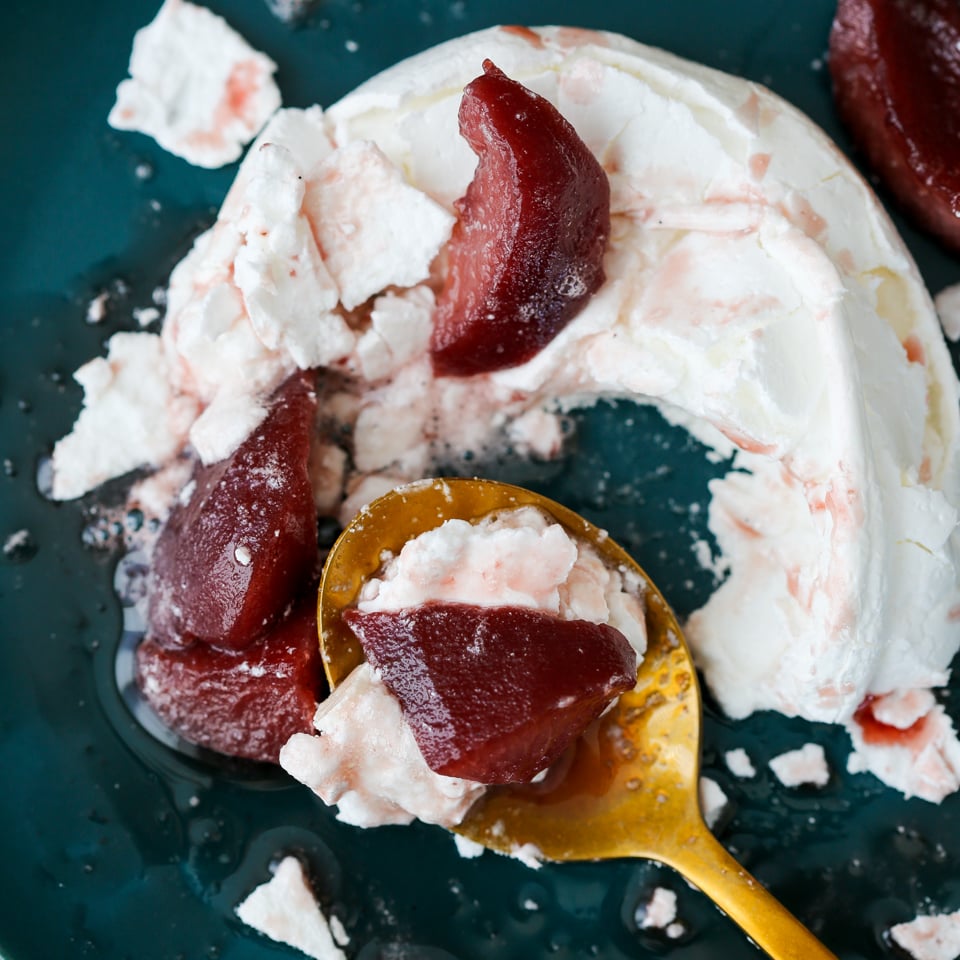
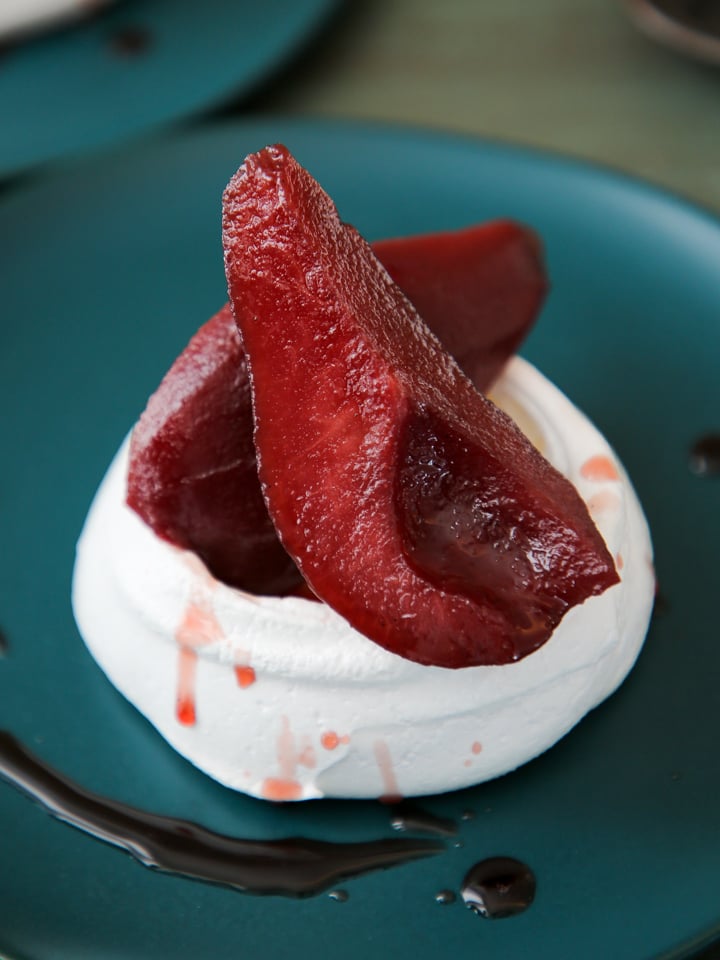
Poached Pear Pavlova combines two of my favorite desserts! The individual pavlovas are crunchy on the outside and soft, pillows on the inside. They pair perfectly with the poached pear recipe!
A Quick Look At The Recipe
This is a brief summary of the recipe. Jump to the recipe to get the full details.
Jump to RecipePrep Time
20 minutes
Cook Time
1 hour
Total Time
1 hour 20 minutes
Servings
8 people
Difficulty
Intermediate
Calories *
106 kcal per serving
Technique
Whip meringue to stiff peaks, fold in cornstarch, bake low and slow until the shell is firm and the center stays marshmallowy
Flavor Profile
Floral spiced pear, airy vanilla meringue, lightly sweet cream
* Based on nutrition panel
I made these for a dinner party and they disappeared so fast I almost didn’t get one. The marshmallowy center is exactly what I hoped for, and the poached pears on top made it feel genuinely special. I was nervous about the meringue but your instructions made it completely manageable. ⭐⭐⭐⭐⭐
Rachel
Why This Recipe Works
- Perfect Pavlova. Pavlova needs a crust that holds its shape under the weight of the fruit. Using the correct ratio of sugar to egg white and baking at the right temperature gives you a shell that cracks at the surface while staying marshmallow-soft in the center.
- Flavorful poached pears. A plain pavlova is sweet and airy. Red wine poached pears add acidity, tannin, and depth that cut through the cream and make every bite more interesting than the last.
- Every component can be made ahead. The pavlova shell keeps at room temperature, the pears keep in their poaching liquid, and the cream whips in minutes. Assembly takes under ten minutes on the day you serve it.
Table of Contents
I reach for this poached pear pavlova when I need a dessert that looks elaborate but is built from components I can prepare days in advance. The contrast of textures — crackled meringue and tender wine-steeped pears — does all the work.
This recipe is a perfect base recipe. You can add the mascarpone cream from this poached pear dessert or top the pavlova with easy apple compote instead. This dessert is perfect for Valentine’s Day or any date night!
Ingredients & Substitutions
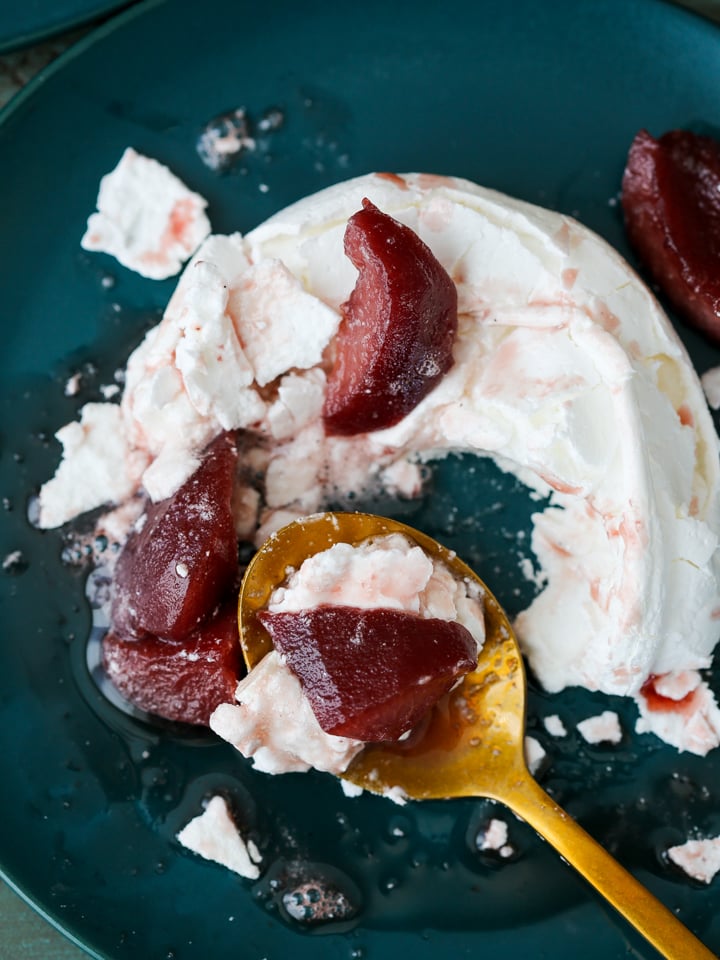
- Poached Pears: These are the flavor anchor of the whole dessert, bringing acidity, tannin, and color that plain fruit cannot. My lemon berry pavlova uses fresh fruit, but these poached pears make it far more complex.
- Egg Whites
- Cream of Tartar: Stabilizes the egg-white foam by lowering its pH, helping the meringue hold volume and resist weeping. Do not skip it.
- Sugar: Fine or caster sugar dissolves more reliably into the meringue than coarse granulated sugar. Add it gradually once the whites reach soft peaks so the structure builds correctly.
- Vinegar: Works alongside the cream of tartar to stabilize the meringue and contributes to the characteristic marshmallow center. White wine vinegar or apple cider vinegar are both fine substitutes for white distilled.
- Vanilla
- Cornstarch: Add at the end of whipping; it helps create the soft, fudgy interior that defines a pavlova. Do not substitute arrowroot, which behaves differently at oven temperatures.
See the recipe card for full information on ingredients and quantities.
Variations on This Poached Pear Pavlova Recipe
- Add a sauce! Pair this dessert with salted caramel sauce, cranberry sauce, or crème anglaise!
- Lemon Whipped Cream. Add lemon whipped cream for a bright citrus note that cuts through the sweetness of the meringue and the richness of the poached pears.
- Spice your pavlova. Add small amounts of spice to the pavlova, like apple pie spice, speculoos spice mix, or gingerbread spice.
Professional Tips
- Add the sugar slowly at first. If you pour it in too fast before the foam has developed, the sugar weighs down the structure before it sets. Once you have established soft peaks, you can increase the addition rate, but the first few tablespoons need time.
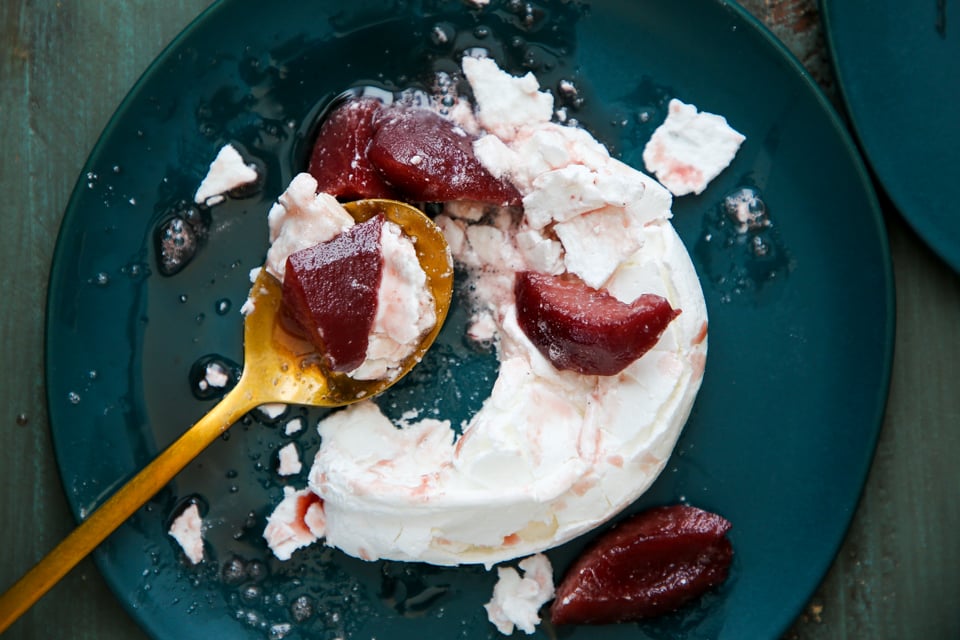
- Bake at 200°F convection, and don’t rush the cool-down. The pavlova finishes drying in the residual heat of the turned-off oven for a full hour. Pulling it out early is the most common reason the shell collapses or stays sticky.
- Fold the cornstarch gently and stop early. Every fold deflates the meringue slightly, so as soon as the cornstarch disappears, stop. Overmixing at this stage is what separates a pavlova with a proper marshmallow center from one that is dense all the way through.
How to Make Poached Pear Pavlova Recipe
Start with the pavlova base since it needs a full hour in the oven plus another hour to cool before you can assemble anything.
Step 1: Prepare your baking sheet. Line a baking sheet with parchment paper or a Silpat liner and set it aside. You want this ready before you start whisking because meringue should not sit and wait once it is made.
Step 2: Begin whisking the egg whites. Add the egg whites, vinegar, and cream of tartar to a stand mixer fitted with the whisk attachment. Start on medium-low to break up the whites evenly. When they begin to foam and turn opaque, start adding the sugar slowly. Stop the mixer at least once and scrape down the sides of the bowl because sugar will cling in chunks near the rim.
This is a substantial amount of sugar, so do not be timid about how much you add at a time, but do keep it gradual so it dissolves into the whites rather than sinking to the bottom.
Step 3: Whip to stiff peaks. Once all the sugar is in, increase the speed to high and let the mixer run until the meringue reaches stiff peaks. It will look very white, thick, and glossy, which is exactly what you want to see. Stiff peaks mean the meringue holds a firm point when you pull the whisk away without drooping or curling.
Step 4: Add the vanilla. Reduce the speed and pour in the vanilla extract, then bring the speed back up to high just until it is fully incorporated. Stop there. Overwhipping at this stage can break down the structure you just built, so a few seconds on high is all it needs.
Step 5: Fold in the cornstarch. Stop the mixer and remove the bowl from the machine. Tap the whisk gently against the side of the bowl to release any meringue trapped inside. Sift the cornstarch directly over the meringue, then fold it in with a spatula just until combined. Every fold deflates the meringue slightly, so work quickly and stop the moment you no longer see streaks of cornstarch.
The meringue will look slightly less voluminous after folding, which is completely normal. You have not ruined it. As long as you stopped folding early, it will bake up beautifully.
Step 6: Dollop onto the baking sheet. Spoon, pipe or dollop the meringue onto your prepared baking sheet, leaving about 3 inches between each portion because they will puff during baking. You can make individual pavlovas or one large base. The size and shape you choose will affect your bake time, so keep that in mind for the next step.
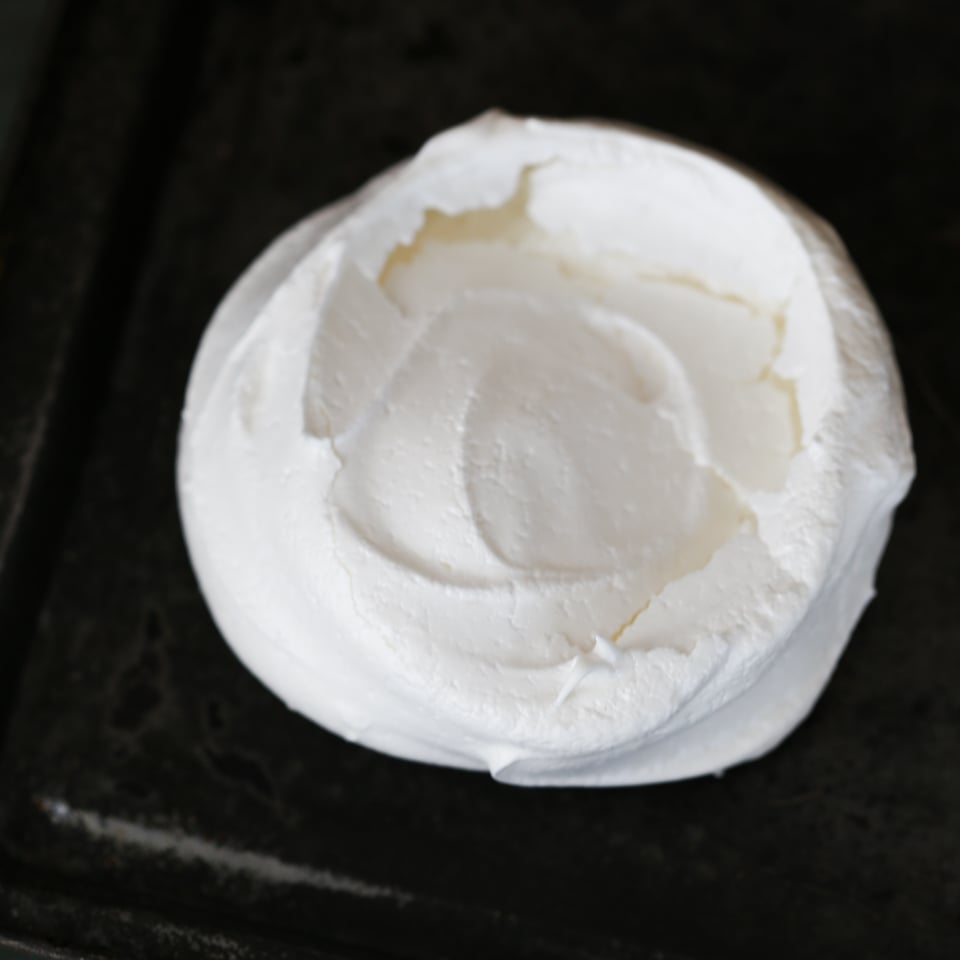
Step 7: Bake and cool. Bake in an oven preheated to 200°F(convection ideally) for 40 minutes to 1 hour. The pavlova is ready when you can gently press the outside and it feels firm, not squishy. If it gives under your finger, close the oven door carefully and check every 10 minutes again. Once firm, turn off the oven and leave the pavlova inside for a full hour to cool slowly. Then remove it and let it finish cooling completely at room temperature before you touch it again.
Don’t rush the oven-cooling step. Pulling meringue into a cooler environment too quickly causes cracking, just like with cherry cheesecake. A gradual temperature drop keeps the exterior intact.
Step 8: Whip the cream. Pour the heavy cream into a chilled bowl and whip to soft, billowy peaks. You want it thick enough to hold its shape when spooned but still light, not stiff. Over-whipped cream will look grainy and will not spread smoothly over the pavlova base.
Step 9: Slice the poached pears. Remove the pears from the poaching liquid and gently pat them dry with a paper towel. Slice them into thin wedges or halves, depending on how you want to arrange them. The pears should be tender throughout and deeply colored from the wine. If they still feel firm at the core, they need more time in the poaching liquid.
The poaching liquid is worth saving. Reduce it in a small saucepan over medium heat until syrupy and coating the back of a spoon, then drizzle it over the finished pavlova just before serving. I do this every time, and it makes a real difference in both flavor and presentation.
Step 10: Assemble. Spoon the whipped cream generously over the cooled pavlova base, nearly to the edges, leaving a slight border so the meringue stays visible. Arrange the pear slices over the cream, then drizzle with any reduced poaching syrup. Serve immediately or within the hour. Once assembled, the cream will begin to soften the meringue, so do not build the pavlova until you are ready to bring it to the table.
Chef Lindsey’s Recipe Tip
The pavlova shell is more forgiving on a humid day than most bakers expect, but humidity will affect the finished exterior texture. If your kitchen runs warm and damp, extend the bake by ten minutes and let the shell cool in the oven with the door cracked rather than fully closed. That small amount of airflow helps the outside set to a proper crisp shell instead of a tacky, soft one.
Recipe FAQs
You can bake the pavlova shell a few days ahead and store it at room temperature, loosely covered, until you are ready to assemble. In the restaurants, we used silica beads wrapped with the pavlovas to keep them firm longer. You can make the poached pears up to three days in advance and keep them in their poaching liquid in the refrigerator. Whip the cream and assemble just before serving.
Cracking almost always happens when the temperature changes too abruptly. Leaving the pavlova in the turned-off oven for the full hour before removing it helps prevent this, so don’t skip that step.
Press the outside gently with one finger. If it feels firm and does not give at all, it is done. If it still feels squishy or soft, close the oven door carefully and check every ten minutes again until the shell holds firm.
Once assembled, pavlova does not store well because the cream softens the shell quickly. Store any leftover components separately: the baked shell at room temperature and the whipped cream and pears covered in the refrigerator. Reassemble as needed within a day.
Other Valentine’s Day Recipes!
Custard Recipes
Chocolate Frangipane
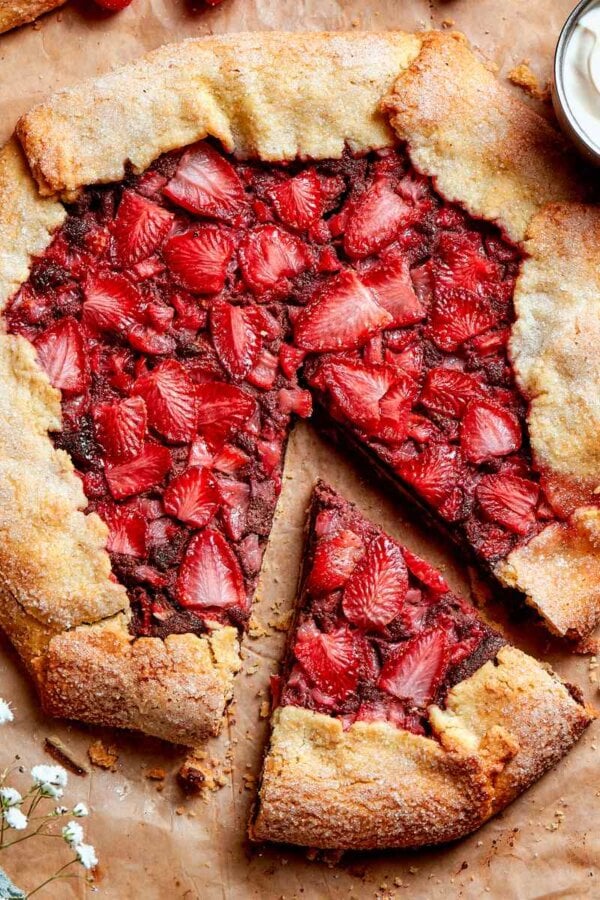
Pies and Tart Recipes
Strawberry Galette
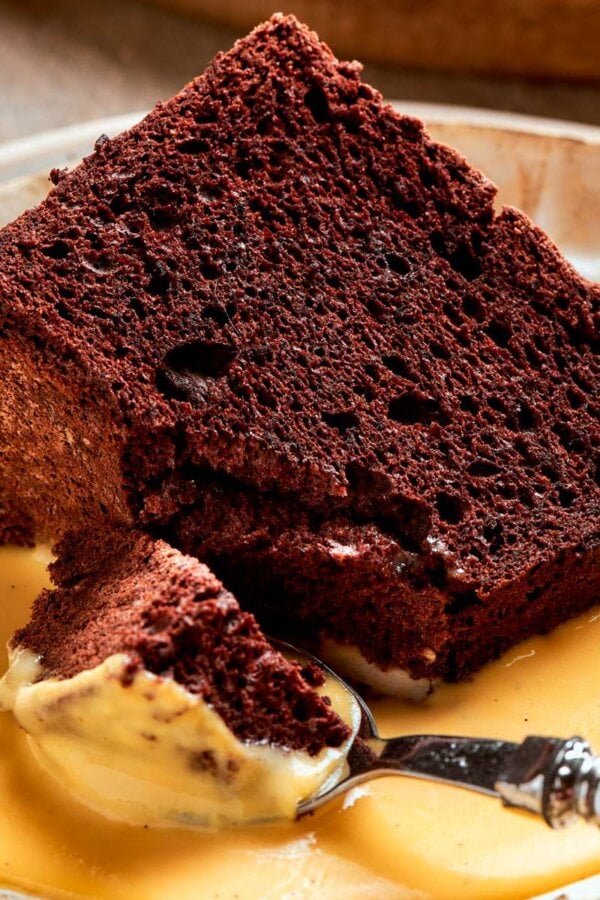
Cake Recipes
Chocolate Angel Food Cake
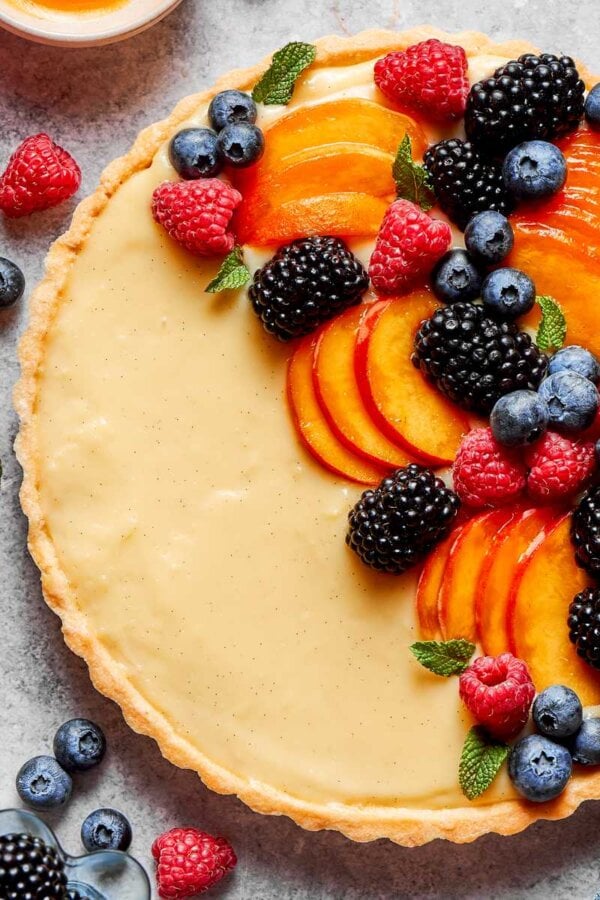
Pies and Tart Recipes
Fruit Tart Recipe
If you tried this recipe and loved it please leave a 🌟 star rating and let me know how it goes in the comments below. I love hearing from you; your comments make my day!
Poached Pear Pavlova
Ingredients
- 4 Poached Pears *See linked recipe for full ingredient list and quantities.*
Pavlova
- 3 egg whites
- 1 pinch cream of tartar
- 1 cup sugar
- ½ teaspoon white vinegar
- 2 teaspoons vanilla
- 1 teaspoon cornstarch
Instructions
- Preheat the oven to 200°F convection (or 225°F conventional). Line a baking sheet with parchment paper or a silicone liner.
- In the bowl of a stand mixer fitted with the whisk attachment, combine the egg whites, vinegar, and cream of tartar. Whisk on medium-low until the whites begin to foam, then slowly stream in the sugar. Add the sugar gradually but steadily, stopping to scrape down any chunks clinging to the bowl sides.
- Once all the sugar is incorporated, increase speed to high and whip until the meringue is very white, glossy, and holds stiff peaks.
- Reduce speed, add the vanilla, then briefly return to high just until incorporated. Do not overwhip at this stage.
- Remove the bowl from the machine and tap the whisk gently against the side of the bowl to release trapped meringue. Sift the cornstarch directly over the meringue and fold just until combined, working quickly to avoid deflating the mixture.
- Dollop the meringue onto the prepared baking sheet in mounds spaced about 3 inches apart, as they will puff during baking.
- Bake for 40 to 60 minutes, until the outside feels firm to a gentle touch. If the shell still feels squishy, close the oven door and continue checking every 10 minutes.
- Turn off the oven and leave the pavlova inside for 1 hour. Remove and let cool completely before assembling with whipped cream and poached pears.
Notes
Doneness Cue: The shell is done when pressing the outside gently with one finger meets firm resistance with no give. Squishy means it needs more time.
Storage: Store components separately. The baked shell keeps at room temperature, loosely covered. Whipped cream and pears keep covered in the refrigerator. Reassemble as needed within a day. The poached pears can be kept in their poaching liquid in the refrigerator for up to three days.
Make Ahead: Bake the pavlova shell up to one day ahead and store at room temperature. Poach the pears up to three days in advance and refrigerate in their liquid. Whip cream and assemble just before serving.
Nutrition
Before You Go
If the combination of wine-poached pears, billowy meringue, and whipped mascarpone has you wanting more showstopping desserts, browse my Dessert Recipes or try this chocolate angel food cake next!








I made these for a dinner party and they disappeared so fast I almost didn’t get one. The marshmallowy center is exactly what I hoped for, and the poached pears on top made it feel genuinely special. I was nervous about the meringue but your instructions made it completely manageable.
Rachel, I’m so glad the center came out marshmallowy and that the meringue steps felt manageable. Meringue can feel intimidating, so that means a lot. The poached pears on top are a favorite of mine too. Thank you for sharing! ~CLF team
I made these for a dinner party, and my guests could not believe I made them myself. It was absolutely stunning! Your tips about adding the sugar early and using vinegar to keep the meringue white were total game-changers. This is officially my go-to showstopper dessert!
I was in the mood to try something a little different. Touching the outside to check for firmness was a great test. The pears made it feel extra special. Light but still satisfying, everyone at the dinner party commented on the texture.