This post may contain affiliate links. Please read our disclosure policy.
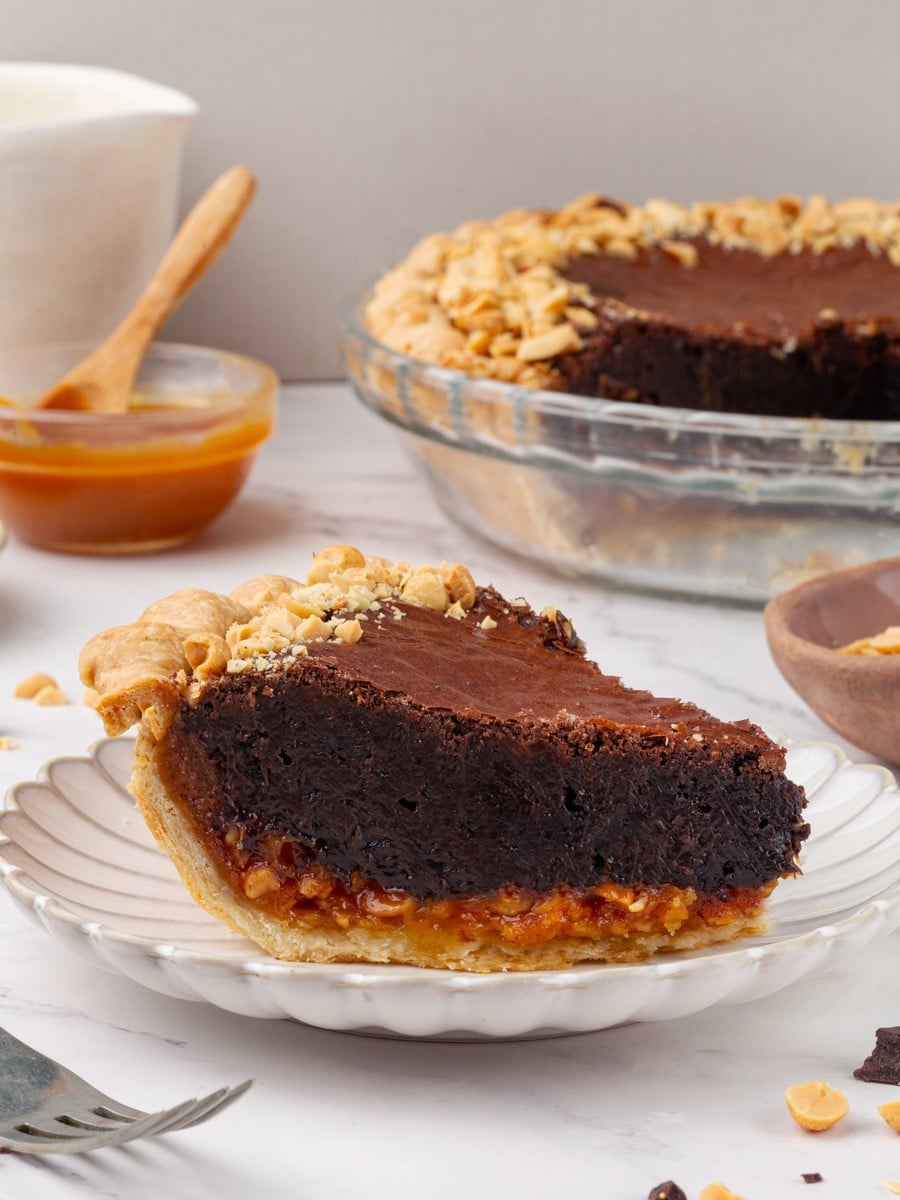
This Snickers Chocolate Pie is a layered dark chocolate and peanut butter pie with salted caramel sauce and roasted peanuts in an all-butter crust. Serve it chilled for a fudgy, creamy slice, or frozen for a Snickers-bar effect that is hard to put down.
A Quick Look At The Recipe
This is a brief summary of the recipe. Jump to the recipe to get the full details.
Jump to RecipePrep Time
30 minutes
Cook Time
25 minutes
Cooling / Rest Time
3 hours
Total Time
3 hours 55 minutes
Servings
10 Slices
Difficulty
Intermediate — layered assembly with a parbaked crust and bain marie chocolate melting; no single step is difficult, but timing and sequencing matter.
Calories *
700 kcal per serving
Technique
Parbaked all-butter crust with sequential layered assembly: bain marie chocolate ganache, peanut butter layer, salted caramel, and roasted peanuts set between each pour.
Flavor Profile
Deep dark chocolate, salty caramel, roasted peanuts, rich peanut butter.
* Based on nutrition panel
I made this for my husband’s birthday. Snickers are his favorite and served it straight from the freezer as Lindsey suggested, and the texture really does remind you of a Snickers bar. The salted caramel layer between the peanut butter and chocolate is what makes every bite interesting. I used 90% dark chocolate like the recipe notes and it balanced the sweetness perfectly. This is already on my must-make list for every holiday. ⭐⭐⭐⭐⭐
Macy
Why This Recipe Works
- Beautiful layers! Chopped peanuts on the bottom provide crunch, salted caramel in the middle stays gooey even after baking, and the dense chocolate fudge filling binds it all together.
- Parbaked crust that has structure. Blind-bake the crust until the bottom and sides look matte to create a shell that supports the layered filling without getting soggy.
- A flexible chocolate percentage lets you control sweetness. Because the caramel is already rich and sweet, using a higher-percentage dark chocolate keeps the filling from tipping into cloying. The specific percentage isn’t locked in, so you can adjust based on what you have and how sweet your caramel runs.
Table of Contents
This pie is adapted from the Chocolate Peanut Butter Pie I made at my shop, scaled to a single pie and layered with peanuts and salted caramel for textural contrast. My husband requests it every Thanksgiving, and the leftovers always end up in the freezer, which, frankly, is his preferred way to eat it.
This recipe starts with the same chocolate filling I developed for my chocolate pie: a dense, fudgy base that holds up under the caramel and peanut layers without turning gummy or loose. If you love chocolate pie, try this chocolate chess pie next!
Ingredients & Substitutions
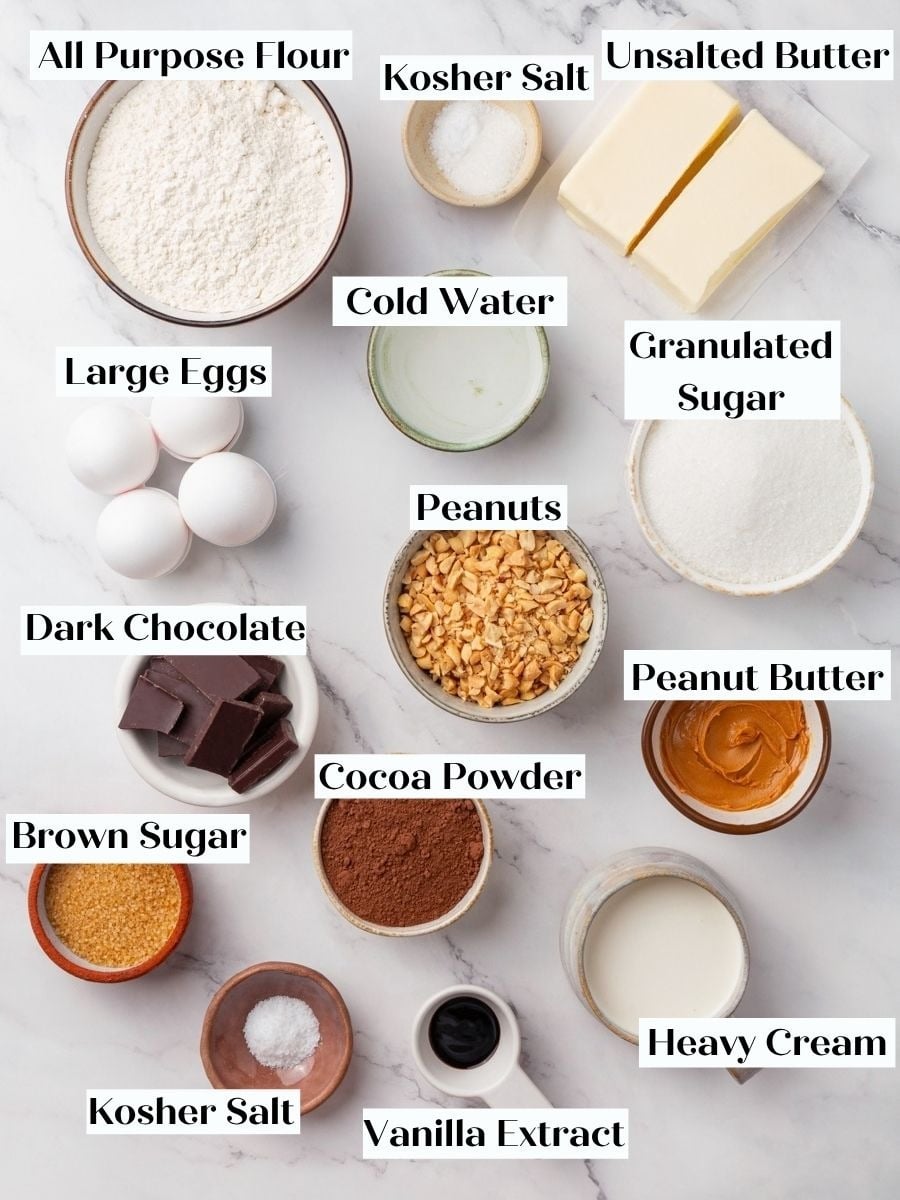
- Unsalted Butter, cold: In the crust, cold butter cut into small cubes creates flakiness and a shell sturdy enough to hold the caramel without going soggy. In the caramel and chocolate filling, butter emulsifies for a glossy, smooth texture rather than a greasy or broken one.
- Granulated Sugar: The tiny amount in the crust gently encourages browning without sweetening the shell. In the caramel, it is the base that caramelizes for color and flavor; in the filling, it balances the bitterness of high-percentage dark chocolate and cocoa.
- Heavy Cream: Cream turns hard caramelized sugar into a pourable sauce that stays soft even when the pie is chilled or frozen. Its high fat content gives the caramel body and a silky texture that won’t weep into the crust.
- Dark Chocolate: This is the primary flavor driver in the filling and provides structure as it sets during baking. Using a higher-percentage chocolate, like 90%, keeps the filling from tipping into cloying alongside the sweet caramel. If you use a sweeter chocolate, reduce the granulated sugar accordingly.
- Cocoa Powder: Cocoa deepens the chocolate intensity without adding more fat or sugar. It also helps the filling firm as it bakes by absorbing some liquid, creating a sliceable, custardy texture rather than a soft, fudgy puddle.
- Eggs and Egg Yolks: Whole eggs provide the coagulation that makes the filling sliceable. The extra yolks add richness and a velvety texture that holds up smooth and clean even when served cold from the freezer.
- Jif No-Sugar-Added Peanut Butter: This gives the filling its Snickers-adjacent peanut flavor and additional fat for creaminess without extra sugar that would throw off the sweetness balance. A stabilized commercial peanut butter like Jif keeps the filling emulsified during baking. Natural or sweetened peanut butters will change both the filling’s texture and sweetness, so if you swap, expect to adjust. For a different use of peanut butter in a rich dessert context, try my Peanut Butter Buttercream.
- Salted Cocktail Peanuts, chopped (1 cup): These provide the crunch and salty snap that tie every layer together. Chopping them keeps the pieces small enough for clean slices without oversized chunks cracking the crust.
See the recipe card for full information on ingredients and quantities.
Variations on This Snickers Pie
- Different Chocolate Percentage. The filling works across a range of dark chocolate percentages, but the sweeter your chocolate, the more you should reduce the granulated sugar in the filling to keep it from tipping too sweet against the caramel. I used 90% specifically because its low sweetness balanced the caramel layer without any adjustment.
- Change the crust. You can use my pâte sucrée, or this Crisco pie crust. You could even try it with my almond flour tart crust!
- Hazelnuts. Swap out the peanuts for hazelnuts and use Nutella in the filling. I would reduce the sugar a bit in the filling to keep it from being too overly sweet. If you love baking with hazelnuts, you should try this pear hazelnut tart!
Professional Tips
- Don’t remove the pie weights until the crust looks matte. The sides and bottom need to be fully matte, and the edges should just be beginning to brown before you remove the weights. Pull them too early, and the sides will sink, leaving a shallow shell that cannot hold all the filling.
- Lift the dough into the dish; never stretch it. When fitting the crust, always lift the edges to let the dough settle into the corners under its own weight. Stretching it to reach the sides makes it snap back during baking, and you can’t fix a shrunken crust once it is in the oven.
- Whisk the warm chocolate mixture into the eggs all at once. Dribbling in the warm liquid slowly risks scrambling the eggs at the bowl’s edges before you can fully incorporate it. Add it all at once and whisk immediately for a smooth, cohesive filling.
- Plan to serve it cold. This pie is meant to be eaten chilled or straight from the freezer, so build that rest time into your schedule.
How to Make Snickers Pie
This pie builds in distinct stages: the crust, the caramel, and the filling. Work through them in order, and each component will be ready when you need it.
Make the Pie Dough
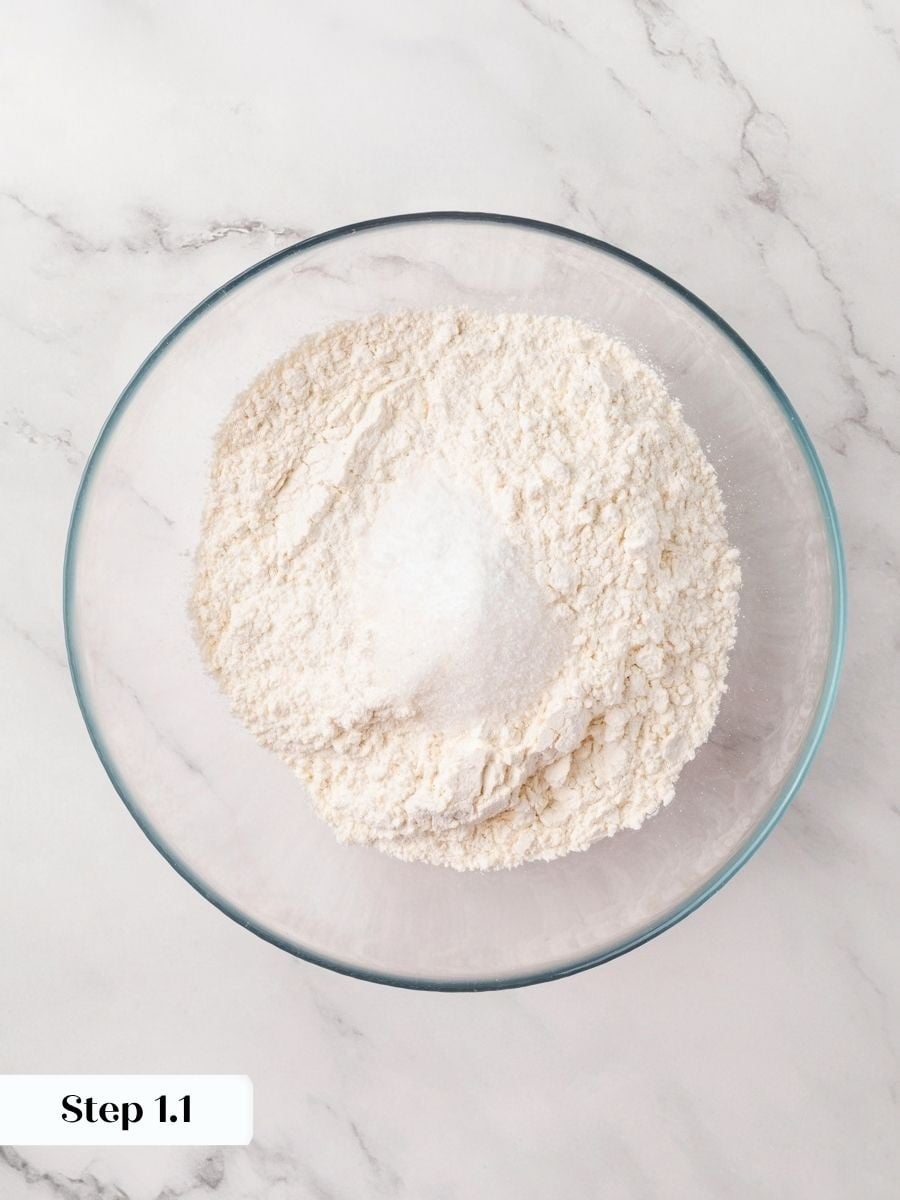
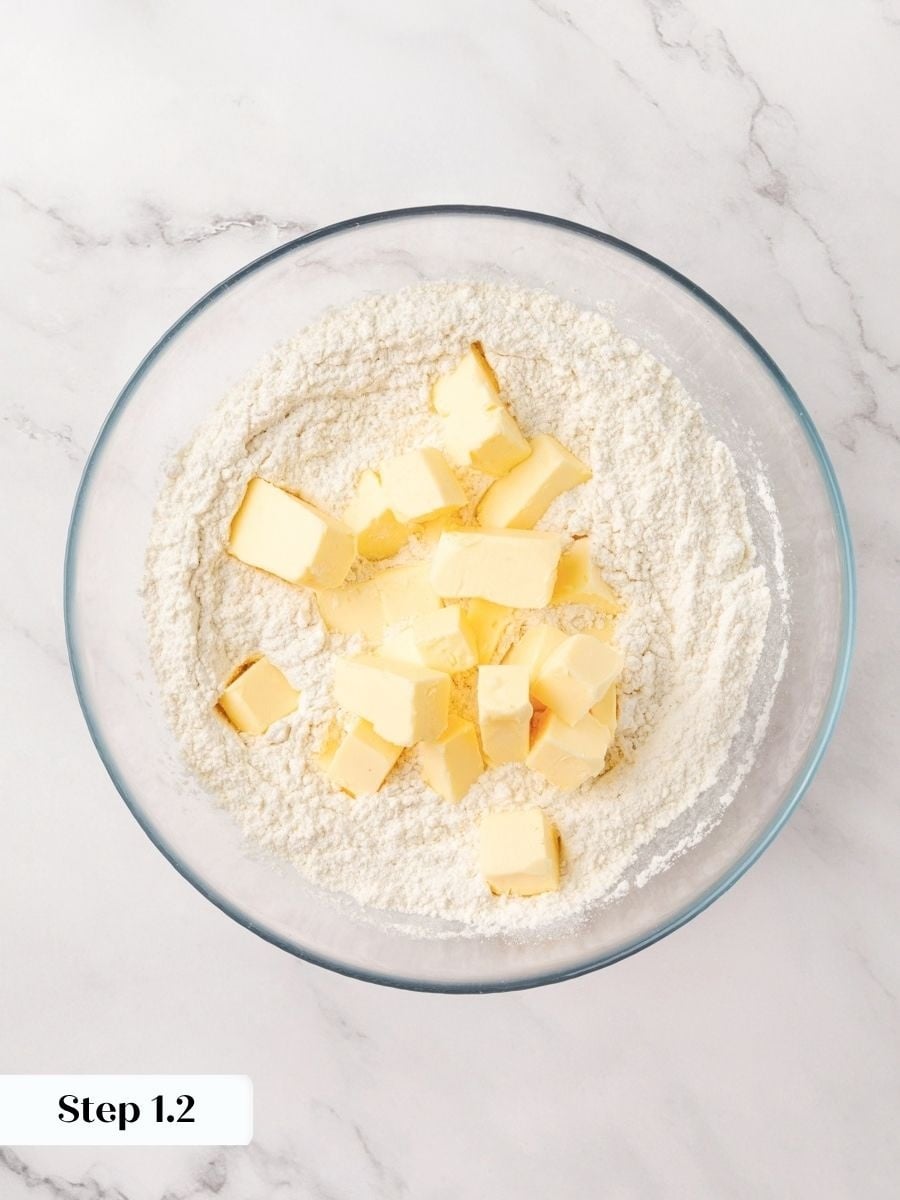
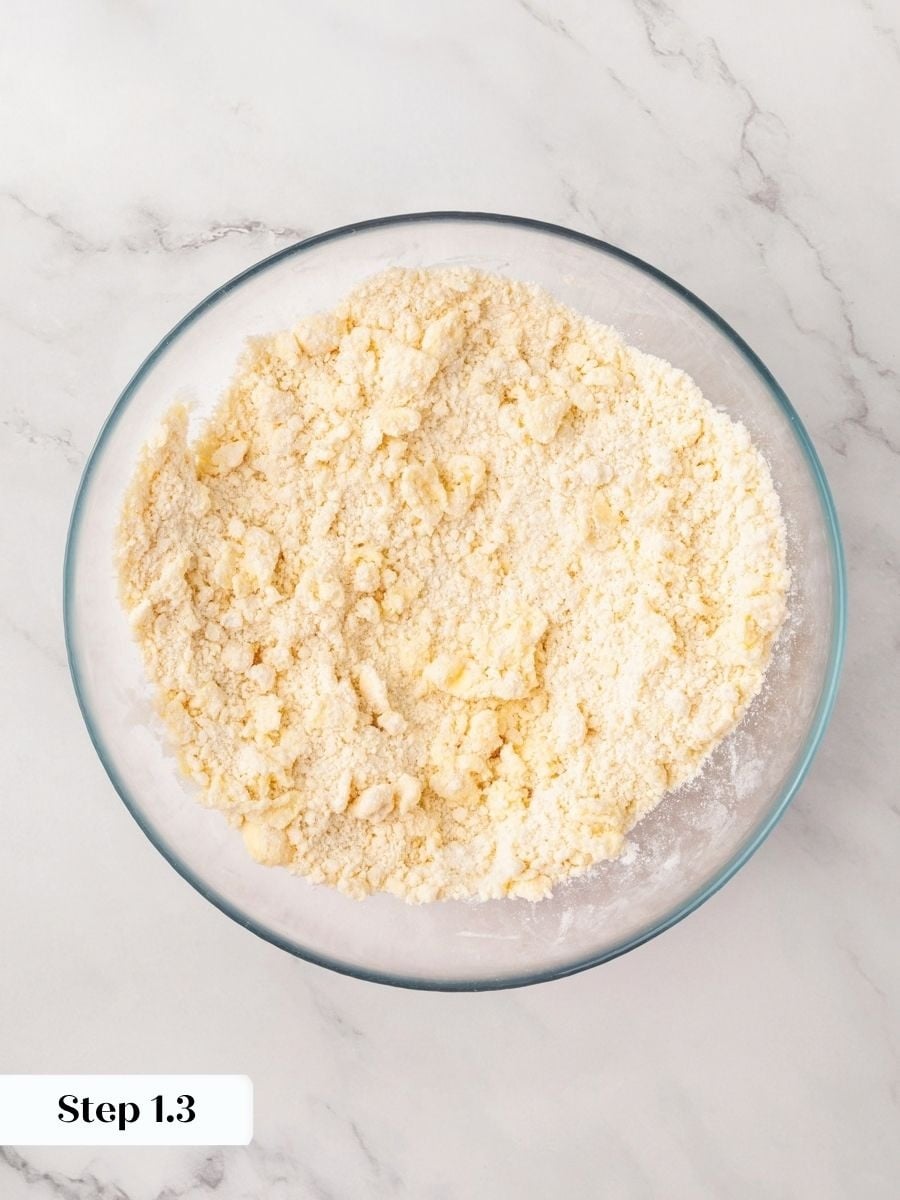
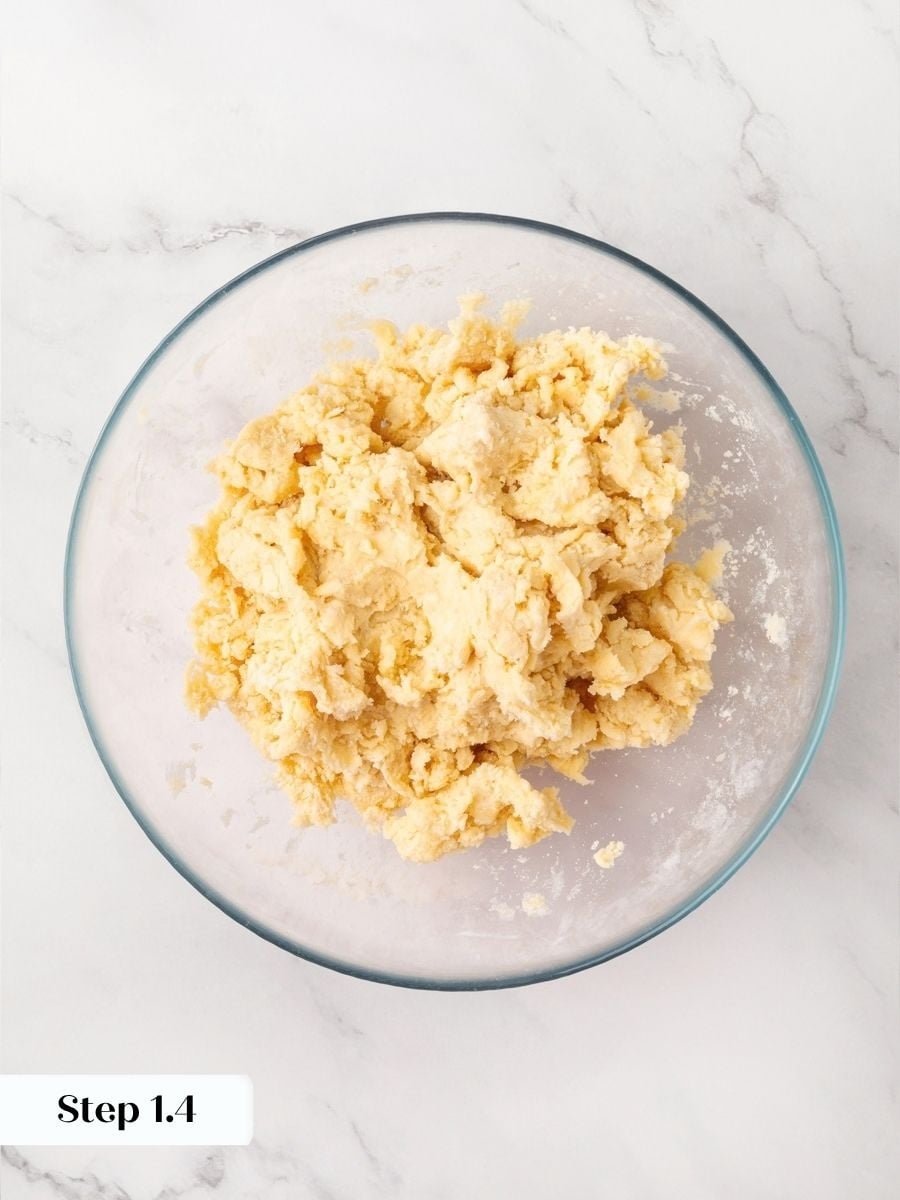
Step 1: Whisk together the flour, salt, and sugar. Cut in the cold butter with a bench scraper, pastry blender, or two knives, using up-and-down chopping motions until you have pea-sized pieces. If you are using a stand mixer or food processor, slightly larger pieces are fine. Remove any ice from your water, then add the cold water one tablespoon at a time, tossing gently after each addition. The mixture should look crumbly and shaggy before you touch it, not smooth. (photos 1-4).
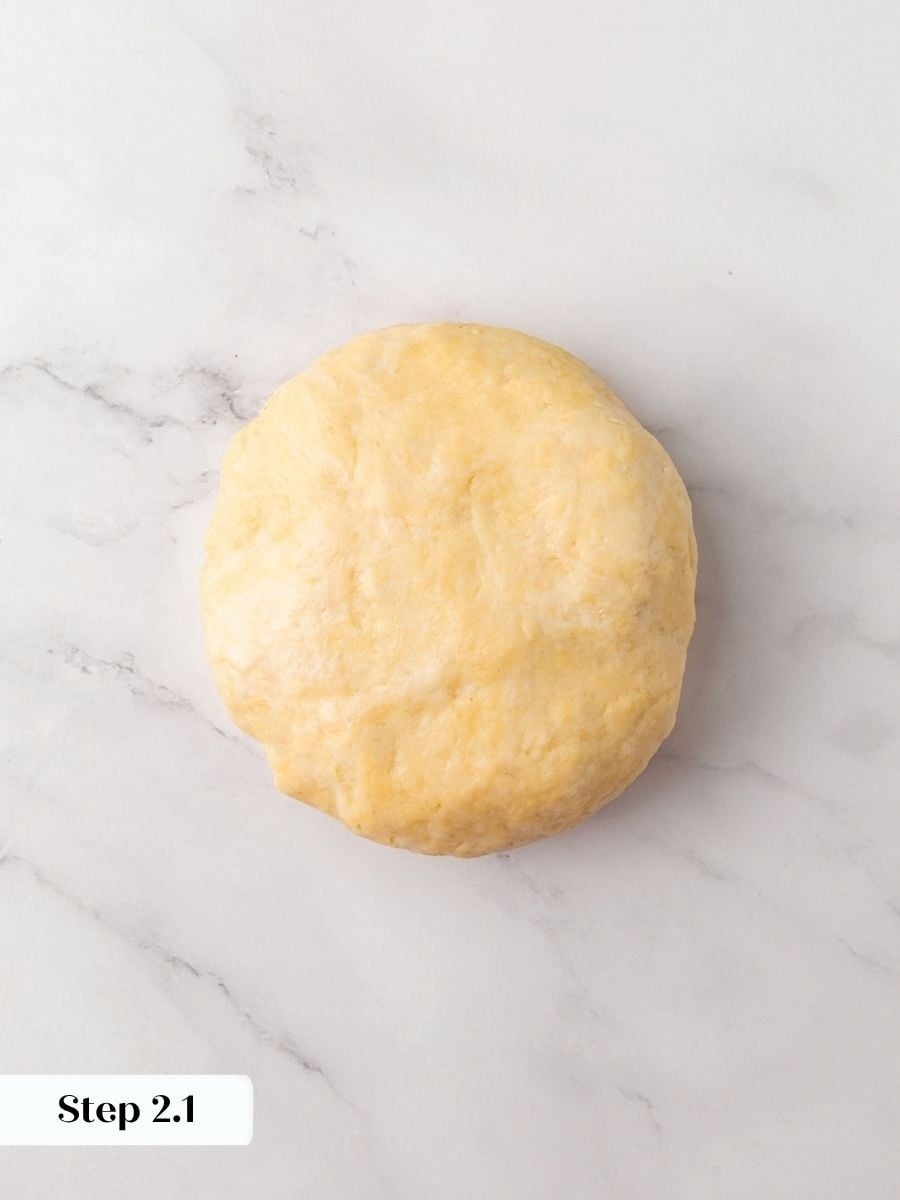
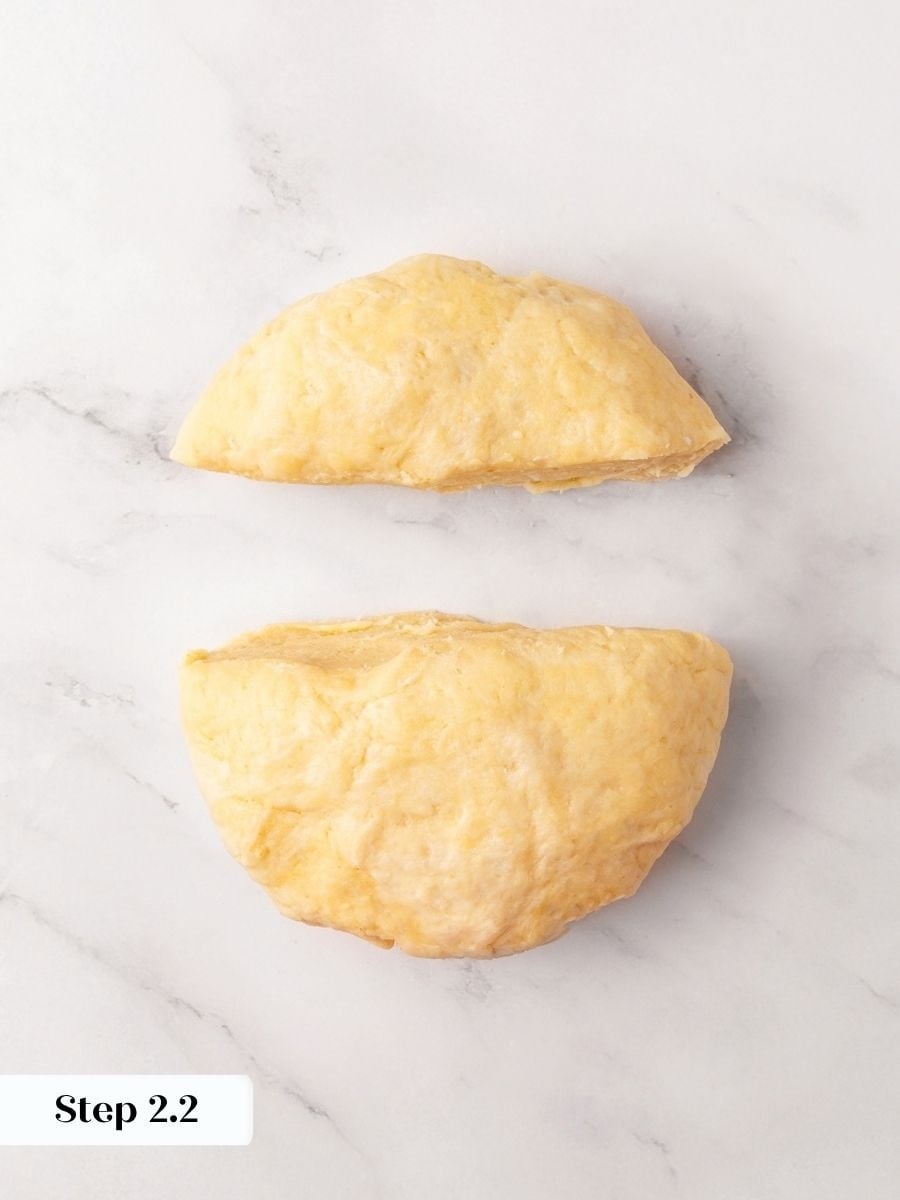
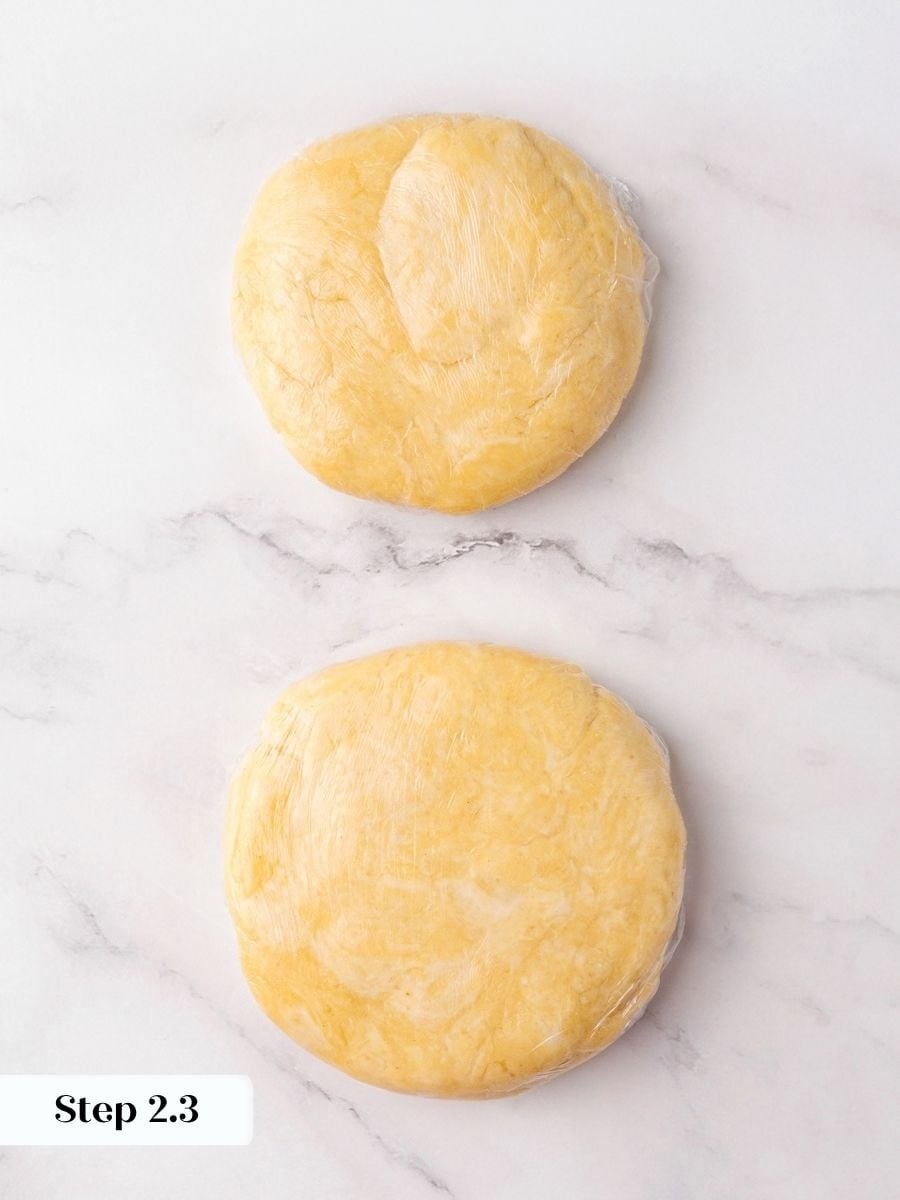
Step 2: Bring the dough together and chill. Turn the shaggy mixture out onto a clean surface and press it together with the heel of your hand just until it holds. You are not kneading — one or two firm presses are enough. Divide the dough, press each portion into a flat disk, wrap tightly, and refrigerate for at least 2 hours or overnight. (photos 5-7).
This recipe makes two crusts; this pie uses one, so wrap and freeze the second disk for later instead of doubling the filling.
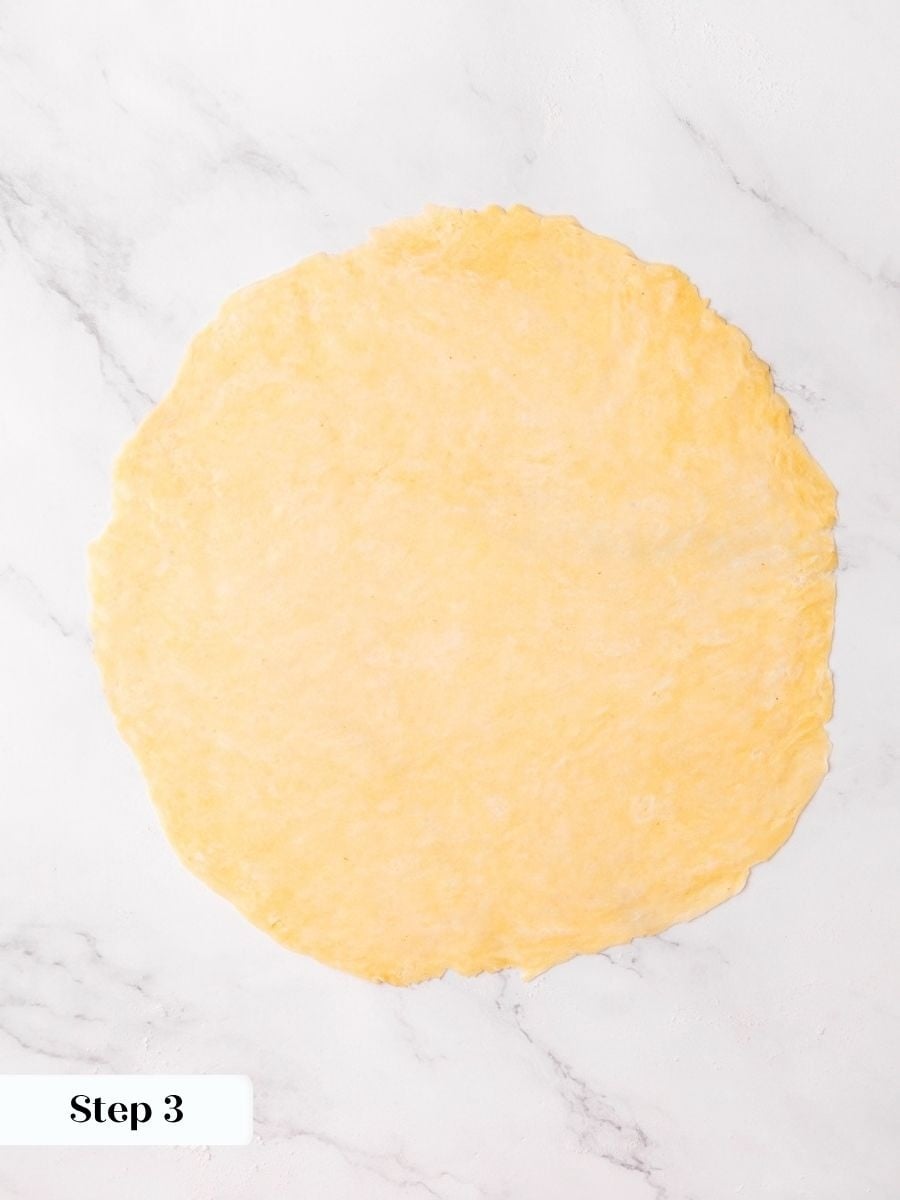
Step 3: Roll and chill the dough flat. While the dough is still cool but pliable, roll it to ⅛ inch thick on a lightly floured work surface. Place it between two pieces of parchment paper, slide it flat onto a baking sheet, and chill for at least 30 minutes, until firm. (photo 8).
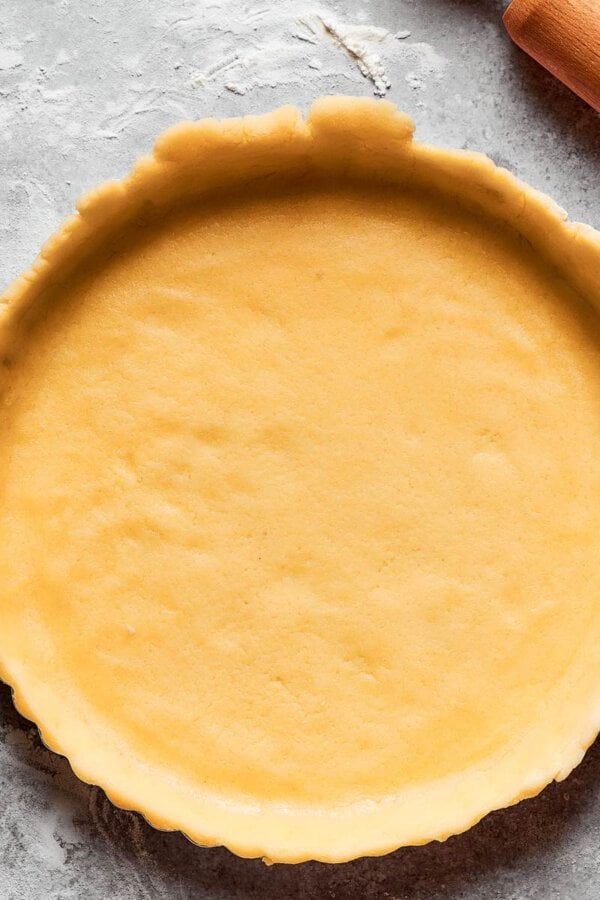
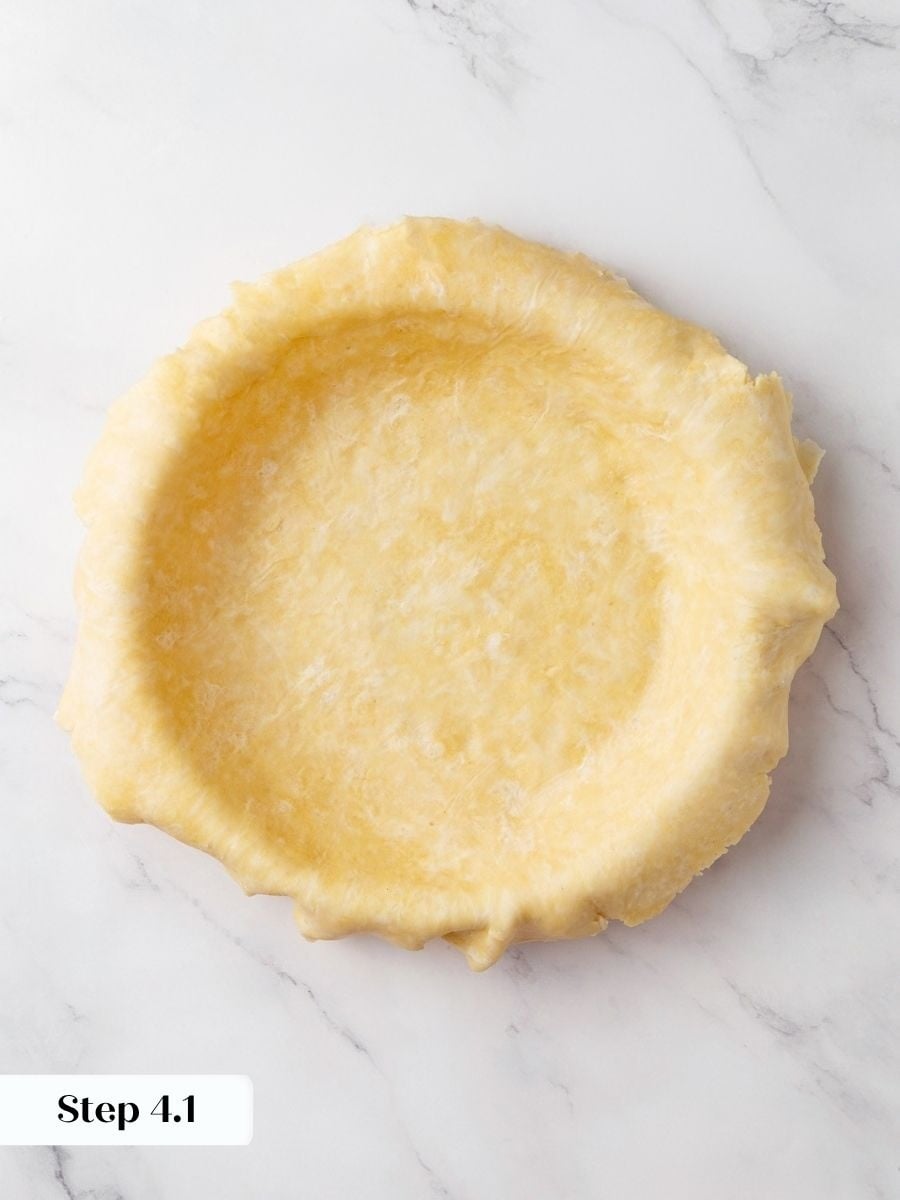
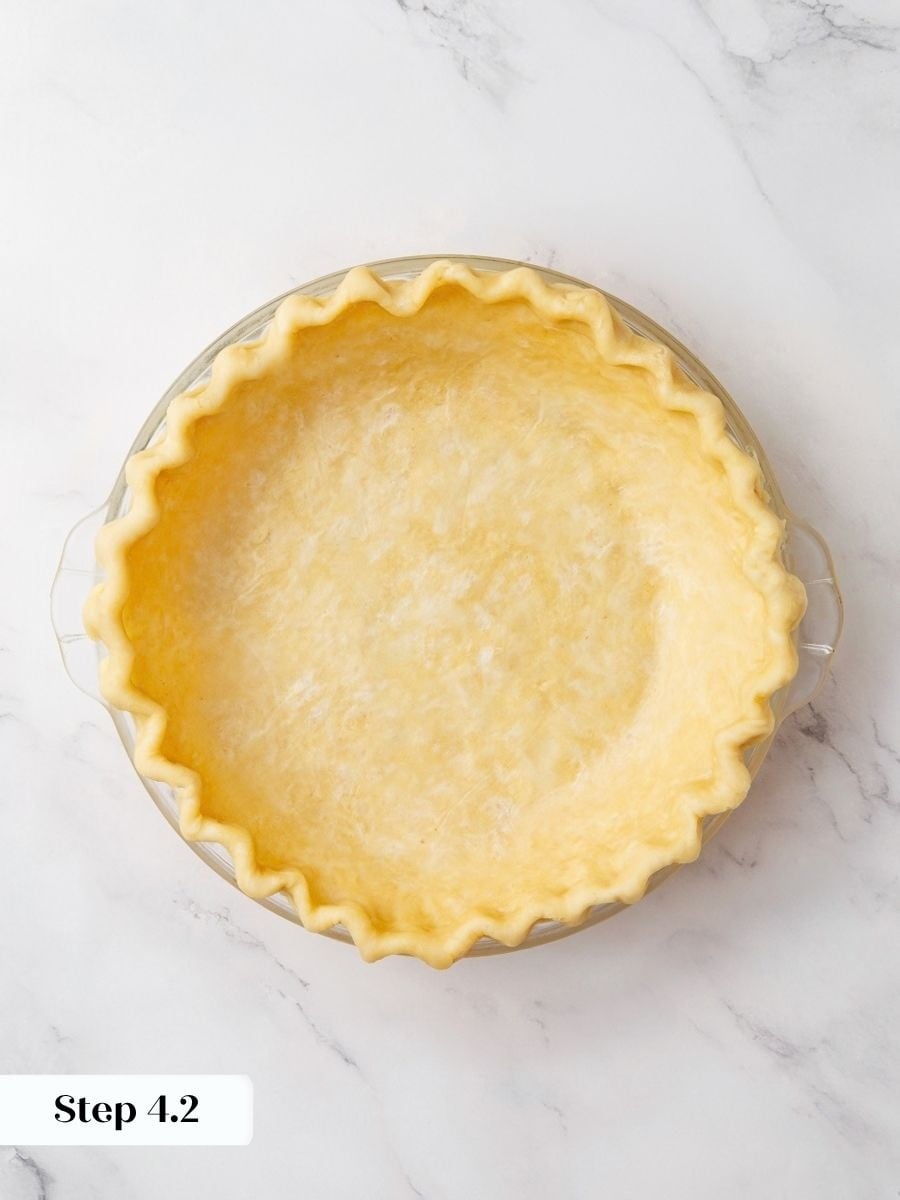
Step 4: Fit the dough into the pie dish. Let the chilled round sit at room temperature just long enough to be workable — it should bend without cracking. Lay it in a 9-inch pie dish and gently lift the edges to let the dough settle onto the bottom under its own weight. Never stretch it into the corners, or it will shrink back in the oven. Gently press the sides to fit the dish, leaving the overhang intact. Roll the overhang under toward the rim and press to seal, then flute the edge with your knuckles or fingertips. Chill the shaped shell for 10 to 30 minutes, until firm again. (photo 9 & 10).
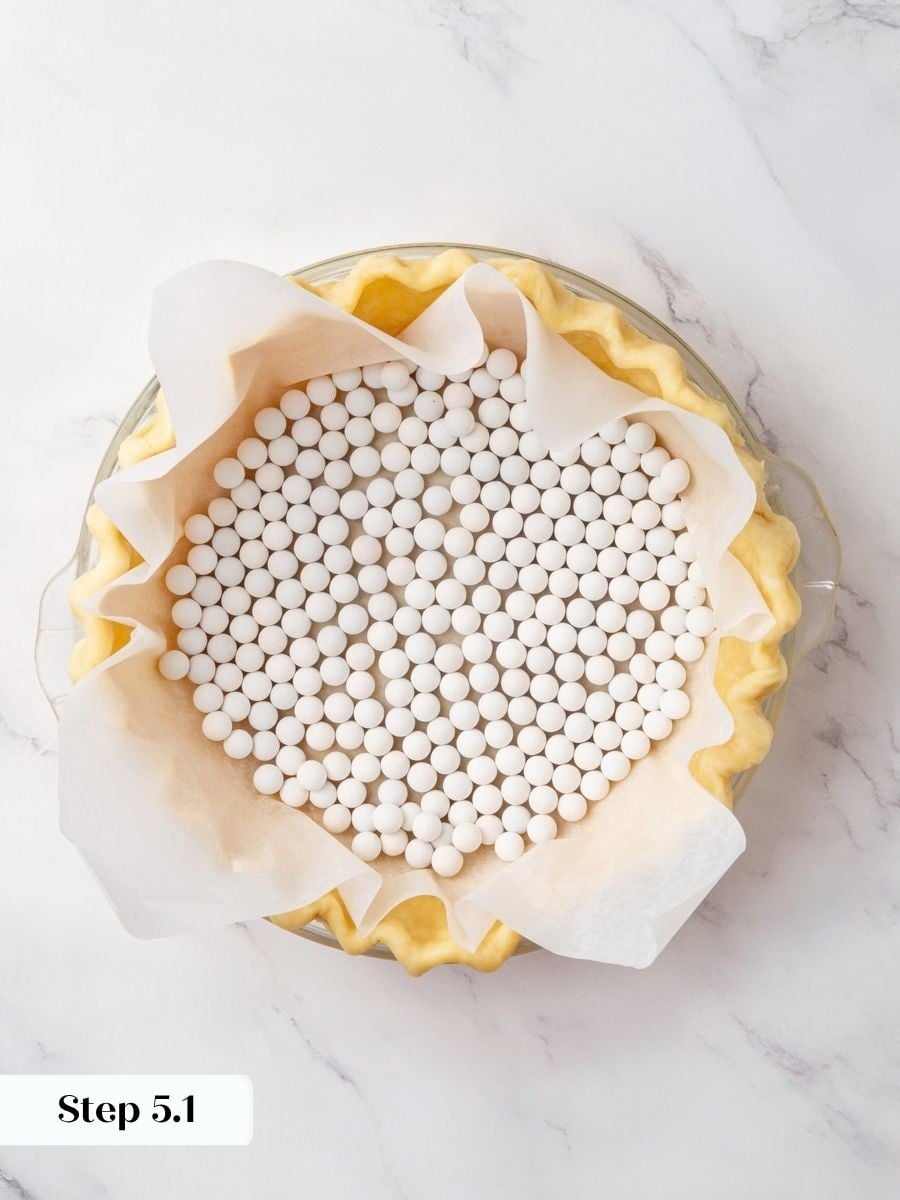
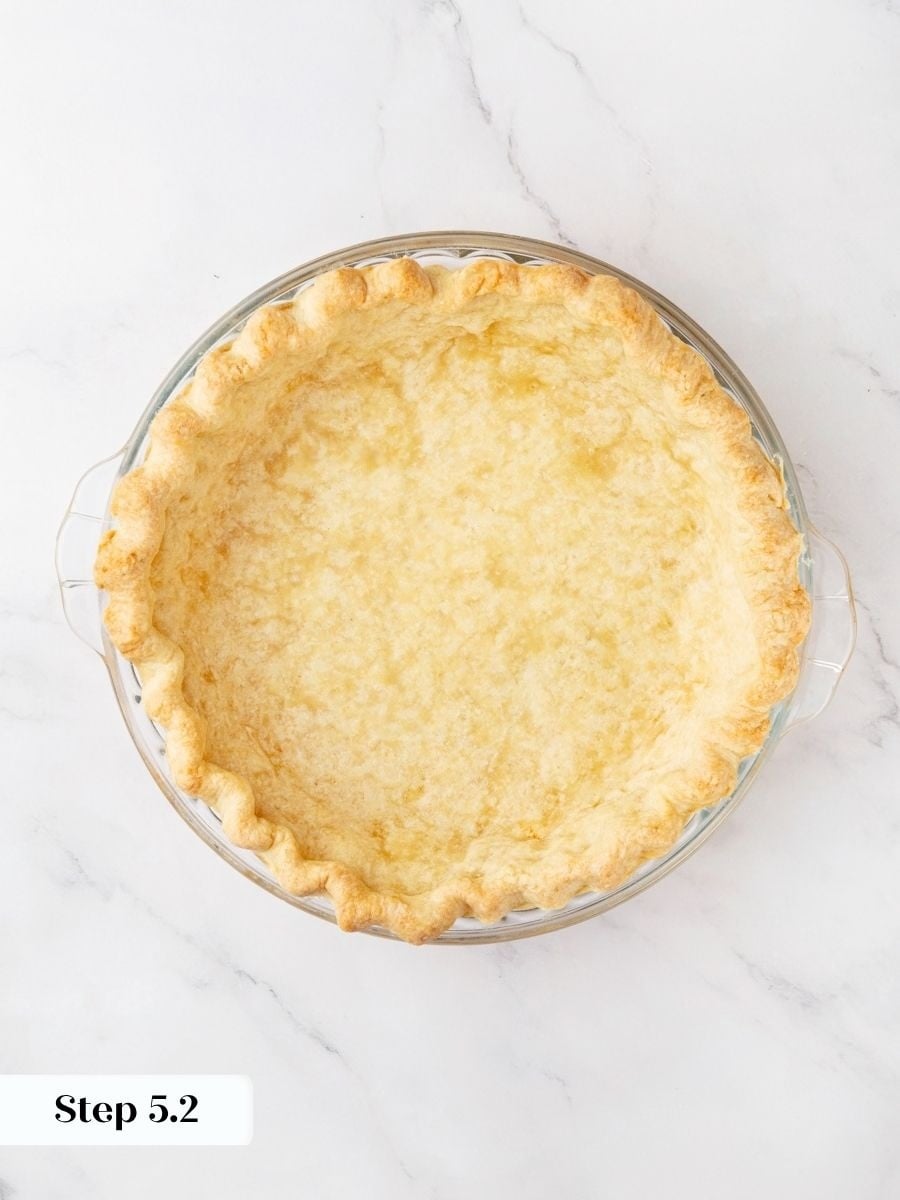
Step 5: Parbake the crust. Preheat the oven to 350°F convection or 375°F conventional. Crumple a sheet of parchment paper before lining the inside of the chilled shell — crumpling it first helps it settle into the corners without fighting the dough — then fill with pie weights, dried beans, or rice. Bake for 15 to 20 minutes. The crust is ready to come out when the sides and bottom look completely matte and the edges just begin to take on color. If it still looks shiny or raw in patches, leave it. Pull the parchment and weights and set the shell aside; you can use it warm or let it cool completely. (photos 11& 12).
You can cool, wrap, and freeze the parbaked shell at this point if you want to work ahead.
Make the salted caramel sauce
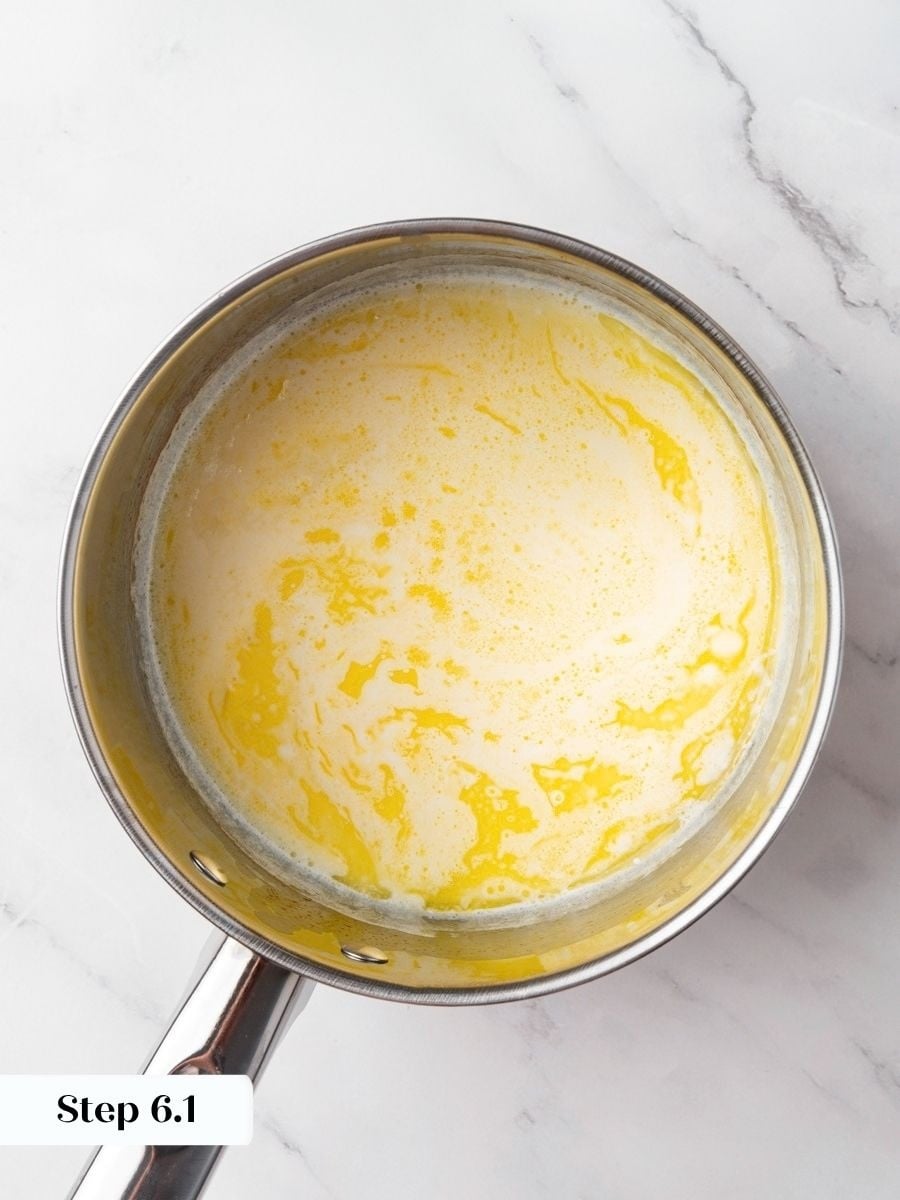
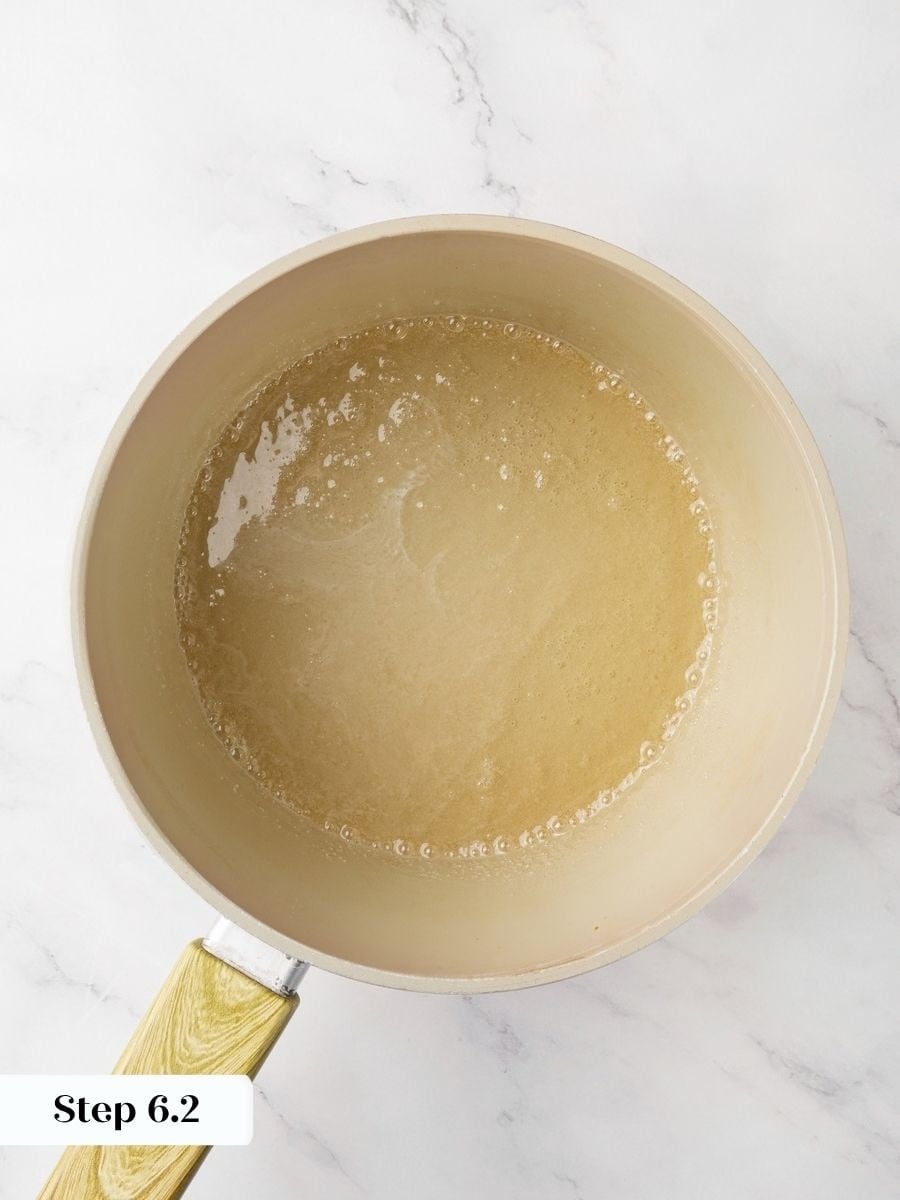
Step 6: Combine the cream, butter, vanilla, and salt in a small pot. Bring just to a boil and set it aside off the heat — you want it hot and ready when the sugar is done. In a separate heavy-bottomed pot with high sides, heat over medium-high heat and sprinkle a thin layer of sugar on the bottom. As it melts, sprinkle in more, stirring with a wooden spoon to break up clumps and nudge the dry sugar into the hot spots. (photos 13 & 14).
This process takes patience; it looks like it will never come together, and then it does.
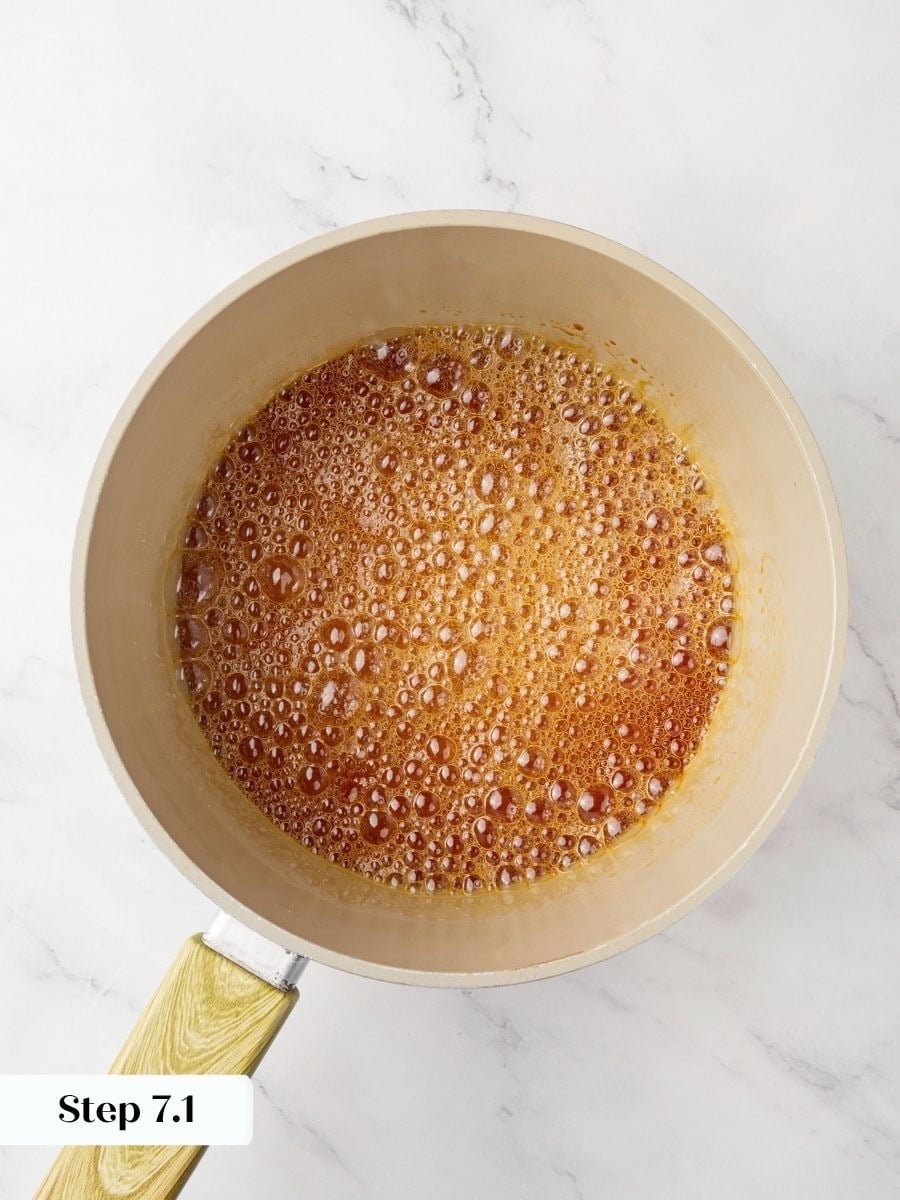
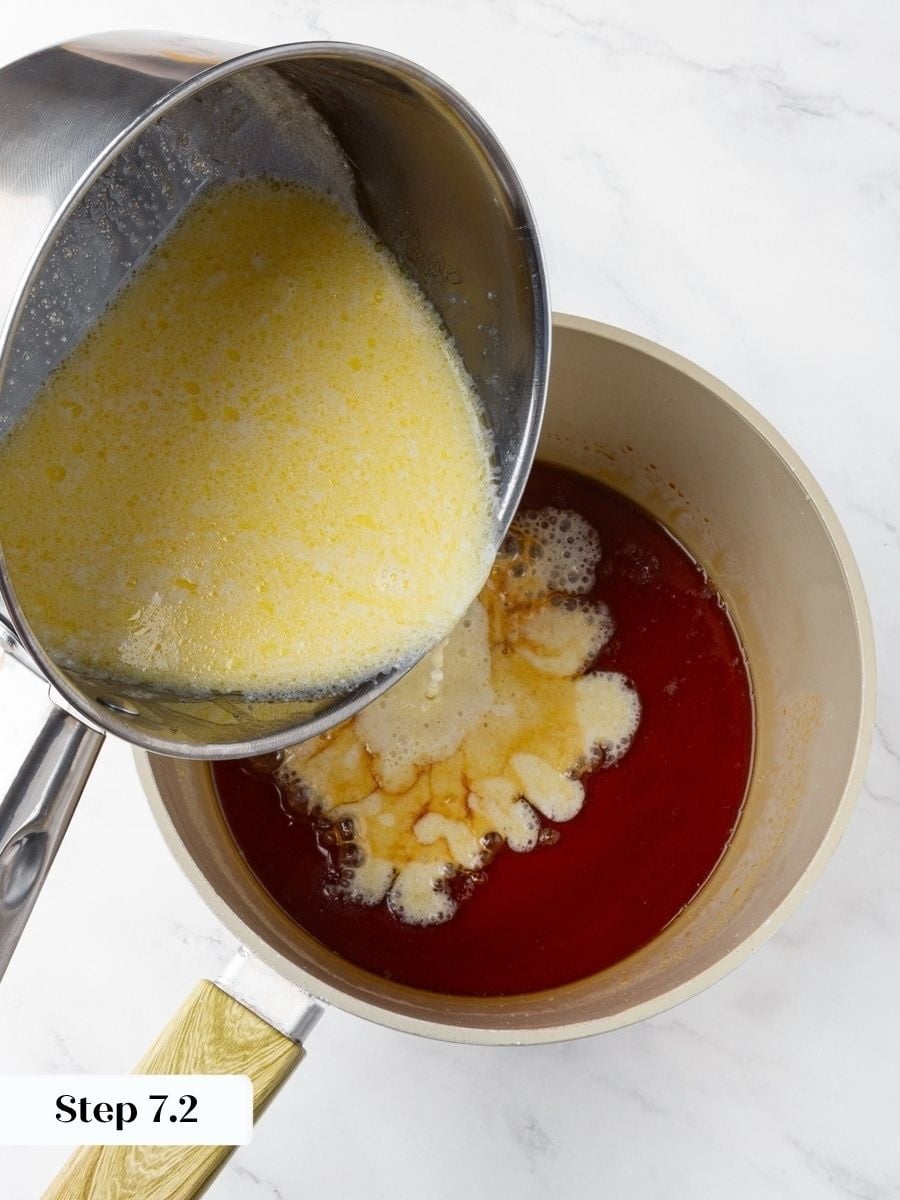
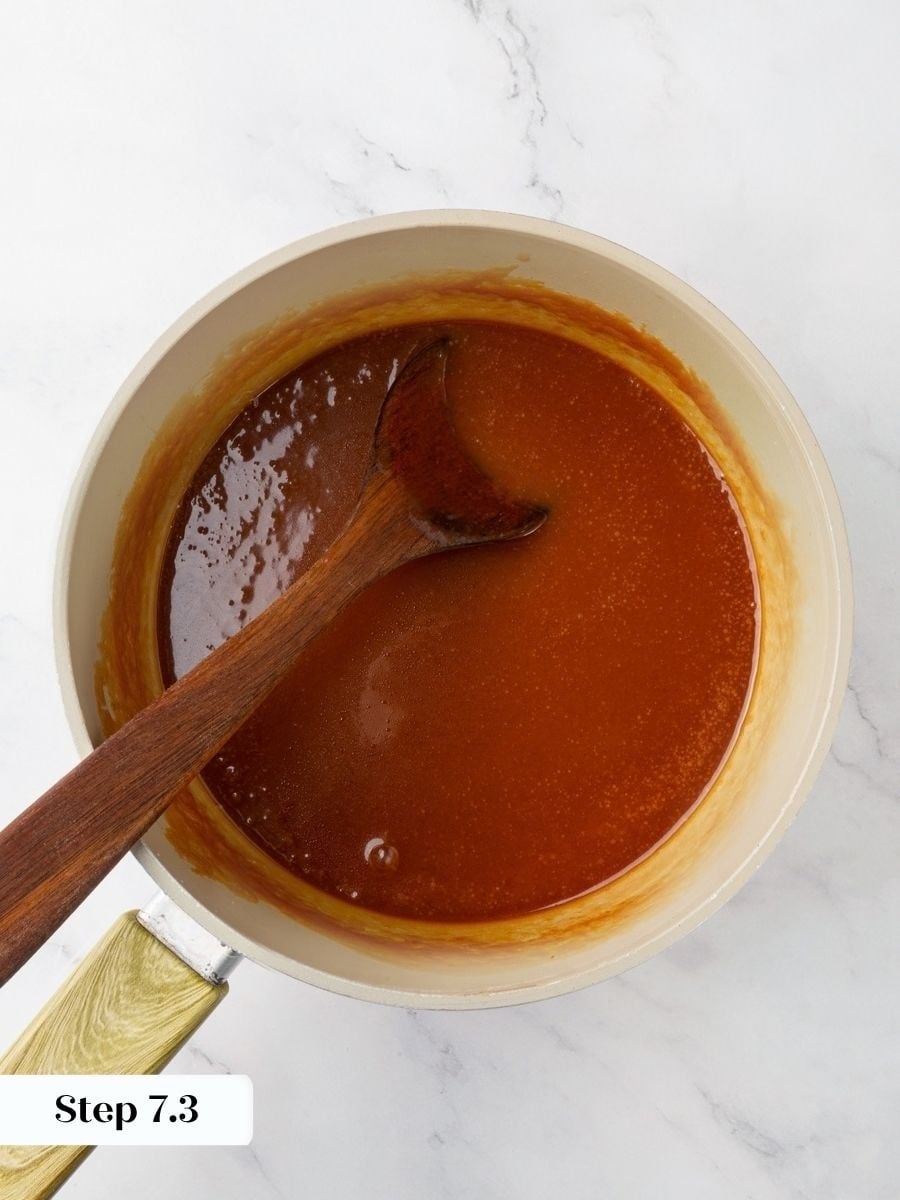
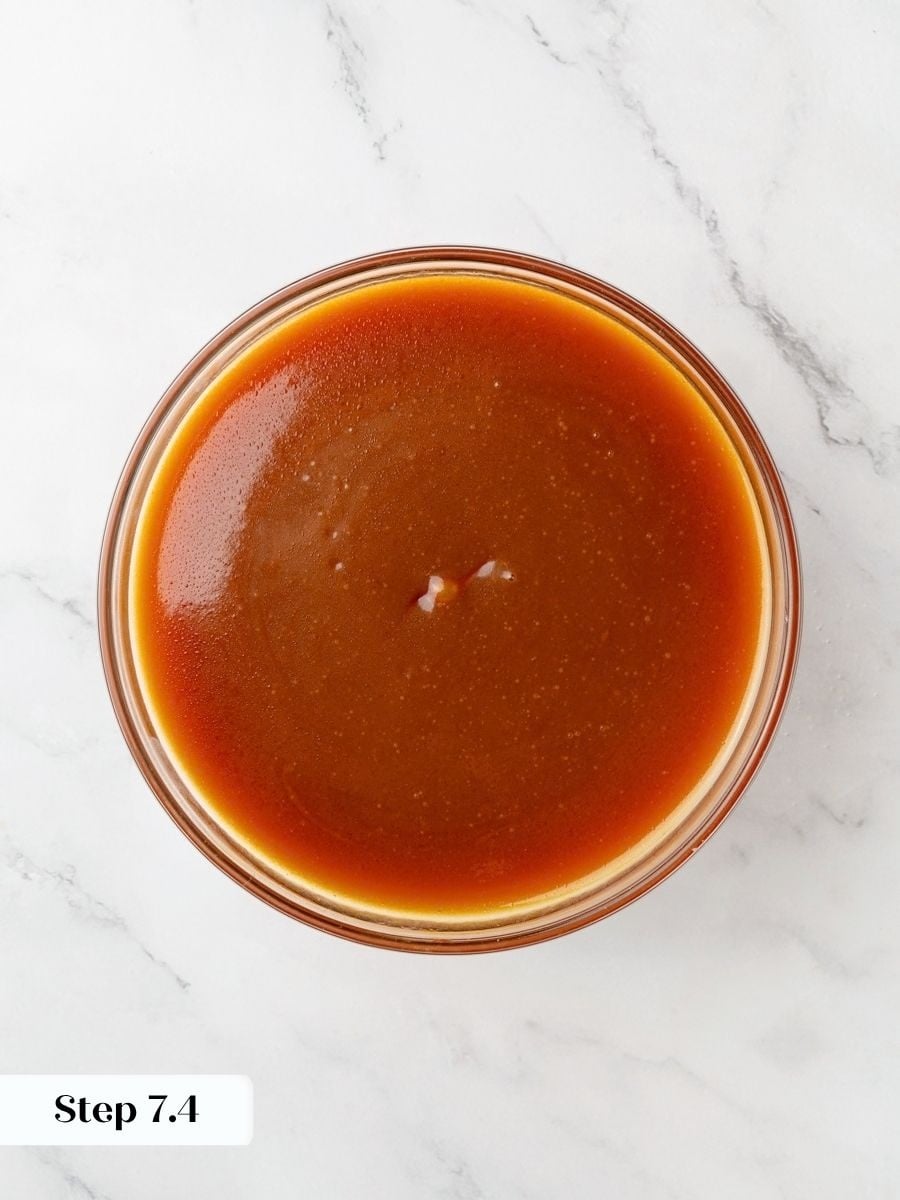
Step 7: Finish and cool the caramel. Once all the sugar is melted, stop stirring and swirl the pot until the caramel reaches a dark amber color — it should smell deeply toasty, almost on the edge of bitter. Take it off the heat immediately and pour in the hot cream mixture slowly while whisking constantly. Pouring too fast will make the caramel bubble up aggressively, which is normal but easier to manage if you go slowly. Pour the finished caramel into a heat-safe bowl and cool to room temperature. (photos 15-18).
The caramel recipe makes about 2 cups; you will need 230 g (¾ cup) for the pie.
Make Chocolate Filling
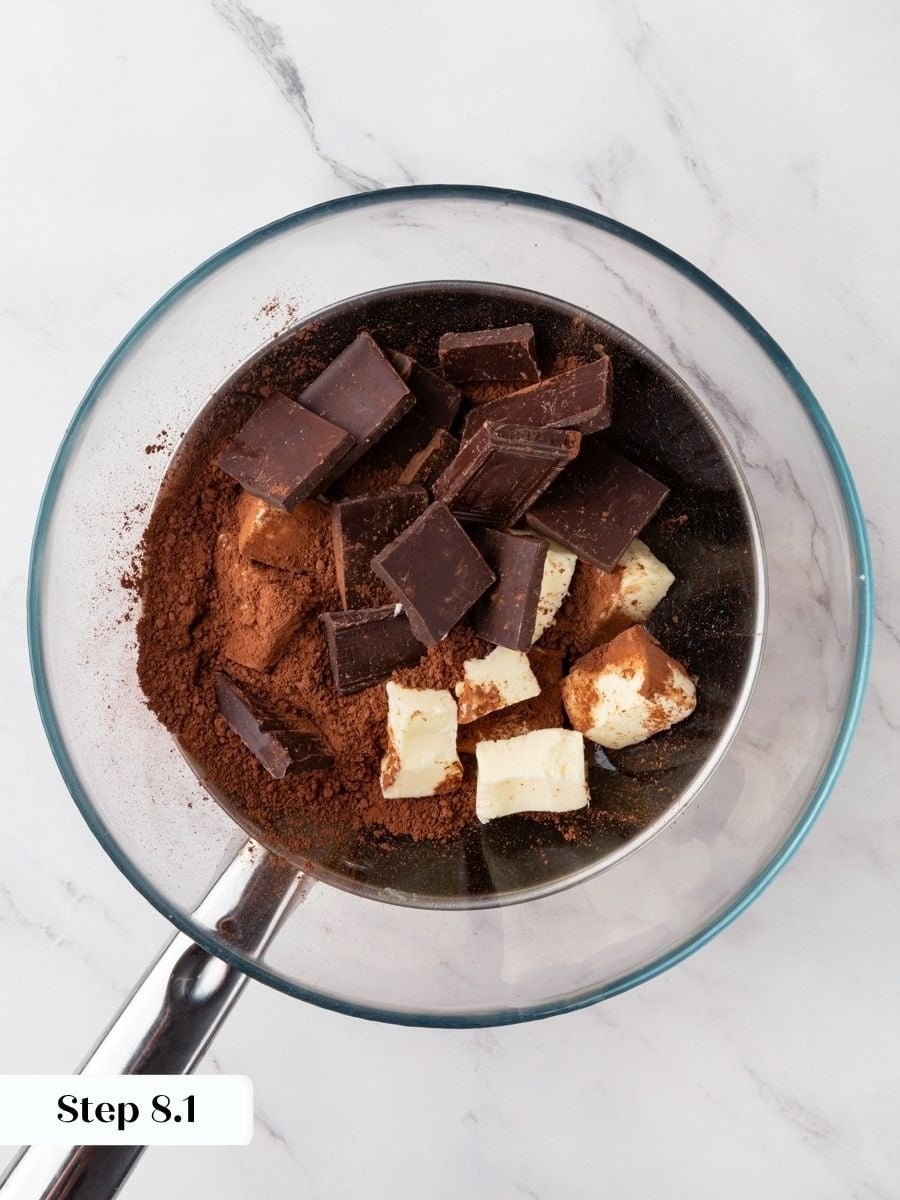
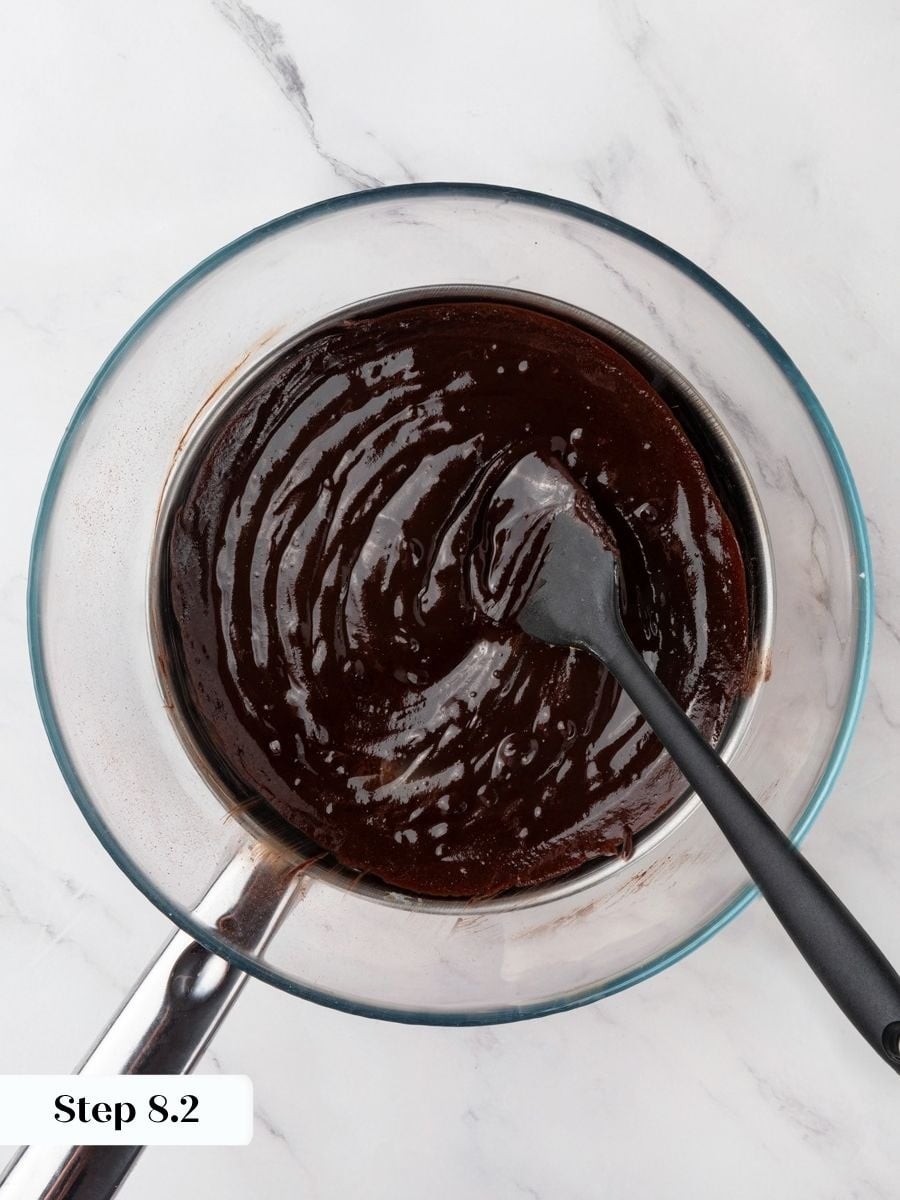
Step 8: Melt the chocolate mixture. Preheat the oven to 325°F convection. Set a bowl over a pot of barely simmering water — the bottom of the bowl should not touch the water. Add the butter, dark chocolate, and cocoa powder and stir frequently until fully melted and smooth with no lumps. (photos 19 & 20).
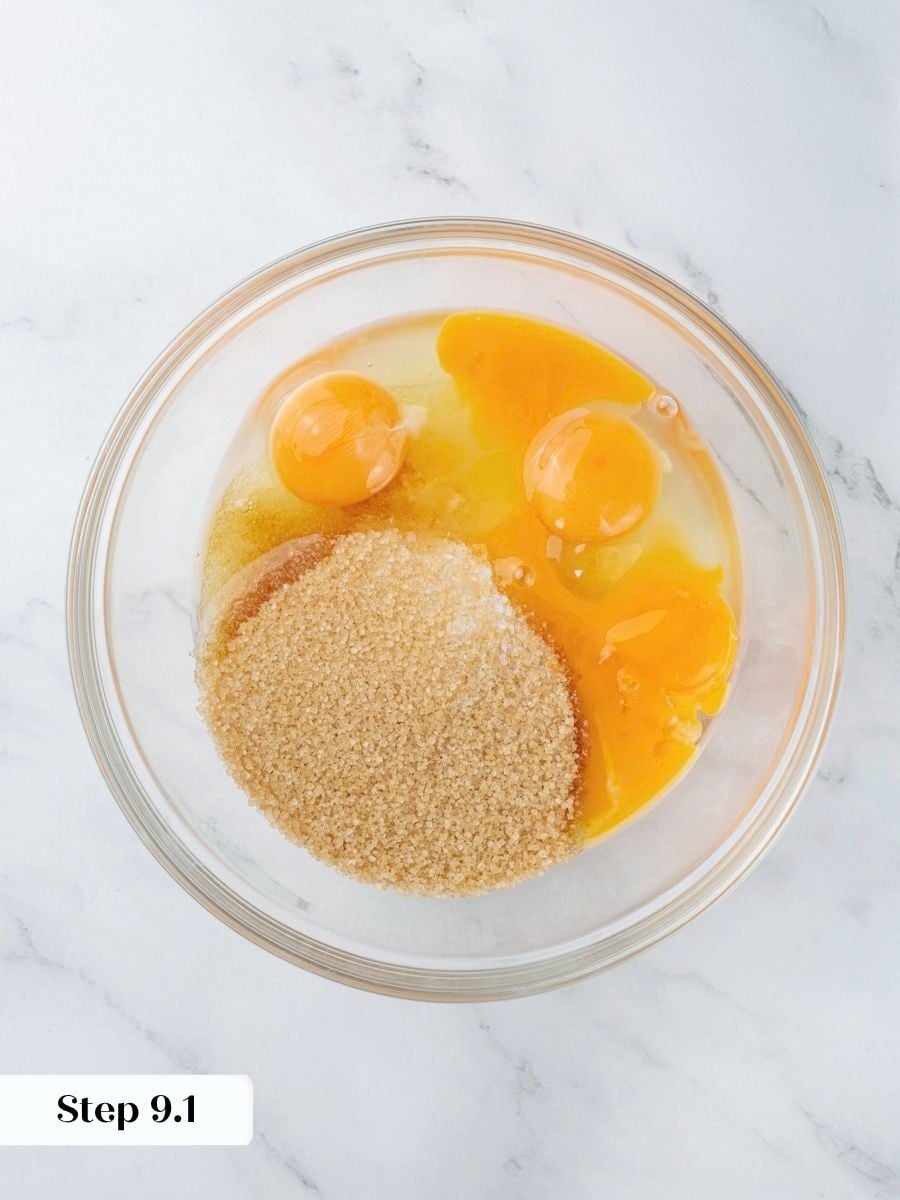
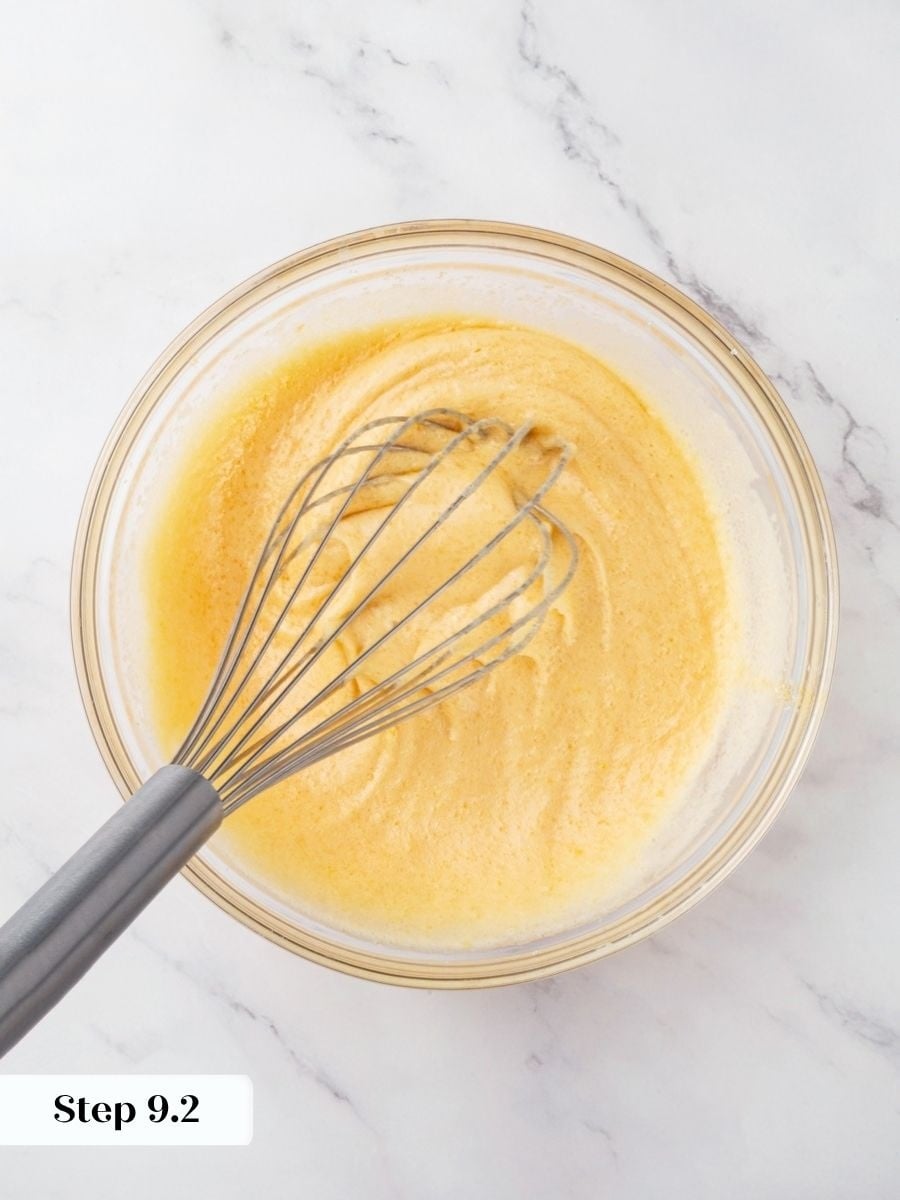
Step 9: Mix the egg and sugar base. In a separate bowl, whisk together the granulated sugar, light brown sugar, eggs, and egg yolks until smooth and slightly lightened in color. After a minute or two of whisking, the mixture will look thick and pale yellow. (photos 21 & 22).
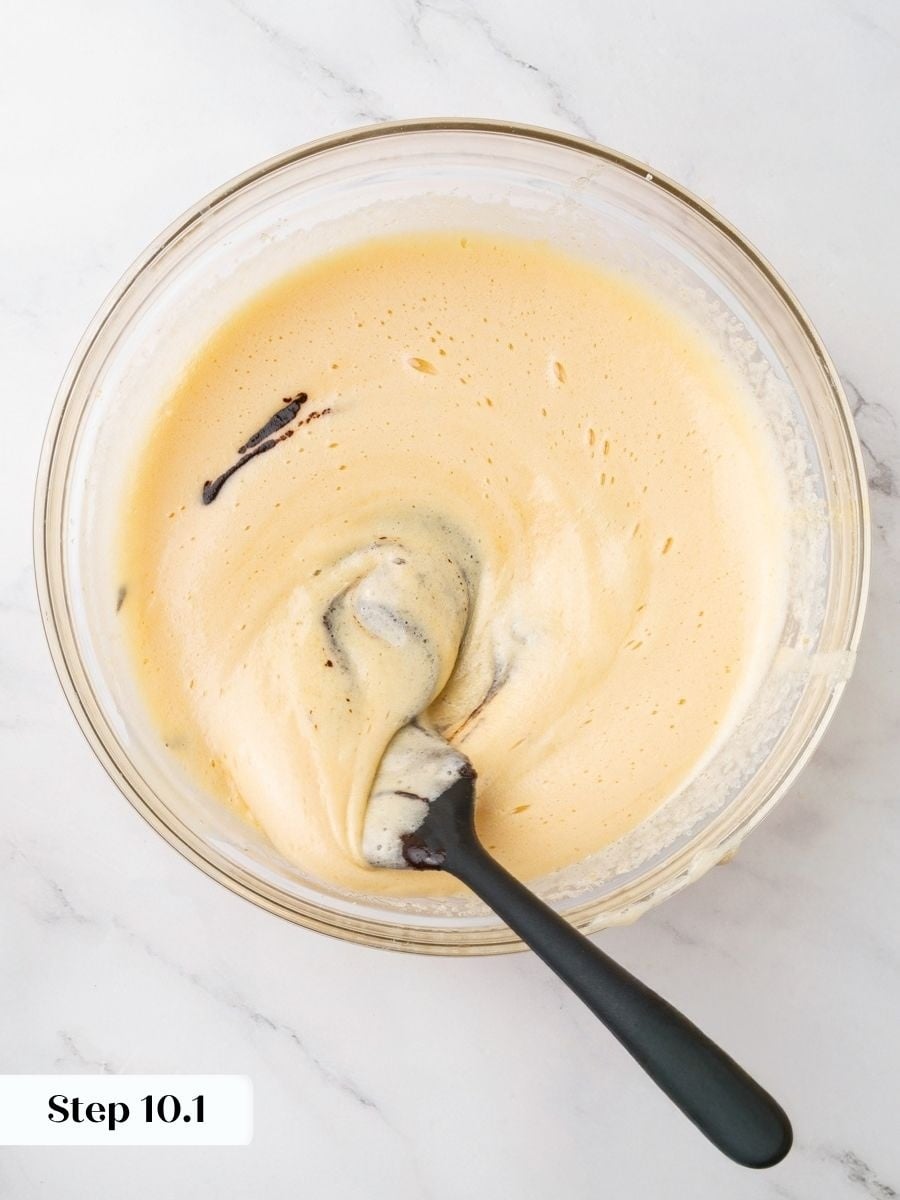
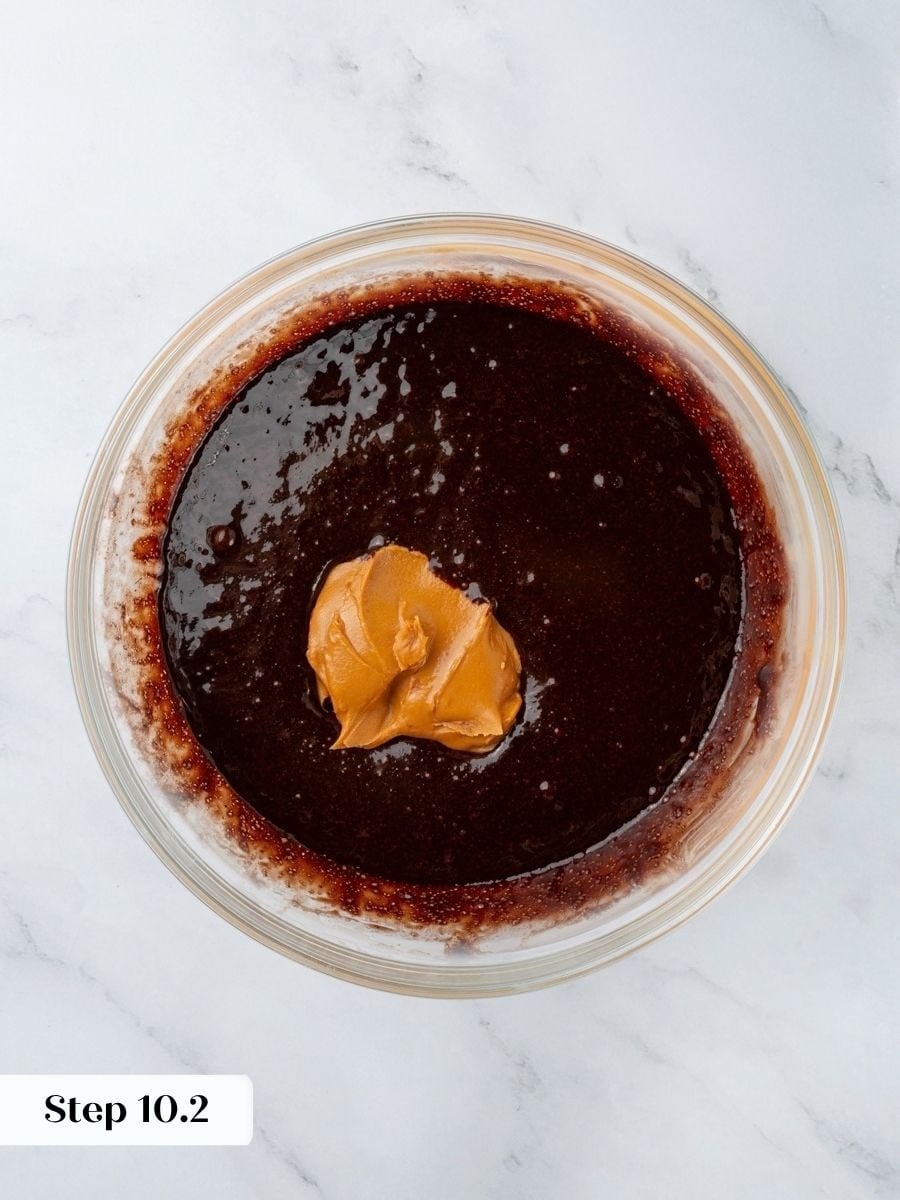
Step 10: Combine the filling. Pour the warm chocolate mixture into the egg-and-sugar base all at once, then whisk immediately to combine. Adding it all at once keeps the heat distributed evenly and prevents the eggs from seizing. Once the chocolate is incorporated, whisk in the peanut butter until the filling is completely smooth and glossy. (photos 23 & 24).
Assemble and Bake
Step 11: Build the layers. Scatter about ⅔ cup of the chopped peanuts over the bottom of the parbaked shell in an even layer — these are the foundation of every bite, and they need coverage across the whole base. Pour the cooled salted caramel over the peanuts and gently spread it with an offset spatula so it reaches the edges. Then pour the chocolate peanut butter filling over the caramel and smooth the top. Finish by scattering the remaining chopped peanuts around the outer edge. (photos 25-28).
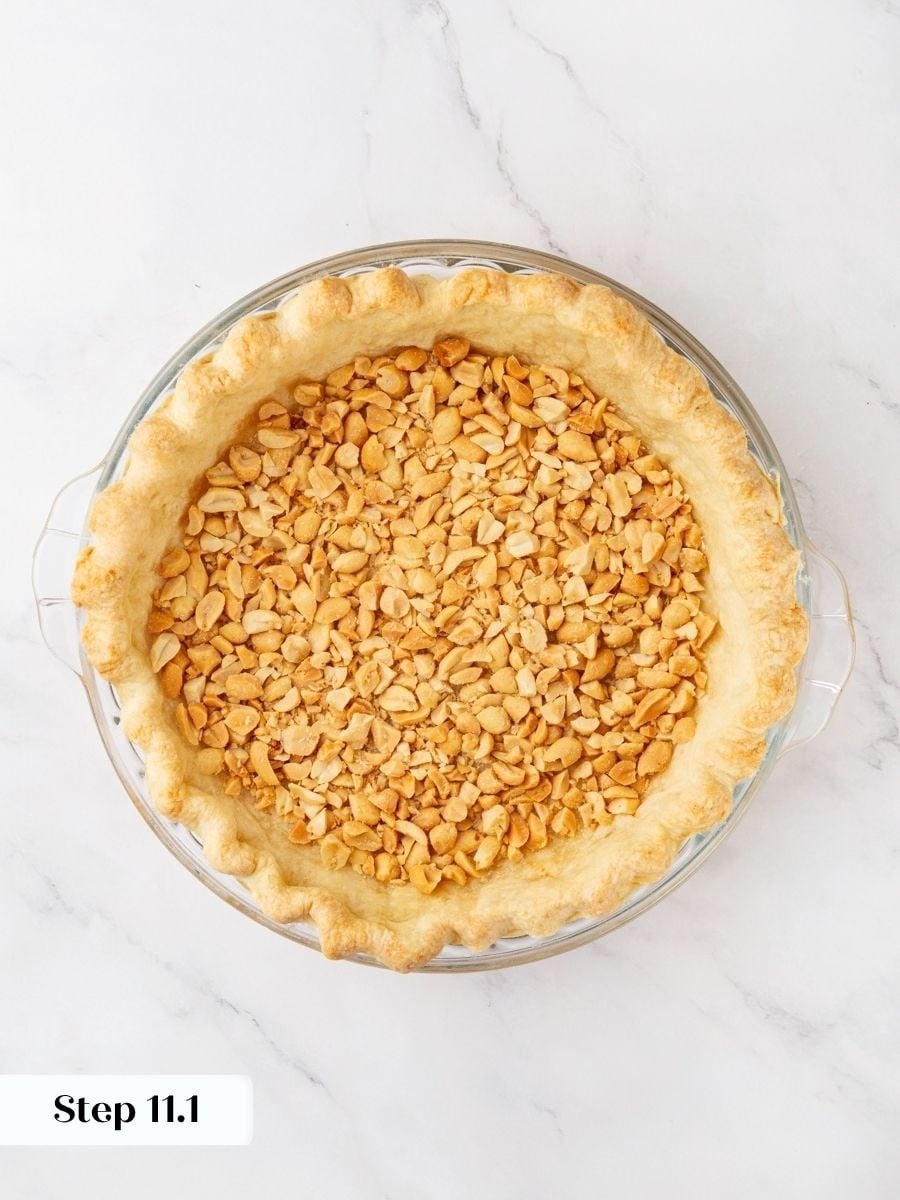
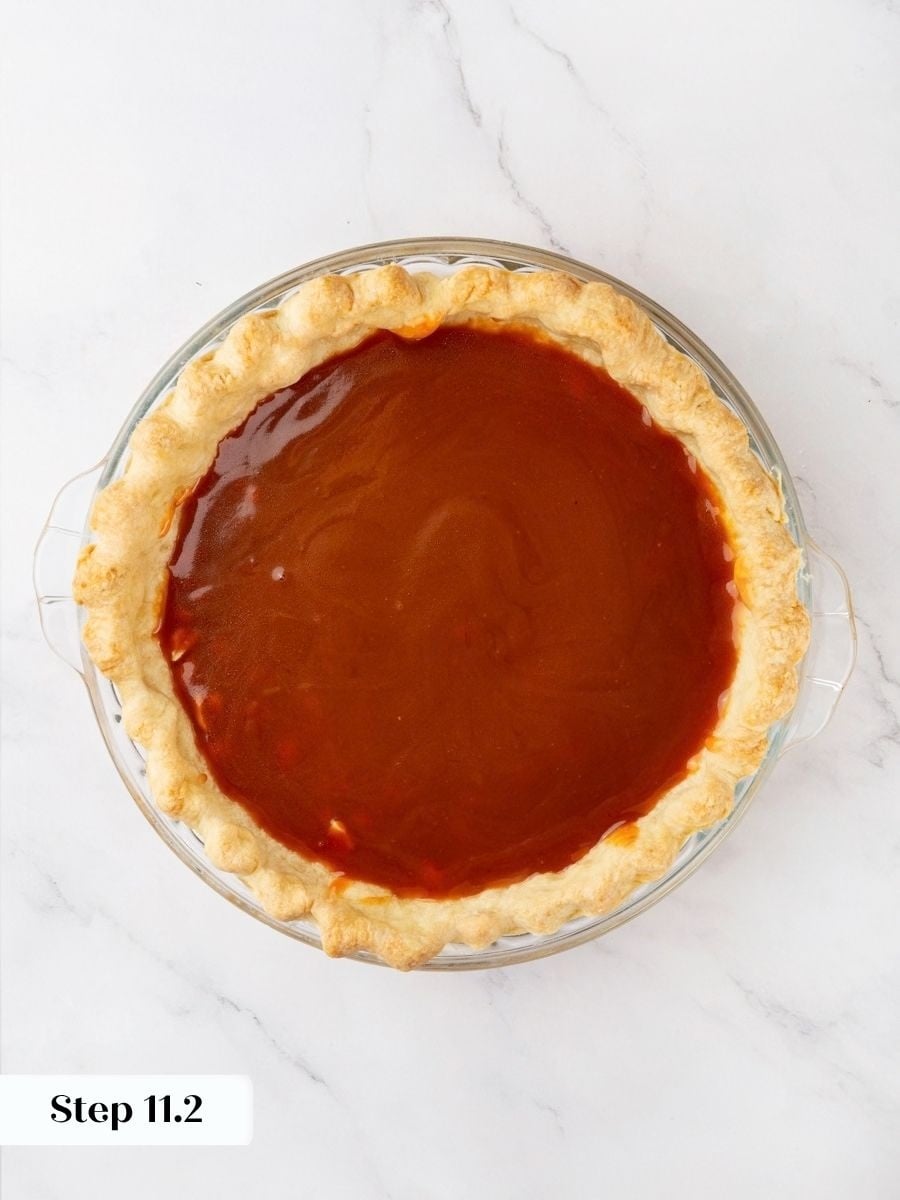
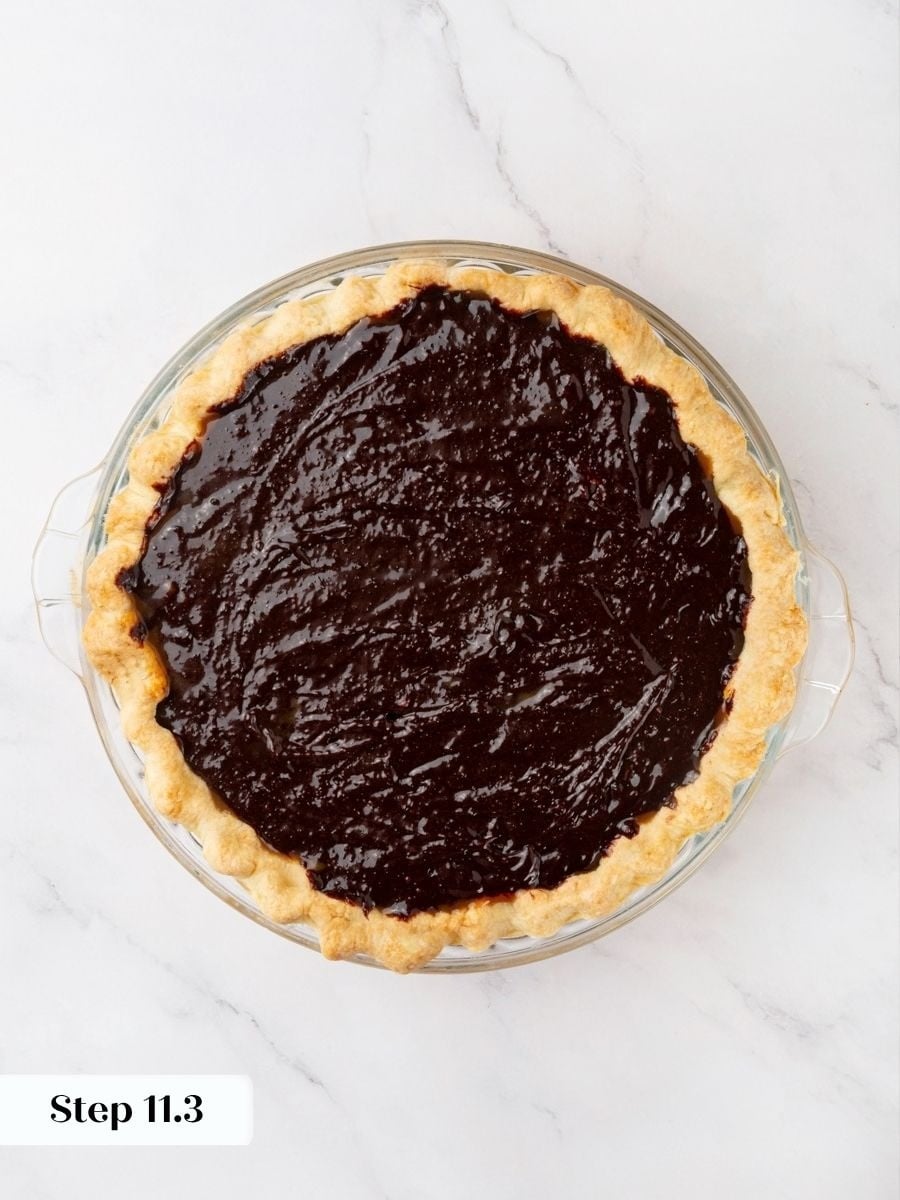
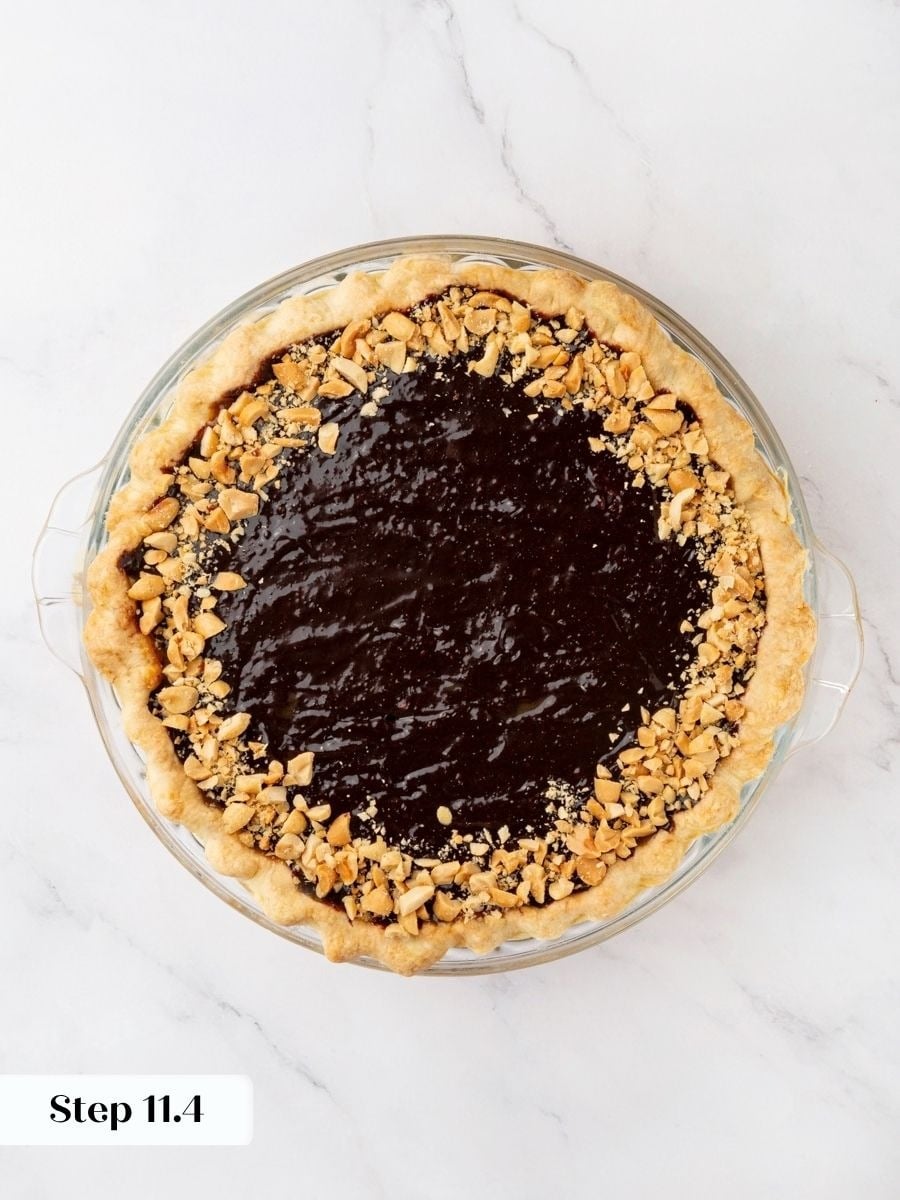
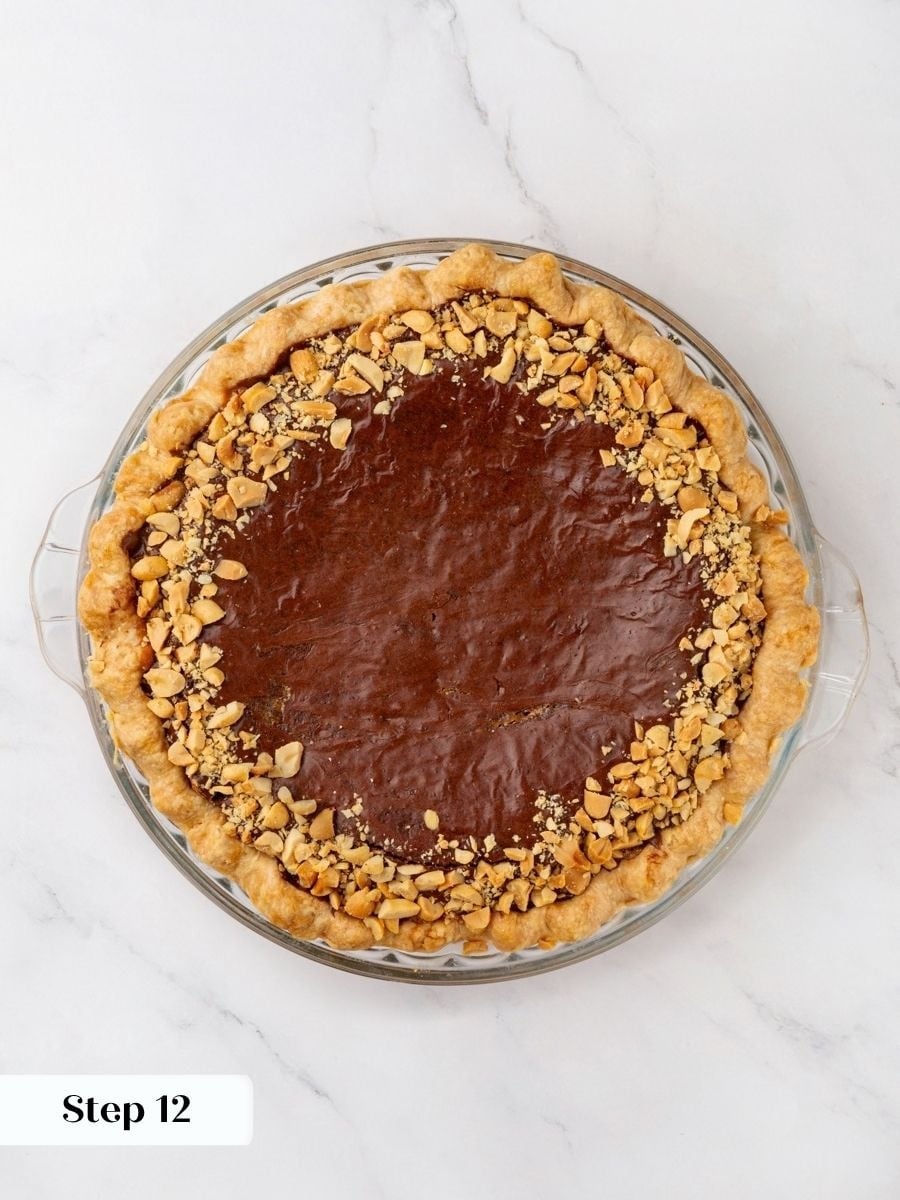
Step 12: Bake the pie. Bake at 325°F convection for 50-55 minutes. The filling will look set around the edges but may still wobble slightly in the very center when you pull it. It will continue to firm as it cools. Do not overbake chasing a completely still center, or the fudgy texture will be lost. (photo 29).
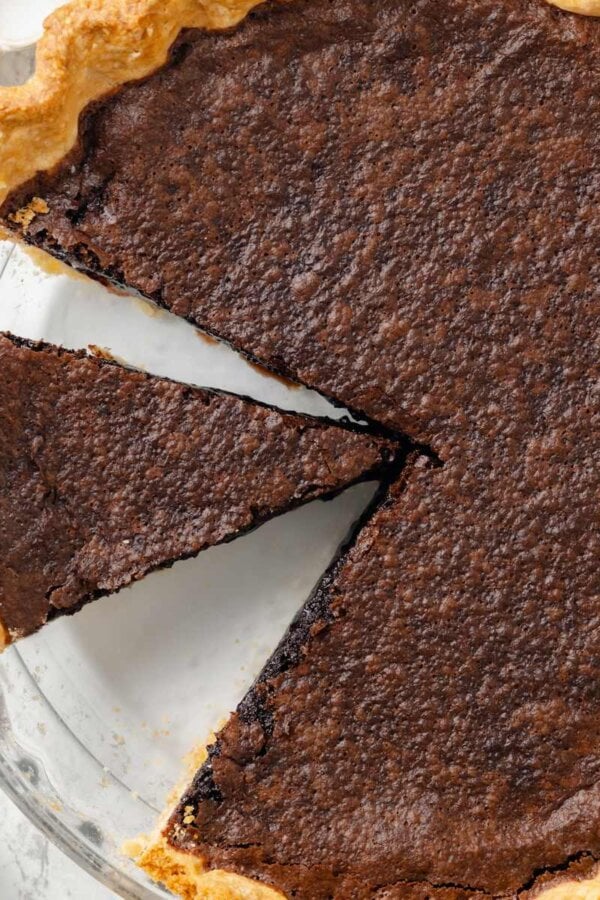
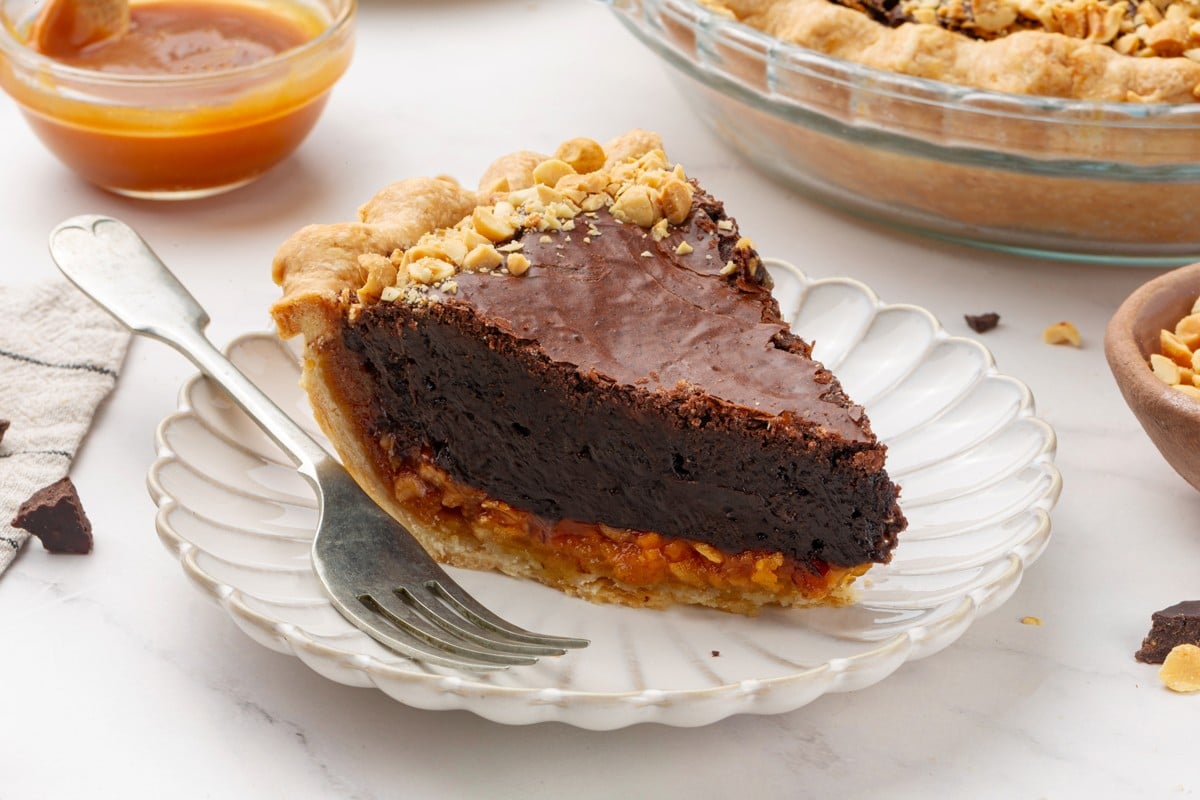
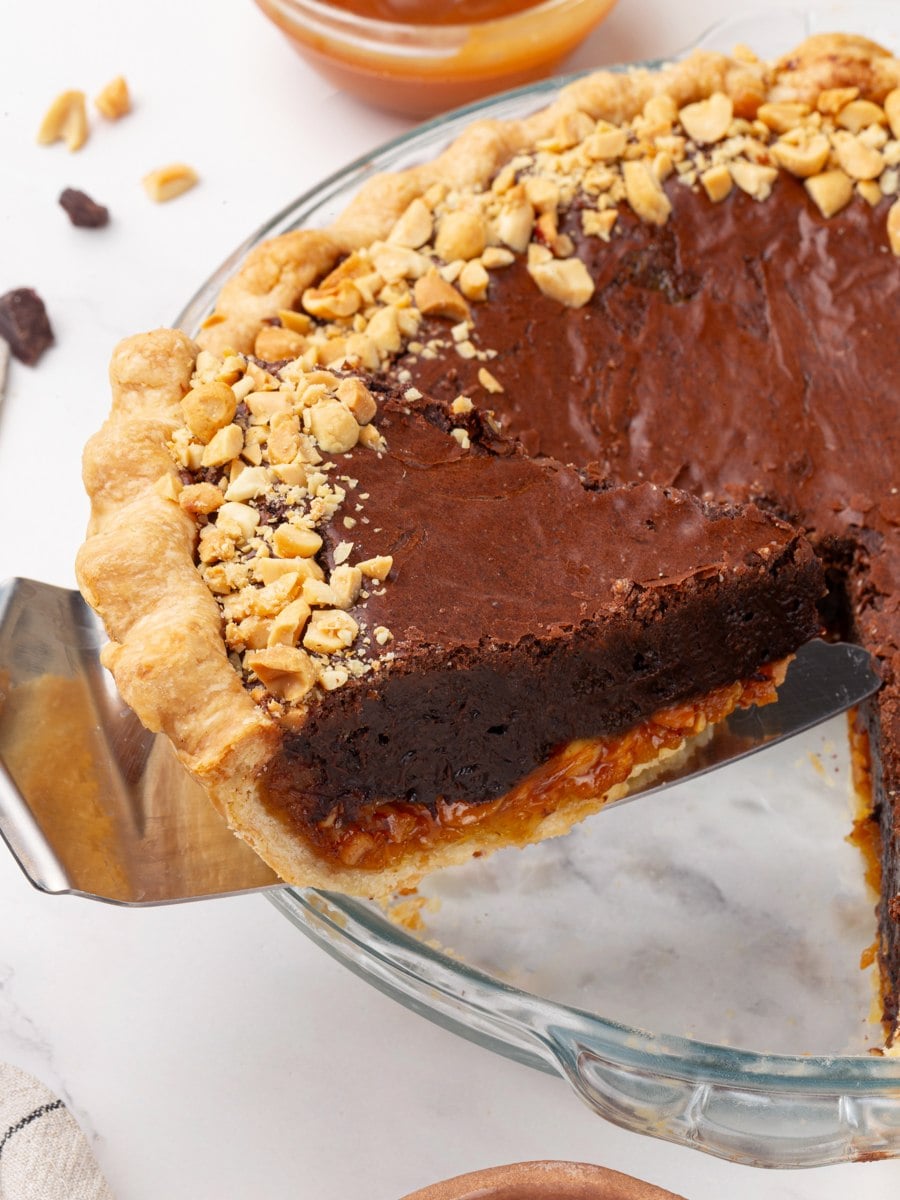
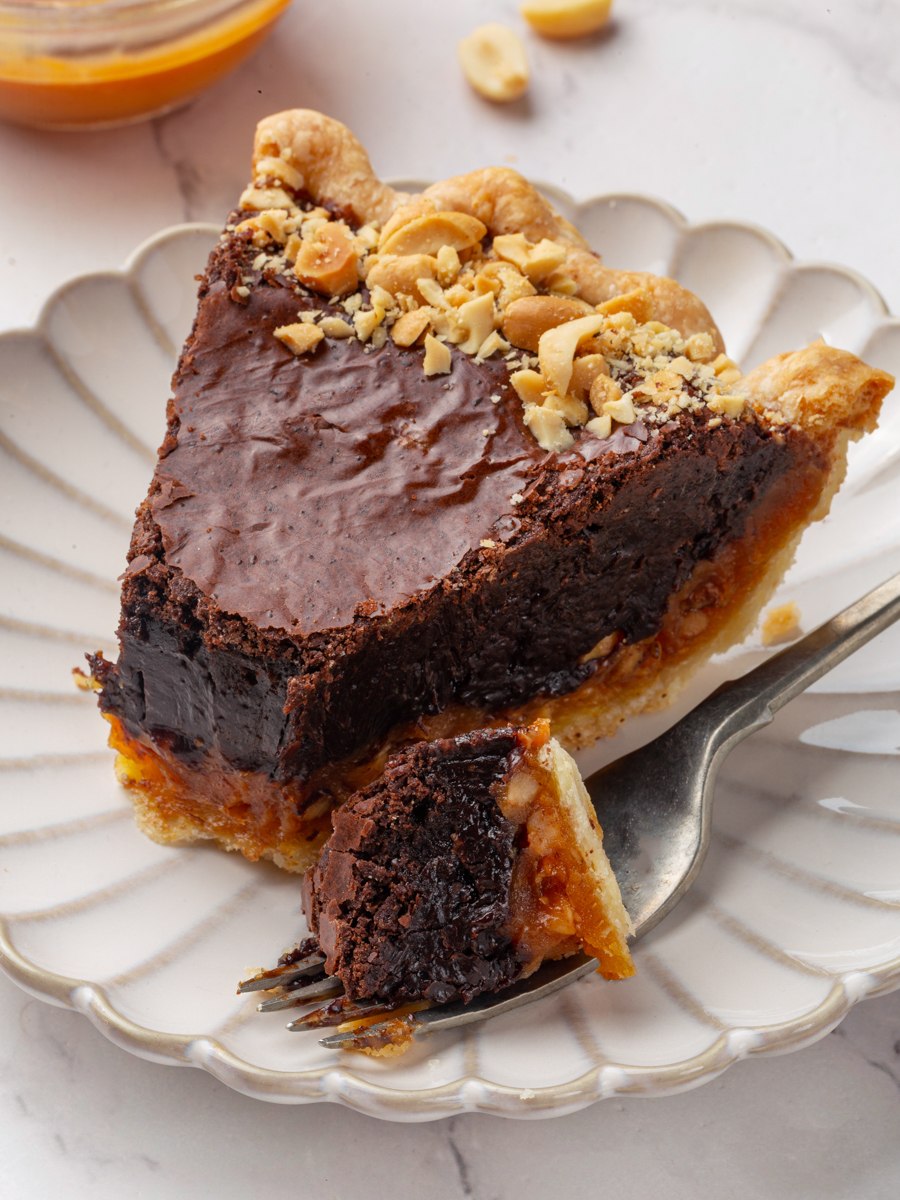
Step 13: Cool completely before slicing. Transfer the pie to a wire rack and let it cool to room temperature without disturbing it, then refrigerate until fully set. The caramel layer bakes into the chocolate filling, but you can still see distinct layers when you slice the pie cold, which I love. For the best texture and the most dramatic Snickers-bar effect, freeze the pie before serving — my husband requests it every Thanksgiving, and the leftovers always go straight back into the freezer. (photo 30).
Chef Lindsey’s Recipe Tip
The one detail that separates a clean, layered slice from a blurred, sunken mess is how long you chill the pie before cutting. This pie needs to be fully cold, ideally straight from the freezer, before you slice it. At room temperature, the caramel stays fluid, and the chocolate filling stays soft, so the layers collapse the moment the knife goes in. Build cooling time into your plan: refrigerate for at least 3 hours or freeze for 1 to 2 hours before the first cut.
Recipe FAQs
The filling should be mostly set, with a slight jiggle remaining at the very center when you move the pan, like a loosely baked brownie before it fully firms. The edges will look matte and set while the center still moves slightly, which is correct. It will firm completely as it cools, so pulling it while the center looks slightly underdone is the right call.
Yes, and it is genuinely better made in advance. The pie keeps for up to a week at room temperature, 2 to 3 weeks refrigerated, and up to 2 months frozen. My husband prefers to freeze it after it cools, slice it cold, and eat it straight from the freezer, which is also the closest this pie gets to its Snickers-bar texture.
Store it at room temperature for up to one week, in the fridge for 2 to 3 weeks, or frozen for up to 2 months. Wrap the pie tightly in plastic wrap before refrigerating or freezing so the exposed filling doesn’t absorb off-flavors. Slicing from frozen is the preferred serving method anyway, so freezing leftovers is never a compromise here.
Shrinkage almost always comes from stretching the dough to fit the dish rather than lifting the edges and letting it settle under its own weight. Chilling the shell after fluting, for at least 10 to 30 minutes, also gives the gluten time to relax so it holds its shape in the oven. If you pull the weights before the crust looks matte on the bottom and sides, the sides can also sink, which looks like shrinkage but is really a collapse from underbaking.
Recommened Pie Recipes!
Pies and Tart Recipes
Cherry Pie

Pies and Tart Recipes
Easy Pumpkin Pie

Pies and Tart Recipes
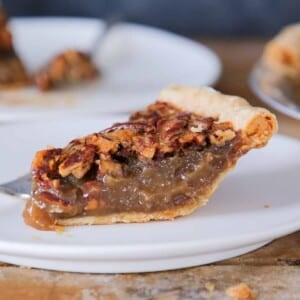
The Best Pecan Pie Recipe
Pies and Tart Recipes
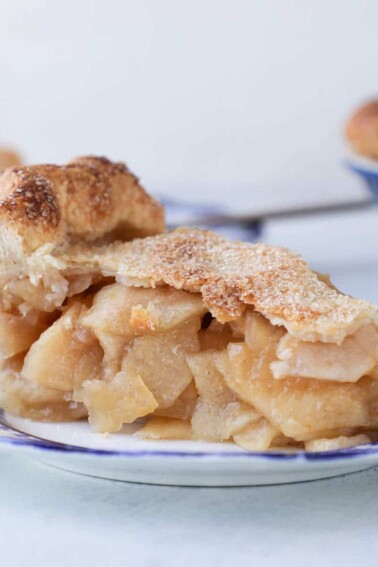
Mile High Apple Pie
If you tried this recipe and loved it please leave a 🌟 star rating and let me know how it goes in the comments below. I love hearing from you; your comments make my day!
Snickers Pie
Ingredients
Pâte Brisée
- 250 g all-purpose flour
- 1 teaspoon kosher salt
- 1 teaspoon granulated sugar
- 125 g unsalted butter cold, cut into ½-inch cubes
- 70 g cold water or as needed
Salted Caramel Sauce
- 57 g unsalted butter cut into pieces
- 195 g heavy cream
- ½ teaspoon vanilla extract
- ¼ tablespoon kosher salt
- 320 g granulated sugar
Chocolate Peanut Butter Filling
- 70 g unsalted butter
- 80 g dark chocolate 90% used in testing
- 40 g cocoa powder
- 230 g granulated sugar
- 43 g light brown sugar
- 2 large eggs
- 2 large egg yolks
- 75 g Jif no-sugar-added peanut butter
- ½ teaspoon salt see Notes
Assembly
- 1 cup salted cocktail peanuts chopped
- 230 g salted caramel sauce from above
Instructions
- Whisk the flour, salt, and sugar together. Cut in the cold butter until you have pea-sized pieces. Add cold water a tablespoon at a time, tossing gently, until the dough is crumbly and shaggy. Turn it out, press it together with the heel of your hand until it just comes together, divide, press into disks, wrap, and chill for 2 hours or overnight.
- Roll one disk to ⅛ inch thick between two sheets of parchment while it is still cool but pliable. Chill flat on a baking sheet for at least 30 minutes, until firm.
- Lay the chilled round into a 9-inch pie dish. Lift the edges to settle the dough without stretching it. Press the sides to fit, roll the overhang under, press to seal, and flute the edge. Chill 10 to 30 minutes, until firm.
- Preheat the oven to 350°F convection or 375°F conventional. Line the chilled shell with crumpled parchment and fill with pie weights. Bake 15 to 20 minutes, until the sides and bottom look matte and the edges just begin to brown. Remove the weights and parchment.
- For the caramel, combine the cream, butter, vanilla, and salt in a small pot and bring just to a boil. Set aside. In a separate heavy-bottomed pot over medium-high heat, melt the sugar in stages, stirring to break up clumps. Once fully melted, stop stirring and swirl until deep amber. Remove from heat and slowly whisk in the hot cream mixture. Pour into a heat-safe bowl and cool to room temperature.
- Preheat the oven to 325°F convection. In a bowl set over a bain marie, melt the butter, dark chocolate, and cocoa powder together, stirring until smooth. Reserve warm.
- In a separate bowl, whisk together the granulated sugar, light brown sugar, eggs, and egg yolks until smooth and slightly lightened. Whisk in the warm chocolate mixture all at once, then whisk in the peanut butter until smooth.
- Scatter about ⅔ cup of the chopped peanuts over the bottom of the parbaked shell. Pour the salted caramel over the peanuts and spread evenly. Pour the chocolate peanut butter filling over the caramel and smooth the top. Sprinkle the remaining chopped peanuts around the edges.
- Bake at 325°F convection for 50 to 55 minutes, until the edges are set and the center has a slight jiggle. Cool completely before slicing. For the best texture and cleanest slices, chill in the refrigerator for at least 3 hours or freeze for 1 to 2 hours before cutting.
Notes
Salt in the filling: The ½ teaspoon of salt in the filling is a starting point. If your dark chocolate already contains sea salt, omit it from the filling.
Chocolate percentage: The recipe was tested with 90% dark chocolate. If you use a sweeter chocolate (60% to 70%), reduce the granulated sugar in the filling so the pie does not tip too sweet against the caramel layer.
Storage: Store at room temperature for up to 1 week, refrigerated for 2 to 3 weeks, or frozen for up to 2 months. Wrap tightly in plastic wrap before refrigerating or freezing. Slices cut straight from the freezer deliver the closest Snickers-bar texture.
Nutrition
Before You Go
If this chocolate pecan pie makes it onto your holiday table, I can promise it will not last long. Browse more of my Pie & Tart Recipes or try this creme brulee pie next!