This post may contain affiliate links. Please read our disclosure policy.
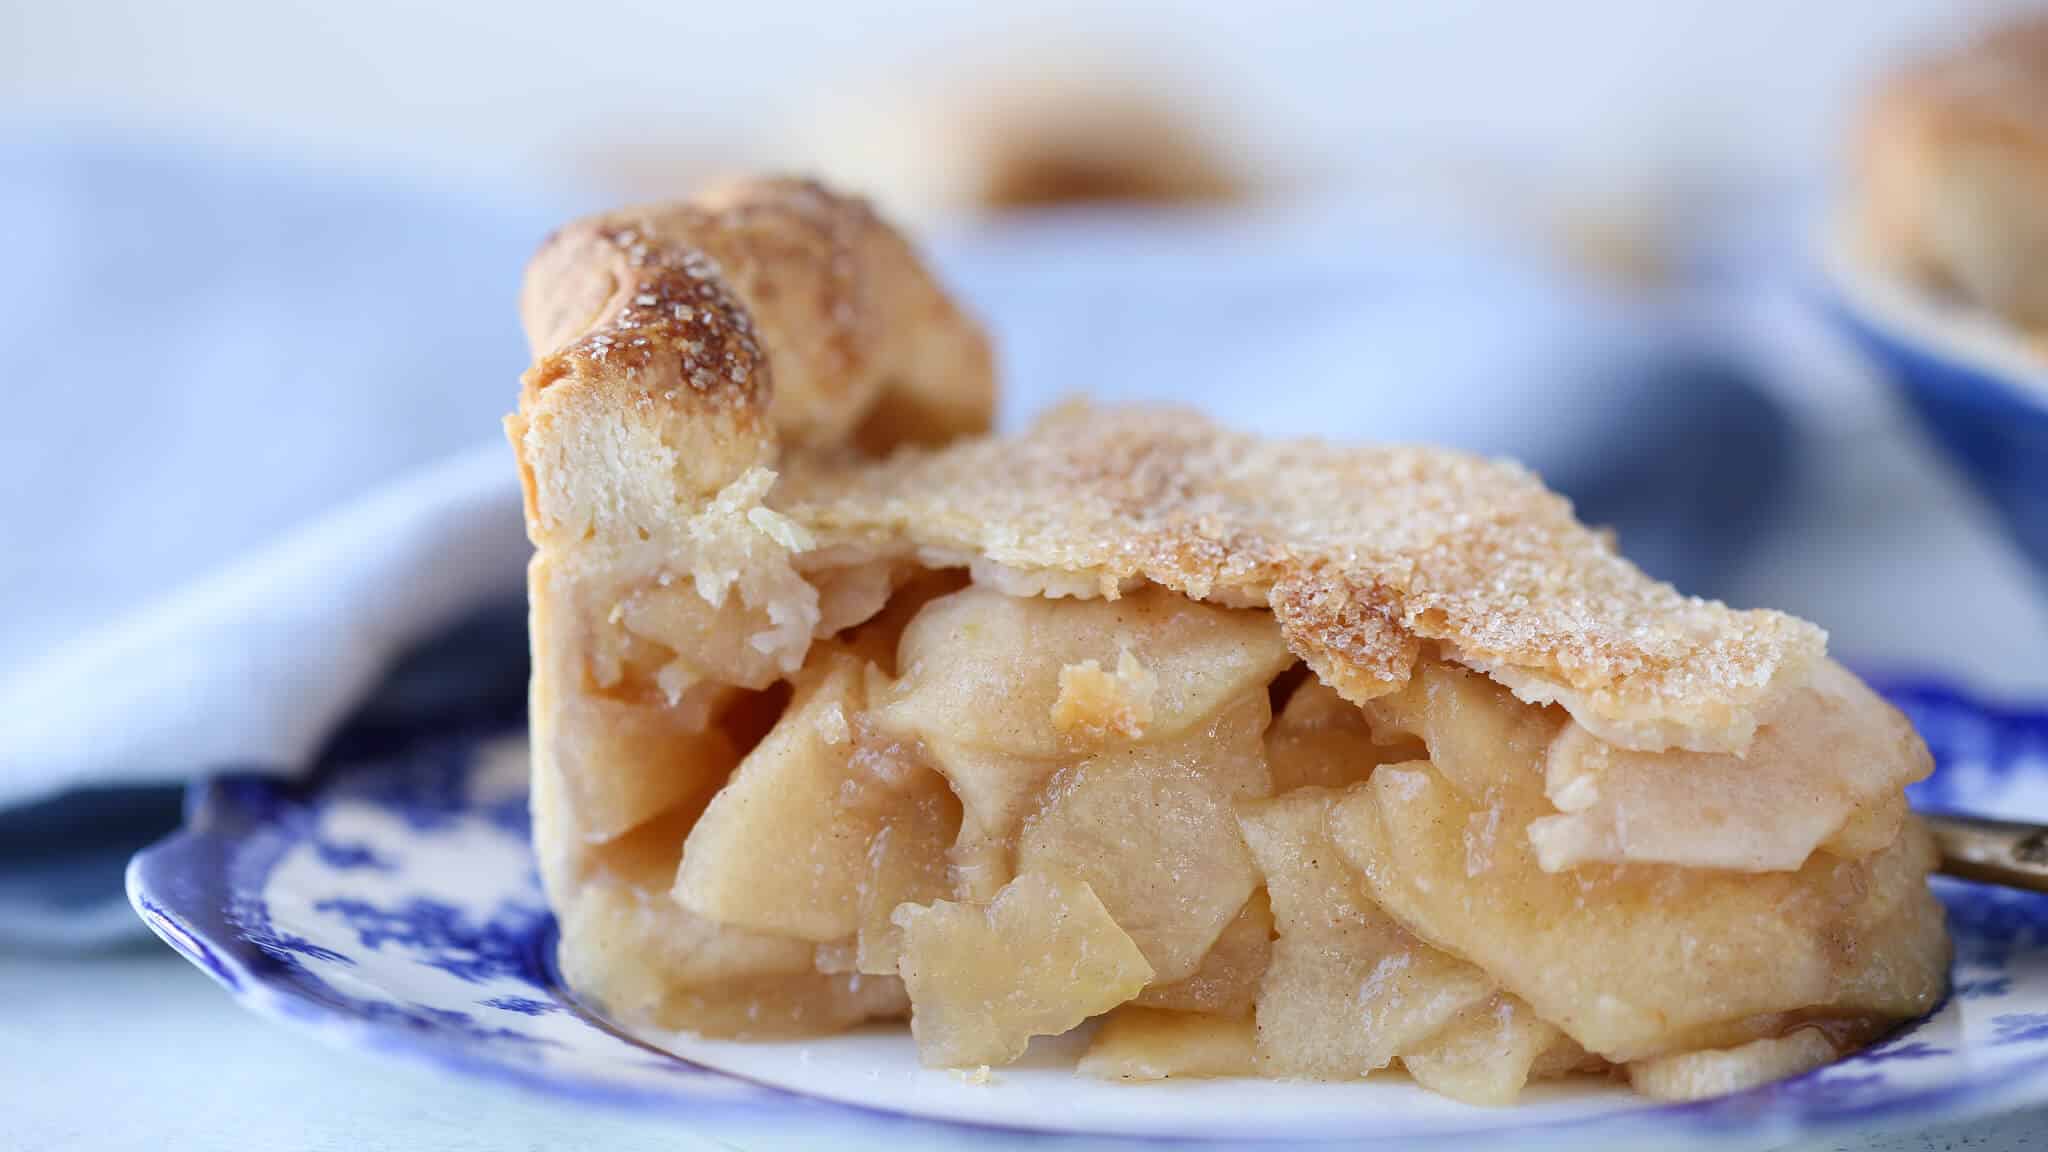
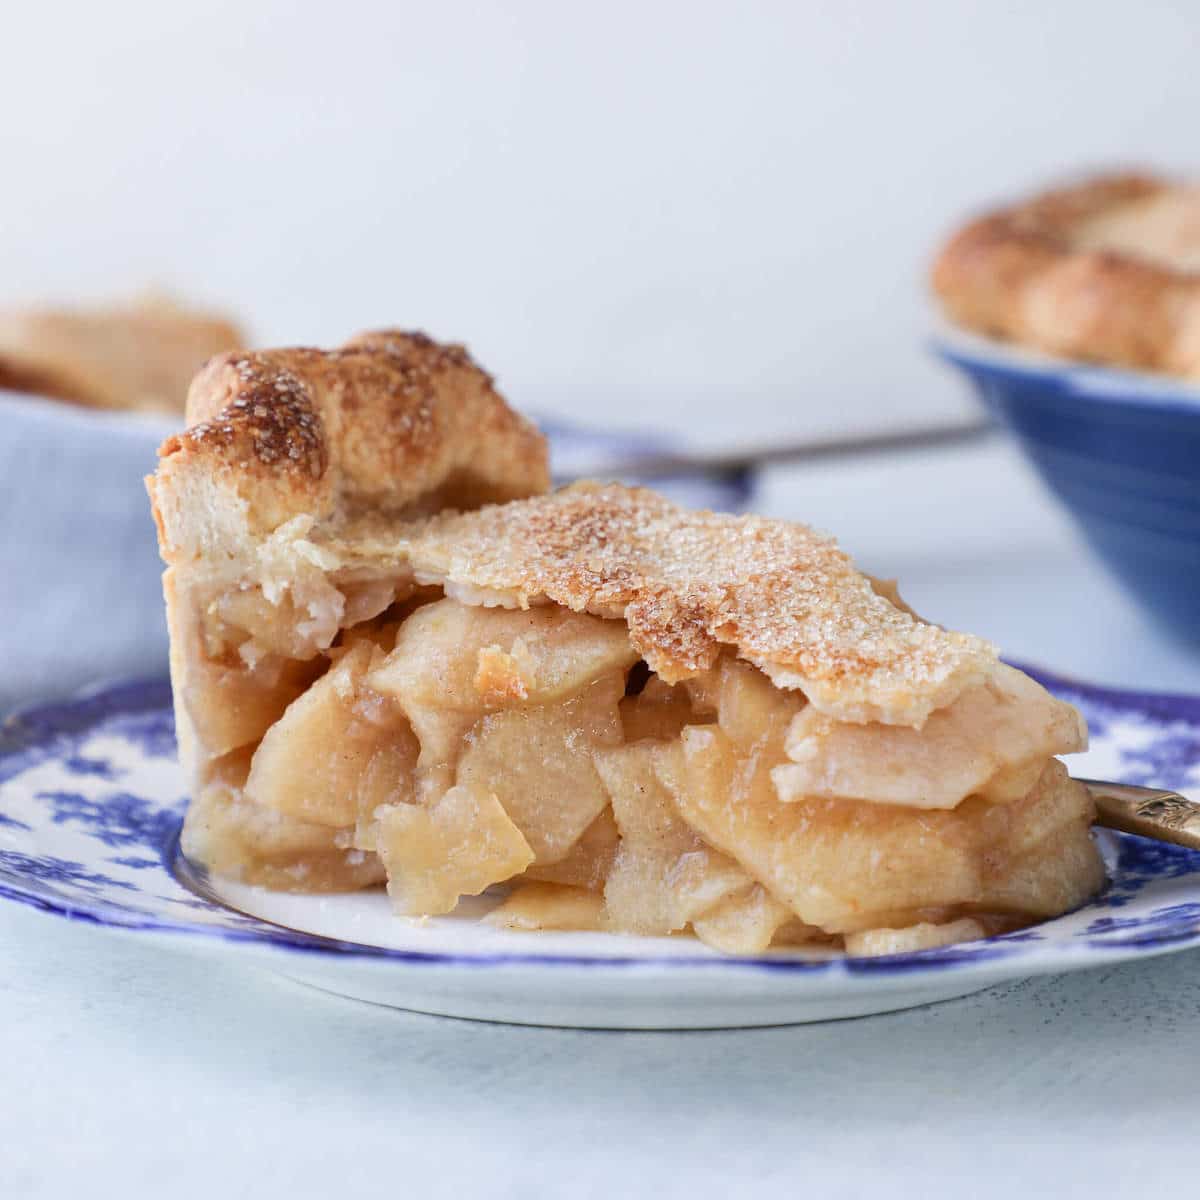
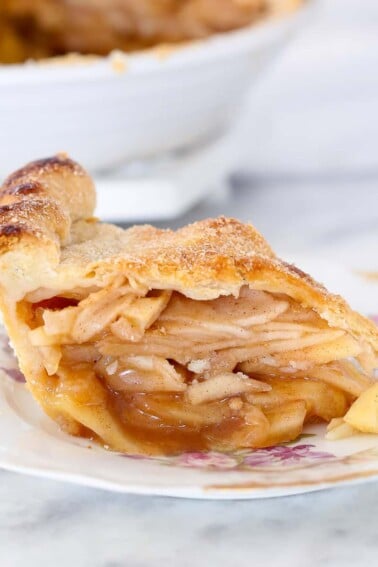
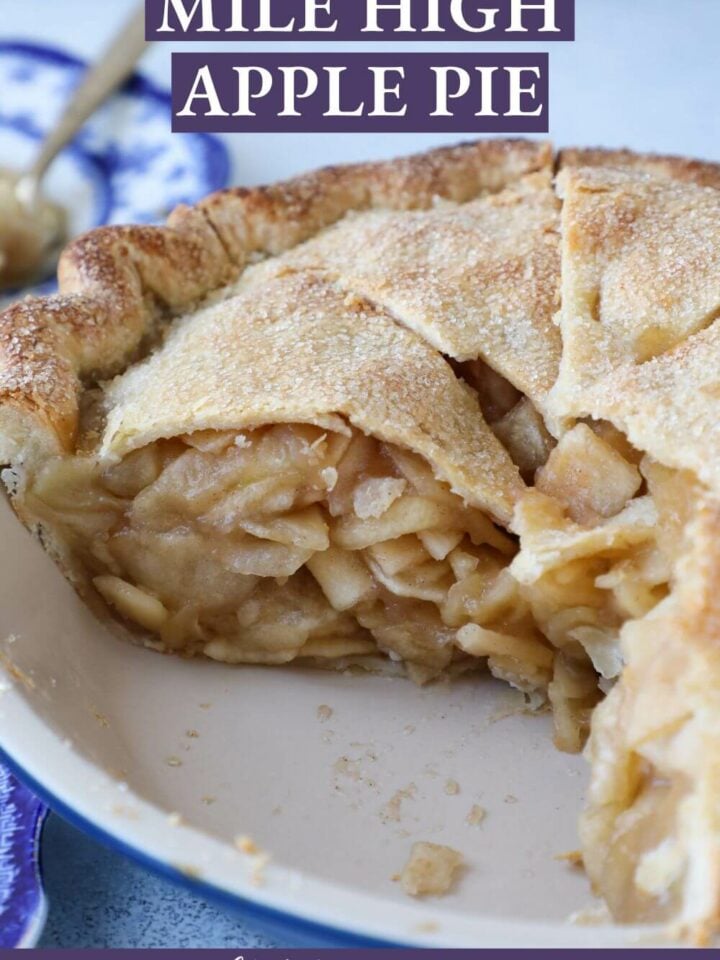
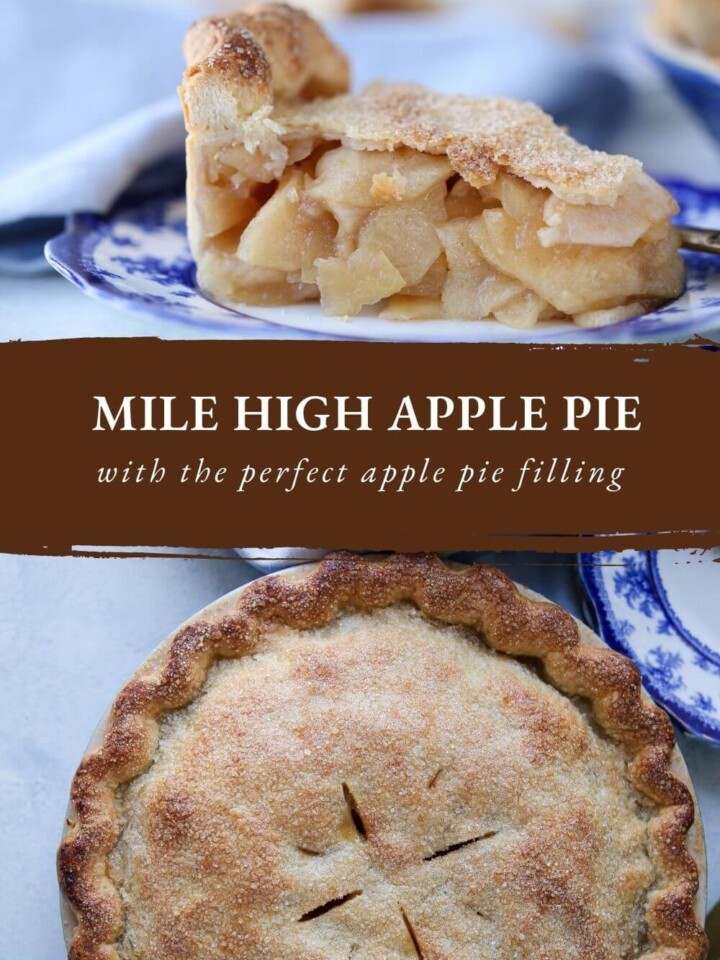
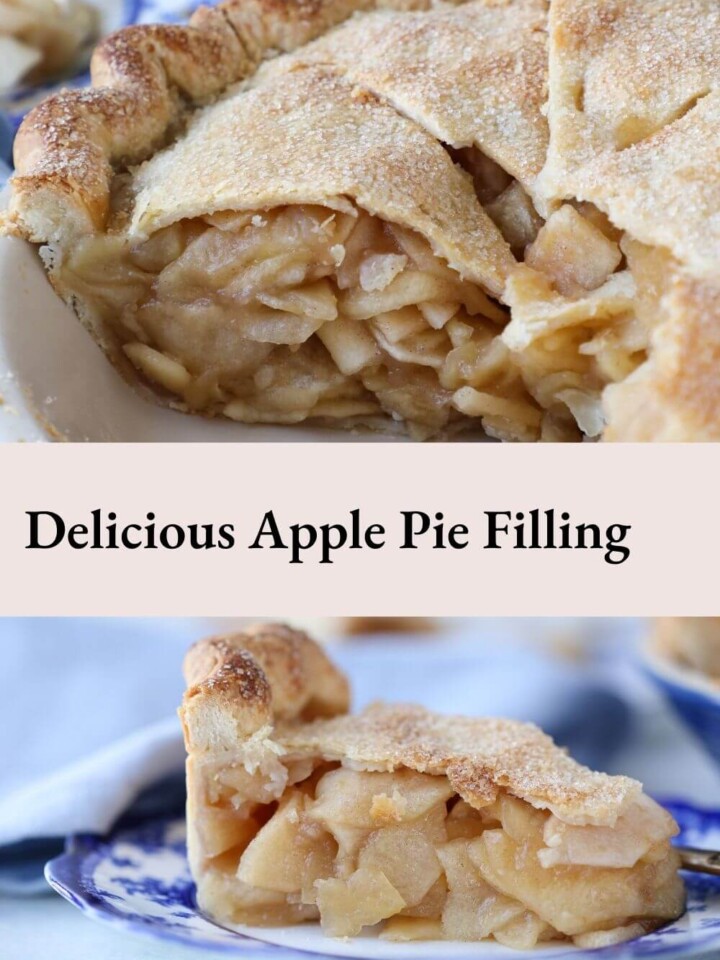
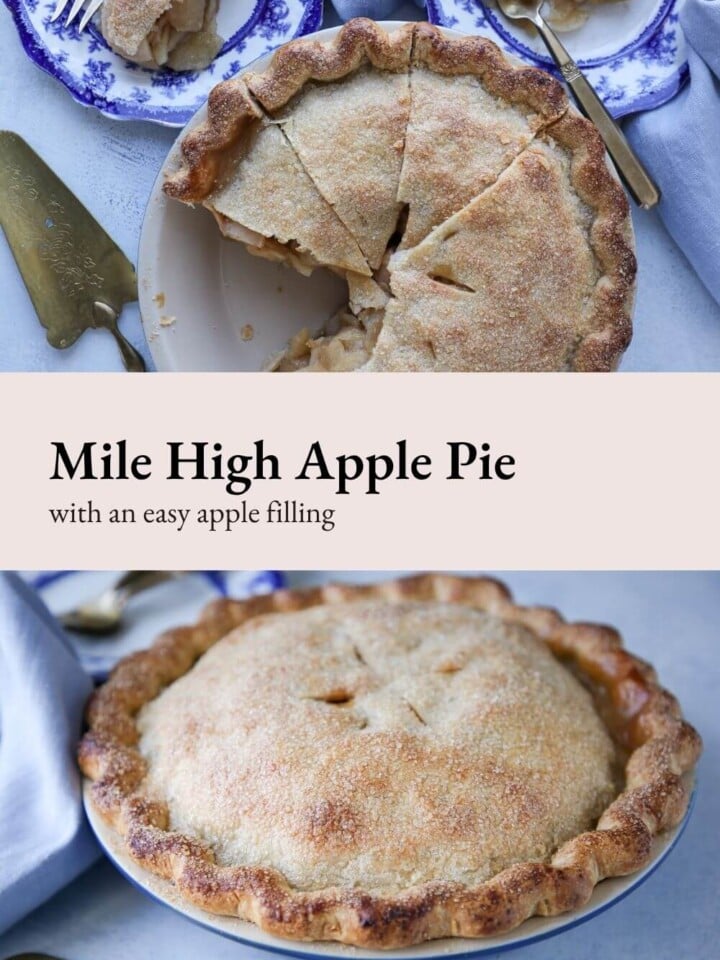
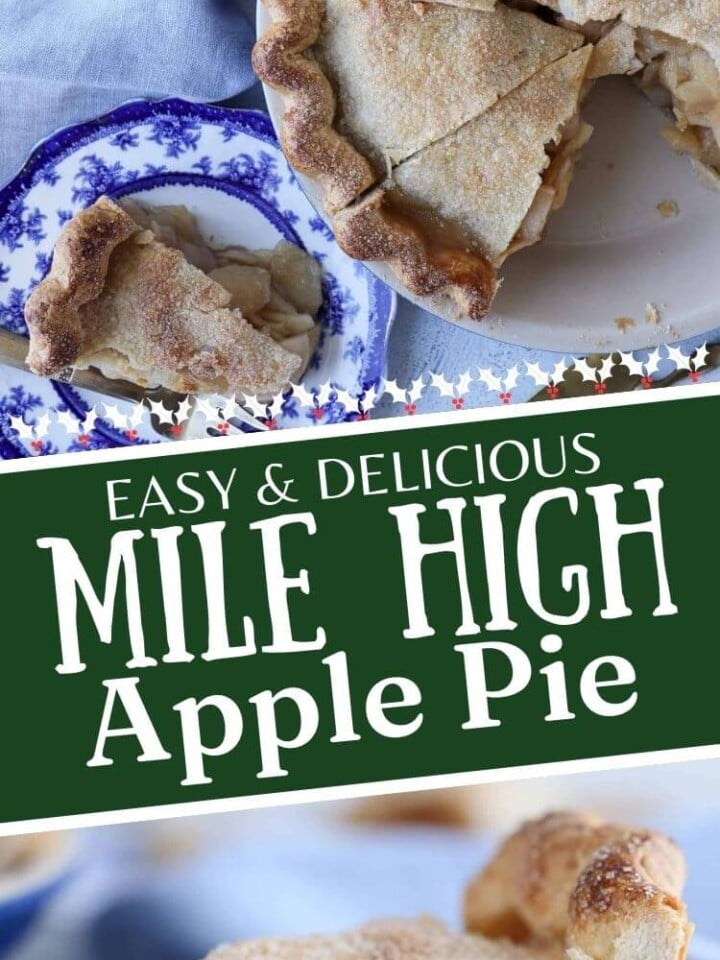
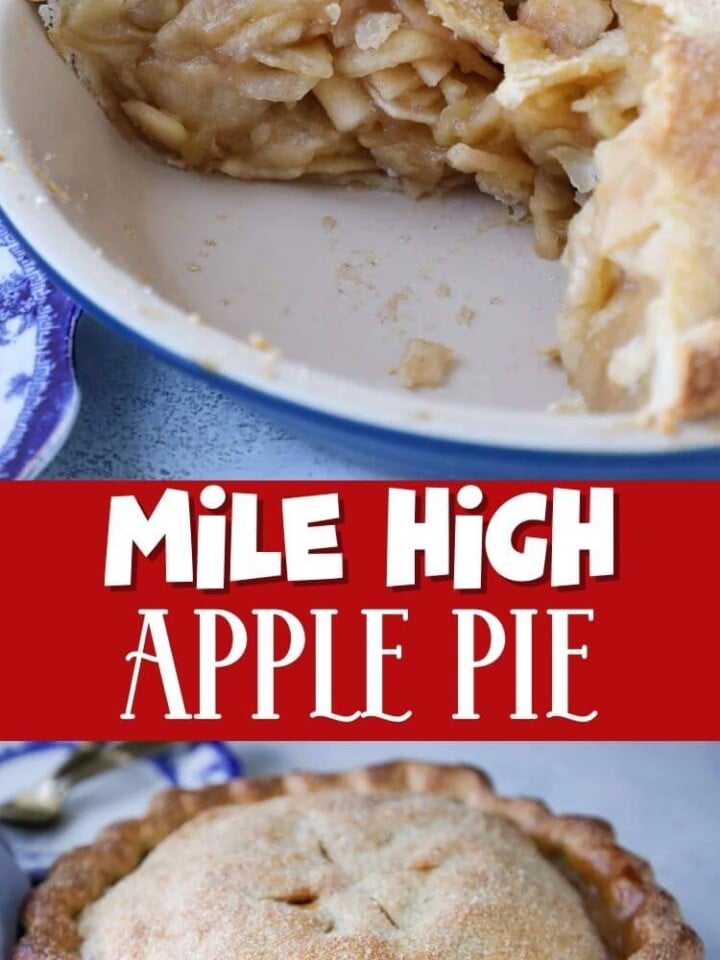
This mile high apple pie has 5 pounds of apples baked inside a buttery, flaky pie crust. Pre-cooked filling eliminates the dreaded gap between the crust and the apples and adds layers of caramelized flavor you can’t get any other way.


A Quick Look At The Recipe
This is a brief summary of the recipe. Jump to the recipe to get the full details.
Jump to RecipePrep Time
45 minutes
Cook Time
1 hour
Total Time
1 hour 45 minutes
Servings
12 slices
Difficulty
Intermediate
Calories *
343 kcal per serving
Technique
Make pie crust, precook filling, cool rapidly, assemble pie, and bake!
Flavor Profile
Cinnamon, brown sugar, and lemon apple filling with a buttery, flaky pie crust.
* Based on nutrition panel
Pre-cooking the apple filling!! What an amazing texture this apple pie was. I think the filling is the perfect consistency, and that pie crust is my favorite. I made sure to top the pie with the turbinado sugar, and I could eat the top crust all by itself. ⭐⭐⭐⭐⭐
Mara
Why You’ll Love This Pie Recipe
- No gap between filling and crust. Pre-cooking the apple filling means your pie bakes evenly and there’s zero space between the top crust and apples. The pie will look as good as it tastes.
- 5 pounds of apples! This isn’t a wimpy pie. You get a seriously tall filling, packed with tender, perfectly flavored apples!
- Flaky all-butter pie crust. I have perfected this pie crust recipe! Using all butter and ice water creates a tender, crisp, and extra flaky crust for this double crust pie.
Table of Contents
Making the best mile high apple pie requires a few extra steps, but they’re worth it!
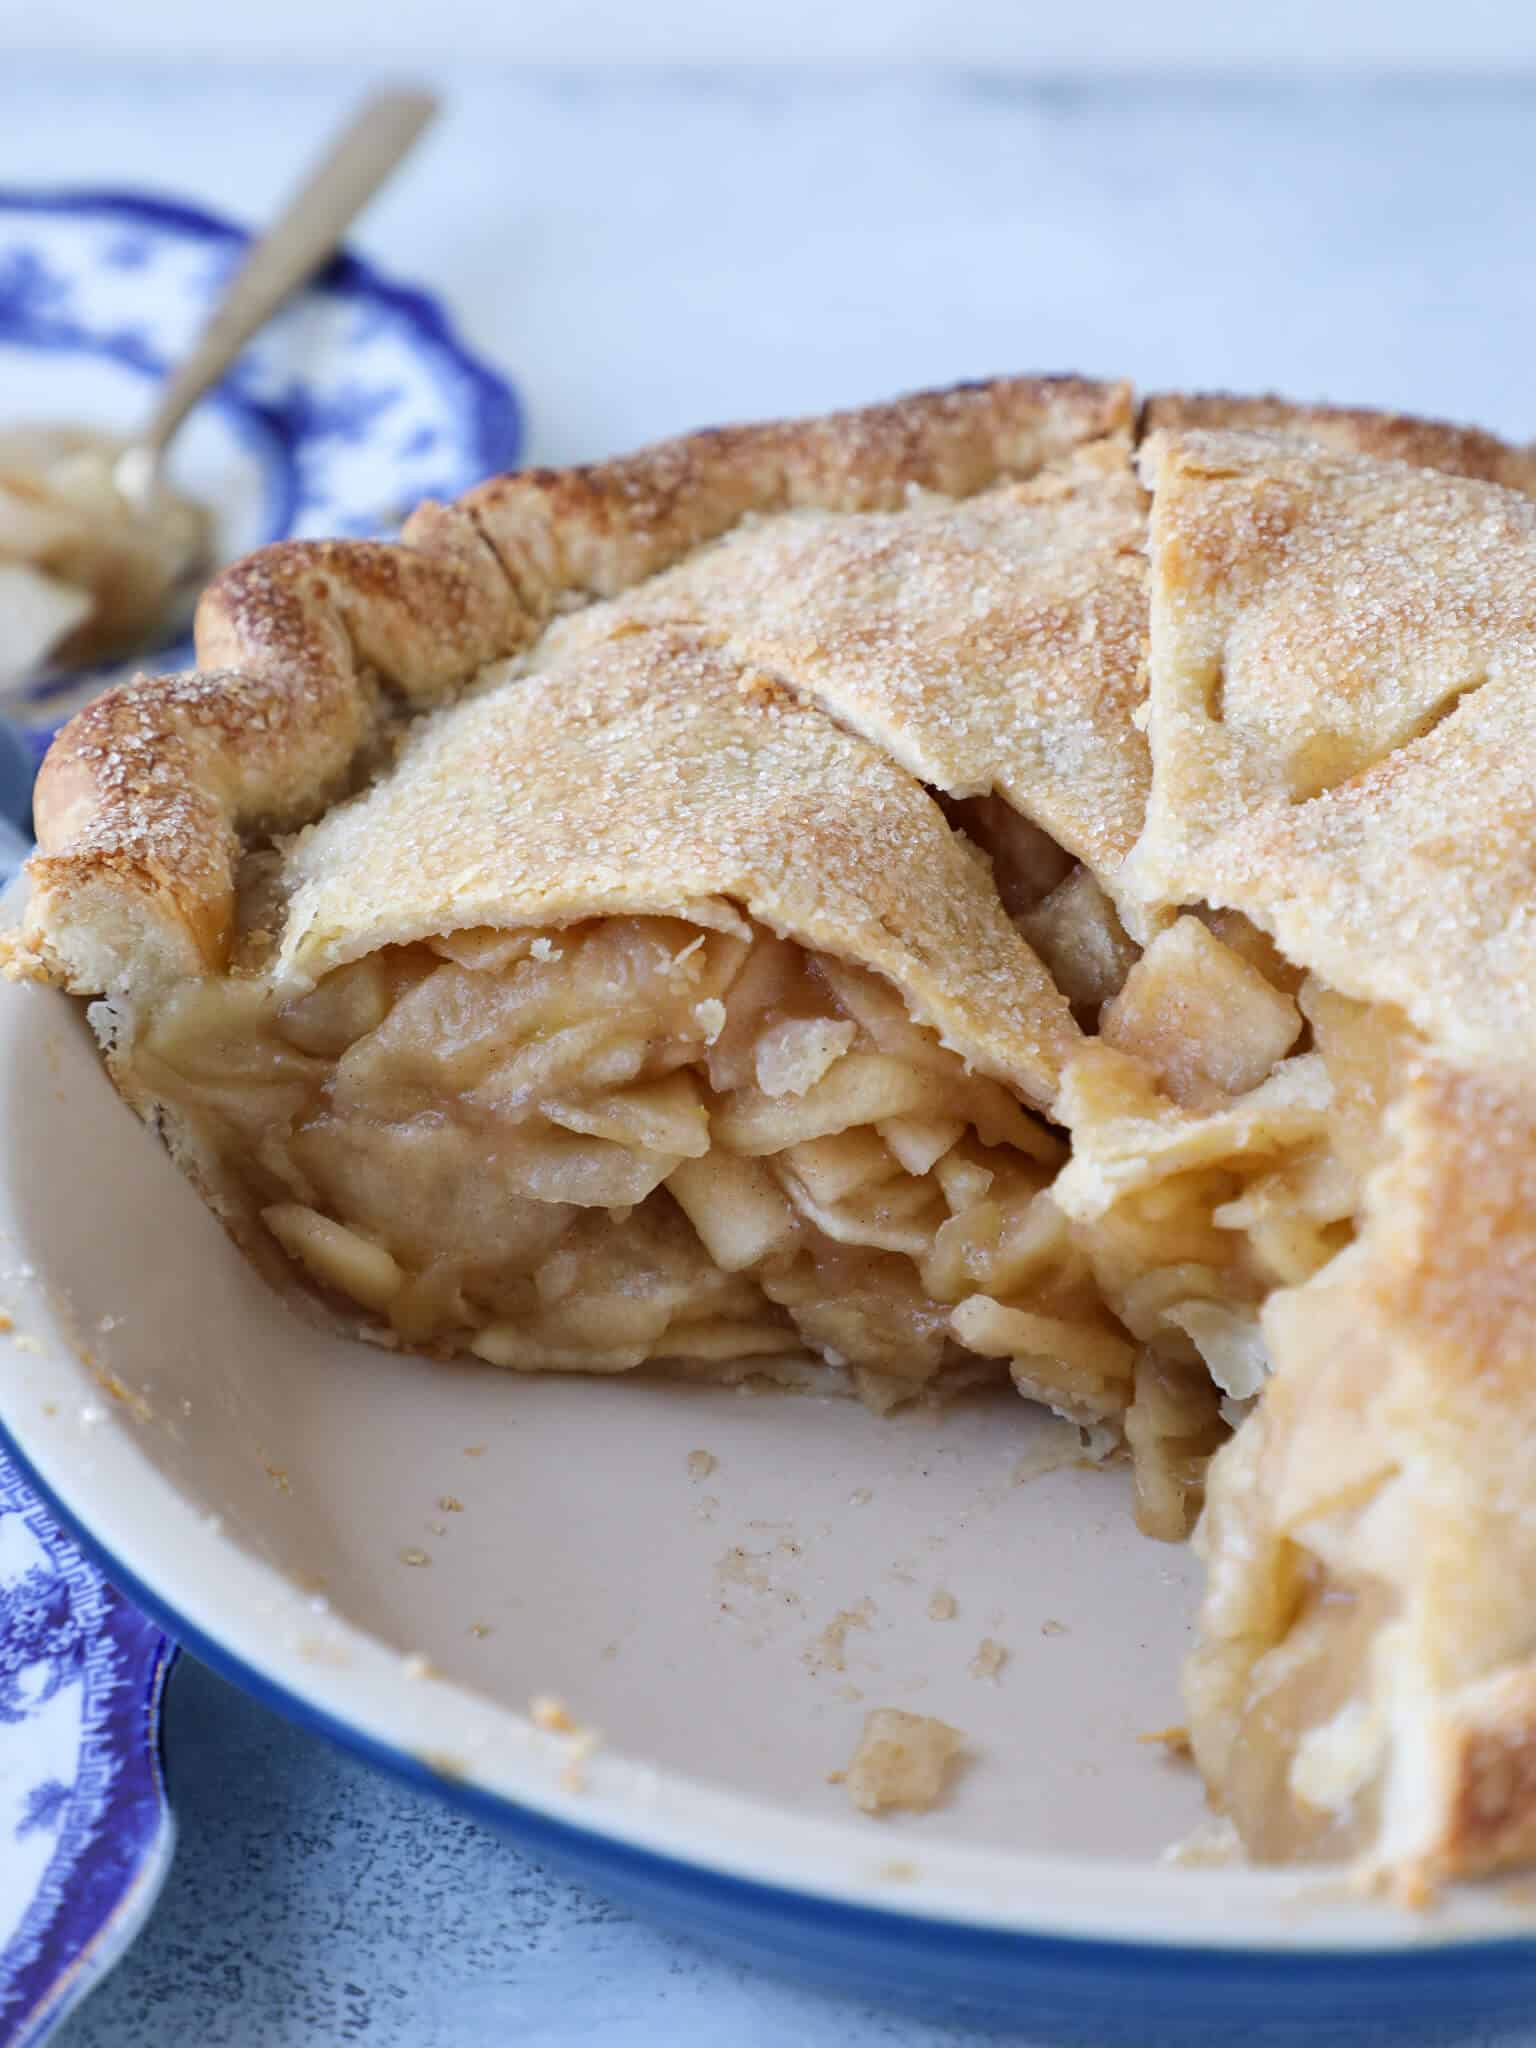
Pre-cooking the apple pie filling means both the filling and crust bake to perfection at the same time! No raw apples, no soggy bottom, no weird gap where the filling shrinks away from the top crust.
If you want a faster apple dessert that doesn’t require precooking, try this easy apple crisp recipe or this easy apple pie. You could also get the same flavor in a hand-held package with these apple hand pies!
Ingredients & Substitutions
- Apples: When baking, I use a large variety of apples. This creates a more complex flavor even in simple dishes. Choose apples that retain their flavor and texture when cooked, like Gala, Honeycrisp, Pink Lady, or Braeburn. 5 pounds of apples is a lot, so why not have a variety?
- Lemon Juice
- Lemon Zest
- Cinnamon: I use Saigon cinnamon, but any cinnamon works. You could also use a few pinches of apple pie spice or add up to 3/4 cup salted caramel sauce!
- Light Brown Sugar: Using light brown sugar adds sweetness, moisture, and a rich molasses flavor.
- Granulated Sugar: White sugar balances the lemon and brown sugar, while helping retain moisture and improving texture.
- Cornstarch: Cornstarch thickens the filling and helps bind all the ingredients together. It also acts as a stabilizer before baking. You can also use tapioca starch.
- Butter:
- All Butter Pie Crust: I used my all-butter pie crust made with the stand mixer method, but you could also use this vodka all-butter pie crust or use store-bought.
Variations for Mile High Apple Pie
- Add more fruit. You can make this a cranberry apple pie and use orange juice in place of the lemon for a delightful Christmas pie. You can also add mixed berries for a summer mixed berry apple pie!
- Change the crust. You can swap out the traditional all-butter pie crust for this Crisco pie crust recipe, almond flour pie crust, or this easy pie crust recipe.
- Mini pies! I have made MANY mini pies. You can buy mini pie tins and bake individual apple pies. It’s so cute! You can also make these mini apple pies with brown sugar pecan crumble topping in mini muffin pans.
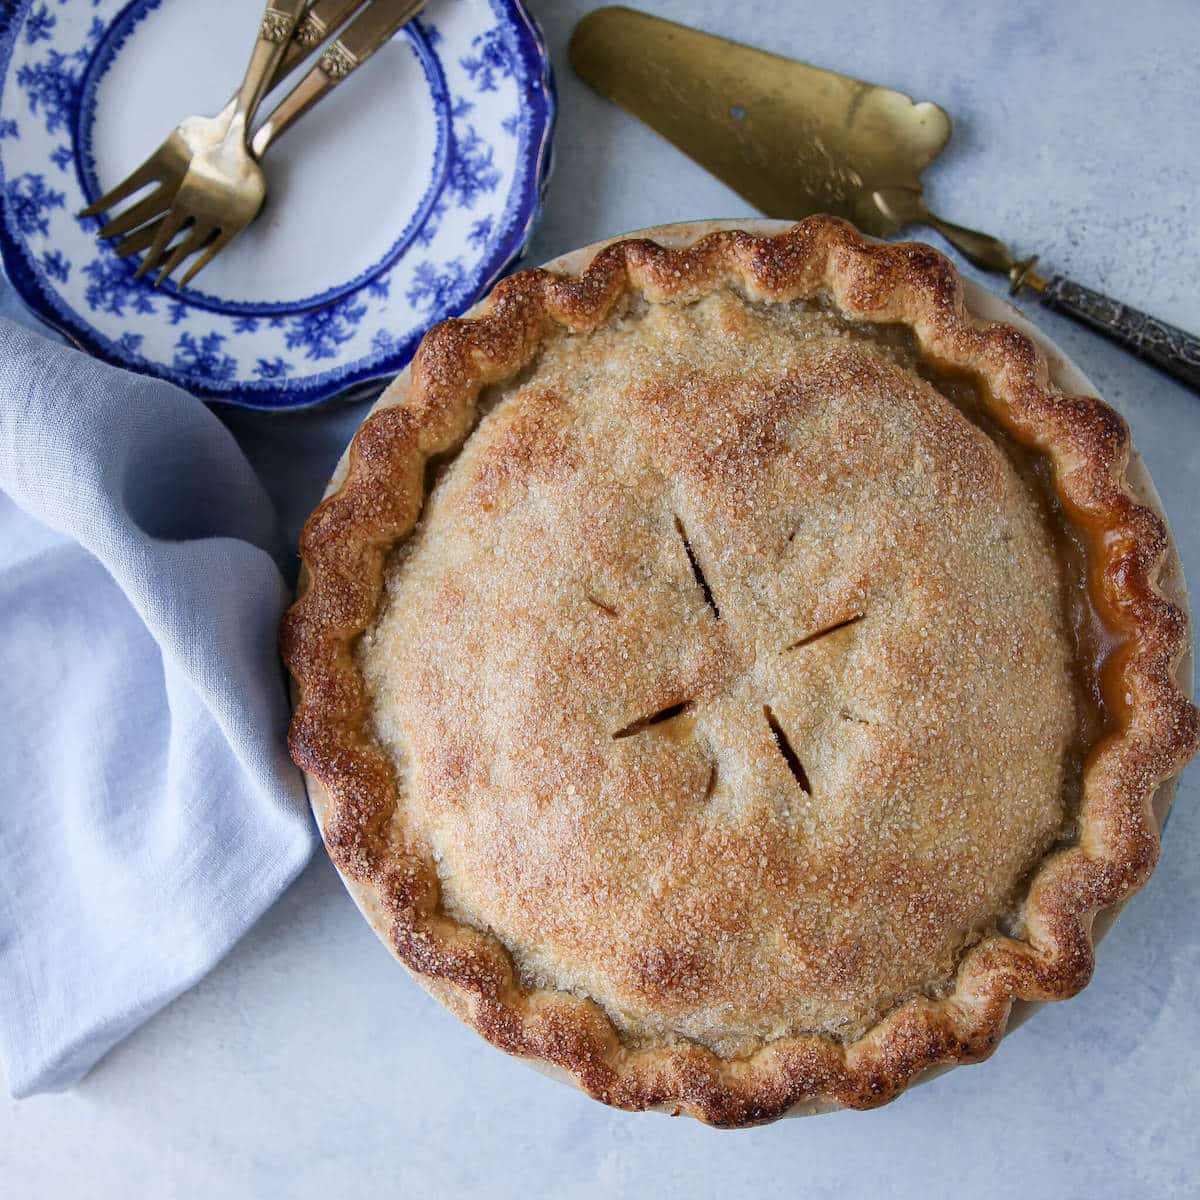
- Decorative top. Follow my how to lattice pie crust and create a beautiful top for your pie! You could also use little leaf cookie cutters or other small cookie cutters to cut cute vent holes in your top crust.
Professional Tips
- Cook the apples until crisp-tender. Think of it as the sweet version of al dente pasta. You want the apples tender and fully cooked, but with some still crunchy. Some will look translucent and others not. You don’t want to overcook your filling at this stage. It still has to cook again!
- Cool your filling! Just like my blueberry pie recipe and mixed berry pie, you must cool the filling before assembling the pie. Hot filling will melt the butter in your crust, and you won’t get those beautiful flaky layers!
- Don’t chill the crust in your ceramic or glass pie dish. Ceramic or glass take longer to heat up in the oven than metal. Chilling the dish will cause the bottom crust of your pie to cook slowly, which can lead to a soggy bottom.
How to Make Mile High Apple Pie
Use these instructions to make the perfect apple pie every time! Further details and measurements can be found in the recipe card below.
Prepare the Pie Crusts:
Step 1: Combine the pastry flour, salt, and sugar in the bowl of your stand mixer.
Step 2: Cut in cold butter. Using your stand mixer with a paddle attachment, cut in the butter until you have slightly larger than pea-sized pieces.
Step 3: Slowly add your ice water, a tablespoon at a time.
Be very careful with the amount of water you add, as the dough may only need a bit more. The amount of water you need will depend on how much you cut in the butter.
Step 4: Bring dough together. When a shaggy dough has formed and there is still some loose flour, turn it out onto your work surface and work it together. Do this by gathering it and pressing away from you with the heel of your hand.
Do this JUST until it comes together. If it is crumbling, then dip your hand in a bit of ice water and pat it on the pastry dough.
Step 5: Divide the dough in half and press each half into a disk. Wrap in plastic wrap and chill for 2 hours or overnight. If you chill your dough overnight, let it rest a bit before rolling; otherwise, it will be too cold and crack.
Prepare the Filling:
Step 6: Freeze two rimmed baking sheets.
Step 7: Slice apples evenly. Peel, core, and quarter the apples. Slice about ¼ inch thick either by hand or with a mandolin. The mandolin will speed up the process and also make more consistent slices.
Step 8: Combine apples, lemon juice, lemon zest, cinnamon, sugars, cornstarch, and butter in a large pot.
Taste the filling before you add the cornstarch. You might want more lemon or more sugar, depending on your apples.
Step 9: Cook until crisp-tender. Simmer over low heat until the apples begin to release their juices. Increase the heat to medium and cook until the filling has thickened and the apples are crisp-tender.
Step 10: Cool filling fast. Pour the filling between two frozen baking sheets lined with parchment paper. The filling should be in a single layer. Cover with plastic wrap and poke a few ventilation holes. Refrigerate until cold. This rapidly cools the filling and stops the cooking process.
Assemble the Pie:
Step 11: Preheat the oven to 375°F convection (400°F conventional).
Step 12: Roll out your pie crusts on a lightly floured surface into two circles that are roughly 2 inches larger in diameter than your dish, to a little more than ⅛th of an inch thick.
Step 13: Line an ungreased pie dish with one of the crusts, allowing the excess to hang over the edges. Place on a sheet pan, cover, and chill.
If using a ceramic dish, roll and chill both the bottom and top crust on a parchment-lined sheet tray until ready to assemble the pie.
Step 14: Place the top crust on a parchment-lined baking sheet, cover with plastic, and chill until ready to use.
Step 15: Mound and seal. Pour cooled apple filling into the pastry-lined pie plate, mounding the apples in the center. Place the top crust over the filling; trim all but ½ inch excess dough from around the edges; press the top and bottom crust together, fold under, and create a decorative edge.
Step 16: Cut vent holes on top. (You can also make cute cutouts before placing the top crust over the filling.)
Step 17: Brush the top crust with heavy cream, then generously sprinkle with granulated or turbinado sugar.
Step 18: Bake until bubbling. Bake in preheated oven for 15 minutes, then reduce the oven temperature to 350℉ and bake until the filling is bubbling and the crust is brown, which will be about 45–60 minutes longer.
Step 19: Allow the pie to chill for at least 2 hours before slicing. Serve at room temperature or warmed.
Chef Lindsey’s Recipe Tip
I freeze baking sheets lined with parchment paper. Pour the hot filling in a single layer between two frozen sheets, cover with plastic wrap, poke a few ventilation holes, and refrigerate. This stops the cooking process immediately, preventing mushy apples.
Recipe FAQs
The apples shrink as they bake, releasing moisture and steam. If the apples are raw when added to the pie, they will collapse as they cook, leaving a gap. Pre-cooking the filling prevents this.
Yes! You can fully bake the pie, cool it completely, wrap it well, and store it at room temperature for up to 2 days or refrigerate it for up to 5 days. Bring to room temperature before serving or gently rewarm.
I recommend using a combination of apples that hold their shape and flavor when baked, such as Gala, Honeycrisp, Pink Lady, and Braeburn. Using a mix creates better texture and more complex flavor.
Recommended Pie Recipes
Pies and Tart Recipes
Blueberry Pie Recipe
Pies and Tart Recipes
Mixed Berry Pie
Summer Dessert Recipes
Easy Apple Pie
Pies and Tart Recipes
Cherry Pie
If you tried this recipe and loved it please leave a 🌟 star rating and let me know how it goes in the comments below. I love hearing from you; your comments make my day!
Mile High Apple Pie
Ingredients
For the All-Butter Pie Crust (you could also use 2 store-bought crusts instead):
- 2 ¼ cups pastry flour measured by fluffing the flour then spooning it in
- 1 teaspoon kosher salt
- 1 teaspoon sugar
- 9 tablespoons unsalted butter cold, cubed into ½ inch cubes
- 2 ¼ oz cold water or as much or as little as needed
For the Pie Filling:
- 11 cups apples peeled, cored and cut into ¼ inch slices. From 5 lbs of whole apples
- 2 tablespoons lemon juice freshly squeezed from about 1 lemon
- 1 lemon juiced and zested (bright yellow parts only!)
- 1 teaspoon cinnamon
- ¾ cup light brown sugar
- ¾ cup granulated sugar
- ¼ cup cornstarch
- 2 tablespoons butter cubed
- Heavy cream & granulated sugar for sprinkling
Instructions
Prepare the Pie Crusts:
- Combine the pastry flour, salt, and sugar together in the bowl of your stand mixer.
- Using your stand mixer with a paddle attachment, cut in the butter until you have slightly larger than pea-sized pieces.
- Slowly add your ice water, a tablespoon at a time.
- When a shaggy dough has formed and there is still some loose flour, turn it out onto your work surface and work it together. Do this by gathering it and pressing away from you with the heel of your hand. Do this JUST until it comes together. If it is crumbling, then dip your hand in a bit of ice water and pat it on the pastry dough. Seriously, that’s it. Remember the gluten!
- Divide the dough in half and press each half into a disk. Wrap in plastic wrap and chill for 2 hours or overnight. If you chill your dough overnight, you will need to let it rest a bit before rolling, or it will be too cold and it will crack.
Prepare the Filling:
- Freeze two rimmed baking sheets.
- Peel, core, and quarter apples. Slice about ¼ inch thick either by hand or with a mandolin. The mandolin will speed up the process and also make more consistent slices.
- Combine apples, lemon juice, lemon zest, cinnamon, sugars, cornstarch and butter in a large pot.
- Simmer over low heat until the apples begin to release their juices. Increase the heat to medium and cook until the filling has thickened and the apples are crisp-tender.
- Pour the filling between two frozen baking sheets lined with parchment paper. The filling should be in a single layer. Cover with plastic and poke a few ventilation holes. Refrigerate until cold. This rapidly cools the filling and stops the cooking process.
Mile High Apple Pie Assembly:
- Preheat the oven to 375°F convection ( 400°F conventional).
- Roll out your pie crusts on a lightly floured surface into two circles that are roughly 2 inches larger in diameter than your dish, to a little more than ⅛th of an inch thick.
- Line an ungreased pie dish with one of the crusts, allowing the excess to hang over the edges. Place on a sheet pan, cover, and chill.
- Place the top crust on a parchment-lined sheet pan, cover with plastic, and chill until ready to use.
- Pour cooled apple filling into the pastry-lined pie dish, mounding the apples in the center. Place the top crust over the filling; trim all but ½ inch excess dough from around the edges; press the top and bottom crust together, fold under, and create a decorative edge. You can flute the edges or press with a fork, or even decorate with cutouts from your scraps.
- Cut vent holes on top (you can also make cute cutouts before placing the top crust over the filling).
- Brush the top crust with heavy cream, then generously sprinkle with granulated or turbinado sugar.
- Bake in preheated oven for 15 minutes, then lower the temperature to 350℉ and bake until the filling is bubbling and the crust is brown, which will be about 45-60 minutes longer.
- Allow the pie to chill for at least 2 hours before slicing. Serve at room temperature or warmed.
Video
Notes
Nutrition
Before You Go
I hope you enjoy this mile high apple pie as much as I do. If you love classic desserts, check out my other pie recipes or browse all of my dessert recipes!


I wanted a pie that would impress this Thanksgiving, and this pie did exactly that! The pie crust is flaky and buttery, and mixed with the perfect apple filling. Everyone wanted a slice of my apple pie!
Pre-cooking the apple filling!! What an amazing texture this apple pie was. I think the filling is the perfect consistency, and that pie crust is my favorite. I made sure to top the pie with the turbinado sugar, and I could eat the top crust all by itself.
Ooh thanks for the great pie tips!
You are most welcome!
This mile high pie is gorgeous, Lindsey! I would never be able to tell it cracked. I always run into problems with pie dough too so I loved learning that tip. I wish I had a big ginormous slice of this heavenly pie for breakfast! Yum!
Ugh pie dough. I am hoping to never have that problem again! but that is probably wishful thinking!
Oh my goodness, Linds! Your apple pie whether mile high or cavernous looks divine! I, too, have learned about pre-cooking the apple filling. (For me, it was a good ol’ recipe from Williams-Sonoma that was educational.) Thanks for sharing your recipe along with great tips!
Next time pre-cook then devour!!!