This post may contain affiliate links. Please read our disclosure policy.
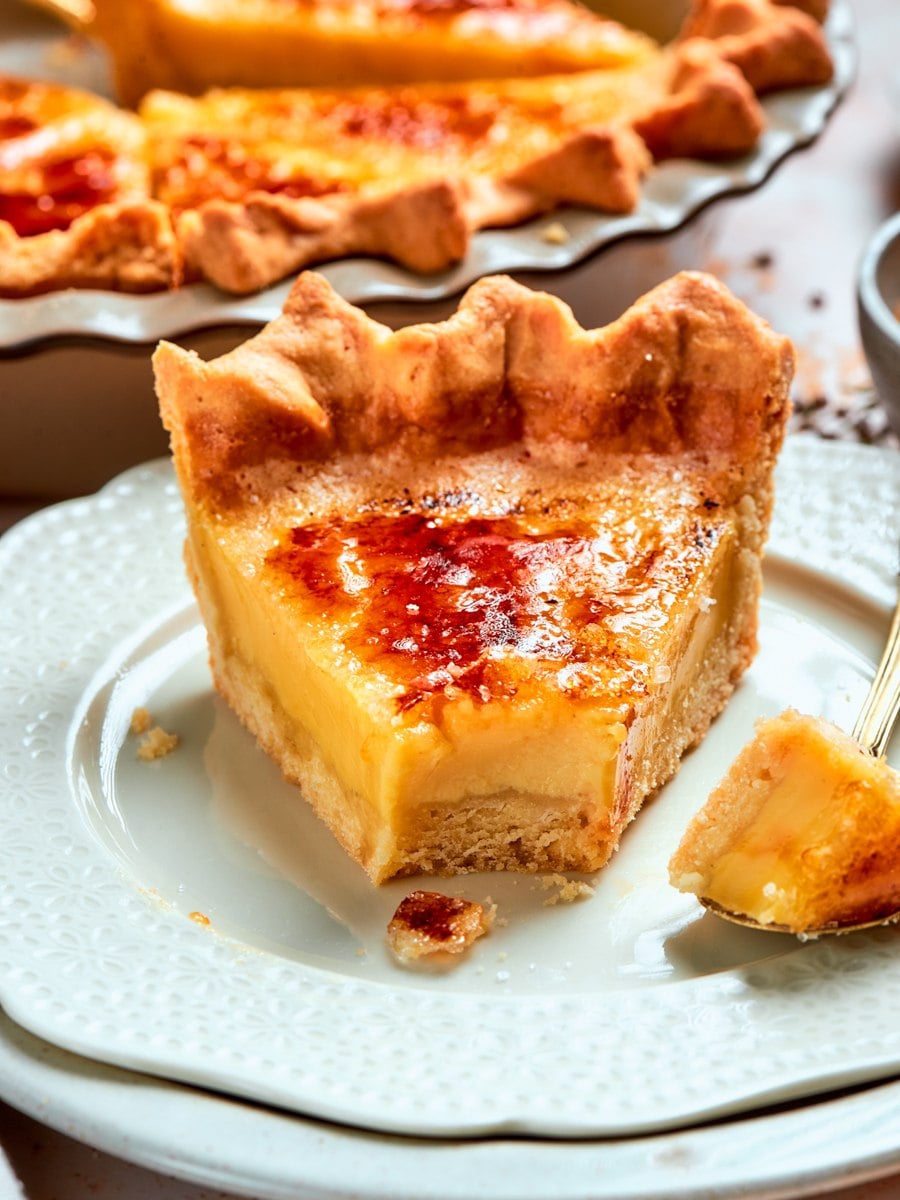
Crème brûlée pie brings together everything that makes the classic French dessert so satisfying: deeply infused vanilla bean custard, a shatteringly crisp caramelized sugar top, and a buttery pâte sucrée shell that holds it all together.
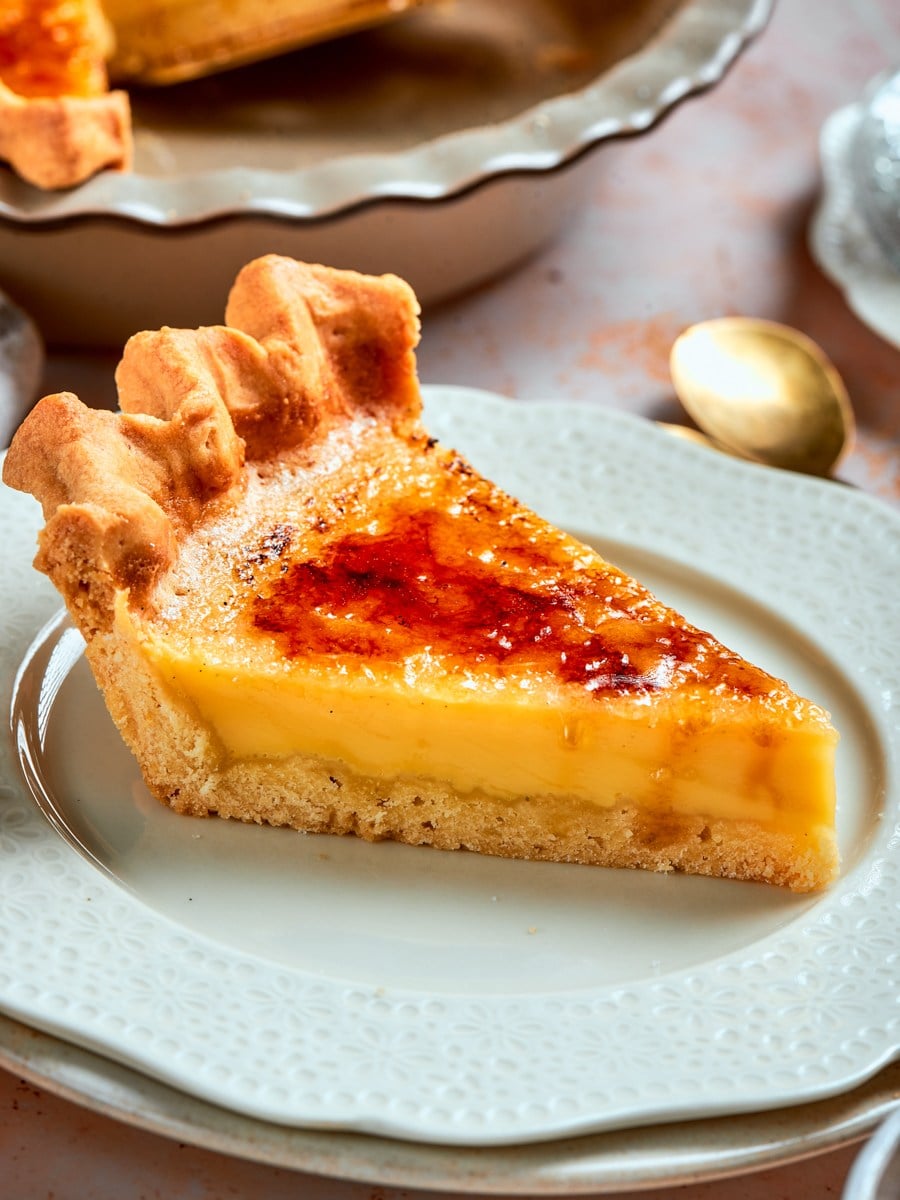

A Quick Look At The Recipe
This is a brief summary of the recipe. Jump to the recipe to get the full details.
Jump to RecipePrep Time
45 minutes
Cook Time
25 minutes
Cooling / Rest Time
7 hours
Total Time
8 hours 10 minutes
Servings
12 Slices
Difficulty
Advanced
Calories *
383 kcal per serving
Technique
Blind-baked pâte sucrée shell filled with vanilla bean custard, chilled until set, and finished with a torched caramelized sugar top.
Flavor Profile
Rich vanilla, creamy custard, caramelized sugar, buttery pastry.
* Based on nutrition panel
I was nervous about my crust having holes, but patching any small cracks before baking made it manageable! The finished pie held its shape perfectly, and that torched sugar top cracked just like a classic crème brûlée. My dinner guests were completely stunned. ⭐⭐⭐⭐⭐
Justin
Why This Recipe Works
- Pâte sucrée crust with structural integrity. The crust is rolled thicker than a standard sablée, giving it the rigidity to hold a loose custard filling without buckling. It blind bakes to a deep golden shell that stays crisp against the creamy filling.
- Deep vanilla flavor from a long infusion. Steeping the vanilla bean off the heat, covered, for a full 45 minutes extracts significantly more flavor than a quick 15-minute steep. Both the seeds and the pod go into the dairy so nothing is wasted.
- Silky, properly set custard. Tempering the eggs gradually and straining the finished custard through a fine mesh sieve removes any cooked egg solids and surface foam that would otherwise mar the texture. The result is a filling as smooth as any Crème Anglaise.
- Make-ahead flexibility without sacrificing the brûléed top. The pie holds beautifully in the refrigerator for up to a week, fully assembled and unbrûléed. If you love the kind of custard pies that reward patience, you might also enjoy my old fashioned buttermilk pie, which works on the same principle of long chill time before serving.
Table of Contents
This pie came out of a straightforward question: what happens when you apply brûlée technique to a full custard pie instead of individual ramekins? The answer required more testing than I expected, mostly around the blind bake and the custard fill. The sugar goes on, and the torch comes out only at service, so the top stays shatteringly crisp.
If you have made my vanilla bean creme brulee before, the custard method here will feel familiar, just scaled and adapted for a pie shell. The main difference is volume and bake time, both of which change how you read doneness. You can also sign up for my Crème Brûlée Masterclass to get the real inside tricks!
Ingredients & Substitutions
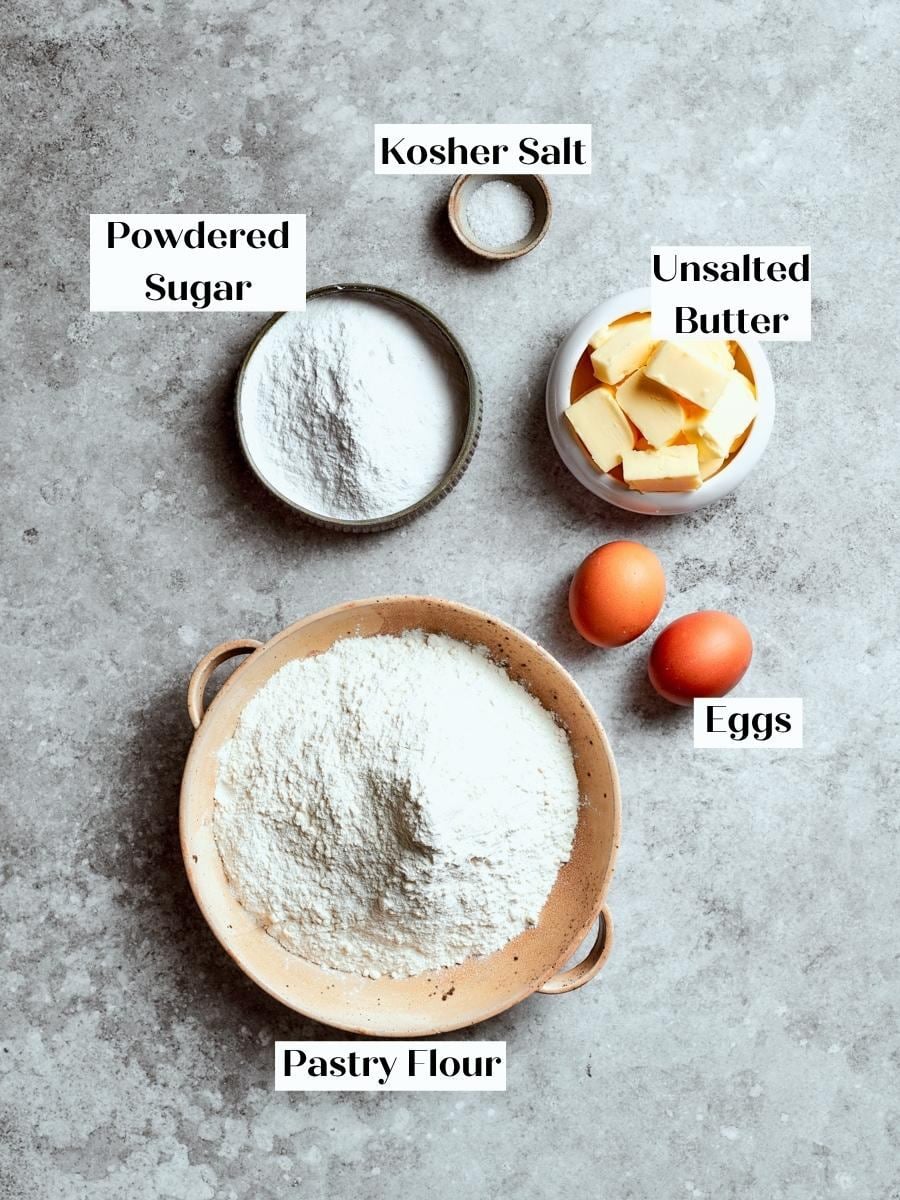
- Powdered Sugar: Powdered sugar tenderizes the dough by dissolving quickly into the butter, producing a finer, more delicate crumb than granulated sugar would.
- Eggs: Eggs bind the dough and give it enough structure to roll cleanly and hold its edges through blind baking. Room temperature eggs emulsify more easily into the butter and sugar, which prevents a greasy or curdled dough.
- Pastry Flour or All-Purpose Flour: Flour is the structural backbone of the crust. Pastry flour produces a more tender, delicate crumb, while all-purpose will be slightly sturdier and crisper.
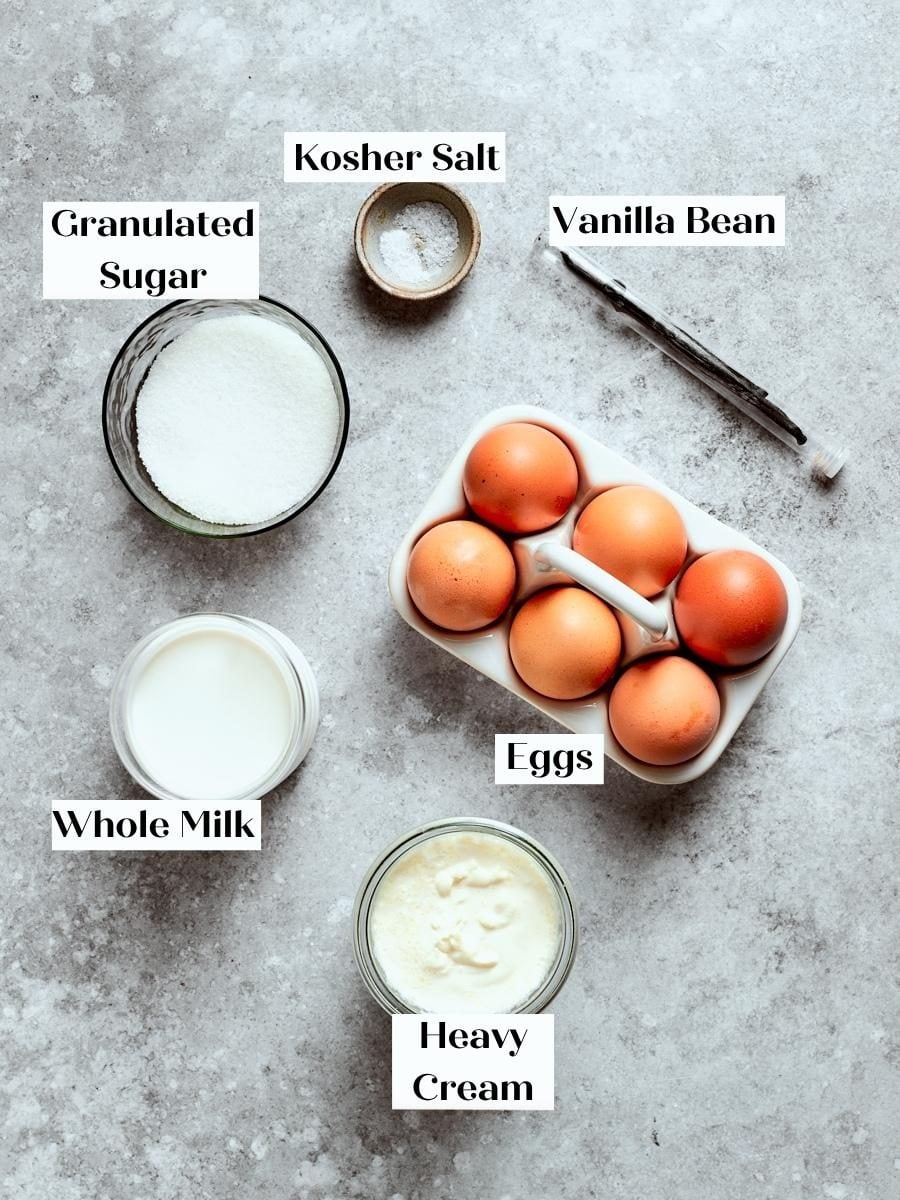
- Whole Milk and Heavy Cream: These two together determine the texture of the finished custard. The cream delivers the rich, silky mouthfeel that defines crème brûlée, while the milk lightens it just enough so the filling holds a clean slice. Do not substitute lower-fat milk; the fat ratio is calibrated for this custard’s set.
- Whole Egg and Egg Yolks: The egg yolks are the primary thickener and emulsifier, giving the custard its dense, satiny body and pale golden color. The single whole egg adds extra protein to help the custard hold its shape once cooled and sliced.
- Granulated Sugar (custard): Sugar sweetens the filling and, critically, interferes with protein coagulation so the eggs set gradually rather than scrambling when they hit hot liquid. Dividing it between the yolks and the dairy ensures even dissolution and protects the eggs from “burning” on contact.
- Vanilla Bean: The vanilla bean is the soul of this custard, providing a depth and complexity that extract alone cannot replicate. Use both the scraped seeds and the pod in the dairy and steep for a full 45 minutes, covered and off the heat. This custard shares the same foundational technique as my vanilla pastry cream recipe, where a long, covered steep makes a noticeable difference in flavor intensity.
- Vanilla Extract: The extract is optional here. Both test batches were made without it, once by accident and once on purpose, and the flavor was still excellent thanks to the long bean infusion. If you use it, add no more than ½ teaspoon; 1 teaspoon is the absolute ceiling when using a full vanilla bean alongside it.
- Granulated Sugar (brûlée top): This is the layer that becomes the shatteringly crisp, bitter-sweet topping when torched. About 1 tablespoon per slice is enough to form a thin, even layer that caramelizes fully without staying sandy or scorching in spots.
See the recipe card for full information on ingredients and quantities.
Variations on This Creme Brulee Pie
- Change the Crust. Make this pie with my pate sablee or this almond flour tart crust. You can use my all-butter pie crust; just be very careful about holes!
- Get experimental with the infusions. Swap out the vanilla bean for some whole spices like cinnamon stick and ginger. You could also try toasting some almonds and infusing those or coffee beans! Just know different infusions will infuse at different rates!
- Mini Crème brûlée pies! If you have the patience, then these would be show-stopping. Mini creme brulee pies would be the perfect end to any dinner party!
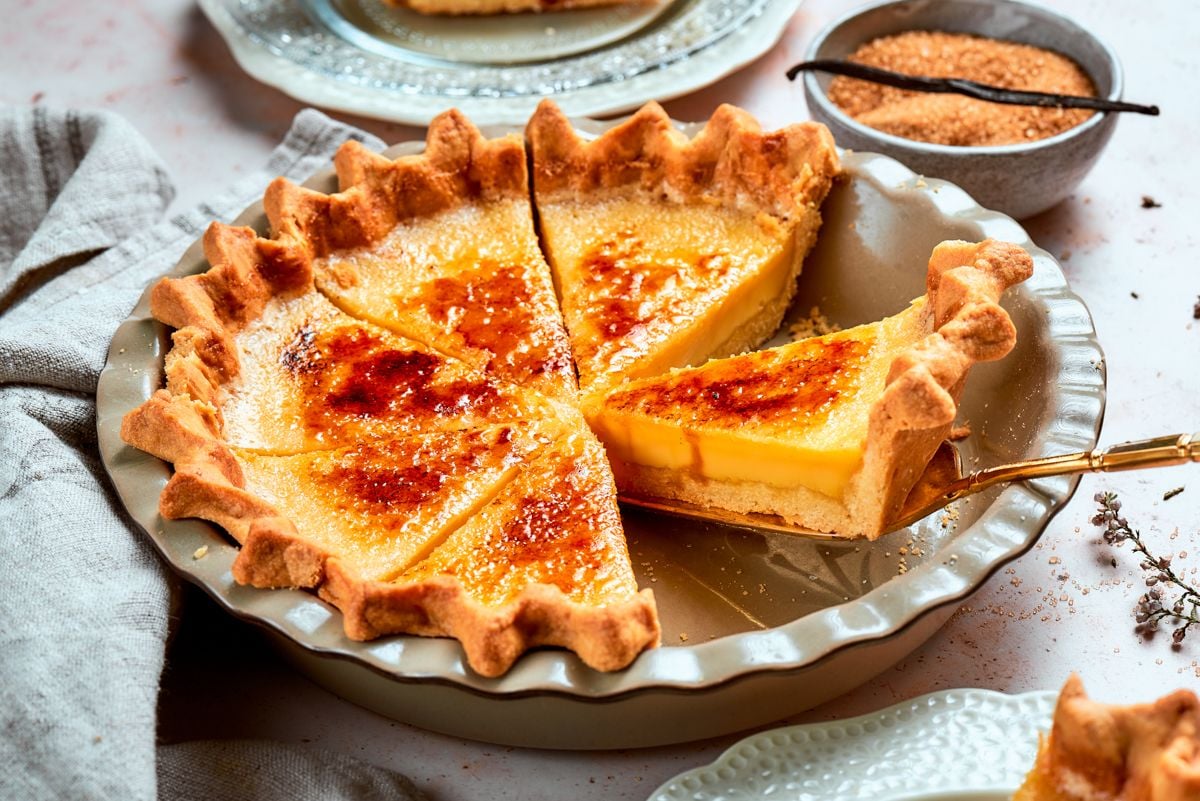
Professional Tips
- Patch every crack before filling. A single unpatched hairline crack in the blind-baked shell is enough for custard to seep underneath, which causes the pie to sink in the center. Inspect the shell after removing the weights and seal any weak spots with a thin smear of raw dough pressed gently into the crack.
- Read the crust, not the clock, during blind baking. Oven variation is significant here: the same recipe baked in the same oven on different days needed anywhere from 12 to 20 minutes with weights before the sides and bottom looked matte. Pull the weights only when the crust looks matte throughout, then finish uncovered until the bottom takes on some color.
- Fill the shell on the oven rack, not on the counter. The custard is loose and fills the shell to the brim, which makes carrying a filled pie dish across the kitchen a reliable way to spill. Set the blind-baked shell on a parchment-lined sheet pan, slide it onto the rack with the oven door open, and pour the custard directly there.
- Torch only at the moment of service. The caramelized sugar top weeps and softens within minutes of torching, so brûléeing slices in advance defeats the point entirely. Sprinkle a thin, even layer of sugar over each portion and caramelize it deeply right before presenting.
How to Make Crème Brûlée Pie
This recipe has two main components: the pâte sucrée shell and the vanilla custard filling. Make the dough at least a day ahead so it has time to chill fully before rolling.
Make the Pie Crust
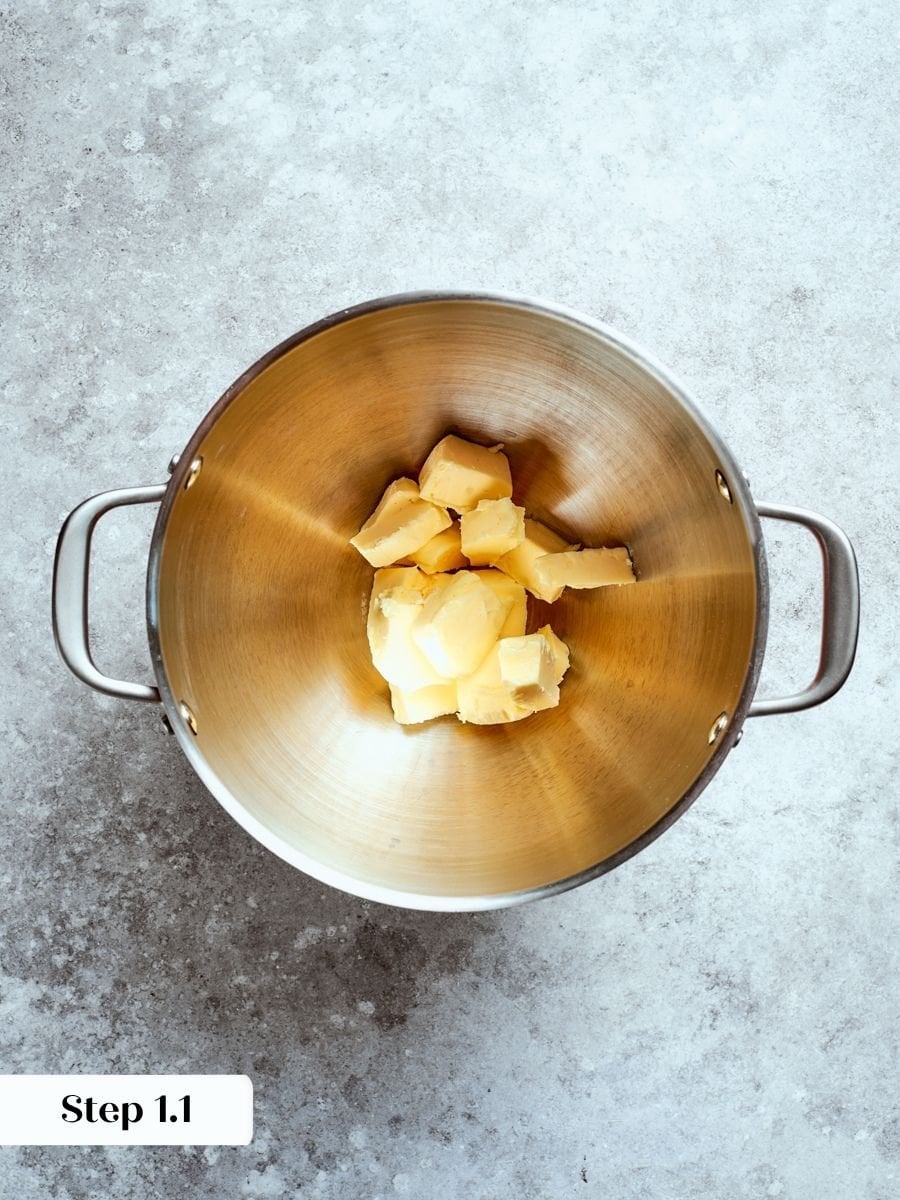
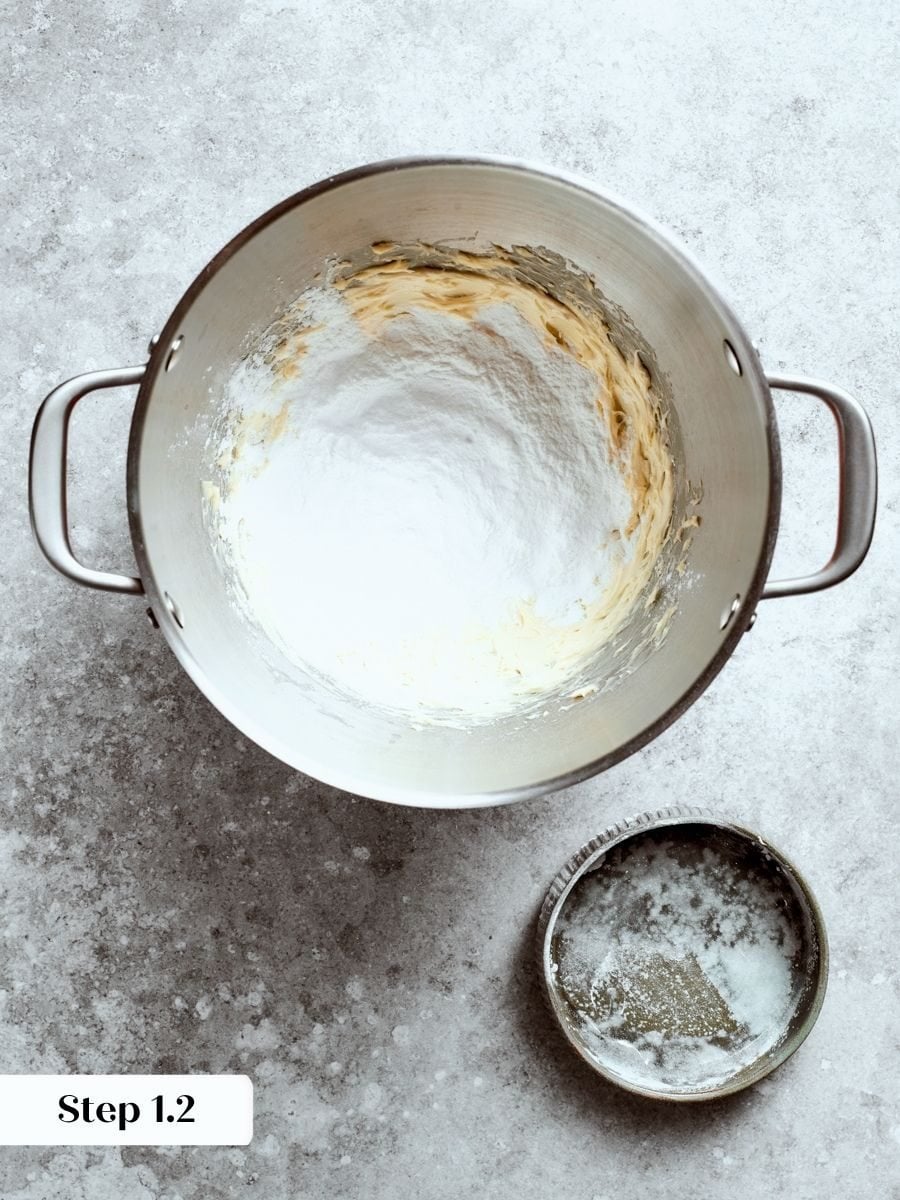
Step 1: Cream the butter and sugar. Soften the butter in a stand mixer or let it sit at room temperature for about an hour. It’s important that it is softened. Add the sifted powdered sugar and mix on low speed, then gradually increase to medium-high. The mixture will go from crumbly to silky smooth with no visible sugar granules. Starting on low keeps the powdered sugar from coating your entire kitchen. (photos 1 & 2).
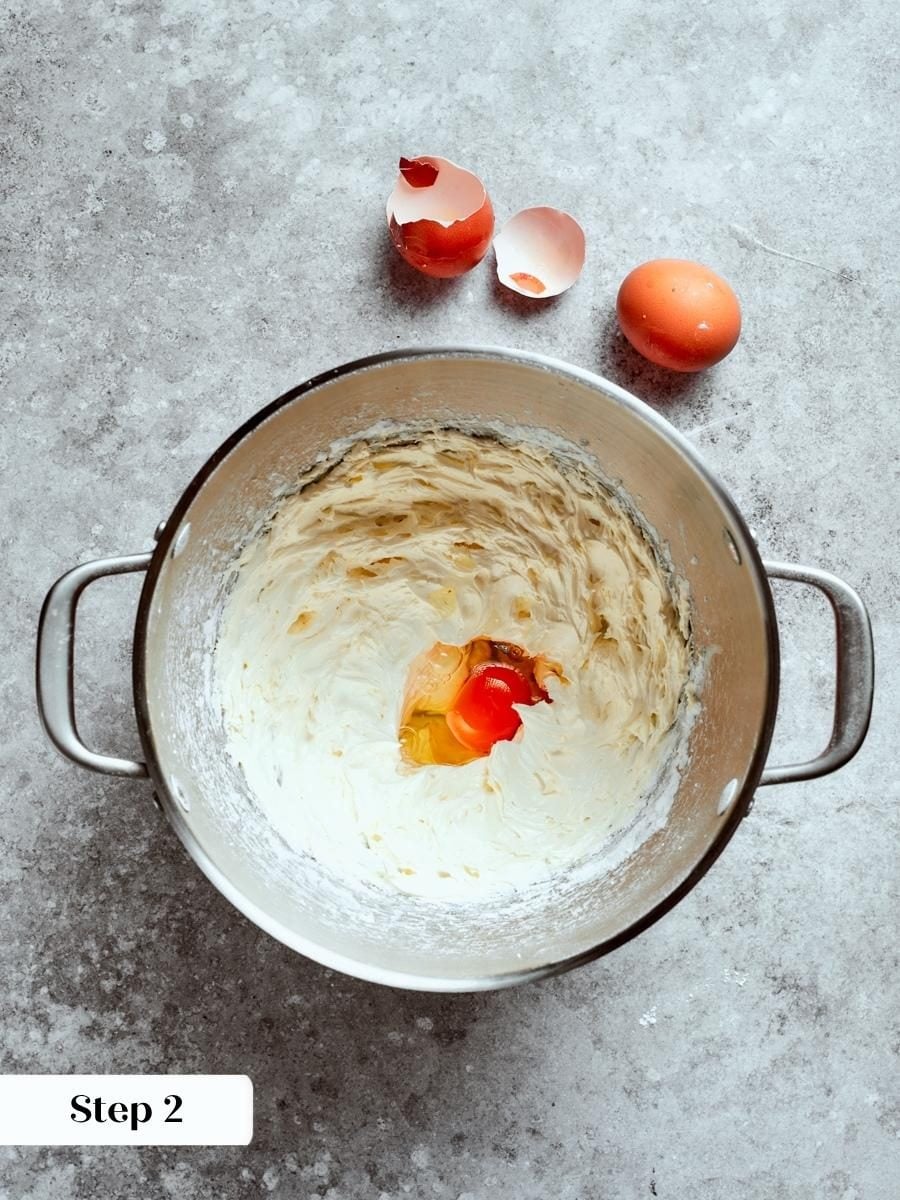
Step 2: Add the eggs. Beat the eggs lightly in a small bowl, then add them one at a time while the mixer runs on medium. The mixture will look broken and curdled at first, which is completely normal. Keep mixing, and it will come together.
Pre-whisking the eggs helps them incorporate more evenly into the butter. (photo 3).
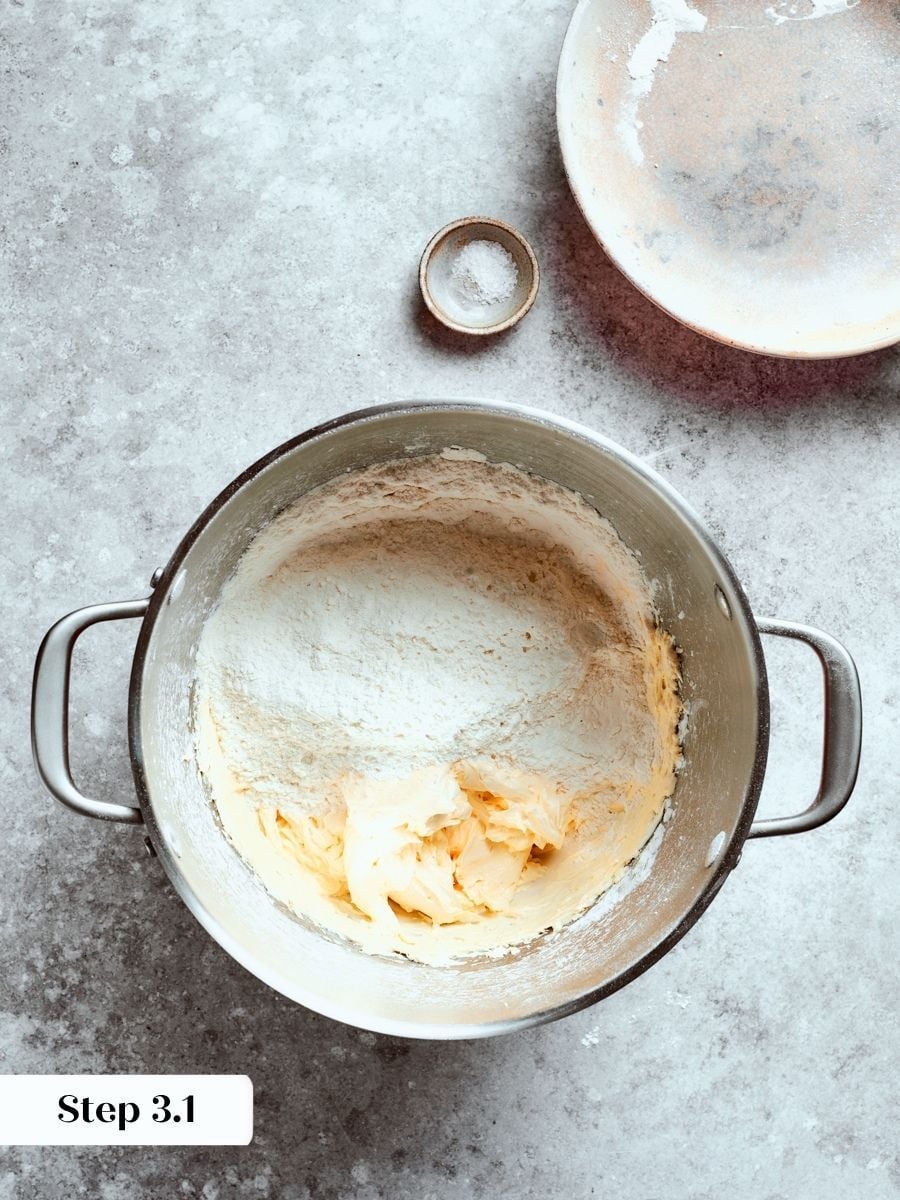
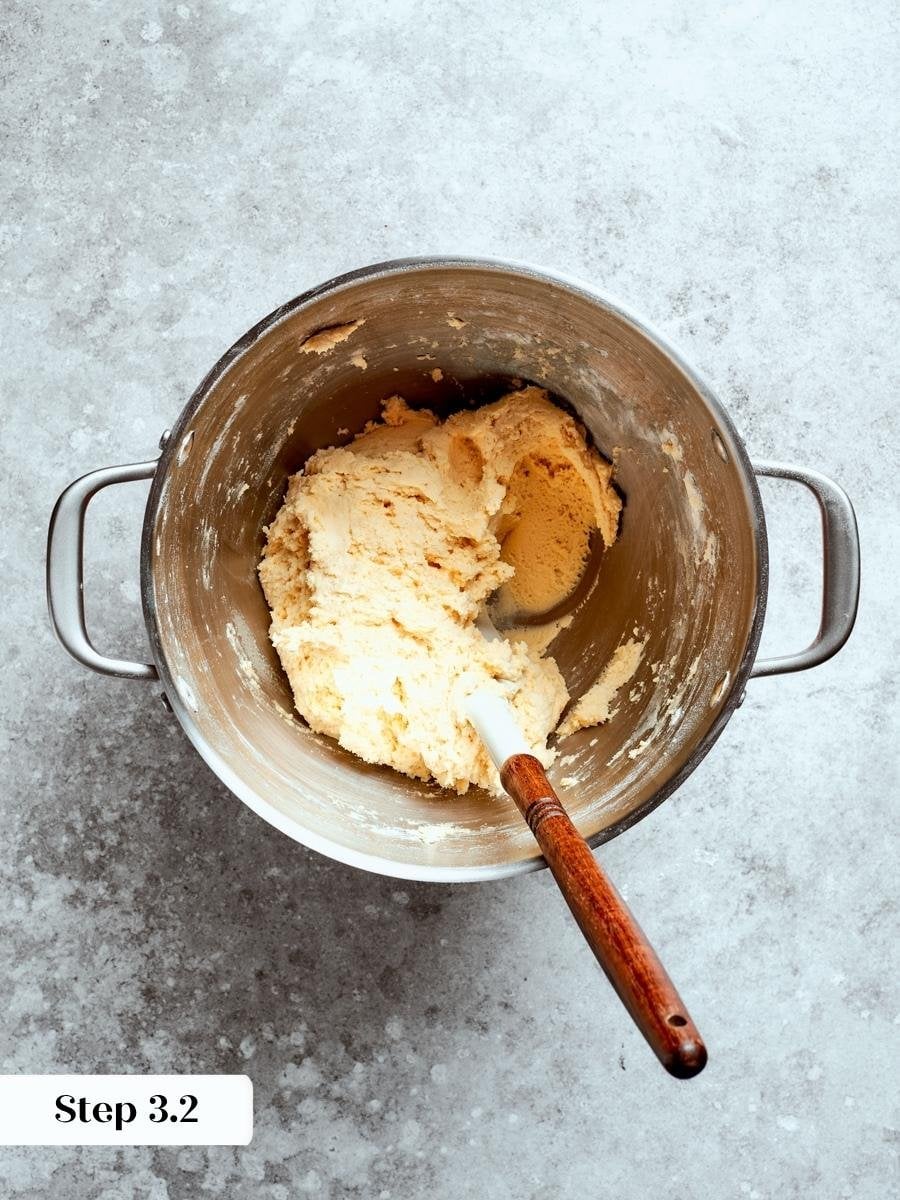
Step 3: Add the flour and salt. Add both at once and mix on low speed, letting the paddle cut the dry ingredients into the butter mixture. Be patient here. The dough will look shaggy before it comes together and pulls away from the sides of the bowl. Do not rush it or switch to a higher speed. (photo 4 & 5).
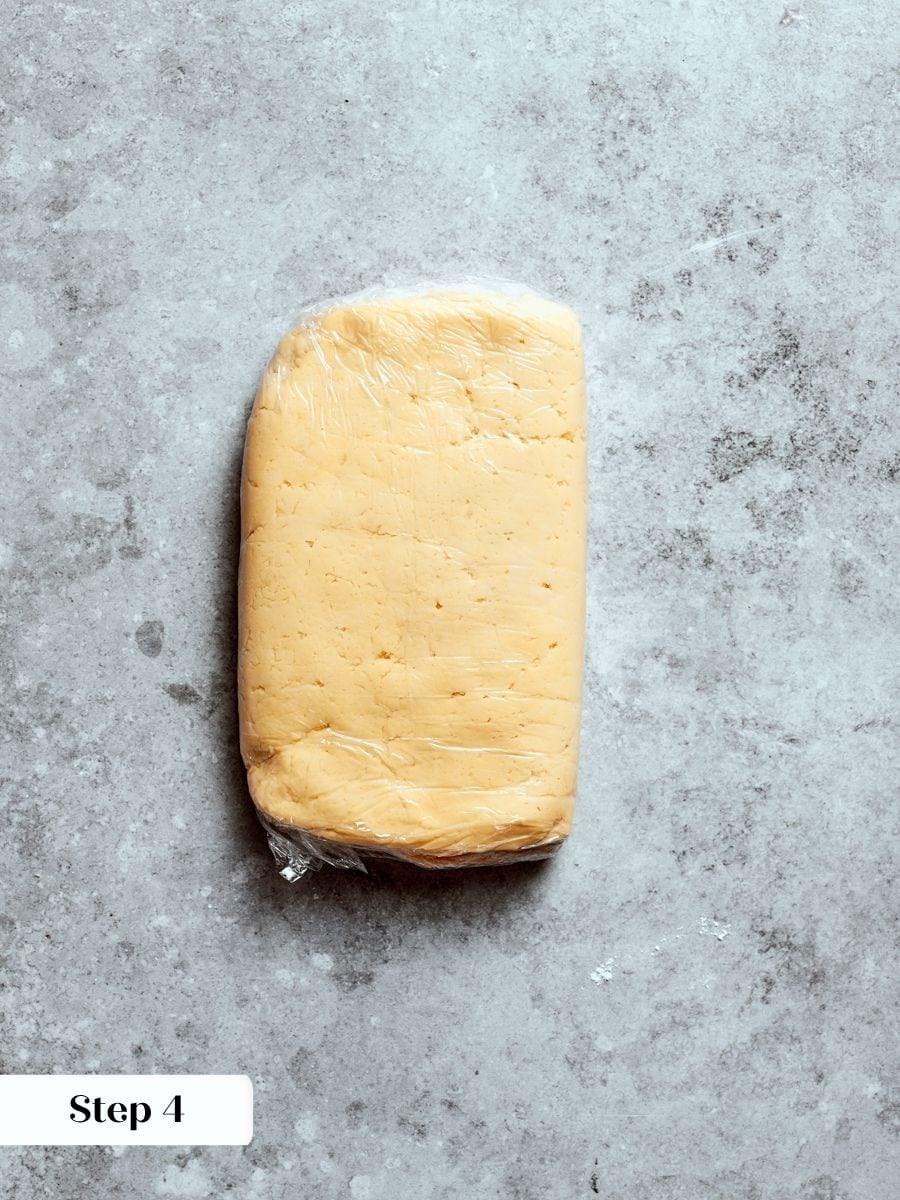
Step 4: Divide and chill the dough. Turn the dough out onto your work surface, divide it, wrap each portion tightly in plastic wrap, and refrigerate for at least 2 hours. This rest relaxes the gluten and firms up the butter so it rolls cleanly. (photo 6).
Roll and Line
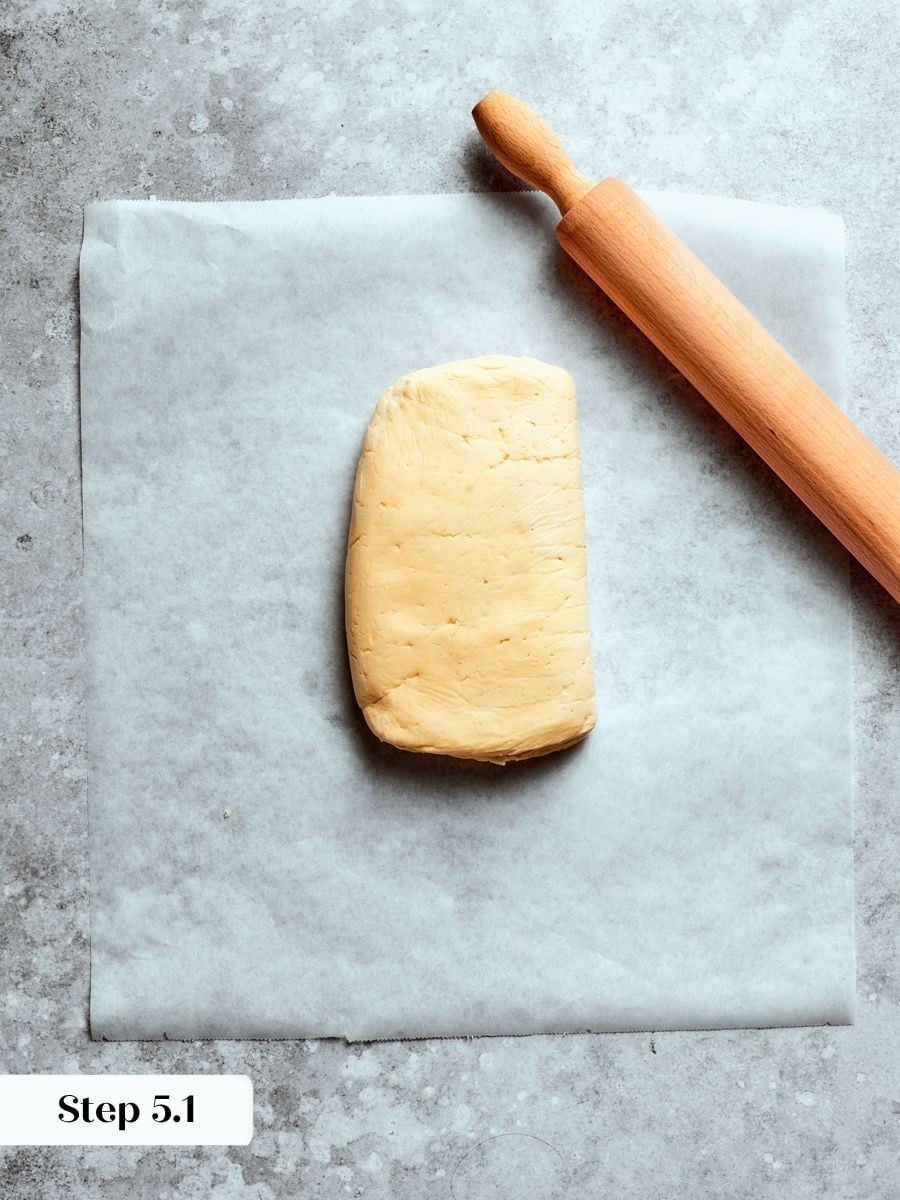
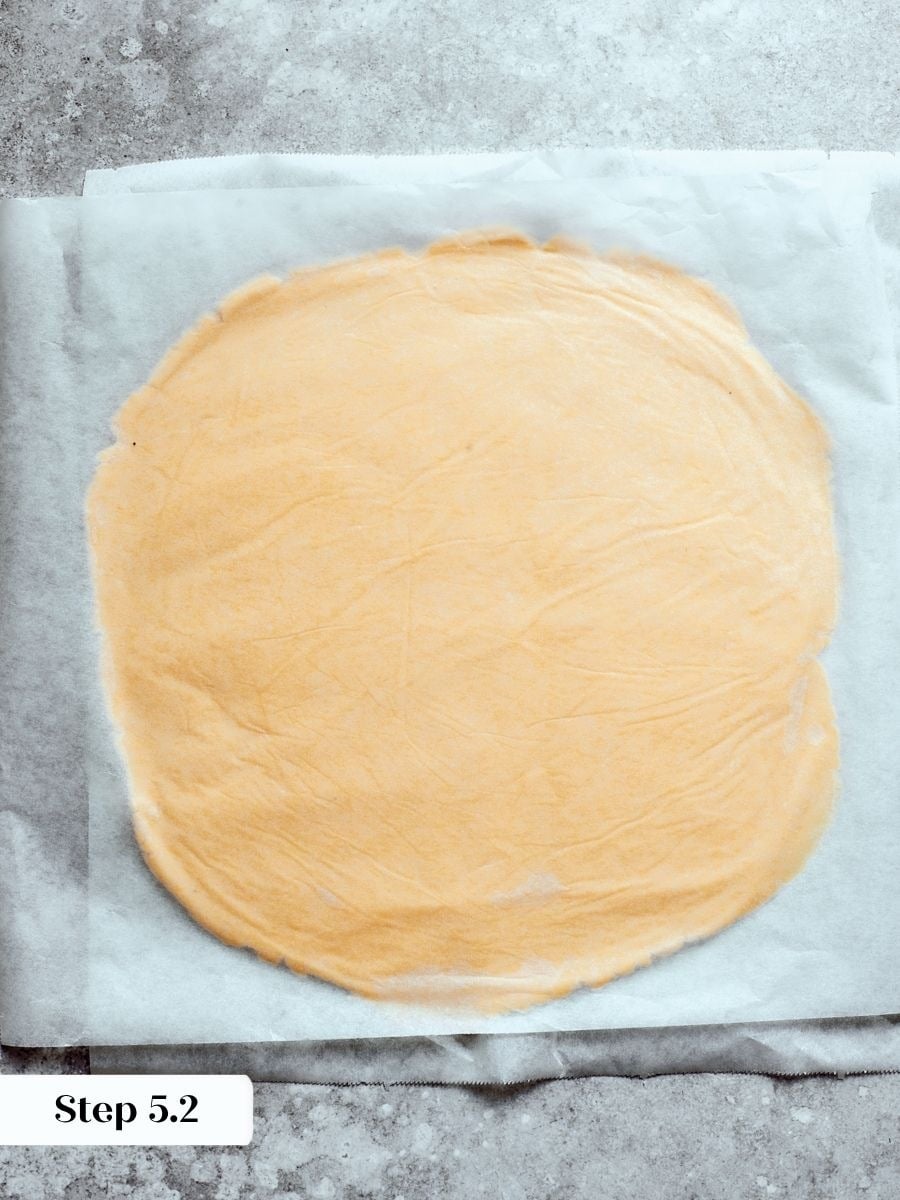
Step 5: Roll out the dough. Roll the dough between two sheets of parchment paper once it has come to room temperature and is pliable. It will crack and crumble if you try to roll it cold. Aim for an even thickness throughout; roll the sucrée slightly thicker than a sablée, as this affects both bake time and structure. Once rolled, slide the dough (still between the parchment sheets) onto a sheet pan and refrigerate until firm. (photos 7 & 8).
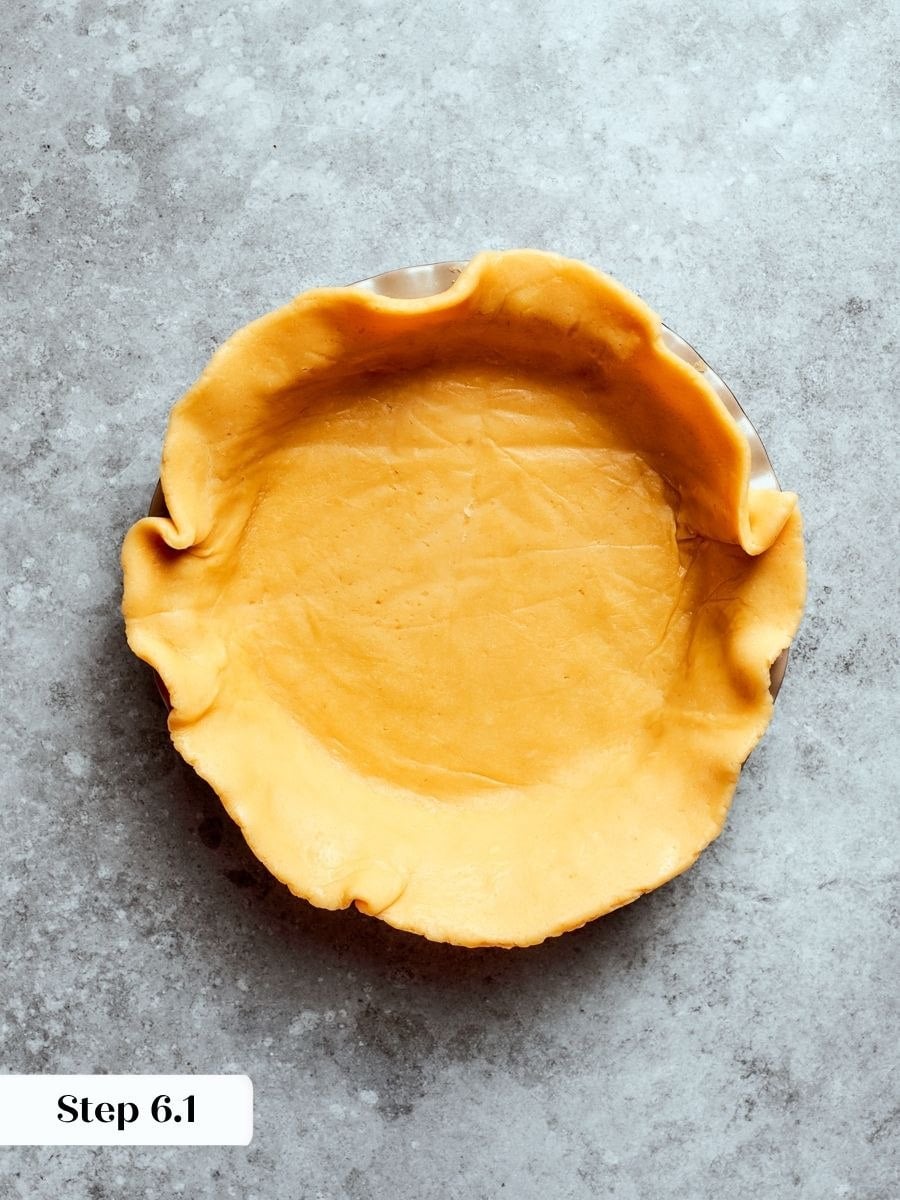
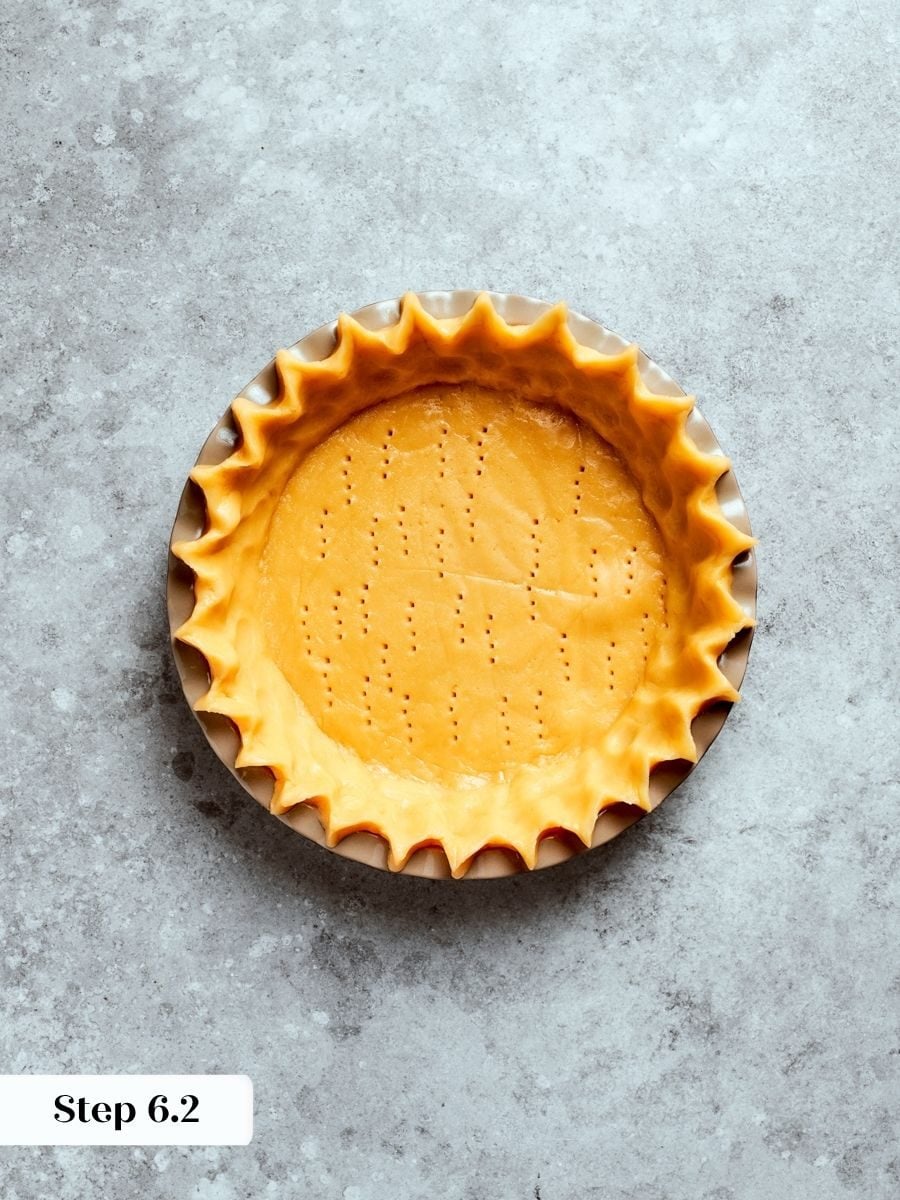
Step 6: Line the pie pan. Let the chilled dough sit at room temperature for a few minutes until it is just pliable enough to flex without cracking, then lift and drape it into a 9-inch pie pan. Gently press into the corners without stretching, then roll and crimp the edges. Before you do anything else, inspect the shell for thin spots, cracks, or weak areas and patch them with scraps of dough pressed firmly into place. Chill the lined shell until very firm before blind baking (photos 9 & 10).
This is not optional. In testing, a single unpatched crack allowed the custard to leak underneath the crust, creating what I can only describe as a sucrée custard sandwich, and the center of the pie sank as a result. That sinking had nothing to do with oven temperature or bake time.
Blind Bake
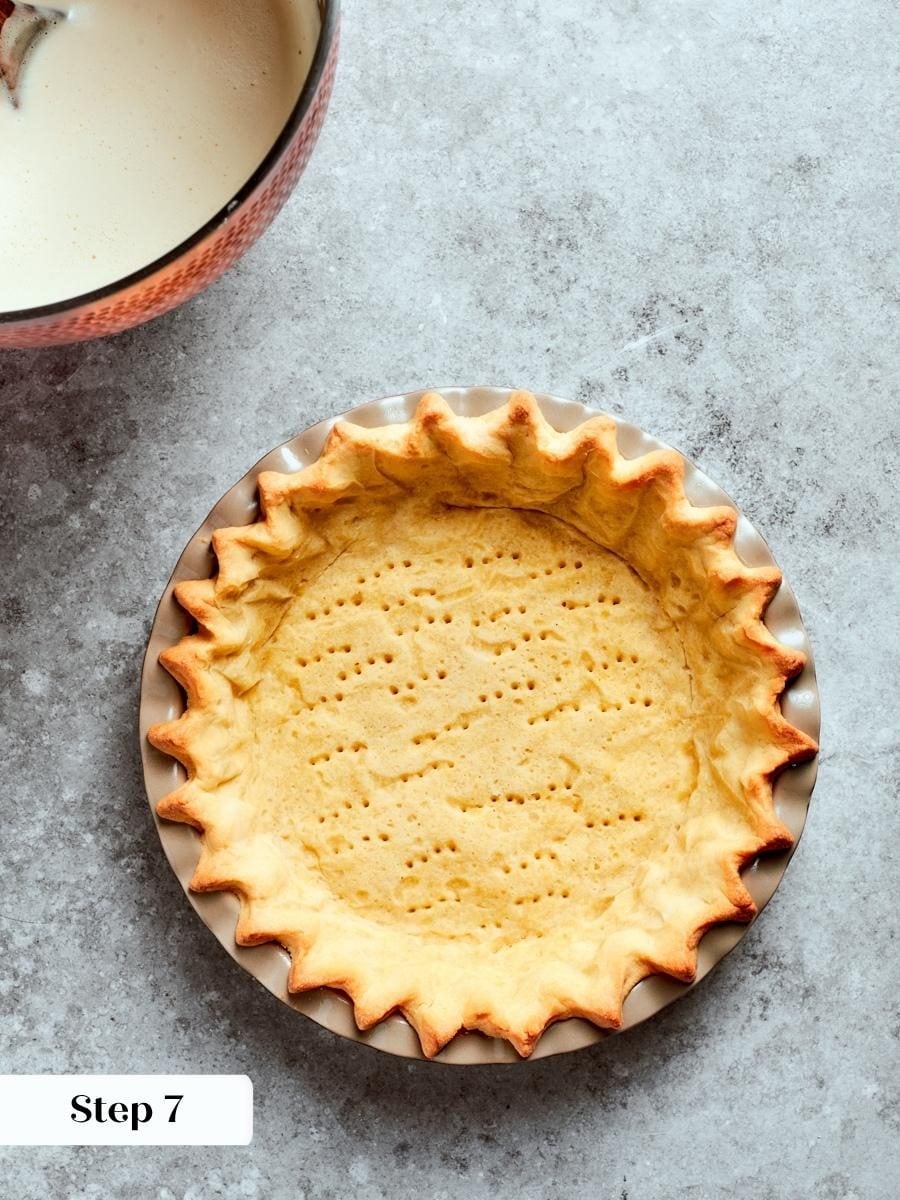
Step 7: Preheat the oven to 350°F convection or 375°F conventional. Crumple a sheet of parchment paper, then press it into the chilled shell, fitting it snugly against the sides. Fill with baking beans or pie weights up to the rim. Bake with the weights until the sides and bottom look completely matte, about 15 minutes, though this can vary. Once the surface looks matte with no shiny or raw patches, remove the parchment and weights. Bake for 5 more minutes, until the bottom begins to color and brown. Do not pull the weights early; if the sides slump before the bottom sets, the shell will not support the custard. (photo 11).
Oven behavior varies considerably, even in the same oven on different days. One test batch needed 12 minutes with weights and 5 without for a deep golden shell; another needed 20 minutes with weights plus 5 without for a lighter result.
Step 8: Cool the shell and reduce the oven. Set the baked shell aside to cool completely, then reduce the oven to 300°F conventional (no fan). The shell does not need to be fully cold before you fill it; warm is fine. While the shell cools, begin the custard.
Make the Custard
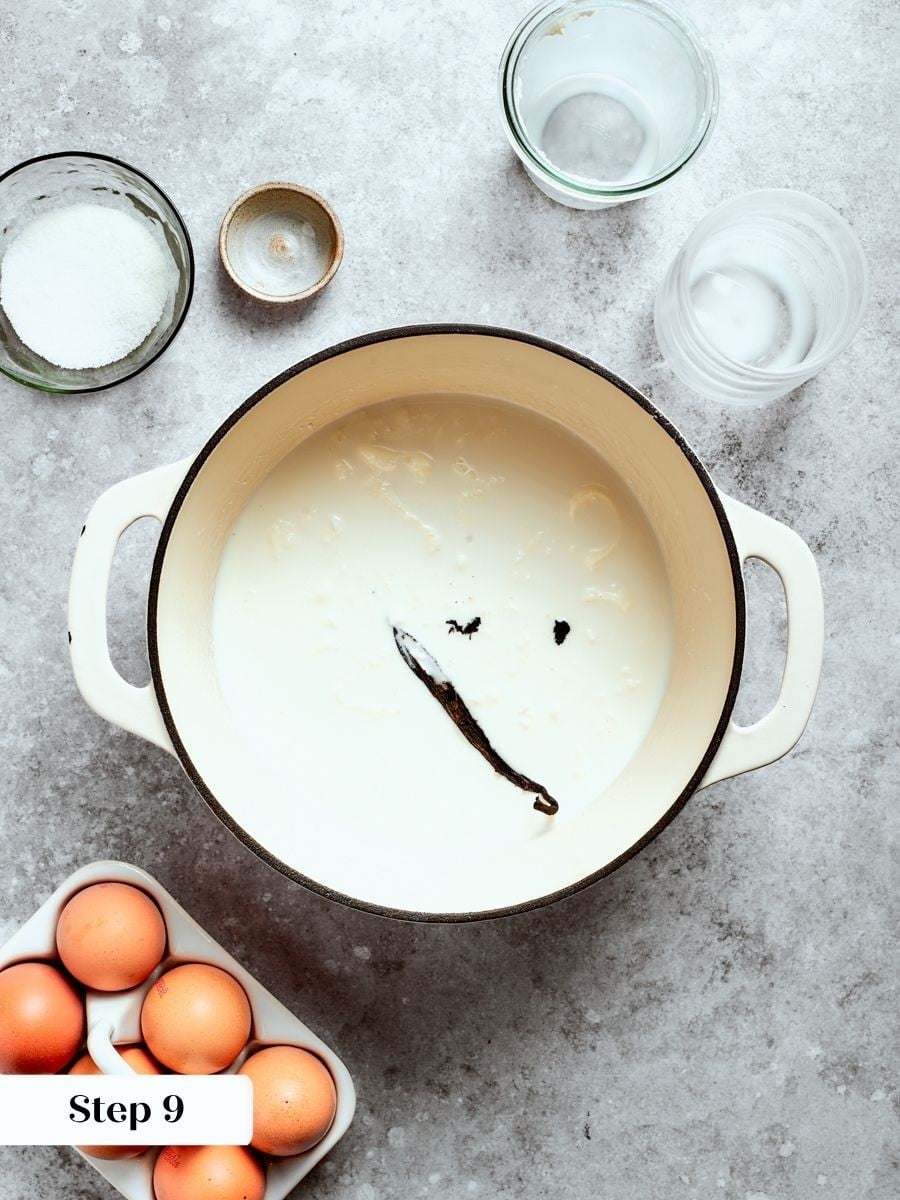
Step 9: Infuse the vanilla. Combine the milk, cream, half the sugar, salt, and the vanilla bean (split lengthwise, seeds scraped, both seeds and pod added) in a saucepan. Heat over medium heat until you see the first signs of a bare simmer, then remove from the heat immediately. Cover and steep for at least 15 minutes. (photo 12).
If you have time, steep for 45 minutes; the difference in flavor depth is noticeable, which I love. You can do this step while the pie crust bakes!
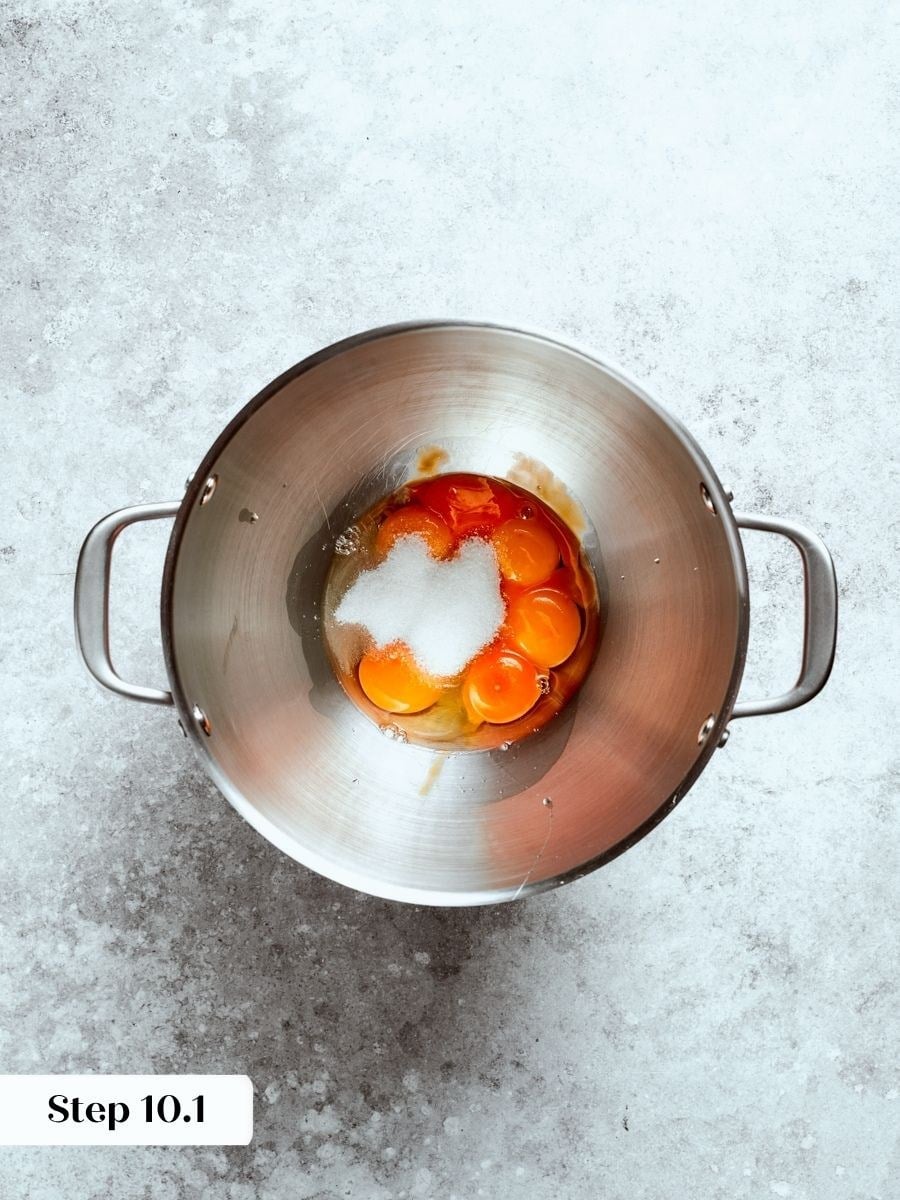
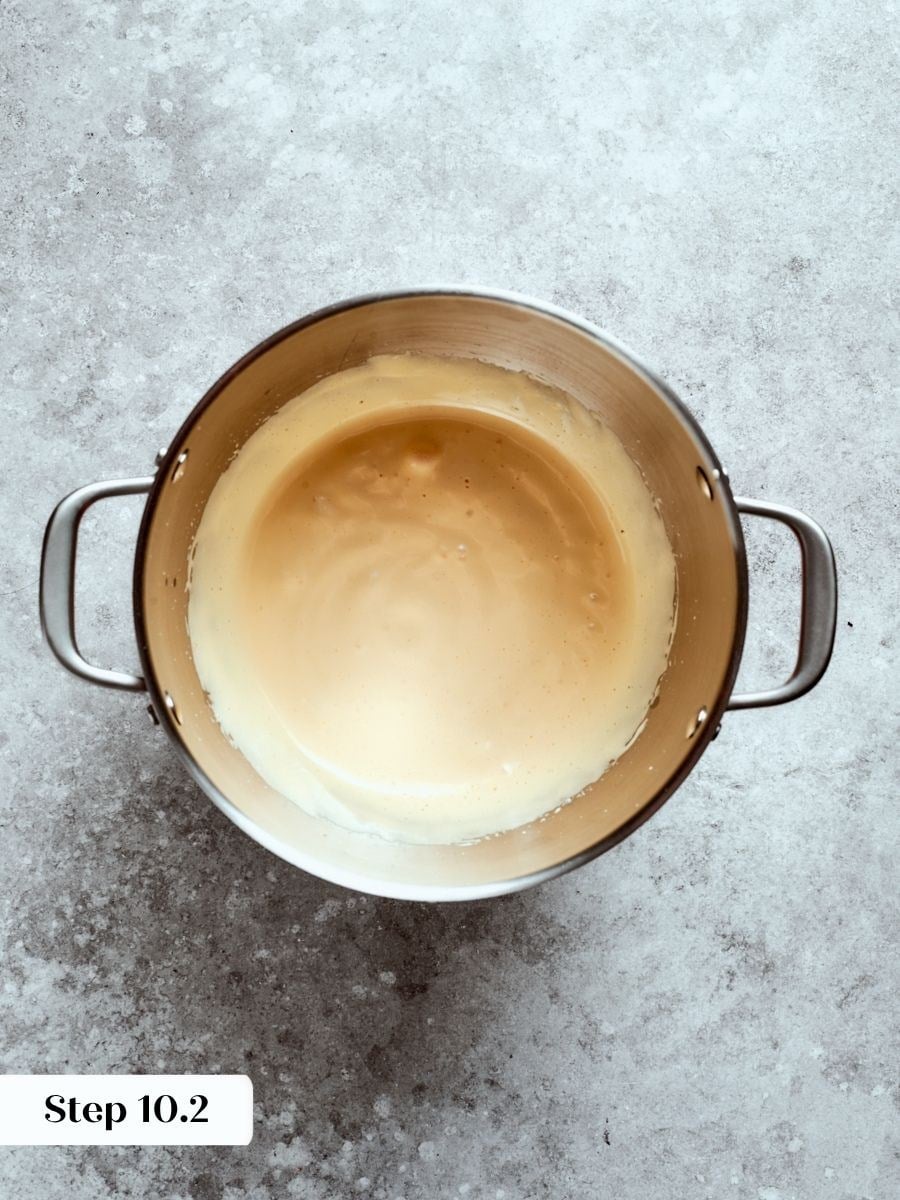
Step 10: Whisk the eggs and remaining sugar. Once the infusion is done, combine the whole egg, egg yolks, and remaining sugar in a bowl, then whisk until the mixture lightens in color and becomes slightly airy. (photos 13 & 14).
This is the blanchir stage: pale, ribbony, and smooth. It takes a minute or two of active whisking. Don’t do this step too far ahead otherwise the sugar will start denaturing the eggs.
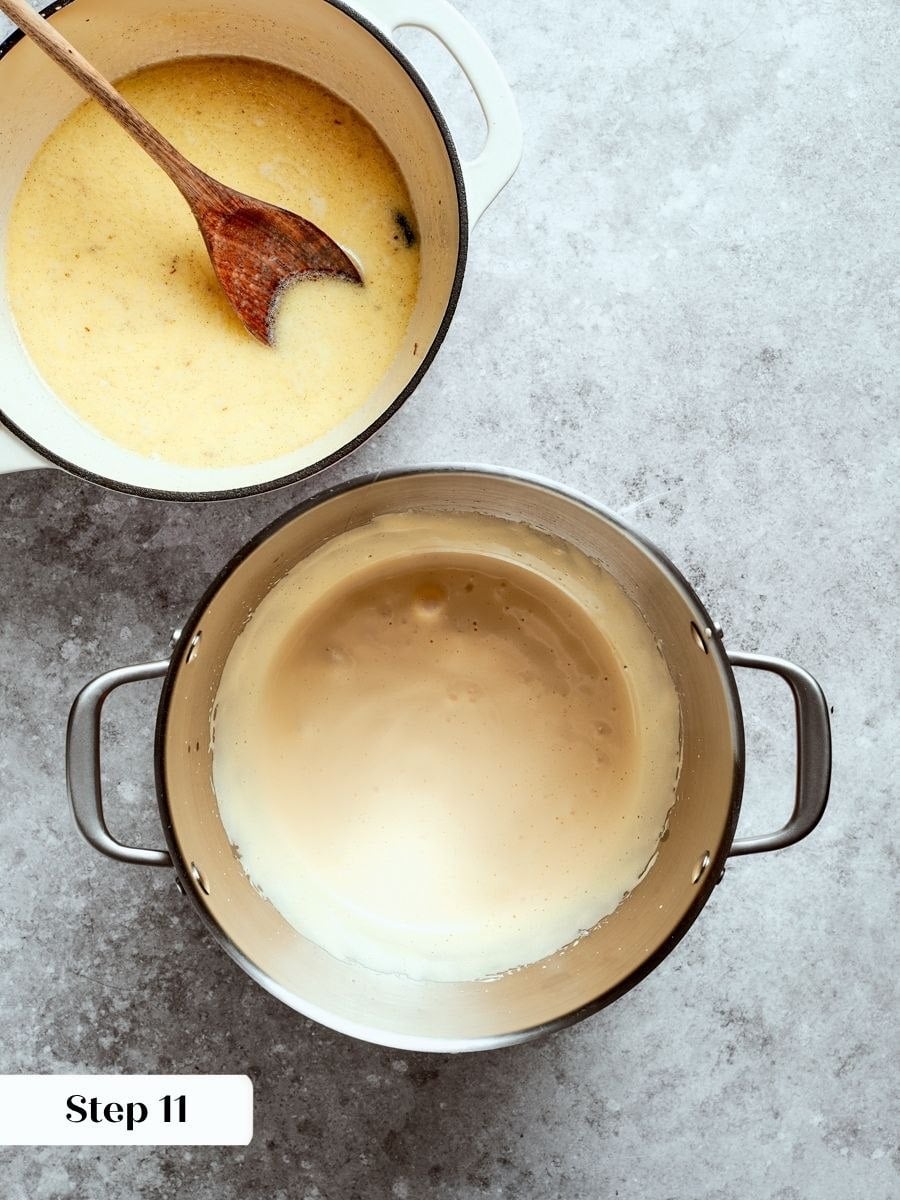
Step 11: Temper the hot dairy into the eggs. Uncover the dairy and reheat it until it boils. Then, whisk the egg mixture constantly with one hand and pour the hot dairy in a slow, steady stream with the other. Adding it too fast scrambles the eggs; go slowly, especially at the start. Once you’ve incorporated all the dairy, whisk in the vanilla extract if using. (photo 15).
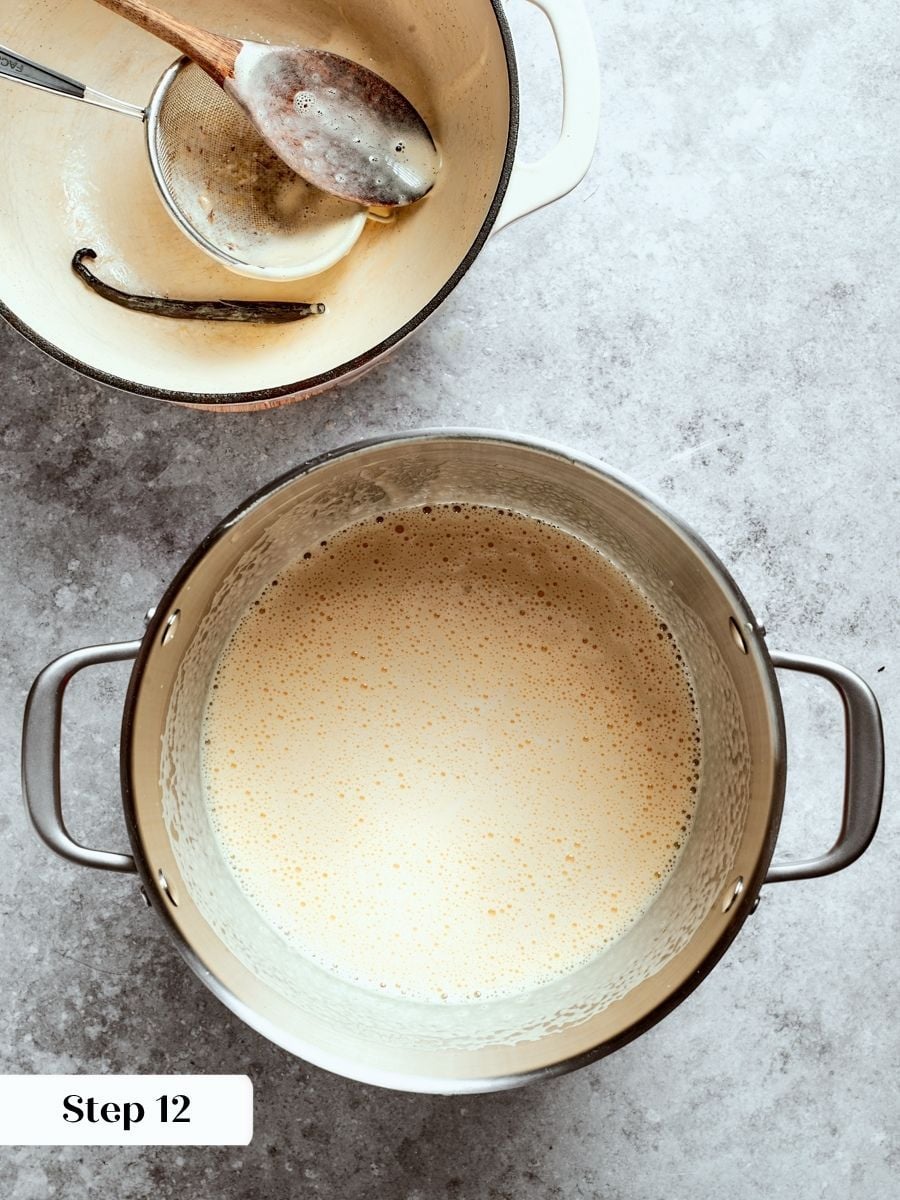
Step 12: Strain and skim the custard. Pour the custard through a fine mesh sieve directly into a large measuring cup or pitcher with a pour spout. Then skim off every bit of foam from the surface. Foam bakes into the finished custard and creates an uneven, pitted surface texture on the set pie. Take your time here. (photo 16).
Fill and Bake
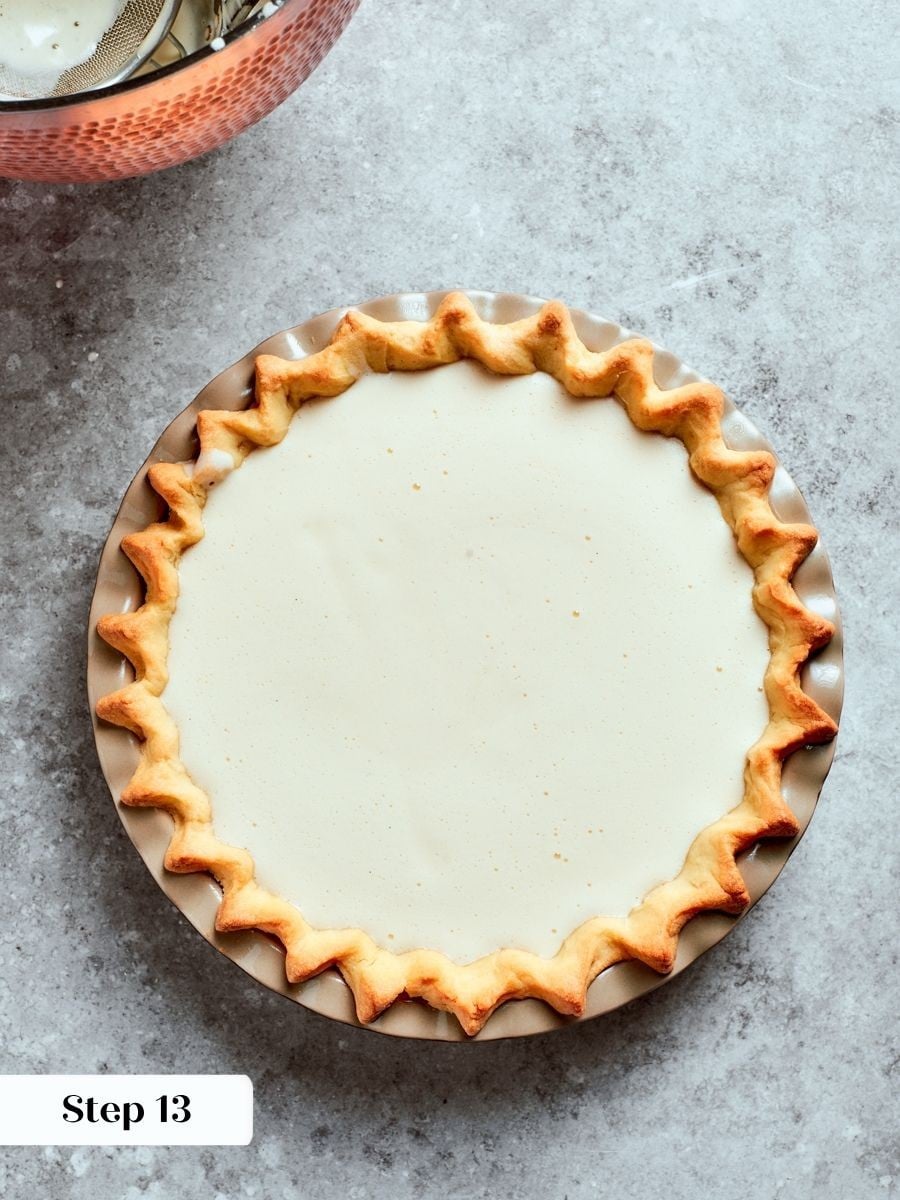
Step 13: Fill the shell on the oven rack. Set the blind-baked shell on a parchment-lined sheet pan and slide it onto the oven rack with the door open before you pour anything. The custard is loose and fills nearly to the brim, so moving a full shell across the kitchen is a real risk. Pour the strained custard directly into the shell on the rack, then close the oven door. The shell can still be warm from blind baking; that is fine. (photo 17).
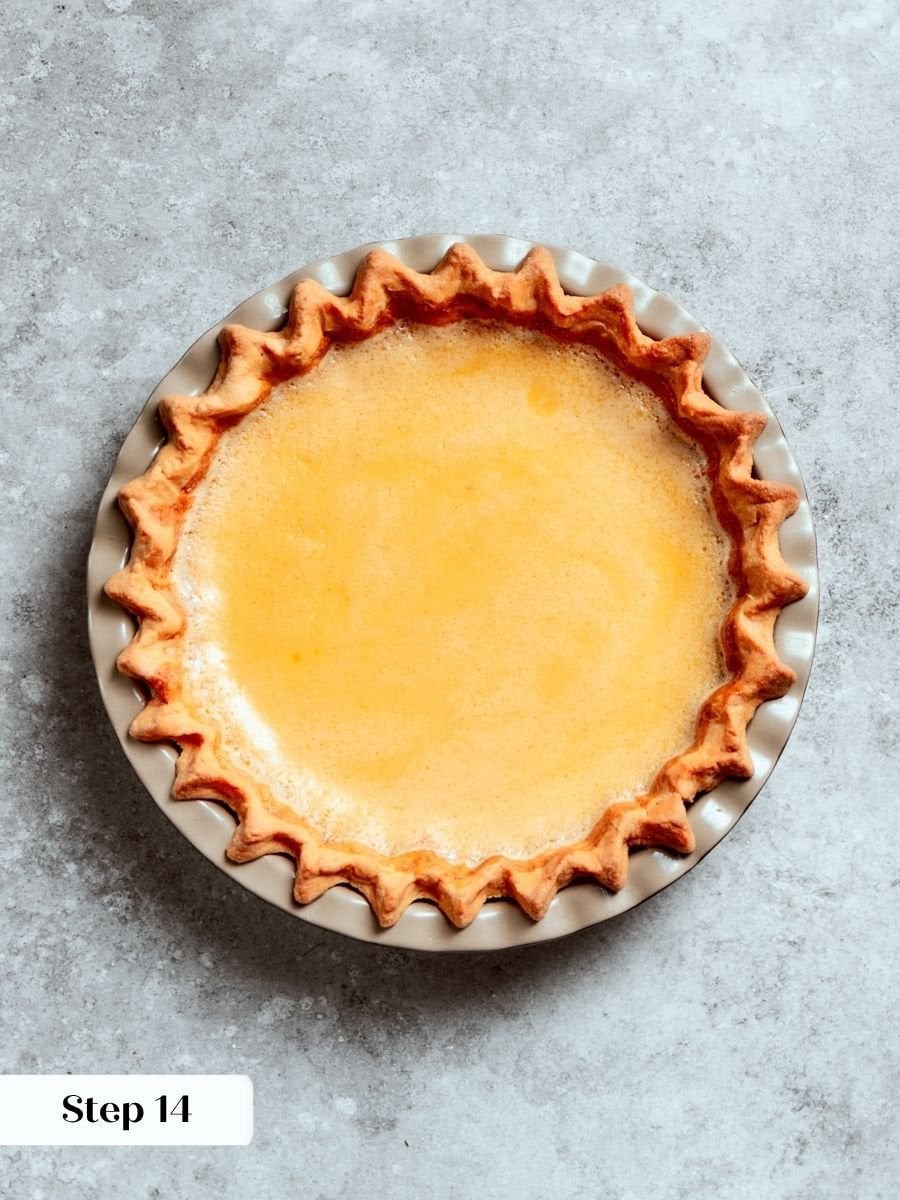
Step 14: Bake the custard. Bake at 300°F conventional for 30 to 35 minutes, checking at 30. The edges should look set and opaque, while the center still has a cohesive, unified jiggle when you nudge the pan. It should move as one piece, not slosh like liquid. Because the volume here is greater than individual ramekins, it will take longer to set than you might expect. If the crust edges are browning before the custard is ready, shield them with strips of foil. (photo 18).
Step 15: Cool and chill. Remove the pie from the oven and let it cool to room temperature on a wire rack. Then transfer it to the refrigerator and chill for at least 5 hours, though overnight is noticeably better for both the set and the slice. The custard firms as it cools, and a longer chill gives you cleaner cuts and a more stable texture throughout. (photo 19).
Make the pie up to a week ahead and store it well wrapped in plastic in the refrigerator. The crust will gradually soften over time, but the flavor stays excellent.
Brûlée and Serve!
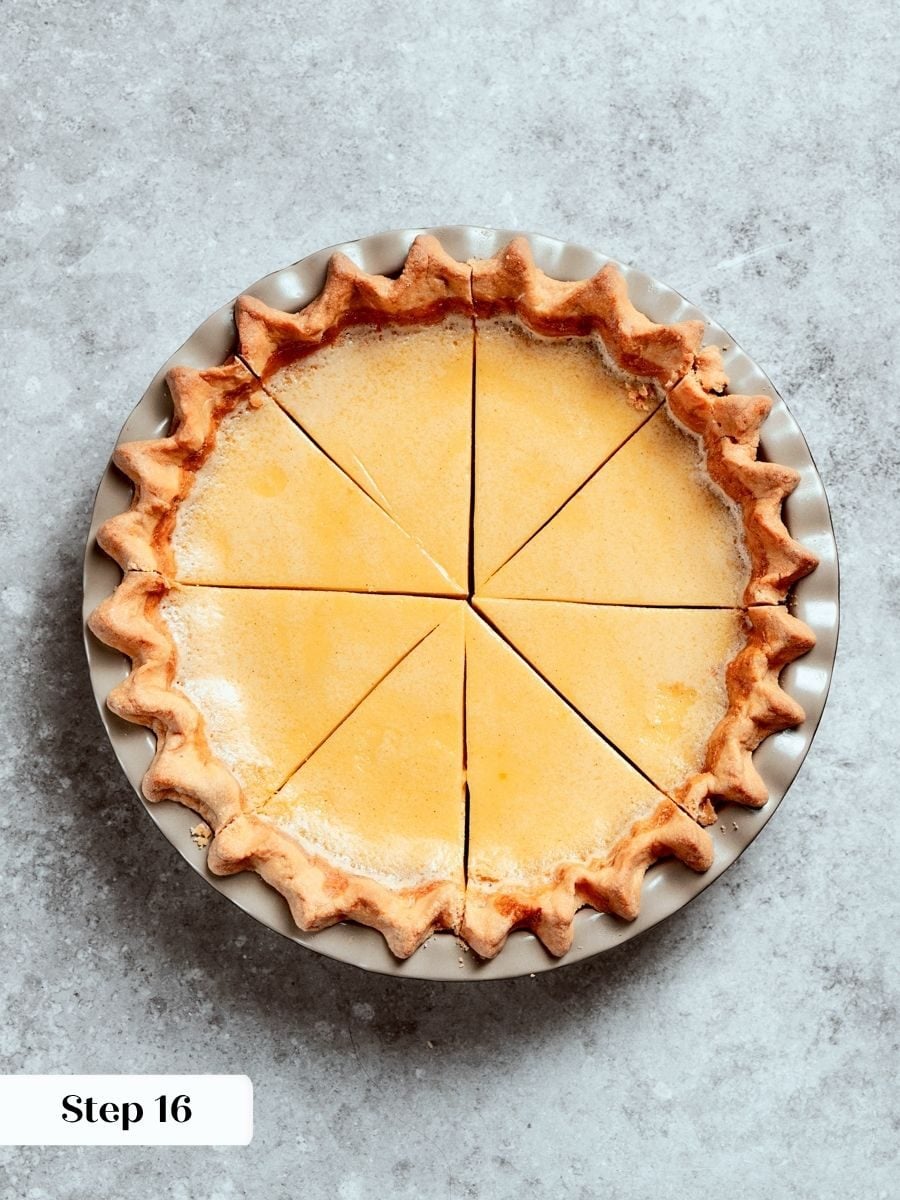
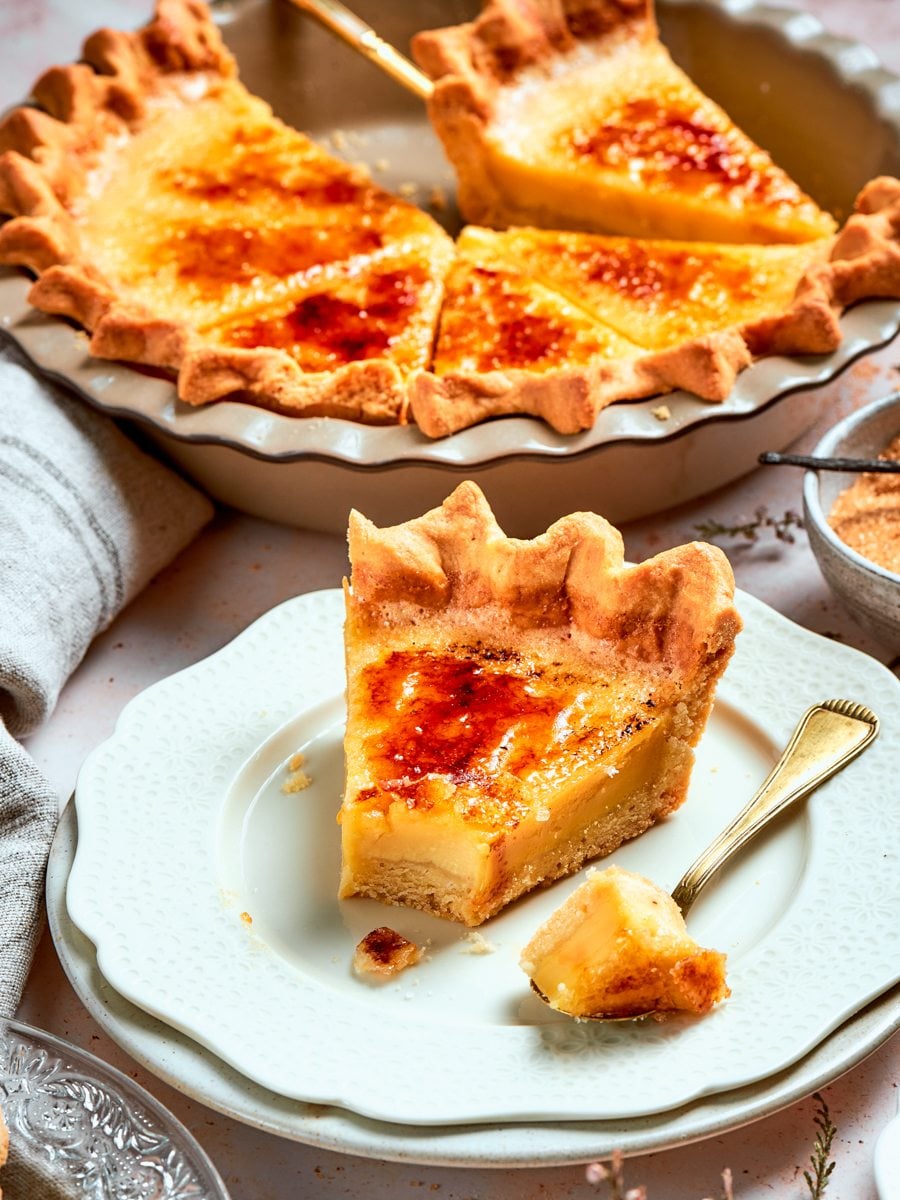
Step 16: At service only, slice the pie and transfer individual slices to a large plate or flat surface. Sprinkle an even, thin layer of sugar over each slice and torch it to a deep, crackling caramel right before presenting. The sugar crust weeps and softens quickly once torched, so do not brûlée in advance. Torching individual slices gives you the most control and keeps each portion looking pristine. (photo 20).
Chef Lindsey’s Recipe Tip
The single most important thing to understand about this pie is that the custard will expose every weakness in your shell. A crack that looks minor after blind baking is not minor once liquid custard finds it. Before you pour anything, hold the shell up to the light and press gently around the base and sides to feel for thin spots. Seal every one with a small piece of raw dough pressed into place, and let it set for a few minutes before filling. The entire structure of the pie depends on a sealed, fully baked shell.
Recipe FAQs
The custard is done when the outer two to three inches look set and opaque, but the center still jiggles as one cohesive mass when you nudge the pan. It should not slosh or ripple in waves.
This pie is genuinely well-suited to advance preparation. Chill it for at least 5 hours after baking, though overnight gives you a better set and cleaner slices. It keeps well in the refrigerator, well wrapped in plastic, for up to a week before serving, making it one of the more practical pies to prepare for a dinner party or holiday.
Store the pie well wrapped in the refrigerator for up to 3 weeks, though the crust will gradually soften over time, so I recommend serving it within the first week for the best texture. Freezing is possible but does alter the result: the custard separates slightly and the crust softens more quickly once thawed. If you need to freeze it, wrap it tightly and plan to serve it soon after thawing rather than storing it long-term in the freezer.
A sunken center is almost always caused by custard seeping beneath the crust through an unpatched crack, not by oven temperature or bake time. When custard runs under the shell, it creates a layer that prevents the base from supporting the filling, and the center collapses as it sets. Patch every crack and thin spot in the blind-baked shell before filling, and fill it on the oven rack rather than carrying a brim-full dish across the kitchen.
The extract is optional. We made both test batches without it, once by accident and once deliberately, and the flavor was excellent in both cases because the 45-minute vanilla bean steep does the heavy lifting. If you do add it, use no more than ½ teaspoon; 1 teaspoon is the absolute ceiling when you are already using a full vanilla bean.
Other Baked Custard Recipes!
Custard Recipes
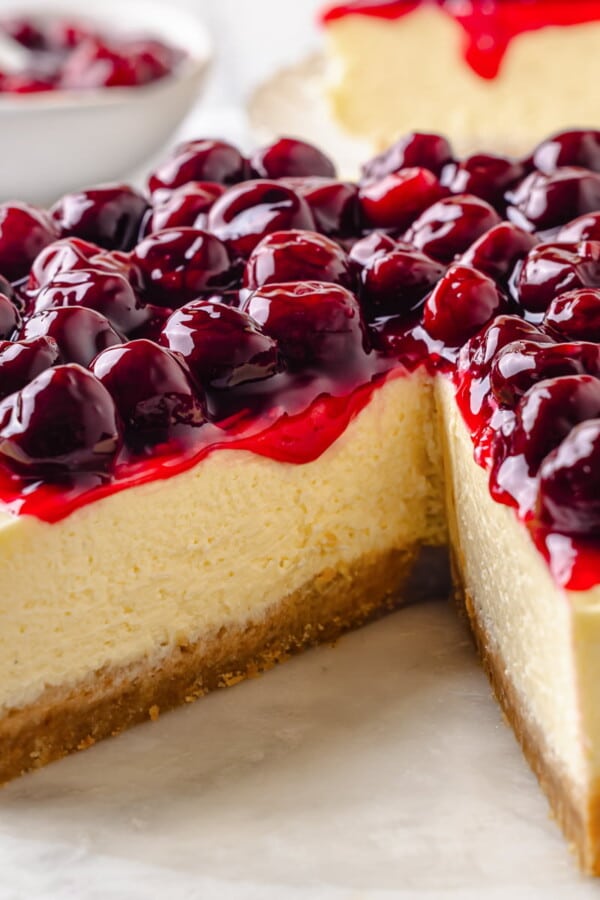
Cherry Cheesecake
Custard Recipes
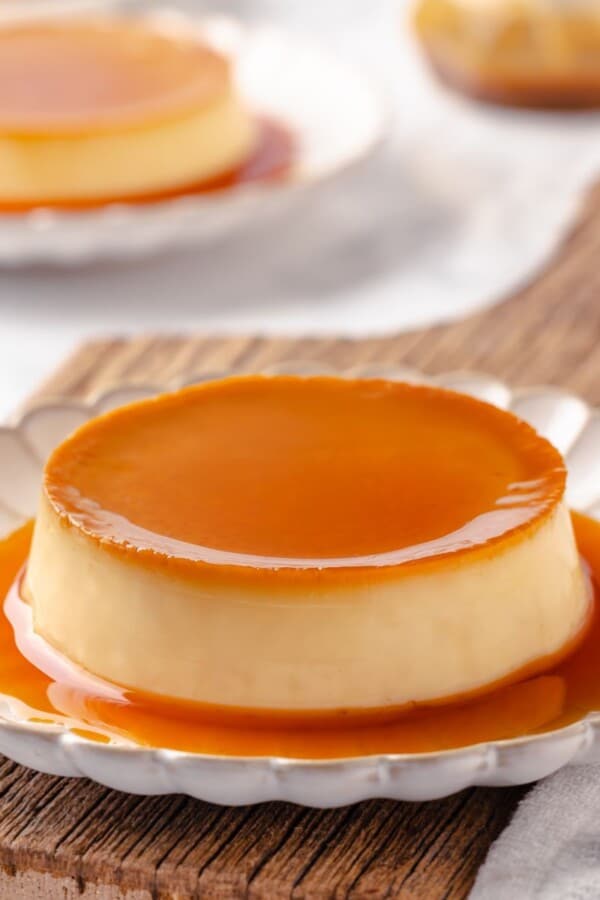
Crème Caramel
Pies and Tart Recipes
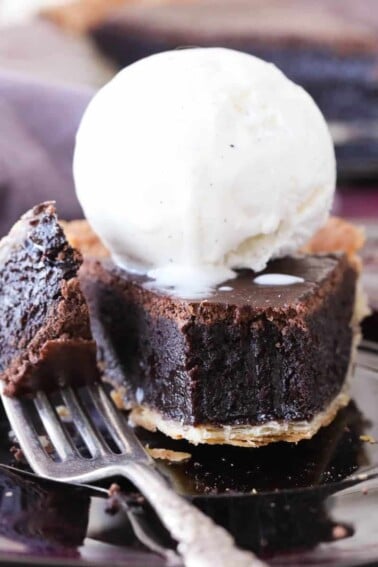
Chocolate Fudge Pie
Pies and Tart Recipes
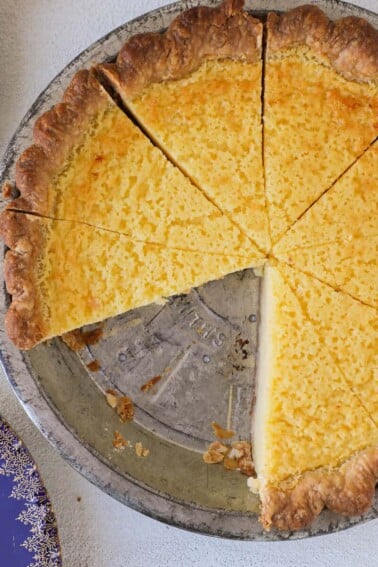
Buttermilk Pie
If you tried this recipe and loved it please leave a 🌟 star rating and let me know how it goes in the comments below. I love hearing from you; your comments make my day!
Crème Brûlée Pie
Ingredients
Pâte Sucrée
- ¾ cup powdered sugar sifted
- ¾ cup unsalted butter softened
- 2 large eggs room temperature
- 2¾ cups pastry flour or all-purpose flour
- ½ teaspoon kosher salt
Vanilla Bean Custard
- 1 cup whole milk
- 1 cup heavy cream
- 1 whole egg
- 5 each egg yolks
- ½ cup granulated sugar divided
- 1 vanilla bean split and scraped
- 1 teaspoon vanilla extract optional
- Pinch kosher salt
Brûlée Top
- ½ cup granulated sugar about 1 tablespoon per slice
Instructions
- Cream the sifted powdered sugar and softened butter in a stand mixer with the paddle attachment, starting on low and increasing to medium-high, until silky smooth. Add the eggs one at a time. Add the flour and salt and mix on low until just combined.
- Turn the dough out, divide in half, wrap each portion in plastic wrap, and chill for at least 2 hours.
- Roll one portion between two sheets of parchment at room temperature, then refrigerate until firm. Let the chilled dough become pliable, then line a 9-inch pie pan. Patch any thin or weak spots thoroughly.
- Preheat the oven to 350°F convection or 375°F conventional. Line the chilled shell with crumpled parchment and fill with baking beans. Bake for about 15 minutes until the sides and bottom look matte. Remove the parchment and beans and bake for an additional 5 minutes until the bottom begins to brown. Cool completely.
- Reduce the oven to 300°F conventional.
- Combine the milk, cream, half the sugar, salt, and the vanilla bean seeds and pod in a saucepan. Heat to a bare simmer, remove from heat, cover, and steep at least 15 minutes (up to 45 minutes for deeper flavor). Reheat before proceeding.
- Whisk the whole egg and yolks with the remaining sugar until lightened. Slowly temper the hot dairy into the eggs, whisking constantly. Whisk in vanilla extract if using. Strain through a fine mesh sieve and skim off all foam.
- Set the blind-baked shell on a parchment-lined sheet pan and place it on the oven rack. Pour the warm custard directly into the shell on the rack. Bake at 300°F for 30 to 35 minutes, until the edges are set and the center jiggles as one cohesive mass. Shield the crust edges if browning.
- Cool to room temperature, then chill for at least 5 hours, ideally overnight.
- At service: slice the pie and place individual slices on a large plate. Sprinkle an even layer of granulated sugar over each slice and torch to a deep caramel immediately before serving.
Notes
Shell integrity: Patch every crack and thin spot in the blind-baked shell before filling. Custard that seeps beneath the crust will cause the center to sink as it sets.
Brûlée timing: Torch only at the moment of service. The caramelized sugar top weeps and softens if it sits, so torch individual slices right before presenting them.
Storage: Store the pie well wrapped in the refrigerator for up to 3 weeks, though the crust softens gradually over time; serving within the first week gives the best texture. Freezing is possible but alters the result: the custard separates slightly and the crust softens more quickly once thawed.
Nutrition
Before You Go
If this crème brûlée pie has you in a custard mood, there is plenty more where that came from. Browse all my Pie & Tart Recipes or Custard Recipes for your next project.