This post may contain affiliate links. Please read our disclosure policy.
Chocolate chip scones are the breakfast pastries I have in constant rotation. They are perfect year-round and are soft, tender, and packed with chocolate chips!

A Quick Look At The Recipe
This is a brief summary of the recipe. Jump to the recipe to get the full details.
Jump to RecipePrep Time
20 minutes
Cook Time
15 minutes
Chilling Time
2 hours
Total Time
2 hours 35 minutes
Servings
12 Scones
Difficulty
Intermediate
Calories *
324 kcal per serving
Technique
Cut cold butter into dry ingredients, blend in wet mixture, finish by hand, chill before baking.
Flavor Profile
Buttery, lightly sweet, rich dark chocolate throughout.
* Based on nutrition panel
I made these for the first time this weekend and followed the tip about reserving some chips to press into the tops before baking. Every single scone had chocolate in every bite, and the turbinado sugar on top gave them that perfect crunch. My family asked if I had bought them from a bakery! ⭐⭐⭐⭐⭐
Renee
Why This Recipe Works
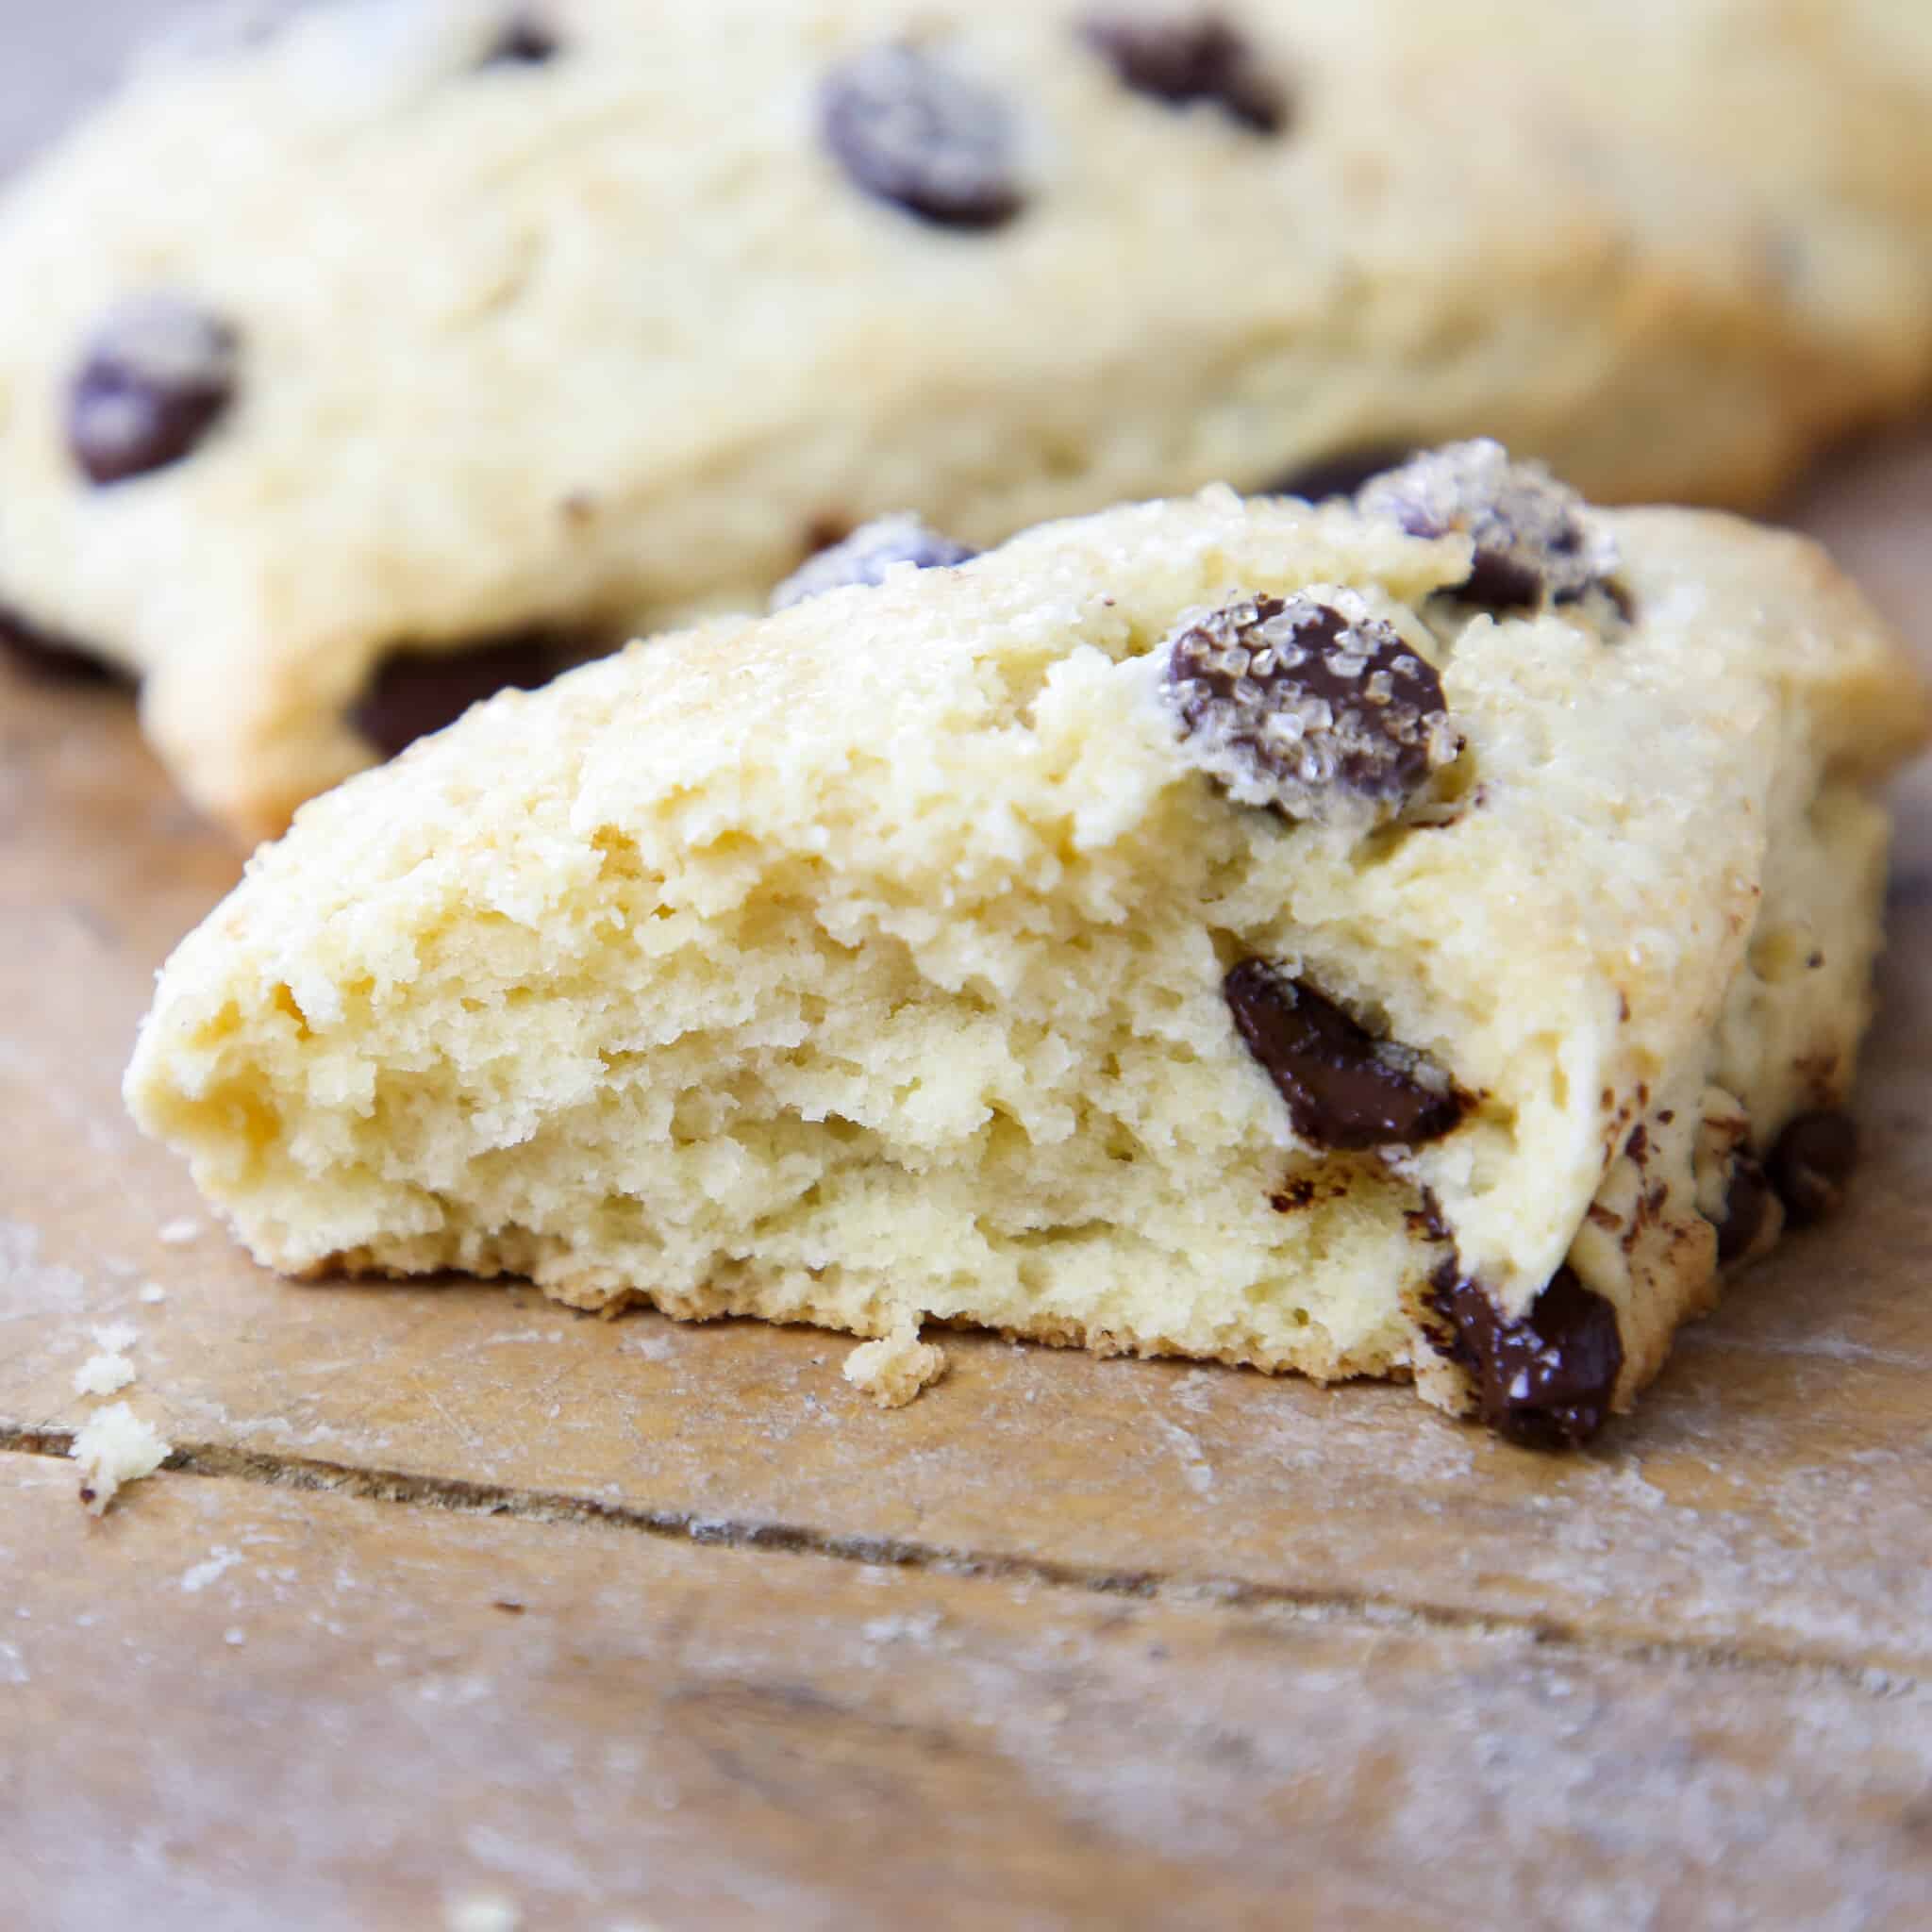
- Cold butter, eggs, and heavy cream. Keeping the butter, eggs, and cream cold and stopping the mixer before the dough fully comes together prevents gluten development, which gives these scones their tender crumb rather than a tough, bready texture.
- Wet ingredients blended first. Thoroughly combine the eggs, cream, and vanilla before mixing them into the flour to ensure even hydration throughout the dough.
- Finishing by hand for the best texture. Folding in the chocolate chips manually at the end lets you distribute them evenly without overworking the dough, which would tighten the gluten strands and toughen the scone.
- Sparkling sugar topping! Brushing the cut dough with cream just before baking seals the surface, locks in moisture, and gives the scones that deep golden crust. The coarse sugar adds a satisfying crunch that holds through baking.
Table of Contents
These chocolate chip scones are the ones I come back to whenever I want something that feels indulgent but is genuinely straightforward to execute. The dough comes together fast, the technique is forgiving, and the result is a tall, flaky scone with chocolate in every single bite!
If you bake scones regularly, you already know how much the method matters. My blueberry scones and raspberry white chocolate scones use the same foundational approach. Once you master this recipe, you can make all the scone variations you want!
Ingredients & Substitutions
- All-Purpose Flour: Provides the structure for the scone without making it tough, as long as you stop mixing before the dough fully develops.
- Sugar: Adds sweetness and helps the exterior brown during baking. Granulated white sugar is what I use; raw cane sugar works as a direct swap.
- Kosher Salt
- Baking Powder: Provides the lift that gives these scones their height. Make sure yours is fresh: a teaspoon stirred into hot water should bubble immediately.
- Unsalted Butter: Cold butter is the most critical ingredient in this dough. The fat needs to stay in distinct pieces so it steams during baking, creating that tender melt-in-your-mouth texture. I always cube mine and return it to the freezer for ten minutes before I start, which is my go-to move with any scone dough, including these lemon scones.
- Vanilla Extract: Feel free to use any extract of your choosing; almond, coffee, and peppermint would all be great options to change the flavor profile of these scones.
- Eggs
- Heavy Cream: Used twice in this recipe: once in the dough for richness and moisture, and again as a finishing wash before baking to seal the surface and deepen the crust. Do not substitute half-and-half or milk in the dough itself; the fat content matters for tenderness.
- Chocolate Chips: Use whatever you have on hand: semisweet, bittersweet, or a combination, all work well. Miniature chips distribute more evenly through the dough; standard chips give you those bigger pockets of chocolate.
- White Sparkling Sugar (for finishing): Sprinkled over the cream-washed dough just before baking for a crunchy, caramelized top. Turbinado sugar is a direct substitute; granulated sugar will dissolve more and give less crunch.
See the recipe card for full information on ingredients and quantities.
Variations on This Chocolate Chip Scones
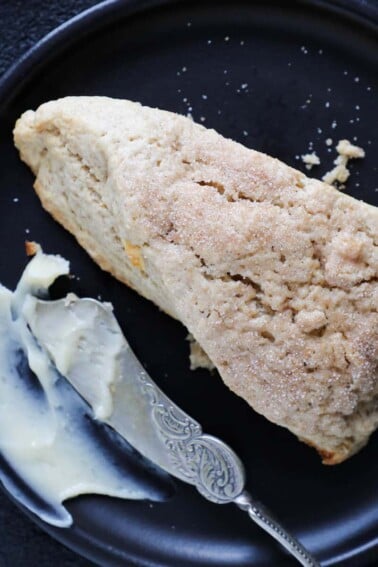
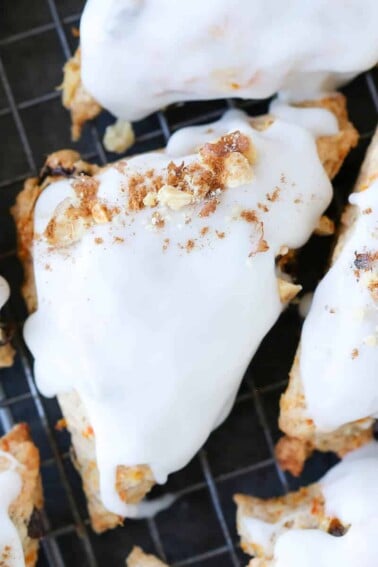
- Add a glaze. Use this donut glaze recipe, the cream cheese glaze from these carrot cake scones, or for a deeper chocolate hit, drizzle chocolate fudge glaze over the cooled scones.
- Change the mix in! Go in a completely different direction and replace the chocolate chips with butterscotch chips, as I do these butterscotch chews or make these cinnamon scones. Let me know in the comments how they turn out!
- Make them with fruit! Dried or fresh fruit, there are many ways to add fruit to your scones. Try these apple scones for a dried variation or these strawberry scones for some fresh fruit!
Professional Tips
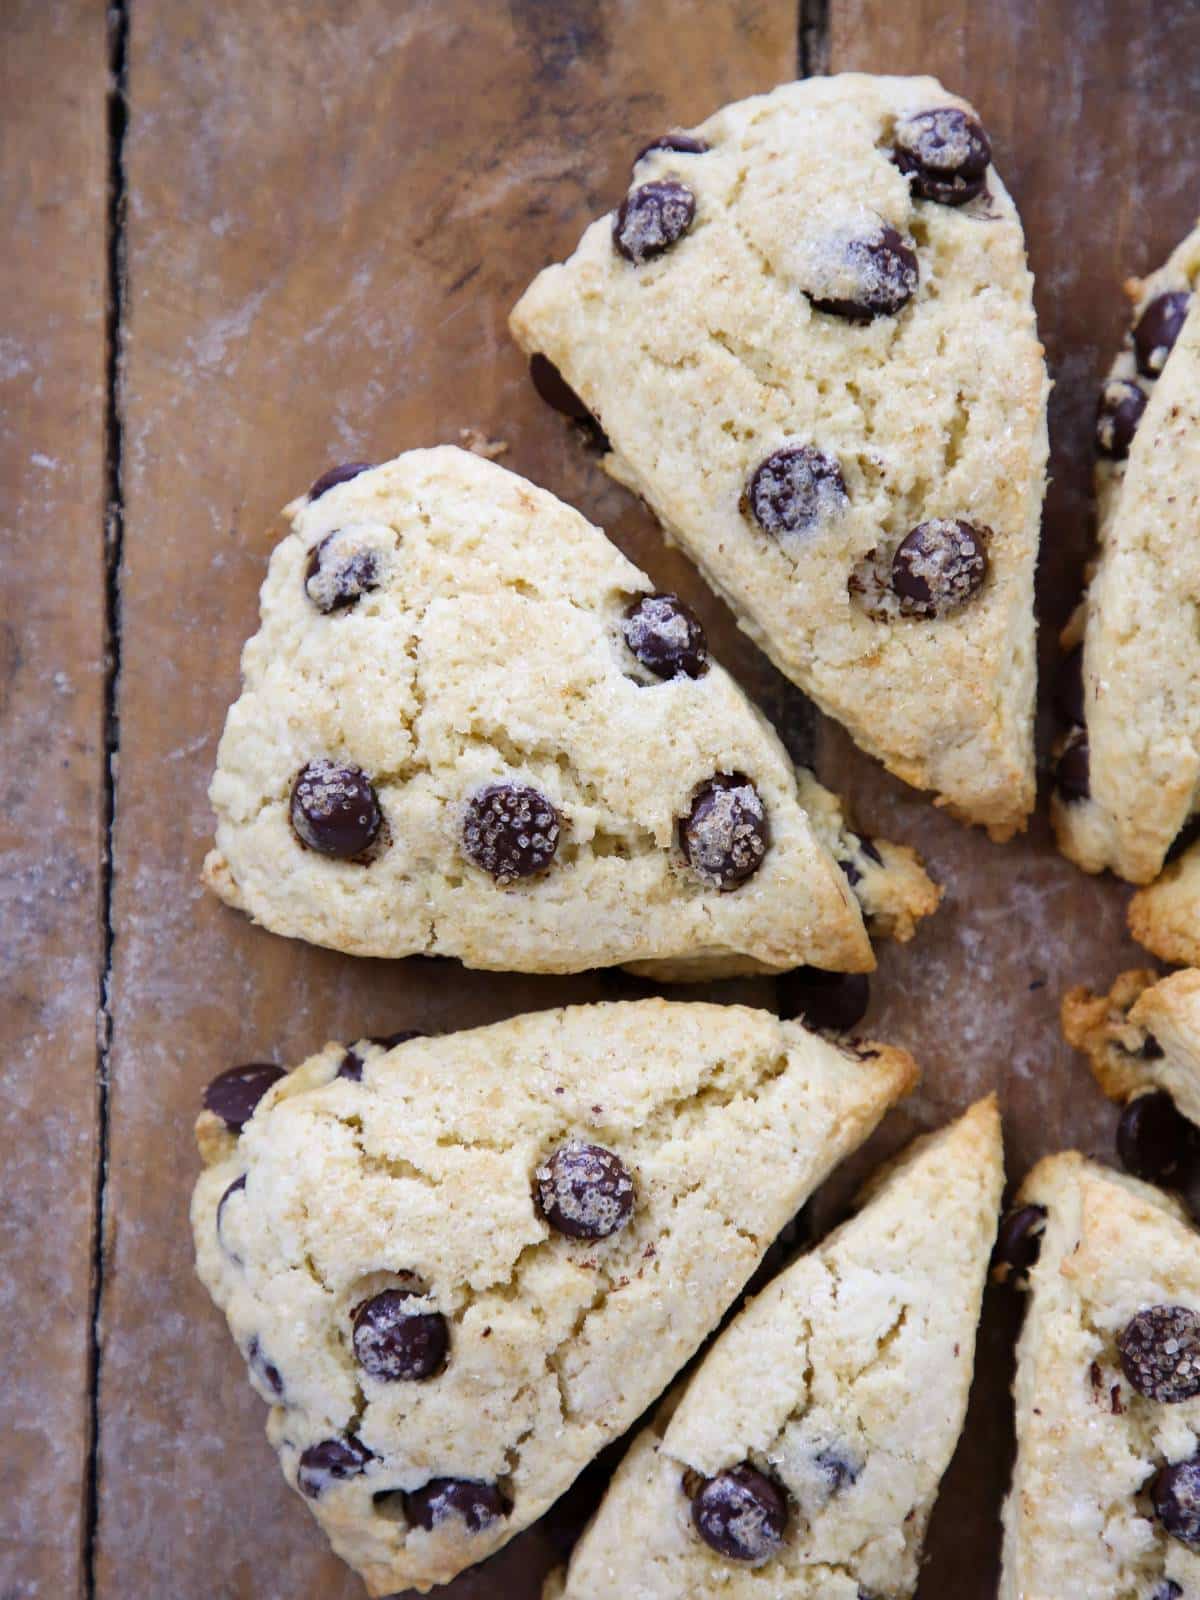
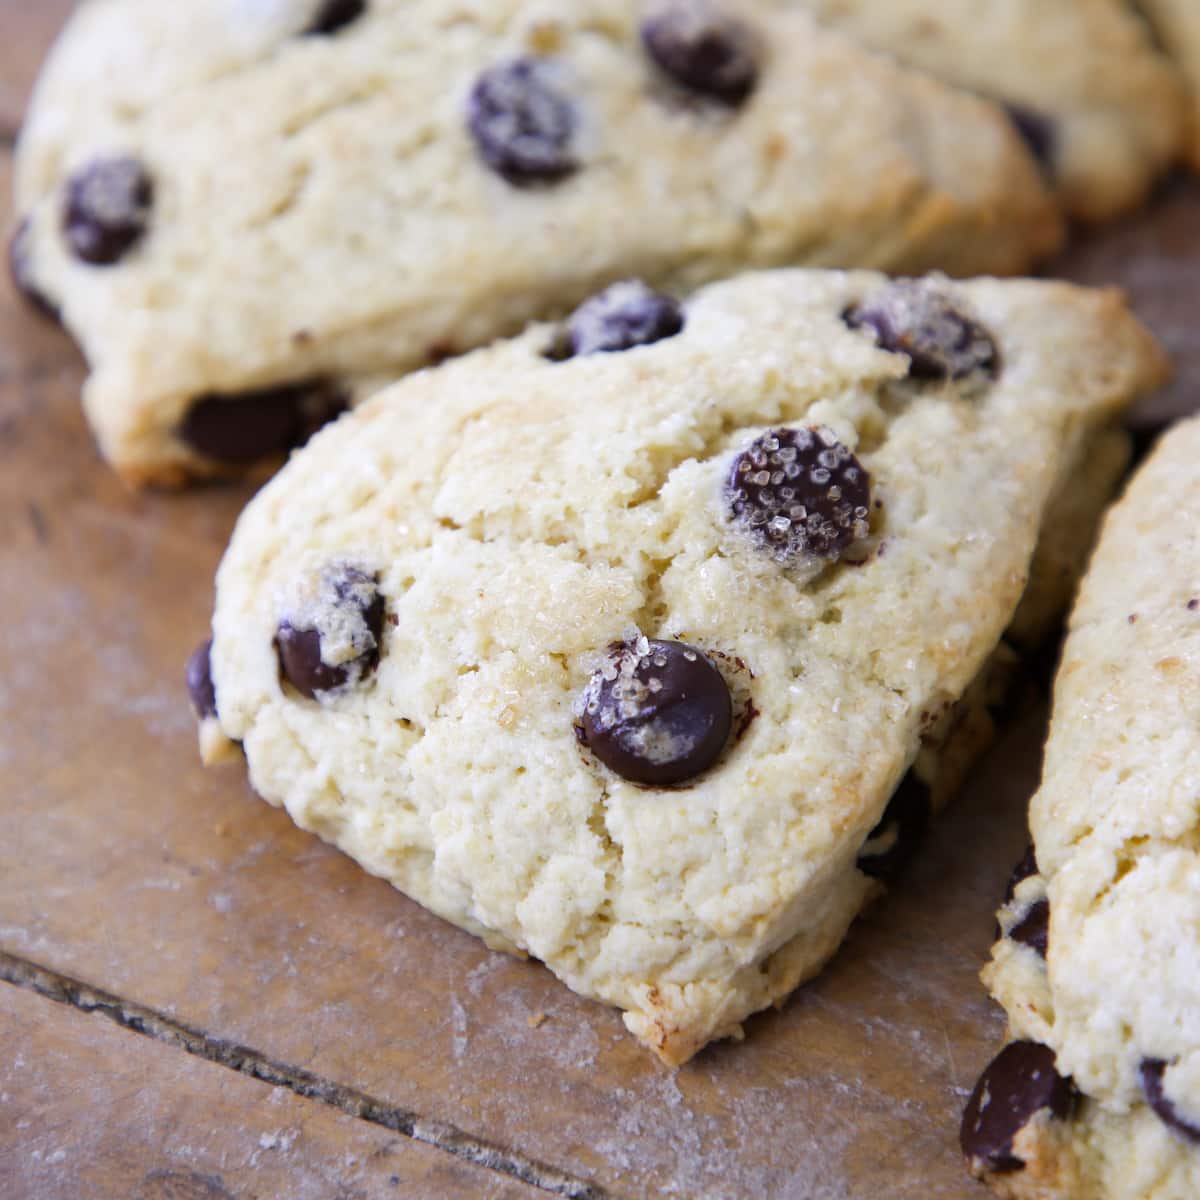
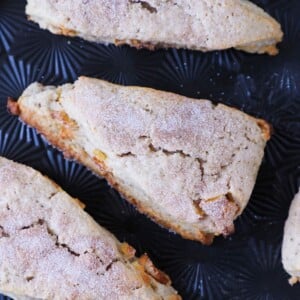
- Reserve some chocolate chips for the top. Before you cut the dough, set aside a small handful of chips and press them onto the surface of each scone. This is what guarantees visible chocolate on every piece, rather than having all of it buried inside, which is something I landed on after a few batches where the tops looked completely bare.
- Chill the cut dough before baking. The scones need to be fully cold before they go into the oven, about 2 hours in the refrigerator. Cold dough means the butter stays solid longer, which drives the rise and flaky layers. If you are working ahead, the cut dough freezes well and bakes from frozen without any adjustment.
- Do not overbake. Pull the scones when the edges are golden, and the centers give just a little resistance under a gentle press. If the center feels firm, they are already past done. The oven temperature for this recipe is 325°F, which is lower than most scone recipes, so give them the full time without rushing.
- Finish with the course sugar. Brush with cream first, then sprinkle the coarse sugar immediately so it adheres before the cream dries. Granulated sugar will work in a pinch, but it dissolves into the surface rather than staying crunchy, and that crunch on top is one of my favorite parts of this whole recipe.
How to Make Chocolate Chip Scones
This recipe comes together quickly, but the chill time before baking is non-negotiable, so plan for about 2 hours in the refrigerator before your scones go in the oven.
Step 1: Mix the dry ingredients. In the bowl of a stand mixer fitted with the paddle attachment, combine the flour, sugar, salt, and baking powder. Mix just enough to distribute everything evenly; you are not developing any structure here, just bringing the dry ingredients together.
Step 2: Cut in the cold butter. Add the cold, cubed butter and mix on low. Continue mixing until the butter is no longer visible and the mixture resembles wet sand. This is the texture you are looking for: pale, slightly clumping, with no large chunks remaining.
If your kitchen is warm and you can feel the dough heating up as you mix, stop and refrigerate the bowl for 10 minutes before continuing. Warm butter means flat, dense scones.
Step 3: Blend the wet ingredients. While the butter is being cut in, combine the heavy cream, eggs, and vanilla in a separate bowl. Use an immersion blender to blend until completely smooth and uniform. This ensures the eggs are fully broken up and evenly distributed before they hit the flour.
If you do not have an immersion blender, a whisk works fine; just make sure there are no streaks of egg white remaining.
Step 4: Add the wet ingredients to the dry. With the mixer running on low, slowly pour the cream mixture into the flour mixture. Mix only until almost incorporated; you will still see a few dry streaks at the bottom of the bowl, which is completely normal. The dough will look shaggy and uneven at this point, and that is exactly where you want to stop the mixer. Overworking the dough here develops gluten and toughens the scones.
Step 5: Finish the dough by hand and fold in the chocolate chips. Dump the dough out onto a dry surface and knead it together gently until only a few dry spots remain. Once the dough is just holding together, gently fold in the chocolate chips. Finishing by hand gives you the control to get the chips evenly distributed without overworking the dough.
Step 6: Shape and cut the scones. Press the dough out into a circle of about ½ inch thickness. Using a bench scraper or pastry cutter, cut the dough into 12 sections.
Step 7: Chill the dough completely. Transfer the cut scones to a parchment-lined sheet pan and refrigerate for at least 2 hours before baking. You can also wrap the tray tightly and freeze the scones at this point; they bake beautifully from frozen with just a few extra minutes in the oven.
Step 8: Preheat the oven and finish the scones. Preheat the oven to 325°F. Once the scones are fully chilled, brush each one generously with heavy cream and sprinkle with turbinado sugar.
The cream gives the scones a golden, lacquered finish and helps lock in moisture during baking. The turbinado sugar adds a light crunch on top that I love; it is one of those small details that makes a real difference in the finished scone.
Step 9: Bake until golden and just set. Bake the scones for about 15 minutes, or until the edges are golden brown, the tops are puffed, and the centers offer a little resistance when you press them gently. If they feel firm under your finger, they have gone too far. You can also insert a cake tester into the center; it should come out clean, with no wet dough clinging to it. Start checking at 12 minutes, since ovens vary, and these go from perfectly done to overdone faster than you would expect.
Step 10: Cool and serve. Let the scones cool on the baking sheet, or eat them warm straight from the oven. Sometimes I will re-warm mine for a few minutes so the chocolate chips are just slightly melted again, which is honestly one of the better things about this recipe.
Chef Lindsey’s Recipe Tip
Scones continue to set as they cool, so err on the side of pulling them when the centers still feel slightly soft. A scone that is fully firm in the oven will be dry by the time it reaches the table.
Recipe FAQs
Yes, and freezing the cut dough is actually my preferred method. Press, cut, and freeze the scones on a parchment-lined sheet pan, then wrap them well once solid. They bake from frozen without any adjustment and come out just as well as fresh.
Store baked scones in an airtight container at room temperature for up to 3 days, in the refrigerator for up to 7 days, or in the freezer for up to 3 months. Scones are best the day they are baked, which is why I prefer to freeze the cut dough and bake only what I need.
The most common reason is that the dough went into the oven before it was fully chilled. The butter needs to be cold and solid when the scones hit the heat, so the full 2-hour chill is not optional. A warm kitchen can also soften the dough faster than expected, so if you are working in a hot space, refrigerate the cut scones immediately after shaping.
Any chocolate chip works here: semisweet, bittersweet, milk, or white chocolate all fold in cleanly. Chopped chocolate from a bar also works well, giving you irregular pieces that melt into pockets throughout the dough.
More Recipes using Chocolate Chips

Dessert Recipes
Chocolate Chip Cookies without Brown Sugar

Date Night
Chocolate Chip Cheesecake

Cookie Recipes
New York Times Chocolate Chip Cookies
Breakfast Pastry Recipes
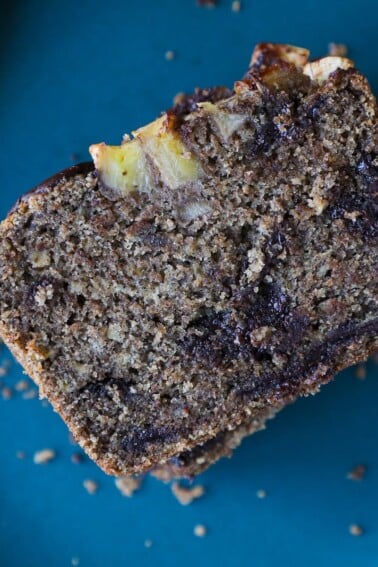
Vegan Chocolate Chip Banana Bread
If you tried this recipe and loved it please leave a 🌟 star rating and let me know how it goes in the comments below. I love hearing from you; your comments make my day!
Chocolate Chip Scones
Ingredients
- 2 ½ cups all-purpose flour
- ½ cup sugar
- ¾ teaspoon kosher salt
- 1 teaspoon baking powder
- ½ cup unsalted butter cold,cubed
- 1 teaspoon vanilla extract
- 2 eggs
- ½ cup heavy cream
- 1 cup chocolate chips your favorites or whatever you have on hand
- ¼ cup White sparkling sugar for finishing
- 2 tablespoons heavy cream for finishing
Instructions
- Add the flour, sugar, salt, and baking powder to the bowl of a stand mixer fitted with the paddle attachment. Mix briefly to distribute the dry ingredients evenly.
- Add the cold cubed butter and mix on low until the butter is no longer visible and the mixture resembles wet sand.
- Combine the heavy cream, eggs, and vanilla in a separate bowl and blend with an immersion blender until completely smooth with no visible streaks of egg white. A whisk works if you do not have an immersion blender.
- With the mixer running on low, slowly pour the cream mixture into the flour mixture and mix until almost incorporated.
- Turn the dough out onto a dry surface and knead it gently until only a few dry spots remain.
- Fold in the chocolate chips gently, reserving a handful to press into the tops of the cut dough just before baking for even distribution.
- Press the dough into a circle about ½ inch thick. Using a bench scraper or pastry cutter, cut into 12 sections.
- Chill the cut scones completely before baking, about 2 hours. The dough can also be wrapped well and frozen; it bakes from frozen without adjustment.
- Preheat the oven to 325°F. Brush the scones with heavy cream, press any reserved chocolate chips into the tops, and sprinkle with coarse sugar.
- Bake for about 15 minutes, until golden brown at the edges, puffed, and the centers offer just a little resistance when touched. If the centers feel firm, they are overdone.
Video
Notes
Doneness Cue: Edges are golden brown, scones are puffed, and centers give slight resistance when pressed gently. A cake tester inserted into the center should come out clean.
Storage: Store baked, unglazed scones in an airtight container at room temperature for up to 3 days, in the refrigerator for up to 7 days, or frozen for up to 3 months. Scones are best the day they are baked.
Make Ahead: Press and cut the dough, freeze on a parchment-lined sheet pan until solid, then wrap well. Bake directly from frozen with no adjustment to time or temperature.
Nutrition
Before You Go
These chocolate chip scones, with their crisp, sugar-dusted tops and tender, buttery crumb, are worth making on repeat. Find more morning baking in Breakfast Recipes or Dessert Recipes.


I made these for the first time this weekend and followed the tip about reserving some chips to press into the tops before baking. Every single scone had chocolate in every bite, and the turbinado sugar on top gave them that perfect crunch. My family asked if I had bought them from a bakery!
Hi Renee! You followed the tips perfectly and it clearly paid off. The turbinado sugar crunch on top is one of my favorite little finishing touches on most pastries! Thank you so much for making them and sharing this, it truly made my day! ~CLF Team
These felt like the kind of bake people actually eat. Everything felt very manageable, start to finish! Baking until they were just set kept them soft inside. Soft, tender, and packed with chocolate. My kind of scone!