This post may contain affiliate links. Please read our disclosure policy.
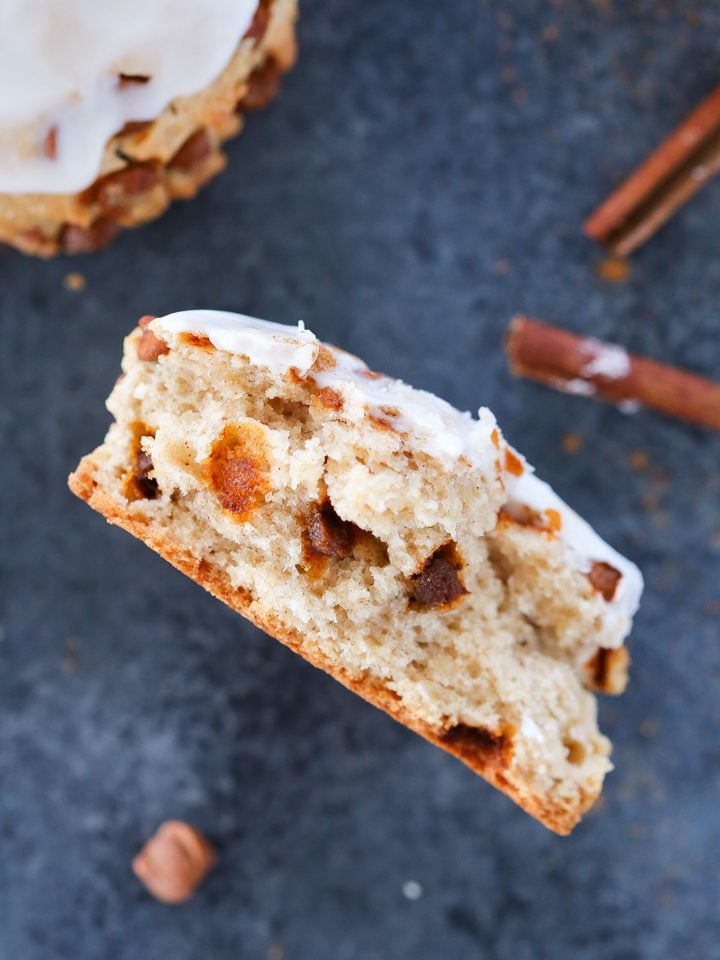
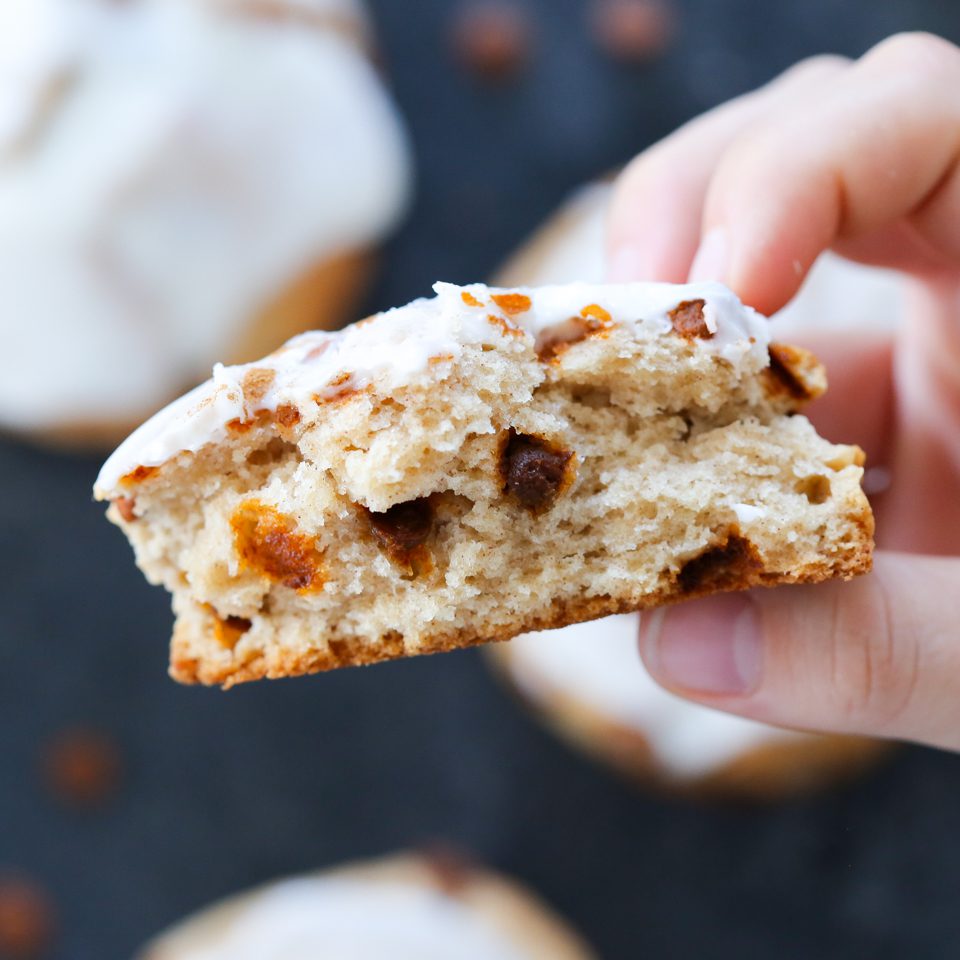
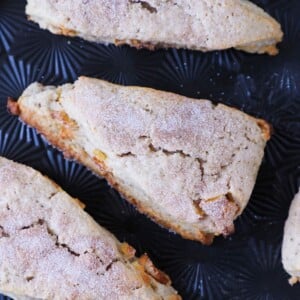
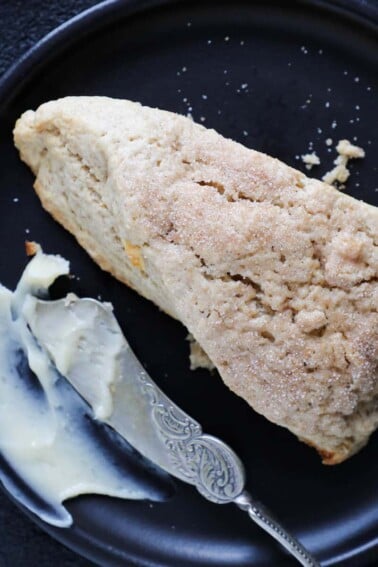
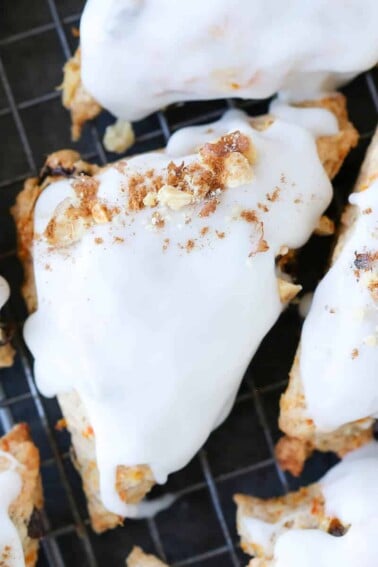
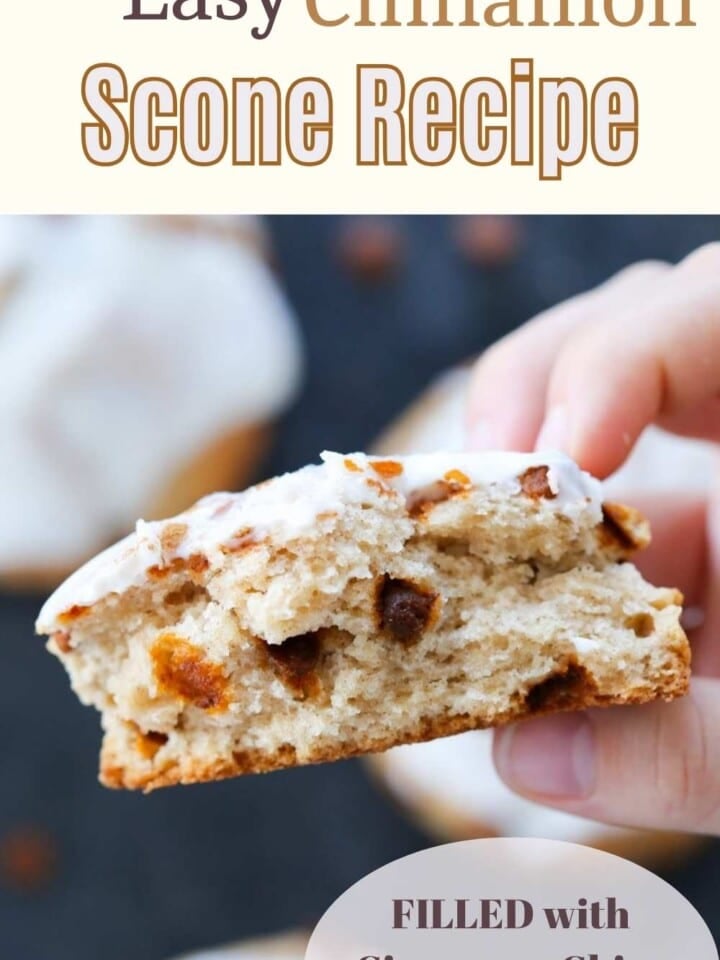
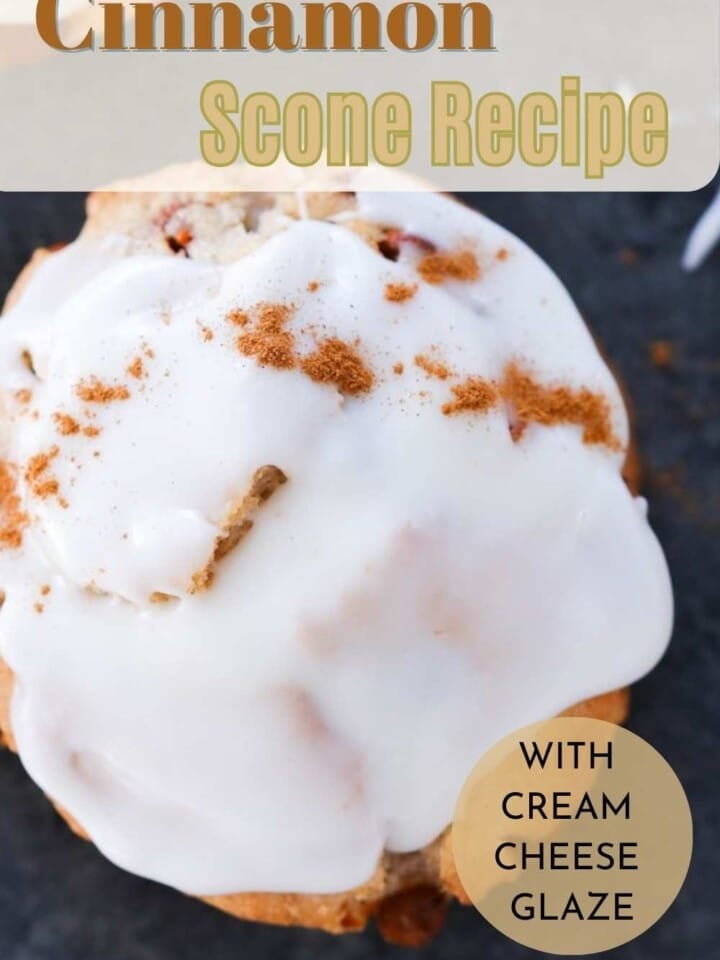
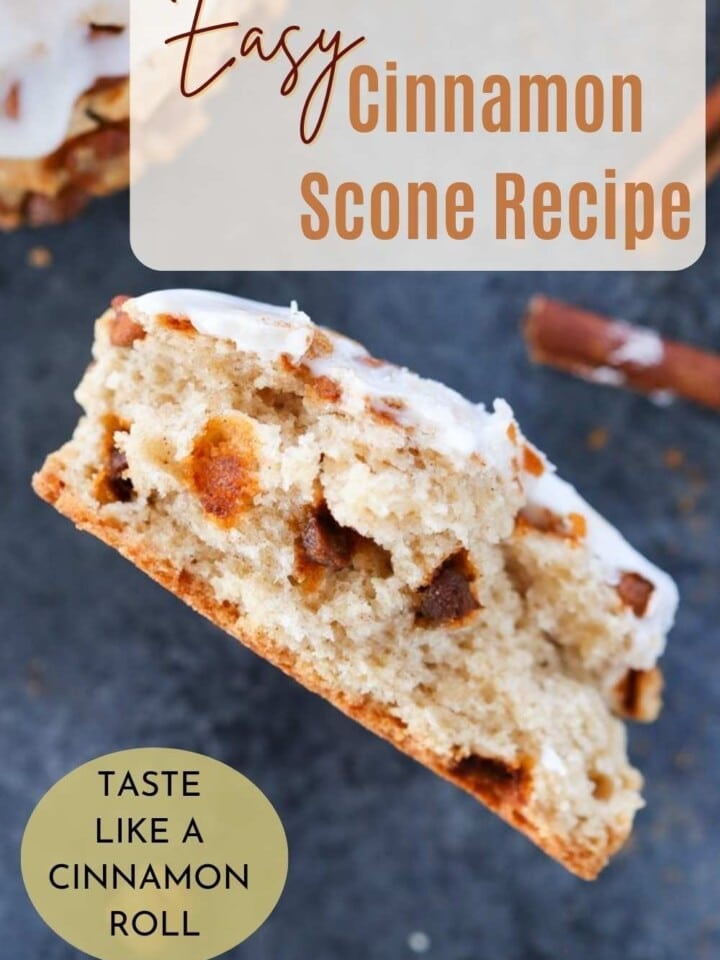
These tender and moist cinnamon scones are complete with a tangy cream cheese glaze and packed with aromatic cinnamon chips! Soft and warming, they are perfect for any time of day.
A Quick Look At The Recipe
This is a brief summary of the recipe. Jump to the recipe to get the full details.
Jump to RecipePrep Time
30 minutes
Cook Time
20 minutes
Chilling Time
2 hours
Total Time
2 hours 50 minutes
Servings
13 Scones
Difficulty
Intermediate — cold butter method.
Calories *
516 kcal per serving
Technique
Cut cold butter into dry ingredients, fold in cinnamon chips, chill cut scones completely before baking.
Flavor Profile
Warm cinnamon, rich cream, tangy cream cheese glaze.
* Based on nutrition panel
I made these twice in one week because the first batch disappeared the same day! Oops! The cinnamon chips are amazing! I used Hershey’s as recommended and the flavor was miles ahead of anything I expected from a homemade scone. The glaze sets up perfectly and the texture was perfect! ⭐⭐⭐⭐⭐
Meredith
Why This Recipe Works
- Cold butter! Working the cold butter into the dry ingredients coats the flour particles and limits gluten development, which keeps these scones tender rather than tough.
- Cinnamon chips and ground cinnamon! Folding in cinnamon chips distributes pockets of concentrated cinnamon flavor throughout the scone, so every bite has more impact than ground spice alone.
- Heavy cream and minimal mixing. Heavy cream adds fat and richness without overworking the dough. Mixing just until the dry ingredients are hydrated keeps the crumb open and light.
- Chilling before baking. Chilling the shaped dough before it goes into the oven firms the fat back up, relaxes the gluten, and helps the scones hold their shape and rise cleanly rather than spread.
Table of Contents
If I might be so bold as to say, these cinnamon scones taste just like this cinnamon roll recipe with cream cheese icing without all the work! These scones have what I like to consider my signature scone texture. Meaning, like my carrot cake scones, they are soft, tender, and moist, but the perfect amount of dense. Never cakey!
Lean into the Fall vibe with a smear of apple butter on these cinnamon scones! Much like my pumpkin coffee cake, this easy soft scone recipe will satisfy all your breakfast, brunch, and dessert cravings. But just in case you need more cinnamon in your life, make these sourdough cinnamon rolls!
Ingredients & Substitutions
- All-Purpose Flour: All-purpose flour has just the right amount of gluten to create a flaky texture without being tough.
- Sugar: I use granulated sugar not only for flavor but also because it retains moisture, improves texture, and maintains stability.
- Kosher Salt
- Cinnamon
- Baking Powder: The leavening that gives these scones their lift and open crumb. Make sure yours is fresh: stale baking powder is one of the most common reasons scones come out flat.
- Unsalted Butter: Cold and cubed, this is the most critical ingredient in the recipe. Working cold butter fully into the flour coats the flour particles and limits gluten development, which is what creates a tender, flaky scone rather than a tough one. Salted butter can be used in a pinch, but reduce the added salt slightly.
- Vanilla Extract
- Eggs
- Heavy Cream: Hydrates the dough and adds fat for a tender crumb, plus a second portion is used to brush the tops before baking for a golden finish. Do not substitute milk or half-and-half in the dough itself; you need the fat content just like when making these lemon scones!
- Cinnamon Chips: These are the flavor centerpiece of the scone. I only use Hershey’s Cinnamon Chips; after baking with several brands, their flavor is noticeably cleaner and truer to cinnamon, without any artificial aftertaste.
- Cream Cheese: The base of the glaze, adding a slight tang that cuts through the sweetness. It must be softened before mixing, or the glaze will be lumpy.
- Confectioner’s Sugar
- Whole Milk
See the recipe card for full information on ingredients and quantities.
Variations on These Cinnamon Scones
- Make a different glaze. You could go triple cinnamon and add some cinnamon to your glaze, as I do with the frosting on these cinnamon cupcakes. Or, you could steal the maple syrup glaze from my maple bundt cake, or keep it super simple with my donut glaze recipe. I see you chocolate-lovers, yes, there is a chocolate glaze recipe option as well!
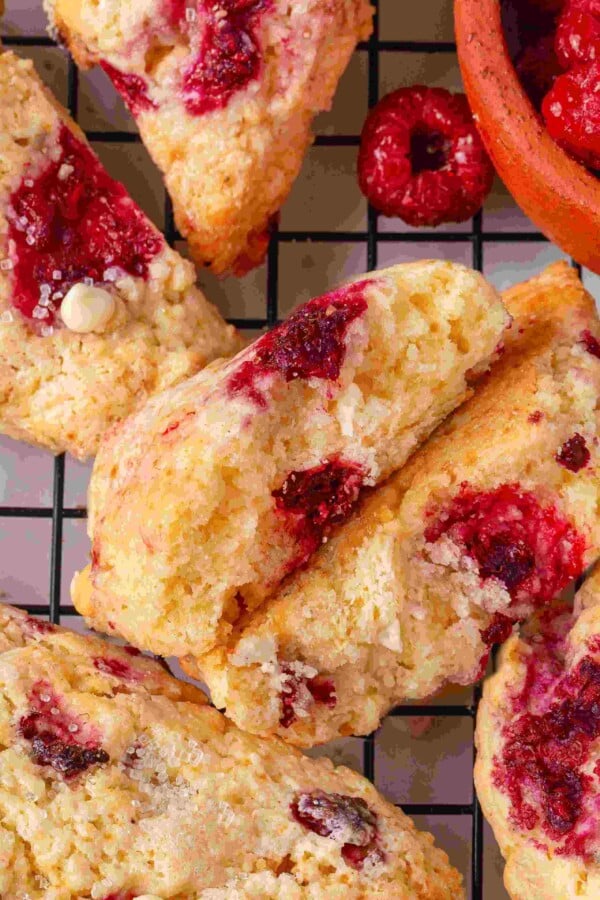
- Add fruit. My easy apple pie and apple scones would be a great place to find inspiration for an apple cinnamon swirl scone! Blueberry scones, strawberry scones, or raspberry white chocolate scones …there are so many possibilities!
- Use chocolate or butterscotch chips instead. No cinnamon chips? No problem! Go in a completely different direction and replace the cinnamon chips with butterscotch chips, or make chocolate chip scones.
Professional Tips
- Cut the cold butter completely into the dry ingredients. Just like with traditional irish soda bread with raisins, this helps shorten the gluten strands in the flour, and is the most effective way to get the best scone texture. Years of testing and making giant batches at restaurants have proven to me that this makes the most tender and moist scones.
- Finish kneading the dough by hand. Gently fold in your cinnamon chips by hand. This helps make sure you don’t overwork the dough and lets you keep track of how evenly you distribute the cinnamon chips.
- Do not overbake your scones. Bake the scones until they are golden around the edges and when the fattest part offers some resistance when lightly touched. You can also insert a cake tester, and it should come out clean. No dry scones here!
How to Make Cinnamon Scones
Start with the dough first since it needs at least two hours to chill completely before baking.
Step 1: Combine the dry ingredients. In the bowl of a stand mixer fitted with the paddle attachment, add the flour, sugar, salt, cinnamon, and baking powder. Mix just long enough to distribute everything evenly.
Step 2: Cut in the cold butter. Add the cold, cubed butter and mix on low. Keep mixing until the butter is no longer visible and the mixture resembles wet sand, with no dry, floury pockets remaining.
If your kitchen is warm, the butter may start to soften faster than you want. If the mixture starts to feel greasy or clump together before it looks like sand, stop the mixer and refrigerate the whole bowl for 10 minutes before continuing.
Step 3: Blend the cream mixture. While the butter is being cut in, combine the heavy cream, eggs, and vanilla in a separate bowl. Use an immersion blender to blend until completely smooth. If you do not have an immersion blender, a whisk works fine.
Step 4: Add the cream mixture to the flour mixture. With the mixer running on low, slowly pour the cream mixture into the flour mixture. Mix only until it is almost incorporated; you will still see a few dry streaks, which is completely normal. You will finish bringing it together by hand in the next step.
Step 5: Knead gently, then fold in the cinnamon chips. Dump the dough out onto a dry surface and knead it together with care. Once only a few visible dry spots remain, fold in the cinnamon chips. The goal is an even distribution without overworking the dough. Aggressive kneading at this stage activates gluten and will undo all the careful work you did cutting in the butter.
Step 6: Shape and cut the scones. Press the dough out into a circle about ½ inch thick. I cut mine into circles using a cookie cutter. You can also do triangles by using a bench scraper to cut the dough into 3½-inch strips, then cut each strip into squares. Cut each square diagonally to form triangles. Transfer the cut dough to a parchment-lined baking sheet.
Step 7: Chill the dough completely. Refrigerate the shaped scones for at least 2 hours before baking. Chilling re-solidifies the butter so it releases steam in the oven rather than melting into the dough immediately, which is what gives you lift and those slightly crisp edges. You can also wrap the sheet well and freeze the scones at this point. They bake beautifully from frozen, which is actually how I prefer to have them on hand.
Step 8: Preheat and brush. Set the oven to 325°F. Brush each scone with a thin, even layer of heavy cream, reaching all the way to the edges.
Step 9: Bake until golden and set. Bake for 18 to 20 minutes, starting to check at 18. You are looking for a deep golden color on the bottom and edges, a puffed top, and centers that offer just a little resistance when pressed very gently. If they feel soft and springy all the way through, give them another minute or two. Pull them while there is still just a hint of give at the very center, they continue to set as they cool on the pan. Cool completely on the baking sheet before glazing.
If you are baking from frozen, add 3 to 5 minutes to the bake time and keep the same temperature. Do not thaw them first! Cold dough straight into a hot oven is exactly what you want.
Step 10: Make the glaze. Whisk together the softened cream cheese, confectioners’ sugar, and milk until completely smooth. Cover with plastic wrap, pressing it directly against the surface, until you are ready to use it. The glaze will thicken as it sits, so give it a quick whisk before applying.
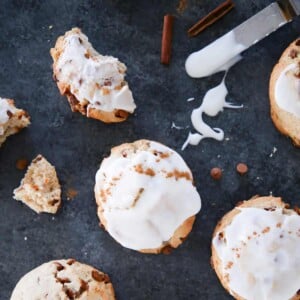
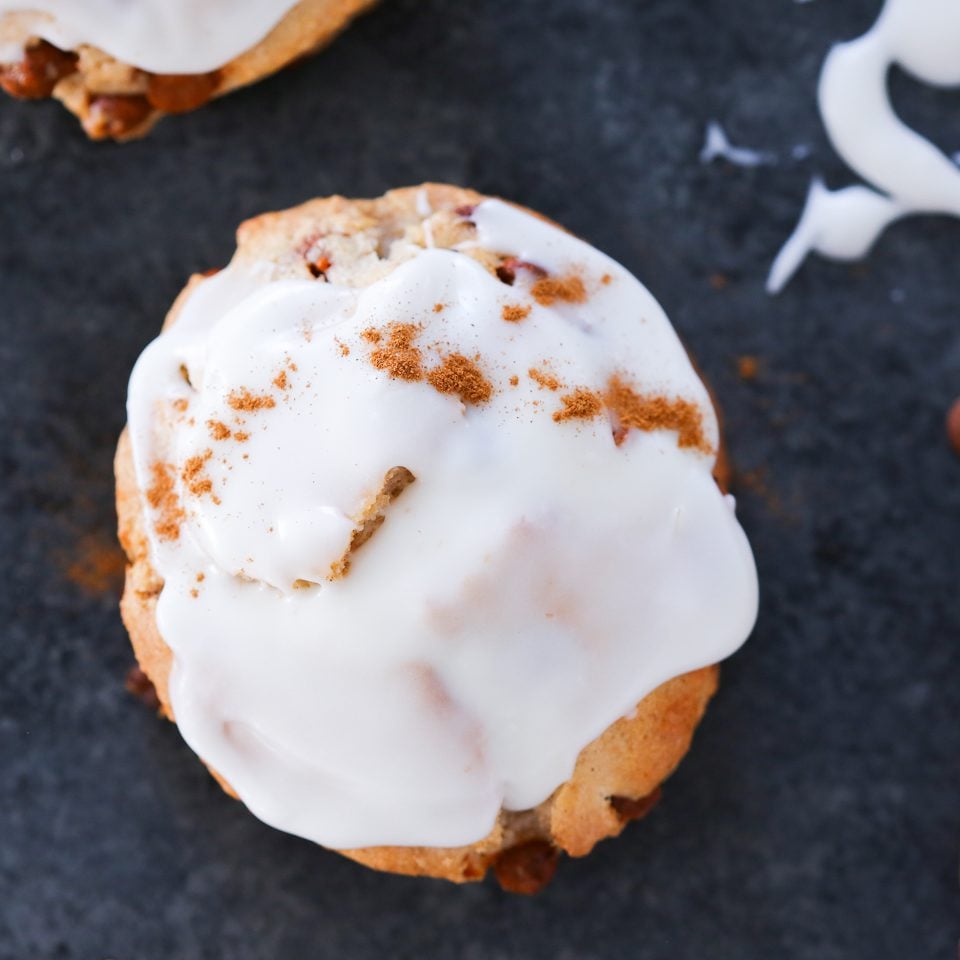
Step 11: Glaze the cooled scones. Once the scones are fully cooled, spoon or drizzle the glaze over them as generously as you like. Glazing warm scones will cause the glaze to run off and pool rather than set, so patience pays off here.
Chef Lindsey’s Recipe Tip
The glaze for these scones is forgiving, but the consistency matters more than people expect. If it is too thick, it sits in a clump on top rather than flowing into the crevices; if it is too thin, it runs straight off and pools on the parchment. Whisk it until it coats the back of a spoon and falls off in a slow, steady ribbon, then adjust with a few drops of milk or a small spoonful of confectioners’ sugar as needed before you apply it.
Recipe FAQs
Yes. Cut the dough, place it on a parchment-lined baking sheet, and freeze until solid, then transfer it to a sealed bag or container. Bake directly from frozen, adding a few minutes to the bake time.
Store baked scones at room temperature for up to 3 days, in the refrigerator for up to a week, or in the freezer for up to 3 months. I prefer to freeze the cut, unbaked dough and bake to order, so every scone comes out fresh.
The two most common causes are butter that was not cold enough when it went in and dough that was not fully chilled before baking. Both allow the fat to melt and spread immediately in the oven, rather than releasing steam to create lift, so the scones flatten instead of rising.
Recommended Brunch Recipes
Cake Recipes
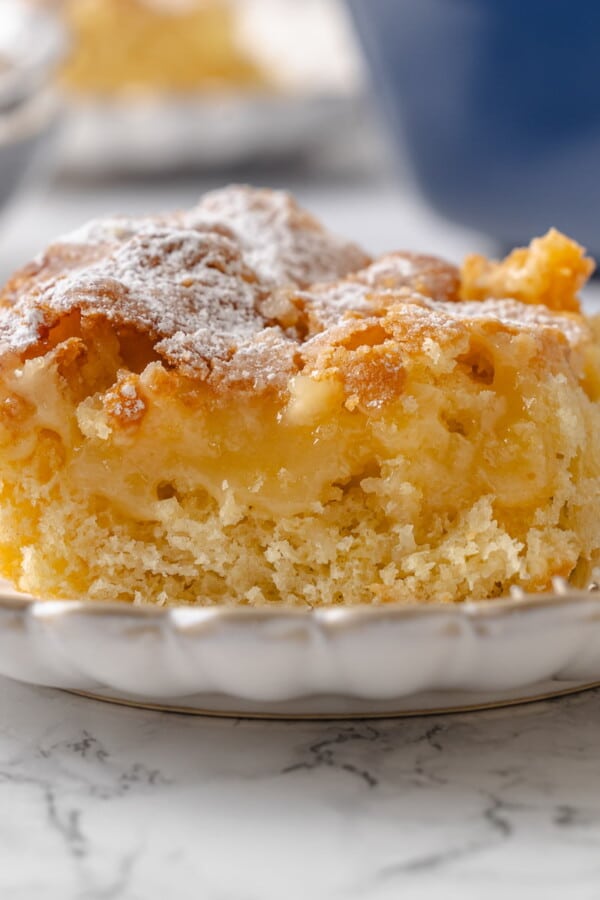
Gooey Butter Cake
Apple Recipes
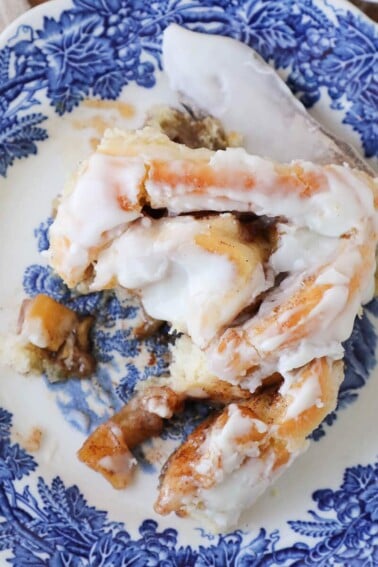
Apple Cinnamon Rolls

Easy Breakfast Recipes
Lazy Sunday Buttermilk Waffles
Easy Bake Sale Ideas
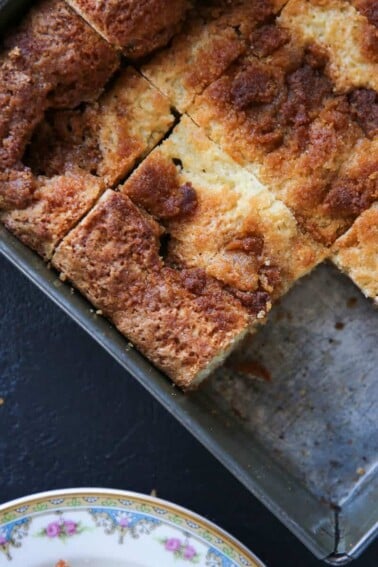
Cinnamon Flop
If you tried this recipe and loved it please leave a 🌟 star rating and let me know how it goes in the comments below. I love hearing from you; your comments make my day!
Cinnamon Scones
Ingredients
Scones
- 4 ⅓ cups all-purpose flour
- ¾ cup granulated sugar
- ½ teaspoon kosher salt
- 1 tablespoon ground cinnamon
- 1½ teaspoons baking powder
- 13½ tablespoons unsalted butter cold, cubed
- 2 teaspoons vanilla extract
- 2½ eggs
- ¾ cup heavy cream
- 1½ cups cinnamon chips
Cream Cheese Glaze
- heavy cream for brushing
- 2 ounces cream cheese softened
- 1⅔ cups confectioners' sugar
- 2 tablespoons milk
Instructions
- Combine flour, sugar, salt, cinnamon, and baking powder in the bowl of a stand mixer fitted with the paddle attachment. Mix briefly to distribute the dry ingredients.
- Add the cold cubed butter and mix on low until the butter is no longer visible and the mixture resembles wet sand.
- In a separate bowl, combine the heavy cream, eggs, and vanilla using an immersion blender or whisk until smooth. With the mixer running on low, slowly pour the cream mixture into the flour mixture and mix until almost combined.
- Turn the dough out onto a dry surface and knead gently until only a few dry spots remain. Fold in the cinnamon chips.
- Press the dough into a rectangle about ½ inch thick. Cut into circles using a cookie cutter. Place on a parchment-lined baking sheet.
- Chill the cut scones completely before baking, about 2 hours. Scones can also be frozen solid and baked directly from frozen.
- Preheat the oven to 325°F. Brush the scones with heavy cream and bake for 18 to 20 minutes, until golden brown, puffed, and the centers offer a little resistance when pressed gently. Cool completely on the baking sheet.
- Whisk together the softened cream cheese, confectioners’ sugar, and milk until smooth. Cover with plastic wrap until ready to use, then whisk again briefly before glazing the cooled scones.
Video
Notes
Doneness Cue: Scones are done when golden brown, visibly puffed, and the centers push back with light resistance when touched.
Storage: Store baked scones wrapped at room temperature for up to 3 days, refrigerated for up to a week, or frozen for up to 3 months.
Make Ahead: Cut unbaked scones can be frozen solid, then transferred to a sealed bag and baked directly from frozen with a few extra minutes added to the bake time.
Nutrition
Before You Go
These cinnamon scones, with warm spice and tender crumb, are the kind of thing I want on the table every weekend. Find more morning bakes in my breakfast recipes, or something sweeter to round out your day in my dessert recipes.


I made these twice in one week because the first batch disappeared the same day! Oops! The cinnamon chips are amazing! I used Hershey’s as recommended and the flavor was miles ahead of anything I expected from a homemade scone. The glaze sets up perfectly and the texture was perfect!
Twice in one week!! 😄 The fact that the first batch vanished the same day tells me everything went exactly right. So glad the glaze and texture hit the mark! Thank you so much for making them and for coming back to share, this kind of feedback genuinely makes our day! ~CLF Team
Found your video first and so happy I made these. They are DELISH!!! I actually made my own cinnamon chips because the stores didn’t have any, but I’m absolutely making these as much as possible from here on out
That’s totally fair, and shows great commitment! I’m so glad you enjoyed!