This post may contain affiliate links. Please read our disclosure policy.
A pastry chef shows you how to temper dark chocolate with the ice bath method. A simple method that you can do anywhere to get perfectly tempered chocolate every time!
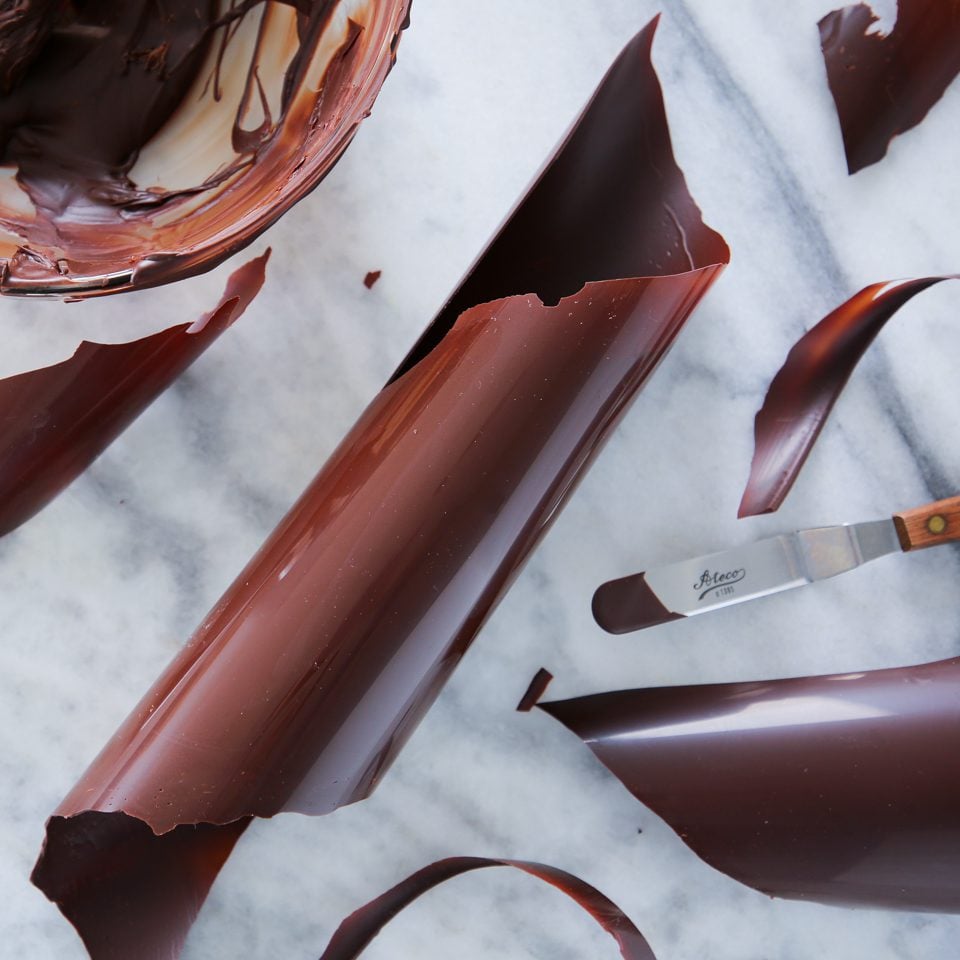
Think of this as your anytime, anyplace tempering chocolate recipe. No special equipment or circumstances are required. No marble slab, no tempered chocolate “seeds.” Only you, some ice and a little patience.
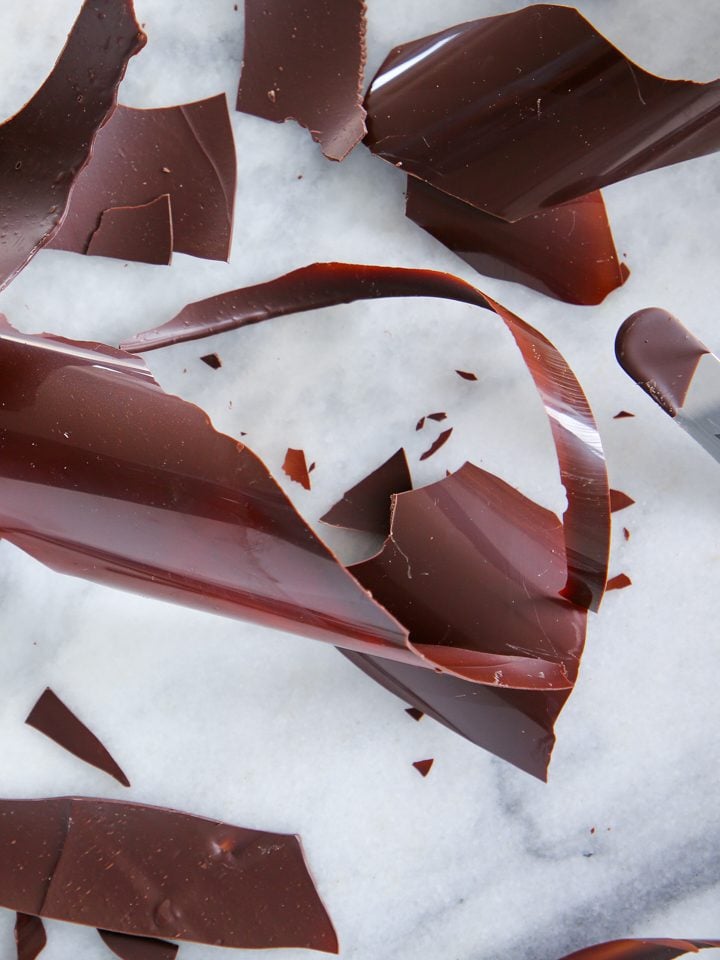

Table of contents
What is tempering chocolate?
In short, tempering chocolate is the process of heating and cooling chocolate to destroy bad crystal structures and replace them “good” crystal structures. This is why you need to heat it to a specific temperature, because at 120°F the crystalline structure of dark chocolate breaks down. You can think of this a hitting the reset button. Then cooling the chocolate to 81°F allows the Beta crystals, or the “good” crystal structure to form without allowing the bad ones to form. Below 80°F you start getting those bad crystals again. Then you gently reheat it to what is called the “Working Range,” which for dark chocolate is 88 – 91°F.
How do I know when dark chocolate is in temper?
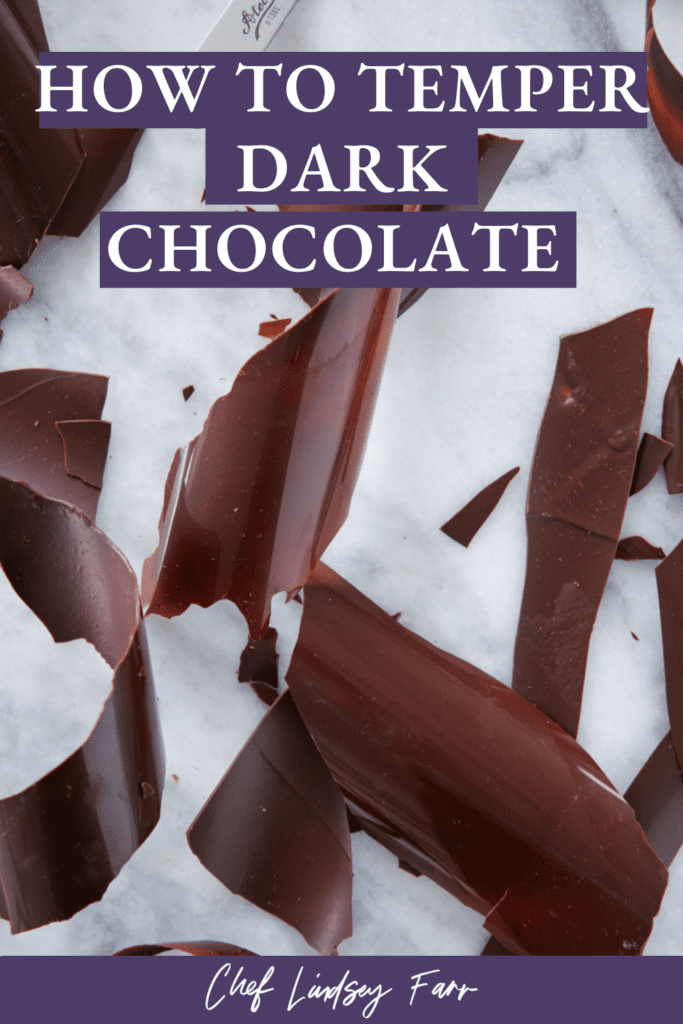
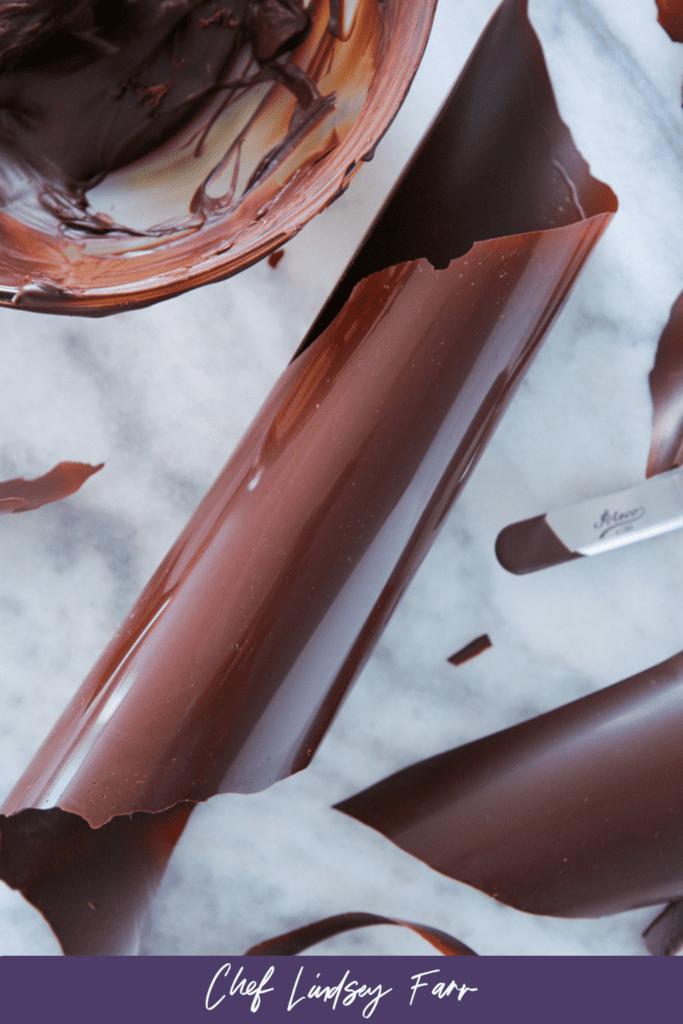
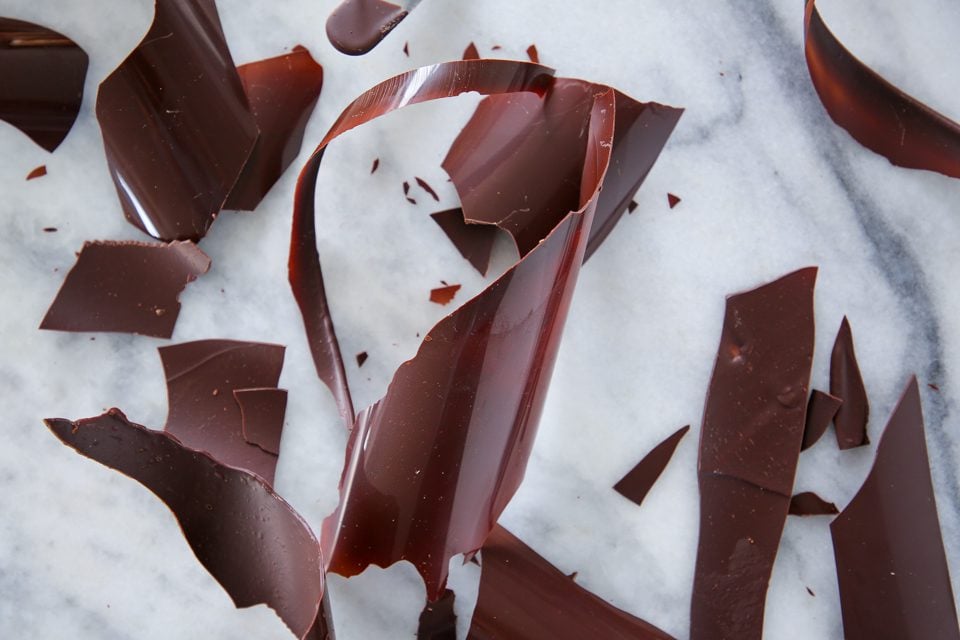
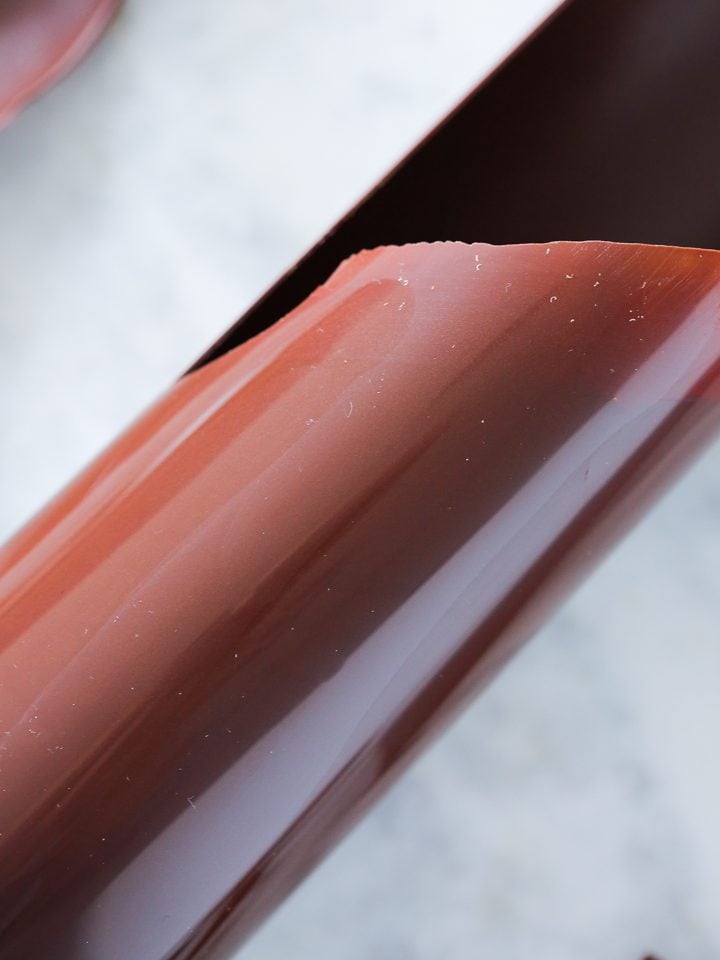
When chocolate is in temper it is shiny, sets at room temperature, has a nice snap when broken, and has a smooth mouthfeel when eaten. Now, if your room is humid or too hot, even perfectly tempered chocolate will not set. I wouldn’t either if we are being honest.
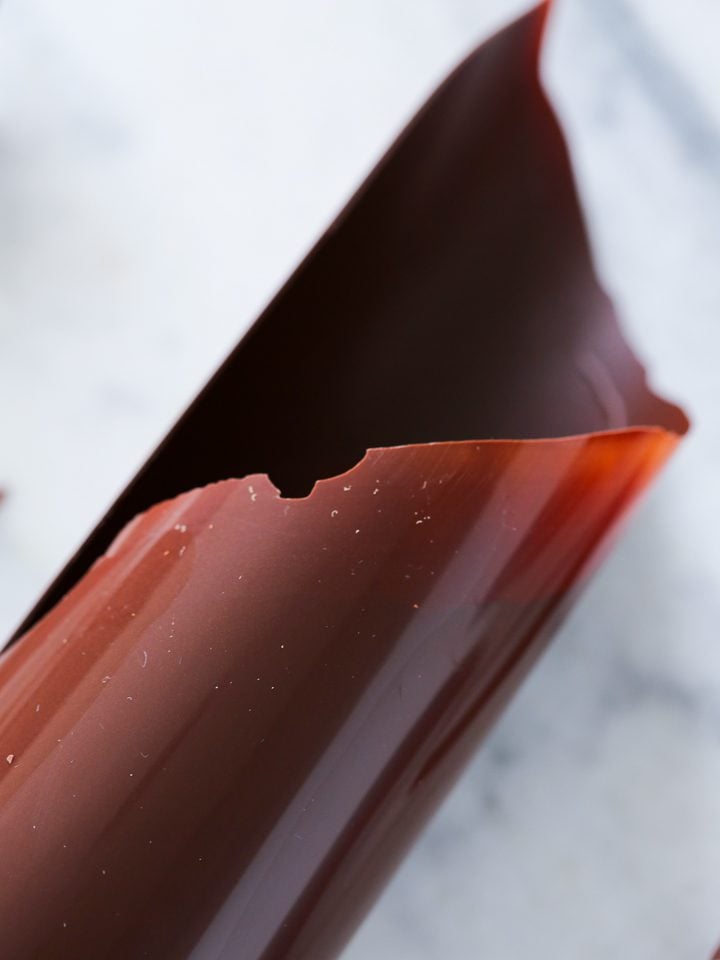
There are different levels of temper. They will all set at room temperature but less than perfectly tempered chocolate will be dull, won’t have as nice of a snap and may have streaks.
Tips for Tempering Dark Chocolate:
- Water is Enemy #1: If water gets into chocolate it will keep the good crystal structure from forming. If just a little gets in, it will still temper but it won’t be shiny and you will get “water bloom,” which is an unattractive blooming on the surface. You can’t come back from water bloom. Sadly this chocolate is no longer usable for tempering. Don’t throw it out! Melt it and use it in a cake instead, in ice cream, chocolate buttercream or in brownies!
- Keep it moving!: Prepare yourself for an hour of constant stirring. Chocolate needs agitation for the good crystals to form and you want it to heat and cool evenly. The only way to ensure this, is to keep stirring. On and off the ice bath we go! Agitation is also how you keep from getting streaky tempered chocolate.
- Ice Bath: Speaking of the ice bath, make sure there is water with your ice. This allows the bowl to cool evenly, which means the whole surface of your chocolate will cool faster and more evenly.
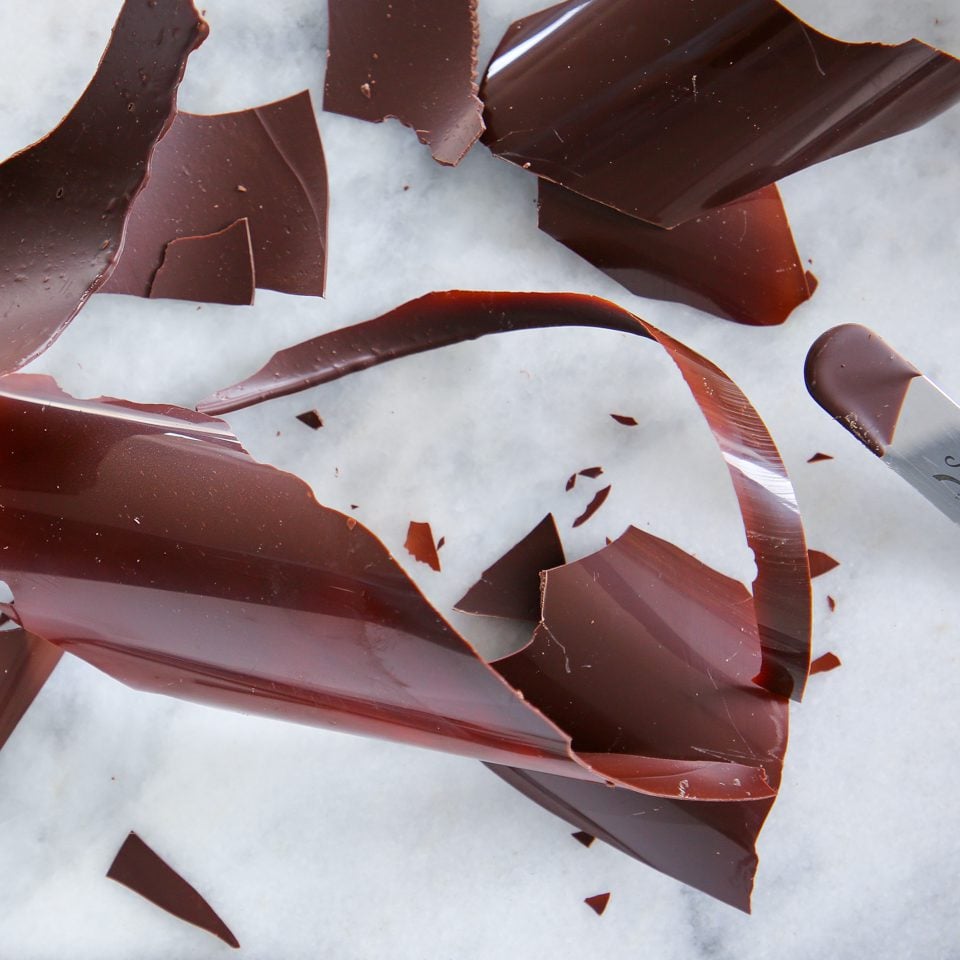
- Test it: Even pastry chefs test the temper of their chocolate before working with it. Unless you have a tempering machine (jealous) then you need to test. There is nothing worse than dipping bonbons or pouring out chocolate for décor and then realizing that it isn’t setting because it isn’t in temper. Take the moment to dip the tip of a paring knife or offset spatula in the chocolate. Then wait. It should begin to set after a minute or two. If it doesn’t, it isn’t in temper and it got too hot or too cold or both at some point.
- Use metal bowls: You’ll see in the video that I used Pyrex or ceramic bowls and neither of these are good options. They retain heat or cold too long and, thus, don’t allow the chocolate to stop at a particular temperature. I had the darndest time trying to guess how long it would take for my bowl to warm up after I took it off the ice bath. It wasn’t fun. I wouldn’t wish this particular brand of torture on anyone. Before I temper again, I will buy metal bowls. Save the tears for another day and do the same.
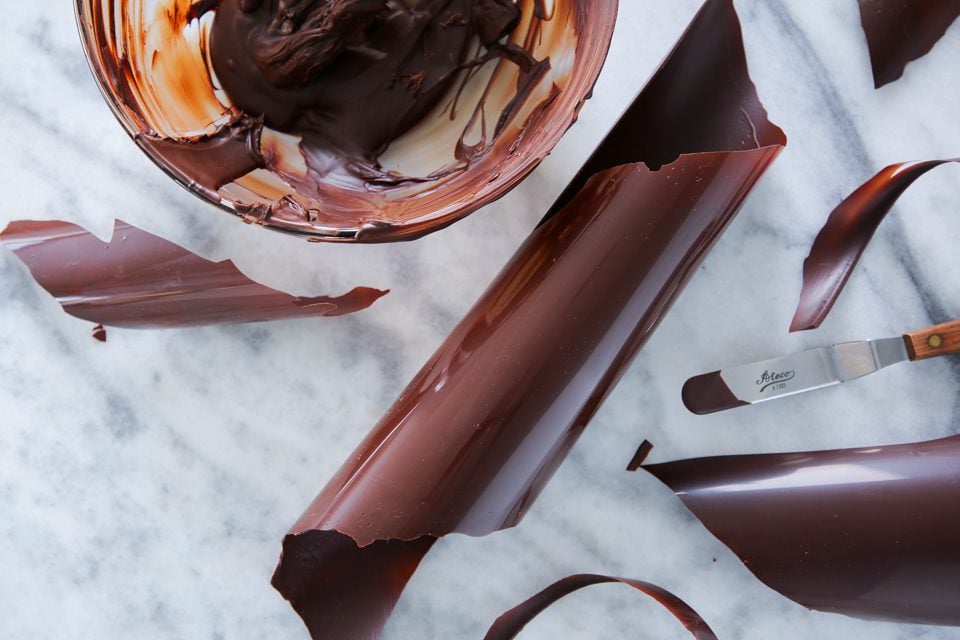
- Our best friend, Acetate: Tempered dark chocolate will set on any surface (a blessing and a curse, I assure you.) but you will never achieve brilliantly shiny décor or cutouts without spreading it on acetate. You can buy any acetate. I have the ones for cakes, but at work I like using the large sheets because there is more surface area to play with.
- Critical Mass: Make sure you are working with enough chocolate. Too little chocolate will be almost impossible to temper with this method because it will heat and cool too quickly, moving through the ranges too fast to control. I like to use at least a pound of chocolate. Don’t worry, it won’t go to waste. Use that chocolate in a dessert that calls for melted chocolate or chop it to use in place of instead of chips.
Troubleshooting Tempering Dark Chocolate:
- I can’t get my chocolate to stay in range!: I feel this to my core. Make sure you use a metal bowl and an instant read thermometer. I love the temperature guns. They only read the surface temperature, so you have to make sure you are stirring while testing the temperature.
- Why are there streaks in my set chocolate!: If you have streaks in your set chocolate, that means you didn’t agitate or stir it enough while heating and cooling. I know it stinks and you want to do all the other things at the same time, but you have to stir that chocolate!
- Why won’t it set? I swear I did everything right!: Well, your chocolate feels otherwise. Try, try again! You might try again with higher quality chocolate, but this will just make the final product better. You can temper any chocolate. Or just make chocolate cake instead! Think of it as a bonus, because your chocolate is already melted and ready to go.
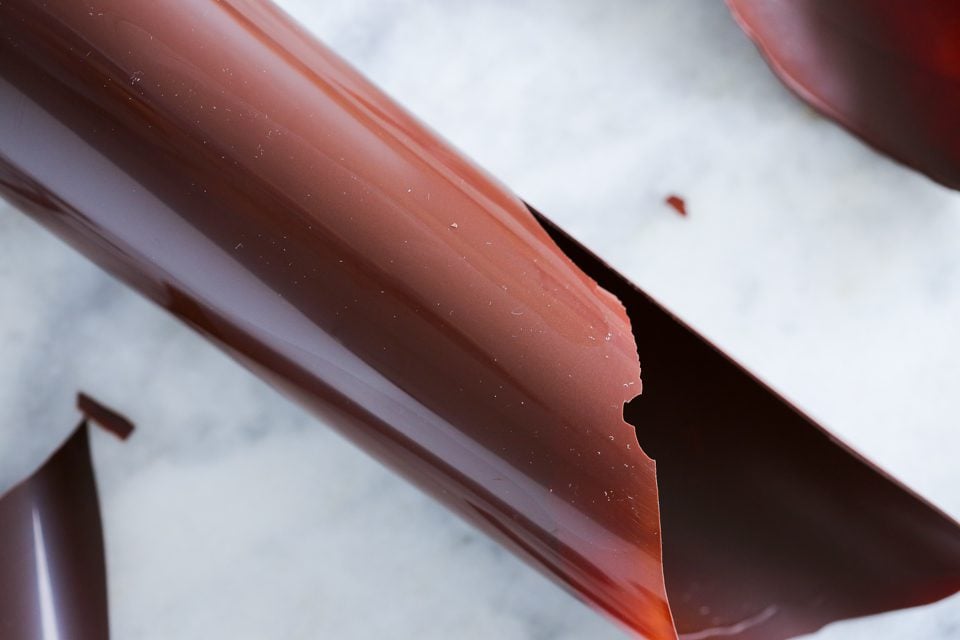
- Why isn’t it shiny?: Well, my love, the long and the short of it is that your chocolate isn’t in that great of a temper. If it set, then it is tempered, but the quality of the temper depends on the whole process. It can also depend on the temperature and humidity of the room, so don’t beat yourself up about it. The good news is that even poorly tempered chocolate tastes delightful on a bonbon! ?
- She thick!: If your chocolate is too thick even in the working range, you won’t be able to get a thin shell or décor. You need to use a chocolate couverture, which is a chocolate that has a higher fluidity. Couverture has extra cocoa butter added to the chocolate, which will make it more fluid, easier to work with, and shinier when in temper. You can fake it by adding pure cocoa butter. This can be in powdered form or like little chips. Most higher quality chocolates will have a high enough fluidity that most people won’t notice.
Woah, Lindsey! That was a lot. Can I get a summary please!? Hear you. Feel that to my core.
Key Facts for Tempering Dark Chocolate with the Ice Bath Method:
- Key Temperatures: Melt chocolate to 120°F. Cool it to 81°F on an ice bath. Reheat it to between 88-91°F
- Working Range: The working range for dark chocolate is 88-91°F. If you are going to do chocolate décor or dip bonbons, then heat it towards the top of the range to make sure you get a nice thin coating on the chocolates or a nice thin layer of chocolate décor.
- Cutting Point: The cutting point is when tempered chocolate is at the perfect point in the setting process where you can make cut outs with a paring knife or shape it. When it sets you will get nice clean lines on your shapes and perfectly smooth shaped décor.
- Testing: Can I get a mic check, one, two? ? Test your chocolate. If it doesn’t start setting on the tip of a knife or offset spatula in a minute or two, it isn’t in temper. You have to start over. Use Enough Chocolate: Make sure you are working with at least a pound of chocolate. Too little chocolate will be almost impossible to temper with this method because it will heat and cool too quickly, moving through the ranges too fast to control.
Tempering Dark Chocolate with the Ice Bath Method:
Ingredients
- 454 g Dark Chocolate or enough to work with
- Ice
Instructions
- Set up a bain marie, which is a pot of simmering water that is large enough to hold your bowl suspended over the water. The bottom of the bowl should not touch the water. The bowl should also be large enough that water cannot push out of the sides of the pot and fall straight in the bowl. You are going to have to control the steam by lifting the bowl occasionally to release it, but condensing water shouldn’t be able to just fall in your bowl.
- Set up an ice bath. Not just ice in a bowl. There needs to be water with the ice so that you get a nice cold bath for the bowl. The ice bath bowl needs to be larger than chocolate bowl and the water/ice level should be low enough that you aren’t going to flood your chocolate with ice water. There is no recovering from that.
- Melt a critical mass of chocolate over the bain marie. I like to work with at least a pound of chocolate. If I will be dipping bonbons, then at least two pounds. Melt the chocolate to 120°F, then remove the bowl from the bain marie. Stir frequently.
- Place the bowl in the ice bath and stir constantly. Remove the bowl from the ice bath every so often to just normalize the temperature and make sure it doesn’t just drop suddenly below 81°F. Once it hits 81°F it is technical in temper but you need to get it into the working range where it will remain in temper but be easier to work with.
- Place the bowl back over the bain marie and gently heat it to between 88°F – 91°F, stirring constantly. I usually like to get it close to the top of the range so I have more time to work with it before I have to reheat it.
- Test your chocolate!! Dip the tip of a pairing knife or metal spatula into the chocolate, tap off the excess and then let it sit. If it doesn’t start setting in a minute or two, it isn’t in temper. You have to start over by melting it down. I know, I know. The injustice of it all.
- Let’s do this! If your chocolate passed the test, then it is time to mold chocolate, dip bonbons, enrobe chocolate or pour it out to make décor! The door to The World of Chocolate has just opened for you. Walk boldly through!
