This post may contain affiliate links. Please read our disclosure policy.
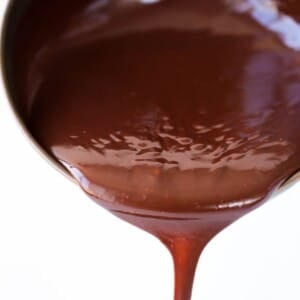
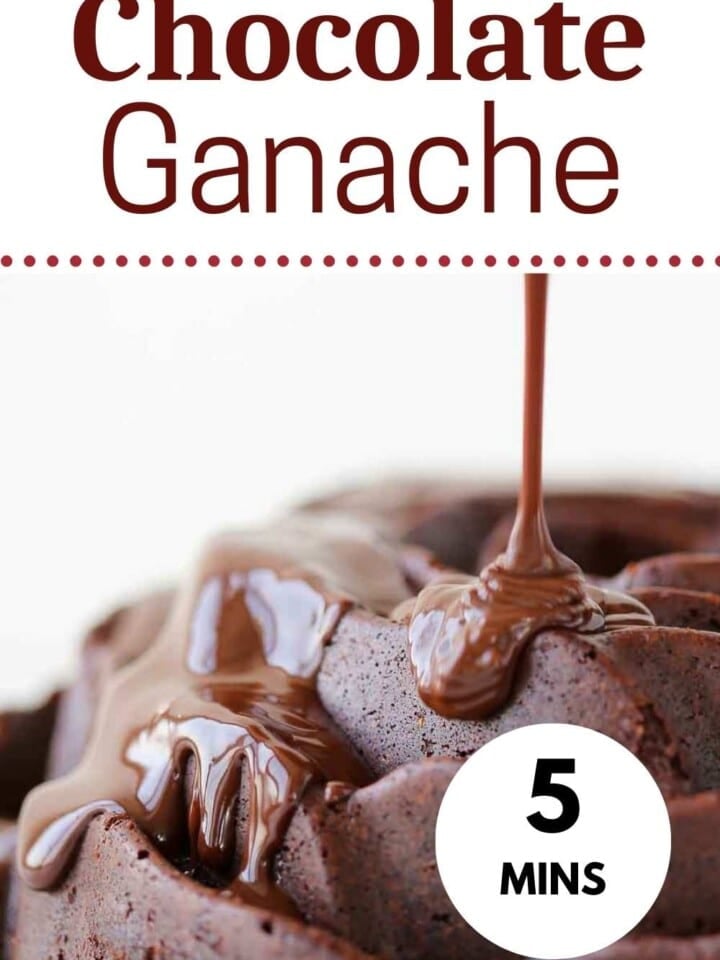
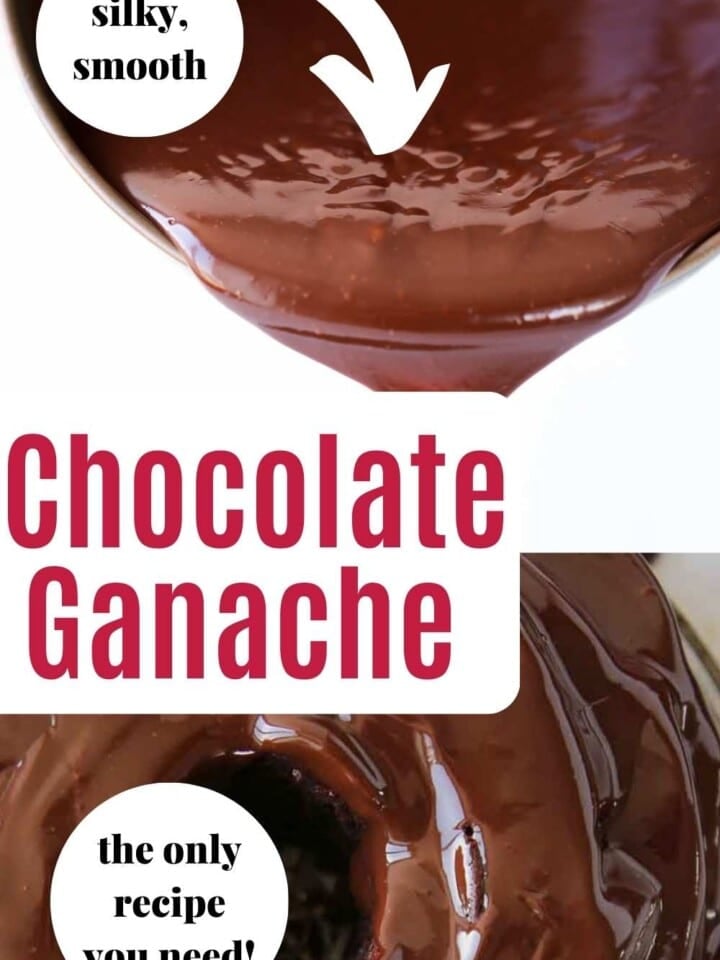
A professional chocolate ganache recipe from a pastry chef that is rich and silky smooth. Plus how to adapt it for each use, troubleshooting and more!
Chocolate ganache is so simple that I did’t even have a written recipe for it. In culinary school we learned about different types, different ratios, and adapting those ratios based on the type of chocolate and use. I will share all that with you so that you won’t need one either!
Before you can understand ganache, you must know a little bit about chocolate. I go more into depth in my How to temper dark chocolate post, but the underlying structure of chocolate is a bunch of crystals. When you are creating ganache, you are melting existing structures and then realigning them and emulsifying them in liquid. The structures will then re-set but looser depending on how much liquid you add.
The other main thing to understand about chocolate as it relates to making ganache is that different chocolates (brands or percentages) have different liquidities. Chocolate manufacturers add cocoa butter back into chocolate to adjust the texture and fat content. The more added cocoa butter, the higher the liquidity, which means that it is looser and more fluid when melted. This can make it easier to temper, have a nice mouthfeel and melt more readily.
If you use a chocolate with a higher liquidity to make a ganache in the same ratio, it might be looser than you intended or than the one you made with melted chocolate chips, for example.
Table of Contents
Why This is the Best Chocolate Ganache Recipe
- Silky smooth, sets soft but sliceable when cold. A basic 1:1 ratio makes a ganache that sets soft, but still holds its shape when refrigerated.
- Easily adaptable recipe. Reduced the heavy cream for a firm ganache, add more cream for a pourable ganache or add alcohol, extracts, butter or corn syrup for different flavors and textures.
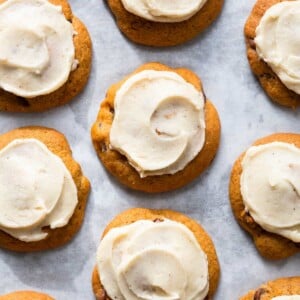
- Incredibly versatile! Use this recipe to top fudgy brownies or nutella cookies, fill chocolate thumbprint cookies, frost a cake like this chocolate zucchini cake, as a glaze, and so much more!
Professional Tips for Making Chocolate Ganache
- Let the hot heavy cream do most of the work. Allowing the hot cream time to melt the chocolate reduces the amount of whisking you’ll need to do, which reduces the likelihood of the ganache crystalizing. It also eliminates the possibility of unmelted chocolate refusing to incorporate.
- Whisk in one direction. Remember those chocolate crystal structure we talked about above? Whisking in one direction encourages good structures to form and reduces the possibility of the ganache seizing.
- Then stop! Once the chocolate has melted and emulsified, stop whisking. Add any extracts or softened butter and whisk only as much as necessary.
- Take additions into consideration. If you are going to add 2 tablespoons of Bourbon, for example, it will considerably soften the ganache. Consider reducing the cream by 1-2 tablespoons to account for the additional liquid.
2 Ingredients Needed
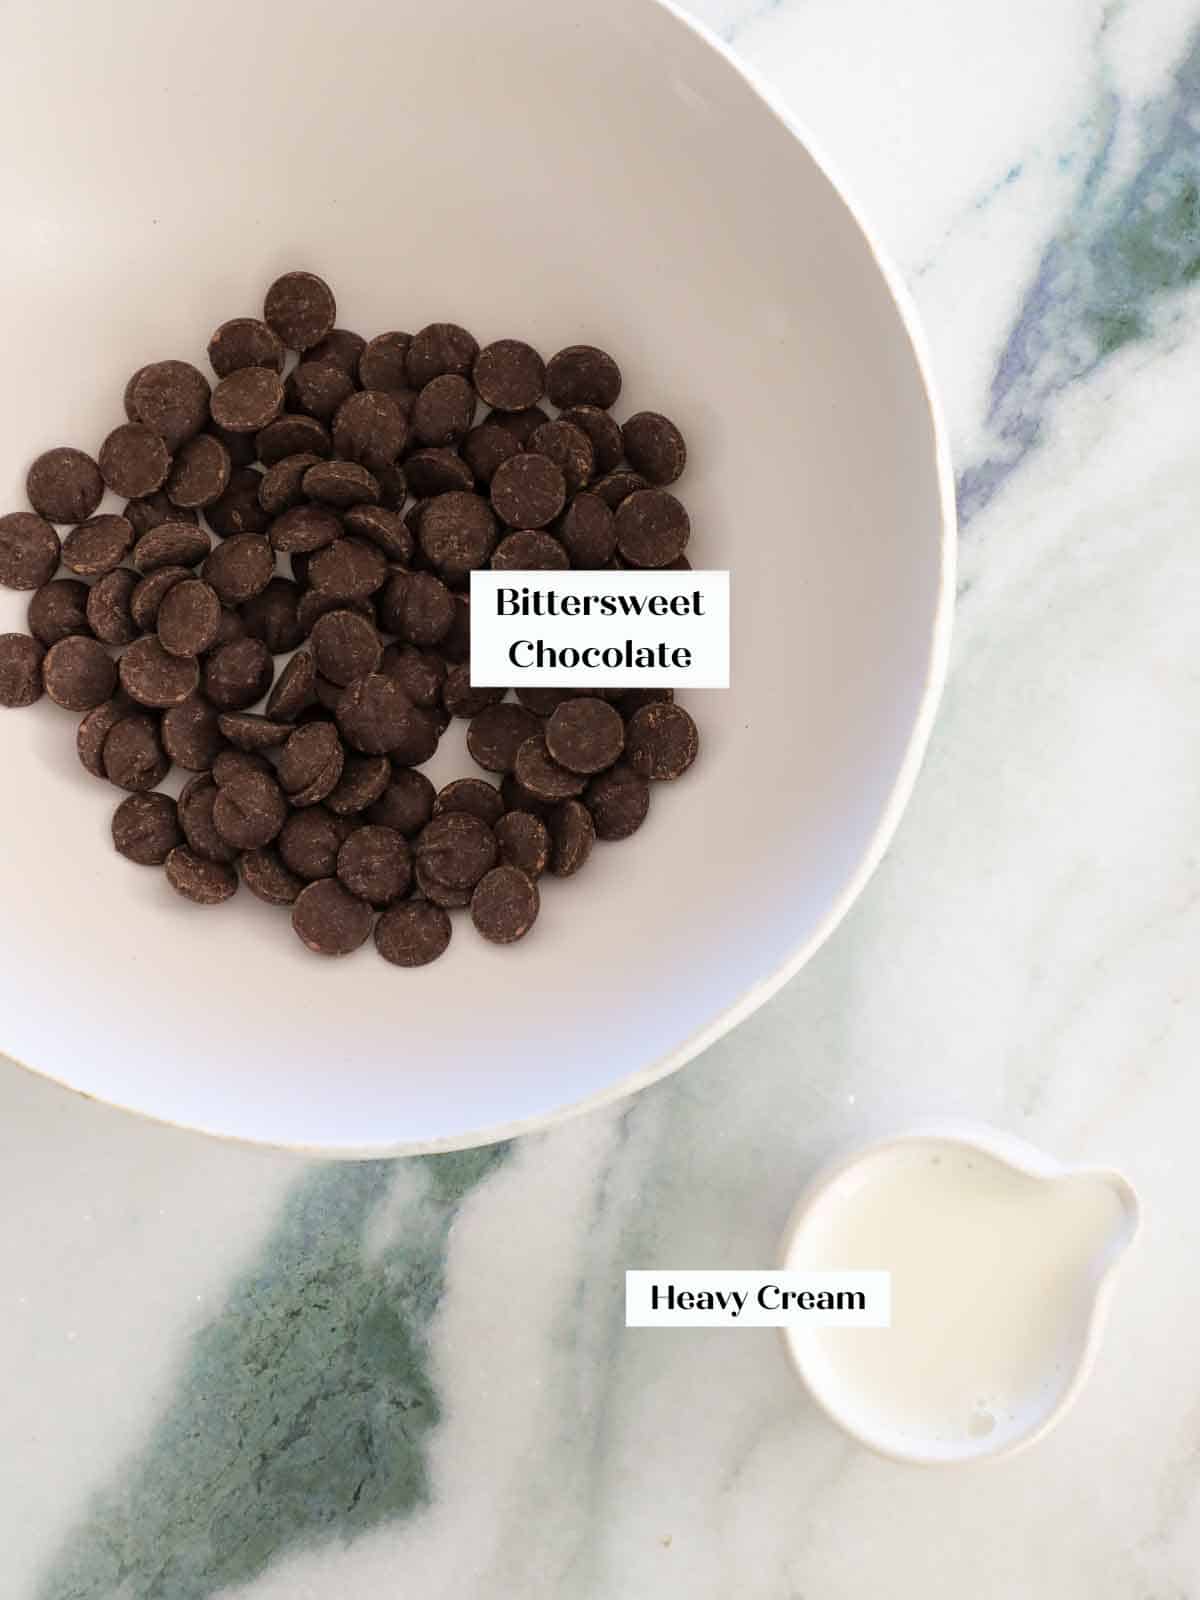
- Chocolate: For a dark chocolate ganache I choose a chocolate between 54% – 100%. Typical baking chocolate bars that are over 75% can have a lower fluidity, so you might want to add a little more cream for the same soft consistency. Higher quality chocolate like Ghirardelli, Guittard, Valrhona, or Scharffen Berger will make a nicer texture and flavored ganache. Semi-sweet chocolate chips have a lot of additives in them, so those will also be thicker.
- Heavy Cream: The fat in heavy whipping cream is what makes ganache tastes so rich. It also helps keep the ganache from breaking. You can use light whipping cream, heavy cream, or even half and half. If you are gentle, it will be fine. I used half and half in the ganache for my chocolate thumbprints and it was great.
See the recipe card for full information on ingredients and quantities.
How to Adapt this Chocolate Ganache Recipe
The basic process for making a ganache is always the same, but you can adjust the ratios, swap the chocolate variety or add some additions at the end once you feel comfortable. Use this as your guide.
- How to change the type of chocolate: You can typically use the same ratio for all semi-sweet or bittersweet chocolate (anything over 54% cocoa solids), but you will need to reduce the amount of cream for milk and white chocolate to achieve the same consistency. Milk chocolate contains milk solids and both milk and white chocolate typically contain more cocoa butter than dark, which will make them set softer than the ratio made with a high percentage dark chocolate.
- How to make a different consistency: For a looser, soft setting (not sliceable) ganache increase the amount of cream, for a firmer setting ganache use half the amount of cream as chocolate. You can also make a looser ganache by adding 1-2 tablespoons of alcohol like I did in my Bourbon truffles.
- How to change the flavor of ganache: You can change the flavor of the ganache by adding extracts like vanilla extract, peppermint extract or coffee extract or by adding alcohol or liqueurs like whiskey, Grand Marnier or Amaretto. You can also add concentrated (reduced) orange juice or infuse the cream. Try infusing with zest, whole spices, espresso powder or even tea.
- How to add butter or corn syrup to ganache and why: Adding butter can make a thicker, more rich and luscious ganache. Whisk softened butter in at the very end of the emulsion so that it doesn’t melt in the hot cream. Corn syrup or glucose can be used to keep a ganache soft even when refrigerated. It can also add a nice sheen when used on a cake topping, for example. I use corn syrup in my chocolate tarts for both those reasons!
How to Use Chocolate Ganache
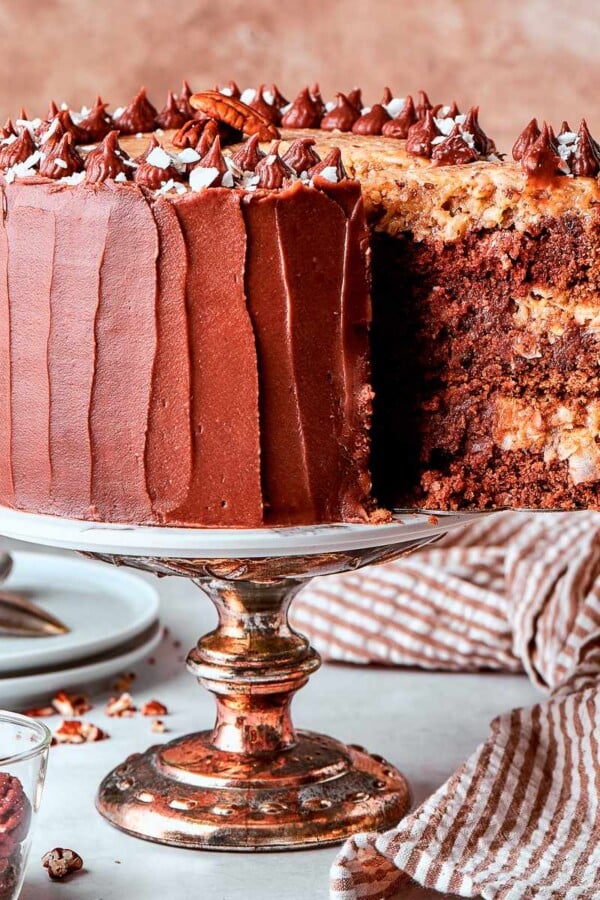
- Use ganache as a filling: Use the recipe as written below as an easy filling for layer cakes or cupcakes as I did in my chocolate cupcake recipe, or you can add a little extra cream and corn syrup to keep the consistency softer as I did for my devil’s food cake! The recipe below is also perfect for filling thumbprint cookies.
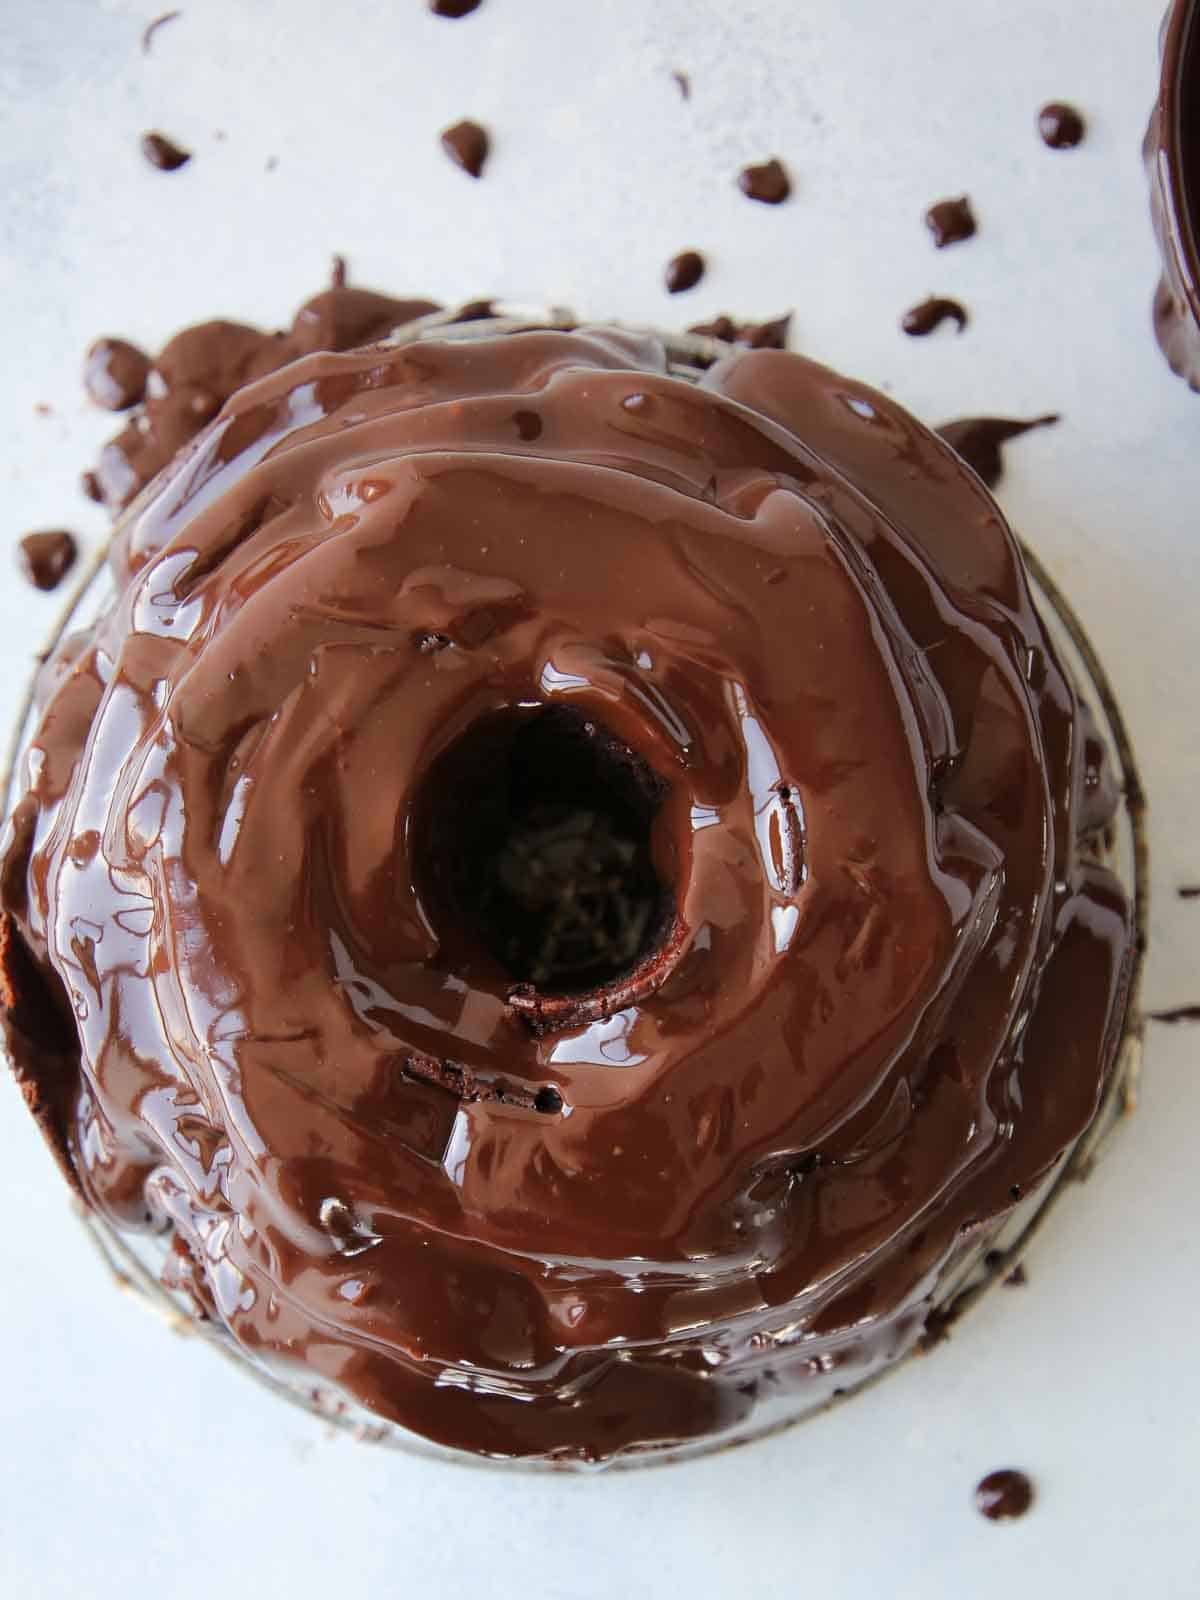
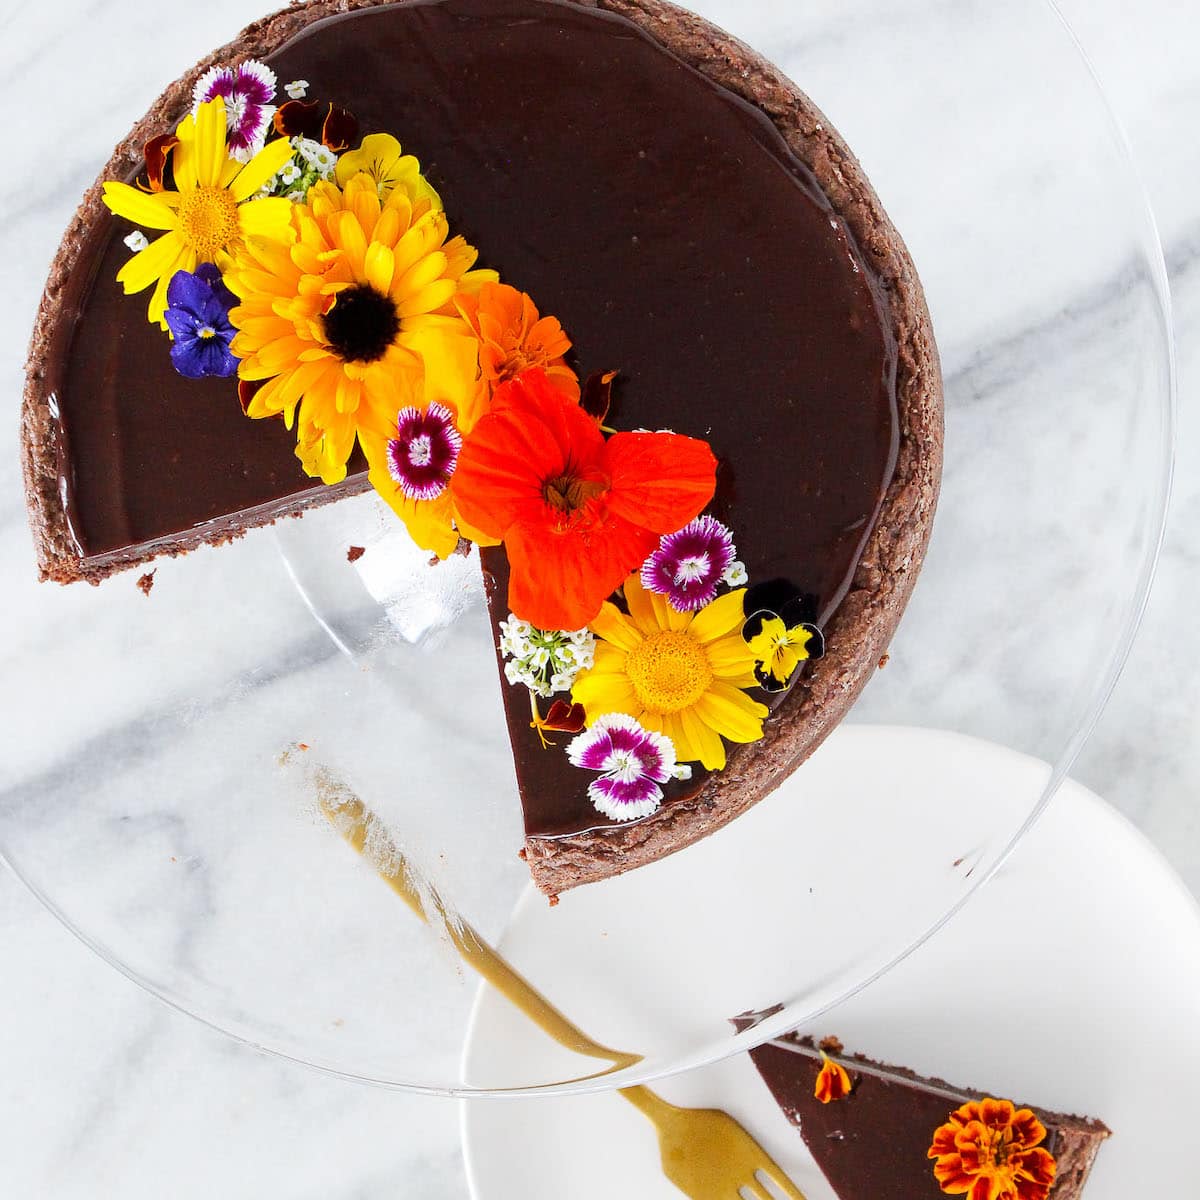
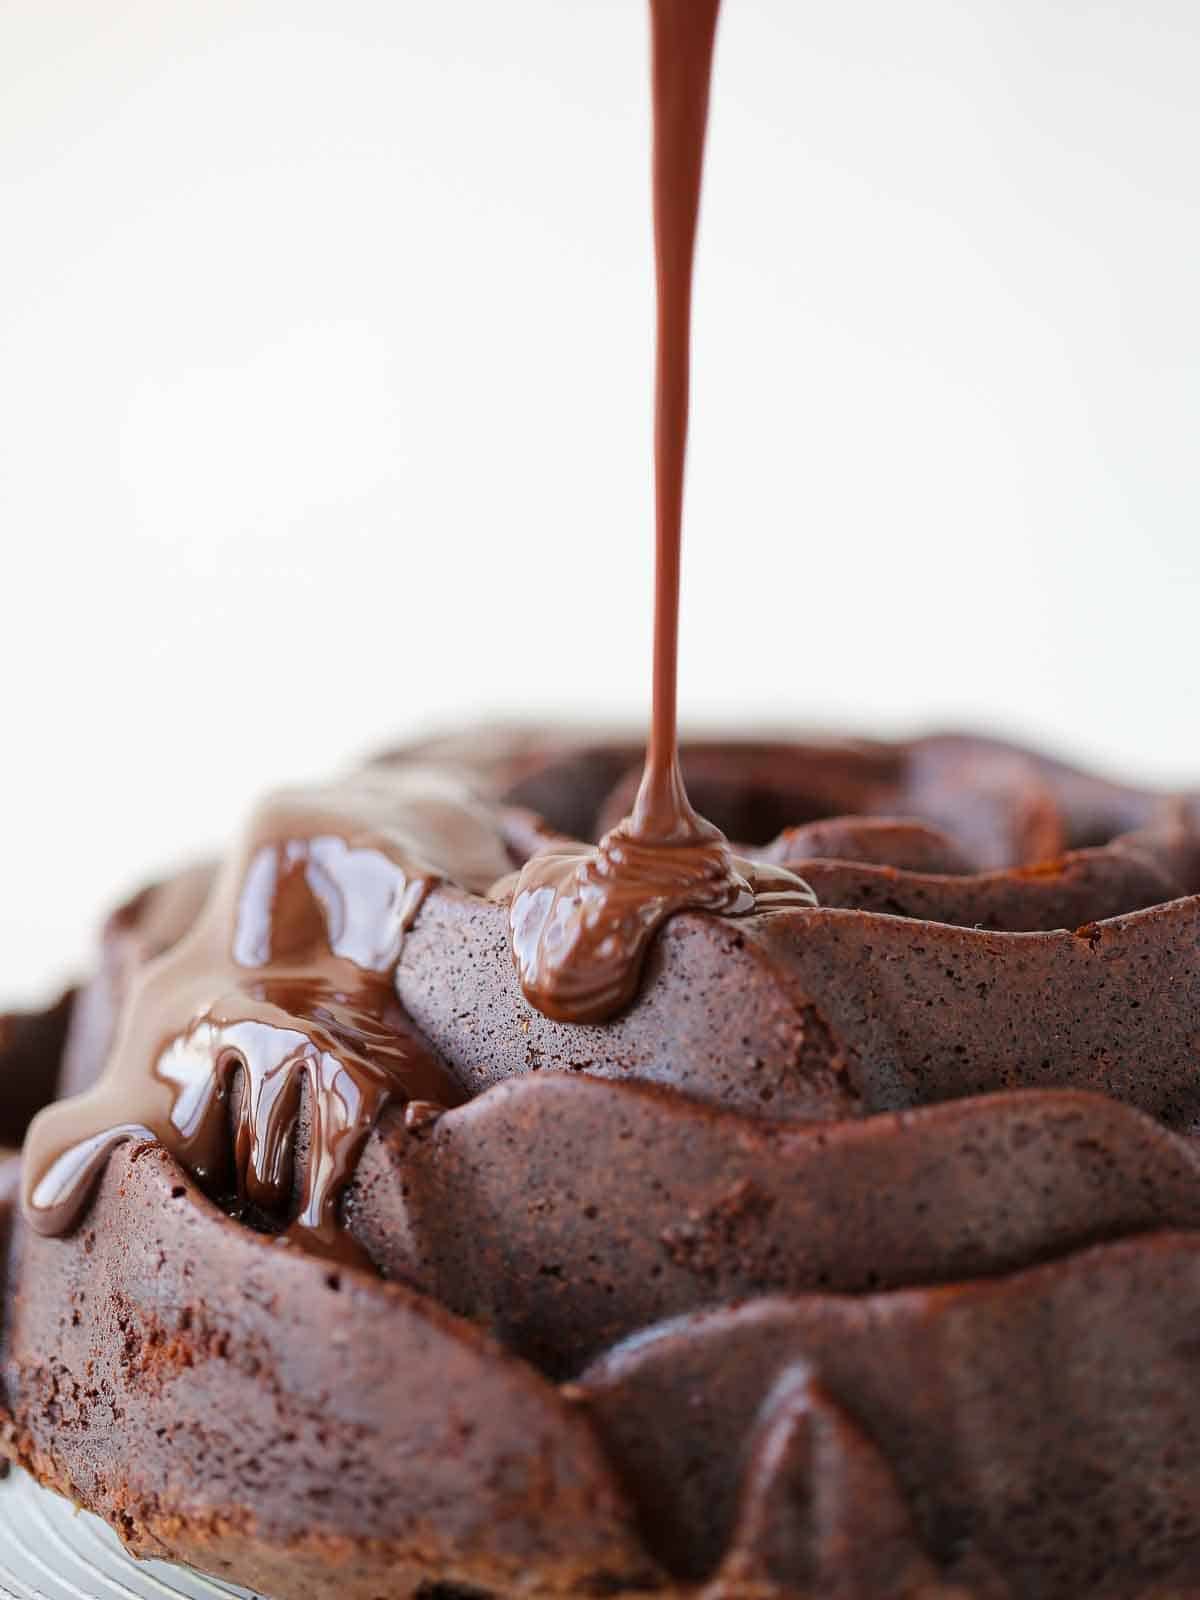
- Top a cake with chocolate ganache. You can pour it over the whole surface like this flourless chocolate torte or chocolate cheesecake, drizzle it decoratively like I did with this chocolate bundt cake or chocolate zucchini cake, or allow it to drip over the edges for a drip cake decoration. It is delicious on chocolate cake, red velvet cake or an unexpected layer in vanilla cake! You can also let it cool and then spread it on as a chocolate ganache frosting.
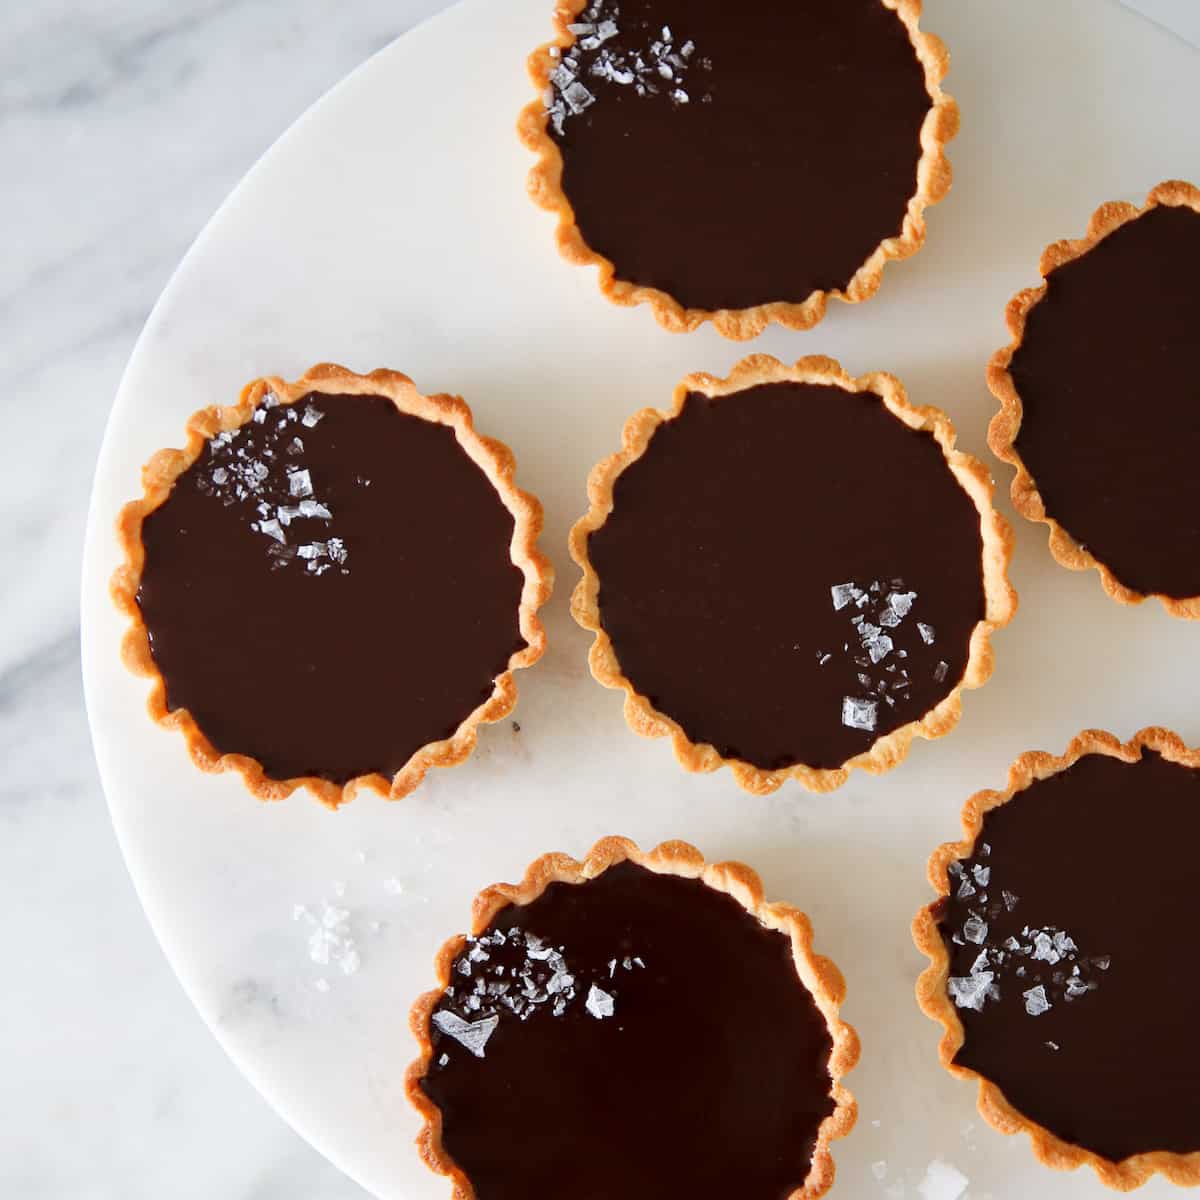
- Use ganache as a tart or pie filling. Ganache is excellent in tarts and pies. It can be the star of the show like these chocolate tarts or it can be one layer of many like my no bake s’mores pie! Change up the flavor by using different tart shells. Try my almond flour tart crust, pâte sûcrée or a no bake graham cracker crust!
- Make whipped chocolate ganache. Refrigerate the ganache until firm then transfer to the bowl of a stand mixer fitted with the whisk attachment or use a hand mixer. Whisk until lightened and fluffy. Use immediately because it will set.
- Use ganache to make simple candies! Rolled chocolate truffles are just fancy speak for ganache that’s been chilled and rolled in different coatings! Try your hand at dipped (enrobed) chocolate Bourbon truffles or simple rolled truffles like these Nutella truffles!
- Use ganache as a dip. Set out warmed chocolate ganache with strawberries, slices of brownies, marshmallows and other fruits as a simple dessert.
How to Make Chocolate Ganache
Use these instructions to make a soft ganache that sets firm and sliceable in the refrigerator! Measurements can be found in the recipe card below.
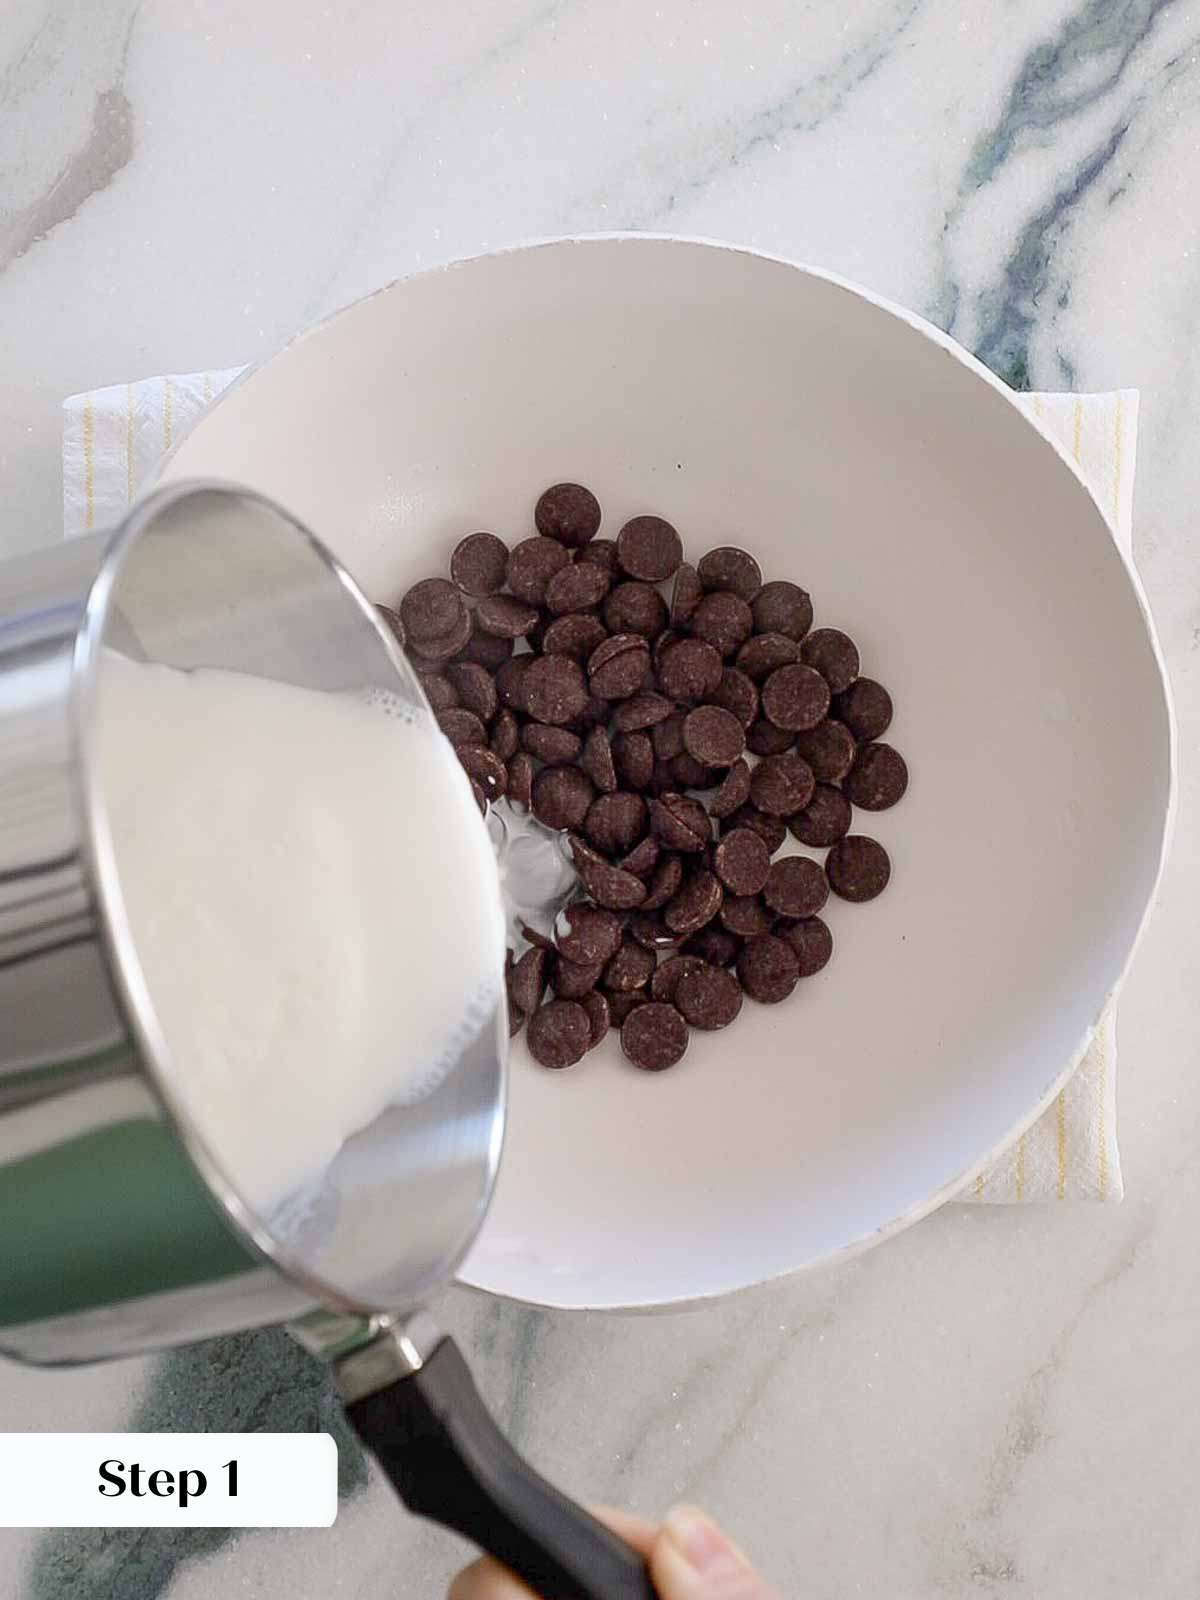
Step 1: Place chopped chocolate or chocolate chips in a medium bowl set on a folded tea-towel. You should also add any salt or corn syrup at this point. Heat cream in a small saucepan just until it comes to a boil then pour over the chocolate.
You don’t want to allow the cream to boil or it will reduce and the resulting ganache will be thicker than you intended.
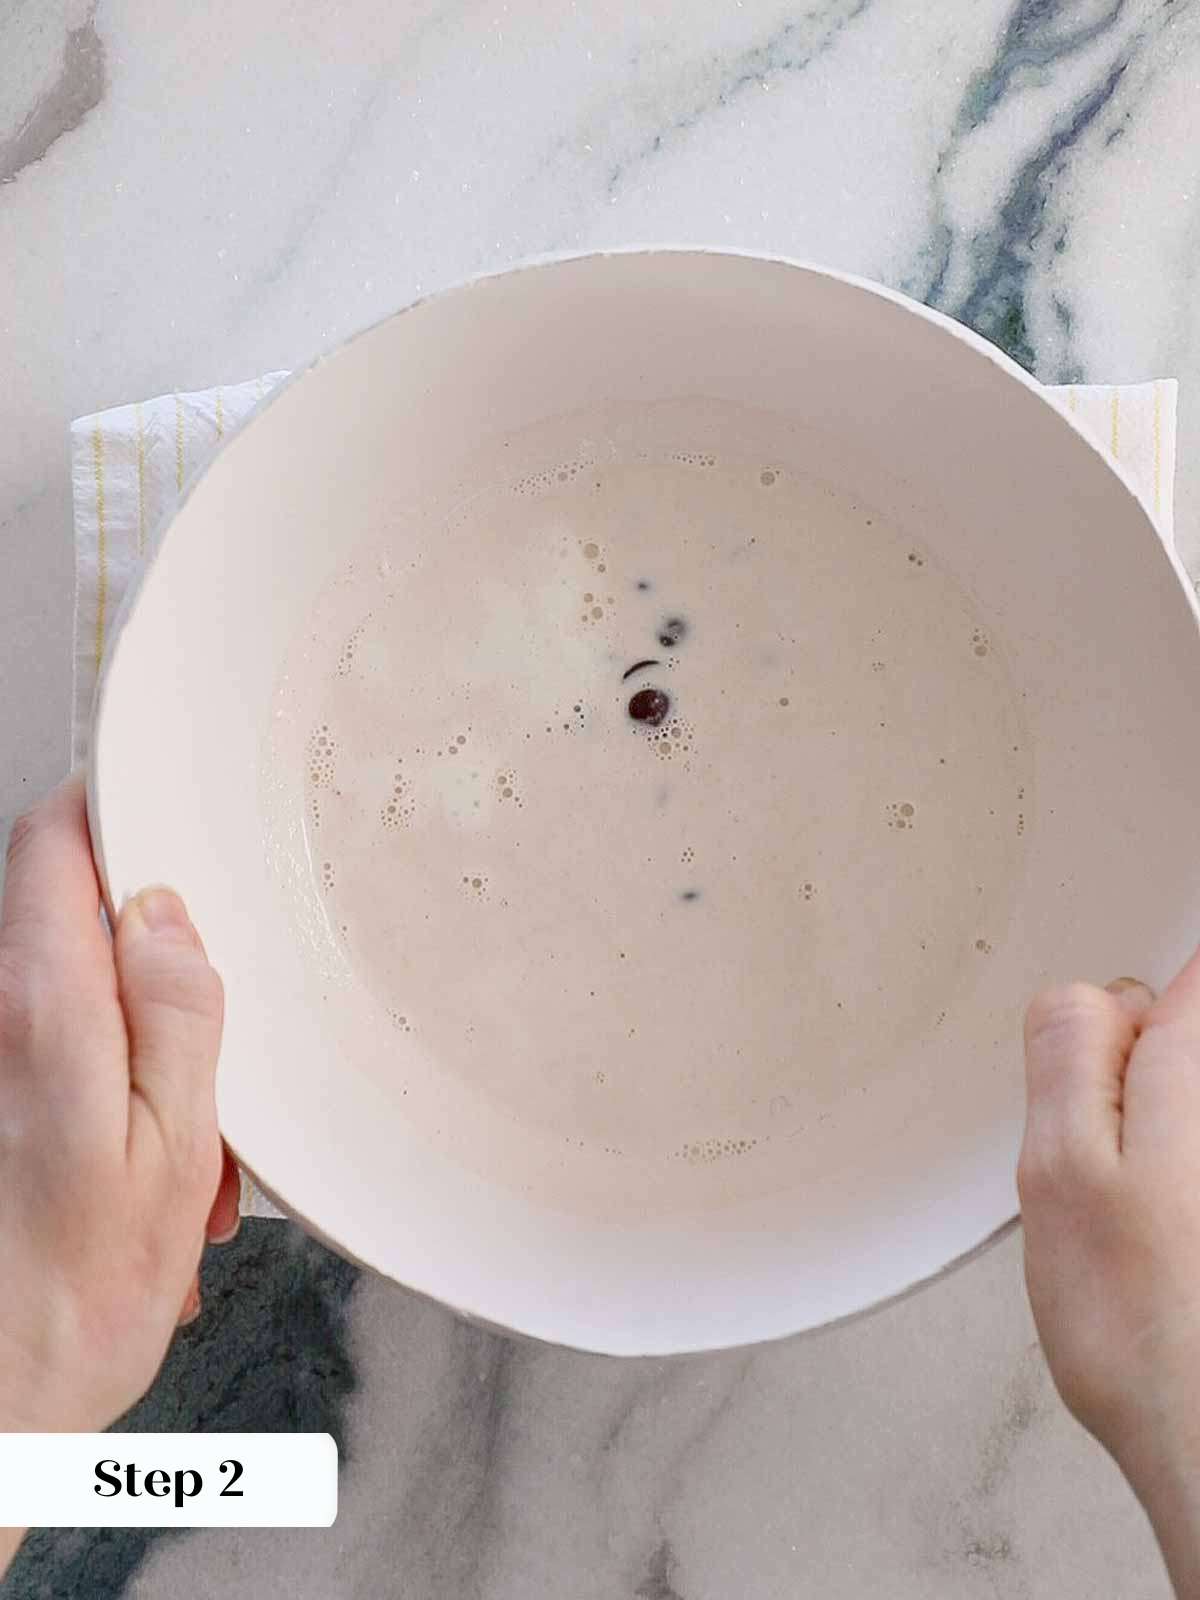
Step 2: Allow the cream to sit on the chocolate undisturbed for 2 minutes. This melts the chocolate and will allow you to emulsify the ganache easily with less whisking. Less whisking means less of a chance for the ganache to break. I find a whisk is more efficient for emulsifying than stirring with a spoon or rubber spatula.
Once you pour the cream on the chocolate, shake it gently to ensure all the chocolate is covered by cream. This can be more difficult when using a lower ratio of cream but still possible with the right bowl.
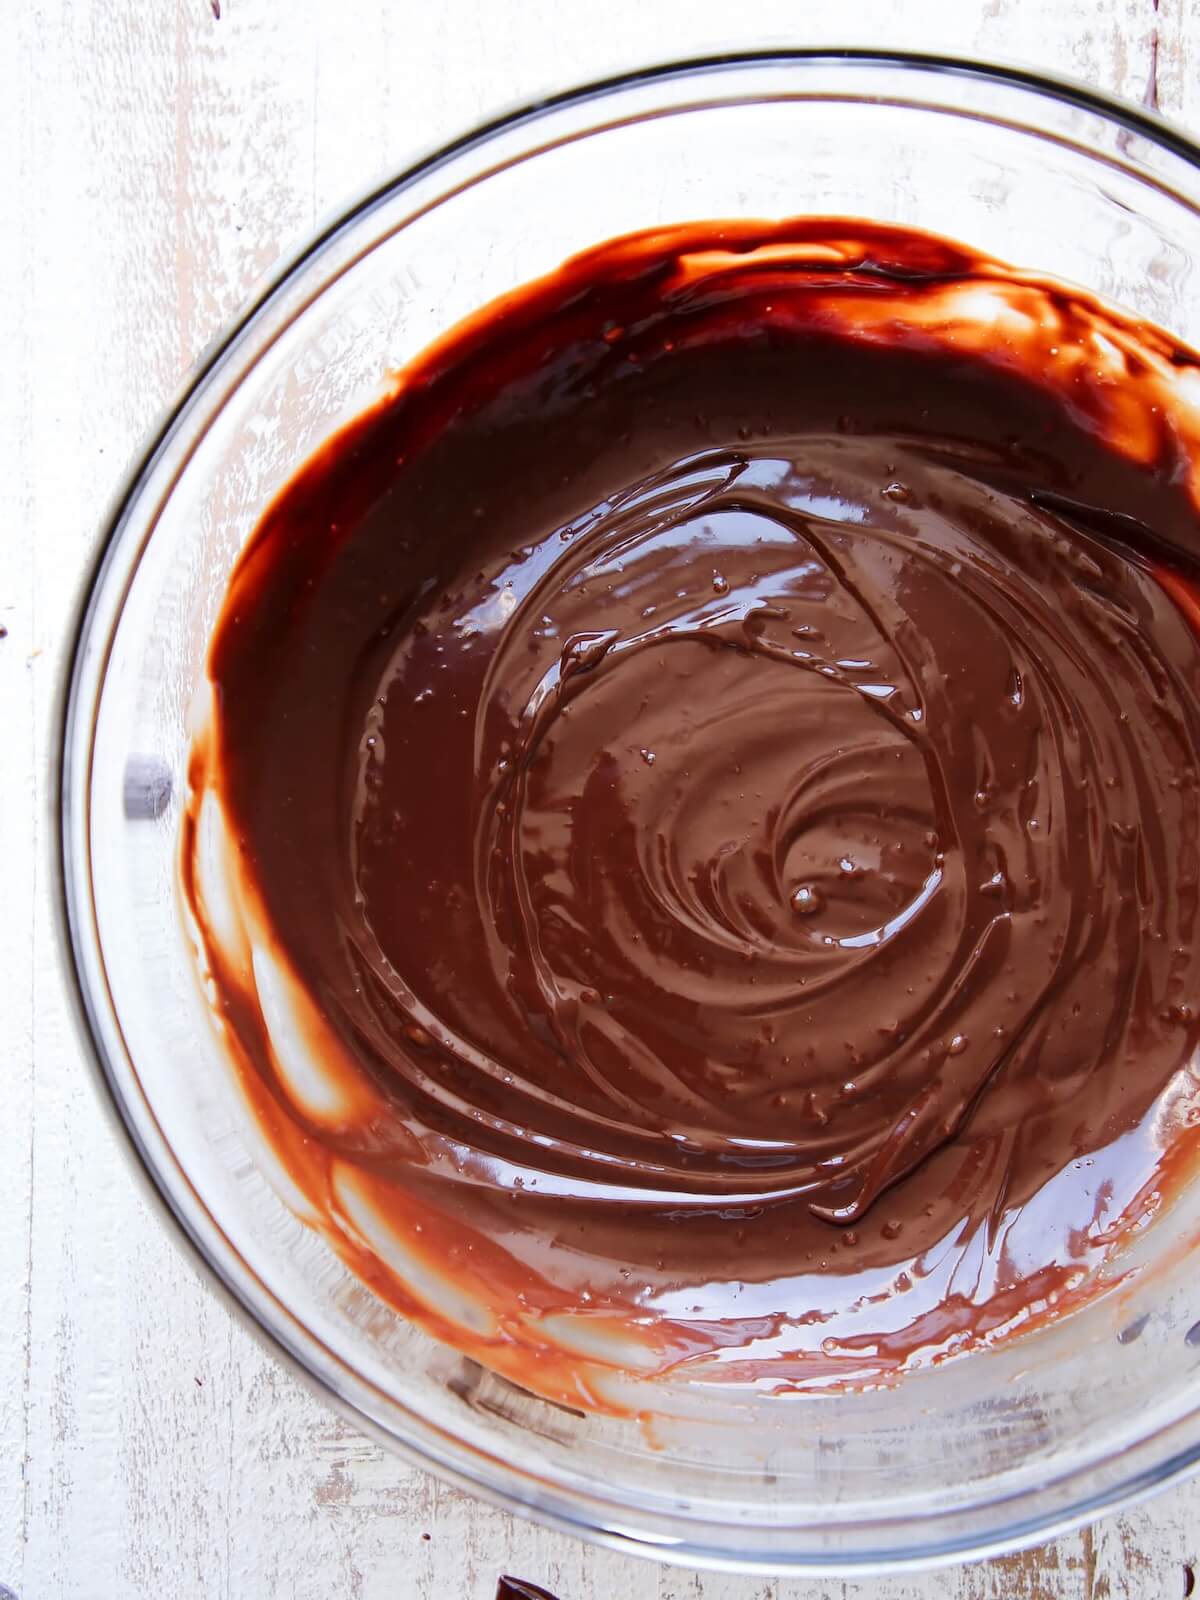
Step 3: Start whisking in one direction in the center of the chocolate until you see a smooth ganache beginning to form. Then gradually make your whisking strokes larger, pulling in more of the cream. Once a smooth ganache forms, stop whisking.

Step 4: Add any flavorings you desire at this point. Whisk just in incorporate.
Step 5: Transfer to a piping bag or cover the surface with plastic wrap and allow to cool depending on the intended use.
Frequently Asked Questions
If your ganache looks separated or oily then the emulsion broke and the fat has separated. Try fixing it first by whisking in (gently) some cold heavy cream. If that doesn’t work, refrigerate for an hour then try gently reheating it in a bowl over simmering water. Don’t allow it to melt all the way on the stove. Remove it, allow it to melt, then try to gently whisk to emulsify.
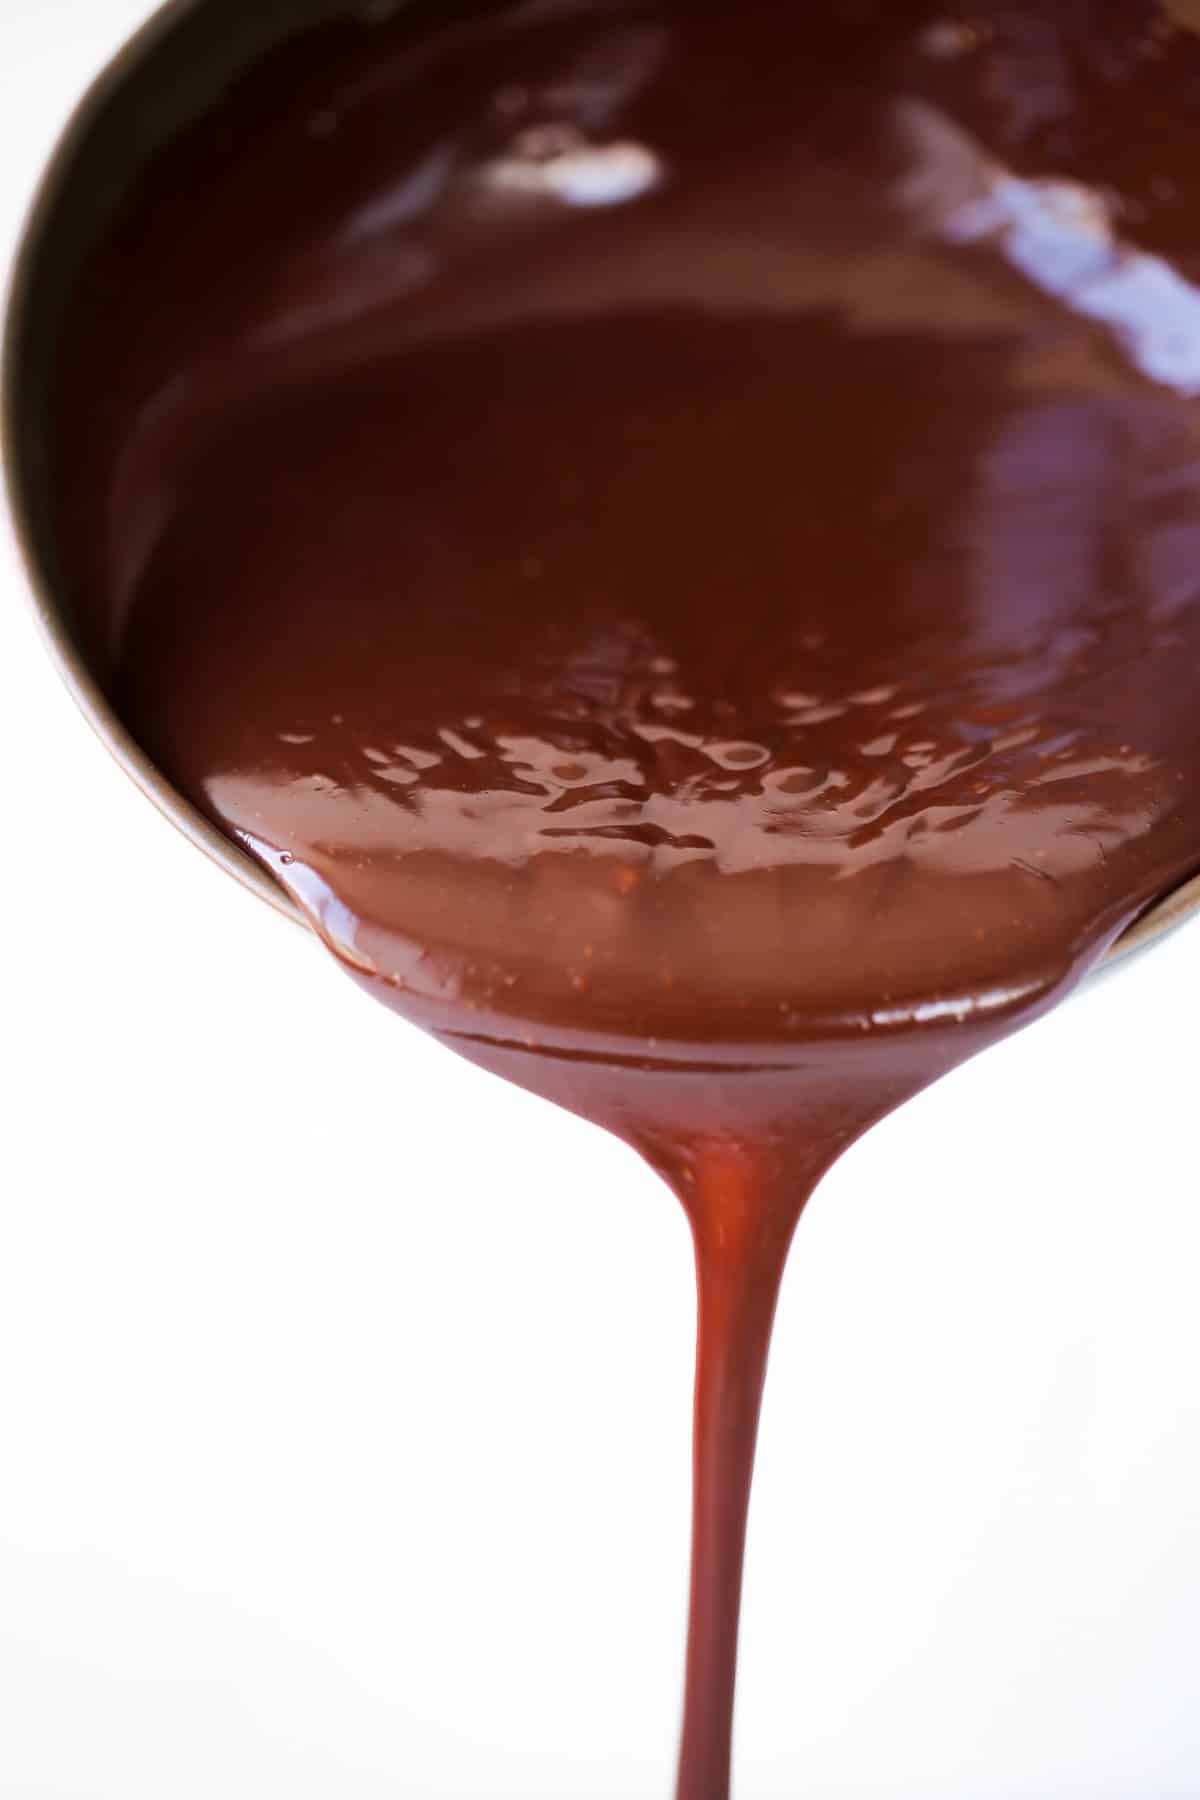
The most basic formula or recipe for ganache is equal parts chocolate and heavy cream. Technically this is measured by weight rather than volume, but equal parts in cups will also work well. For a looser, soft setting (not sliceable) ganache increase the amount of cream, for a firmer setting ganache use half the amount of cream to chocolate.
The firmness of chocolate ganache depends on the ratio of cream to chocolate. A typical equal parts will set soft but firm enough to slice when refrigerated. For a firmer ganache use less cream, a higher percentage chocolate or a chocolate with lower liquidity.
Some heavy cream is the same as heavy whipping cream. It all depends on the fat percentage. Typical heavy whipping cream is around 40% whereas heavy cream can be closer to 35%. For ganache it doesn’t make a huge difference. The more fat, the more stable the emulsion.
After 24 hours ganache should be refrigerated because of the cream. Store prepared ganache in the refrigerator for up to 10 days. I don’t recommend freezing ganache because it can separate or break when thawing.
If you tried this recipe and loved it please leave a 🌟 star rating and let me know how it goes in the comments below. I love hearing from you; your comments make my day!
How to make chocolate ganache
Ingredients
- 3 ounces semi-sweet or bittersweet chocolate chopped or morsels (about ½ cup)
- ½ cup heavy whipping cream
Instructions
- Place chopped chocolate or chocolate chips in a medium bowl set on a folded tea-towel. You should also add any salt or corn syrup at this point. Heat cream in a small saucepan just until it comes to a boil then pour over the chocolate.
- Allow the cream to sit on the chocolate undisturbed for 2 minutes. This melts the chocolate and will allow you to emulsify the ganache easily with less whisking. Less whisking means less of a chance for the ganache to break.
- Once you pour the cream on the chocolate, shake it gently to ensure all the chocolate is covered by cream. This can be more difficult when using a lower ratio of cream but still possible with the right bowl.
- Start whisking in one direction in the center of the chocolate until you see a smooth ganache beginning to form. Then gradually make your whisking strokes larger, pulling in more of the cream. Once a smooth ganache forms, stop whisking.
- Add any flavorings you desire at this point. Whisk just in incorporate.
- Transfer to a piping bag or cover the surface with plastic wrap and allow to cool depending on the intended use.
Notes
Variations – Whisk in extract, alcohol or concentrated juice after emulsifying.
Storage – Store prepared ganache in the refrigerator for up to 10 days. You can also store it at room temperature for 24 hours. I do not recommend freezing ganache. It can separate after thawing.
Nutrition
Before You Go
I hope you enjoyed this professional chef created recipe. Peruse all our chocolate dessert recipes or dive head first into cake recipes, cupcake recipes or ice cream recipes to go with your ganache filling!


It is delicious! Thank you chef Lindsey!
Hi AK! Thank you so much!! 😊 I’m thrilled you loved it and I really appreciate you taking the time to comment!
I have to comment on your instructions.
They are clear and detailed.
The way you “teach” or instruct gave me the confidence to try making caramel for the first time many many ears ago (before you went to culinary school!)
I find all your recipes to be like this and I thank you for taking the time to explain things. It can not be easy. I have tried writing out a recipe for someone and it is amazing the steps you do without even thinking about it.
Keep it up!
Aww thanks, Nikki! Believe it or not I remember you from way back when. Getting a comment from you is like getting a note from an old friend! I can’t believe you found my blog so long ago, but it means so much that you keep coming back and trusting me & my recipes in your kitchen. Happy baking! Let me know if there is anything you’d like to see show up on CLF in particular! ~Lindsey