This post may contain affiliate links. Please read our disclosure policy.
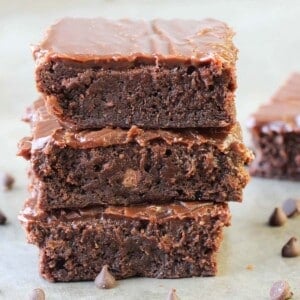
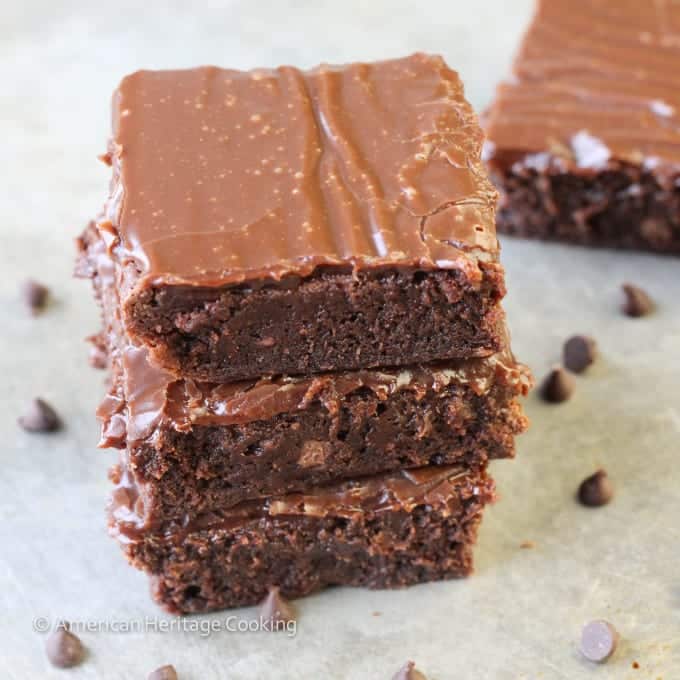
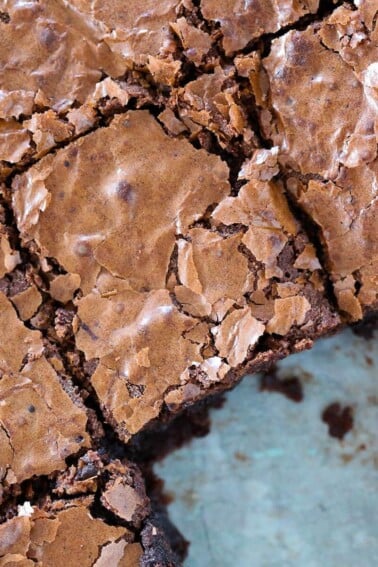
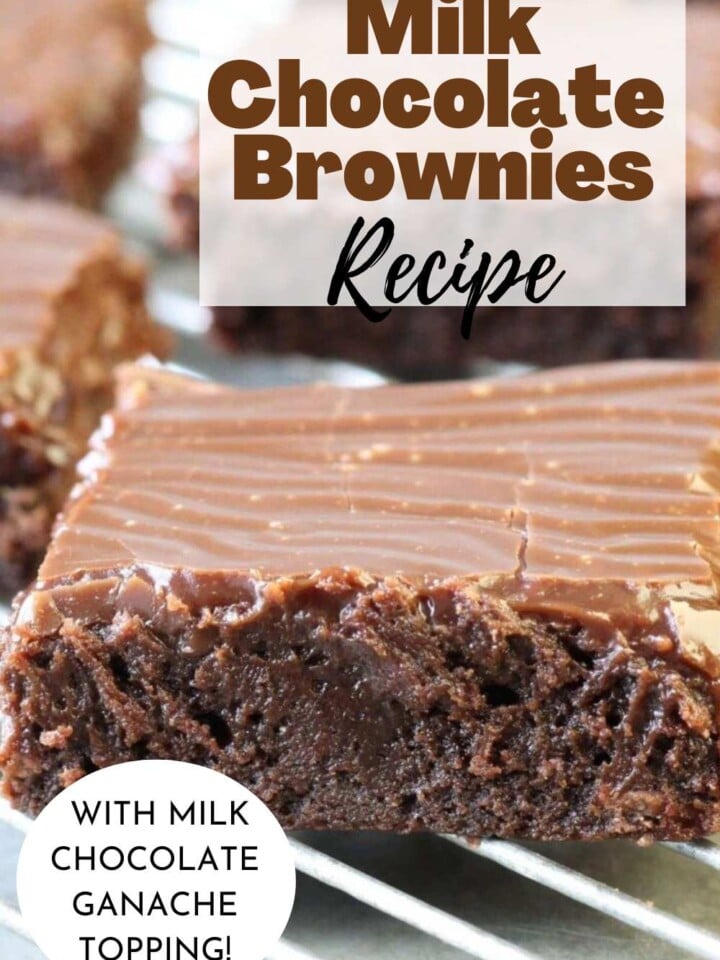
Rich, fudgy, and decadent, these milk chocolate brownies with a creamy chocolate ganache will satisfy any chocolate craving! These brownies are so addictive, before you even know what happened, the whole plate will be gone!

A Quick Look At The Recipe
This is a brief summary of the recipe. Jump to the recipe to get the full details.
Jump to RecipePrep Time
15 minutes
Cook Time
25 minutes
2 hours
Total Time
2 hours 40 minutes
Servings
16 Brownies
Difficulty
Easy
Calories *
242 kcal per serving
Technique
Melt butter and chocolate together, whisk in sugar and egg, fold in dry ingredients, bake and finish with the ganache.
Flavor Profile
Deep milk chocolate and fudgy.
* Based on nutrition panel
I made these for a dinner party and could not believe how clean the ganache set. I followed the tip about waiting for the brownies to cool before pouring and it spread perfectly. Everyone thought I had bought them from a bakery. These are my new go-to brownies. ⭐⭐⭐⭐⭐
Sarah
Why This Recipe is The Best
- Milk chocolate is the primary source of chocolate. Using milk chocolate instead of a blend of dark and unsweetened gives these brownies a distinctly softer, creamier flavor that holds its own.
- Layered textures. The fudgy brownie and silky ganache keeps every bite interesting without any single element overwhelming the others just like with this caramel brownie recipe.
- Parchment lining for clean removal. Lining the pan means the entire slab lifts out intact, so you can cut neat squares without tearing the ganache or dragging the edges.
Table of Contents
- Why This Recipe is The Best
- Ingredients & Substitutions
- Variations on This Milk Chocolate Brownies
- Professional Tips
- How to Make Milk Chocolate Brownies
- Chef Lindsey’s Recipe Tip
- Recipe FAQs
- Recommended Bar Recipes
- Recommended Milk Chocolate Brownie Explosion Recipes
- Milk Chocolate Brownies Recipe
- Before You Go
Even a dark chocolate purest who loves my fudgy brownie recipe {ahem, yours truly} will gobble these up. They are so rich and decadent. The milk chocolate brownie is paired perfectly with a milk chocolate ganache!
If you are looking to find your favorite brownie recipe, you should try my browned butter brownies or these one bowl brownies, and let me know which is your favorite!
Ingredients & Substitutions
- All-Purpose Flour
- Cocoa Powder: Adds a secondary layer of chocolate depth, balancing the sweetness of the milk chocolate. I use Dutch-processed cocoa powder, but you could also use natural if that’s what you have on hand then you can make these brownie cookies next.
- Kosher Salt
- Unsalted Butter
- Milk Chocolate: This is the ingredient that defines the entire recipe, and it is worth buying your favorite milk chocolate. I tested this with several brands, and the difference between a supermarket chip and a good couverture bar is significant enough to change what you think of the finished brownie.
- Granulated Sugar: Sweetens the batter and helps create that slightly crackly top that good brownies are known for.
- Vanilla Extract
- Eggs: Bind the batter and give the brownies their fudgy density. Use large eggs at room temperature so they incorporate evenly without seizing the melted chocolate.
- Heavy Whipping Cream: Emulsifies with the milk chocolate to make the ganache layer. Use full-fat cream for a ganache that sets smoothly and slices cleanly.
See the recipe card for full information on ingredients and quantities.
Variations on This Milk Chocolate Brownies
- Dark or Semi-Sweet Chocolate. Swap the milk chocolate for dark or semi-sweet chocolate in both the brownie batter and ganache for a less sweet, more intensely bitter result.
- Add a swirl or a drizzle. Finish the set ganache with a drizzle of salted caramel sauce. You could also add a swirl to the brownie using the caramel sauce, jam, or peanut butter, like in these peanut butter brownies!
- Mix-ins! What is a good brownie without all the mix-ins! You could add walnuts or pecans, chocolate chips, peanut butter chips, or your favorite candy like M&M’s or chopped Snickers. Bonus points for placing them on top of the ganache before it sets!
Professional Tips
- Use the best milk chocolate you can find. This is not a recipe where mid-range chocolate disappears into a crowd of competing flavors. Milk chocolate is doing all the heavy lifting, so a good couverture bar will make a measurable difference in the finished brownie.
- Do not overbake. Pull the brownies when the top looks set, but the center still has the faintest give, somewhere between 25 and 30 minutes. I always start checking at 25 and have never needed to go past 32, and once you cross 35 minutes, the fudgy texture you are after is gone.
- Let the brownies cool before adding the ganache. Pouring ganache over hot brownies can cause it to slide off or be absorbed unevenly. Smooth it to the edges with an offset spatula in one or two passes. You can pour the ganache on a warm brownie in its pan, but it will set faster if you pour it onto a room-temperature or even a cold brownie.
- Line the pan with parchment. Lift the whole slab out before cutting, which is my go-to move with any layered bar. Trying to cut ganache-topped brownies inside the pan almost always tears the top layer.

How to Make Milk Chocolate Brownies
Start with the brownies, then make the ganache while they bake, so everything is ready to come together at the right moment.
Make the Brownie
Step 1: Preheat the oven and prep the pan. Set your oven to 325°F and line an 8×8 baking dish with parchment paper, leaving enough overhang on the sides to lift the brownies out cleanly later.
Step 2: Whisk the dry ingredients. In a medium bowl, whisk together the flour, cocoa powder, and salt until evenly combined. Set this aside.
You want everything fully incorporated before it goes into the batter, so you do not end up with streaks of cocoa or pockets of salt.
Step 3: Melt the butter and chocolate together. In a large microwave-safe bowl, combine the butter and 2 ounces of chopped milk chocolate. Microwave in 30-second intervals on high power, stirring after each interval, until the mixture is completely smooth. The butter melts faster than the chocolate, so stir well between intervals, even if it still looks chunky. You are looking for a glossy, fluid mixture with no visible chocolate pieces remaining.
You can also melt this mixture over a pot of boiling water.
Step 4: Add the sugar, vanilla, and eggs. Whisk the granulated sugar into the warm chocolate mixture until combined, then add the vanilla and eggs, whisking until the batter is completely smooth and slightly thickened. The eggs need to be fully incorporated.
Step 5: Fold in the dry ingredients. Add the cocoa mixture to the chocolate mixture and stir until just combined, then fold in the remaining 4 ounces of chopped milk chocolate. Do not overmix once the flour is in.
Step 6: Pour the batter into the prepared pan. Transfer the batter to your lined baking dish and smooth it to the edges with a spatula. The batter is thick, so take a moment to push it into the corners for an even bake.
Step 7: Bake the brownies. Bake at 325°F for 25 to 30 minutes, start checking at 25. The top should look set and matte rather than wet and shiny. Pull them when the center no longer jiggles and the top does not leave a wet indent when you gently press it.
These will look underdone when you pull them. The center may feel soft and the edges will have just barely pulled from the parchment. That is exactly what you want. Overbaked brownies are sad brownies.
Make the Ganache
Step 8: Make the milk chocolate ganache. While the brownies cool, combine the remaining 4½ ounces of chopped milk chocolate and the heavy cream in a small microwave-safe bowl. Microwave in 30-second intervals, stirring between each, until the mixture is completely smooth and fluid. The ganache should be glossy and pourable.
If your ganache looks broken or greasy, add a teaspoon of cold cream and stir gently from the center out until it comes back together.
Assemble and Cool
Step 9: Pour and smooth the ganache. Pour the ganache over the brownies and use an offset spatula to spread it evenly to the edges. Work quickly while the ganache is still fluid. You want a level, glossy surface, so use the spatula in long, confident strokes rather than short back-and-forth movements that can drag the brownie’s surface.
Overmixing or working a ganache can cause it to break, so barely whisk to combine and then gently level it out over the brownie
Step 11: Cool completely before cutting. Let the brownies cool at room temperature until the ganache sets, then transfer them to the refrigerator for at least 2 hours before cutting. The center takes longer to firm up than the edges, which is completely normal.
Step 12: Cut and serve. Lift the brownies from the pan using the parchment overhang and transfer to a cutting board. Cut into squares with a sharp knife, wiping the blade clean between cuts for the cleanest edges. Serve at whatever temperature you prefer: cold from the refrigerator, room temperature, or slightly warm.
Chef Lindsey’s Recipe Tip
I like to make my ganache by boiling my heavy cream and then pouring it over the chopped chocolate. Let the mixture sit for 4-5 minutes and then whisk to combine. Be careful not to over-whisk; you can break the ganache. For more tips on ganache head over to this how to make chocolate ganache post!
Recipe FAQs
Yes. Milk chocolate is the intended flavor here, so swapping it will meaningfully change the character of the brownie. Dark or semi-sweet chocolate will produce a less sweet, more intensely flavored result in both the batter and the ganache.
The top should look set and matte rather than shiny and wet, and the center should not jiggle when you gently shake the pan. Start checking at 25 minutes and do not go past 35, because the brownies will continue to firm up as they cool.
Store them in an airtight container at room temperature for up to 3 days, in the refrigerator for up to a week, or in the freezer for up to 2 months. Zip-top bags work well for both refrigerator and freezer storage.

Recommended Bar Recipes

Brownies & Bars Recipes
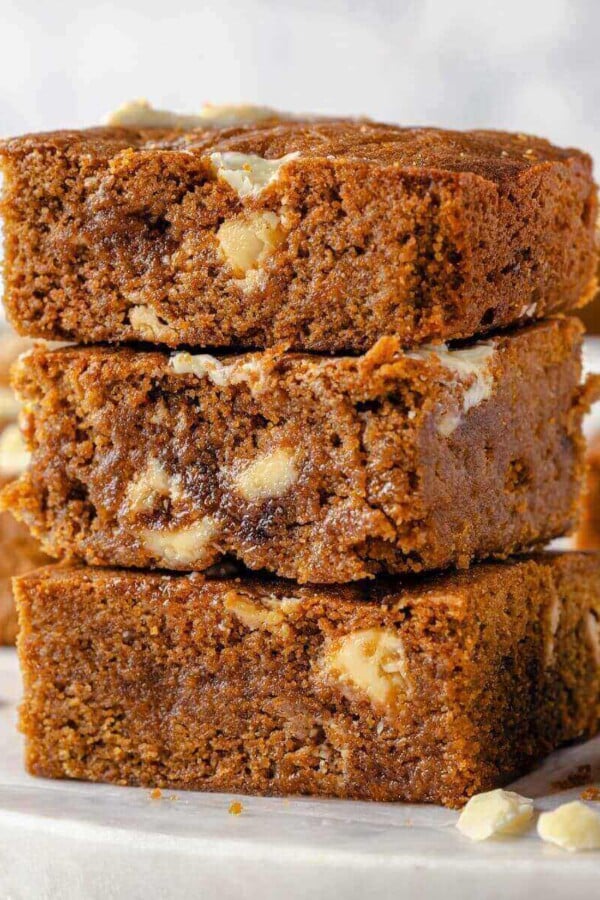
Blondies Recipe
Brownies & Bars Recipes
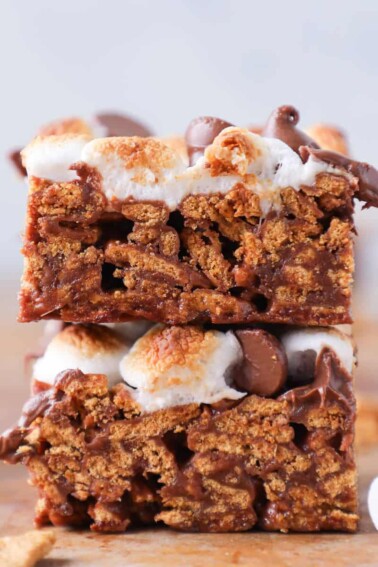
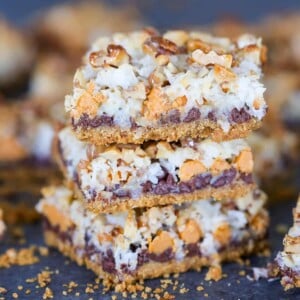
No Bake Golden Graham Smores Bars
Brownies & Bars Recipes
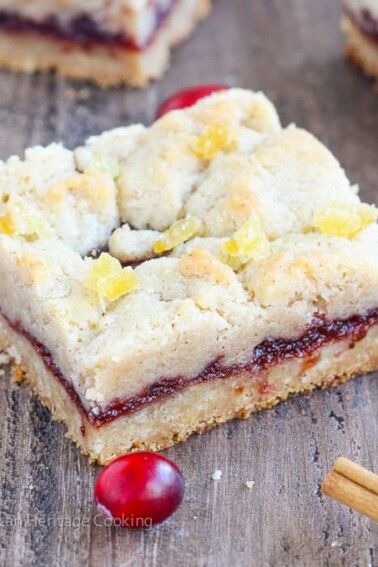
Cranberry Cinnamon Jam Bars
Brownies & Bars Recipes
Fudgy Brownie Recipe
If you tried this recipe and loved it please leave a 🌟 star rating and let me know how it goes in the comments below. I love hearing from you; your comments make my day!
Milk Chocolate Brownies
Ingredients
Milk Chocolate Brwonies
- ½ cup all-purpose flour
- ½ cup cocoa powder
- ½ teaspoon kosher salt
- 10 tablespoons unsalted butter
- 2 ounces milk chocolate — chopped
- 1 cup granulated sugar
- 1 tablespoon vanilla extract
- 2 eggs
- 4 ounces milk chocolate — chopped
Milk Chocolate Ganache
- 4½ ounces milk chocolate
- 2 tablespoons heavy cream
Instructions
- Preheat the oven to 325°F and line an 8×8 baking dish with parchment paper.
- Whisk together the flour, cocoa powder, and salt in a medium bowl. Set aside.
- Combine butter and 2 ounces of chopped milk chocolate in a large microwave-safe bowl. Microwave in 30-second intervals on high power, stirring after each, until the mixture is completely smooth.
- Whisk sugar into the melted chocolate mixture until combined, then add the vanilla and eggs and whisk until the batter is smooth and fully incorporated.
- Stir the flour mixture into the chocolate mixture until just combined, then fold in the remaining chopped milk chocolate. Pour the batter into the prepared pan and smooth it to the edges with a spatula.
- Bake for 25 to 30 minutes, until the top looks set and matte. Do not overbake; 35 minutes is the absolute maximum.
- While the brownies cool, make the ganache: combine the chopped milk chocolate and heavy cream in a small microwave-safe bowl and microwave in 30-second intervals, stirring between each, until completely smooth. 8.Pour the ganache over the top and smooth it to the edges with an offset spatula. Let cool completely before cutting, about 2 hours in the refrigerator.
Notes
Doneness Cue: The top should look set and matte rather than shiny and wet; the center should not jiggle when you gently shake the pan.
Storage: Store in an airtight container at room temperature for up to 3 days, in the refrigerator for up to 1 week, or frozen for up to 2 months.
Make Ahead: The brownies can be baked a day in advance and stored at room temperature; pour the ganache on the day you plan to serve them for the cleanest finish.
Nutrition
Before You Go
These fudgy, milk-chocolate-loaded brownies with their crisp edges and glossy ganache tops are the kind of thing that disappears fast, so consider making a double batch. Find more recipes like this in brownies and bars recipes, or make my favorite carmelitas recipe next!


Oh my… irresistible brownies.. I was trying to stay away from chocolate for a couple of days but definitely can’t resist now after seeing this 🙂
These fudgy brownies will sabotage even the best dieter!! They are insanely good!
*DROOL*
Can you please make me a batch?! 🙂
Lol! Only if you don’t mind it arriving in a flat rate envelope 😉
Oh my goodness, Lindsey, these look amazing! I’m with you on the love of dark chocolate, but these these look so rich and fudgy. We need variety in our brownie diet, right? Pinned!
We do indeed! Thanks for the pin! I promise that after one bite of these brownies, you’ll be saying, “Dark Chocolate who?”
Making my mouth water at 5:30 a.m., now craving a chocolate brownie. Nice! These look amazing. Although I have to say, I’m completely baffled (and jealous?) that you were able to put them in a flat rate envelope and they arrived safely. Girl, that is talent!
There is nothing wrong with dessert for breakfast, or so you keep telling me! As for the mailing, I think that was just good old-fashioned luck! It’s not necessary something I would expect to work again. 🙂
I’m DYING right now. I want to eat my computer screen – the fudgy. OMG the fudgy. And the ganache. #heaven
Thanks, Dorothy! I’ll never understand people who like cakey brownies. Never. If I wanted cakey, I’d eat cake!
I love ghirardelli too ;P
and girrrrrrl SO CHOCOLATEY! Rich, fudgy, just-mmmmm!!! I think the Italian Thick Hot Chocolate is the perfect parallel for these brownies-cuz sometimes milk chocolate is the way to go!
Mmmm you are SO right! That hot chocolate…I die!
Magnificent milk chocolate brownie bars! Your friend is very lucky and so are you the way you packed these for shipping. 😉 You crack me up! Cannot wait to make these. You’ve outdone yourself, my friend. These will surely go viral at Pinterest. Pinning (already did)!
Thanks for the pin! My gf said that they actually arrived completely unscathed! I was SHOCKED! Hope you do make them!
Looks heavenly. I think milk chocolate is probably my favorite too. I rarely keep it in my pantry though for baking. I was just looking for a cookies to make to bring to work tomorrow and decided on one that calls for milk chocolate. I will have to stop by the store on my way home or get a Hersheys bar from our vending machine.
Oh I definitely stock my pantry full of any type of chip imaginable!! It’s bad for the waistline but it does make whipping up recipes randomly easier! I hope you share the recipe you are making for the office!