This post may contain affiliate links. Please read our disclosure policy.
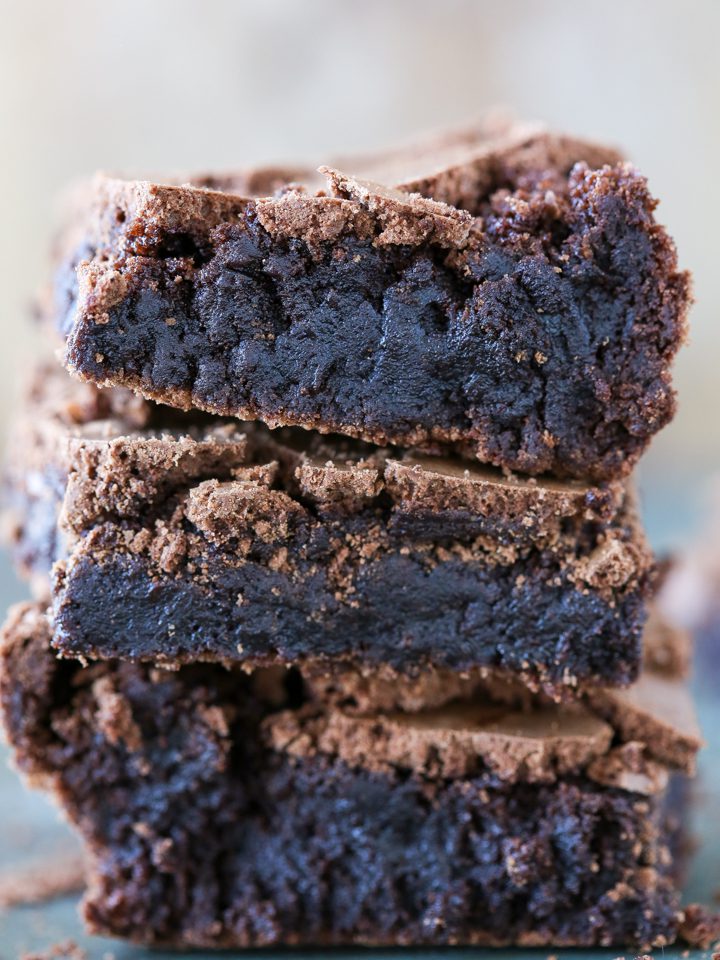
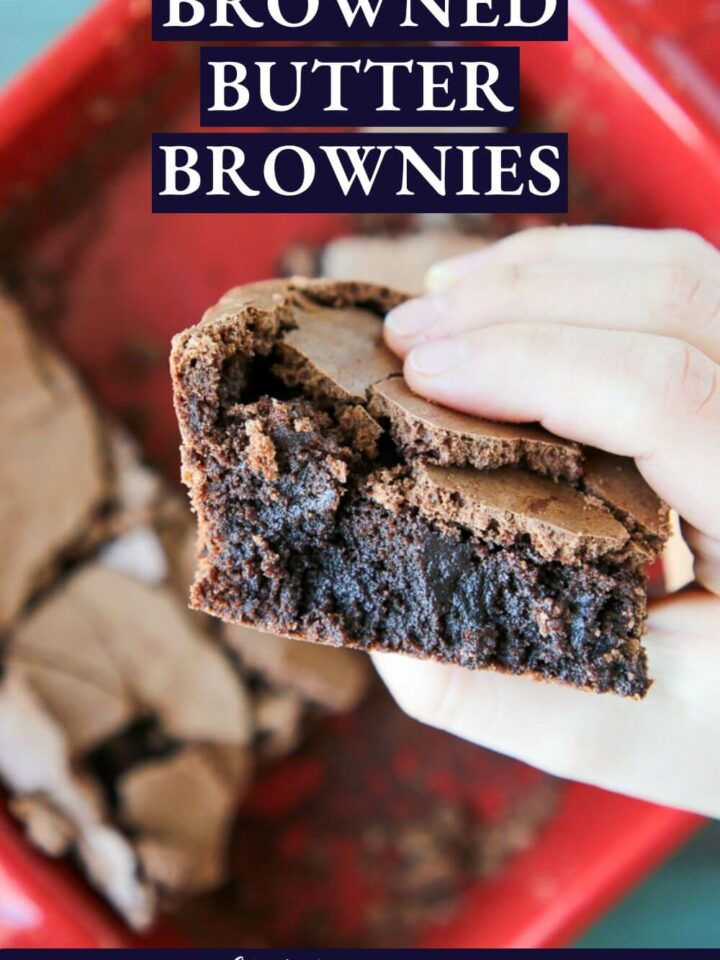
Looking to elevate your brownie experience? Look no further than these brown butter brownies! They are chewy and fudgy and have a hint of a nutty flavor from the beurre noisette!
A Quick Look At The Recipe
This is a brief summary of the recipe. Jump to the recipe to get the full details.
Jump to RecipePrep Time
20 minutes
Cook Time
20 minutes
Total Time
35 minutes
Servings
16 sqaures
Difficulty
Intermediate — ribbon stage eggs and brown butter technique required.
Calories *
191 kcal per serving
Technique
Brown butter, melt chocolate, whip eggs to ribbon stage, fold and bake.
Flavor Profile
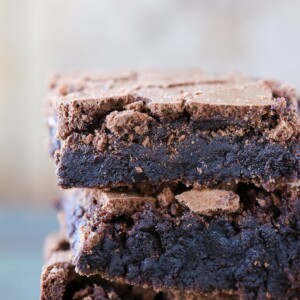
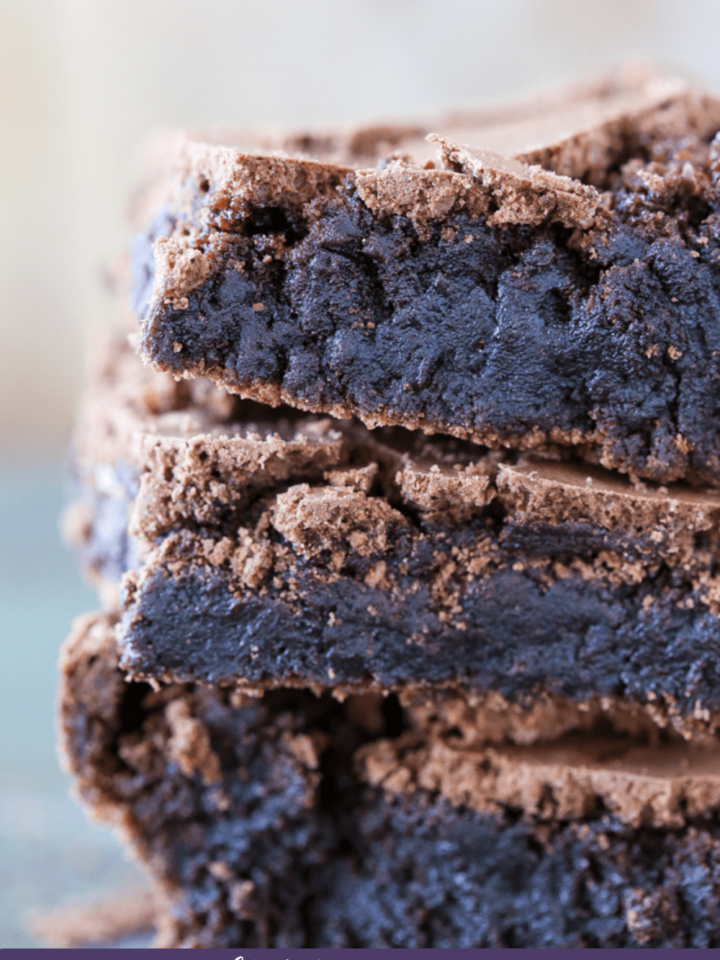
Nutty, bittersweet, fudgy with a crisp crackle top.
* Based on nutrition panel
I have made brownies for years and these are in a completely different category. The ribbon stage step made a noticeable difference in the top crust, and the brown butter flavor comes through in every bite. These are my new brownies for when I want to wow! ⭐⭐⭐⭐⭐
Marisa
Why This Recipe is The Best
- Brown Butter! The brown butter elevates the brownie’s flavor. The slight hazelnut flavor complements the chocolate without overwhelming it.
- Minimal flour keeps the texture dense and fudgy. A low flour ratio means the structure stays tight and moist rather than cakey, so every square holds together at the edges and stays soft through the center.
- The texture. Using whole-egg foam as the leavening agent makes the brownies light and fudgy. The melted butter makes them chewy and gives them a melt-in-your-mouth texture.
Table of Contents
Sometimes, the best takes a little work! These brownies have a few more steps than our easy one bowl brownies, but I promise they will be worth it! Browning the butter adds a wonderful nutty flavor that enhances but doesn’t overpower. The whole-egg mixing method is a foolproof pastry technique for rich, fudgy brownies.
If you prefer a brownie with a different flavor profile, my caramel brownie recipe or these milk chocolate brownies are worth bookmarking.
Ingredients & Substitutions
- All-Purpose Flour
- Cocoa Powder: I like to use Dutch-processed cocoa powder in these and my banana brownies to add a more robust and round chocolate flavor. Natural cocoa will work in a pinch, but the flavor will be slightly sharper and less rounded.
- Chopped Chocolate: Melted into the batter, chopped chocolate adds richness and a fudgy structure that cocoa alone cannot achieve. Use a good-quality bar chocolate with at least 54% cacao, which is what I always use for the most pronounced chocolate flavor, just like with this fudgy brownie recipe!
- Unsalted Butter
- Sugar and Light Brown Sugar: Using both granulated and brown sugar gives the brownies a balanced sweetness with a faint molasses undertone from the brown sugar. The sugar is here for sweetness, but the sugar ratio is also essential for texture and that signature crinkly top.
- Kosher Salt
- Eggs: Three cold eggs provide structure and richness. Cold eggs specifically help the batter emulsify properly and contribute to a denser, more fudgy result rather than a puffed, cakey one.
- Vanilla Extract
See the recipe card for full information on ingredients and quantities.
Variations on These Brown Butter Brownies
- Did anyone say SWIRL? Try adding salted caramel sauce, Nutella, or a jam of your choosing. You could also make my peanut butter brownies. Pipe or dollop them onto your brownie batter and swirl them in with a toothpick or butter knife.
- Any mix-ins or toppings you want. We have made these brownies with M&M’s, additional chocolate chips, peanut butter chips, chopped Reese’s, Reese’s pieces, walnuts, and pecans. You can add them to the batter before baking or sprinkle them over the top!
- Top with frosting! The frosting pairings are endless. I suggest this cream cheese buttercream frosting or this chocolate buttercream frosting recipe.
- Make it a S’more! Make a no-bake graham cracker crust, put it on the bottom of your baking dish, pour the batter over, and add more on top with mini marshmallows!
Professional Tips
- Brown the butter past the point of comfort. Most home cooks pull the butter off the heat too early. You want deep amber milk solids stuck to the bottom of the pan and a smell firmly in toasted-hazelnut territory, not just lightly golden.
- Check the chocolate mixture temperature before adding eggs. The brown butter and chocolate mixture should feel close to body temperature before you pour it into the whipped eggs. If it is too hot, it will scramble the eggs and deflate the ribbon stage you worked to build.
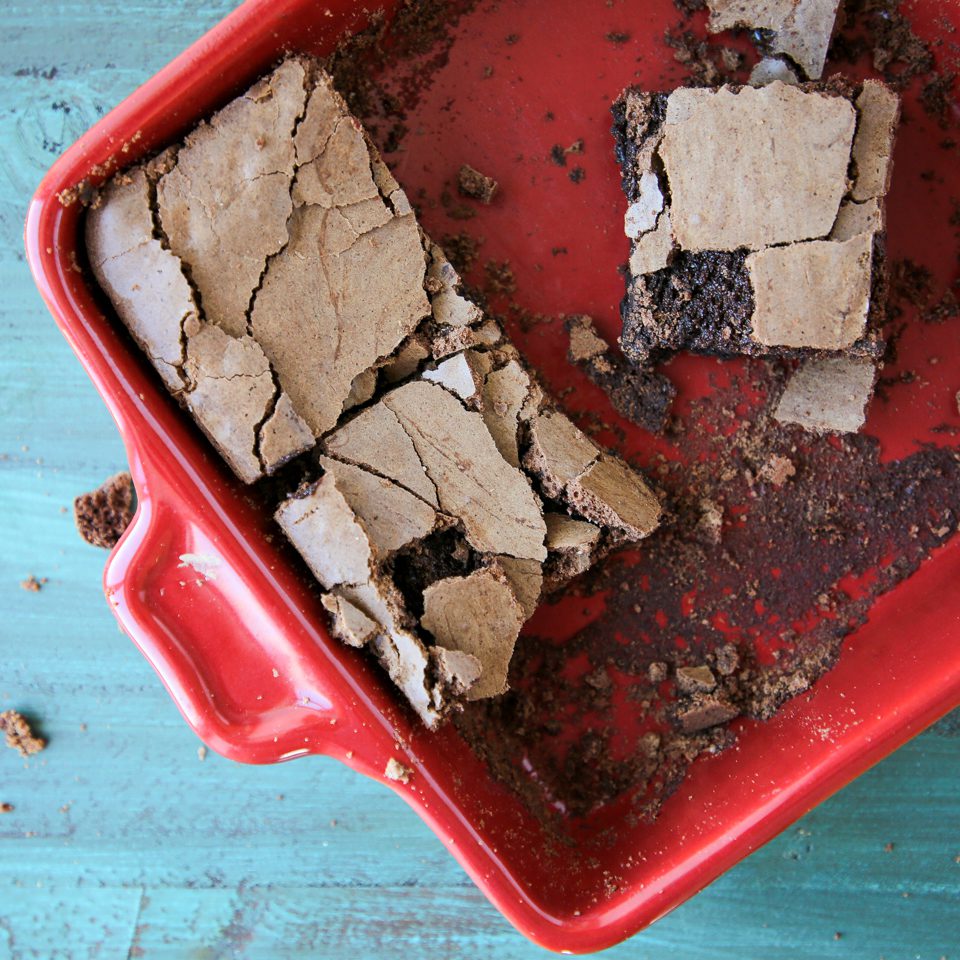
- Use parchment in a cross pattern. Two pieces of parchment laid perpendicular to each other, extending to all four sides, means you can lift the entire slab cleanly out of the pan and cut it on a flat surface rather than score inside the dish.
How to Make Brown Butter Brownies
Start by making the brown butter and chocolate base first, since it needs a few minutes to cool before you add it to the eggs.
Brown the butter
Step 1: Cut the butter into small cubes and add it to a saucepot over medium heat. Smaller pieces mean more surface area and a faster, more even melt. As it melts, the butter will turn from opaque to translucent, then begin to foam. That foam is actually a good sign: it means the water is evaporating and the milk solids are beginning to toast. Keep a rubber spatula in hand and scrape the bottom of the pot frequently. You are done when the butter smells distinctly nutty, and the color has shifted to light golden brown.
Do not walk away during this step. The butter can go from perfectly browned to burnt in under a minute, and there is no saving it once it crosses that line.
Step 2: Pour the hot butter over the chocolate and salt. While the butter is browning, measure the chopped chocolate and kosher salt into a heatproof bowl and set it nearby. As soon as the butter is ready, pour it directly over the chocolate, scraping the bottom of the pot to get every last brown bit into the bowl, which is where most of the nutty flavor lives. Let it sit undisturbed for two to three minutes so the residual heat fully melts the chocolate before you touch it.
Step 3: Whisk the mixture and set it aside to cool. Once the chocolate has had time to soften, whisk the mixture together until it is smooth and uniform. It will emulsify into a glossy, fluid consistency, which is exactly what you want. If it looks slightly separated or streaky, that is fine: keep whisking and it will come together. Set the bowl aside at room temperature while you measure your remaining ingredients. It needs to cool to roughly body temperature before it touches the eggs.
Make the Brownie
Step 4: Preheat the oven and prepare your pan. Set the oven to 350°F conventional or 325°F convection. Line your 9×9 baking pan with two pieces of parchment paper criss-crossed so the overhang covers all four sides. This is my go-to move for brownies because it means you can lift the whole slab out cleanly once it has cooled, no digging required.
Step 5: Whip the eggs, vanilla, and sugar to ribbon stage. Add the cold eggs, vanilla extract, both sugars, and salt to the bowl of a stand mixer fitted with the whisk attachment. Mix on medium speed until combined, then increase to high and whip until the mixture reaches ribbon stage. This can take four to six minutes on high, and it is worth every second because this step is what creates that signature crinkled top.
At the ribbon stage, the batter will be pale, thick, and voluminous, and when you lift the whisk, it will fall back in a slow, wide ribbon that holds its shape on the surface for a moment before dissolving.
Step 6: Stream in the cooled chocolate mixture. With the mixer running on medium speed, slowly pour the chocolate mixture down the side of the bowl, not directly onto the whisk, which would send it flying in every direction. Once fully poured, let it mix until incorporated.
Check the temperature of your chocolate butter mixture before adding it. It should feel no warmer than the back of your hand. If it is still warm, set the bowl over a brief ice bath to bring it down. If your chocolate is too warm when it hits the eggs, it can deflate the foam you just built in the previous step. A few extra minutes of cooling is worth it.
Step 7: Fold in the flour and cocoa powder. Remove the bowl from the stand mixer. Use a rubber spatula to fold the batter a few times by hand, since the whisk often misses the very bottom of the bowl. Sift the cocoa powder and flour directly over the batter, then fold until no dry streaks remain.
Bake and Cool
Step 8: Pour and spread the batter into the prepared pan. Transfer the batter into your parchment-lined pan and use an offset spatula or rubber spatula to spread it into an even layer, pushing it into the corners. The batter is thick and will not self-level, so take an extra moment to get it truly flat. An even layer is what gives you uniform baking and those clean, level cuts later.
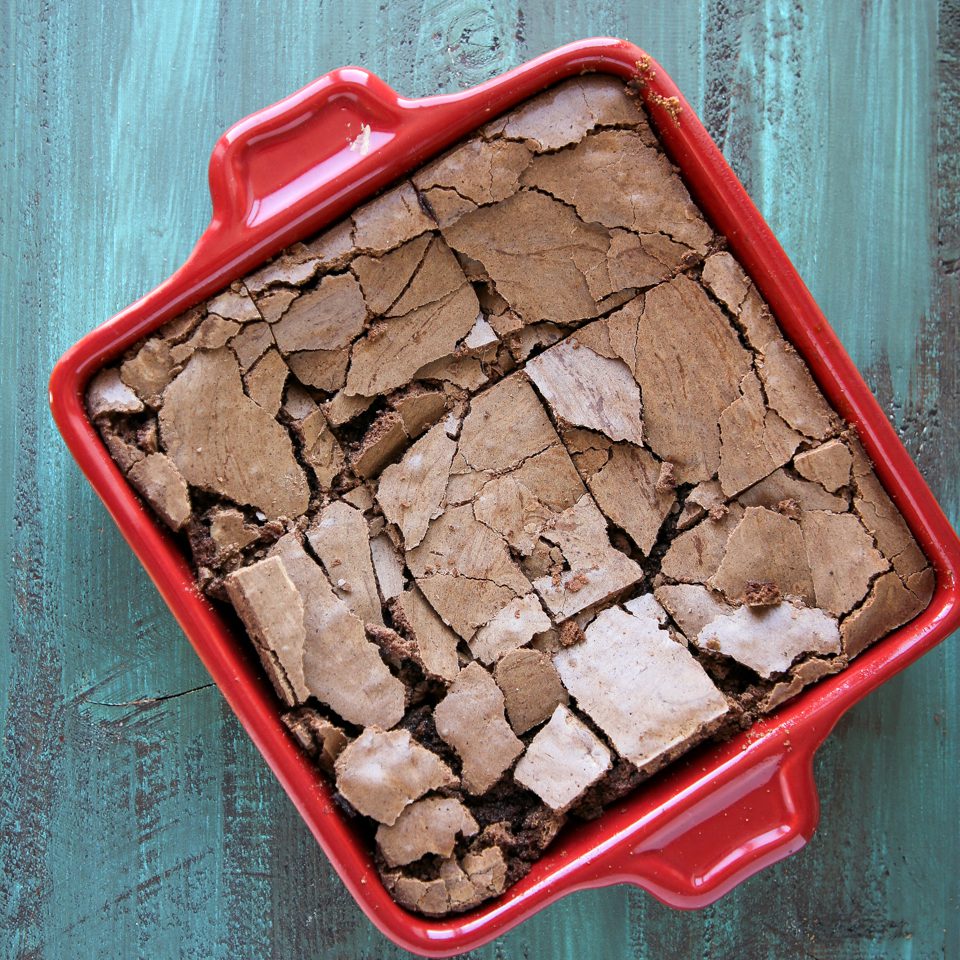
Step 9: Bake until the top is fully crackled. Bake at 325°F convection or 350°F conventional for about 20 minutes. The brownie is done when the crackled top has spread all the way to the center of the pan and the middle is fully puffed, not sunken or jiggly. The edges will look set, and the surface will have that signature shiny, cracked skin across the entire top. Start checking at 18 minutes, since ovens vary, and overbaked brownies lose the fudgy interior that makes this recipe worth making.
The center may look slightly underdone compared to the edges when you pull the pan, which is completely normal. Brownies continue to set as they cool, and a brownie that tests perfectly done in the oven will be overbaked by the time it reaches room temperature.
Step 10: Cool completely before cutting. Remove the pan from the oven and set it on a wire rack. Let the brownies cool fully before lifting them from the pan and slicing. Once cooled, use the parchment overhang to lift the entire slab onto a cutting board, then cut with a sharp knife, wiping the blade clean between cuts for the neatest edges. The wait is genuinely the hardest part, but cutting into a warm brownie will leave you with ragged edges and a smeared interior that does this recipe a disservice.
Tip: For the cleanest slices, refrigerate the fully cooled brownies for 20 to 30 minutes before cutting.
Chef Lindsey’s Recipe Tip
For the cleanest cut, allow the brownies to cool to room temperature, place them in the fridge or freezer, and chill completely! Once chilled, run your knife under hot water, wipe off the excess water, and cut. Wipe the knife off in between cuts and repeat. If I’m feeling a little extra that day, I will break out my clear ruler and mark the brownies on all four sides to ensure equal squares or rectangles.
Recipe FAQs
The crackly top is your most reliable cue! The brownie is done when the shiny, cracked surface has spread all the way to the center of the pan and the middle is fully puffed. A toothpick will have moist crumbs attached, which is correct for a fudgy brownie and not a sign it needs more time. Start checking at 18 minutes and trust the visual.
This recipe is written for a 9×9 pan. A 9×13 pan will work, but will produce thinner brownies that bake faster. An 8×8 pan will give you thicker brownies with a longer bake time, around 24 to 28 minutes.
Dark chocolate is the right call here because the depth of the brown butter flavor needs something with enough cocoa content to stand beside it rather than disappear. A bar of chocolate with 60 to 70 percent cacao gives you the most control over sweetness and melt. Chips work in a pinch but contain stabilizers that can make the base slightly less smooth.
Any chocolate, nuts, or chopped candy can be folded directly into the finished batter just before pouring it into the pan. For a version that leans into the nutty brown butter flavor with caramel layered in, my maple pecan blondies use the same brown butter base and show how that direction works.
Wrap individual squares tightly in plastic wrap or store the whole slab in an airtight container at room temperature. The brownies hold well for several days without drying out as long as they are properly sealed.
Recommended Bar Cookie Recipes
Brownies & Bars Recipes
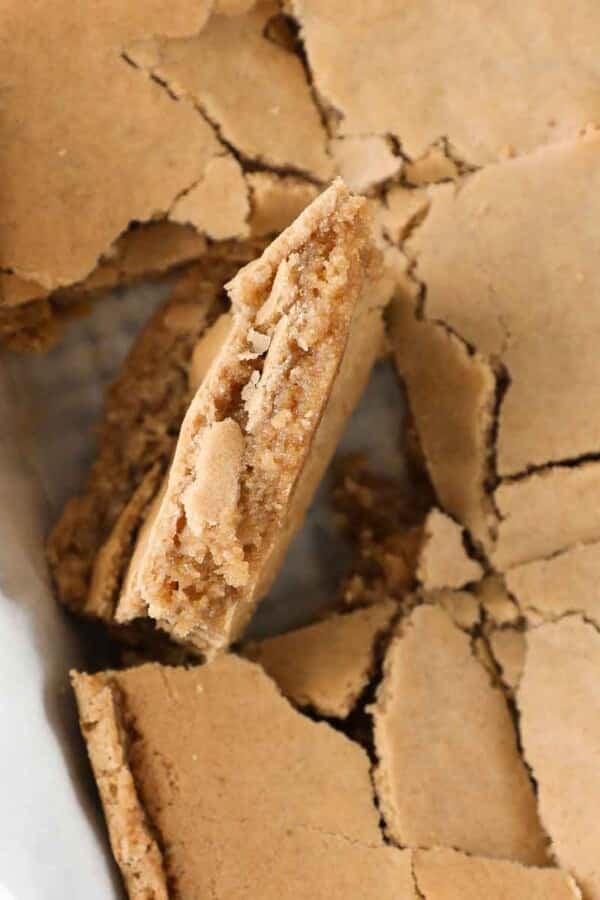
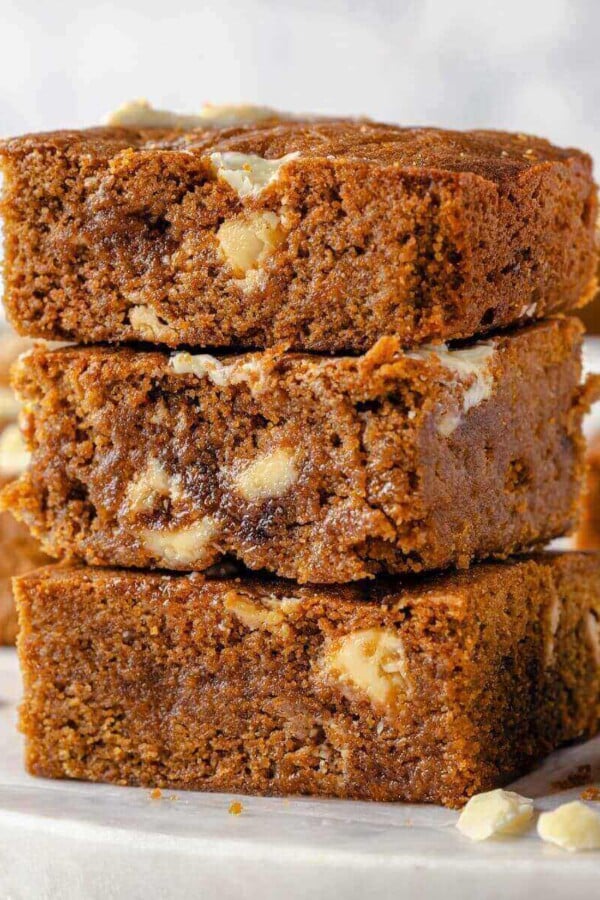
Butterscotch Brownies
Brownies & Bars Recipes
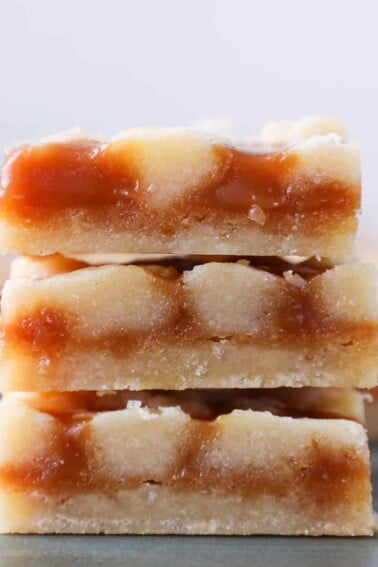
Salted Caramel Bars
Brownies & Bars Recipes
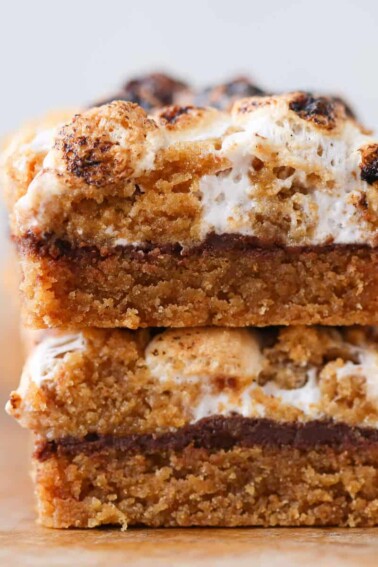
Soft Chewy Smores Crumble Bars
Brownies & Bars Recipes
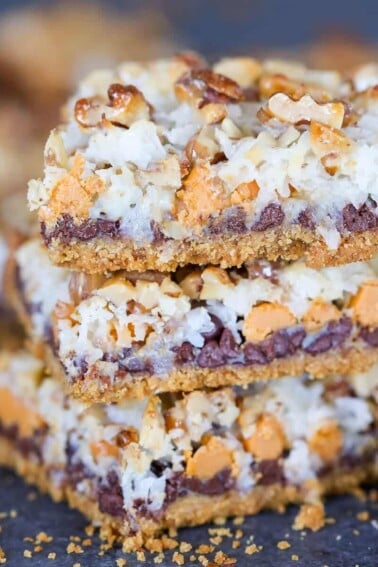
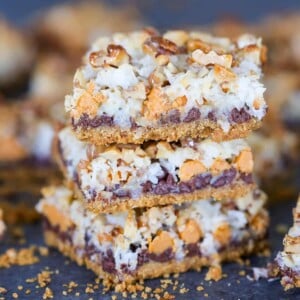
7 Layer Bars (Magic Bars)
If you tried this recipe and loved it please leave a 🌟 star rating and let me know how it goes in the comments below. I love hearing from you; your comments make my day!
Brown Butter Brownies
Ingredients
- ¾ cup unsalted butter
- ½ cup chopped chocolate
- ¾ teaspoon kosher salt
- 3 eggs — cold
- ½ tablespoon vanilla extract
- 1 cup sugar
- 2 tablespoons light brown sugar
- ½ cup cocoa powder
- ½ cup all-purpose flour
Instructions
- Heat the butter in a saucepan over medium heat, cutting it into small cubes to speed the process. Stir with a rubber spatula as it melts, foams, and transitions from opaque to translucent. Pull it off the heat when the milk solids at the bottom are golden brown and the butter smells nutty.
- Pour the brown butter immediately over the chopped chocolate and kosher salt in a heat-safe bowl, scraping every brown bit from the bottom of the pan. Let the butter sit over the chocolate for a few minutes, then whisk until smooth and fully combined. Set aside to cool to roughly body temperature.
- Preheat the oven to 350°F conventional or 325°F convection. Line a 9×9 baking pan with two pieces of parchment criss-crossed so they come up all four sides.
- Combine the eggs, vanilla, sugar, and brown sugar in a stand mixer fitted with the whisk attachment. Mix on medium to combine, then increase to high and whip until the mixture reaches ribbon stage, falling in thick, pale ribbons that hold their shape briefly on the surface.
- Confirm the chocolate butter mixture is at body temperature, then slowly pour it down the side of the mixing bowl with the mixer running on medium. Keep the stream away from the whisk to prevent splashing.
- Remove the bowl from the mixer and fold several times with a rubber spatula to ensure the chocolate and egg mixture are fully combined, reaching the bottom of the bowl where the whisk may have missed.
- Sift in the cocoa powder and flour, then fold until just incorporated with no dry streaks remaining.
- Pour the batter into the prepared pan and spread evenly with an offset spatula. Bake for about 20 minutes, until the crackle top has spread fully to the center and the middle is puffed rather than sunken. Cool completely before cutting.
Video
Notes
Doneness Cue: The brownie is done when the shiny crackle top has spread all the way to the center of the pan and the middle is fully puffed. A toothpick will have moist crumbs attached, which is correct for a fudgy texture.
Storage: Wrap individual squares tightly in plastic wrap or store the whole slab in an airtight container at room temperature. The brownies hold well for several days without drying out as long as they are properly sealed.
Nutrition
Before You Go
These brown butter brownies, with their crinkled tops, fudgy centers, and that deep nutty complexity from the browned butter, are the kind of thing worth bookmarking. If you want to keep exploring, browse all my brownies and bars, or dive right into this blondie recipe.


I have made brownies for years and these are in a completely different category. The ribbon stage step made a noticeable difference in the top crust, and the brown butter flavor comes through in every bite. These are my new brownies for when I want to wow!
Thank you for coming back and sharing! These comments always make our day! ~CLF team
Making the brown butter had me hovering like a hawk, but it was totally worth it for that nutty depth. Brought these to book club and they vanished before I could blink.