
This post may contain affiliate links. Please read our disclosure policy.
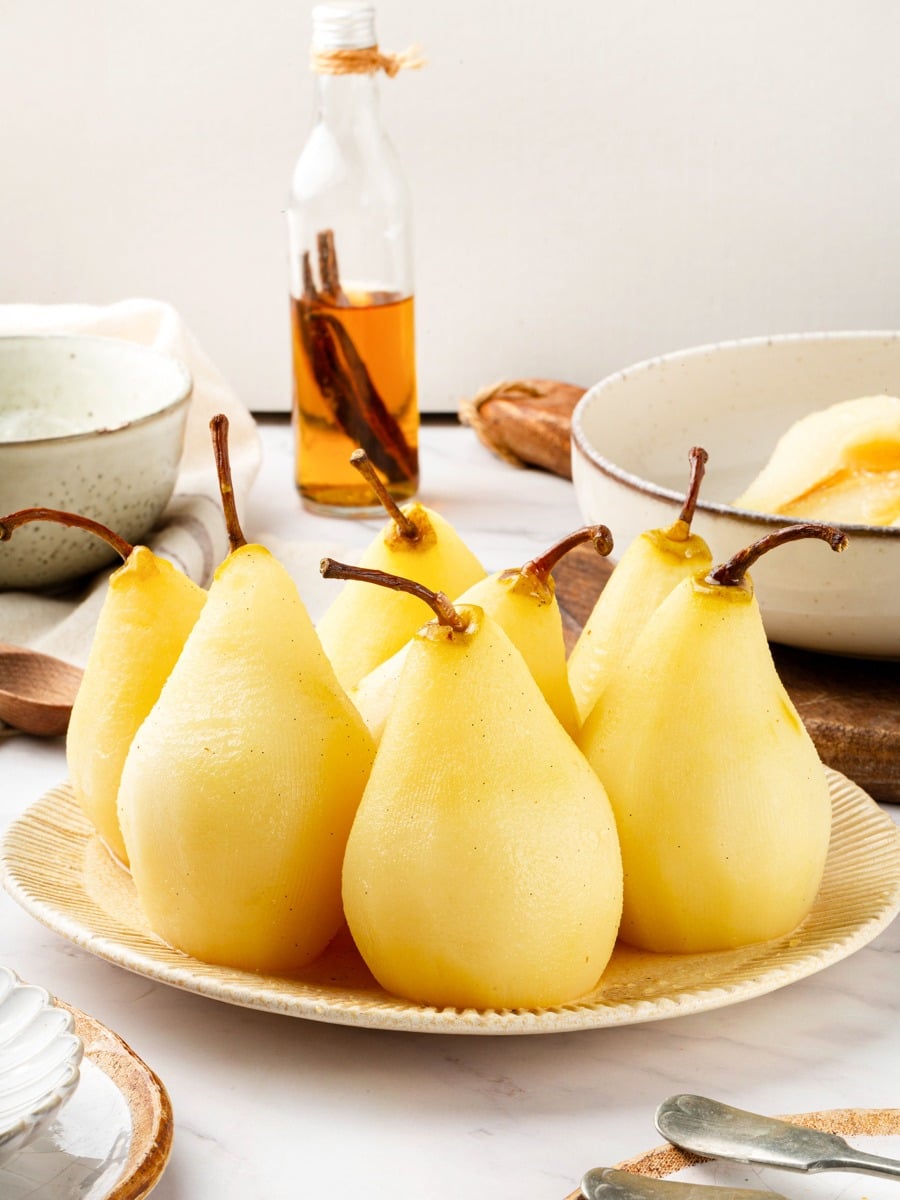
Poached pears made with white wine, vanilla bean, and citrus syrup are one of those classic French preparations that never stop being useful. Once you understand the doneness test, they are straightforward to execute and keep in the refrigerator for up to two weeks.
A Quick Look At The Recipe
This is a brief summary of the recipe. Jump to the recipe to get the full details.
Jump to RecipePrep Time
15 minutes
Cook Time
45 minutes
Total Time
1 hour
Servings
8 people
Difficulty
Intermediate
Calories *
197 kcal per serving
Technique
Whole pears gently simmered in wine, sugar, and vanilla bean poaching liquid; cooled and rested in liquid before serving or storing.
Flavor Profile
Fragrant vanilla, bright citrus, wine, delicately sweet.
* Based on nutrition panel
I have made these twice now and the doneness test was a revelation — I used to always end up with pears that were either too firm or completely falling apart. Letting them sit in the liquid overnight deepened the flavor so much more than I expected. I used them in a tart and they were absolutely stunning! ⭐⭐⭐⭐⭐
Lauren
Why This Recipe Works
- Firm pear varieties hold their shape. D’Anjou, Bosc, Comice, and Bartlett pears have the structure to survive poaching, cooling, and even secondary baking without turning to mush. Softer varieties collapse, and a collapsed pear cannot anchor a tart.
- Cake tester doneness testing protects the pears. A cake tester leaves a nearly invisible hole, which means you can check each pear multiple times without marking it up. This matters when you’re presenting whole or halved pears on a finished dessert like a hazelnut pear tart.
- Cooling pears and liquid separately, then storing together, builds flavor. Cooling separately prevents the pears from softening further or flattening under the weight of the liquid. Once both are cold, the pears reabsorb the syrup evenly, deepening the flavor and extending shelf life to two weeks.
- The poaching liquid does not go to waste. You can reuse it for a second batch, freeze it, or reduce it into a sauce. It makes a beautiful finish over a poached pear pavlova recipe or any plated dessert that needs a bright, fragrant component. For an entirely different presentation, the same base technique adapts beautifully for an Angel Food Cake served alongside poached pears and the reduced syrup.
Table of Contents
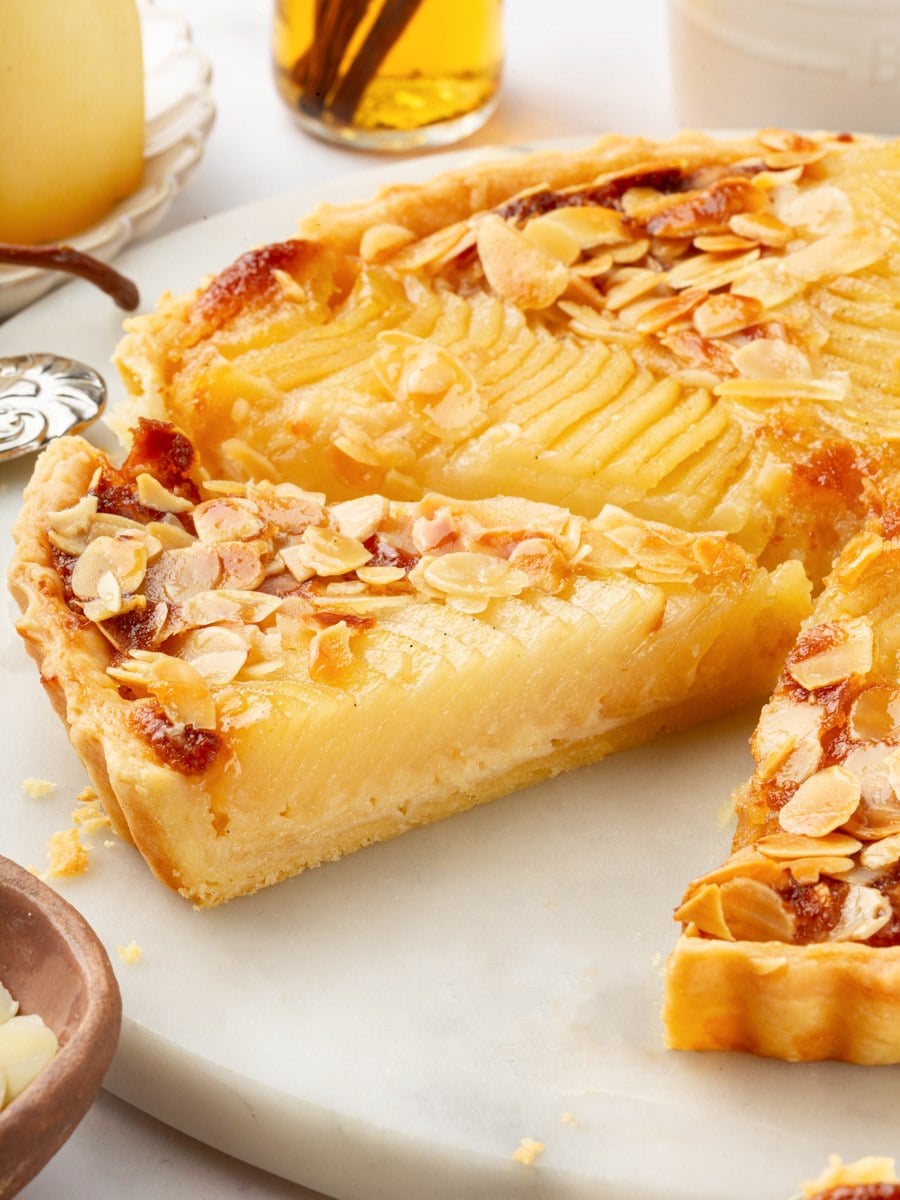
These classic poached pears are gently simmered in wine and vanilla bean, producing fruit that’s tender all the way through—never crunchy. Whether you serve them on their own or bake them into a Pear Frangipane Tart (Tarte Bourdaloue), this base recipe ensures perfectly poached pears every time. Try the red wine or tea variation for a twist!
Perfectly poached pears pair beautifully with custard-based desserts, and if you love that combination, my crème caramel recipe is one of my favorites to serve alongside them. A pear upside down cake is another excellent way to put a batch to work.
Ingredients & Substitutions
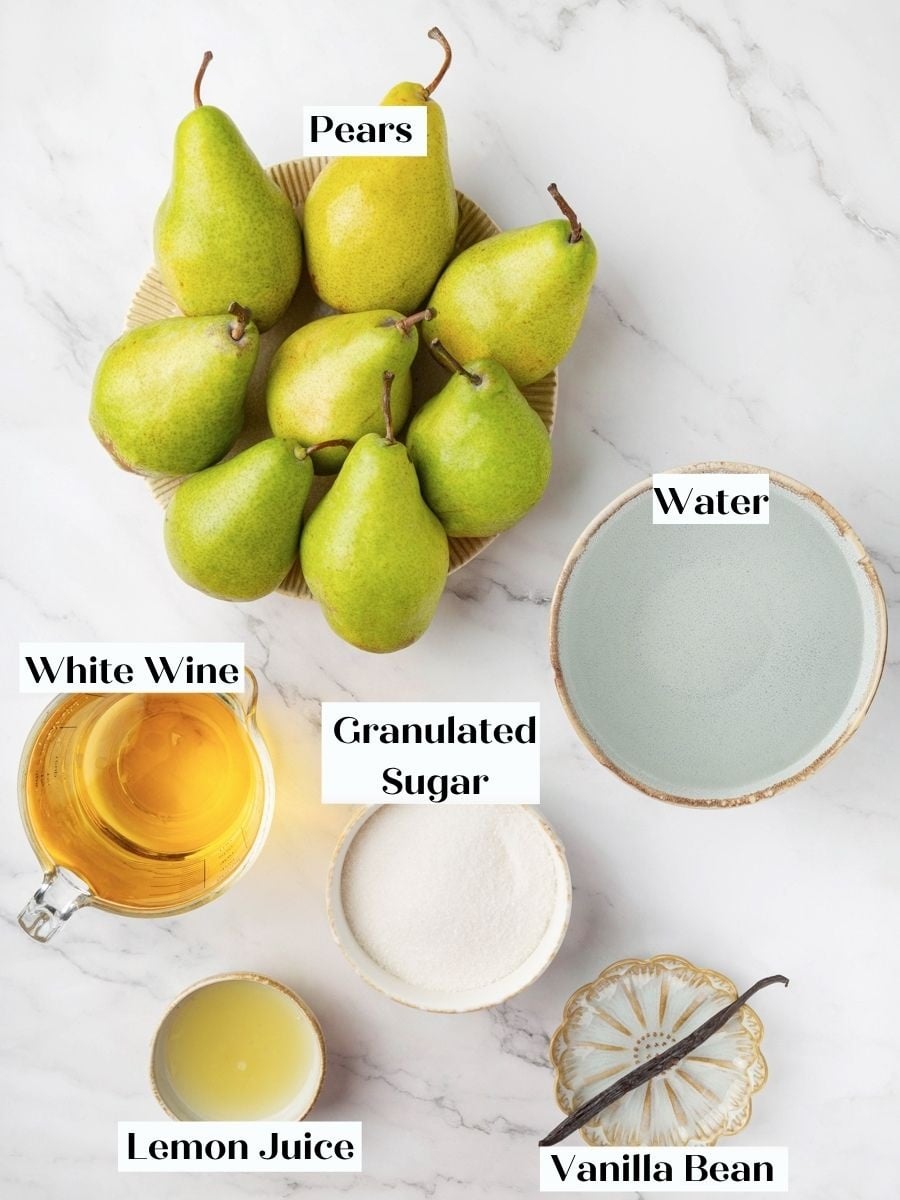
- White Wine: The wine is the primary poaching medium, contributing acidity, aromatics, and complexity that penetrate the pears as they cook. Choose a dry, drinkable white like Sauvignon Blanc or Pinot Grigio. Avoid oaky or very sweet wines, which can make the syrup heavy and muddled.
- Vanilla Bean, Split and Scraped: The vanilla bean infuses the liquid with a clean, floral depth that extract simply cannot replicate in a preparation this simple. Split and scrape thoroughly so both the seeds and pod have maximum contact with the poaching liquid. If you love cooking with vanilla beans, my Crème Brûlée Pie is a great next bake!
- Lemon Juice: Lemon juice brightens the syrup and keeps the sweetness from tasting flat, especially once the liquid is reduced. Its acidity also helps preserve the pears’ color as they cook, minimizing browning.
- Pears (D’Anjou, Bosc, Comice, or Bartlett), Ripe but Firm: The pears are the star, and variety matters here. These four varieties have the structure to survive poaching, cooling, and even secondary baking without collapsing, while still developing the silky, yielding texture you want. Choose pears that are fragrant and just beginning to give at the neck, not fully soft.
See the recipe card for full information on ingredients and quantities.
Variations on This Poached Pears
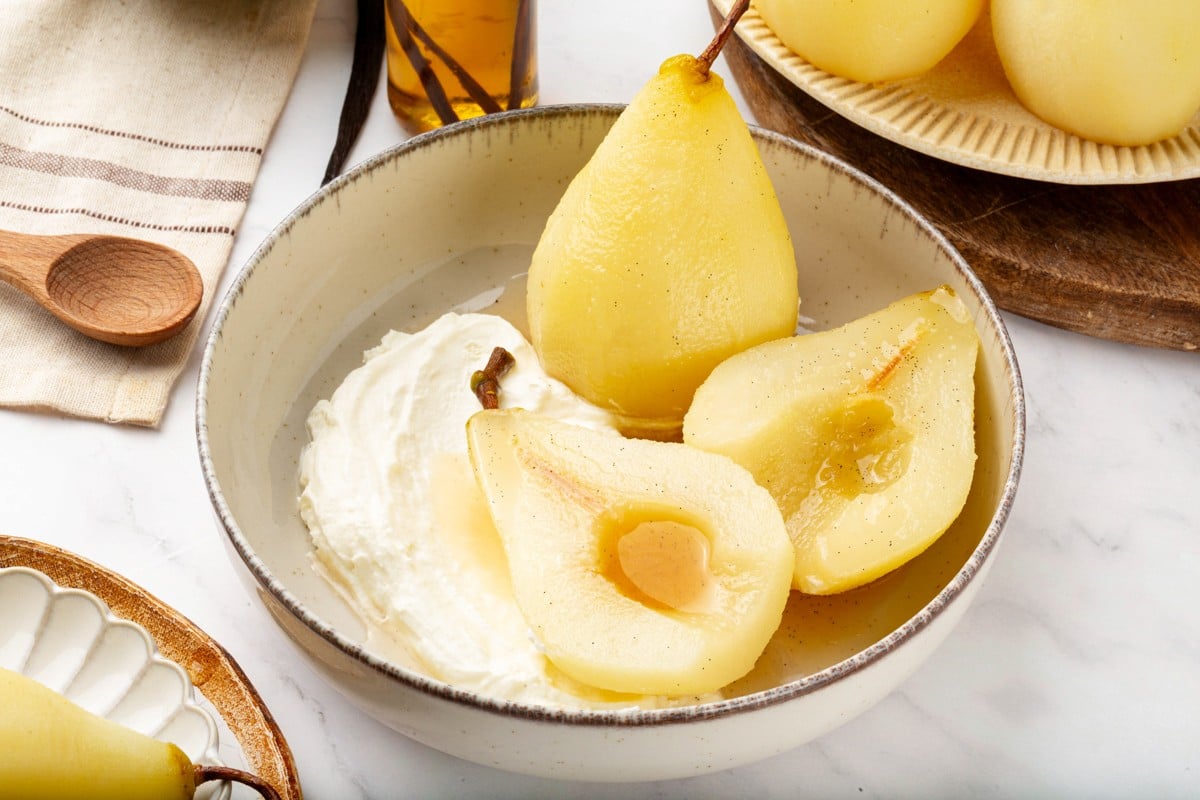
- Red Wine Poached Pears. Swap the white wine for 1 bottle of your favorite red wine, reduce the sugar to 175 g, keep 3 cups water, use ½ vanilla bean, and add 30 g lemon juice. Simmer uncovered until the pears are fully tender, which can take 1 to 2 hours depending on ripeness. The longer the pears sit in the red wine liquid, the deeper and more vibrant the color becomes, eventually saturating all the way to the core after 2 to 4 days — serve them over ice cream or mascarpone cream like in this poached pear dessert.
- Tea-Poached Pears (Alcohol-Free). Use double the water instead of wine, and steep your favorite tea directly in the warm poaching liquid before adding the pears. The result is floral and aromatic without any alcohol, and the pears work beautifully spooned over Crème Anglaise for a simple, elegant dessert.
- Reduced Poaching Liquid Sauce. Do not discard the poaching liquid after the pears are done. Simmer it down until it coats the back of a spoon and spoon it over the finished dessert in place of a separate sauce.
- Add some spice! You can aladdemon peels, orange peels, whand ole spices to the poaching liquid to add flavor.
Professional Tips
- Use pears that are fragrant and firm, not fully ripe. Overripe pears collapse during poaching and cannot be salvaged. You want pears that yield slightly at the neck when pressed but still feel dense through the body.
- Never crowd the pot. Pears must float and move freely in the poaching liquid. Crowding traps heat unevenly and produces pears that are tender in some spots and still firm in others.
- Always use a cake tester, not a knife, to check doneness. A knife leaves a visible cut, which matters when you are presenting whole or halved pears on a tart or any plated dessert. A cake tester leaves a nearly invisible mark, so you can test each pear multiple times without damaging the surface.
- Cool the pears and the poaching liquid separately before combining. Storing warm pears in hot liquid causes them to continue softening, flatten under the weight of the liquid, and shorten their shelf life. Once both are fully cold, transfer the pears back into the liquid and store for up to two weeks.
How to Make Poached Pears
This is a straightforward process, but the details matter: pear variety, doneness testing, and how you cool and store the pears all affect the final result.
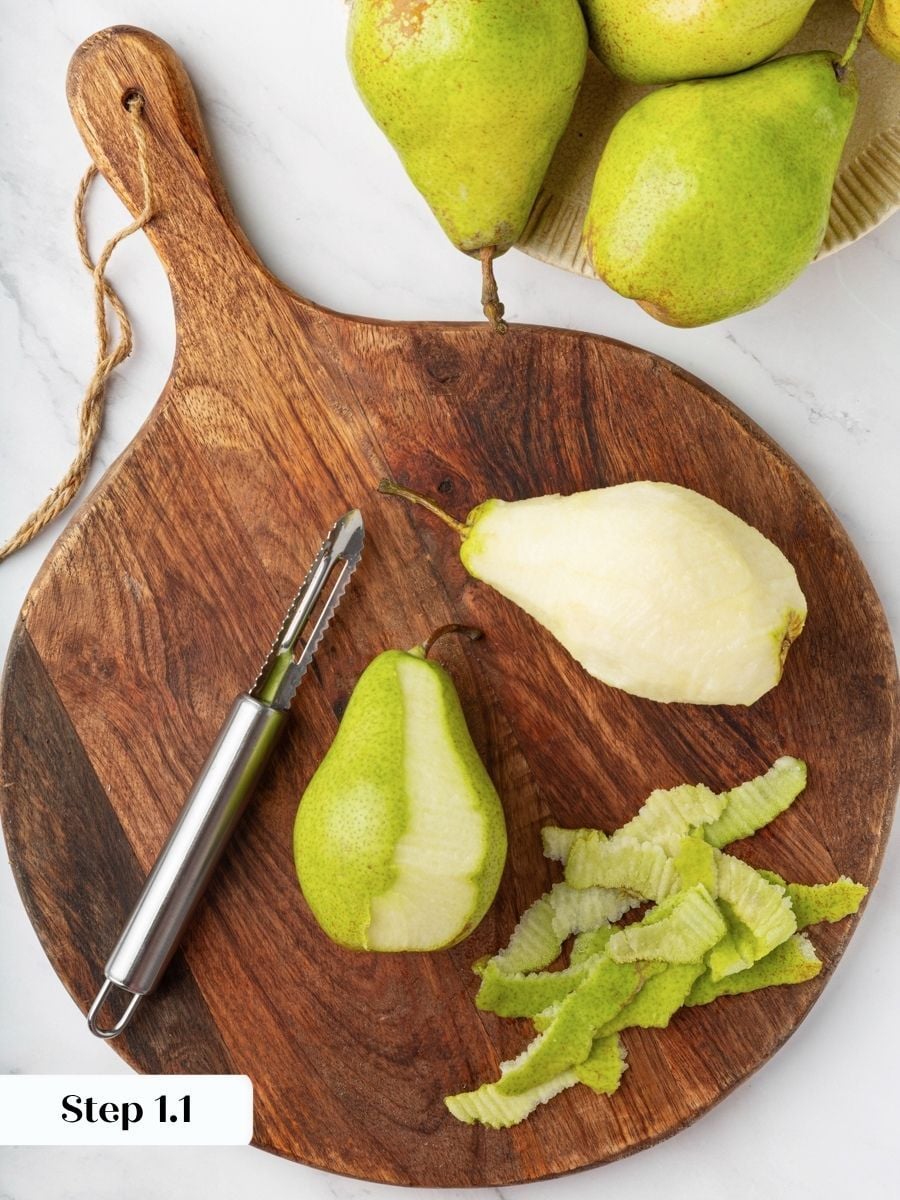
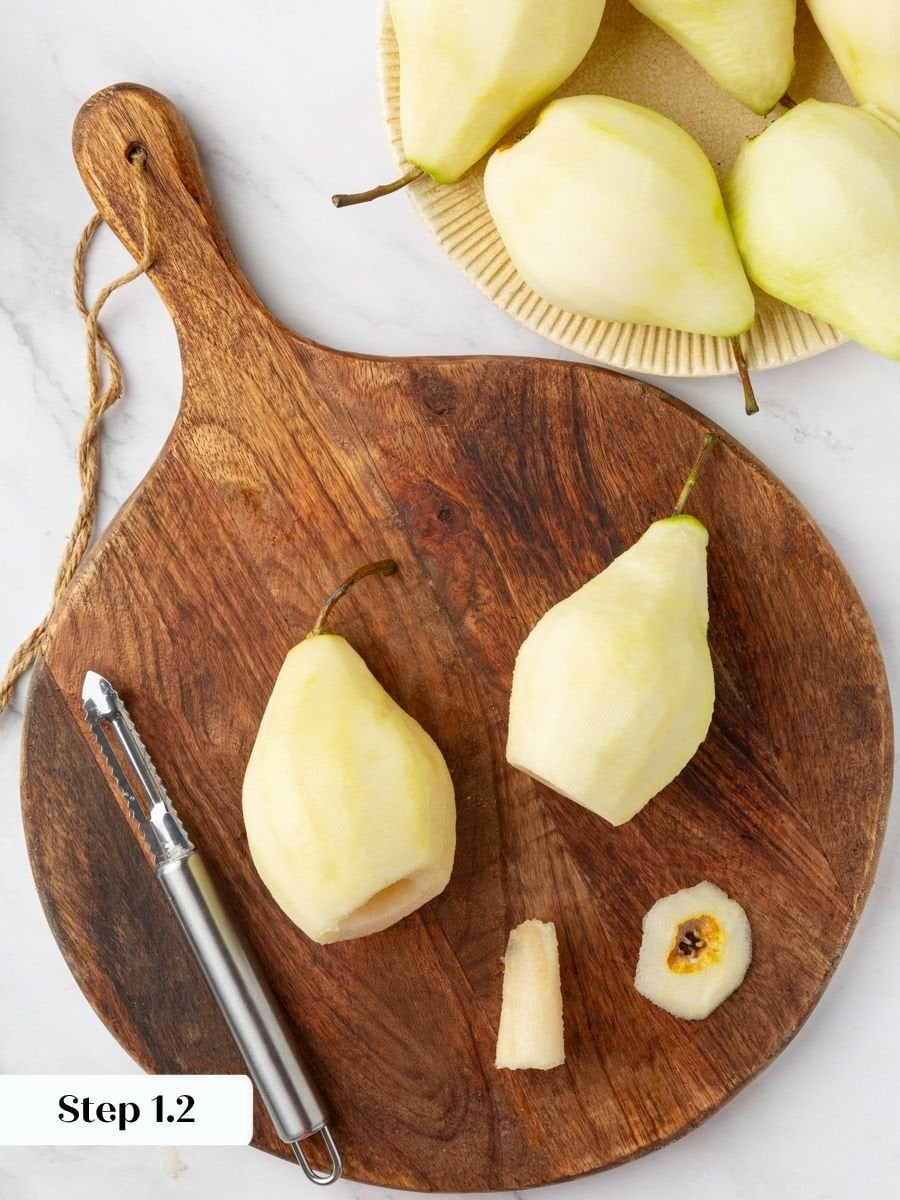
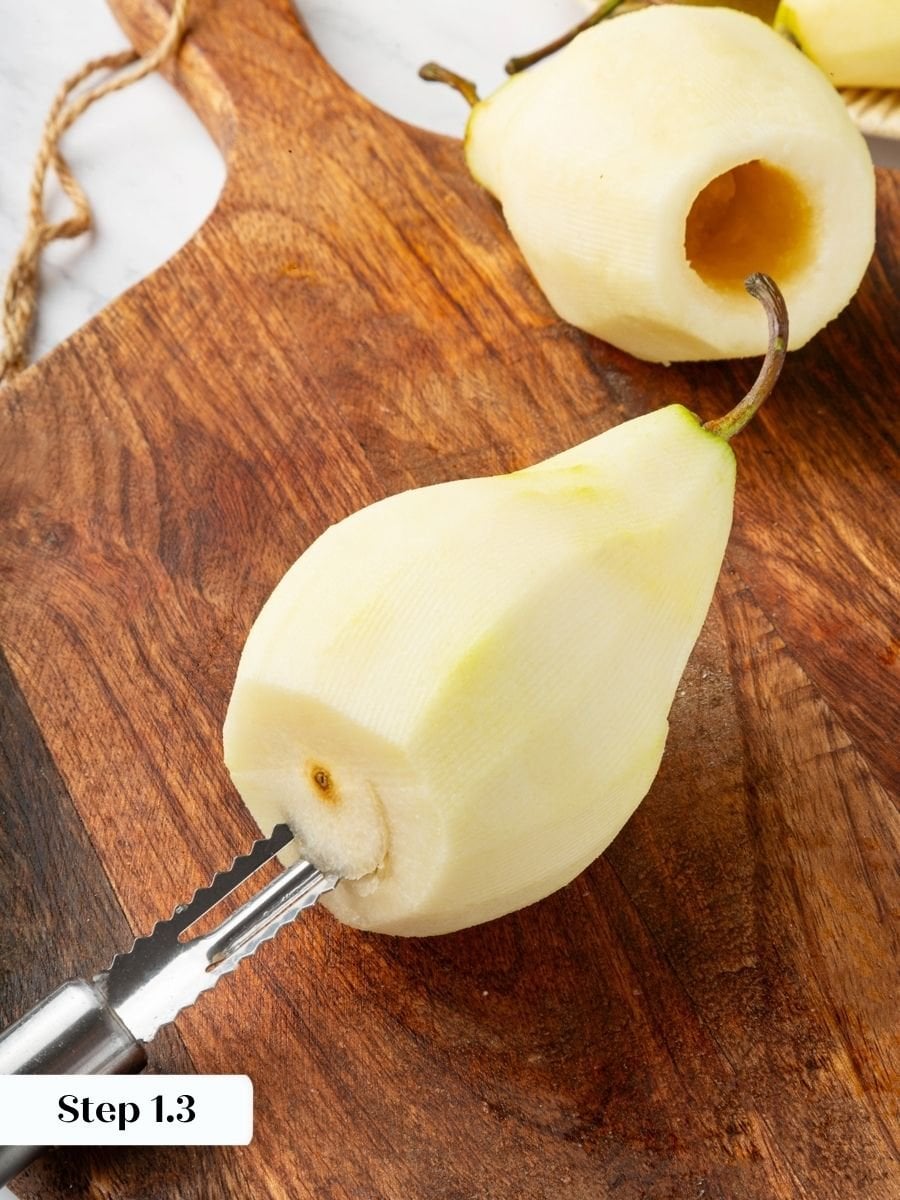
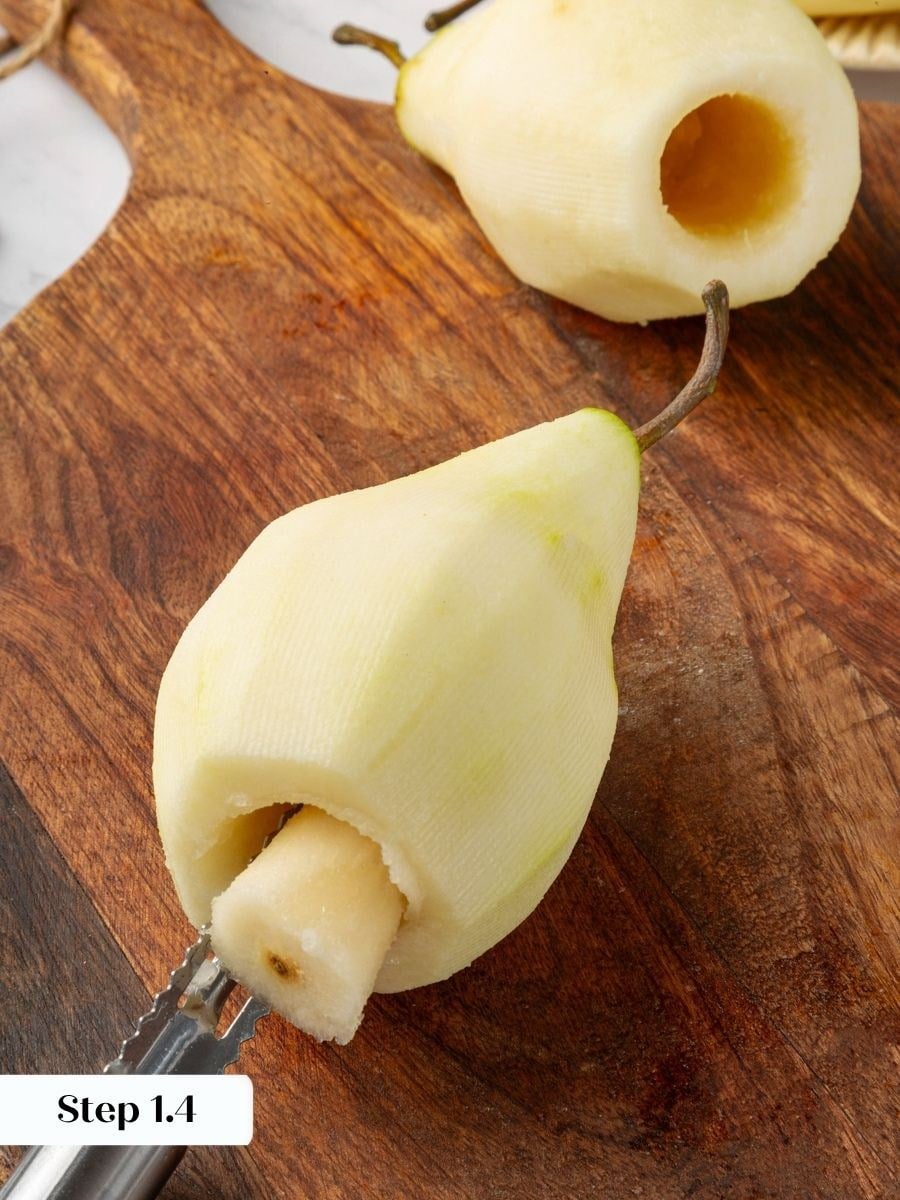
Step 1: Peel and core the pears. Peel each pear carefully, keeping the neck intact so the finished shape is clean and presentable. Use a melon baller or paring knife to scoop out just the seeds from the base, working from the bottom up. Remove the core without tunneling through the entire pear. (photo 1-4)
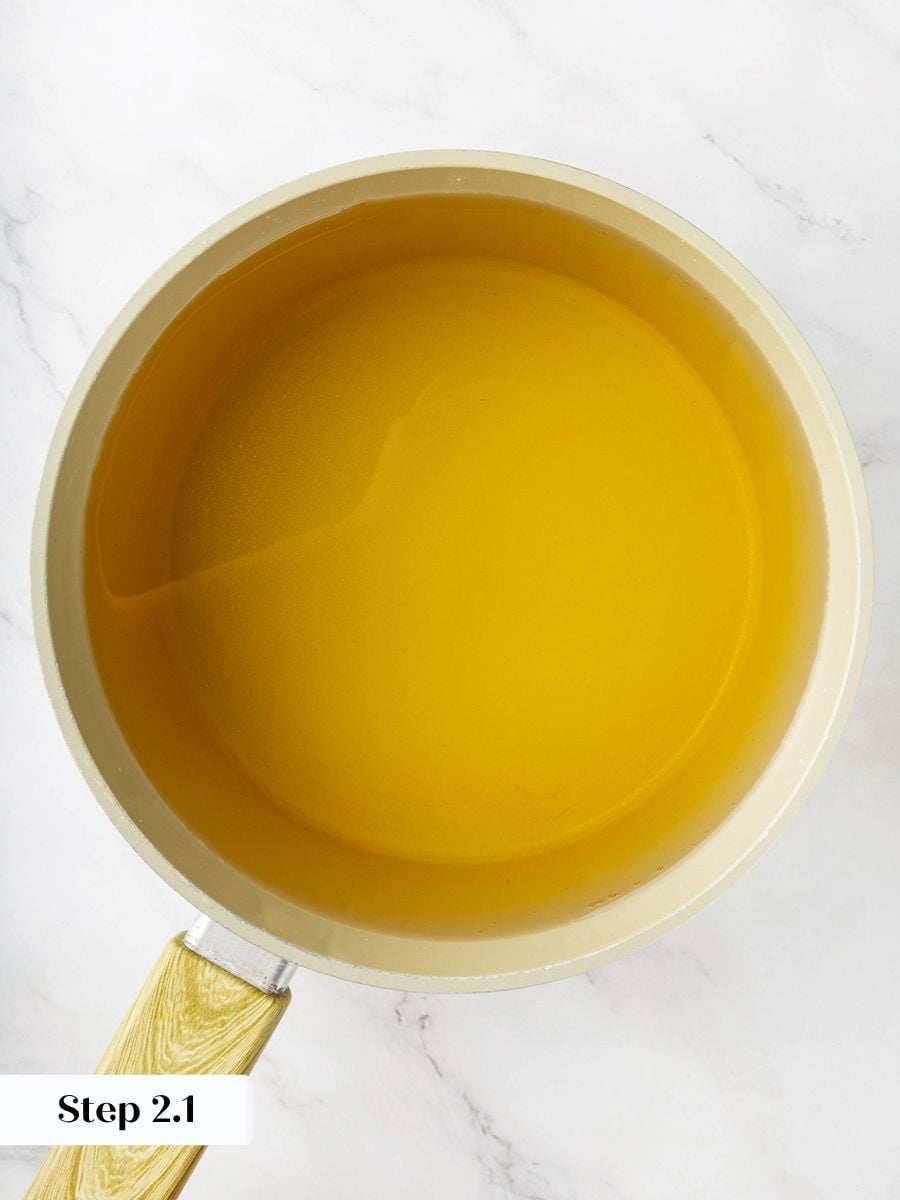
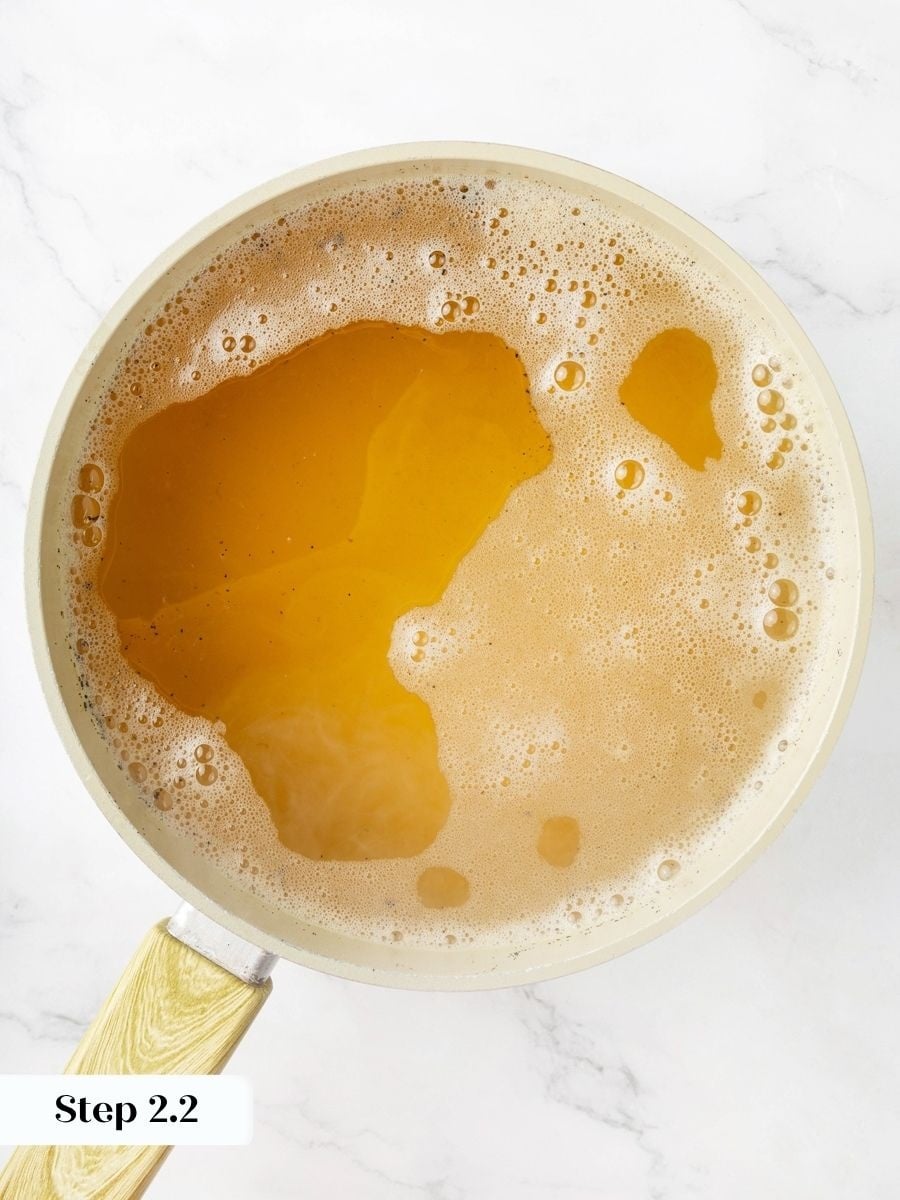
Step 2: Build the poaching liquid. Combine the white wine and water in a large, shallow pot over medium heat. Add the sugar, vanilla bean, and lemon juice, stirring to dissolve the sugar, and bring the mixture to a boil. The liquid will smell sharp at first from the wine, then mellow into something floral and lightly sweet as it heats. (photo 5 & 6)
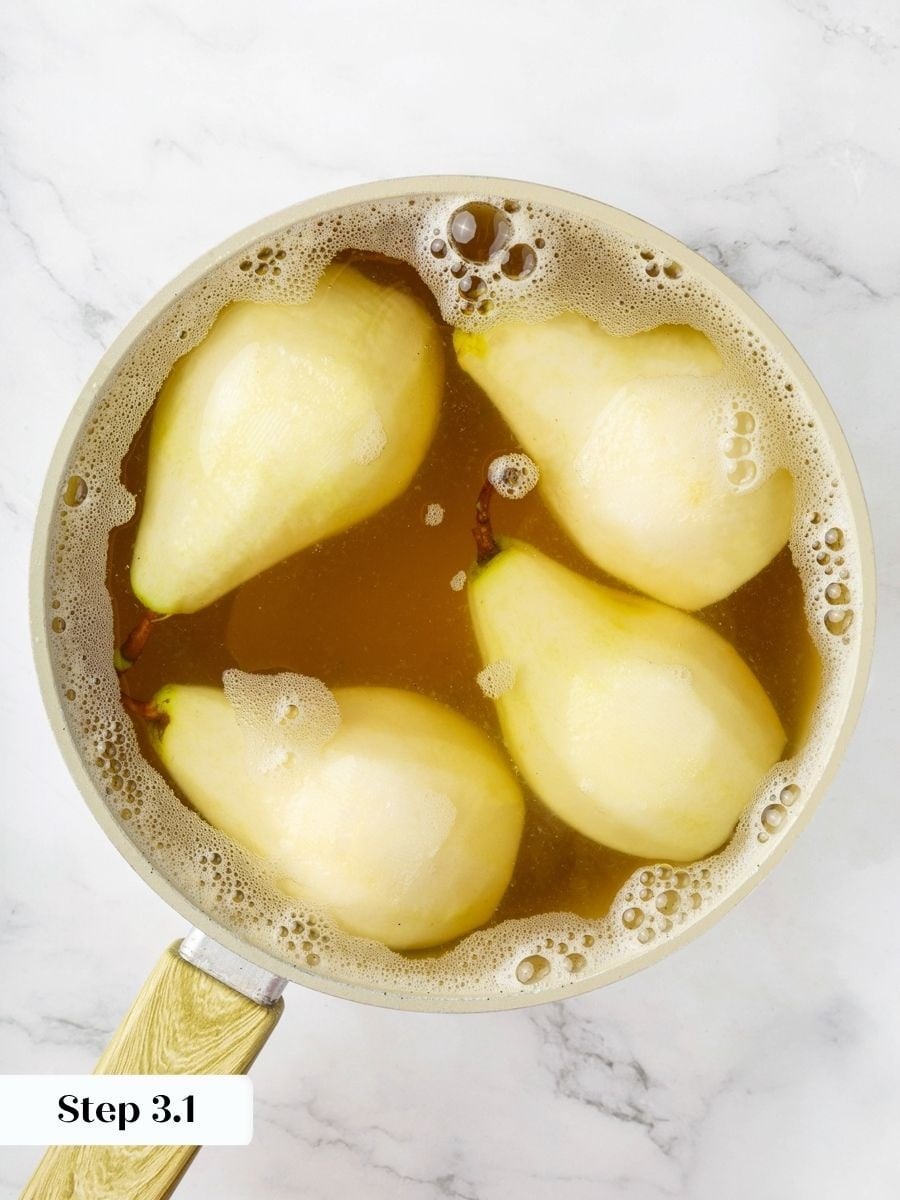
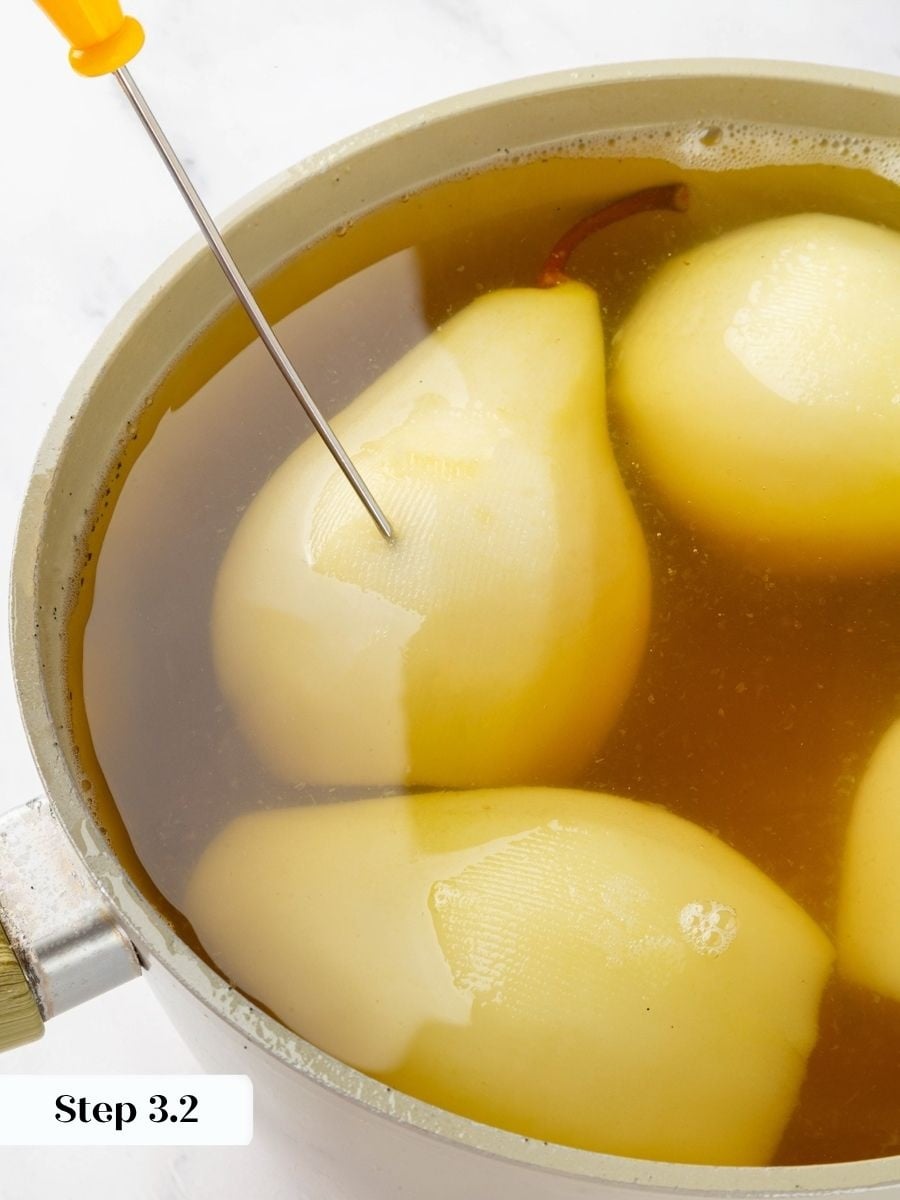
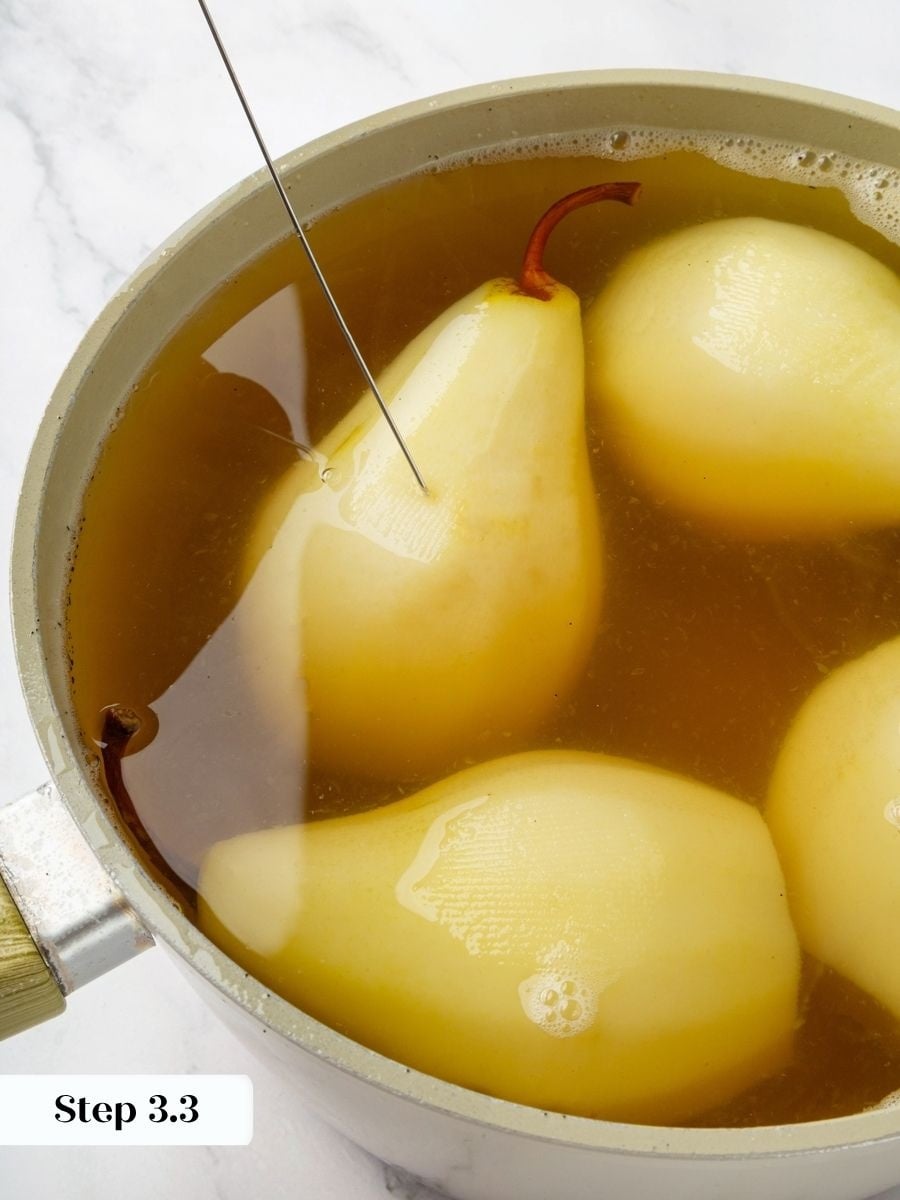
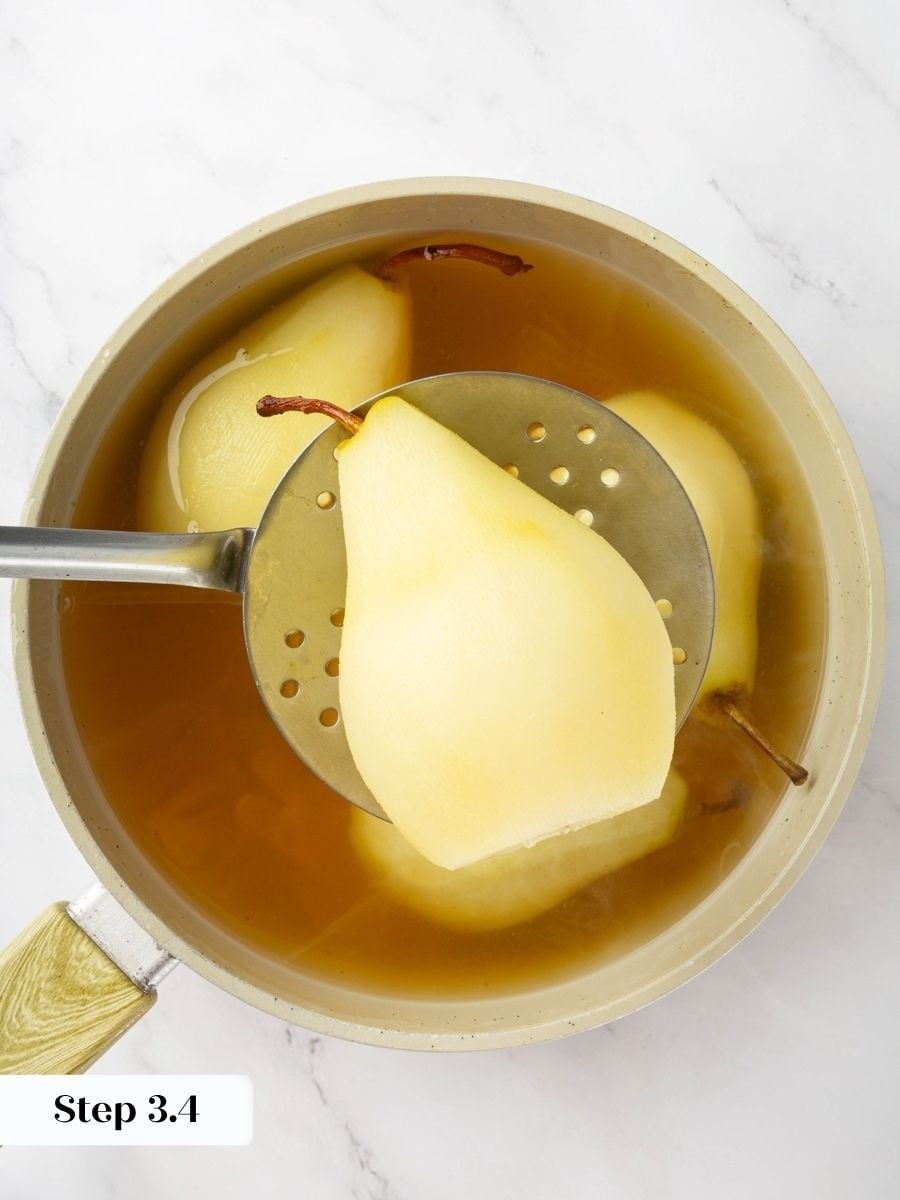
Step 3: Add the pears and poach. Add only as many pears as can float and move freely in the pot — crowding leads to uneven cooking, and some pears will poach through while others barely soften. Reduce the heat to a steady simmer and poach, turning the pears occasionally, until a cake tester or the tip of a paring knife meets little resistance when inserted into the thickest part. The pears will go from feeling firm and almost waxy to giving gently under the tester — that yielding quality is what you’re looking for. Test several pears individually, since size and ripeness affect how quickly each one cooks. As each pear finishes, transfer it to a sheet pan lined with plastic wrap. (photos 7-10)
Use a cake tester rather than a knife to check doneness. The tiny hole it leaves means you can test each pear multiple times without marking up the flesh — which matters if you’re using these for a tart.
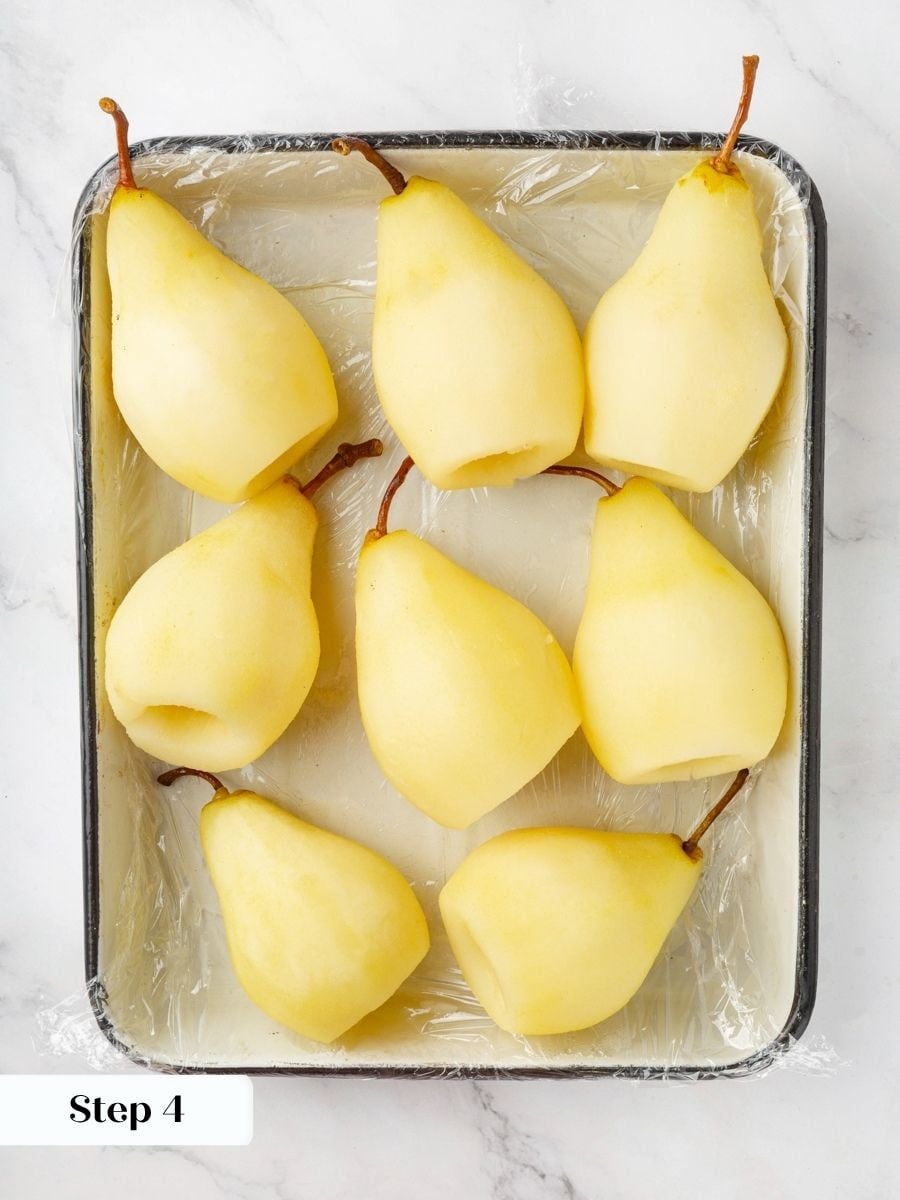
Step 4: Cool the pears and liquid separately. This step is easy to skip and worth doing correctly. Let the poaching liquid cool on its own, and let the pears rest on the lined sheet pan until they reach room temperature. Once both are fully cooled, transfer the pears into the liquid and store refrigerated for up to 2 weeks. Cooling them separately keeps the pears from flattening under their own weight in hot liquid, and the extended soak in the cooled syrup deepens their flavor and helps them hold their shape. (photo 11)
Tip: The longer the pears sit in a red wine poaching liquid, the more vibrant the color becomes, eventually saturating all the way to the core after 2 to 4 days.
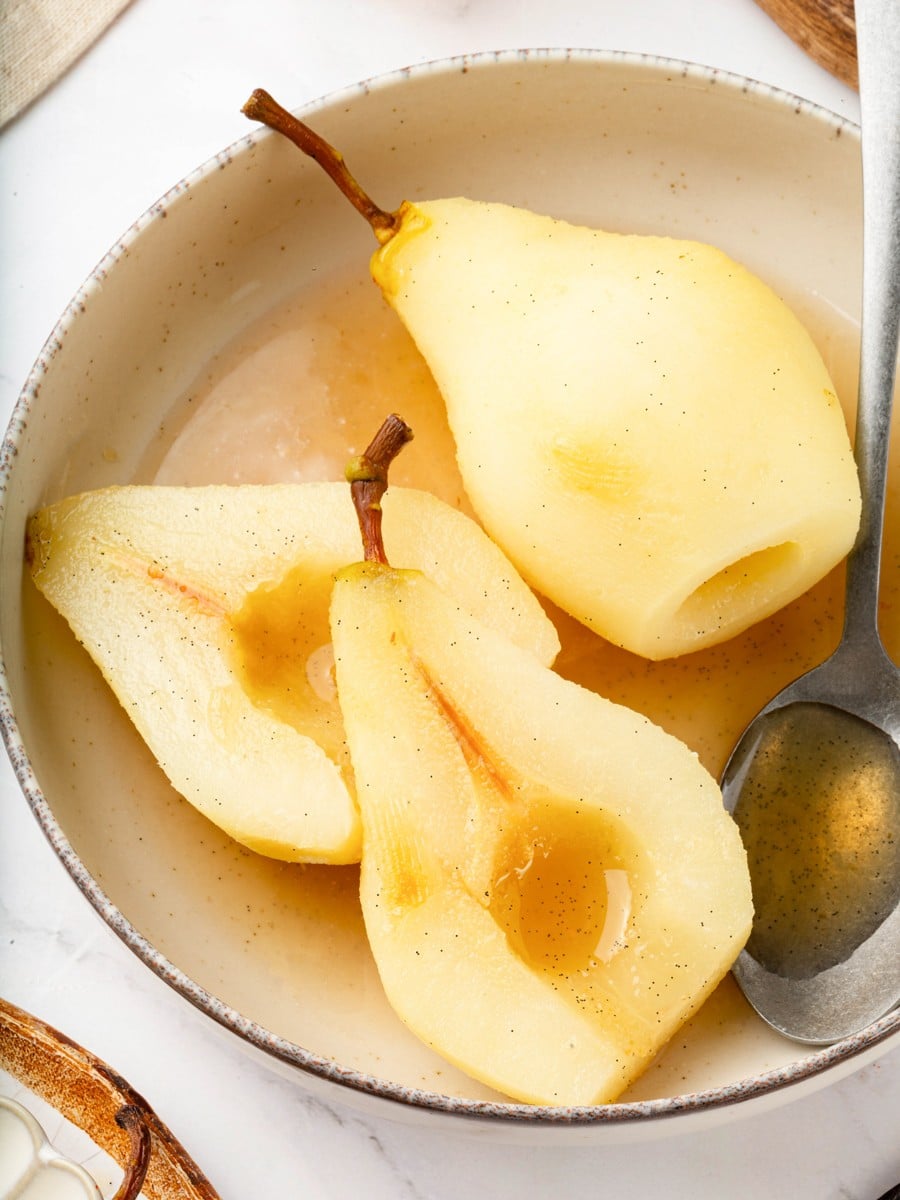
Step 5: Use the poaching liquid. Do not discard the liquid after the pears are removed. Strain and refrigerate it, freeze it for a future batch, or reduce it over medium heat into a concentrated sauce to spoon over finished desserts. The syrup is already beautifully flavored and has real use beyond this recipe. (photo 12)
Chef Lindsey’s Recipe Tip
Cool the pears and poaching liquid completely and separately before ever combining them for storage. Skipping it is the reason most poached pears end up soft, waterlogged, and short-lived, even when the poaching itself was done correctly.
Recipe FAQs
Test each pear with a cake tester inserted at the thickest point of the body. When it slides in and out with no resistance, the pear is done. Every pear in the pot cooks at a slightly different rate depending on size and ripeness, so test each one individually rather than pulling them all at once.
Yes, and they are actually better made in advance. Cool the pears and the poaching liquid separately, then transfer the cold pears into the cold liquid and refrigerate for up to two weeks. The flavor deepens considerably as the pears continue to absorb the syrup, which makes a batch poached a day or two ahead noticeably more fragrant than one served immediately.
Store them submerged in the cooled poaching liquid in a sealed container in the refrigerator for up to two weeks. Keeping the pears covered in liquid preserves both their color and texture and prevents the exposed surfaces from drying out or oxidizing. Do not store them in warm liquid, as the residual heat will continue softening the pears and shorten their shelf life significantly.

Recipes using Poached Pears
Pies and Tart Recipes
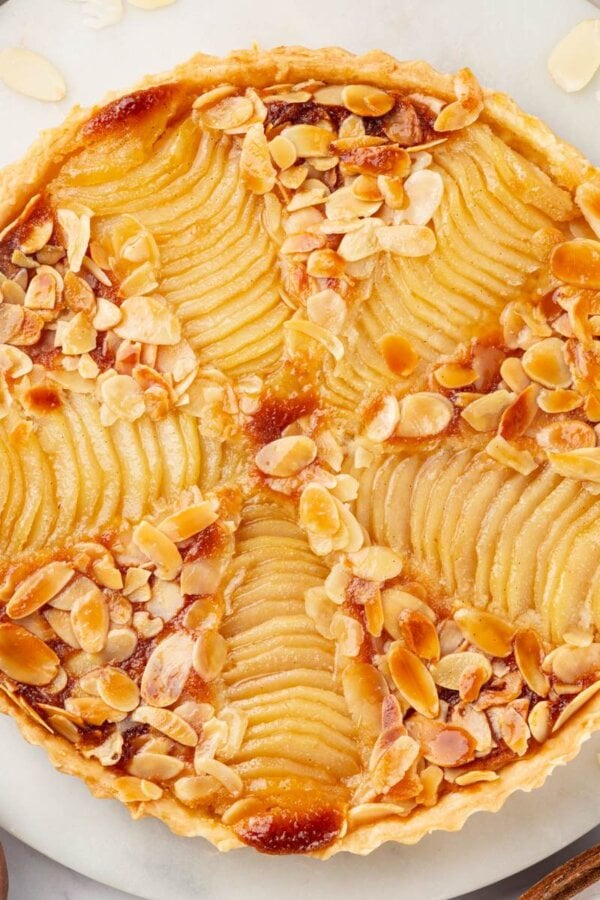
Pear Frangipane Tart

Date Night
Poached Pear Pavlova
No Bake Desserts
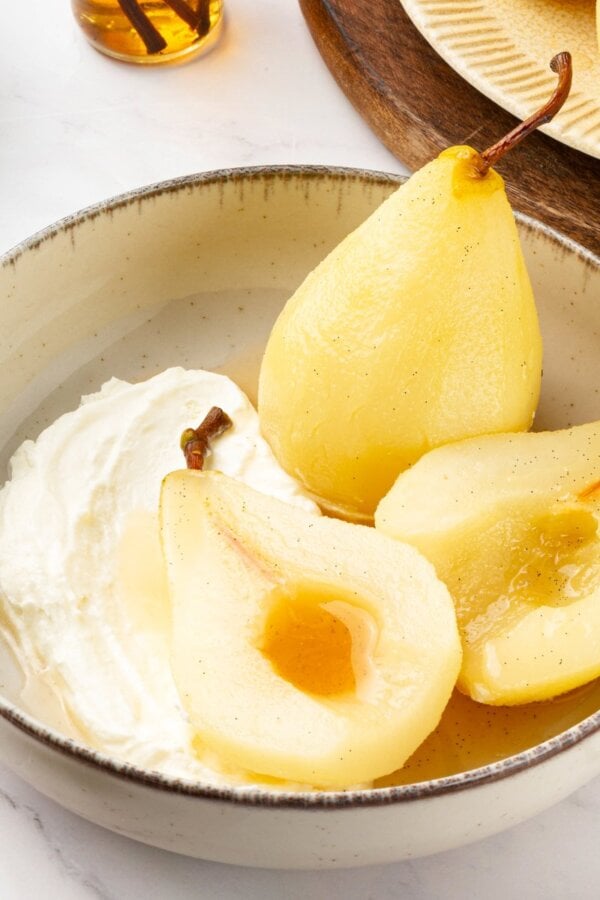
Poached Pear Dessert
Date Night
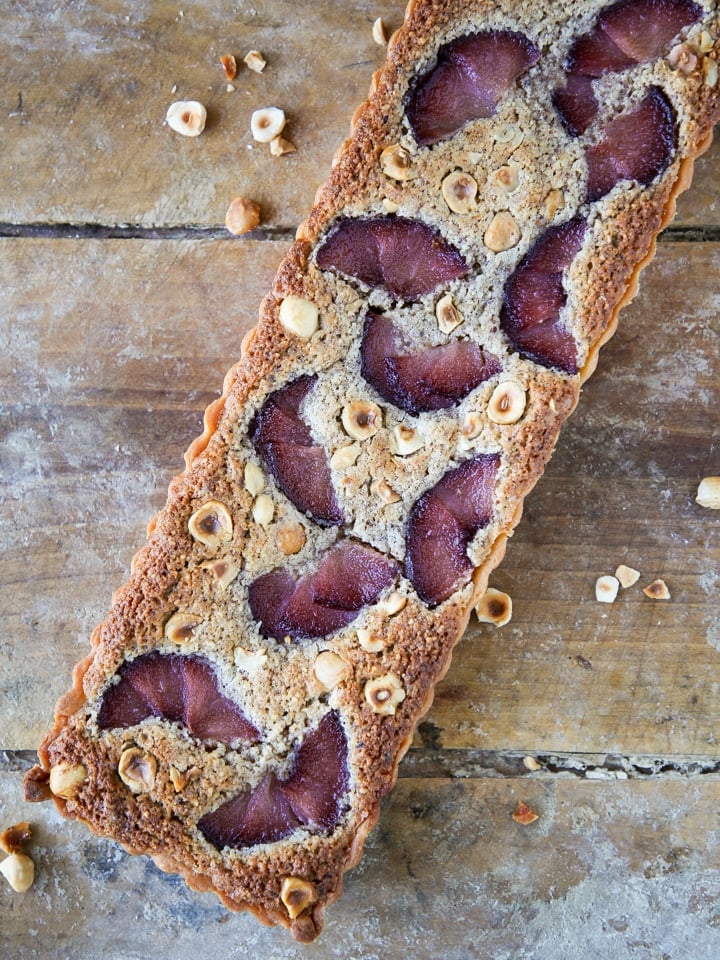
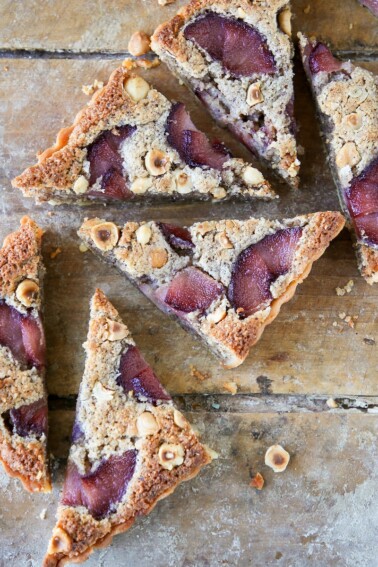
Pear Tart With Hazelnut Frangipane
If you tried this recipe and loved it please leave a 🌟 star rating and let me know how it goes in the comments below. I love hearing from you; your comments make my day!
Poached Pears Recipe
Ingredients
- 4 cups white wine
- 4 cups water
- 1 cup granulated sugar
- 1 vanilla bean split and scraped
- 5 tablespoons lemon juice (juice of approximately 1 lemon)
Instructions
- Peel the pears and core them from the bottom using a melon baller or paring knife, keeping the neck intact and removing only the seeds.
- Combine the white wine, water, sugar, vanilla bean, and lemon juice in a large, shallow pot over medium heat, stirring to combine. Bring to a boil.
- Add only as many pears as can float and move freely in the pot. Reduce the heat to a simmer and poach, stirring occasionally, until a cake tester inserted at the thickest point meets little to no resistance. Test each pear individually, as size and ripeness affect cooking time. Transfer finished pears to a plastic wrap-lined sheet pan.
- Cool the pears and poaching liquid completely and separately. Once both are cold, submerge the pears in the liquid and refrigerate until ready to use.
Video
Notes
Make ahead: Cool the pears and poaching liquid separately before combining. The flavor deepens considerably after 24 to 48 hours in the liquid.
Storage: Store submerged in the cooled poaching liquid in a sealed container in the refrigerator for up to two weeks.
Poaching liquid: Do not discard the liquid after use. It can be strained and frozen for a future batch, or reduced on the stovetop into a syrup to spoon over the finished pears or a tart.
Nutrition
Before You Go
If you make these wine-poached pears, I hope you find them as elegant and satisfying as I do. For more recipes to round out your table, browse my Dessert Recipes or check out my other Valentine’s Day desserts!








Hi, I’m hosting a dinner party in April. Can these be made ahead and frozen?
Hi Lois! I love this for a dinner party. I have never frozen them but I would imagine they would be mushier when thawed. I recommend poaching them, then cooling the pears and poaching liquid separately, then store the poached pears completely encased in the cooled poaching liquid in an airtight container. This is how I would batch produce them in restaurants for dinner service. They will keep for over a month if cooled and stored properly. Now you can use the cooled poaching liquid reduced as a sauce with some citrus or spices depending on your dessert’s flavor profile! ~Lindsey
Thank you very much. That helps alot
I love the idea of using the poaching liquid as a sauce. It might even make a tasty Mulled Wine base.
Lindsay is fun to watch and makes things easy!
Hi Jackie! So glad you think so! Thanks for leaving a comment and star rating, always happy to hear from fellow cooks!
I love desserts that feel a little European during the holidays. I loved being able to make this while doing other things around the house! Lightly sweet, not cloying, and very balanced. These felt elegant without being showy! Everyone loved them!