This post may contain affiliate links. Please read our disclosure policy.
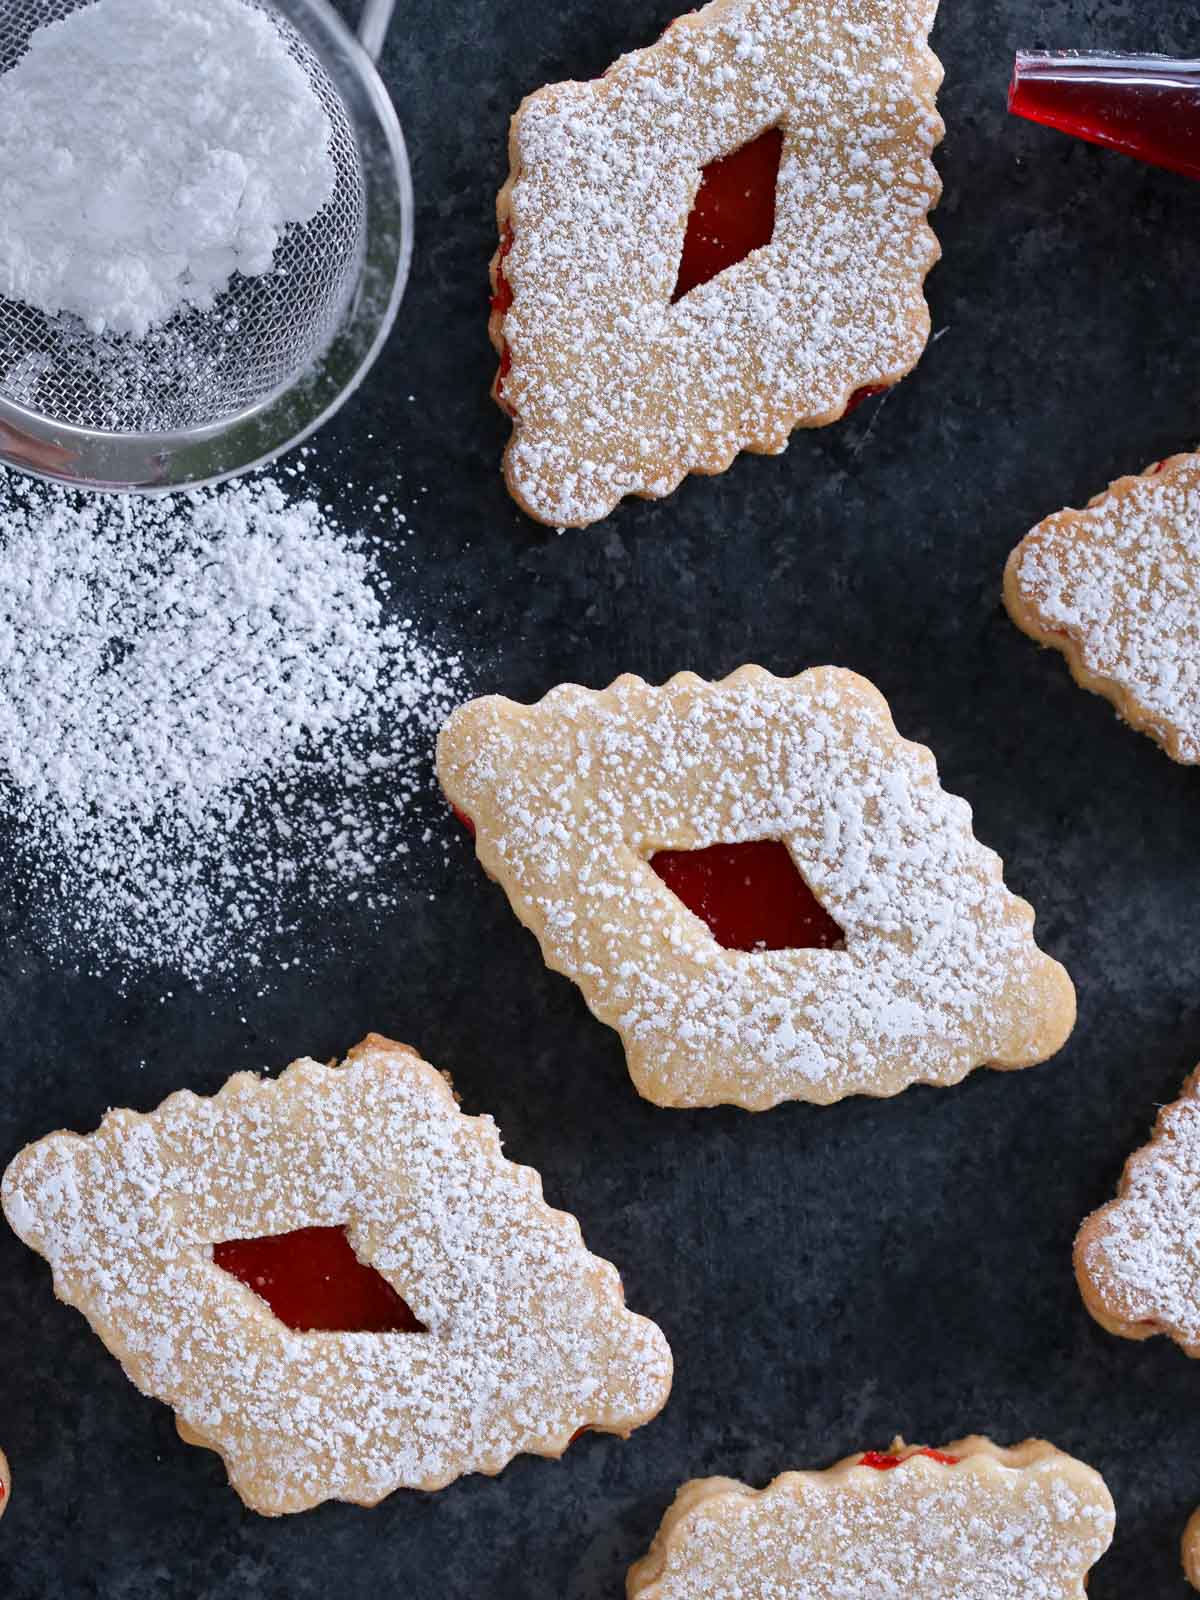
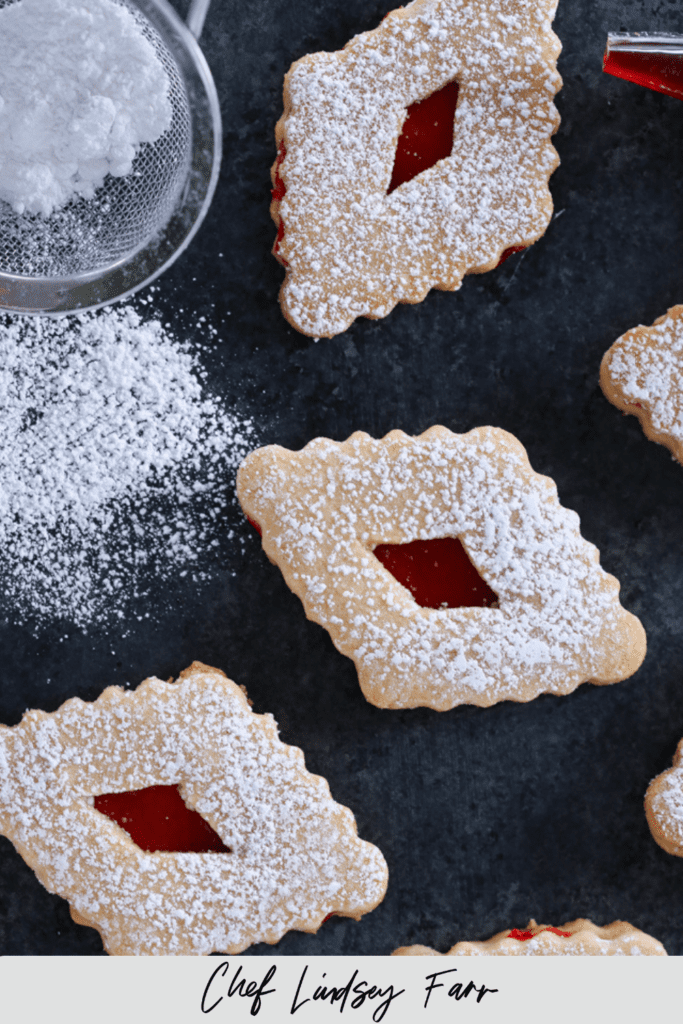
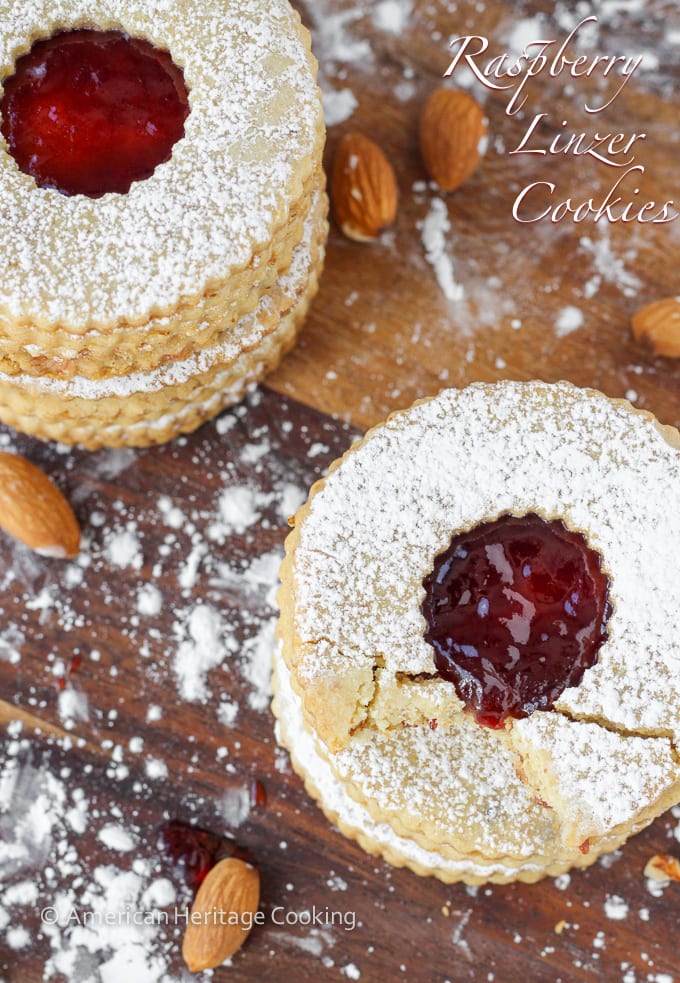
Linzer Cookies are a soft, tender almond cookie sandwiched with raspberry jam and topped with confectioners sugar. The cookie dough is flavored with brown sugar, cinnamon, vanilla and almonds. These are the best linzer cookies you’ll ever try!
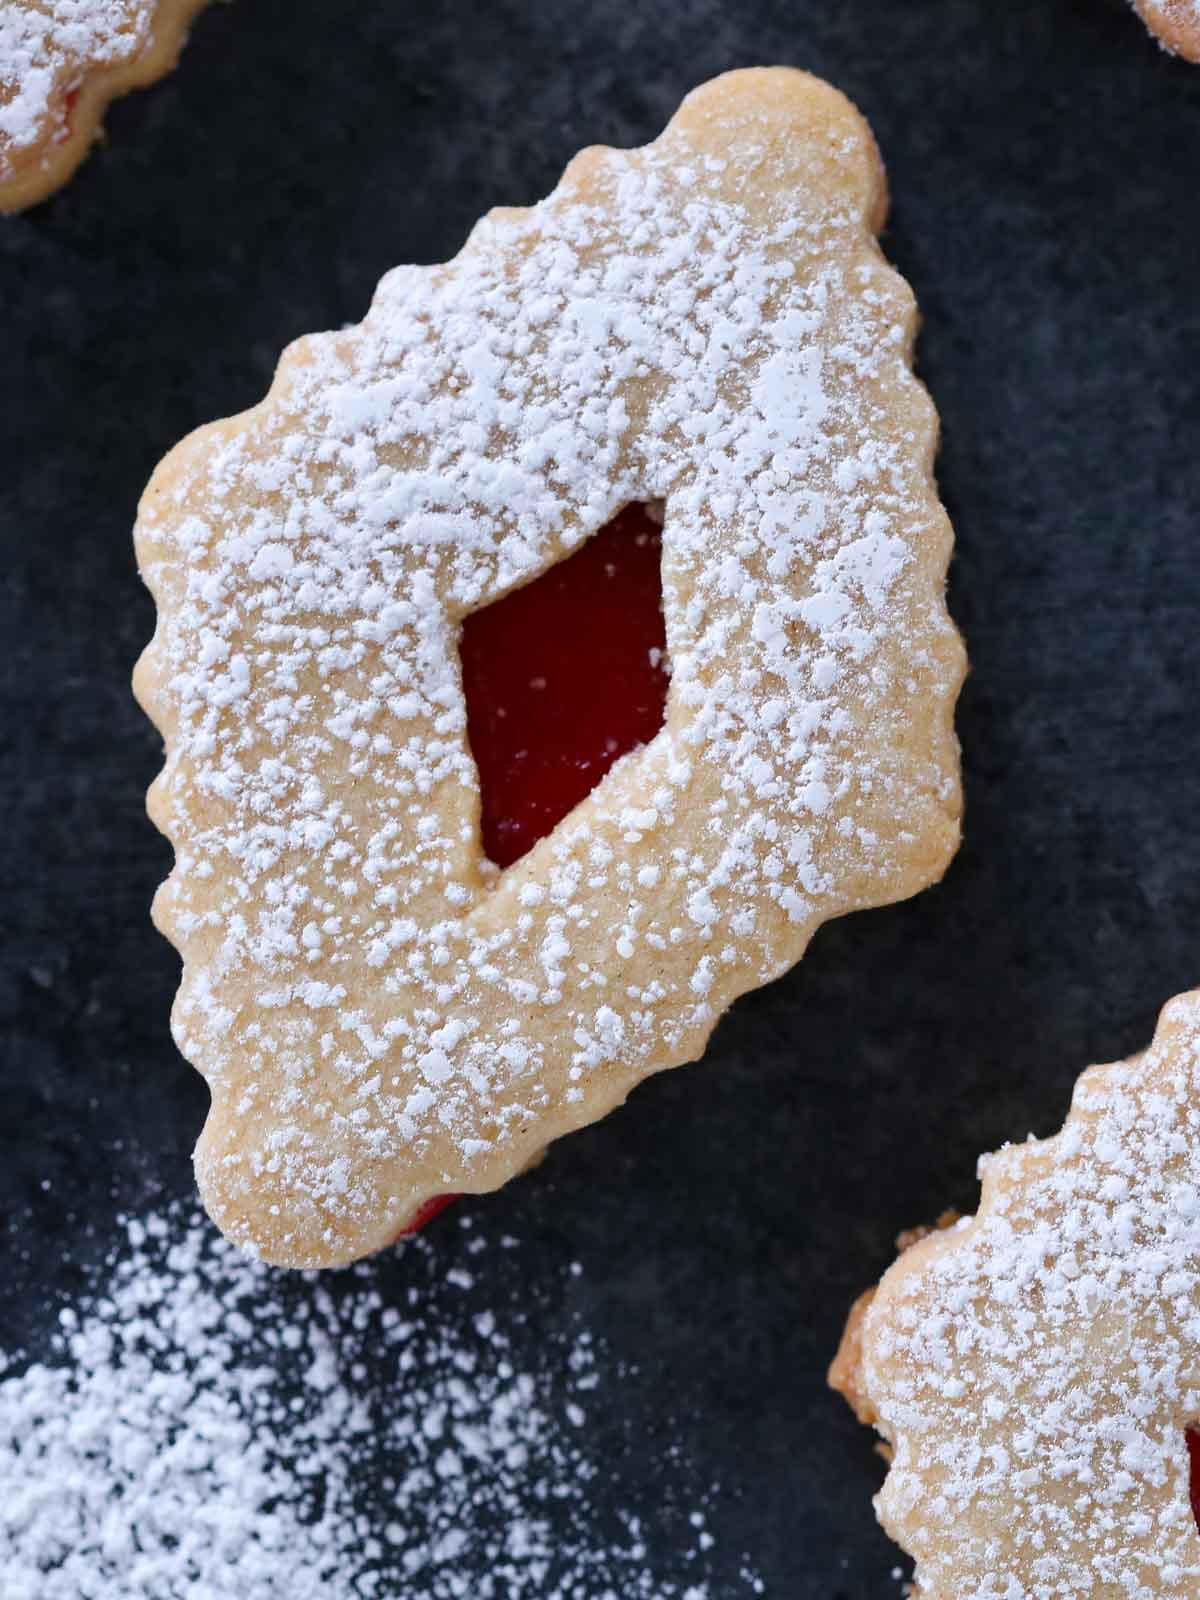
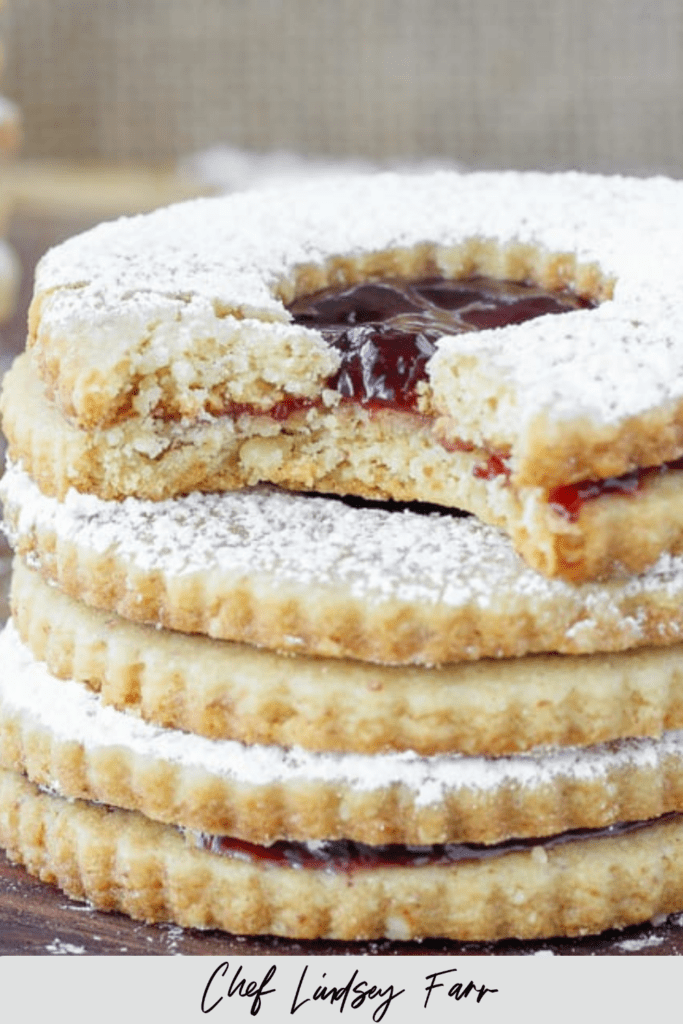
These gorgeous almond cookies have a soft, tender texture with a hint of brown sugar, cinnamon and almond. The cookies are not overly sweet themselves, so the preserves and powdered sugar add a welcome sweetness.
Not only are linzers a striking and beautiful cookie, they are delicious and they make excellent gifts. I often gift them alongside gingerbread cookies, cherry pecan cookies and soft sugar cookies. I have also made tens of thousands of these cookies for Cookies for Kids Cancer, for giveaways at the restaurants, and for our bakery’s Christmas Cookie Tins.
Table of Contents
Why you will love this recipe:
- Excellent shipping cookies: Raspberry linzer cookies are stable, and both the flavor and texture improve over time! They make the perfect homemade gifts!
- This recipe can be made as large or as small as you’d like. In my professional life, I have made tens of thousands of these cookies! I have scaled this exact recipe to fit an 80 quart mixer and it was just as good as a small batch. When making larger batches, do use a kitchen scale for precision.
- These are the best linzer cookies. Many linzer recipes use a simple shortbread dough but I find that doesn’t make the best sandwich cookie. This recipe has a significant amount of butter and less sugar than a typical cookie. This makes a tender cookie that softens with the jam but isn’t overly sweet.


What are linzer cookies?
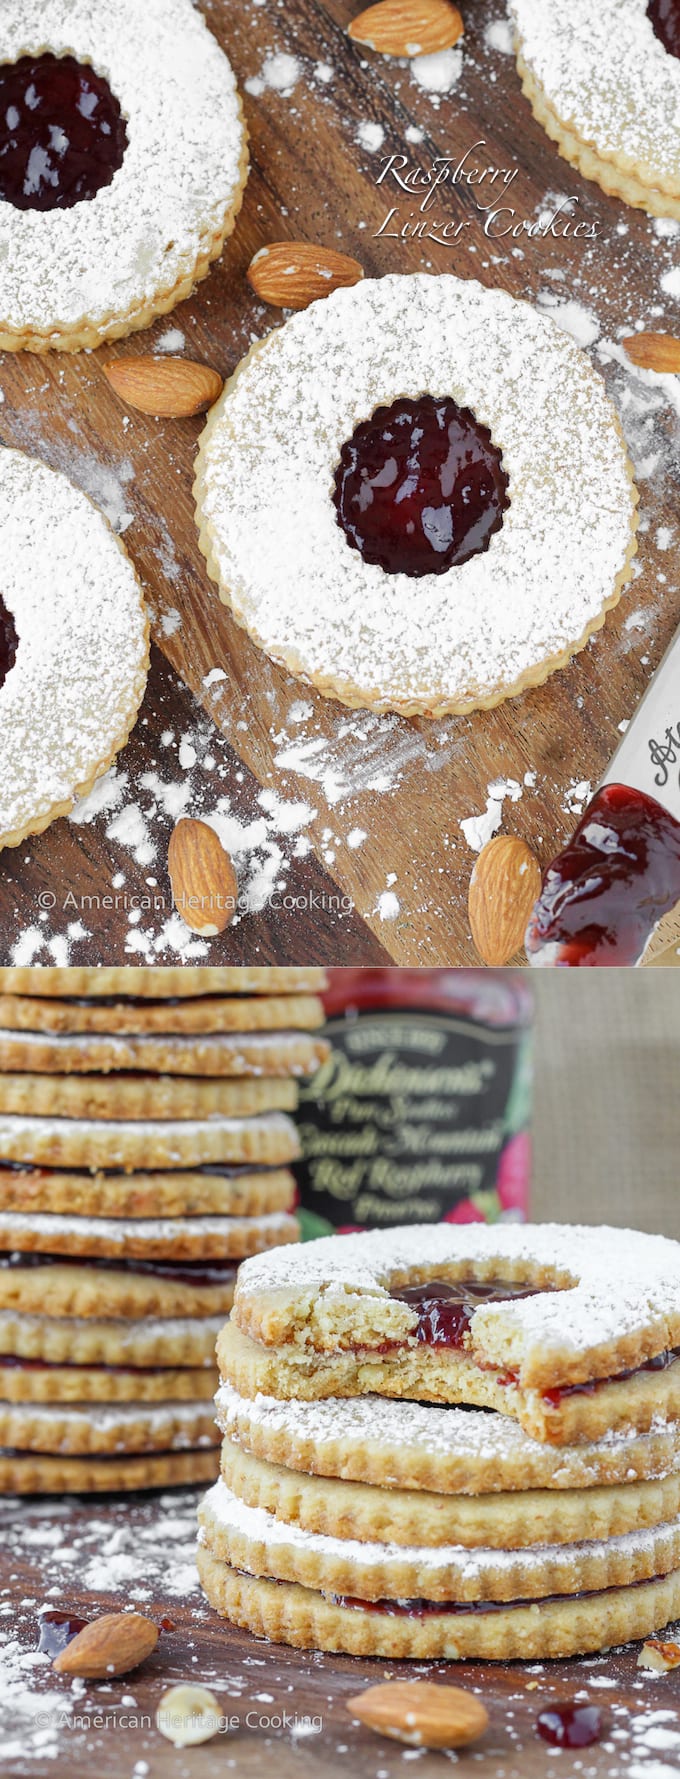
Linzer cookies are a jam-filled, sandwich cookie based on the Viennese linzer tart. The dough is typically flavored with ground almonds or hazelnuts, and a raspberry or apricot filling is traditional though any jam is delightful!
Professional Tips for Making Linzer Cookies
- Allow the flavors to meld: The flavor and texture improve on the second day! Give the bottom cookies a nice thin layer of jam or preserves all the way to the edges. Harness your self control, and experience the jam softening and permeating the cookies over time. To die for!
- Bake the tops & bottoms on separate baking sheets. The tops bake considerably faster than the bottoms, and you don’t want to have to choose between overbaked tops or underbaked bottoms!
- Don’t overfill the cookies. It is tempting to use a lot of jam, but it will actually make them less wonderful. The tops will slip off or the jam will ooze out the sides, and the flavors won’t be balanced.
I include a lot more professional tips below in the “How to Make” section!
Ingredients
- Almonds: I used blanched, whole almonds in this recipe but it is also good (and easier!) with almond meal. Whatever you have, that is what you should use!
- Light Brown Sugar: Using light brown sugar adds sweetness along with a little moisture. This will keep the cookies softer. And unlike granulated sugar, brown sugar also adds a nice rich molasses flavor.
- All-purpose flour: Be sure to measure your all-purpose flour by fluffing up the flour in the bag then spooning it into a measuring cup. Level it off with a knife. Not measuring correctly will lead to dry cookies.
- Baking Powder: Double acting baking powder will react instantly when it is mixed with an acid and then again when it is heated.
- Kosher Salt: Kosher salt is less salty than table salt and a teaspoon weighs less than other finer ground varieties. It heightens the flavor here and will keep your cookies from tasting dull or flat.
- Cinnamon: I use Saigon cinnamon but any cinnamon will do.
- Butter: I use unsalted butter for baking, because you want to control the amount of salt you are adding. Every brand is different and it makes adjusting the recipe a challenge.
- Whole Egg: The egg is here to add leavening. Egg yolks add fat, while egg whites add moisture. Eggs also emulsify the batter and keep everything texturally perfect.
- Vanilla Extract: Vanilla extract adds a beautiful flavor itself but it also boosts the flavor of other ingredients around it, like brown sugar.
- Powdered Sugar: The powdered sugar coating adds a bit of additional sweetness and it helps keep the cookies moist during longer storage.
- Seedless Preserves: I prefer to bake these with seedless raspberry preserves but any jam would be delightful.
Variations & Substitutions
- Different shapes & sizes: Linzer cookies are incredibly versatile! Use any cookie cutter that you enjoy. Hearts are nice for Valentine’s Day or Mother’s Day, and snowflakes or trees are great for Christmas. Make them as big or small as you’d like. You don’t need a special cookie cutter set to make them. Just use what you have and play around!
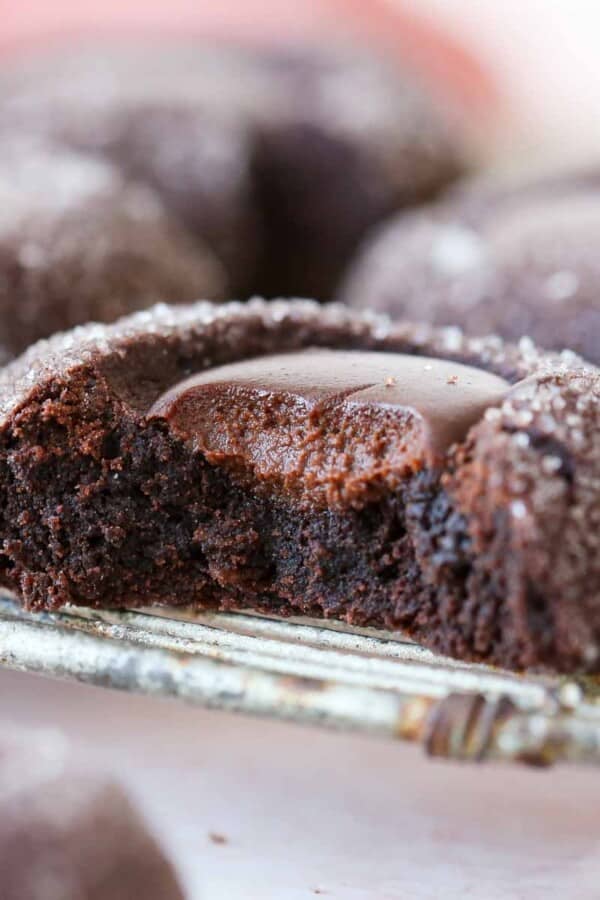
- Use a mix of jams or spreads: Get creative with the flavors that you use to sandwich! Try raspberry, apricot or peach jam, or you can use Nutella like in these chocolate nutella linzer cookies, lemon curd or salted caramel sauce. Be aware that items like lemon curd will need to be refrigerated!
- Change the flavor of the dough: I have made this same recipe with hazelnut flour and almond flour. Adding orange or lemon zest to the sugar before mixing will lightly flavor the dough.
- Use a glaze instead: I made so many linzer cookies at the restaurants and for Cookies for Kids Cancer, people started calling them “Lindsey’s Linzers.” One year I made them “lemon poppy seed” themed. I flavored the dough with lemon zest, glazed the tops with a simple powdered sugar lemon juice glaze and then sprinkled poppyseeds on top. Try the same with orange juice or even passionfruit juice!
How to Make Linzer Cookies
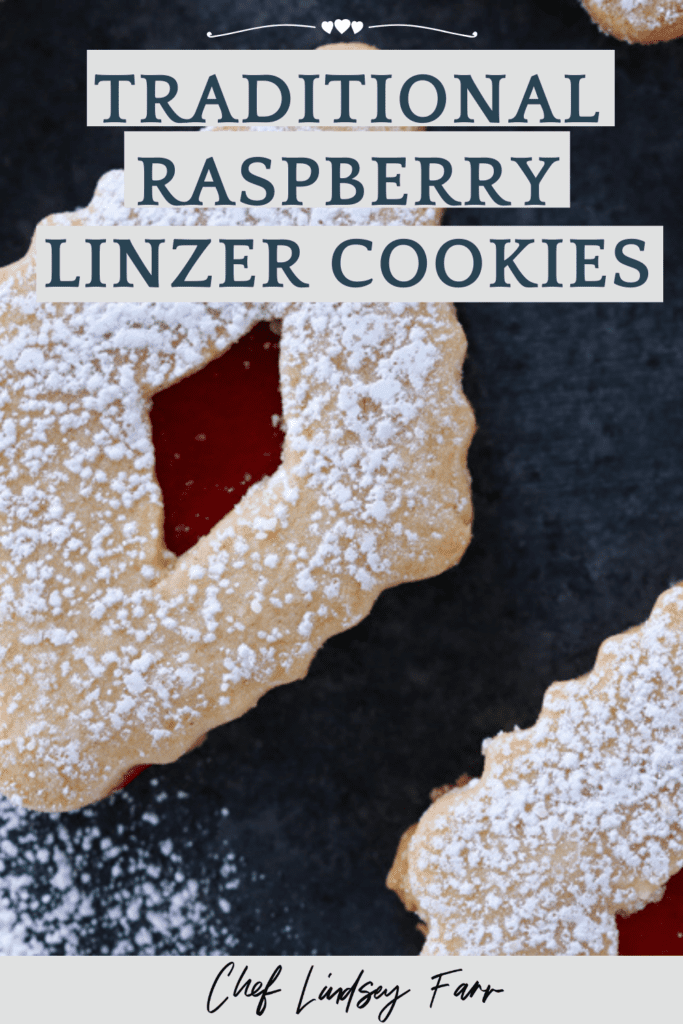
Use these instructions to make the perfect Austrian linzer cookies every time! Further details and measurements can be found in the recipe card below!
Make cookie dough:
Step 1: In a large bowl, whisk together the flour, baking powder, salt, and cinnamon. Set this dry mixture aside.
Step 2: If using whole almonds, process the almonds and a ¼ cup of the brown sugar in a food processor, until they are finely ground. Be sure to pulse, so this does not make almond butter. If you are using almond meal, then just mix the meal with ¼ cup brown sugar. Be sure to break up any clumps.
Step 3: In a large bowl with a hand mixer or in a stand mixer, beat the butter and the remaining ¼ cup of brown sugar until light and fluffy, which will take about 2 to 3 minutes.
It is helpful if the butter is already at room temperature for when you cream the butter and sugar. Do not expect it to get as fluffy as it might for a cake batter. There is too much butter for that.
Step 4: Add the egg and vanilla, and beat to incorporate.
Step 5: Reduce the mixer speed to low and gradually add the ground almond mixture. Next add the flour mixture in several additions. Mix until it is just-combined, and be careful not to over-mix. Remember to scrape down the sides of the bowl so everything is incorporated!
I have tested this same recipe without dividing the brown sugar between the butter and the almonds. The dough does not mix as easily nor does it result in as tender a cookie. If using whole almonds, the sugar helps ensure the almonds grind as fine as possible.
Step 6: Divide the dough in half. Shape each half into disks and wrap each disk securely in plastic wrap. Refrigerate until firm, which will take at least 2 hours, or overnight.
Alternately you can roll the freshly made dough between two pieces of parchment paper to 1/8th inch thick. Refrigerate 2 hours or overnight. This allows the gluten to relax and the butter to re-solidify.
Roll, Cut, and Bake:
Step 7: Preheat the oven to 350°F conventional and line 2 baking sheets with parchment paper.
Allow the disks to warm up on the counter until they are still firm but not soft. If you rolled the dough between parchment, you can skip to step 9!
Step 8: Dust your counter with bench flour. Roll out each piece of dough to as close to an ⅛ inch thickness as you can. This dough is a little sticky, so you might have to re-flour your counter. Rolling too thin will make crunchy cookies that don’t soften nicely once assembled. There is nothing wrong with making them fatter, the overall cookie will just be thick!
Step 9: Cut the dough with your cookie cutter of choice, and place on a prepared baking sheet. Space the cut pieces of dough one inch apart. Use a smaller cookie cutter, or paring knife, to cut out the centers of half the pieces. Keep your scraps, because you can (and should) re-roll them!
If you used parchment paper, remove the parchment from both sides but leave it on parchment to cut. Releasing the dough from the parchment will make the cutting and transferring easier especially once the dough warms up.
Step 10 optional: Once all your dough is cut, you can opt to chill your cookies again before you bake them. Chill them until they are firm to the touch, which will take about 20-25 minutes. I recommend this step because it will keep the cookies from spreading, but it is technically optional.
Bake the bottoms (pieces without holes) and the tops (the ones with the holes) on separate cookie sheets. The tops and the bottoms will bake at different rates. You don’t want to have burnt edges on the tops or under-baked centers on the bottoms.
Step 11: Bake the cookies in preheated oven, rotating the cookie sheets halfway through. You want to bake until the edges begin to brown, the centers puff slightly and have small cracks on the surface. For me this was 8-10 minutes for the bottoms and 6-8 minutes for the tops.
Step 12: Cool slightly on the cookie sheet and then transfer to a wire rack to cool completely.
Assemble and enjoy:
Step 16: When the tops (the ones with holes) have cooled, dust them generously with powdered sugar. Spread about ¾ teaspoon of preserves on each bottom (the cookies without holes). You can use a little more if you like, but I didn’t want the raspberry flavor to overpower the almond flavor. Spread the preserves until they almost reach the edges!
Step 17: Place a powdered top on each bottom and press gently to stick them together. You can begin enjoying them immediately, but they do get better as the days go on! Waiting will give the flavors an opportunity to meld together and the cookies to soften slightly.
Chef Lindsey’s Recipe Tip
These cookies are delicious the first day but I absolutely LOVE them on day two, three, and even day 8! The flavors meld together and the preserves partially sink into the softened almond cookies creating a unified flavor. They are ideal for cookie trays and shipping!

Frequently Asked Questions
Keep these cookies in a sealed storage container at room temperature for up to 7 days. Store your Linzer cookies between layers of parchment paper. For longer storage, freeze assembled cookies for up to 3 months. The dough also freezes beautifully. Bake directly from frozen.
For perfect cut-out Linzer cookies, I always chill the dough prior to baking. This helps ensure sharp edges and the best shape!
These cookies ship wonderfully. Package them well with tissue paper as padding so they don’t crash about in the tin. Just be aware that powdered sugar does not travel nicely no matter what precautions you take! I have tested it both ways and the powdered sugar adds to the flavor, so I would just let it do what it does in the box. No will mind.
Linzer cookies are cookies made with nut flour, typically almond or hazelnut, and sandwiched together with raspberry jam.
The dough can be crumbly because it is too cold to roll or because the incorrect amount of flour and/or almond meal was used. You can try adding egg yolks to the dough to save it.
Use just a thin layer of jam between the cookies and store them at room temperature. They will pull moisture from the refrigerator or freezer. Also be sure to bake them long enough. The perfect linzer cookie starts out slightly crisp, so that it softens just enough when assembled.

If you tried this recipe and loved it please leave a 🌟 star rating and let me know how it goes in the comments below. I love hearing from you; your comments make my day!

Linzer Cookies
Ingredients
- 1 cup almond flour (meal) or ⅔ cup blanched whole almonds
- ½ cup packed light brown sugar
- 2 ½ cups all-purpose flour spooned and leveled
- ½ teaspoon baking powder
- ½ teaspoon kosher salt
- ¼ teaspoon ground cinnamon
- 1 cup unsalted butter room temperature
- 1 large egg
- 1 teaspoon pure vanilla extract
- 2 tablespoons powdered sugar for dusting
- 12 ounces seedless raspberry preserves
Instructions
Make cookie dough:
- Whisk together the flour, baking powder, salt, and cinnamon in a medium bowl. Set this dry mixture aside.
- If using whole almonds process the almonds and a ¼ cup of the brown sugar in a food processor, until they are finely ground. Be sure to pulse, so this does not make almond butter. If you are using almond meal, then just mix the meal with ¼ cup brown sugar.
- In a large bowl with a hand mixer or in a stand mixer, beat the butter and the remaining ¼ cup of brown sugar until light and fluffy, which will take about 2 to 3 minutes. This is called the creaming method! It is helpful if the butter is already at room temperature for when you cream the butter and sugar. Do not expect it to get as intensely fluffy as it might for a cake batter. There is too much butter for that.
- Add the egg and vanilla, and beat to incorporate.
- Reduce the mixer speed to low and gradually add the ground almond mixture. Next add the flour mixture in several additions. Mix until it is just-combined, and be careful not to over-mix. Remember to scrape down the sides of the bowl so everything is incorporated!
- Divide the dough in half. Shape each half into disks and wrap each disk securely in plastic wrap. Refrigerate until firm, which will take at least 2 hours, or overnight. You want it to be firm and set so you can get beautiful cookies that don’t shrink or spread.
Roll, Cut, and Bake:
- Allow the disks to warm up on the counter until they are still cool to the touch but slightly softened. Preheat the oven to 350°F and line 2 baking sheets with parchment paper.
- Dust your counter with bench flour. Roll out each piece of dough to as close to an ⅛ inch thickness as you can. In the pictures, I rolled it to a little less than ¼ inch, but I ended up with slightly chubbier cookies. This dough is a little sticky, so you might have to re-flour your counter.
- Cut the dough with your cookie cutter of choice, and place on a prepared baking sheet. Space the cut pieces of dough one inch apart. Use a smaller cookie cutter, or paring knife, to cut out the centers of half the pieces. Keep your scraps, because you can (and should) re-roll them!
- Once all your dough is cut, you can opt to chill your cookies again before you bake them. Chill them until they are firm to the touch, which will take about 20-25 minutes. I recommend this step, but it is technically optional.
- While baking, rotate the cookie sheets halfway through. You want to bake until the edges begin to brown, which for me was 8-10 minutes for the bottoms and 6-8 minutes for the tops.
- Cool slightly on the cookie sheet and then transfer to a wire rack to cool completely.
Assemble and enjoy:
- When the tops (the ones with holes) have partially cooled, dust them generously with powdered sugar. Spread about ¾ teaspoon of preserves on each bottom (the cookies without holes). You can use a little more if you like, but I didn’t want the raspberry flavor to overpower the almond flavor. Spread the preserves until they reach the edges!
- Place a powdered top on each bottom and press gently to stick them together. You can begin enjoying them immediately, but they do get better as the days go on! Waiting will give the flavors an opportunity to meld together and the cookies to soften slightly.
Video
Notes
Nutrition
Before You Go!
I hope you enjoyed this professional chef tested recipe. Check out our other delicious, chef-developed cookie recipes or all of our Christmas cookie recipes!


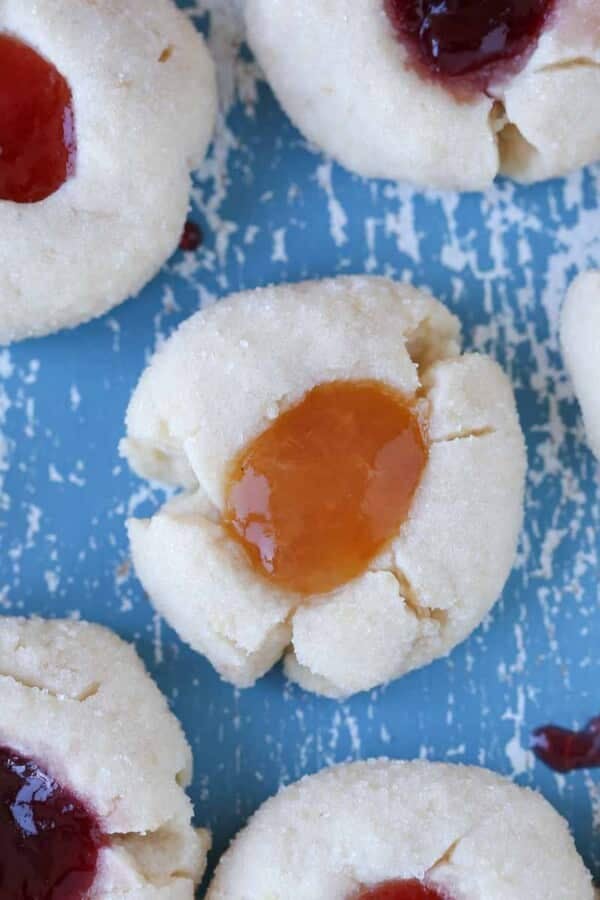


This recipe turned out fantastic! I had tried a few other Linzer recipes, but struggled with dryness. This one had a great nutty flavor and texture without being dry. And easy to follow. We also made these as thumbprint linzers…by not chilling and just rolling into balls and using a tsp to press in the center…and turned out great as well! Glad I found you take on traditional Linzer Cookies!
Hi Lisa! These are great as thumbprint linzers, I’m happy they turned out so perfectly for you, and that the recipe was easy to follow!
Just a thought, instead of the fresh almonds can almond paste be used?
Hi Gina, That is a good thought but, unfortunately not without changing the texture. You can use almond flour instead of grinding your own fresh though! That is what I do every time now 🙂 You could also add a touch of almond extract to mimic the flavor of almond paste!