This post may contain affiliate links. Please read our disclosure policy.
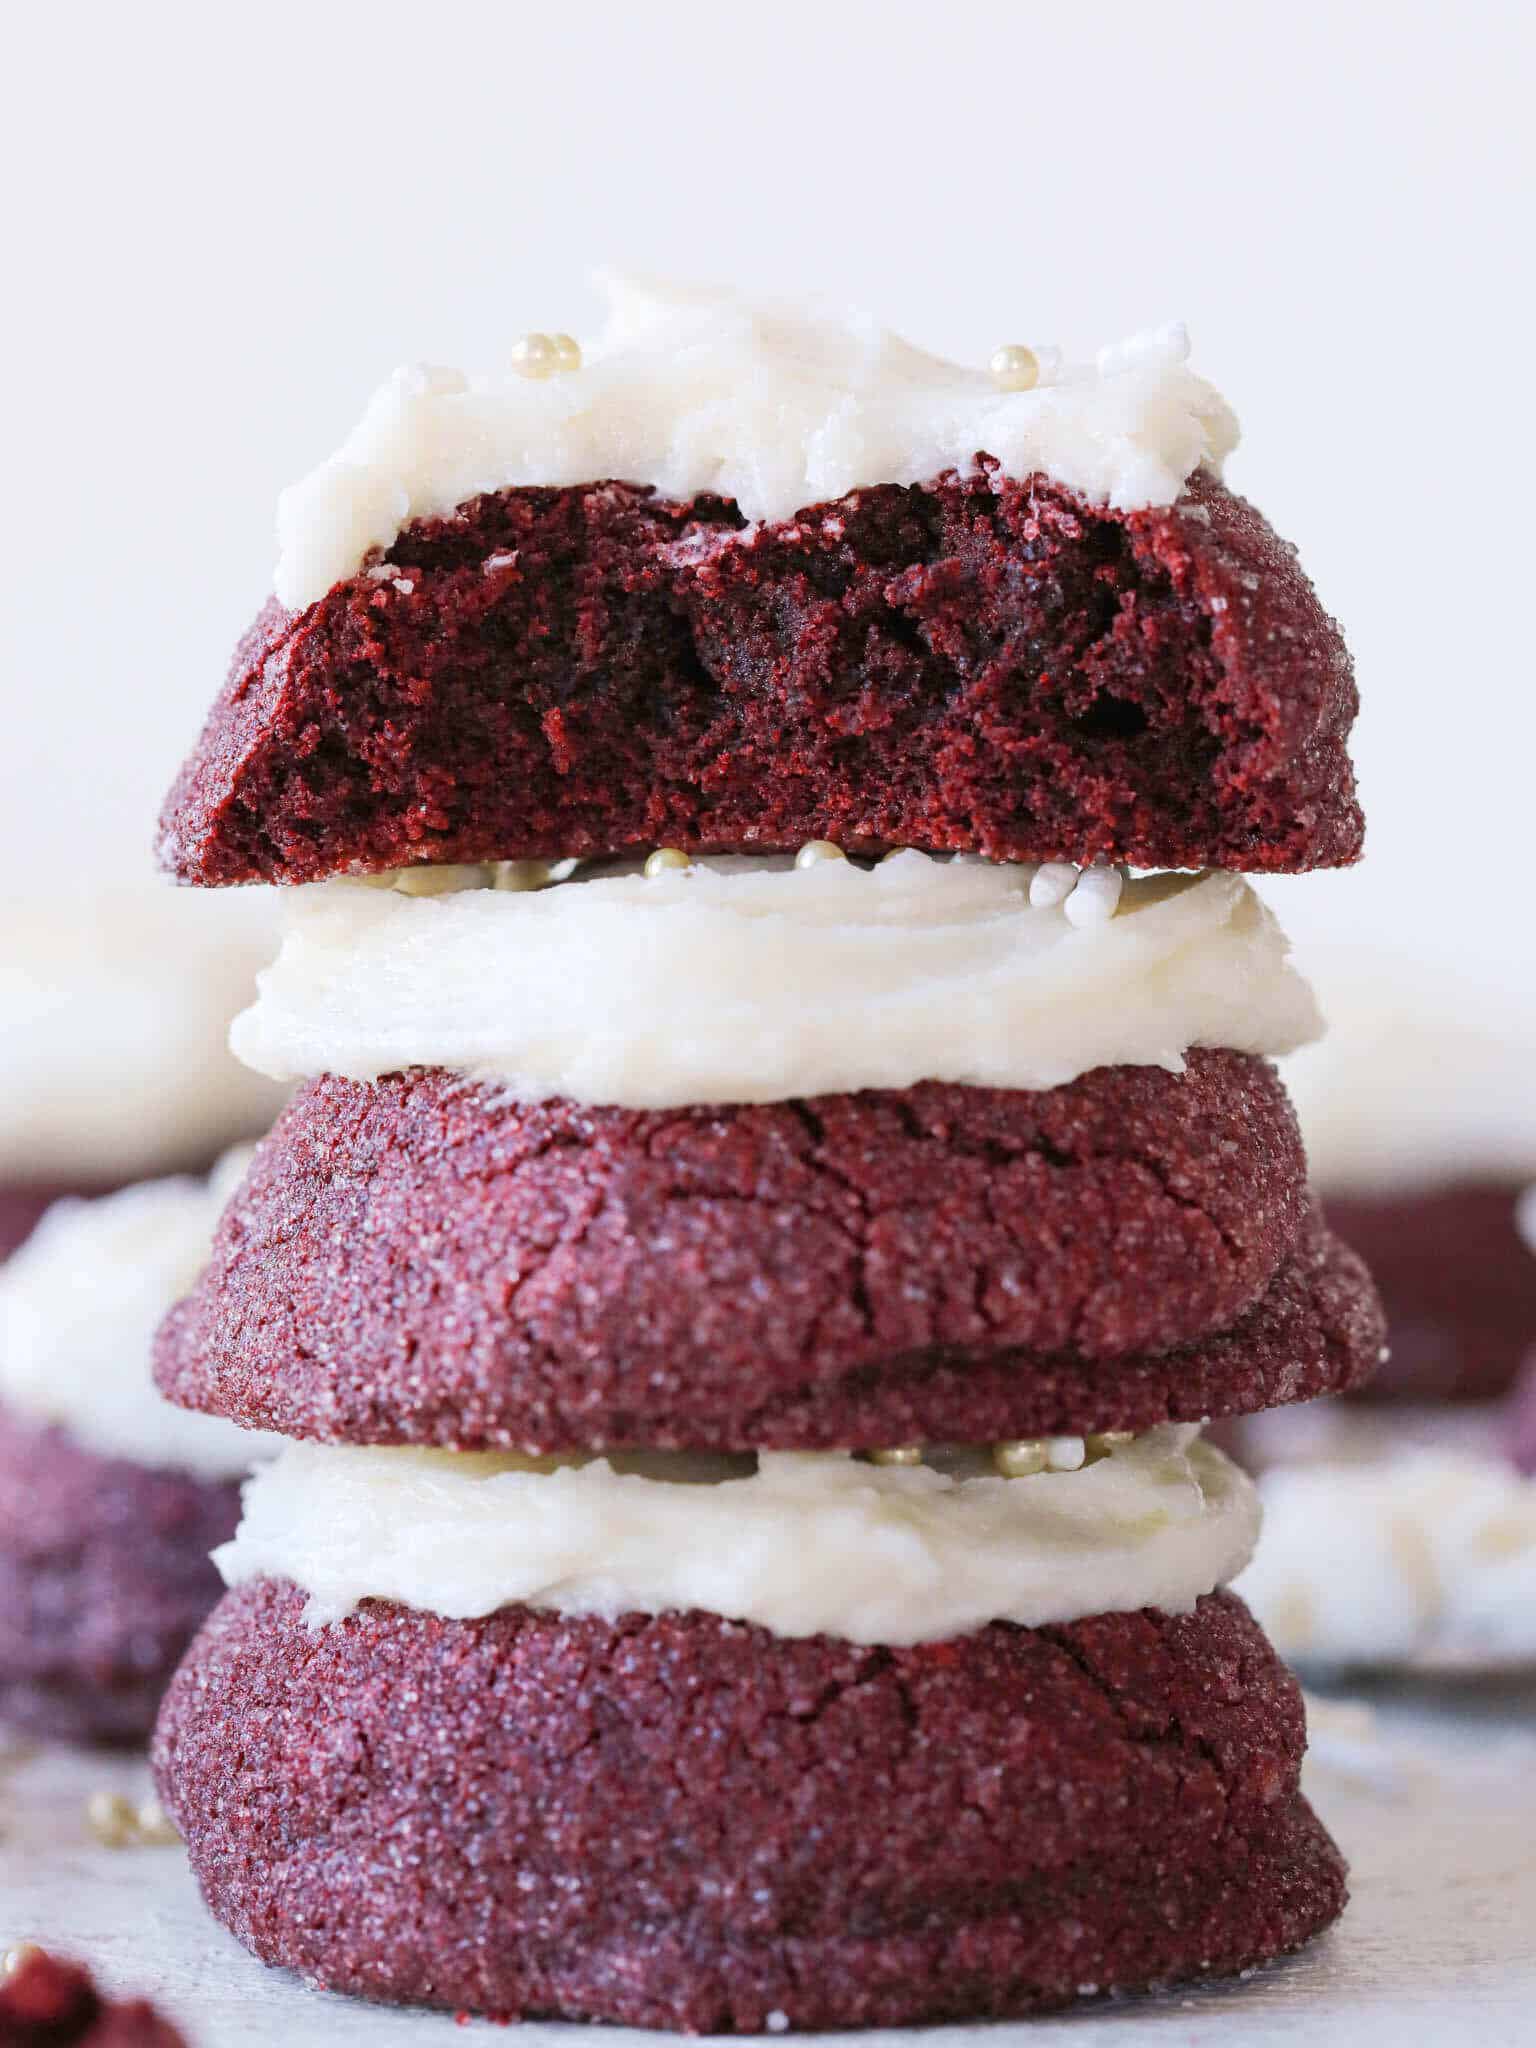
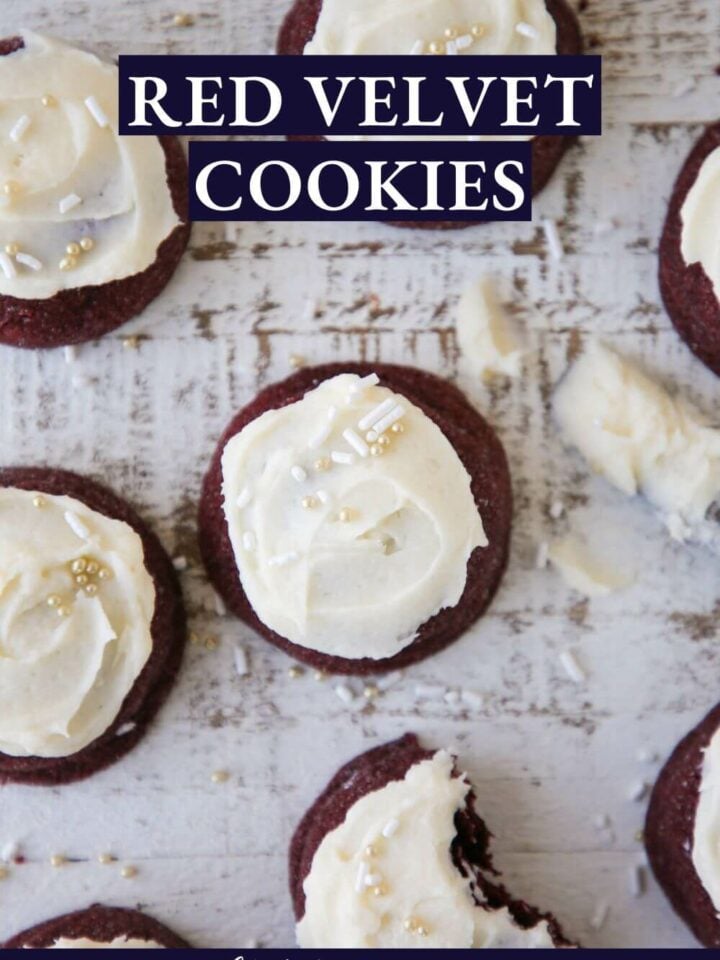
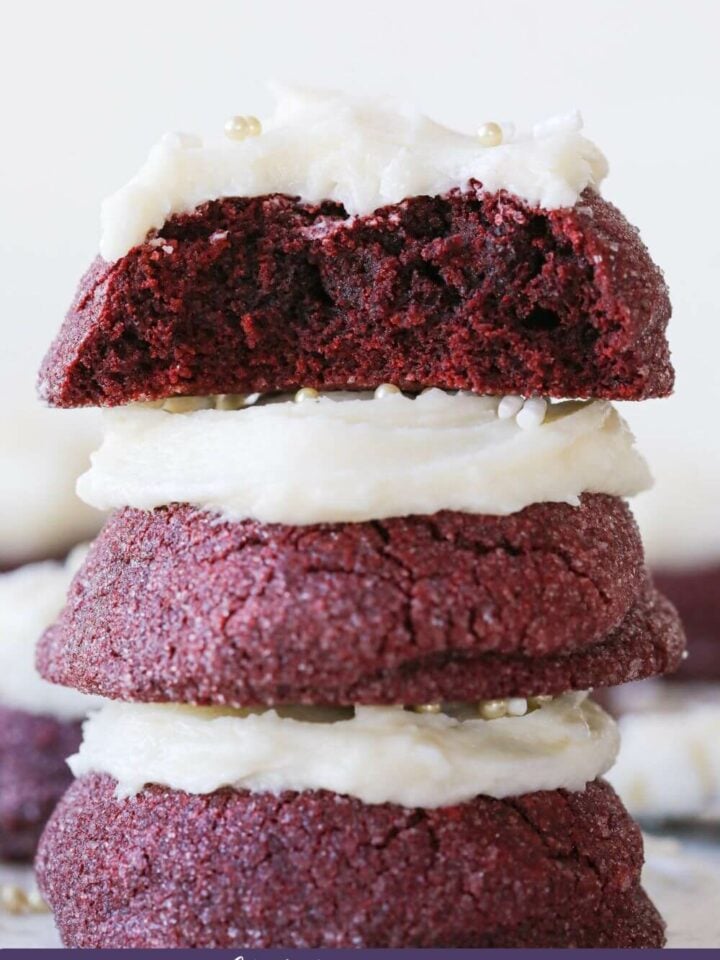
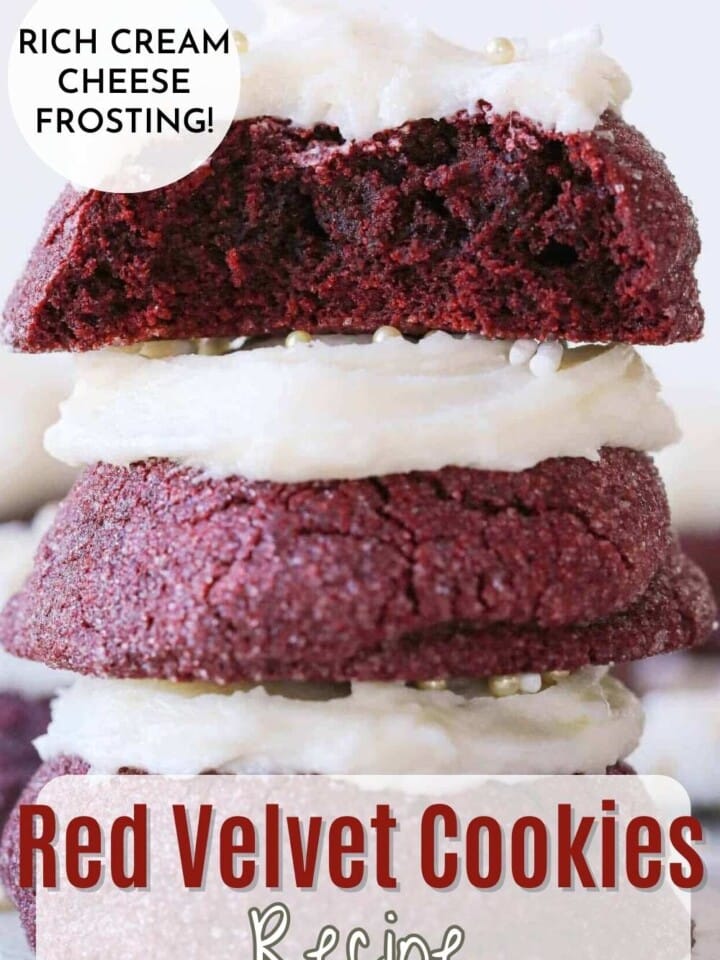
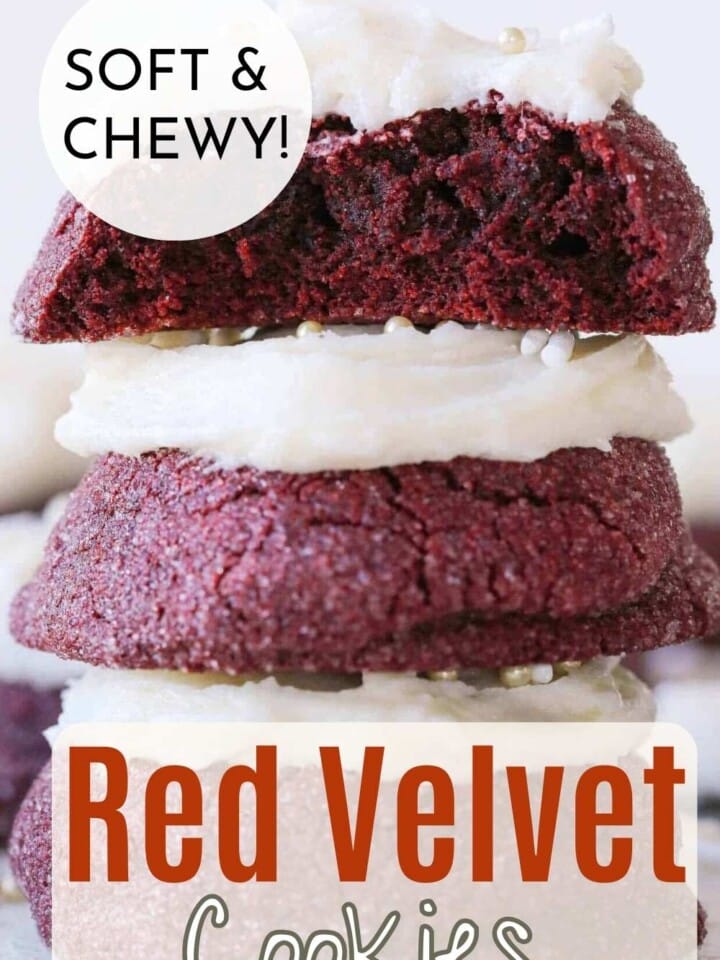
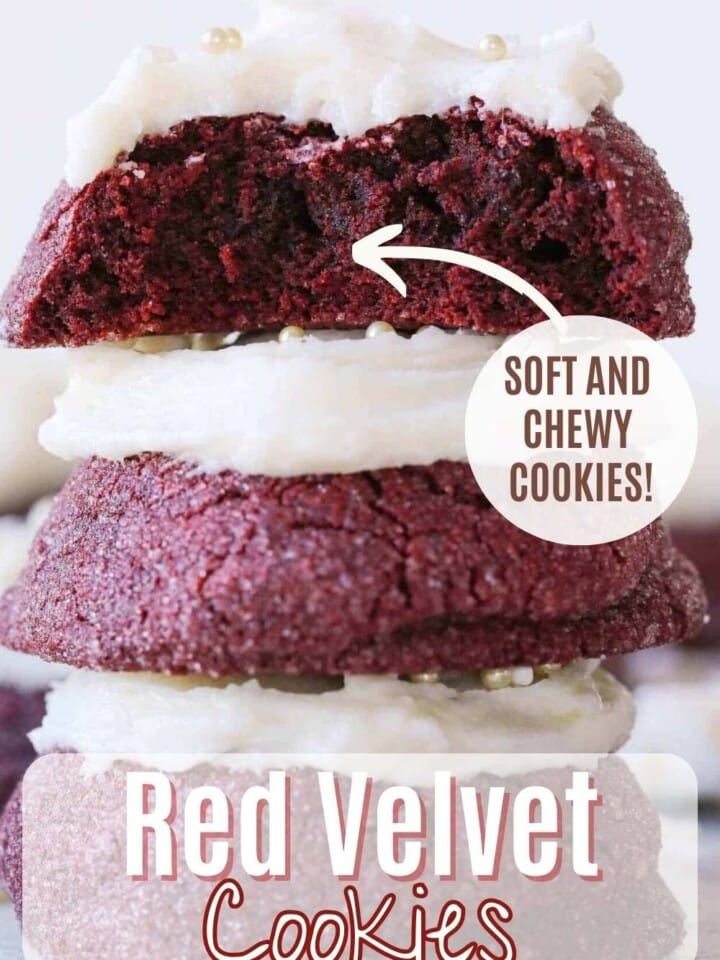
These Red Velvet Cookies with cream cheese frosting are thick, chewy and soft. All the flavor of red velvet cake with the chewiness of chocolate chip cookies! The sugar coating keeps the outsides crispy for the perfect bite.
A Quick Look At The Recipe
This is a brief summary of the recipe. Jump to the recipe to get the full details.
Jump to RecipePrep Time
20 minutes
Cook Time
10 minutes
Chill
2 hours
Total Time
2 hours 30 minutes
Servings
15 cookies
Difficulty
Easy
Calories *
297 kcal per serving
Technique
Make cookies, bake, cool and frost.
Flavor Profile
Classic red velvet flavor in cookie form.
* Based on nutrition panel
My favorite cookies!! Soft, chewy, and rich in flavor. I am thank you for all your insight and suggestions. I needed to bring cookies to a party, your red velvet cookies were perfect and thanks to your suggestions, I made them the day before and put the frosting on before leaving the house. Everyone loved them.⭐⭐⭐⭐⭐
Giangi Townsend
Look no further for the perfect red velvet cookies. The interior texture is soft and moist with a hint of chocolate flavor. I’ve rolled the outside in granulated sugar for crunch and a little extra sweetness! Plus, the sparkle makes it feel extra festive!
Go beyond the usual Red Velvet Layer Cake or even my perfect Red Velvet Pound Cake and make red velvet cookies with cream cheese frosting for cookies instead! They are one of my easiest Valentine’s Day Desserts, a great gift for your favorite Galentine alongside these Valentine’s Day Cookies, or could even be joined by their friend linzer cookies to star in a Christmas Cookie platter!
Why you will love this red velvet cookie recipe:
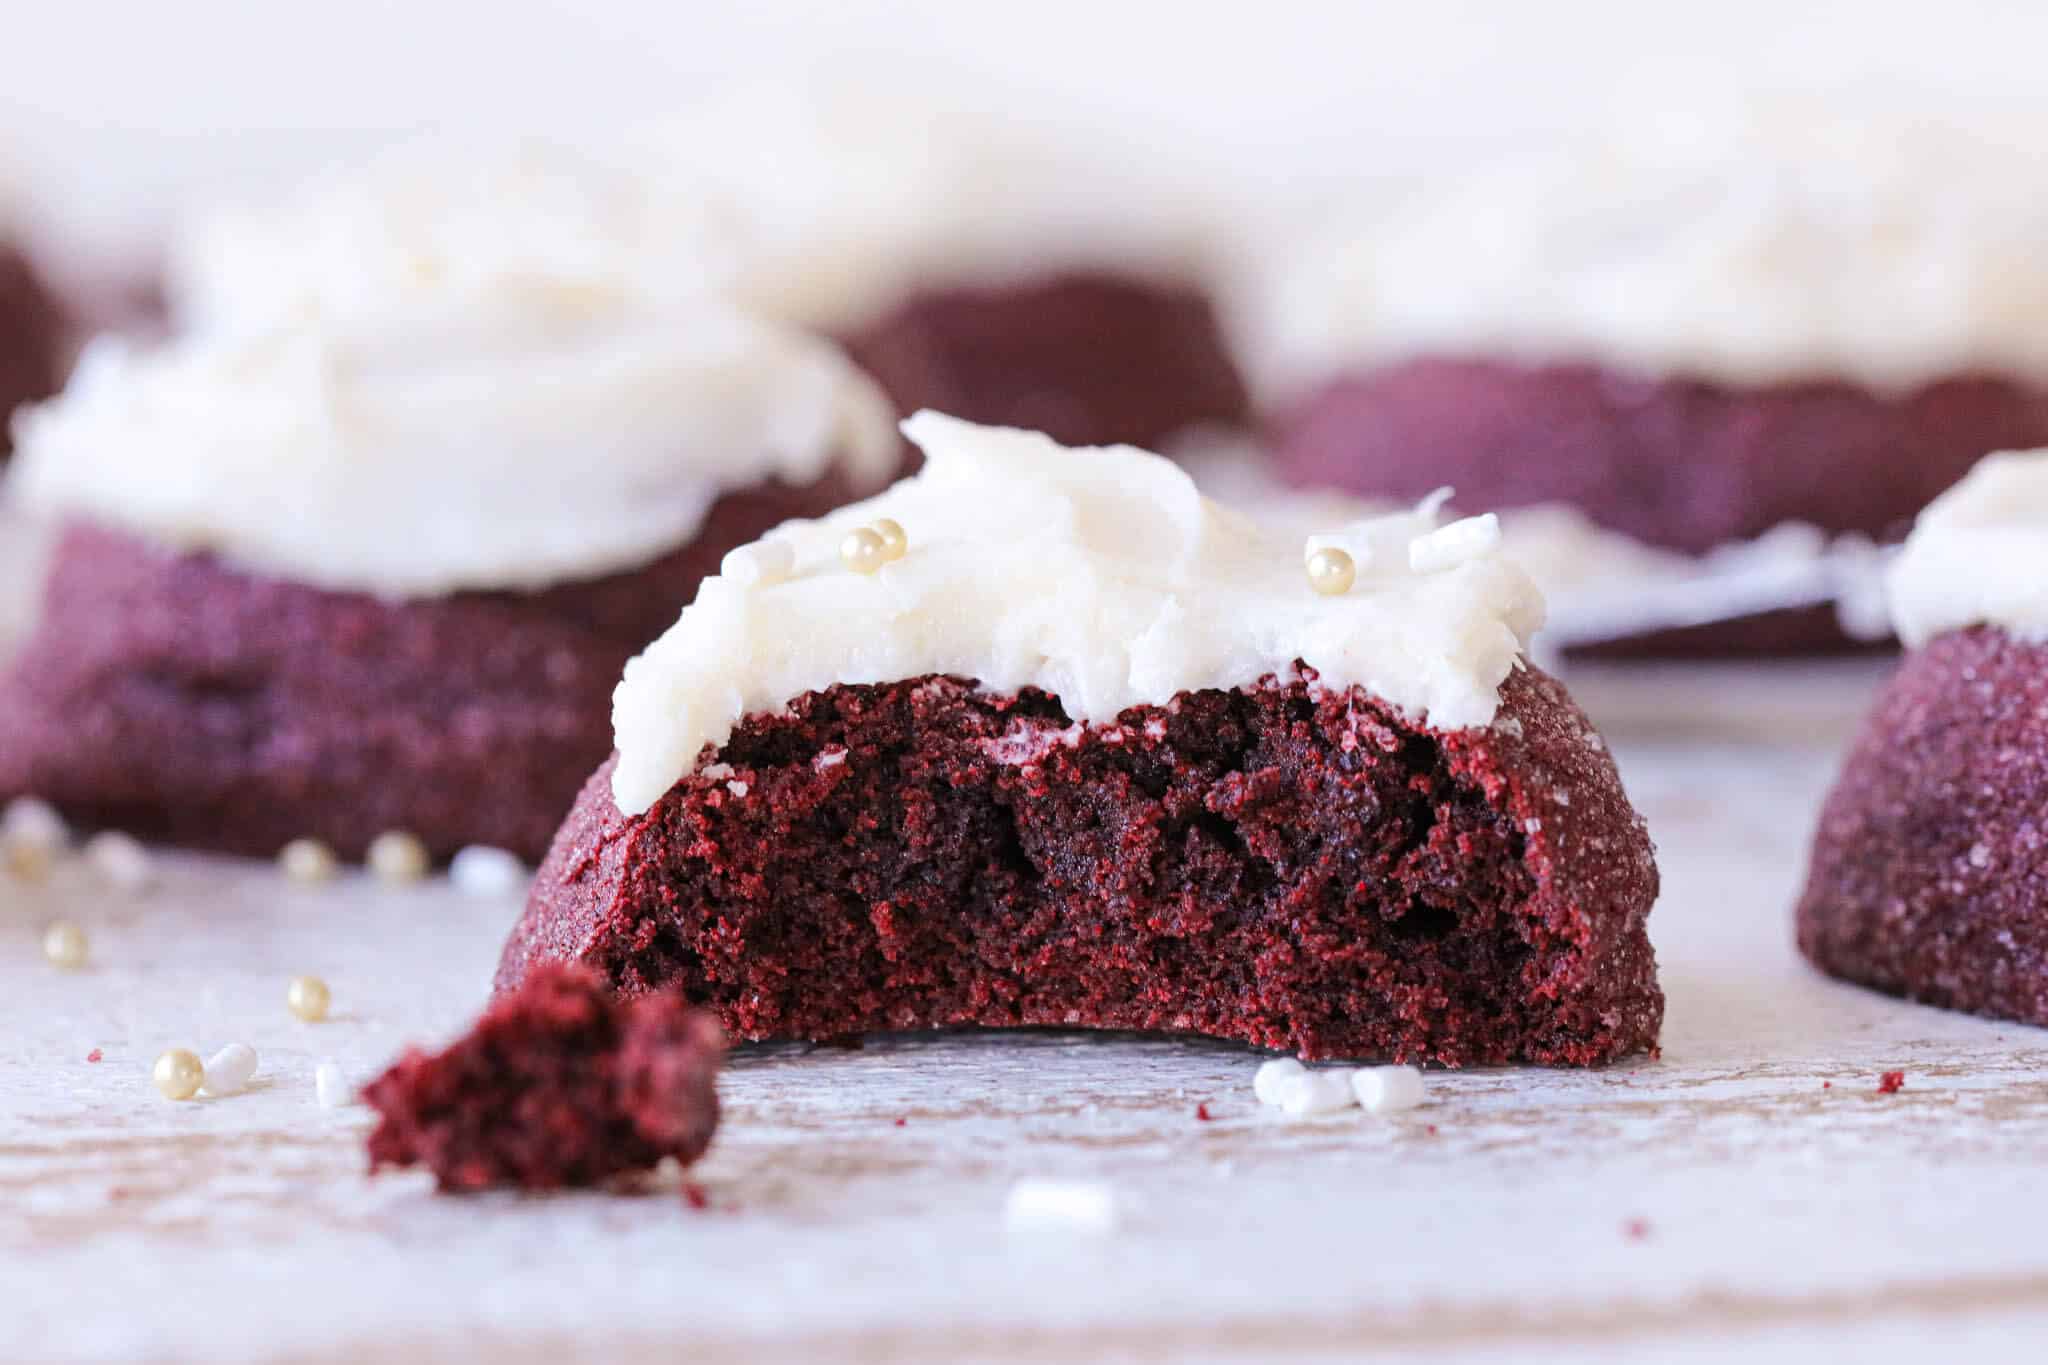
- Texture, texture, texture: These cookies have a chewy and tender texture–making them an extraordinary red velvet cookie experience in every bite!
- Subtle and nuanced flavor. Dutch processed cocoa powder gives your cookies a superior cocoa flavor, paired with egg for added richness, and a drop of food dye for the best presentation.
- Step-by-step practical guidance from a pro pastry chef. I gradually break down exactly how to make the most balanced red velvet cookie in the easiest way possible. I even included a how-to video in the recipe card!
Professional Tips
- You need the brown sugar here. White sugar on its own will not yield cookies that are as thick. If you do only use white sugar, your cookies will flatten and spread more.
- Incorporate your flour slowly. For the thickest, chewiest cookies, gradually add your dry ingredients. You do this so that you do not overwhelm your mixture. I wait until my flour is barely just incorporated, then add a little more. This ensures I never end up with tough cookies!
- Chill your cookie dough. I recommend refrigerating your cookie dough for between 2 hours to overnight. This allows extra meld time for the flavors and gets you the ideal texture.
What are red velvet cookies made of?
Red velvet cookies have many of the same ingredients as thick chocolate chip cookies. The addition of a little cocoa powder and red food dye gives them the flavor of old fashioned red velvet cake like these red velvet white chocolate cupcakes!
Ingredients
- Granulated Sugar
- Dark Brown Sugar: Using dark brown sugar adds sweetness along with a little moisture. If you don’t have any on hand, you can use light brown sugar in equal amounts.
- Whole Egg: The egg is here to add fat, moisture and leavening. The fat from the yolk adds richness and helps keep the cookies chewy.
- Red Food Coloring: I used red food dye, but the choice is yours! You can omit if desired, however you will not get as bright of a red color.
- All-purpose flour
- Cocoa Powder: I use Dutch processed cocoa powder because it has a rich, deep flavor; however, traditional red velvet cake didn’t use food dye. Instead, the combination of unprocessed cocoa powder and an acid like white vinegar created the red color and slightly tangy flavor. In these cookies you can use either type of unsweetened cocoa powder.
- Baking Powder
- Kosher Salt
- Unsalted Butter
- Cream Cheese: I use original Philadelphia Cream Cheese for all my baked goods including frostings.
- Powdered Sugar: Confectioner’s sugar is used in buttercreams because its fine powder allows it to create a smooth buttercream without having to be heated. It’s also what gives my Donut Glaze Recipe its very excellent crackle qualities.
- Vanilla Extract
- Heavy Cream
See the recipe card for details on ingredients, quantities, and nutritional information.
Variations
- Red Velvet Chocolate Chip: These soft and chewy cookies are delightful with mix-ins! Throw in a cup of chocolate chips or even white chocolate chips for a fun, easy variation.
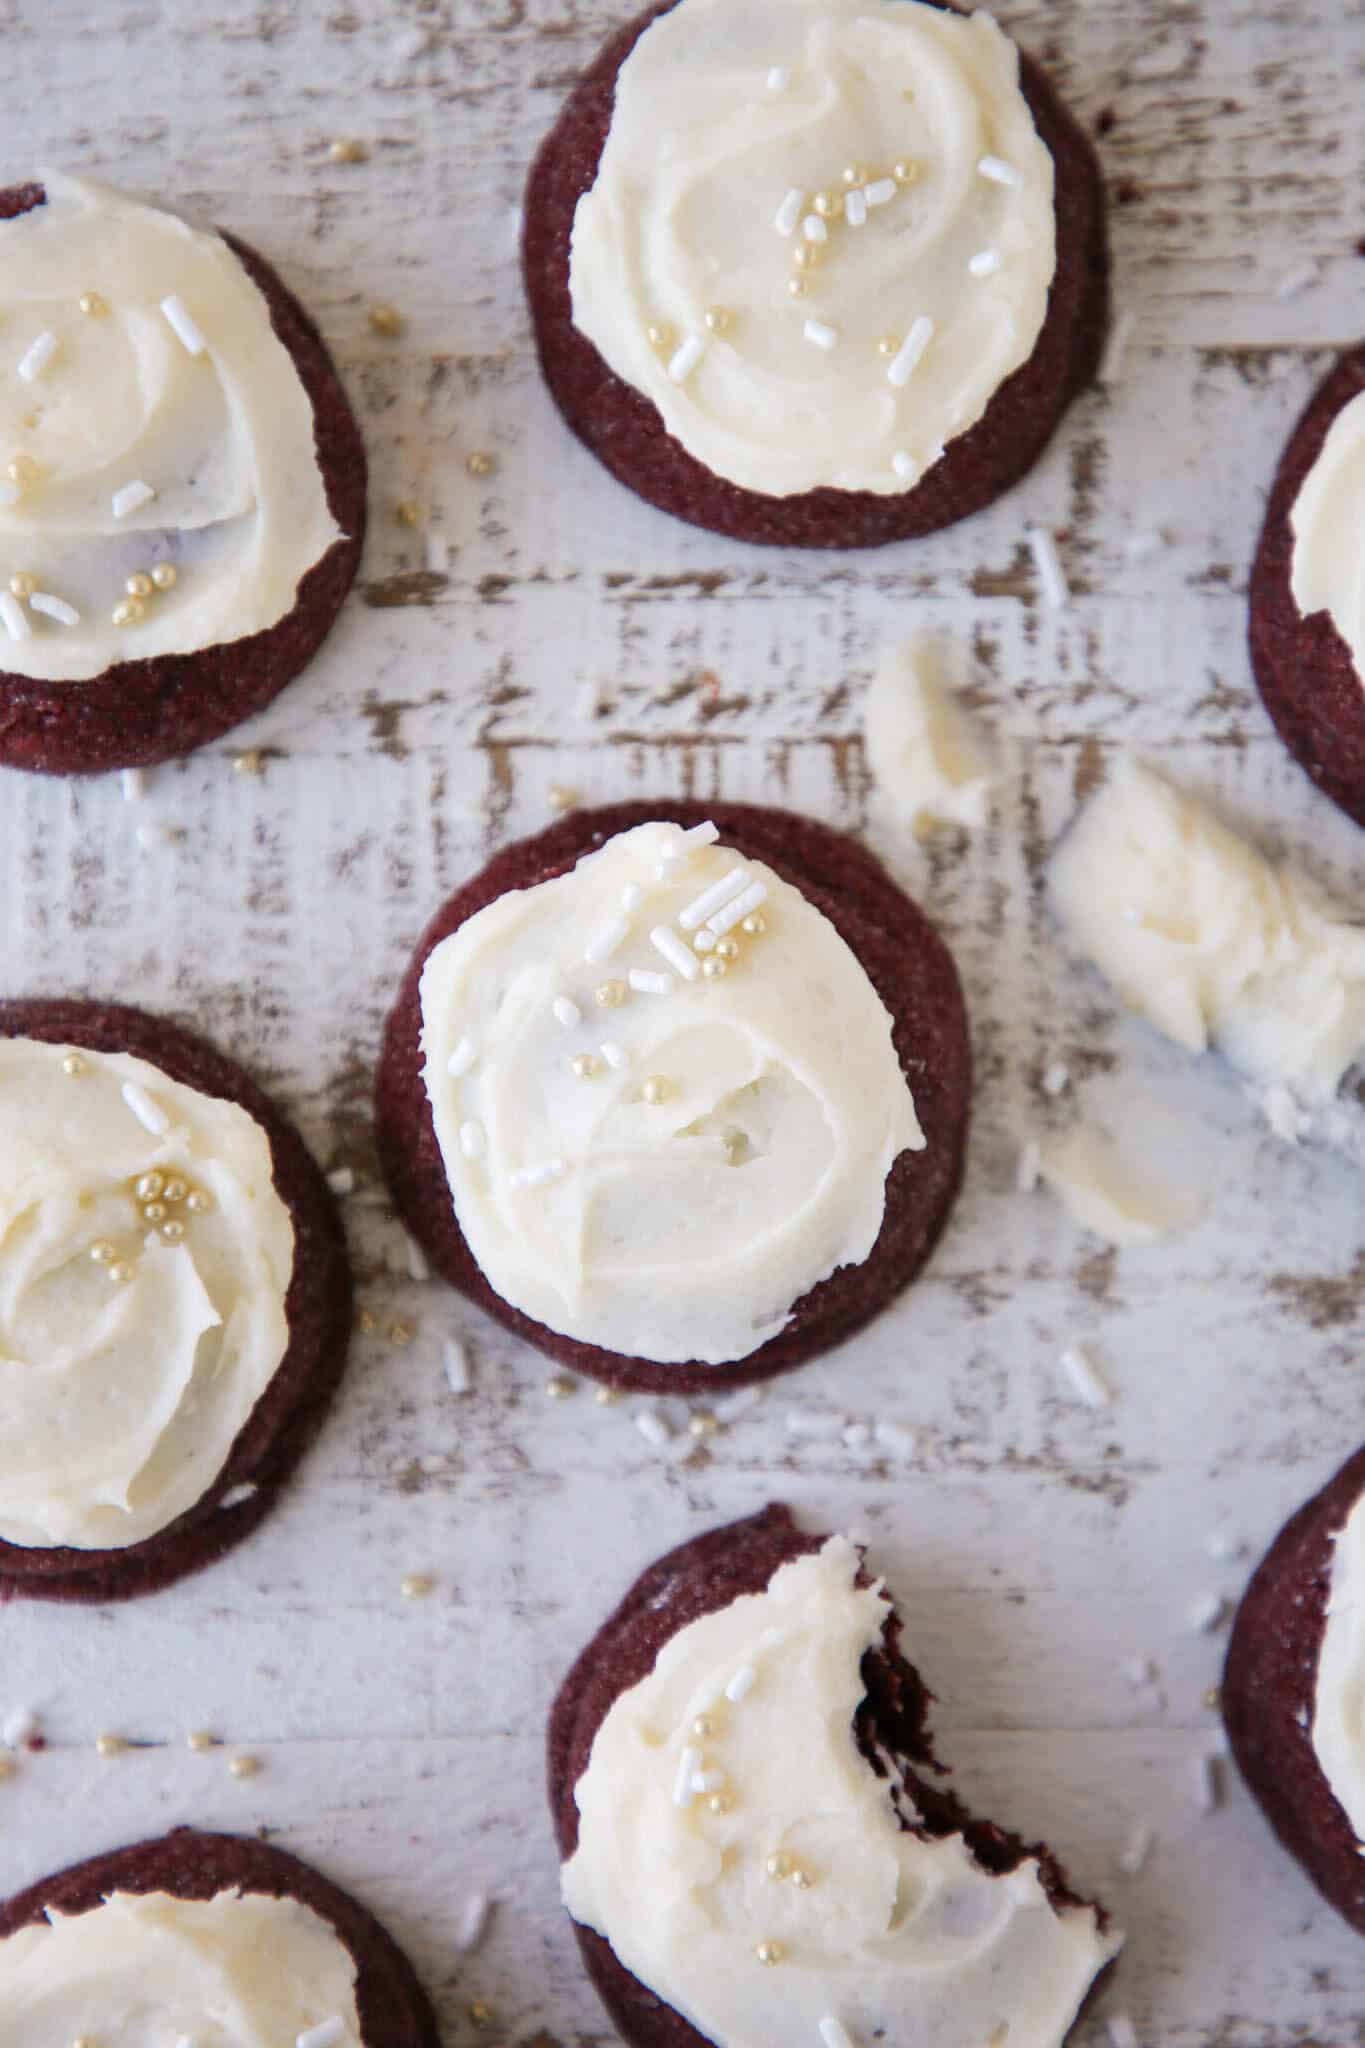
- Glaze: These cookies have beautiful cracked, sparkly tops and are gorgeous when drizzled with a glaze. Use the cream cheese glaze from my Carrot Cake Scones for an elegant take, or try this easy cookie icing instead.
- Colored Frosting: Use a few drops of liquid food coloring or gel food coloring to liven up the tops! You could even pipe green frosting in the shape of a wreath for Christmas.
- Frosting Flavors: Add dehydrated strawberry powder to make the frosting naturally pink and strawberry flavored, or add cocoa powder for an easy chocolate frosting variation.
How to Make Red Velvet Cookies
Further details and measurements can be found in the recipe card below!
Make the red velvet cookie dough:
Step 1: In a medium bowl, whisk together flour, cocoa powder, baking powder and kosher salt. Set aside.
Step 2: In the bowl of a stand mixer fitted with the paddle attachment, cream butter, granulated sugar and dark brown sugar until a smooth paste forms.
Just like with Nutella cookies, we don’t want to aerate the mixture too much. This keeps the best cookie consistency.
Step 3: Beat in the egg. Turn the mixer to low and add the vanilla and red food dye. Once it incorporates, beat it well.
Step 4: Reduce the mixer speed to low and slowly add the flour mixture in several additions. Let each one almost completely incorporate before adding the next. Scrape down the bowl several times with a silicone spatula.
It is a delicate balance of timing. Add the dry ingredients too quickly and it will take longer to mix in and gluten will develop, but add them too slowly and the flour will be worked and gluten will develop anyway! Watch the red velvet cookies video to see how I add my dry ingredients.
Step 5: Scoop or spoon out golf ball sized portions of the cookie dough. Roll into a ball and place on a parchment-lined baking sheet. Cover and refrigerate for at least 2 hours.
Bake:
Step 6: When ready to bake, preheat the oven to 325°F convection or 350°F standard.
Step 7: Pour about ¼ cup granulated sugar in a bowl and roll each cookie dough ball in the sugar before placing back on the lined baking sheet. Space the cookies 2 inches apart to allow for spreading.
Step 8: Bake in a preheated oven for 9-10 minutes, rotating the sheet halfway through. The cookies will spread and look matte on top. The tops will begin to have little cracks and will no longer look shiny.
If baking from frozen, they will need an additional 2-3 minutes. You do not need to adjust the baking temperature or thaw the dough prior to baking. When they are done, they will still have tiny cracks on the tops and they will no longer look shiny.
Step 9: Allow to cool on the sheet pan completely before frosting.
Make the frosting & assemble:
Step 10: In the bowl of a stand mixer fitted with the paddle attachment, beat together butter, powdered sugar, vanilla, vanilla bean seeds until light and smooth. Switch to whisk attachment and add cream.
For more detailed instructions and tips, visit my Cream Cheese Frosting for Cookies post!
Step 11: Frost your cooled cookies and enjoy!
Chef Lindsey’s Recipe Tip
Ideally, cooling after baking allows the crumb to set. But I am not a baking tyrant, and I won’t even give a second glance if one or two disappears before cooling! Taste testing is the cook’s prerogative.
Frequently Asked Questions
Once iced, cookies can be kept at room temperature for up to three days before the buttercream spoils. For longer storage, store in the refrigerator or store unfrosted. Store unfrosted cookies in an airtight container at room temperature or frozen. Unfrosted, they will keep up to 10 days at room temperature or several months frozen. You can freeze the baked cookies (unfrosted) for up to 2 months, or freeze the cookie dough rolled in balls. Bake them fresh at any time by following the recipe in the recipe card below.
For an added crunch, roll the frozen cookie dough balls in granulated sugar right before baking. Bake at 350°F on parchment paper for 10-14 minutes straight from frozen! Bake until the edges have begun to brown, the centers are puffed and the outside has begun to crack. The center should look matte rather than shiny.
These cookies ship wonderfully. Package in a decorative tin or just place in a zip-top bag in a mailer box. They keep for 10 days and they stay chewy for almost as long.
If you tried this recipe and loved it please leave a 🌟 star rating and let me know how it goes in the comments below. I love hearing from you; your comments make my day!
Red Velvet Cookies
Ingredients
For the cookies:
- 1 ¼ cups all purpose flour
- ¼ cup cocoa powder
- ½ teaspoon baking powder
- ¼ teaspoon kosher salt
- ½ cup unsalted butter cold but pliable
- ½ cup sugar
- ¼ cup dark brown sugar
- 1 egg
- 1 teaspoon vanilla extract
- 1 teaspoon red food dye
- ¼ cup sugar for rolling
For the frosting:
- ½ cup unsalted butter Softened
- 6 tablespoons cream cheese Softened
- 2 cups confectioner’s sugar
- 1 teaspoon vanilla
- 2 tablespoons heavy cream
Instructions
Make the red velvet cookie dough:
- In a medium bowl, whisk together flour, cocoa powder, baking powder and kosher salt. Set aside.
- In the bowl of a stand mixer fitted with the paddle attachment, cream butter, granulated sugar and dark brown sugar until a smooth paste forms.
- Beat in the egg. Turn the mixer to low and add the vanilla and red food dye. Once it incorporates, beat it well.
- Scoop or spoon out golf ball sized portions of the cookie dough. Roll into a ball and place on a parchment-lined baking sheet. Cover and refrigerate for at least 2 hours.
Bake:
- When ready to bake, preheat the oven to 325°F convection or 350°F standard.
- Pour about ¼ cup granulated sugar in a bowl and roll each cookie dough ball in the sugar before placing back on the lined baking sheet. Space the cookies 2 inches apart to allow for spreading.
- Bake in a preheated oven for 9-10 minutes, rotating the sheet halfway through. The cookies will spread and look matte on top. The tops will begin to have little cracks and will no longer look shiny.
- Allow to cool on the sheet pan completely before frosting.
Make the frosting & assemble:
- In the bowl of a stand mixer fitted with the paddle attachment, beat together butter, powdered sugar, vanilla, vanilla bean seeds until light and smooth. Switch to whisk attachment and add cream.
- Frost your cooled cookies and enjoy!
Video
Notes
Nutrition
Before You Go
I hope you enjoyed this professional chef tested recipe. Check out our other delicious, chef-developed Cookie Recipes!


These cookies are unreal! The red velvet flavor is perfect in cookie form. The cream cheese frosting is perfect, and the texture and consistency are ideal for cookies. I made these for a Halloween party and played around with the colors, adding purple, black, and orange.
Great recipe I am a chef with 35 years of experience. This cookie was my inspiration for opening a bakery
Hi William! That’s such a wonderful endorsement! I hope your bakery was/is an incredible success! Happy baking!
These tasted just like my childhood, but in cookie form! We absolutely loved them. I’m so excited to make them again! I loved that they’re way easier than making a whole cake. Thanks a ton.
Hi Erin! They are definitely easier than a whole cake, but with all the deliciousness! Thanks for commenting!
My daughter made these for her class party the other day and they were a big hit. She said they were the first thing to go from the food table!
She made the whole recipe herself with very little guidance from me, it was so well written and explained that she was really confident making them.
THANK YOU SO MUCH
Hi Claire! I’m so thrilled to hear your daughter had such an easy time and they were such a hit, thank you for coming back and letting me know!
Topped these red velvet cookies with cream cheese glaze and they were soooo good! Kids love to bring them to school and always share them to friends. Impressive!
Awww that’s so sweet to hear, thank you Sharina!
My favorite cookies!! Soft, chewy, and rich in flavor. I am thank you for all your insight and suggestions. I needed to bring cookies to a party, your red velvet cookies were perfect and thanks to your suggestions, I made them the day before and put the frosting on before leaving the house. Everyone loved them.
Hi Giangi! So happy to hear these are your favorites and that they worked out beautifully for your party!
These red velvet cookies were so thick, soft and delicious! I loved the frosting too!
Hi Addison! This frosting-cookie combo is a personal fave!
certainly like your website but you need to check the spelling on several of your posts. Many of them are rife with spelling issues and I find it very bothersome to tell the truth nevertheless I will certainly come back again.
Thanks for sticking around! Happy baking!