This post may contain affiliate links. Please read our disclosure policy.
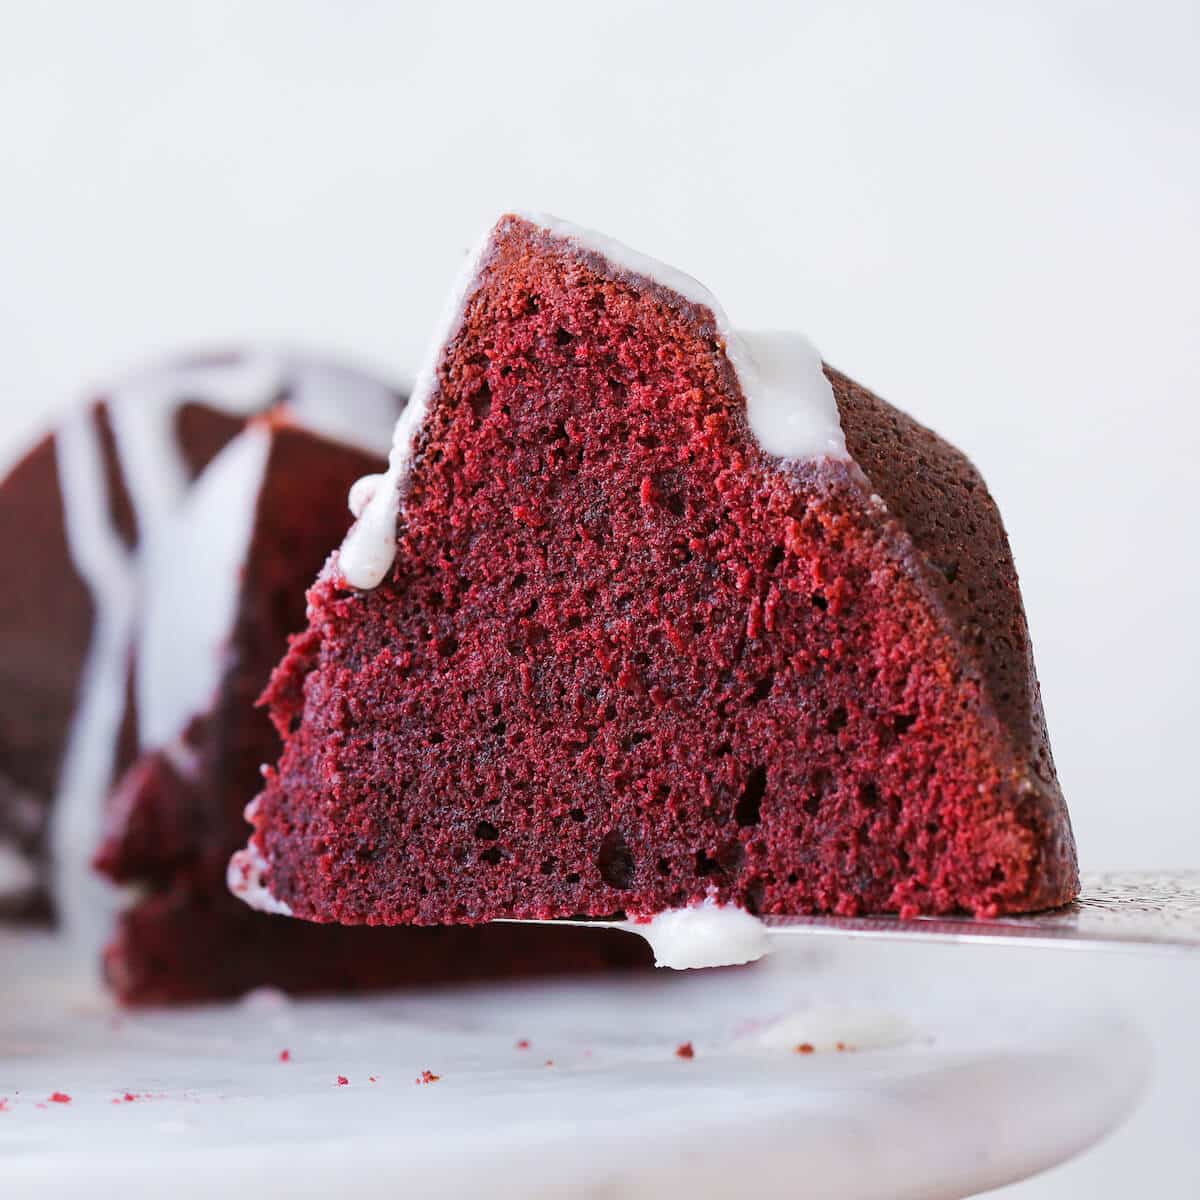
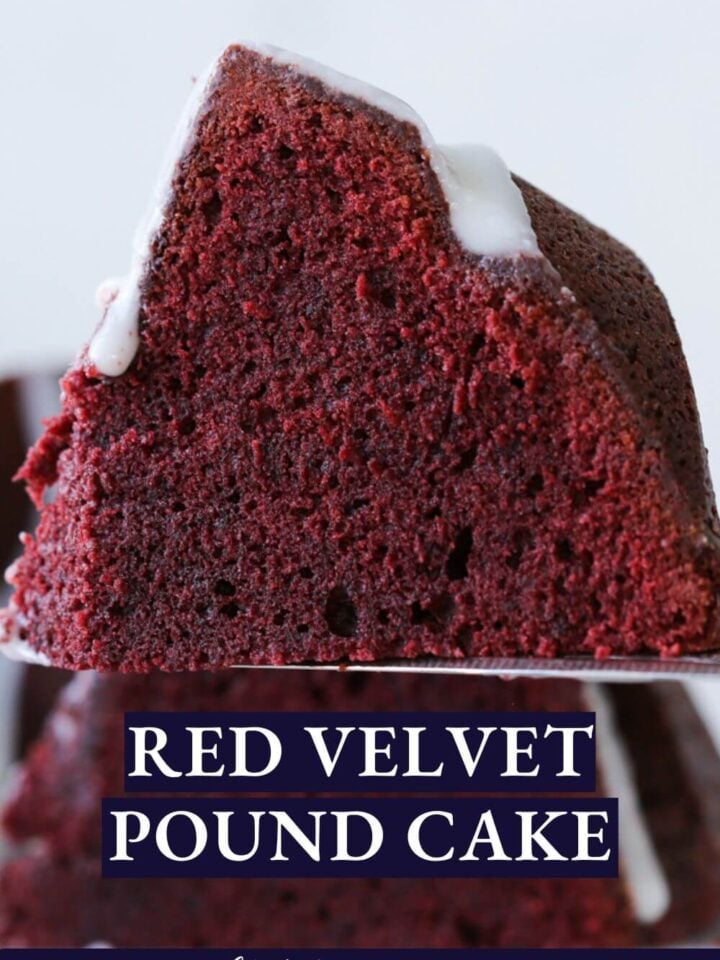
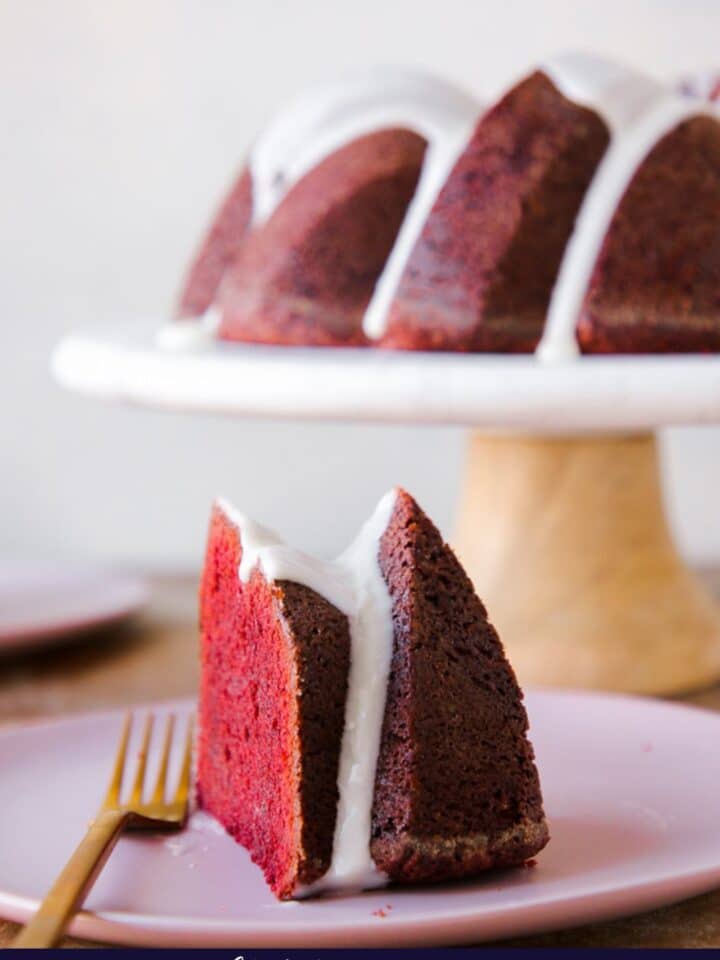
This Red Velvet Pound Cake recipe is moist, dense and super tender! It tastes subtly chocolatey and decadently rich. The cream cheese glaze locks in the moisture and adds a delightful tangy sweetness! It has all the flavor of the best red velvet cake in pound cake form!

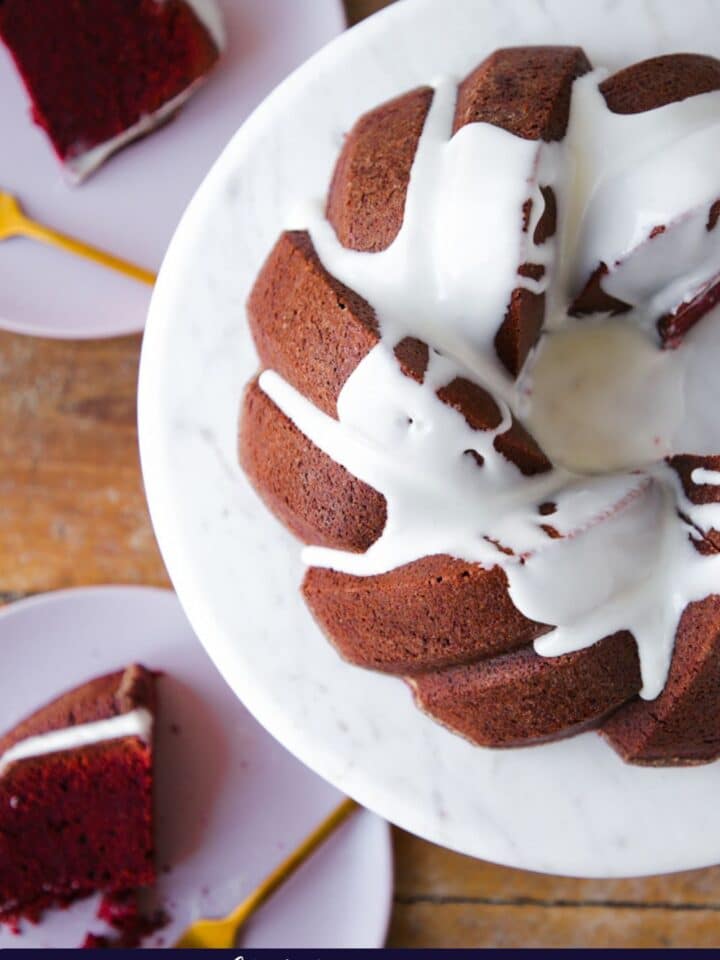
This gorgeous red velvet pound cake has a striking cream cheese glaze drizzle, a mouthwateringly tender crumb, with the sinful red velvet flavor you know and love. And she unmolds beautifully to boot! I love this cake so much I even made a red velvet cookie version of it!
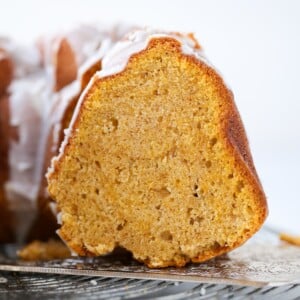
I always appreciate a good bundt cake. There’s my Sour Cream Pound Cake, my Maple Pound Cake, Cherry Almond Pound Cake, Chocolate Pound Cake…the list goes on and on! Moreover, you can always make a red velvet raspberry trifle with the leftovers, if there are any.
Table of Contents
- Why you will love this Red Velvet Bundt Cake:
- Professional Tips
- Is red velvet cake its color because of red food coloring?
- Ingredients
- Substitutions
- Variations on Cream Cheese Frosting
- How to Make Red Velvet Pound Cake
- Chef Lindsey’s Recipe Tip
- How do I keep my bundt cake from sticking to the pan?
- Frequently Asked Questions
- Red Velvet Pound Cake Recipe
- Before You Go
Why you will love this Red Velvet Bundt Cake:
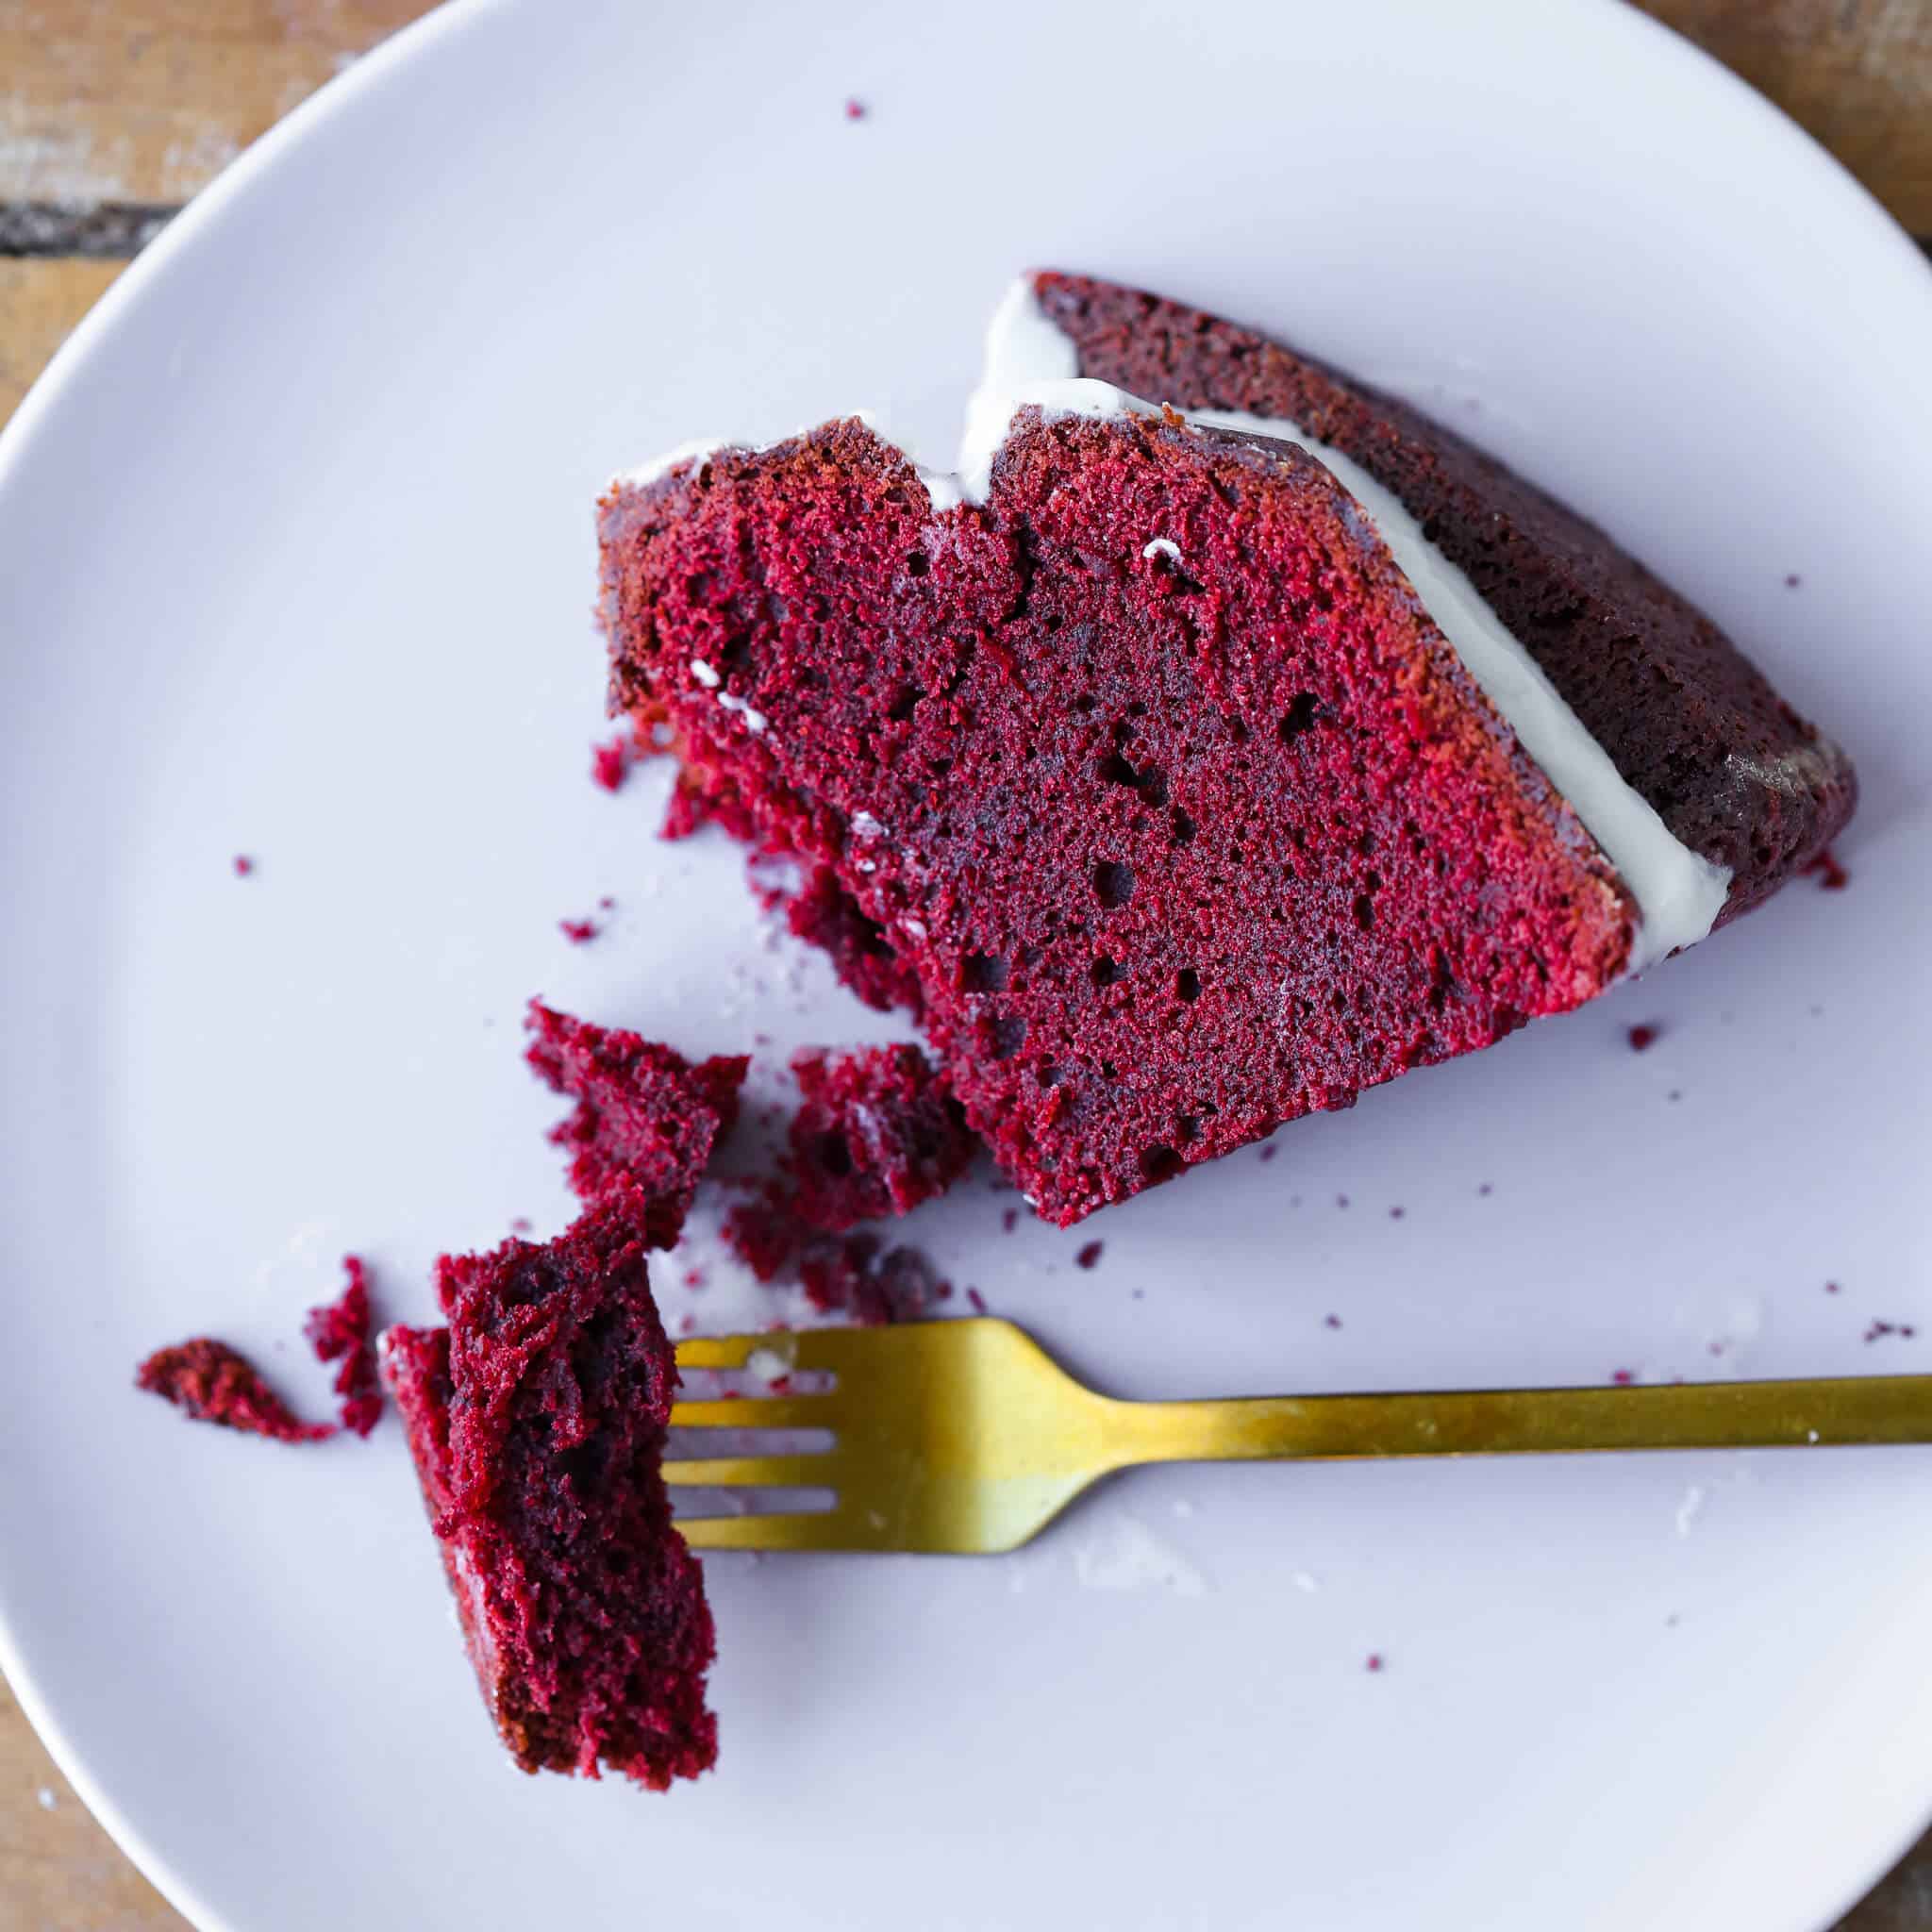
- Classic taste, extraordinary texture. This cake is dense, yet moist and tender, with a perfect crunch on the outside from the cream cheese glaze. Each slice tastes like cocoa, and is gently tangy!
- Perfected by a pro pastry chef. I’ve tested and re-tested this recipe so you have a no-fuss step-by-step process with the perfect ratio of ingredients, by weight and by volume!
- Her show stopping red color: Its brilliant red color is festive for holidays like Valentine’s Day or Christmas, and frankly it’s a classic all year round.
Professional Tips
- Avoid over-creaming your butter and sugar. Creaming your butter and sugars just until they form a paste is what gives you that dense pound cake texture. This is because you haven’t whipped extra air in between the molecules.
- Keep an eye on your cake while it’s baking. If you over bake this cake, it will be dry. Sadly, even that much butter, sugar and sour cream can’t compensate for overbaking.
- Let your cake cool in two stages. Let your cake cool for 20 minutes in its pan, and then turn it out to cool completely. If you cut your cake when it is still too warm, it will not have enough time to set its crumb. If it’s not cooled all the way it will be compressed by the cutting process and the texture will suffer.
Is red velvet cake its color because of red food coloring?
This cake does use red food dye to get that rich, red color but traditionally the red color came from the reaction of non-Dutch processed cocoa powder and an acid. This acid is most often white vinegar or buttermilk.
Ingredients
- Unsalted Butter
- Sugar: There is a serious amount of sugar in this recipe. It adds to the flavor but also helps keep a tight crumb that still melts in your mouth.
- Light Brown Sugar: Using light brown sugar adds sweetness along with a little moisture.
- Whole Egg: The eggs are here to add fat, moisture and leavening.
- All-purpose flour: All-purpose flour has just the right amount of gluten to make a dense, tender pound cake.
- Cocoa Powder: I use Dutch processed cocoa powder in this and also in my Easy Chocolate Pie Recipe. This just means it has been treated with an alkaline solution.
- Kosher Salt
- Sour Cream: The extra fat and the low liquid content in sour cream help add flavor, lock in moisture, lower gluten and add to that dense, moist texture. It also works its magic in my Best Red Velvet Cupcake Recipe!
- Baking Soda: ¼ teaspoon of baking soda? I know it might seem odd but just a tiny bit of baking soda will immediately react with the acid in the sour cream and cocoa powder and will add just enough leavening to your pound cake.
- Vanilla Extract: Vanilla Extract adds a beautiful flavor itself but it also boosts the flavor of other ingredients around it like brown sugar.
- Red Food Dye: The red food dye and vanilla are the only liquids in this cake and must be substituted if omitted. You may substitute brandy or water for the dye.
- Confectioner’s Sugar: Confectioner’s sugar is used in buttercreams because it is ground finely into a powder. It’s also what makes a glaze harden to a gorgeous crackle, like in my Donut Glaze Recipe!
- Whole Milk
- Cream Cheese: I use original Philadelphia Cream Cheese for all my baked goods including frostings and buttercreams.
See the recipe card for full information on ingredients and quantities.
Substitutions
- Cocoa Powder: You could substitute standard cocoa powder for the Dutch processed cocoa powder. The flavor change will be subtle but it will be less robust. There is so little cocoa powder in this recipe that it will make very little difference.
- Red Food Dye: You can replace this with water. If you do this, I would suggest substituting the Dutch processed cocoa powder for standard cocoa powder so that it will react with the sour cream to still produce a rusty-red color.
- Sour Cream: I almost always bake with full-fat dairy because the fat adds to the texture and intensity of flavor, but low fat versions or even Greek yogurt can be substituted in most cases. Lower fat sour cream also breaks easier than the full-fat varieties when heated or an acid is added. This is generally not catastrophic but it will impact the final texture in a subtle way.
- Cake Flour: You could certainly substitute cake flour for the all-purpose flour but the resulting texture will be ever so slightly lighter. Be sure to sift it!
Variations on Cream Cheese Frosting
- Glaze or frosting: I’ve drizzled it with an easy cream cheese glaze in this recipe, but you could also mound the top of the bundt cake with my favorite cream cheese buttercream.
- A caramel version: The easy caramel frosting from these caramel cupcakes, or even just warmed salted caramel sauce would both be delicious.
- A chocolate rendition: I know it has vegetables in it, but don’t underestimate this chocolate zucchini bundt cake, much less her delicious chocolate fudge glaze! The fudge glaze would be decadent on this pound cake!
How to Make Red Velvet Pound Cake
Further details and measurements can be found in the recipe card below!
Make cake batter:
Step 1: Preheat the oven to 325°F (convection or standard) and prepare your pan. Spray it with cooking spray and then dust it with flour, tapping the flour around until every inch is covered.
Step 2: In a medium bowl, whisk together dry ingredients: flour, cocoa powder, baking soda, and salt.
Step 3: In the bowl of a stand mixer fitted with the paddle attachment, cream together softened butter and sugars until a thick paste forms. Beat in the eggs one at a time, scraping down the sides of the bowl as you go.
Step 4: Switch the mixer to low, and alternately add flour mixture and sour cream. Mix until it is just combined before the next addition.
I don’t wait until all the flour has incorporated until I add the next batch. I just keep adding with two hands. Pro-style. I do stop the mixer to add the last of the sour cream because I like to scrape it all out with a rubber spatula.
Step 5: Once it is all added, add in the red food dye and vanilla gradually. Turn the mixer speed up so everything incorporates. Your batter will be silky and smooth.
I say to add the food dye in slowly because it is a fair amount of food dye, and you don’t want red all over your countertop and clothes.
Bake and glaze:
Step 6: Pour into the prepared pan and smooth the top. Bake in a preheated oven until a cake tester comes out with a few clinging crumbs. Mine took 70 minutes, but yours could take anywhere between 60-85 minutes depending on your oven.
Step 7: Let the cake cool for 20 minutes in the pan, and then loosen the edges with a paring knife and turn it out onto a wire rack. Allow the cake to cool completely.
If you’re a perfectionist, you can level it a smidge with a serrated knife and eat the scraps!
Step 8: While the cake is cooling, whisk together the ingredients for your cream cheese glaze.
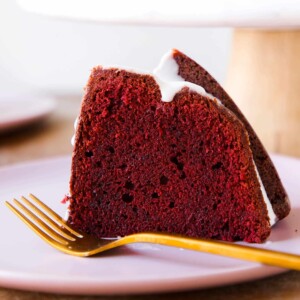
Step 9: Once the cake is cooled, drizzle the glaze over the top. Allow the glaze to set for about 30 minutes before slicing and enjoying!
Chef Lindsey’s Recipe Tip
Can I just say that, while pound cake is simple at a glance, it is a delicate balance of ingredients? I highly suggest weighing your ingredients. Eggs vary in sizes and a cup of flour can vary by 50 grams. If you do measure by volume, fluff your flour in the bag then spoon it into the cup, mounding it on the top. Use a knife to slice off the excess but don’t tap or compress it.
How do I keep my bundt cake from sticking to the pan?
Do not underestimate the power of a well-greased and floured pan. It is especially key with a detailed bundt pan like the one I used. No cake left behind! I actually added my flour back to the pan and then tapped it around a second time to get every millimeter of the surface. Then tap that out so you don’t get weird patches on the outside!
Frequently Asked Questions
Store Red Velvet Pound Cake well wrapped in plastic wrap at room temperature, refrigerated or frozen. Pound cakes will keep 5 days at room temperature, two weeks refrigerated or 3 months frozen. For optimal freshness, serve within 2 days of baking or freeze for longer term storage.
I love this pound cake with a thick cream cheese glaze and vanilla bean ice cream. Serve with hot fudge sauce to really lean into the chocolate flavor or add a drizzle of salted caramel sauce for a fun, delicious twist!
If you tried this recipe and loved it please leave a 🌟 star rating and let me know how it goes in the comments below. I love hearing from you; your comments make my day!
Red Velvet Pound Cake
Equipment
Ingredients
For the Cake:
- 1 ½ cups unsalted butter
- 2 ¼ cups sugar
- ¾ cups light brown sugar
- 6 eggs
- 2 ½ cups all purpose flour *see note
- 6 ½ tablespoons cocoa powder
- 1 teaspoon kosher salt
- ¼ teaspoon baking soda
- 1 cup sour cream
- 2 teaspoons vanilla extract
- 2 tablespoons red food dye
Cream Cheese Glaze:
- 3 ⅔ cups confectioner’s sugar
- 6 tablespoons milk
- ⅔ cups cream cheese room temperature
Instructions
Make cake batter:
- Preheat the oven to 325°F (convection or standard) and prepare your pan. Spray it with cooking spray and then dust it with flour, tapping the flour around until every inch is covered.
- In a medium bowl, whisk together dry ingredients: flour, cocoa powder, baking soda, and salt.
- In the bowl of a stand mixer fitted with the paddle attachment, cream together softened butter and sugars until a thick paste forms. Beat in the eggs one at a time, scraping down the sides of the bowl as you go.
- Switch the mixer to low, and alternately add flour mixture and sour cream. Mix until it is just combined before the next addition.
- Once it is all added, add in the red food dye and vanilla gradually. Turn the mixer speed up so everything incorporates. Your batter will be silky and smooth.
Bake and glaze:
- Pour into the prepared pan and smooth the top. Bake in a preheated oven until a cake tester comes out with a few clinging crumbs. Mine took 70 minutes, but yours could take anywhere between 60-85 minutes depending on your oven.
- Let the cake cool for 20 minutes in the pan, and then loosen the edges with a paring knife and turn it out onto a wire rack. Allow the cake to cool completely.
- While the cake is cooling, whisk together the ingredients for your cream cheese glaze.
- Once the cake is cooled, drizzle the glaze over the top. Allow the glaze to set for about 30 minutes before slicing and enjoying!
Video
Notes
Nutrition
Before You Go
I hope you enjoyed this professional chef tested recipe. Check out our other delicious, chef-developed Cake Recipes!


Love this cake and several other deserts. Thank you for sharing with me and everyone.
Hi Lillie! I’m so glad you’re enjoying this cake and the other desserts, that means the world to me. Thank you for being here and baking along with me!
I made this cake for Halloween and used a pretty ornate bundt pan. I took your advice and double-floured the pan, and the cake came out perfectly! And of course, the flavor was top-notch.
Convection and standard ovens do not bake at the same temperature convection ovens are more efficient. Therefore you should reduce the temperature by 25°.
Hi Carl! Sure, you’re welcome to do that!
I clicked on the link for the Detailed bundt pan you use & noticed it is a 6 cup smaller pan. Do I Have to use that size pan? All I have is a standard size bundt pan, which is larger. Thank you
Hi Janet! Good catch! You’re absolutely going to want to use a 10-12 cup bundt, I’ve updated the link to the pan I used with the correct capacity. Happy baking!!