This post may contain affiliate links. Please read our disclosure policy.
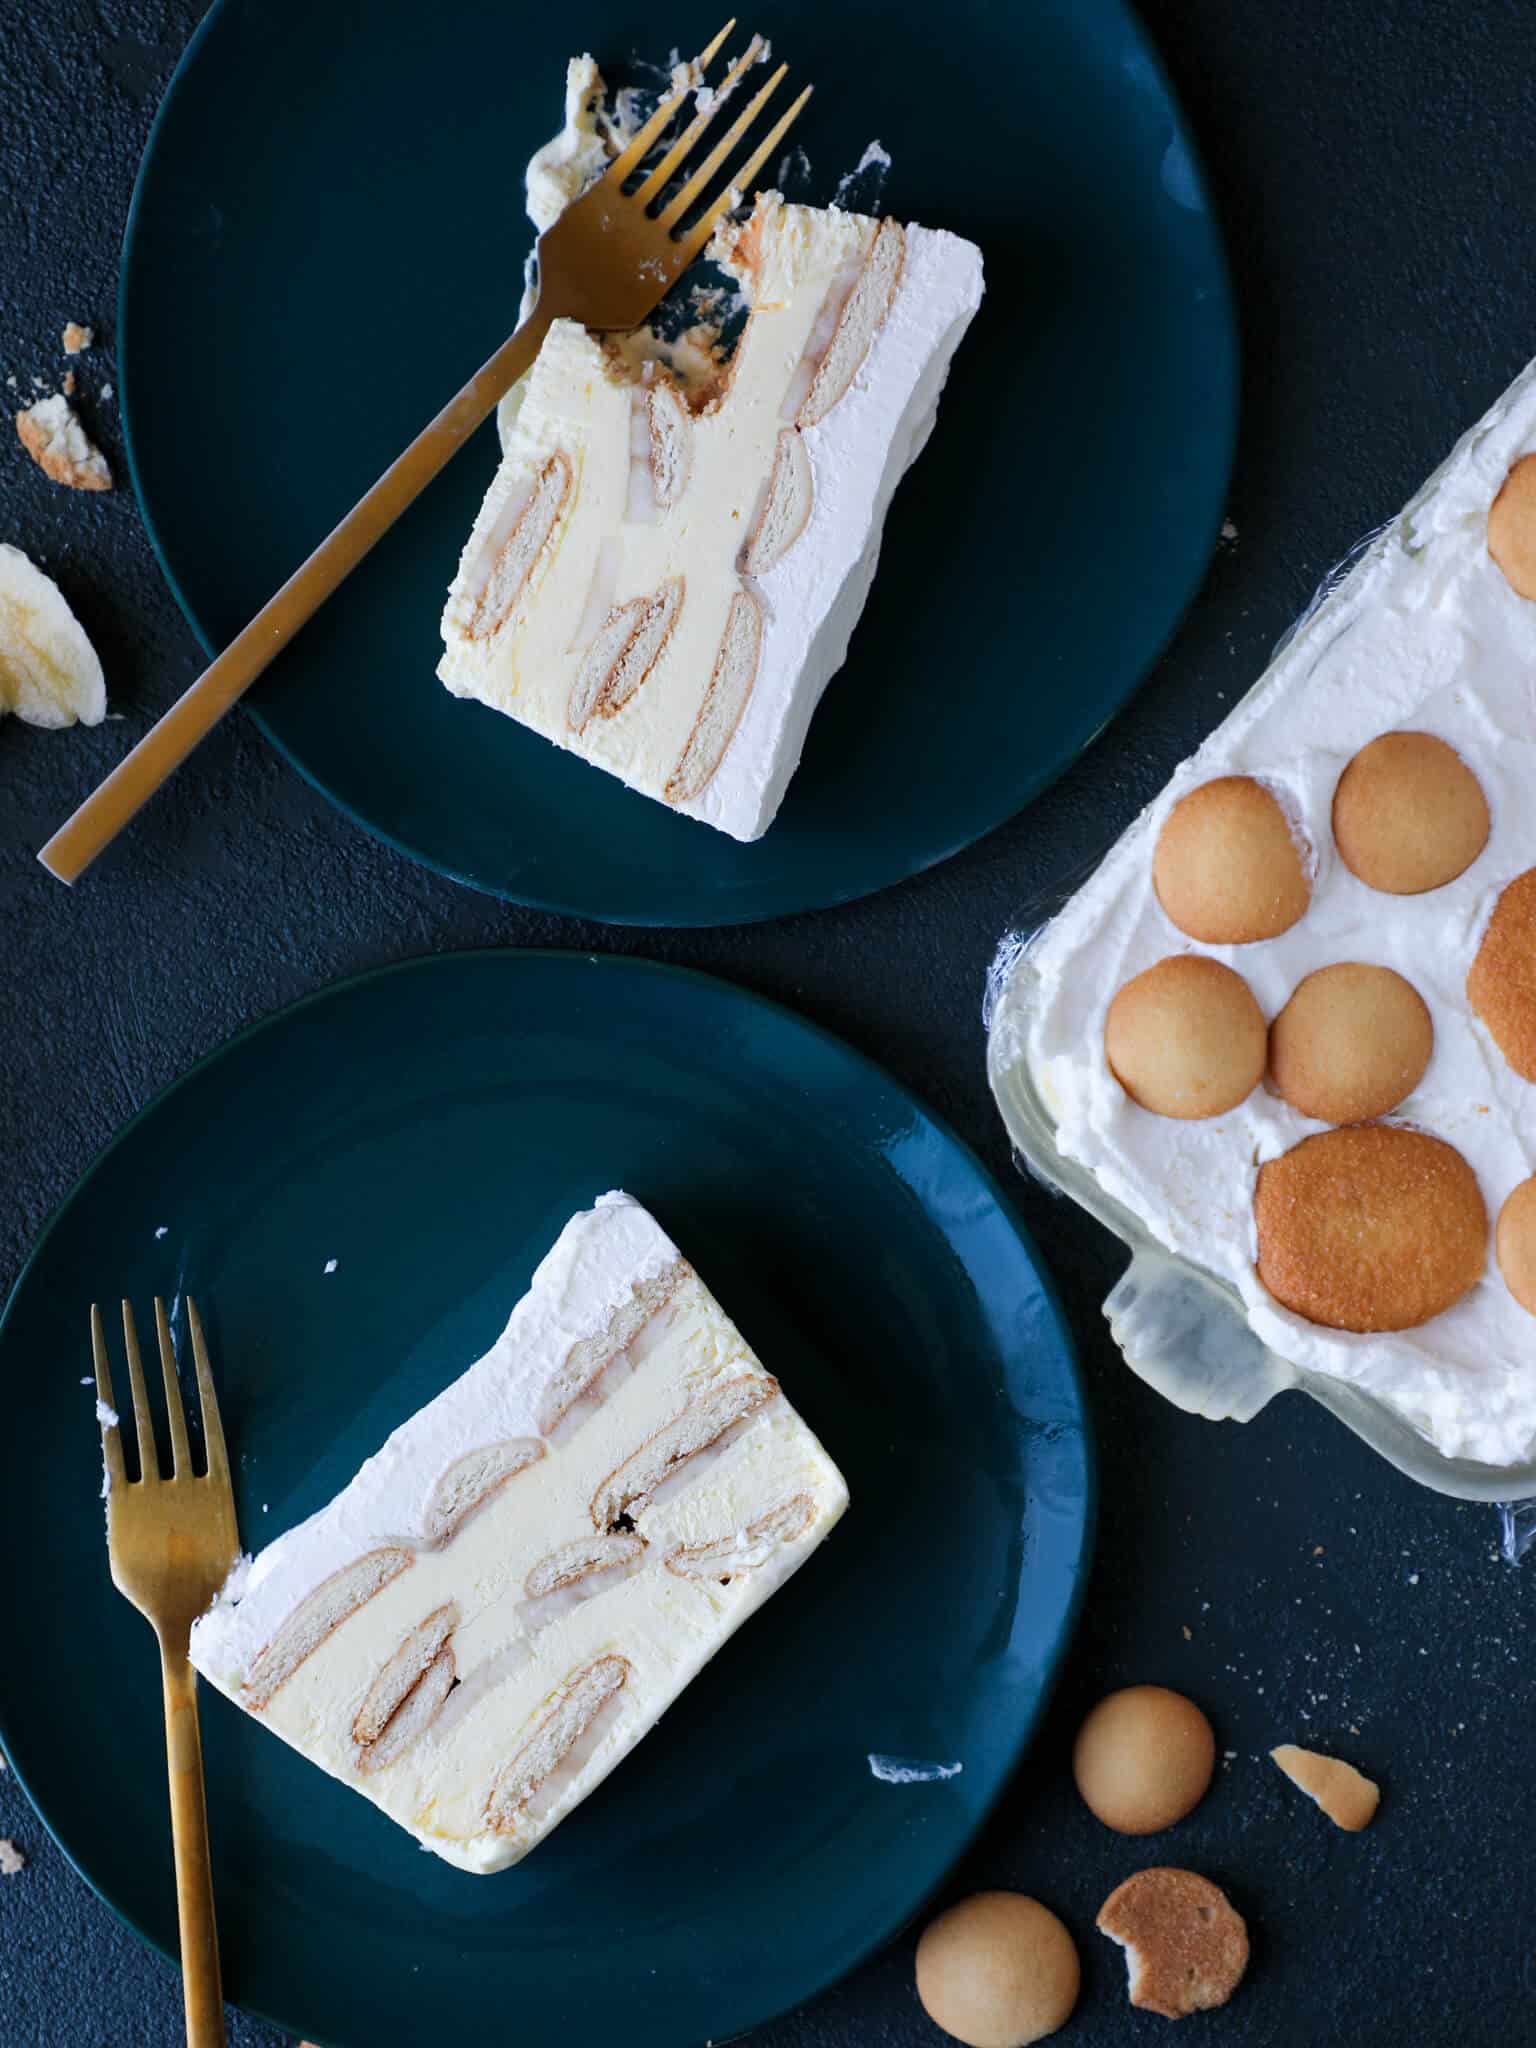
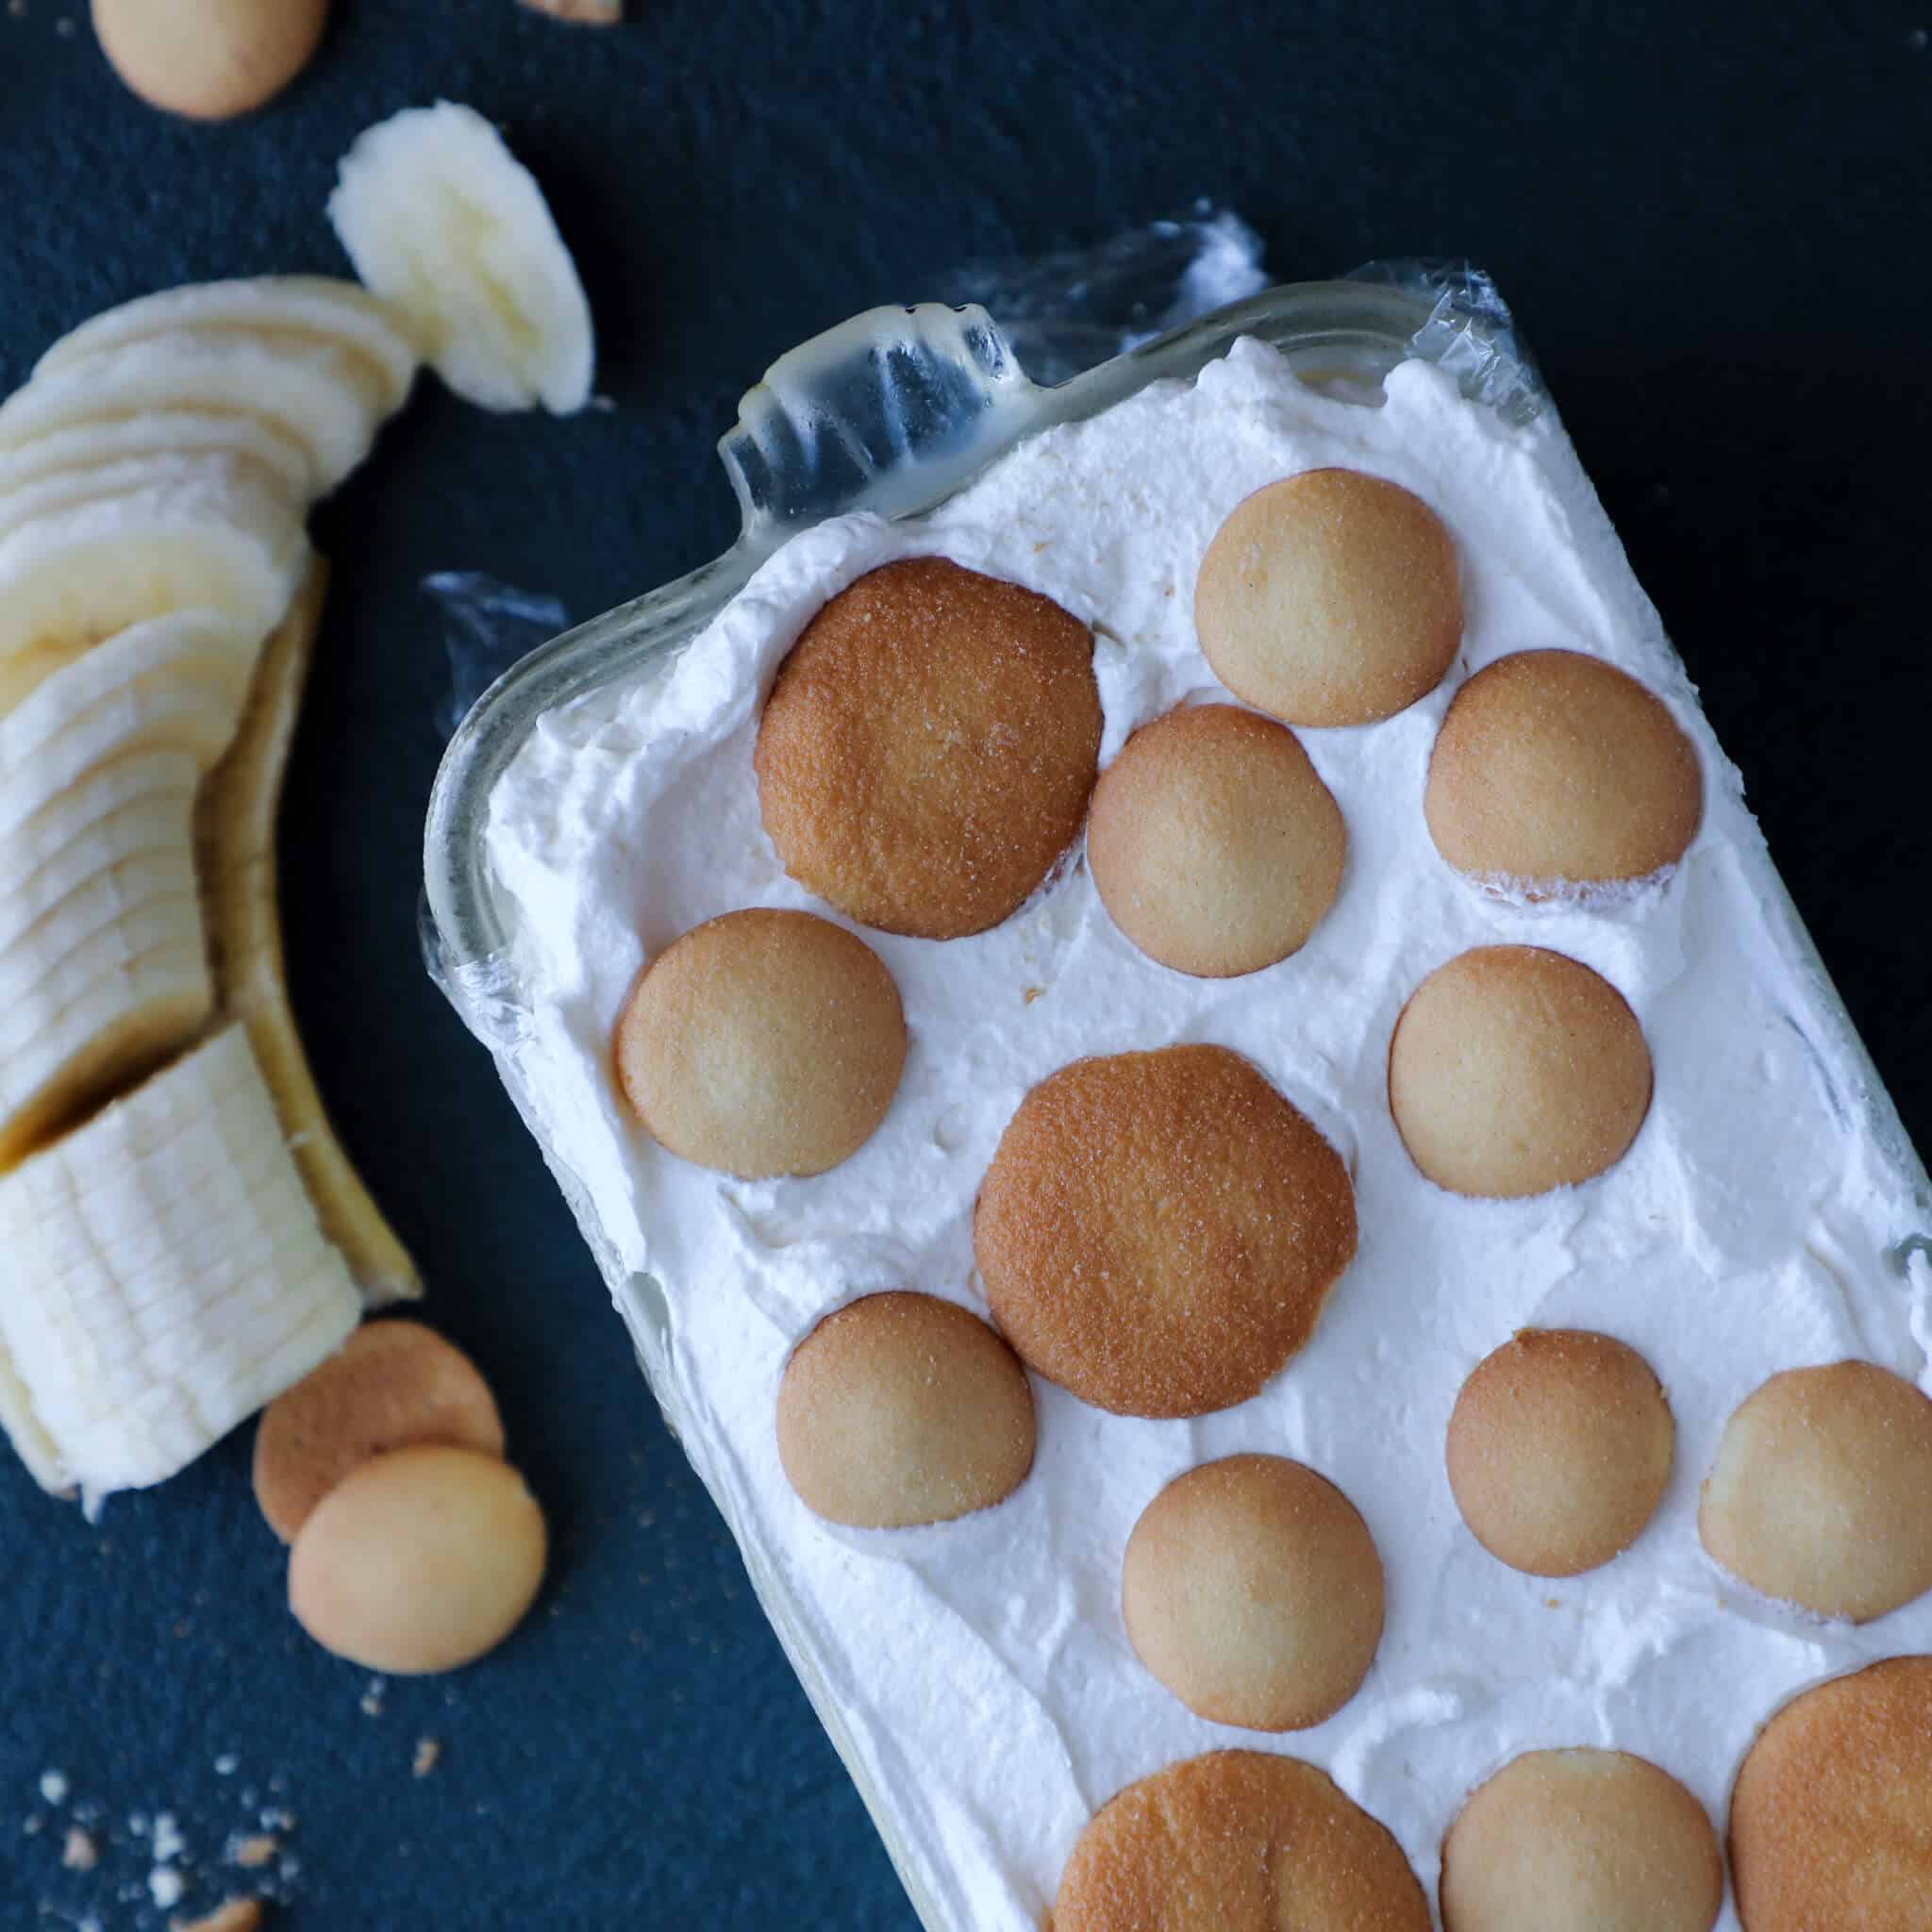
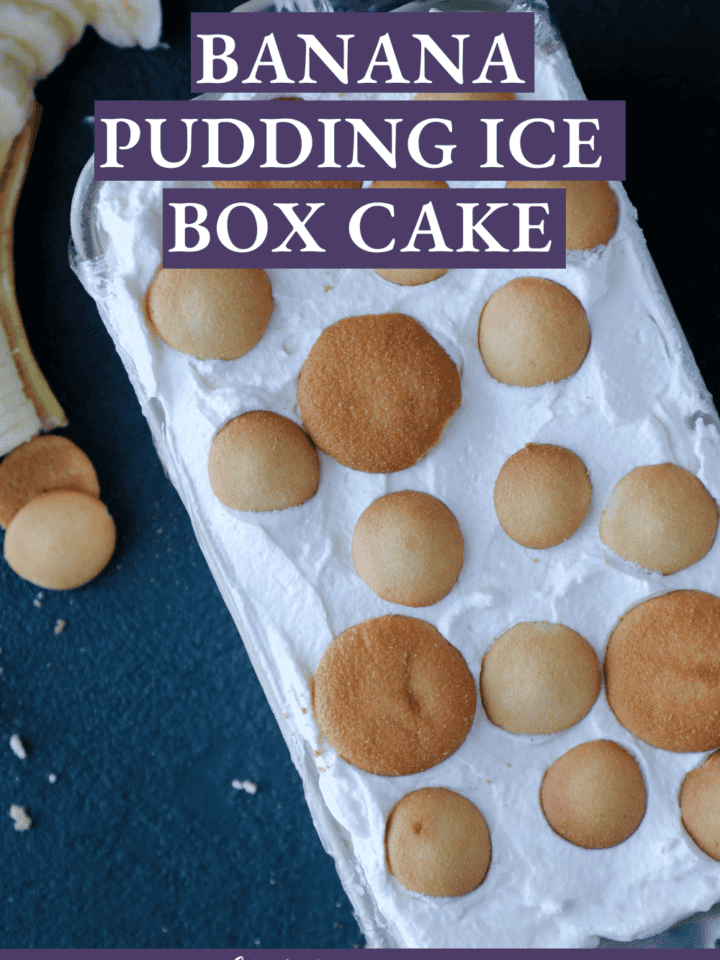
Banana pudding icebox cake is one of those desserts that looks assembled and intentional with almost no effort. Every component is layered, frozen, and slices clean.
A Quick Look At The Recipe
This is a brief summary of the recipe. Jump to the recipe to get the full details.
Jump to RecipePrep Time
20 minutes
Chill
8 hours
Total Time
8 hours 15 minutes
Servings
12 people
Difficulty
Easy — no baking, straightforward assembly required
Calories *
226 kcal per serving
Technique
Layer pudding, bananas, and wafers in a loaf pan, freeze until firm, slice with a hot knife.
Flavor Profile
Creamy banana vanilla pudding with soft wafer layers.
* Based on nutrition panel
I made this for my sisters birthday and it was a hit. The hot knife trick made slicing effortless, and the layers held together perfectly once unmolded. I did the optional refrigerator step overnight before freezing and the wafers had that classic soft texture. Will absolutely make again. ⭐⭐⭐⭐⭐
Monica
Why This Recipe Works
- Frozen whipped cream base sets the structure. Folding whipped cream into the banana pudding mixture gives you a mousse-like texture that slices cleanly from the freezer without becoming an icy brick.
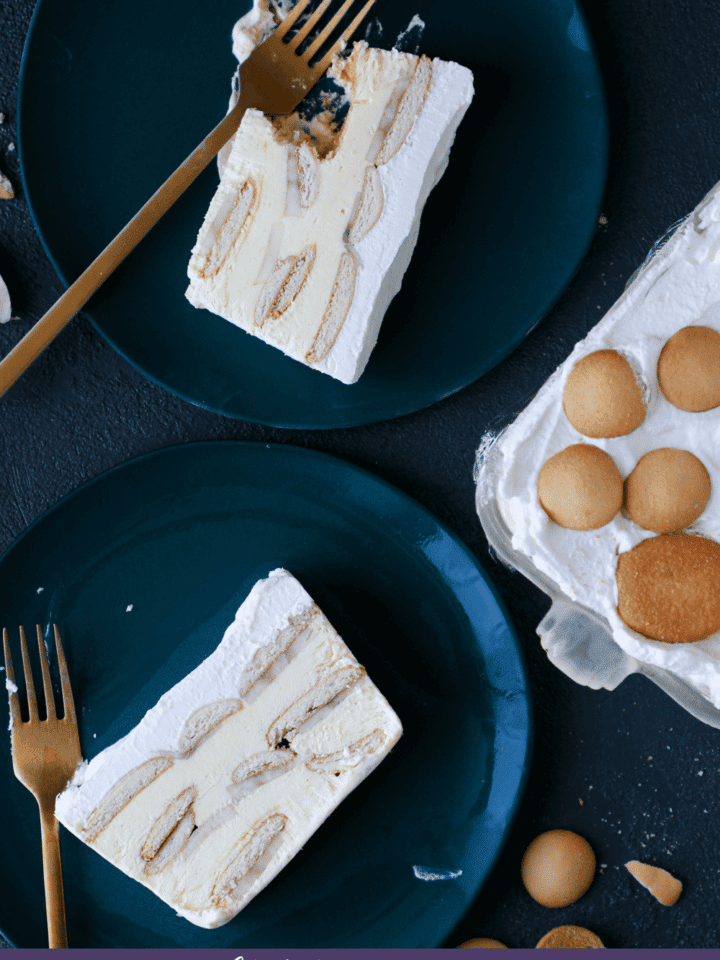
- The loaf pan format controls every layer. A 9×5-inch pan keeps the wafers, bananas, and cream in tight, even strata, so every slice holds together and looks intentional.
- Nilla wafers soften into a cake-like layer. Pressed against the cream filling overnight, the wafers absorb moisture and lose their snap, mimicking the texture of classic banana pudding without any stovetop cooking.
- No-cook assembly means the bananas stay bright. Because there is no heat involved, the bananas hold their color and flavor through the freeze rather than turning dull and jammy.
Table of Contents
- Why This Recipe Works
- Ingredients & Substitutions
- Variations on This Banana Pudding Ice Box Cake
- Professional Tips
- How to Make Banana Pudding Ice Box Cake
- Chef Lindsey’s Recipe Tip
- Recipe FAQs
- Reccomended No-Bake Desserts
- Recommended Banana Pudding Icebox Cake Recipes
- Banana Pudding Icebox Cake Recipe
- Before You Go
Sometimes I have to ask myself the tough questions like, “Can I make a tender scone that tastes like my easy carrot cake” or “banana pudding; will it ice box cake” or “can I make a poached pear taste like soft gingerbread cookies?” The answer to all of those is yes!
This banana pudding icebox cake is the perfect make-ahead dessert for when the weather is too hot to turn on the oven! It layers all the flavors of a classic banana pudding into a sliceable, freezer-firm loaf that holds its shape on the plate. For more comfort, banana classic, be sure to make this moist banana bread recipe next!
Ingredients & Substitutions
- Instant Pudding: The base of the filling, prepared according to package directions. I always use vanilla flavor here, but banana cream instant pudding will push the banana flavor even further if you want to lean into it. You could also make this homemade vanilla pudding recipe if you were feeling extra!
- Vanilla Extract: Goes into both the pudding and the whipped cream. Use pure vanilla extract rather than imitation for a cleaner, less artificial flavor.
- Heavy Cream: Whipped and folded into the pudding to create the crème légère-like filling that freezes without turning icy.
- Nilla Wafers: These form the layered structure throughout the cake, pressing against the cream and bananas. As noted in the recipe, you can refrigerate the assembled cake for up to 12 hours before freezing to let the wafers soften into a more classic banana pudding texture, though the cake is excellent either way.
- Bananas: Use ripe but not yet spotted bananas. Overripe bananas will turn mushy and oxidize quickly once frozen, so you want fruit that is fully yellow and sweet but still firm enough to hold its shape in the layers. Save those overripe bananas for banana brownies
See the recipe card for full information on ingredients and quantities.
Variations on This Banana Pudding Ice Box Cake
- Refrigerator-Only Version. Skip the freezer and refrigerate the assembled cake for up to 12 hours instead. The Nilla wafers will soften into a more classic banana pudding texture, which I love for a slightly more scoopable, casual serve.
- Caramel Finish. Serve each slice with a drizzle of salted caramel sauce, and use caramel pudding as the base! Maple caramel sauce or butterscotch sauce would also be divine.
- Sawp out the cookies! Replace the Nilla wafers with my gingersnaps for a delightful holiday twist, or use some Oreo cookies and make this chocolate pudding recipe!
- Ditch the Layers: No one is saying it has to be layered perfection; crush those Nillas, cube the bananas, and mix it all up. Let it sit at room temperature for 15 minutes and scoop it like no-churn ice cream.
Professional Tips
- Line the pan carefully. The plastic wrap lining is what allows you to unmold the cake cleanly. Spray the pan lightly before laying in the plastic so it clings flat to the sides with minimal air pockets. Any bunching will show up as ridges on the finished cake.
- Slice with a hot knife. Dip a serrated knife in warm water and wipe the blade dry before each cut. A cold knife drags and compresses the layers. After testing this a few times, I found that one warm-knife pass gives you a cleaner cross-section than sawing back and forth.
- Work quickly once unmolded. The cake softens faster than you expect once it is out of the freezer. Have your plates chilled and your knife ready before you pull it from the pan. If it starts to look soft around the edges, return it to the freezer for 10 minutes before continuing.
How to Make Banana Pudding Ice Box Cake
Follow the instructions to make this easy banana pudding icebox cake!
Step 1: Prepare the instant pudding. Whisk the pudding mix with milk according to the package directions, then transfer it to the refrigerator to set completely. Cold pudding incorporates into whipped cream without deflating it.
I stir in the additional vanilla extract, which I always do with instant pudding because it lifts the flavor considerably.
Step 2: Prepare the loaf pan. Lightly spray a 9×5-inch loaf pan with nonstick spray, then line it with plastic wrap.
Step 3: Whip the cream. In the bowl of a stand mixer fitted with the whisk attachment, combine the heavy cream, confectioner’s sugar, and vanilla. Whip to medium-stiff peaks. You want it thick enough to hold its shape when folded, but not so stiff that it turns grainy, which can happen fast if you are not watching.
The cream can go from perfect to overwhipped in under a minute at high speed. I like to whip my cream low and slow in the mixer just like when I make the best whipped cream recipe.
Step 4: Reserve the topping cream. Scoop out about one cup of the whipped cream and set it aside in a small bowl. This portion stays plain and gets spread on top at the end, so keep it covered in the refrigerator while you work through the layers.
Step 5: Fold the whipped cream into the pudding. Add the remaining whipped cream to the cold pudding and fold gently with a rubber spatula until just combined. It will look slightly streaky at first, which is completely normal. Keep folding in slow, wide strokes until the mixture is uniform and airy.
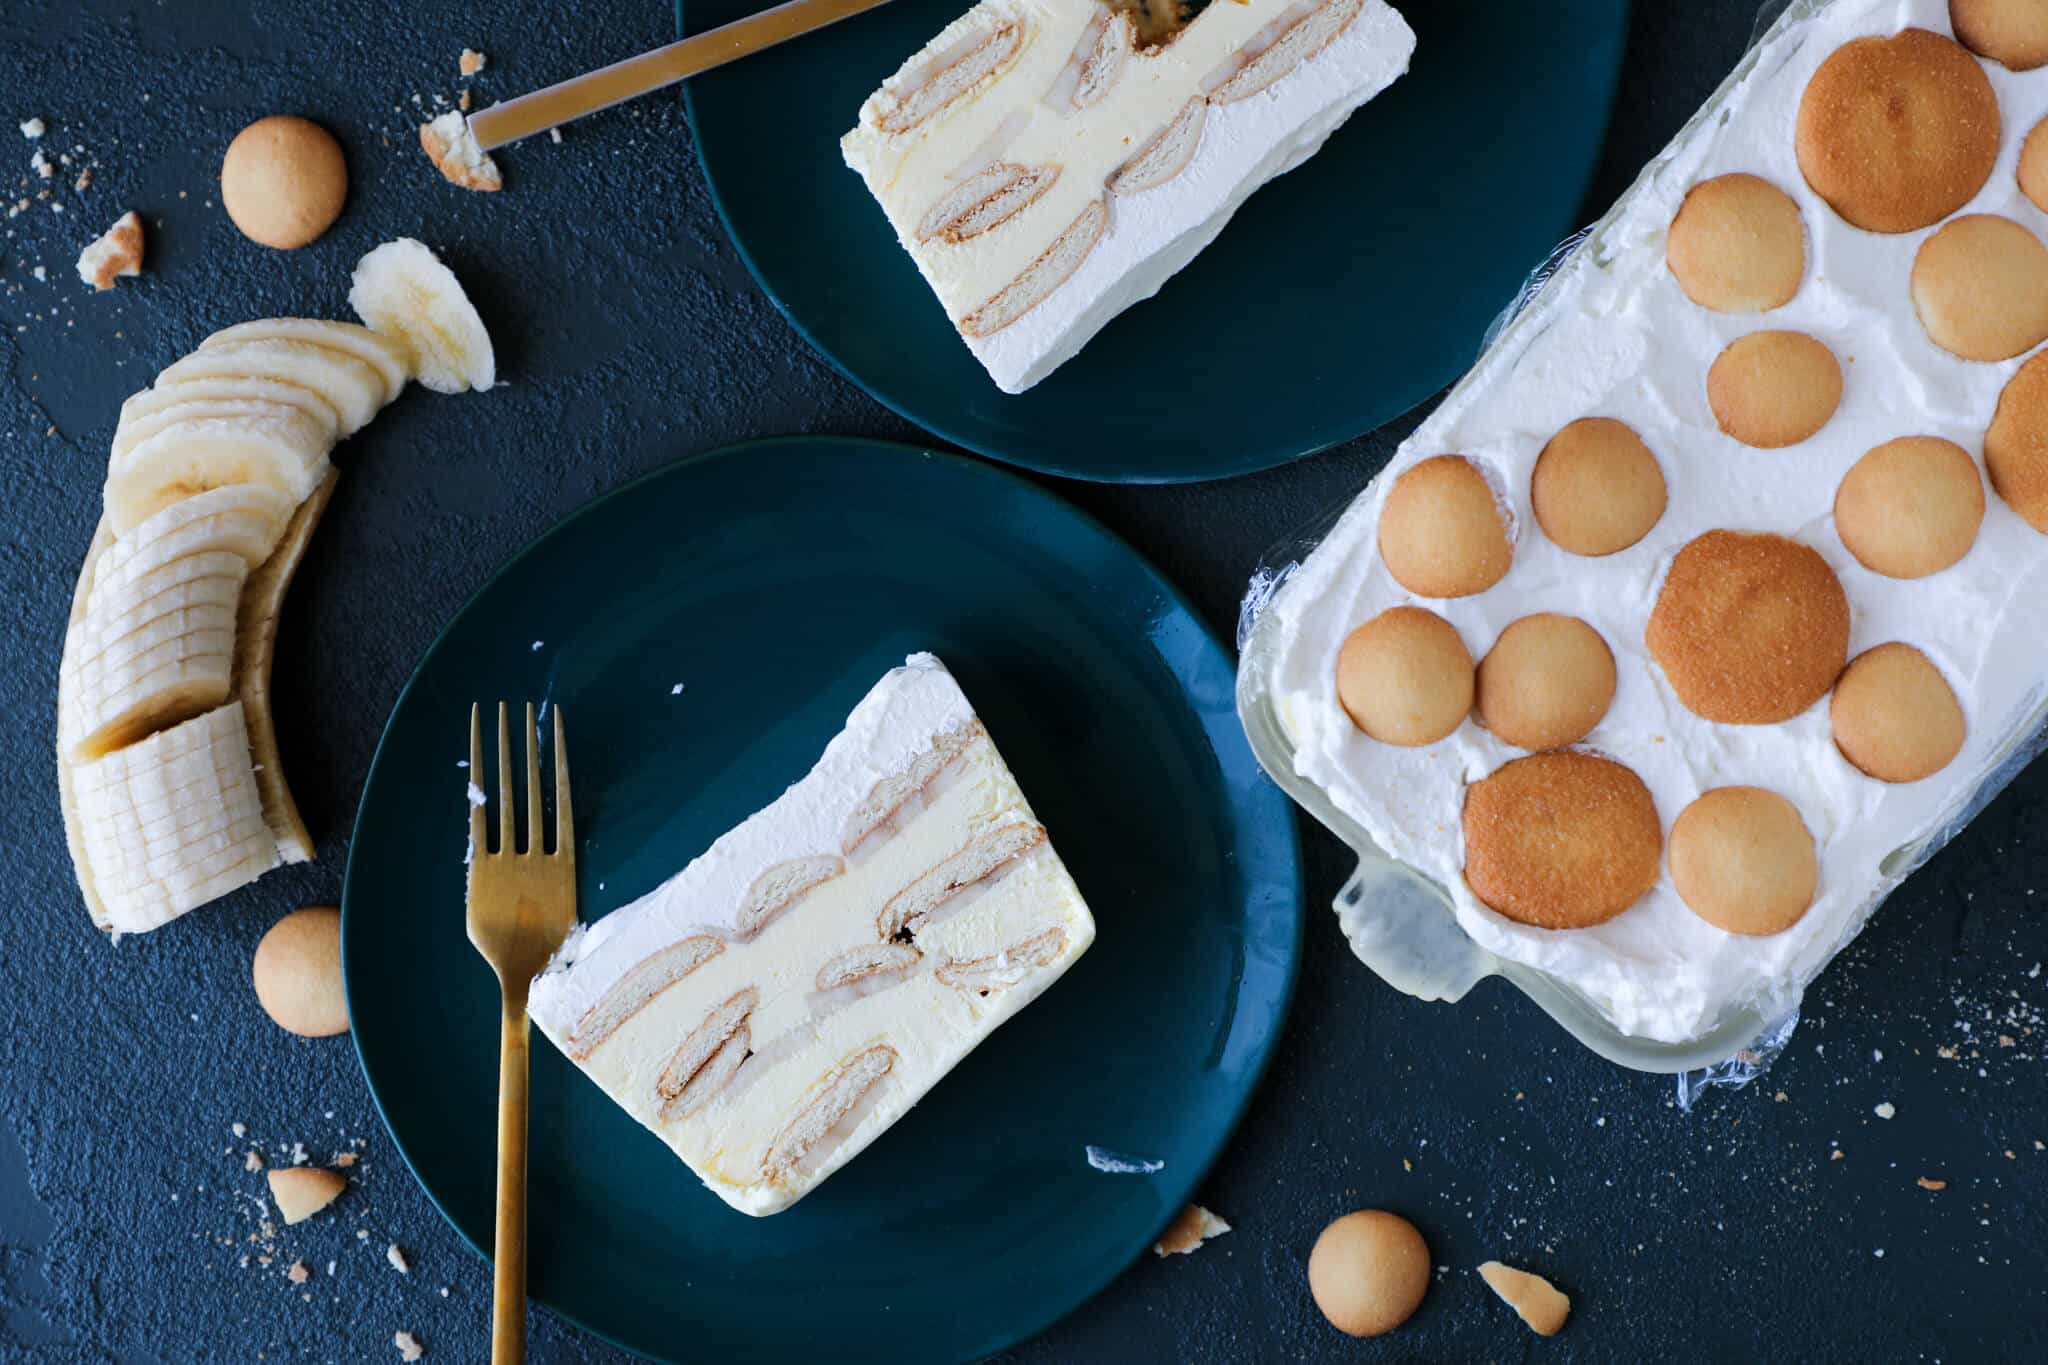
Step 6: Slice the bananas. Cut the bananas into rounds about ⅛ inch thick. Using bananas that are ripe but not yet spotted keeps the slices firm enough to hold their shape in the layers rather than turning mushy as the cake freezes.
Step 7: Layer the cake. Spread a thin layer of the pudding mixture across the bottom of the prepared loaf pan. Add a layer of banana slices, then a layer of Nilla wafers, pressing them down gently so they sit flush. Repeat the layers, alternating pudding, bananas, and wafers, until you are nearly at the top of the pan. The last layer before the whipped cream topping should be pudding, so everything is sealed, and the wafers have something to bind to.
If your layers start looking uneven, press down lightly with the back of a spoon before continuing. The filling is forgiving, and a little compression at each layer actually helps the cake hold cleaner slices later.
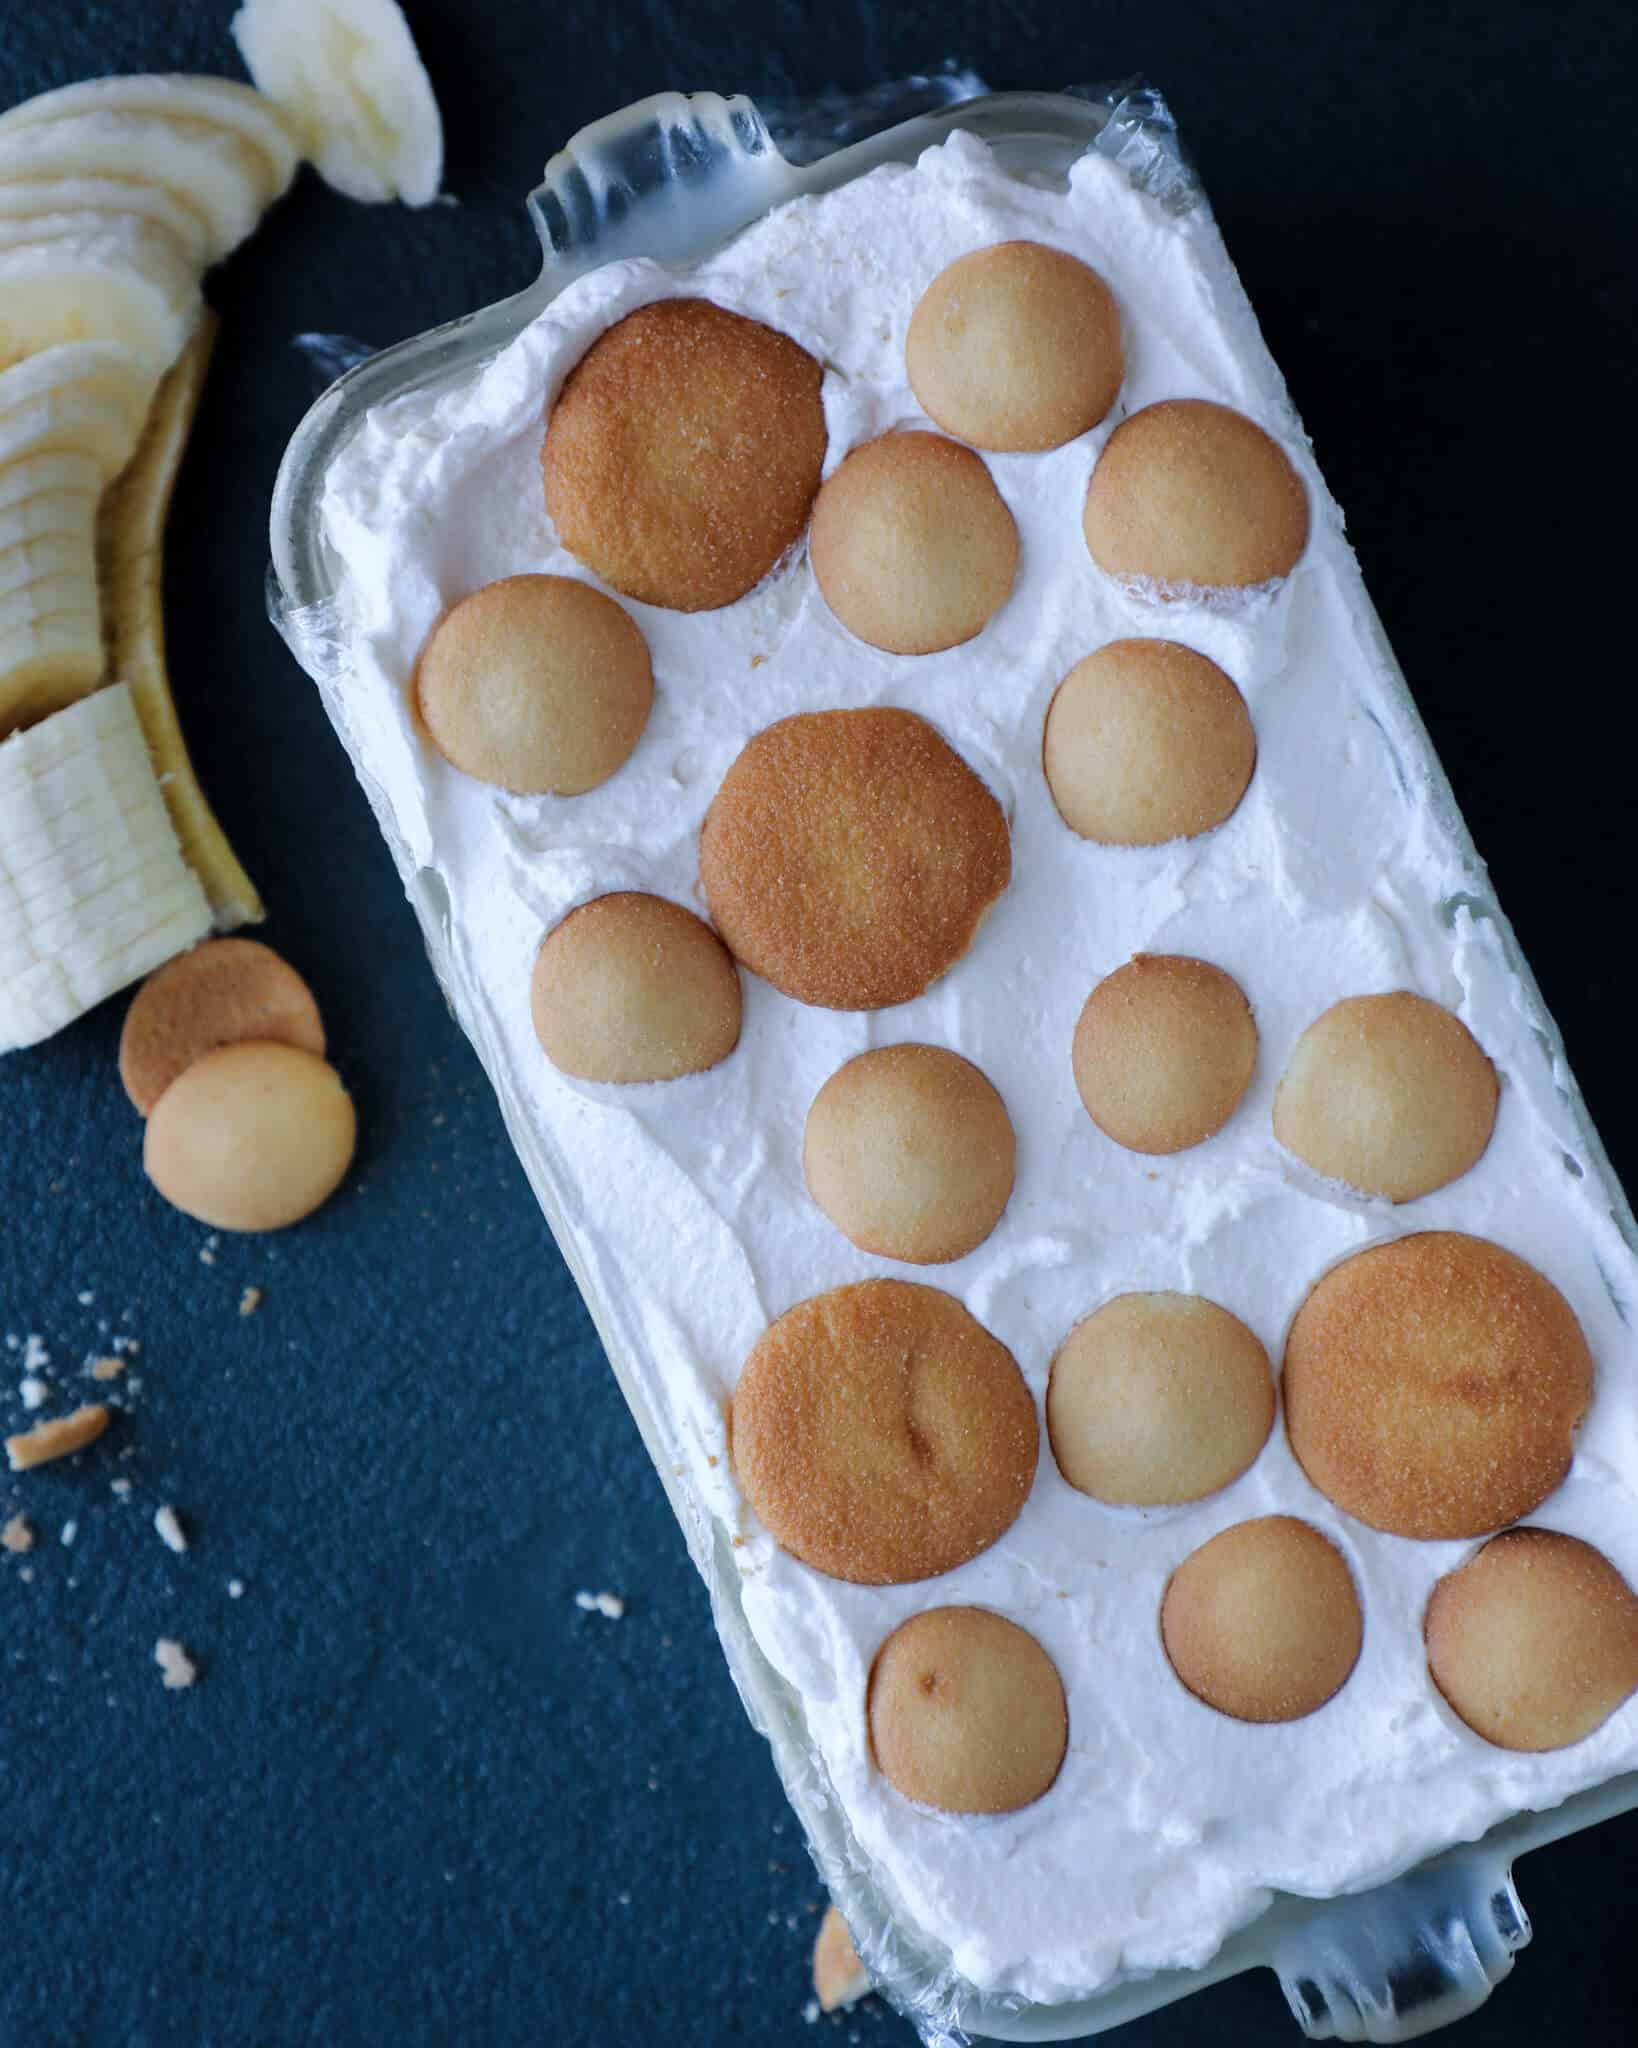
Step 8: Finish with the reserved whipped cream. Spread the plain whipped cream you set aside over the top in an even layer. Smooth it all the way to the edges so it seals the top completely. You can press a few Nilla wafers into the surface for decoration, fan out a few extra banana slices, or leave it completely plain.
Step 9: Freeze. Fold the plastic wrap overhang loosely over the top, then cover the pan with an additional sheet of plastic wrap. Freeze for at least 8 hours or overnight. The cake needs to be fully set before you attempt to unmold it, so do not rush this step.
If you want the Nilla wafers to soften the way they do in a traditional banana pudding, refrigerate the assembled cake for up to 12 hours before transferring it to the freezer. The wafers will not soften once frozen.
Step 10: Temper before unmolding. Pull the cake from the freezer and let it sit at room temperature for 5 minutes before attempting to remove it from the pan. This brief rest gives the edges just enough time to release without the center melting, which is the balance you are looking for.
Step 11: Unmold the cake. Fill a large cup with hot water and have a dry tea towel nearby. Grip the plastic wrap overhang firmly and pull upward, and the cake should release cleanly from the pan. If it resists, briefly press a warm towel against the outside of the pan for a few seconds, which is usually all it takes. Remove the plastic wrap completely once the cake is free.
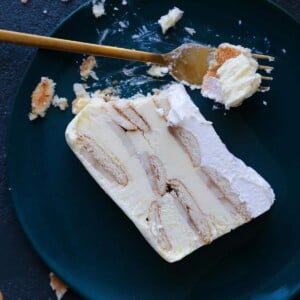
Step 12: Slice and serve. Dip a serrated knife in the hot water, wipe the blade clean with the towel, and slice through the cake with a single smooth motion. Repeat the dip-and-wipe between each slice to keep the cuts clean and the layers visible. If the cake starts to soften too much during slicing, return it to the freezer for 10 to 15 minutes before continuing. Serve immediately on chilled plates with caramel sauce if you like, though it holds up beautifully on its own.
Chef Lindsey’s Recipe Tip
The real advantage of this format is that you can build the entire cake up to a day ahead, and it actually improves with time in the freezer. The flavors meld and the structure becomes firm enough to slice cleanly without any of the collapsing you get with a refrigerator-only pudding dessert. Just keep it covered tightly so the top layer of whipped cream does not pick up any freezer odor.
Recipe FAQs
Yes, and it is actually better when made the night before. The cake needs at least 8 hours in the freezer to set fully, so assembling it the day before serving is the ideal approach. Keep it covered with plastic wrap until you are ready to unmold and slice.
Keep the assembled cake in the freezer, covered with plastic wrap, until you are ready to serve. Any leftover slices should go back into the freezer and are best eaten within a few days before the bananas start to discolor and change texture.
Yes. A firm, fully chilled vanilla pudding works well here as long as it is cold before you fold it into the whipped cream. Butterscotch pudding would also make an interesting base!
They do not soften as much as they do in a traditional banana pudding, which is one of the defining differences of this version. If you want softer wafers, refrigerate the assembled cake for up to 12 hours before transferring it to the freezer. This allows them to absorb moisture before everything freezes solid.
You can double this recipe and make it in a 9×9 baking dish. But who wouldn’t love little mini banana pudding icebox cakes! Use individual ramekins for 6 individual servings.
Reccomended No-Bake Desserts
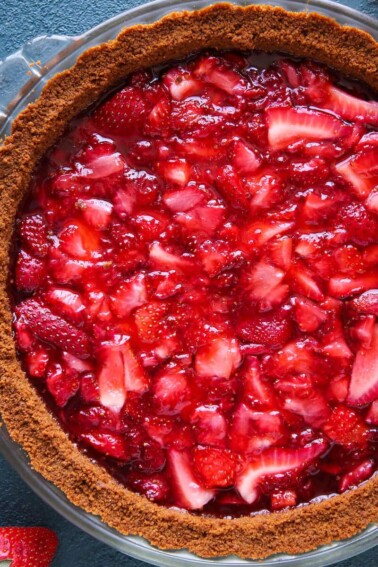
Pies and Tart Recipes
No Bake Strawberry Pie
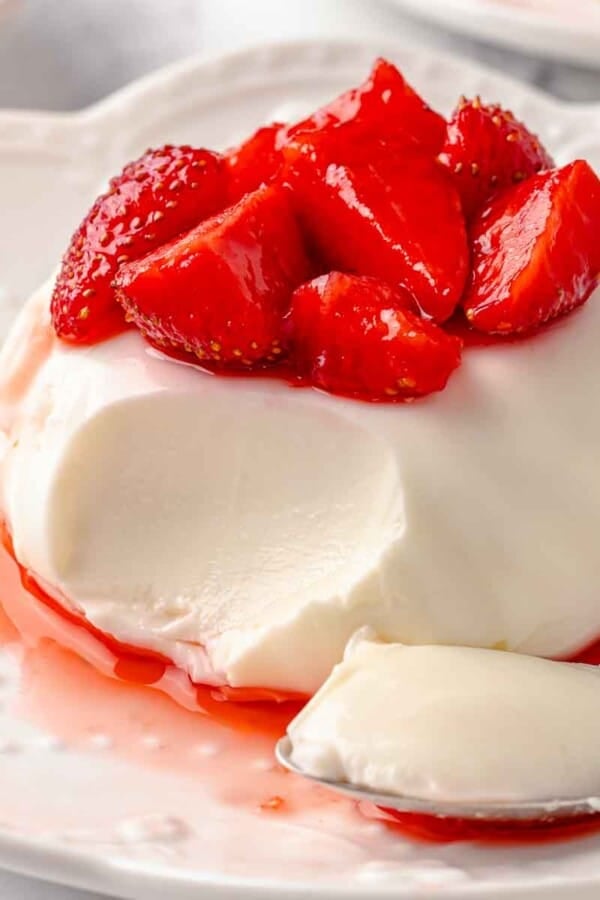
Date Night
Buttermilk Panna Cotta

Date Night
No Bake Whiskey Smores Pie
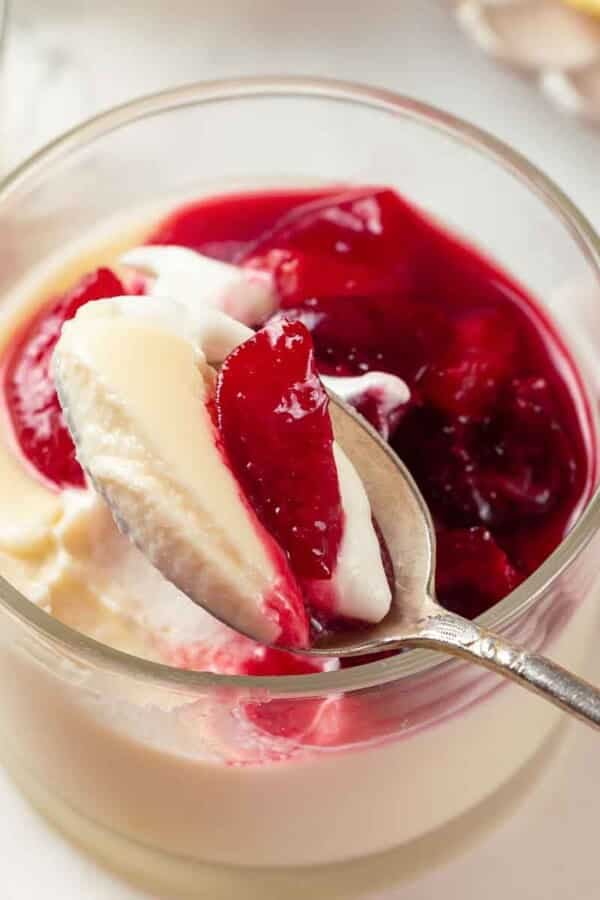
Date Night
Lemon Posset
If you tried this recipe and loved it please leave a 🌟 star rating and let me know how it goes in the comments below. I love hearing from you; your comments make my day!
Banana Pudding Icebox Cake
Ingredients
- 1 cup instant pudding — prepared according to package directions
- ½ tsp vanilla extract — for the pudding
- 2 cups heavy cream
- ½ tsp vanilla extract — for the whipped cream
- 6 oz Nilla Wafers — ½ box
- 2 bananas — ripe but not spotted yet
Instructions
- Prepare the instant pudding according to package directions, whisking in the milk and allowing it to set in the refrigerator until cold. Add vanilla extract to the pudding and stir to combine. One cup of prepared pudding is approximately half of a standard pudding box.
- Lightly spray a 9×5 inch loaf pan with nonstick spray and line with plastic wrap, leaving overhang on all sides. The spray helps the plastic wrap cling to the pan walls for a smooth, wrinkle-free lining.
- In the bowl of a stand mixer fitted with the whisk attachment, combine heavy cream, confectioner’s sugar, and vanilla extract. Whip to medium-stiff peaks.
- Reserve about one cup of whipped cream for the topping and set it aside. Gently fold the remaining whipped cream into the chilled pudding until combined.
- Slice the bananas to about 1/8 inch thick. Starting with the lightened pudding, spread a thin layer across the bottom of the prepared pan, then layer on bananas and Nilla wafers. Repeat until the pan is almost full.
- Spread the reserved plain whipped cream over the top. Decorate with additional Nilla wafers or banana slices, or leave it plain.
- Cover tightly with plastic wrap and freeze for at least 8 hours or overnight.
- When ready to serve, allow the cake to sit at room temperature for 5 minutes. Fill a large cup with hot water and have a tea towel nearby. Gently pull the plastic wrap overhang to release the cake from the pan, then remove the plastic wrap completely.
- Dip a serrated knife in the hot water, wipe the blade dry, and slice the cake. Repeat between cuts, and return the cake to the freezer briefly if it begins to soften before slicing is complete.
Video
Notes
Doneness Cue: The cake is ready to unmold when it is completely firm throughout and holds its shape cleanly when the plastic wrap is pulled away from the pan.
Storage: Keep the assembled cake in the freezer, covered with plastic wrap, until ready to serve. Leftover slices should be returned to the freezer and are best eaten within a few days before the bananas begin to discolor and the texture changes.
Make Ahead: Refrigerate the assembled cake for up to 12 hours before freezing to allow the Nilla wafers to soften as they would in a traditional banana pudding. This step is completely optional; transfer to the freezer for the remaining time before serving.
Nutrition
Before You Go
If you loved this easy icebox cake, you will find plenty more fun no bake dessert recipes or explore my custard recipes.


I made this for my sisters birthday and it was a hit. The hot knife trick made slicing effortless, and the layers held together perfectly once unmolded. I did the optional refrigerator step overnight before freezing and the wafers had that classic soft texture. Will absolutely make again.
I made this for a late-night wrap party where everything else was store-bought and sad. Letting the pudding fully chill before folding made everything smoother and more cohesive. And slicing the bananas thin kept them from overpowering each bite. It tasted exactly like banana pudding, just colder, cleaner, and somehow better!