This post may contain affiliate links. Please read our disclosure policy.
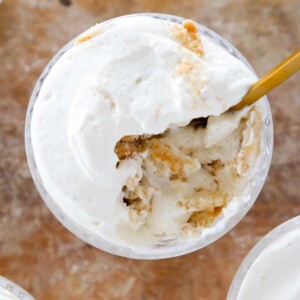
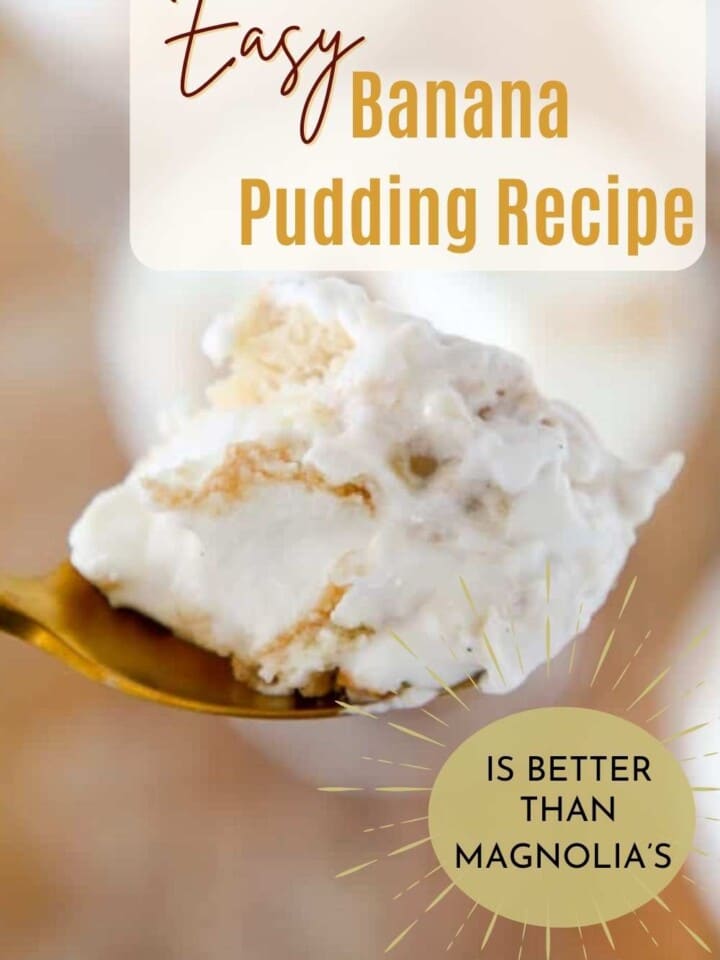
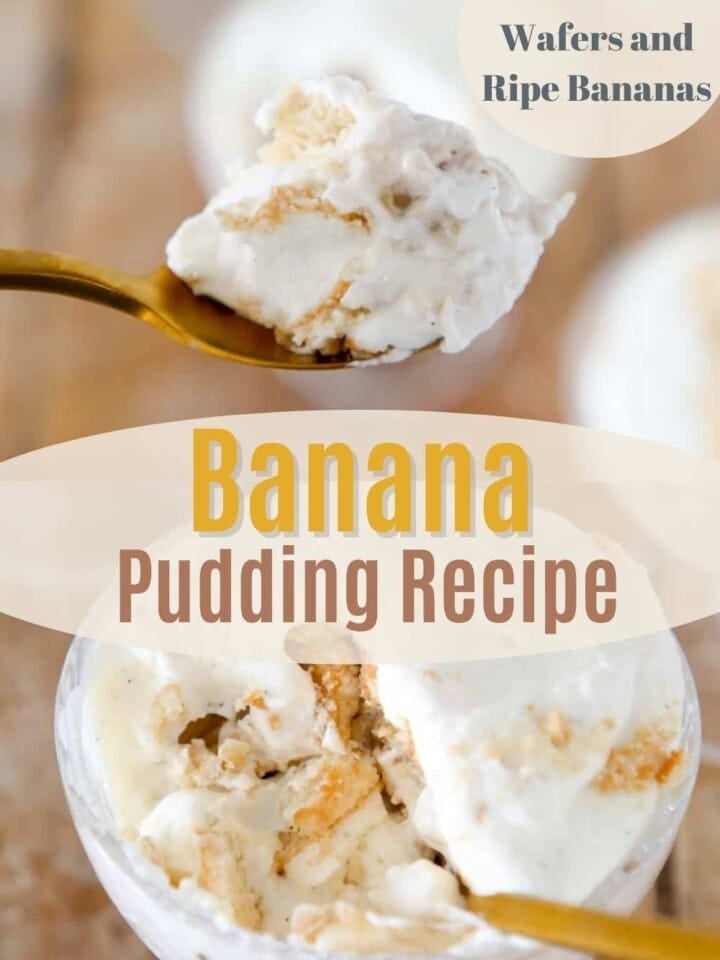
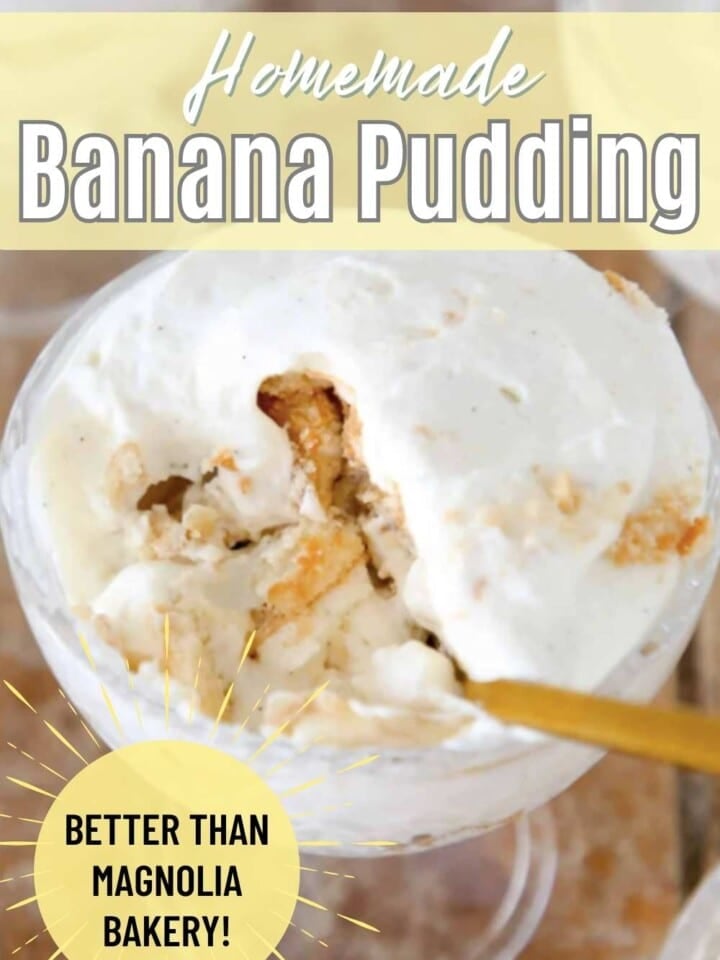
This homemade Banana Pudding recipe is even better than Magnolia Bakery’s! Layers of lightened from-scratch vanilla pudding, ‘Nilla wafers, and perfectly ripe bananas all meld together into one unforgettable dessert!
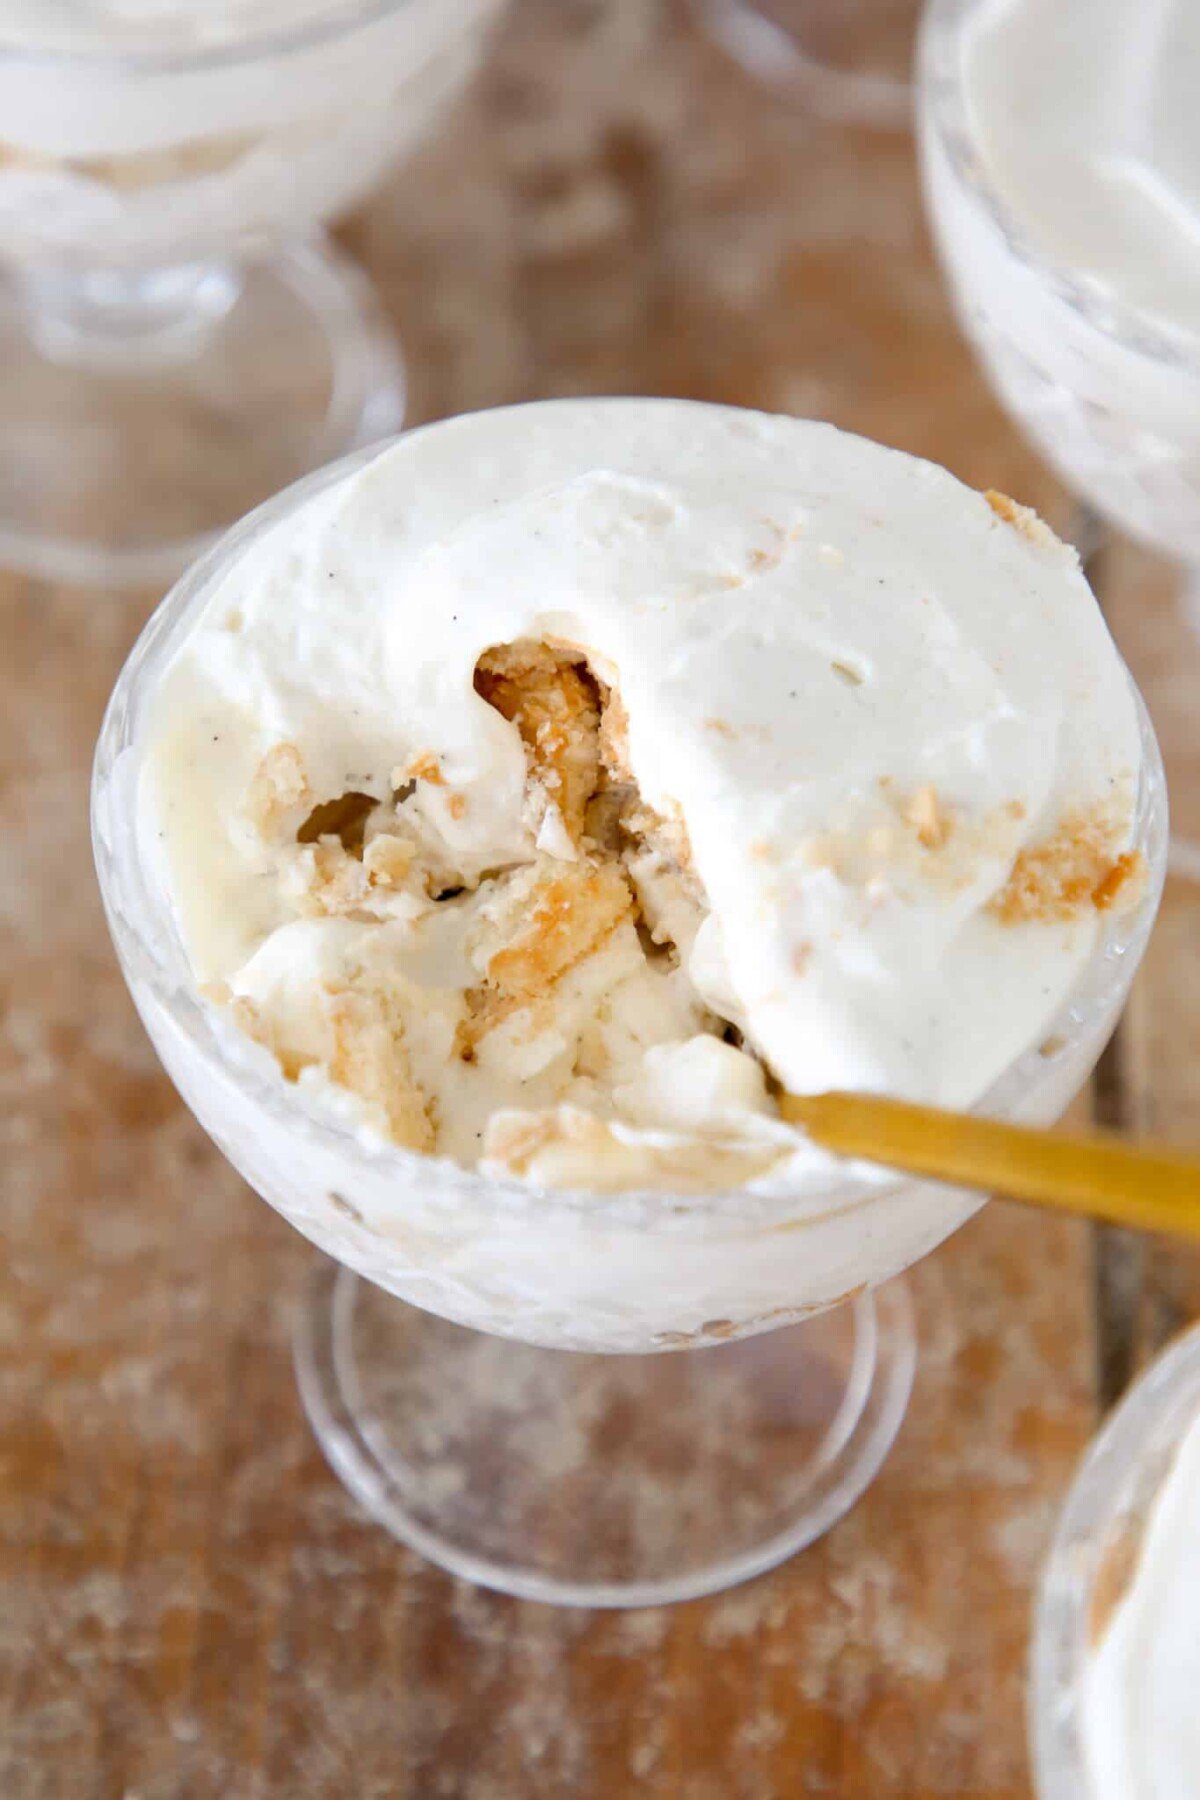
I used the flavor of NYC Magnolia Bakery’s iconic banana pudding as inspiration for this recipe, which is made from scratch! Making homemade pudding is not only incredibly easy but it tastes so much better than instant vanilla pudding.
You can, of course, make delicious banana pudding with instant pudding like I do in my banana pudding ice box cake, but the silky, smooth, homemade vanilla pudding really makes this dessert exceptional! The pudding is just fabulous on its own as well, but it can also be used to make my banana cream pie or pair it with chocolate pound cake and Oreo cookie crumbles for a fun black-and-white trifle.
Why This is the Best Banana Pudding!
- Vanilla pudding made from scratch makes all the difference. This recipe stands out from the masses because it uses sweetened condensed milk and butter for a silky, creamy, not overly sweet pudding! The flavor comes from real vanilla not instant vanilla pudding mix.
- Easy to pull together with showstopping results. This banana pudding is perfectly balanced and has easy-to-follow instructions. Perfectly ripened bananas, whipped cream lightened pudding, and nilla wafers come together for a classically show-stopping dessert.
- Created by a professional pastry chef. When I made this for the restaurants, the banana pudding sold out within the hour. I just couldn’t keep up! I spent my time perfecting it, and I can say with confidence that this will be your new favorite dessert.
Table of Contents
Ingredients
- Granulated Sugar: Sugar has many functions in this recipe. It adds sweetness; it protects the milk from scorching; it protects the eggs from the hot milk when tempering.
- Cornstarch: Cornstarch aids in the thickening of the pudding and helps bind everything together, keeping the custard from separating.
- Kosher Salt
- Whole Eggs: The egg in a stirred custard is integral to thickening the custard. Whisking it first with the sugar protects it from the heat.
- Milk: Whole milk is the liquid in this pudding. The fat does add flavor but isn’t essential like it is in some recipes, so feel free to use your favorite alternative or lower-fat milk.
- Sweetened Condensed Milk: Sweetened condensed milk adds sweetness without adding moisture. It helps thicken the custard and gives the final filling that extra richness. If you don’t have or don’t care to use sweetened condensed milk, make my vanilla pudding recipe instead!
- Vanilla Bean: Vanilla beans are one of the most expensive ingredients on Earth, but they add an unmistakable flavor. Scrape out the seeds to use now and save the pods for infusing vanilla bean ice cream, anglaise, or vanilla pastry cream. You can also make vanilla sugar with the pods.
- Vanilla Extract
- Unsalted Butter
- Heavy Cream: Using unsweetened heavy cream to make the crème légère will keep the dessert from being overly sweet. You can use cool whip instead but it will make the pudding sweeter.
- Nilla Wafers: Vanilla Wafers are integral to the perfect banana pudding. They also make them in mini if you’re looking to make mini puddings!
- Bananas: Bananas are the flavor here! If you are a planner, you can buy bananas a few days before making this dessert. Ripe sliced bananas will give the pudding the most fresh and bright banana flavor! I use yellow bananas with only a few spots (if any) and save the overly ripe bananas for moist banana bread or peanut butter banana muffins.
See the recipe card for full information on ingredients and quantities.
Variations
- Use a different pudding base. Chocolate pudding, caramel pudding, or butterscotch pudding would be a fun take on a classic. You can even pair each with its own sauce: fudge sauce, salted caramel sauce, or butterscotch sauce!
- Mini Banana Puddings or Large Banana Pudding Trifle. The great thing with this recipe is you can make little mini banana puddings for everyone or grab your favorite trifle dish and make a large pudding for everyone to share!
- Ladyfingers or sponge cake. If you’re not a fan of Nilla Wafers, you can make this recipe with lady fingers, chocolate chip shortbread cookies or a light sponge cake. You can also make some peanut butter chocolate chip cookies to crumble on top!
- Try different fruits. Yes, it will no longer be a banana pudding, but who says we have to stay inside the box? Try with roasted peaches, macerated berries, or apple pie filling!
- Chunky Monkey! Add chopped walnuts and dark chocolate between the layers! That would also be a fun idea for my banana cake with cream cheese frosting, come to think of it.
Professional Tips
- Whisk the sugar, cornstarch, and salt until no clumps remain. Combine the granulated sugar, cornstarch, and salt in the pot and whisk them together until there are no more clumps of cornstarch. This will be easier to do before adding the eggs, ensure the cornstarch is properly distributed throughout the sugar, and help prevent further clumping.
- Don’t overcondition the pudding or over-whip the heavy cream. Before lightening the pudding with whipped cream, I loosen the pudding by beating it a few times with a spatula or whisk; however, if overbeaten, the cornstarch bonds will loosen causing an unruly filling. The heavy cream should be whipped just to stiff peaks or it will break and make it hard to fold into the pudding.
- Slice the bananas right before layering them with the filling. Slicing the bananas right before adding them to the filling will give them less time to oxidize and turn brown. To prevent them from turning brown, they can also be tossed in a little bit of lemon juice.
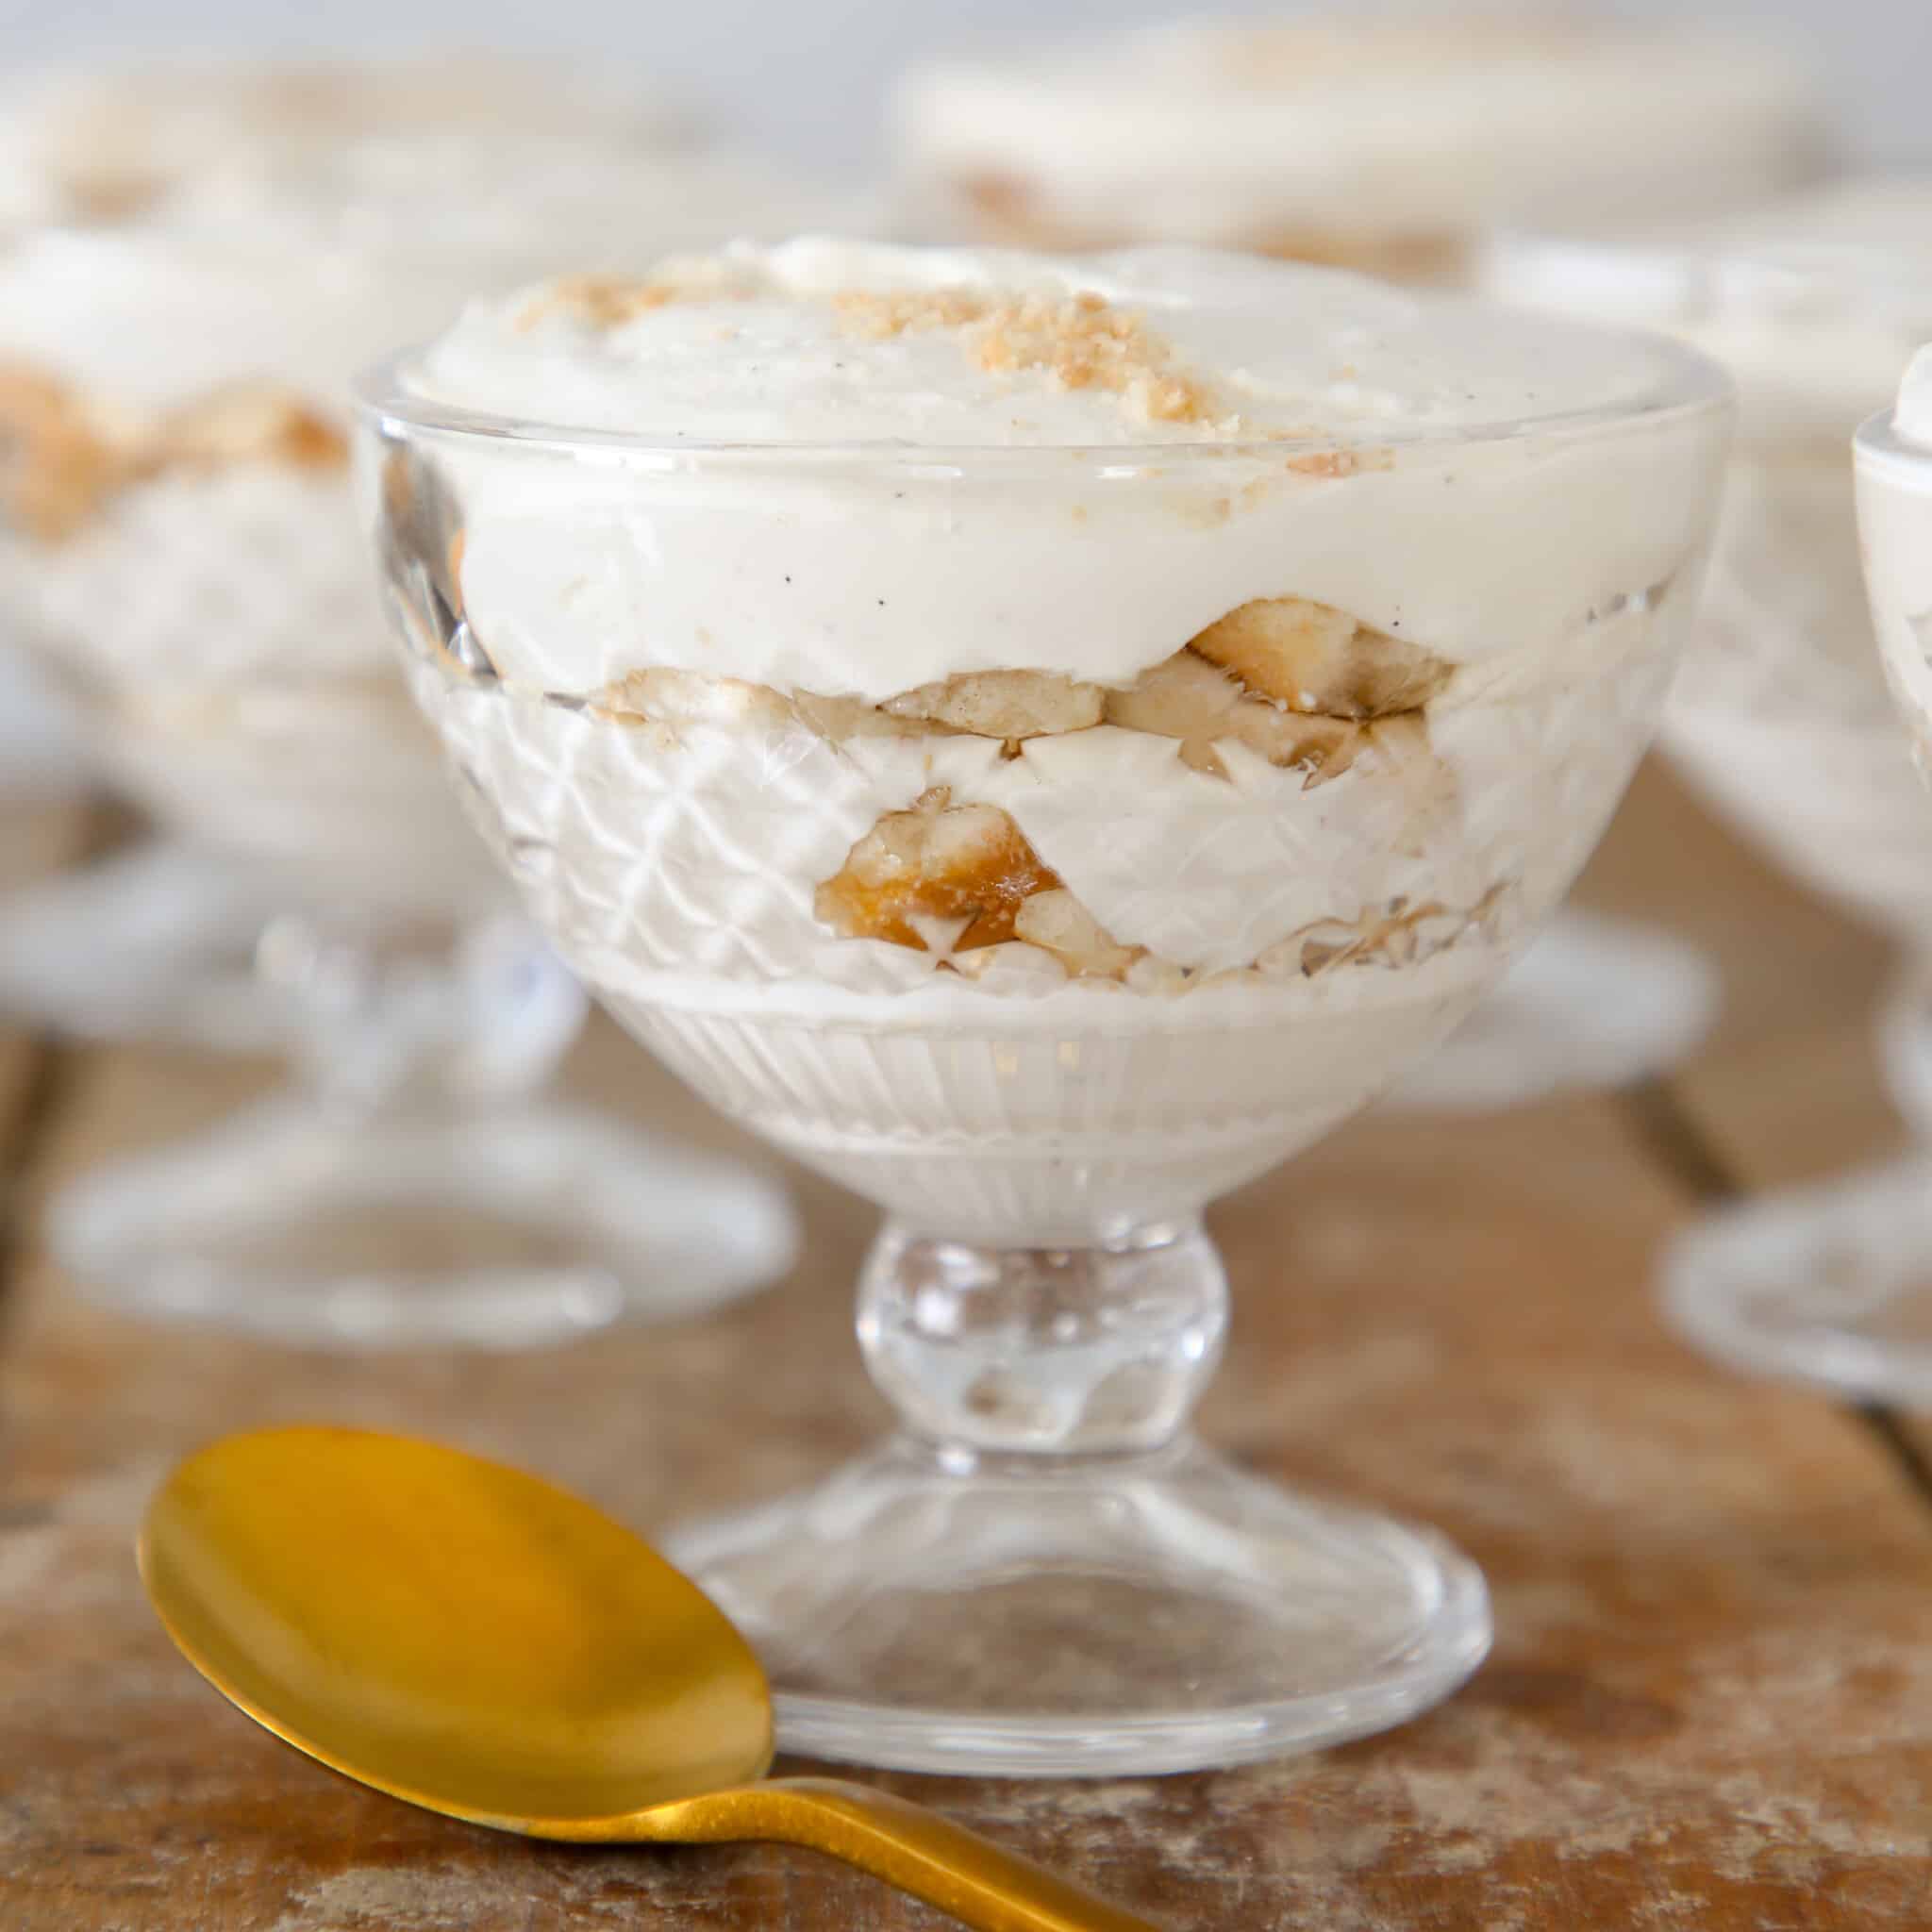
How to Make the Best Banana Pudding Recipe
Use these instructions to make a perfect banana pudding every time! Further details and measurements can be found in the recipe card below.
Make Vanilla Pudding:
Step 1: Combine the cornstarch, granulated sugar, and salt in a medium saucepan. Whisk to combine until no clumps of cornstarch remain.
Step 2: Whisk in the eggs, followed by the sweetened condensed milk, until completely homogenous. Then whisk in the whole milk and vanilla bean.
Step 3: Cook over medium heat, whisking constantly. Make sure to whisk in the corners and the bottom of the pot to keep the milk and sugars from scorching. Continue to cook until the custard thickens and starts to boil. Once it boils, continue to cook for 1 minute to activate the cornstarch.
If the pudding starts to clump, remove the pot from the heat and whisk until all the lumps are removed.
Step 4: Remove the cooked pudding from the heat and whisk in the butter and the vanilla extract until there are no visible pieces of butter or streaks of vanilla.
Step 5: Pour onto a plastic-lined baking sheet and cover with plastic wrap poking a few holes. Refrigerate until set.
If the pudding is lumpy, strain through a fine mesh sieve or chinoise directly onto the plastic line sheet tray.
Assemble the Banana Pudding:
Step 6: Place the pudding in a bowl of a stand mixer fitted with a paddle attachment. Condition the pudding until loosened slightly. This will not get rid of any lumps, but it will make it easier to fold in the cream. This can also be done by hand with a spatula.
Step 7: Whip the heavy cream to stiff peaks. You will know it’s done when the whisk is pulled out and held straight up. The whipped cream will hold a peak without falling over.
Be careful not to overwhip the cream. It will start to separate, and it won’t fold into the pudding nicely. If you do end up overwhipping the cream, add some cold heavy cream and fold it in gently. That should save the cream if it hasn’t been taken too far.
Step 8: Fold a small amount of whipped cream into the pudding mixture. This small amount of cream will further loosen the pudding, making it easier to fold in the remaining cream. This is called “sacrificing” because you sacrifice the air in a small amount of the whipped cream by folding it in aggressively.
Step 9: Fold in the remaining cream until smooth.
Step 10: Slice the bananas to the desired size. I prefer banana coins. Start layering the dessert in a baking dish, trifle dish or individual cups. Start layering with some of the pudding, followed by several slices of bananas in an even layer and a layer of the vanilla wafer cookies. Repeat until you reach the top of the serving dish.
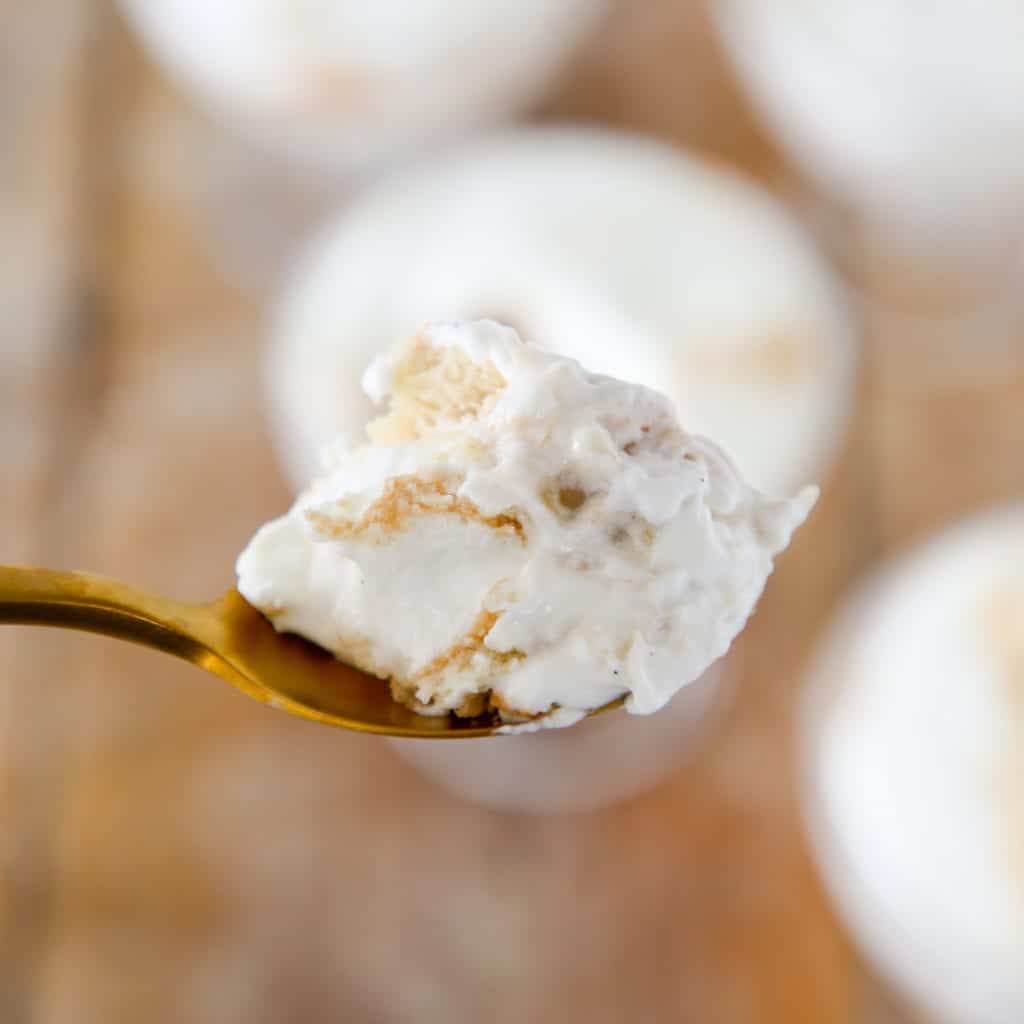
Step 11: Let the pudding chill in the refrigerator for 6 hours to overnight. We want all the flavors to meld together. The longer the better!
Chef Lindsey’s Recipe Tip
For an extra fun banana topping, make bruleed banana coins. Slice the bananas about ¼ inch thick and sprinkle with sugar. With a kitchen torch, brulee the sugar and place it on top of the banana pudding. Serve immediately after bruleeing otherwise, the caramel will liquify.
Recipe FAQs
Store banana pudding in the refrigerator lightly covered with plastic wrap or a lid if made in a container with one. It will last for 3-4 days.
Technically, yes! If you look at my Banana Pudding Icebox Cake, you can let the pudding sit in the fridge for a day and then freeze it. I suggest putting it in a container you can easily remove it from.
If you have a big enough pot and a strong enough whisking arm, you can make as much pudding as your heart desires.
Banana Pudding is perfect all on its own, if you are looking for more crunch top it with candied walnuts or chocolate fudge drizzle, or both!
Recommended Pudding Recipes
Custard Recipes
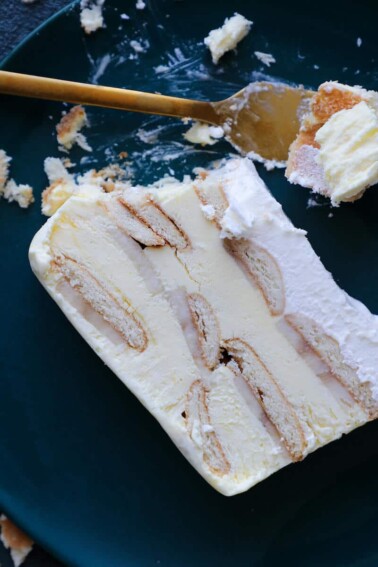
Banana Pudding Ice Box Cake
Date Night
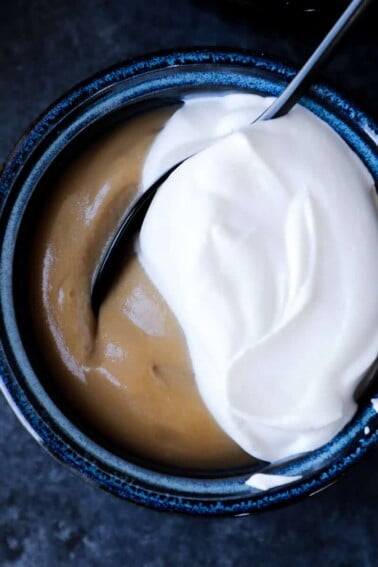
Butterscotch Pudding
Date Night
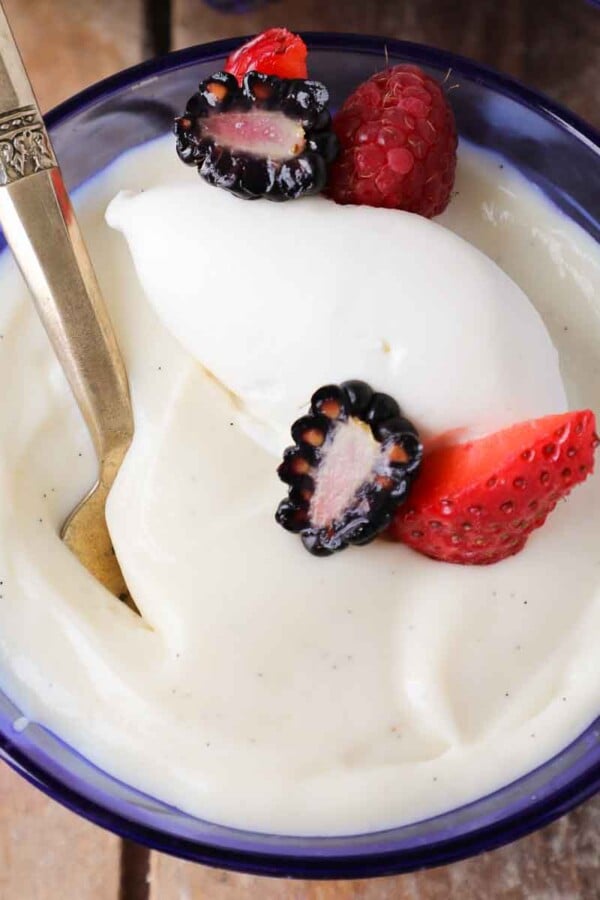
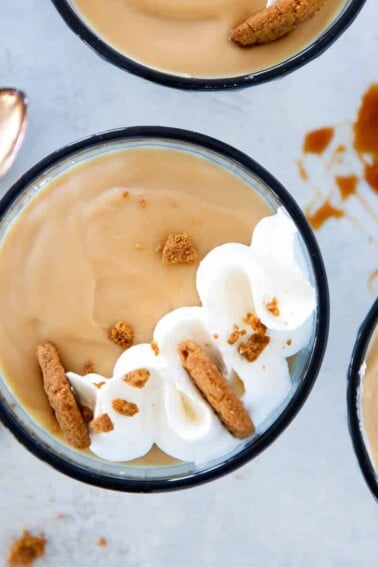
Homemade Vanilla Pudding Recipe
Date Night
Caramel Pudding
If you tried this recipe and loved it please leave a 🌟 star rating and let me know how it goes in the comments below. I love hearing from you; your comments make my day!
Banana Pudding
Ingredients
For the Vanilla Bean Pudding:
- 2 tablespoons sugar
- 1 ½ oz cornstarch
- ½ teaspoon kosher salt
- 2 eggs
- 2 ⅔ cups milk
- 7 oz sweetened condensed milk
- 1 vanilla bean split and scraped
- 1 teaspoon vanilla extract
- 2 ½ tablespoons unsalted butter softened
For Assembly:
- 3 cups heavy cream
- 11 oz nilla wafers 1 box, slightly crushed
- 5 bananas sliced thin
Instructions
Make Vanilla Pudding:
- Combine the cornstarch, granulated sugar, and salt in a medium saucepan. Whisk to combine until no clumps of cornstarch remain.
- Whisk in the eggs, followed by the sweetened condensed milk, until completely homogenous. Then whisk in the whole milk and vanilla bean.
- Cook over medium heat, whisking constantly. Make sure to whisk in the corners and the bottom of the pot to keep the milk and sugars from scorching. Continue to cook until the custard thickens and starts to boil. Once it boils, continue to cook for 1 minute to activate the cornstarch.
- Remove the cooked pudding from the heat and whisk in the butter and the vanilla extract until there are no visible pieces of butter or streaks of vanilla.
- Pour onto a plastic-lined baking sheet and cover with plastic wrap poking a few holes. Refrigerate until set.
Assemble the Banana Pudding:
- Place the pudding in a bowl of a stand mixer fitted with a paddle attachment. Condition the pudding until loosened slightly. This will not get rid of any lumps, but it will make it easier to fold in the cream. This can also be done by hand with a spatula.
- Whip the heavy cream to stiff peaks. You will know it’s done when the whisk is pulled out and held straight up. The whipped cream will hold a peak without falling over.
- Fold a small amount of whipped cream into the pudding mixture. This small amount of cream will further loosen the pudding, making it easier to fold in the remaining cream. This is called “sacrificing” because you sacrifice the air in a small amount of the whipped cream by folding it in aggressively.
- Fold in the remaining cream until smooth.
- Slice the bananas to the desired size. I prefer banana coins. Start layering the dessert in a baking dish, trifle dish or individual cups. Start layering with some of the pudding, followed by several slices of bananas in an even layer and a layer of the vanilla wafer cookies. Repeat until you reach the top of the serving dish.
- Let the pudding chill in the refrigerator for 6 hours to overnight. We want all the flavors to meld together. The longer the better!
Video
Notes
Nutrition
Before You Go
I hope you enjoyed this professional chef tested recipe. Check out our other delicious, chef-developed summer dessert recipes, custard recipes or dive into something different like this flourless chocolate cake or lemon posset!


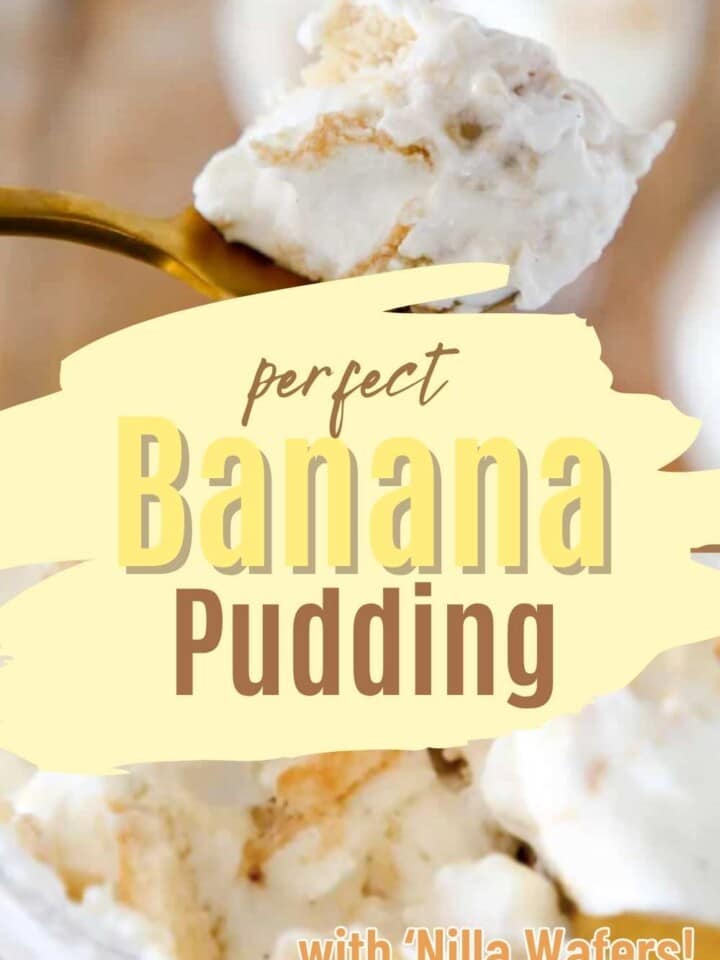


Whisking that pudding for what felt like forever made my arm sore, but it thickened perfectly. After a few hours in the fridge, the bananas and wafers melted into each other and I couldn’t stop sneaking spoonfuls.