This post may contain affiliate links. Please read our disclosure policy.
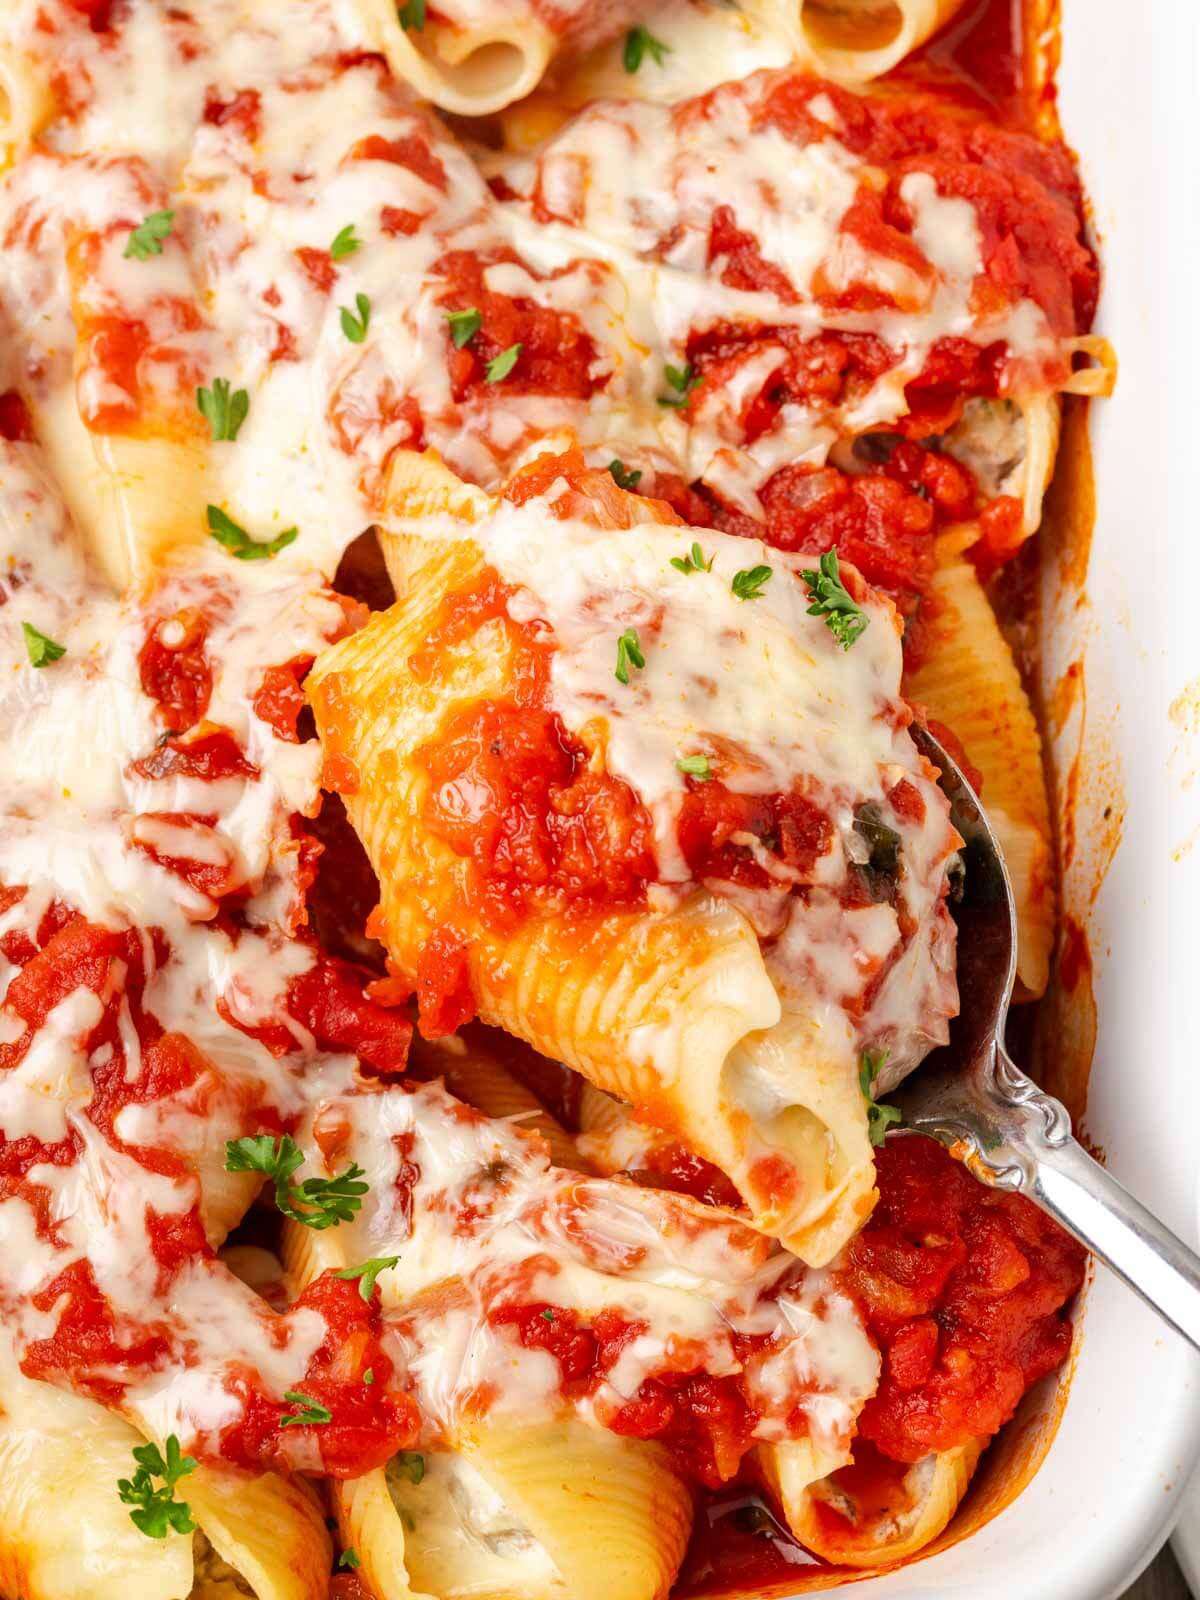
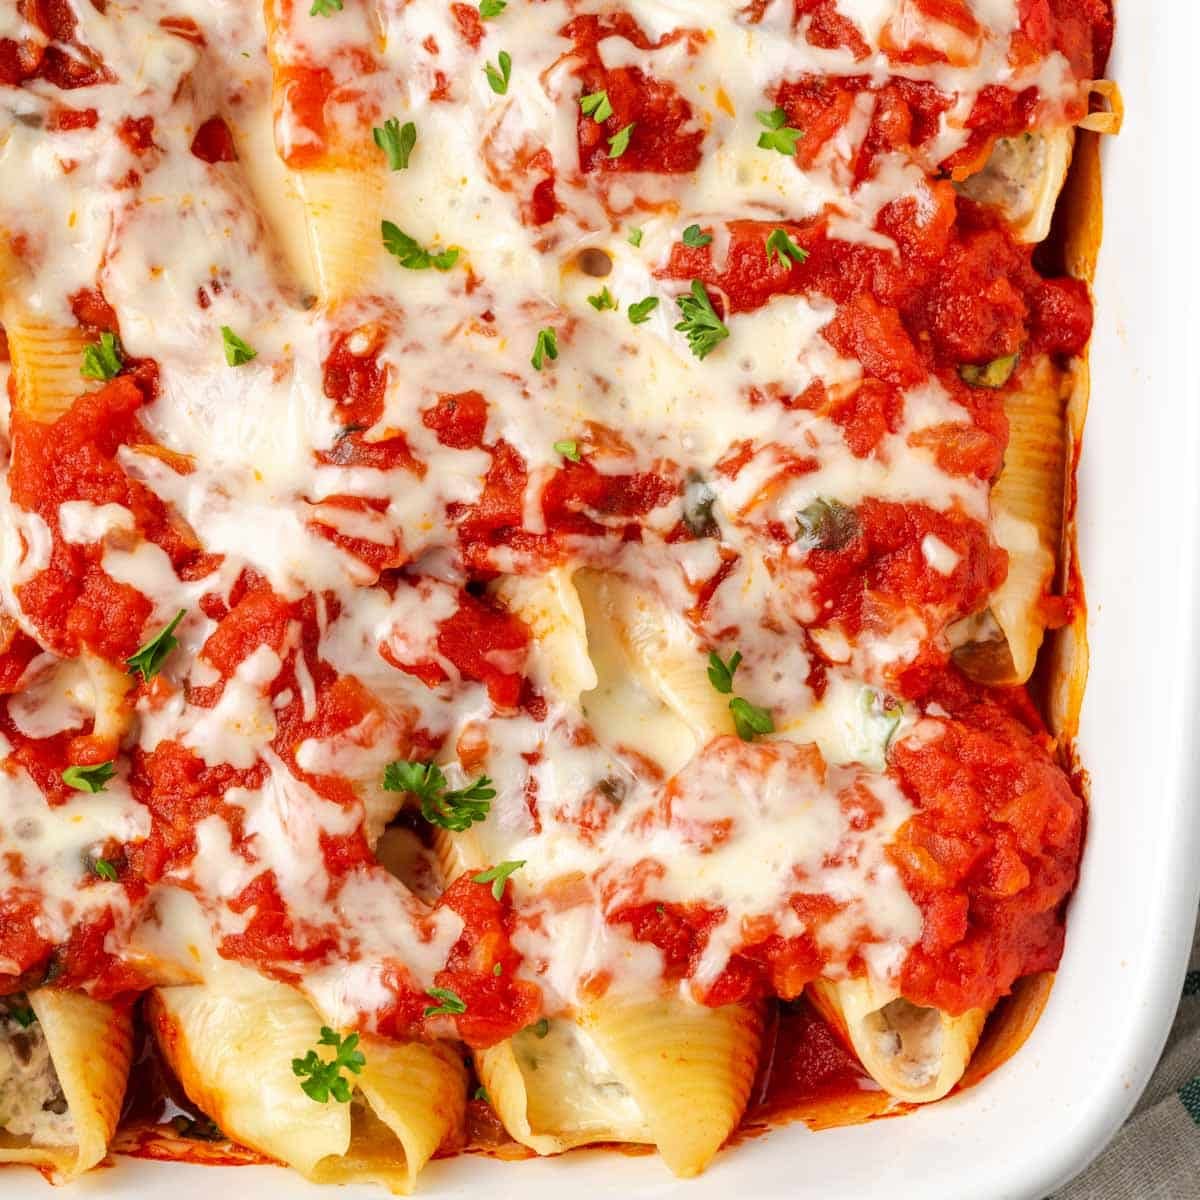
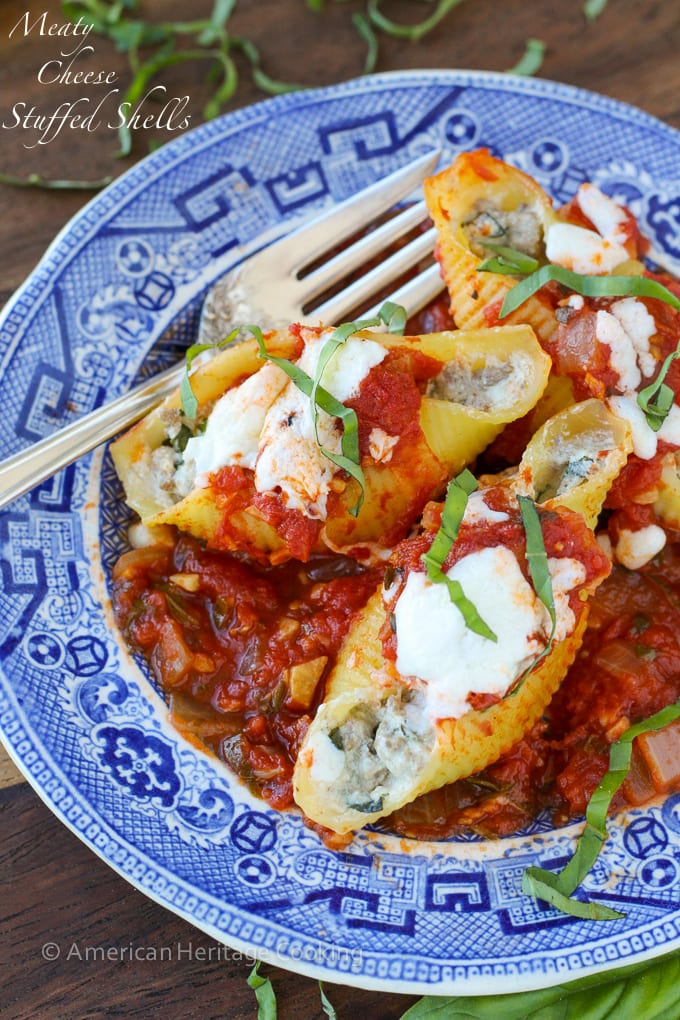
Stuffed shells with meat feel special thanks to a smooth ricotta blend and bright, homemade sauce. The filling pipes cleanly, bakes beautifully, and freezes well for effortless future dinners.
A Quick Look At The Recipe
This is a brief summary of the recipe. Jump to the recipe to get the full details.
Jump to RecipePrep Time
45 minutes
Cook Time
20 minutes
Total Time
1 hour 5 minutes
Servings
8 servings
Difficulty
Easy to moderate—straightforward steps with impressive results.
Calories *
415 kcal per serving
Technique
Slightly undercook the shells, pipe the filling for clean assembly, and bake gently until bubbly and melty.
Flavor Profile
Rich, savory, cheesy, and tomato-forward with fresh herb brightness.
* Based on nutrition panel
I loved the tip about undercooking the shells slightly—mine filled easily and didn’t tear. The step-by-step photos made piping the filling feel approachable, and freezing half for later was a huge win. Thanks, Chef! ⭐⭐⭐⭐⭐
Lauren
Why This Recipe Works
- Balanced richness. Replacing half the ricotta with cottage cheese keeps the filling creamy without feeling heavy.
- Savory, lean beef. Using 96% lean ground beef adds flavor without excess grease.
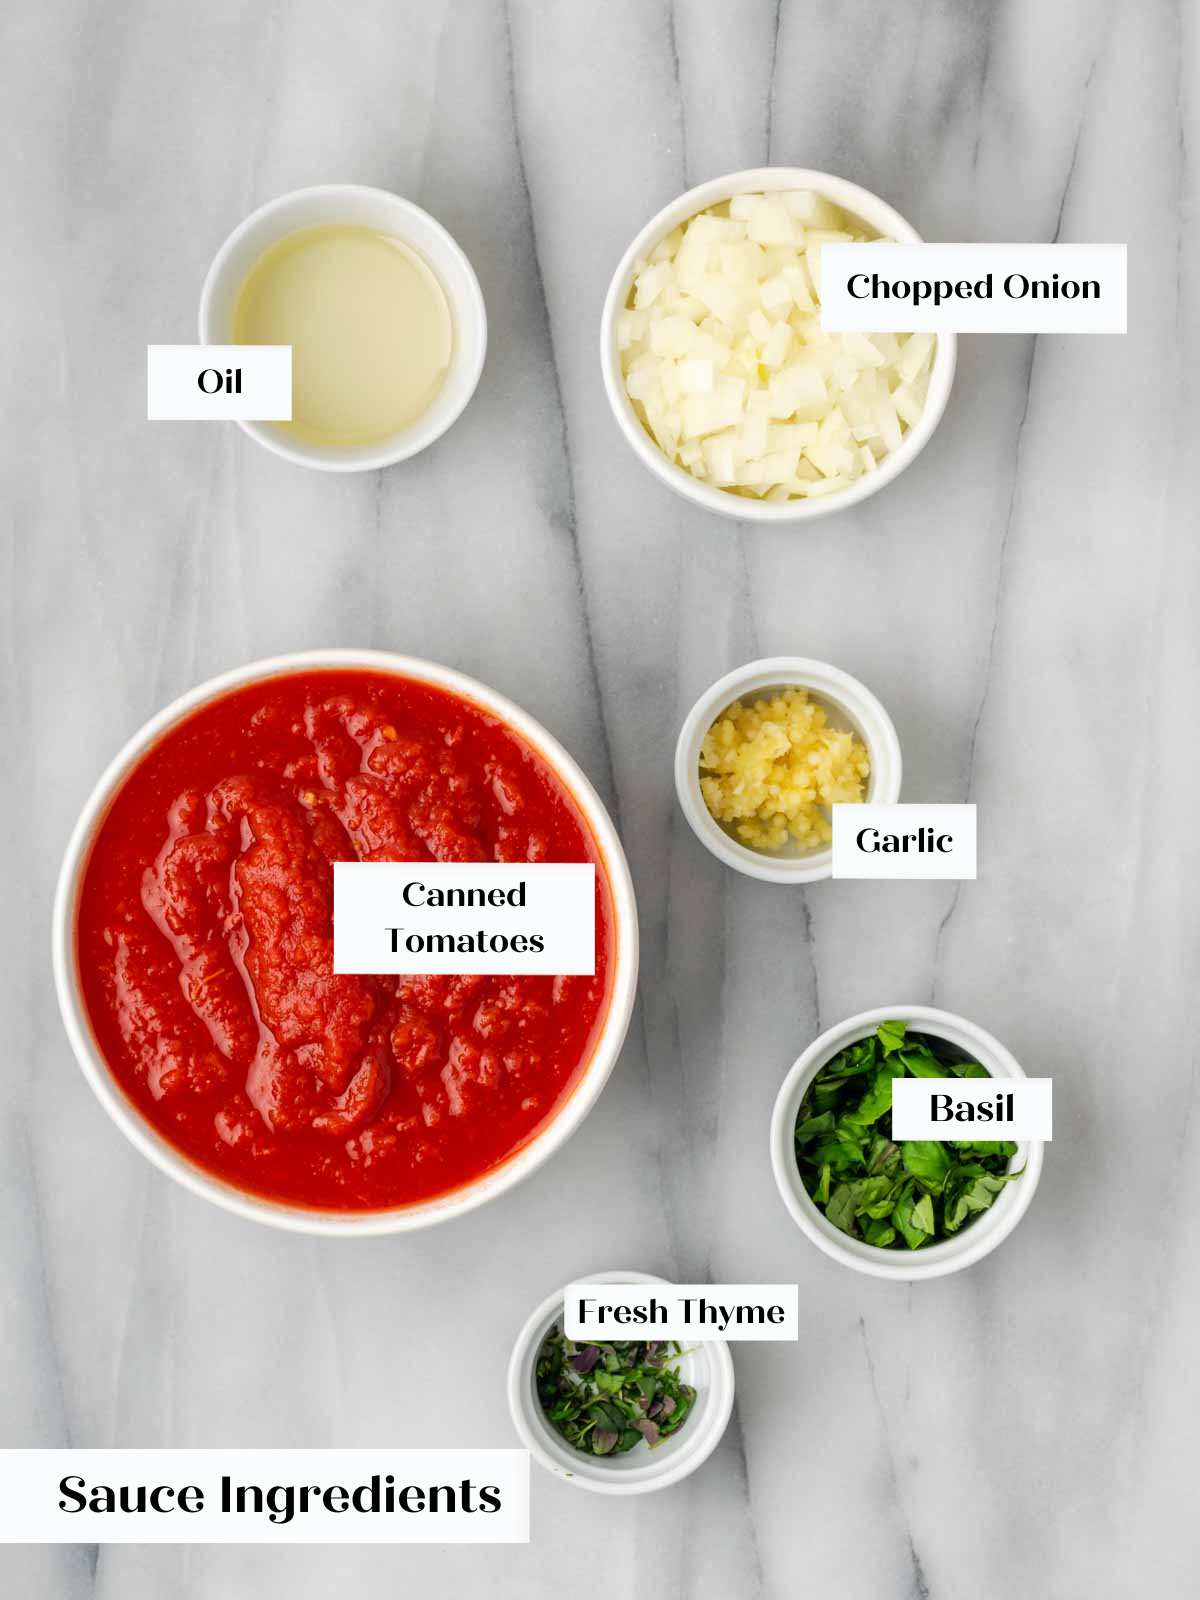
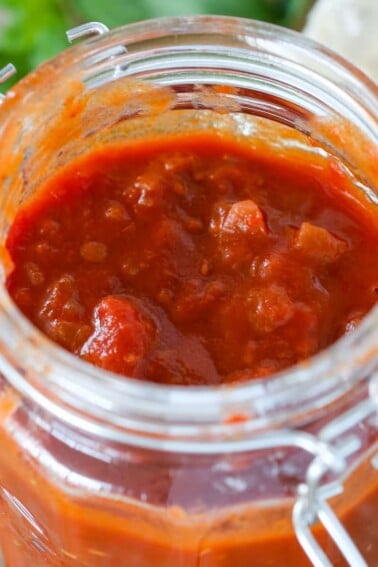
- Fresh, fast sauce. A simple tomato sauce tastes brighter and cleaner than most jarred options.
- Make-ahead friendly. These shells assemble, freeze, and reheat beautifully. Plus this recipe travels well, making it ideal for a potluck!
Table of Contents
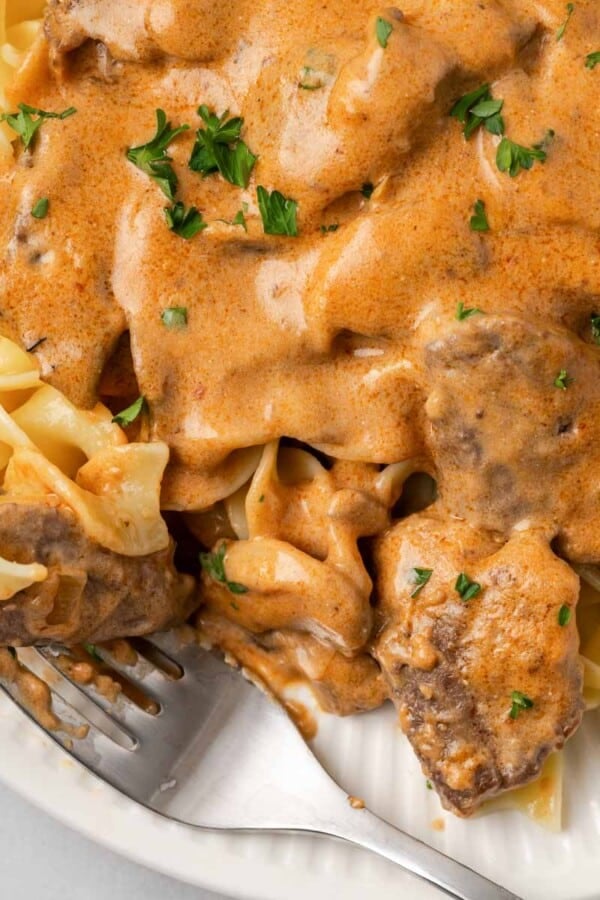
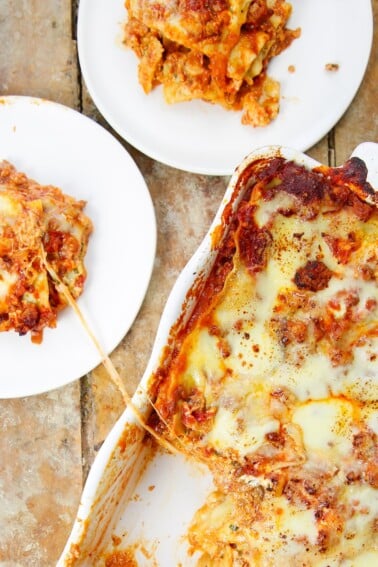
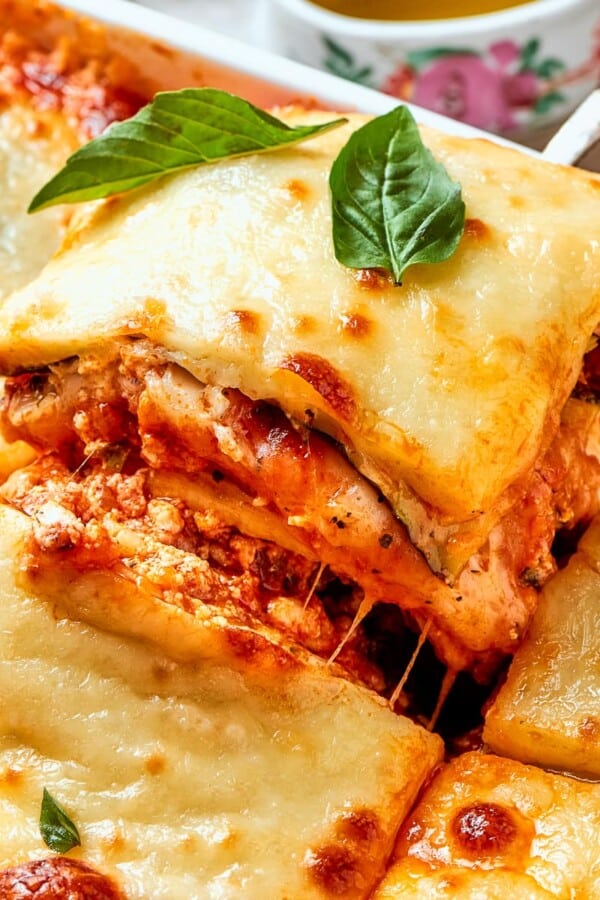
This recipe delivers the same cozy satisfaction I aim for in my healthy beef stroganoff and layered pasta dishes like vegetable lasagna and spaghetti squash lasagna! If you’re fully leaning into comfort food territory, it also scratches the same itch as my easy lasagna recipe.
Stuffed shells may look intimidating, but once you pipe the filling, they’re surprisingly efficient—and far easier than layering a full lasagna.
Ingredients & Substitutions
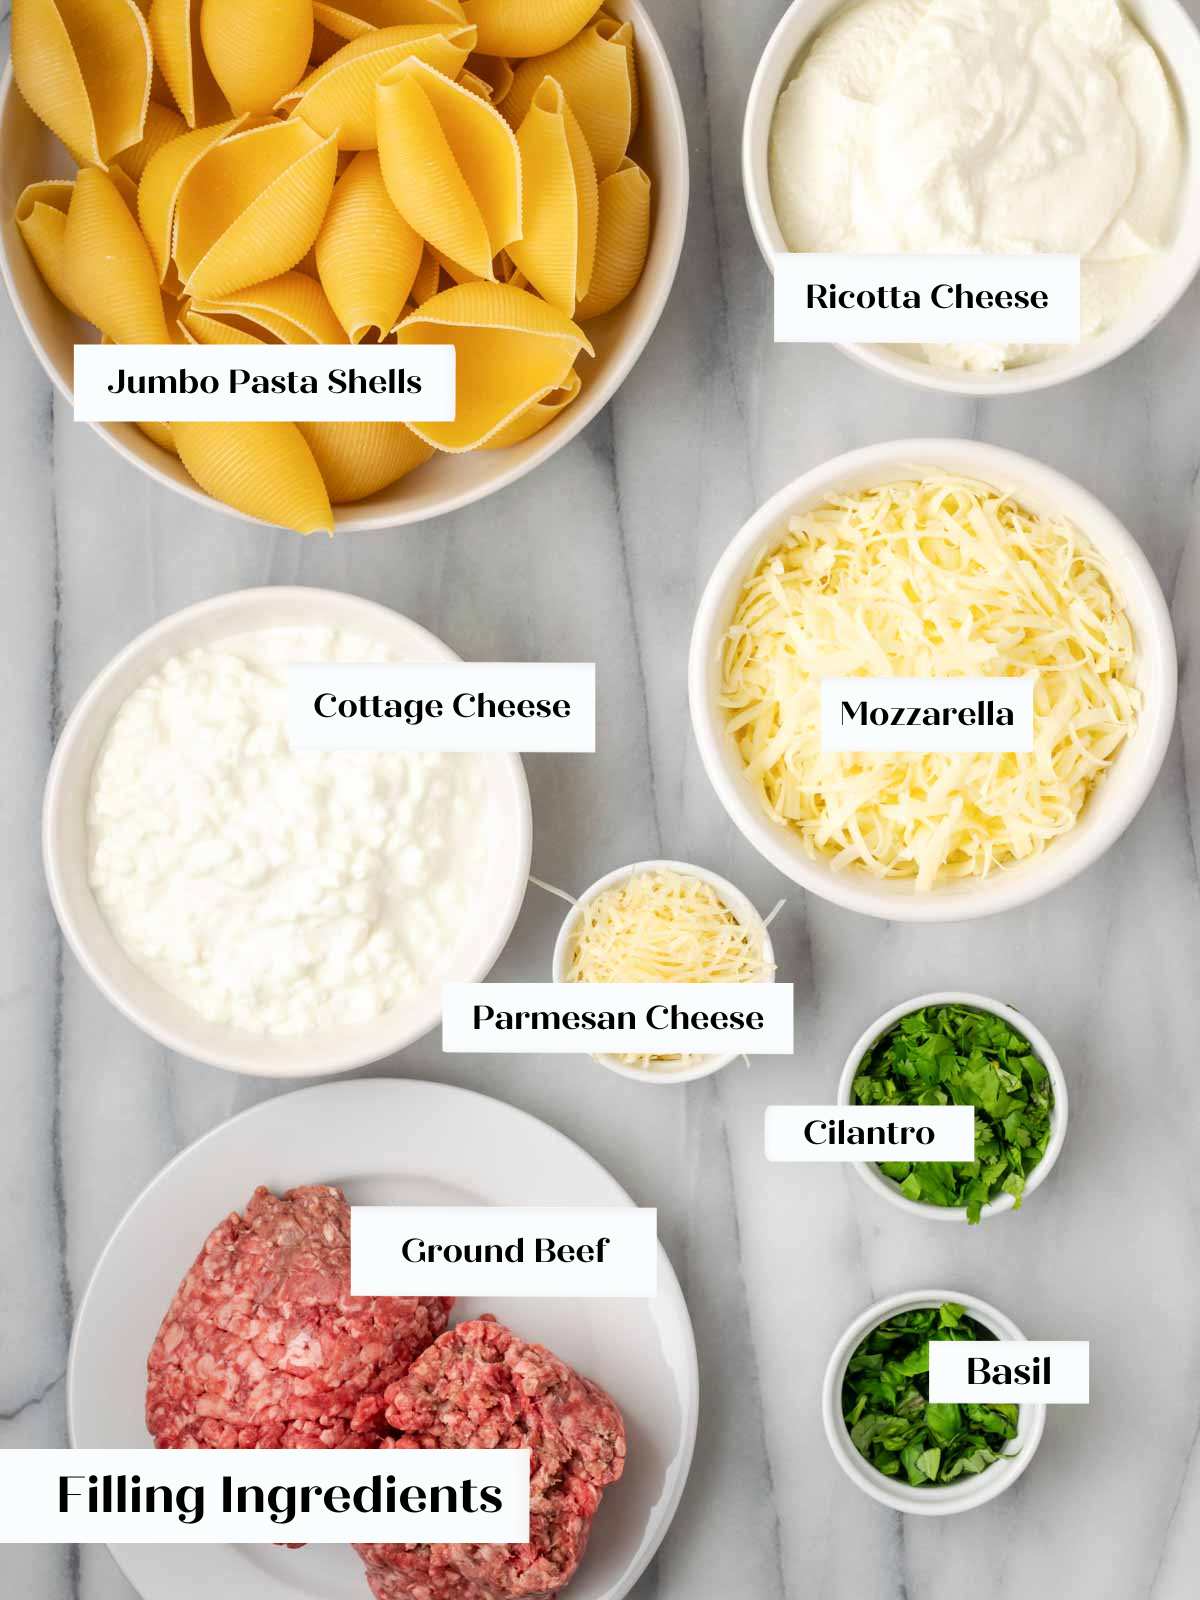
- Jumbo pasta shells: Jumbo shells hold the filling well and bake evenly.
- Ricotta cheese: Part-skim ricotta provides structure without heaviness.
- Cottage cheese: Using 2% large-curd cottage cheese adds protein and lightness.
- Mozzarella and parmesan: Freshly shredded mozzarella melts more smoothly than pre-grated. Freshly grated Parmesan adds depth and umami. An Italian cheese blend can replace mozzarella and Parmesan.
- Fresh herbs: Cilantro, basil, and thyme brighten the rich filling and sauce. Swap cilantro for fresh parsley if preferred.
- Ground beef: I prefer 96% lean for clean flavor and minimal grease.
- San Marzano tomatoes: Essential for quick sauces—naturally sweet and balanced.
See the recipe card below for full ingredients and quantities.
Variations on Stuffed Shells with Ground Beef
- Change the protein. Ground turkey or ground chicken work well, or add sausage similar to what I use in my Italian sausage soup for a bolder flavor.
- Add other vegetables. If you add spinach or other vegetables, binding the filling with one large egg can help it set more firmly.
- Use a different sauce. Try my easy pasta sauce recipe, homemade tomato pasta sauce, or red wine pasta sauce depending on how bright you want it! A touch of dried oregano deepens the tomato flavor.
- Go semi-homemade. A high-quality jarred marinara works in a pinch—just taste and adjust seasoning.
Professional Tips
- Undercook the shells slightly. This prevents tearing and keeps them tender after baking.
- Blend for ultra-smooth filling. An immersion blender creates a more cohesive texture.
- Pack shells snugly. Tightly packed shells bake more evenly and stay creamier.
- Freeze without sauce. Add sauce just before baking for best texture.
How to Make Stuffed Shells with Meat
Step 1: Cook shells gently. Cook 30 jumbo pasta shells in a large pot of water according to package directions, reducing the cooking time by 2 minutes so they are just under al dente. Drain in a colander, rinse twice with cold water to stop cooking, and set aside.
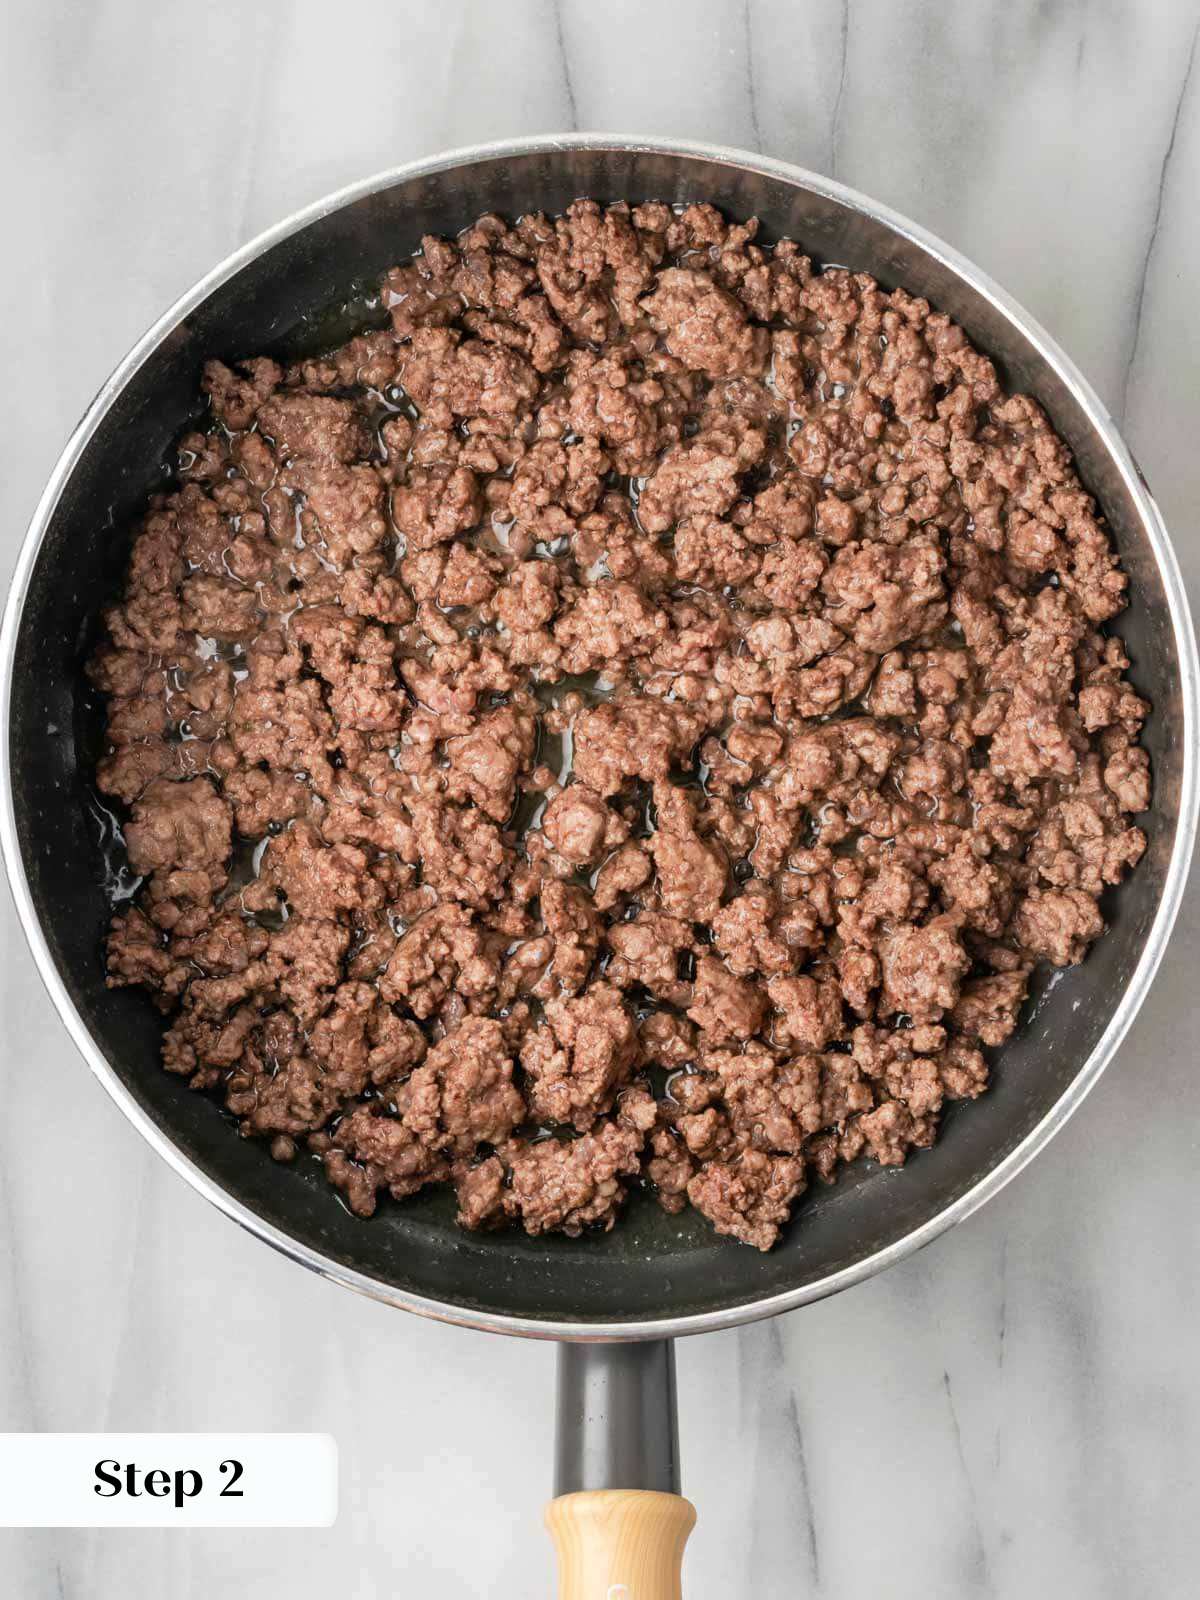
Step 2: Brown the beef. Brown the ground beef in a large skillet until fully cooked. Transfer to a paper towel–lined bowl and set aside.
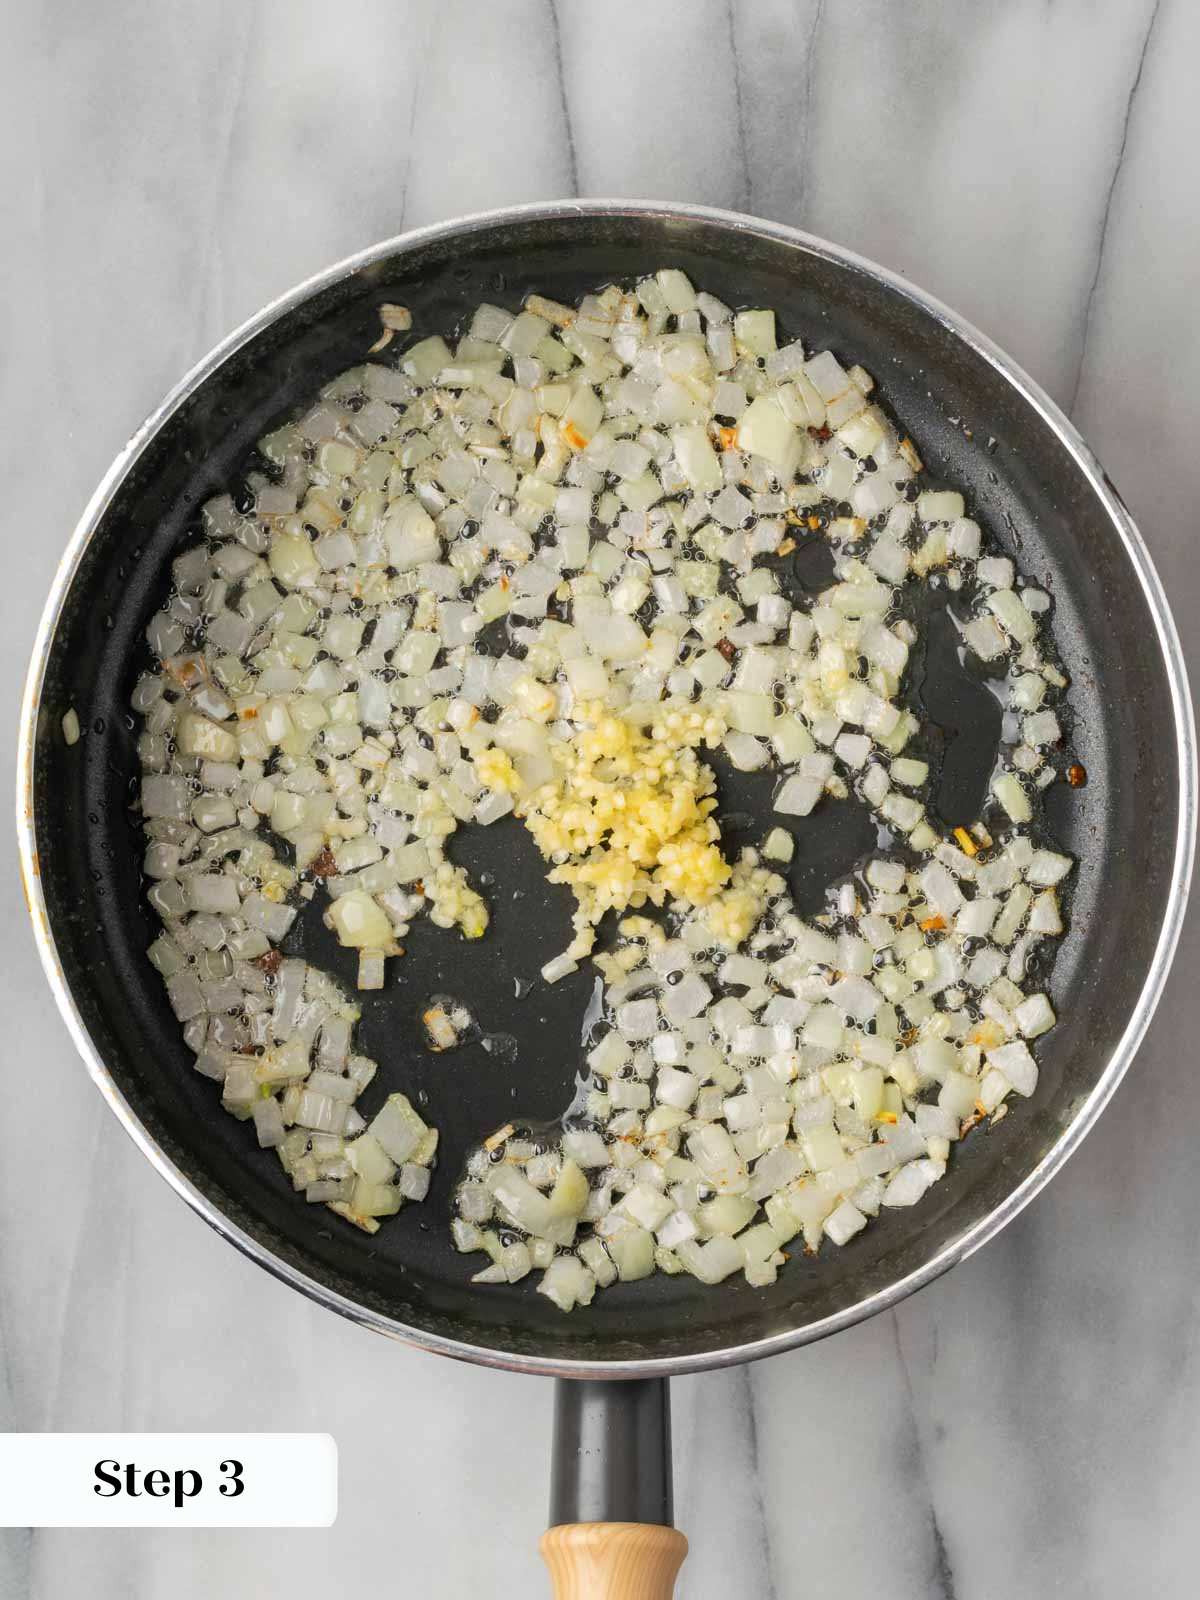
Step 3: Sauté aromatics. Heat olive oil in the pan. Add onions and sauté over medium-high heat until they begin releasing their juices. Add garlic and cook until the onions are translucent, reducing heat as needed to avoid burning.
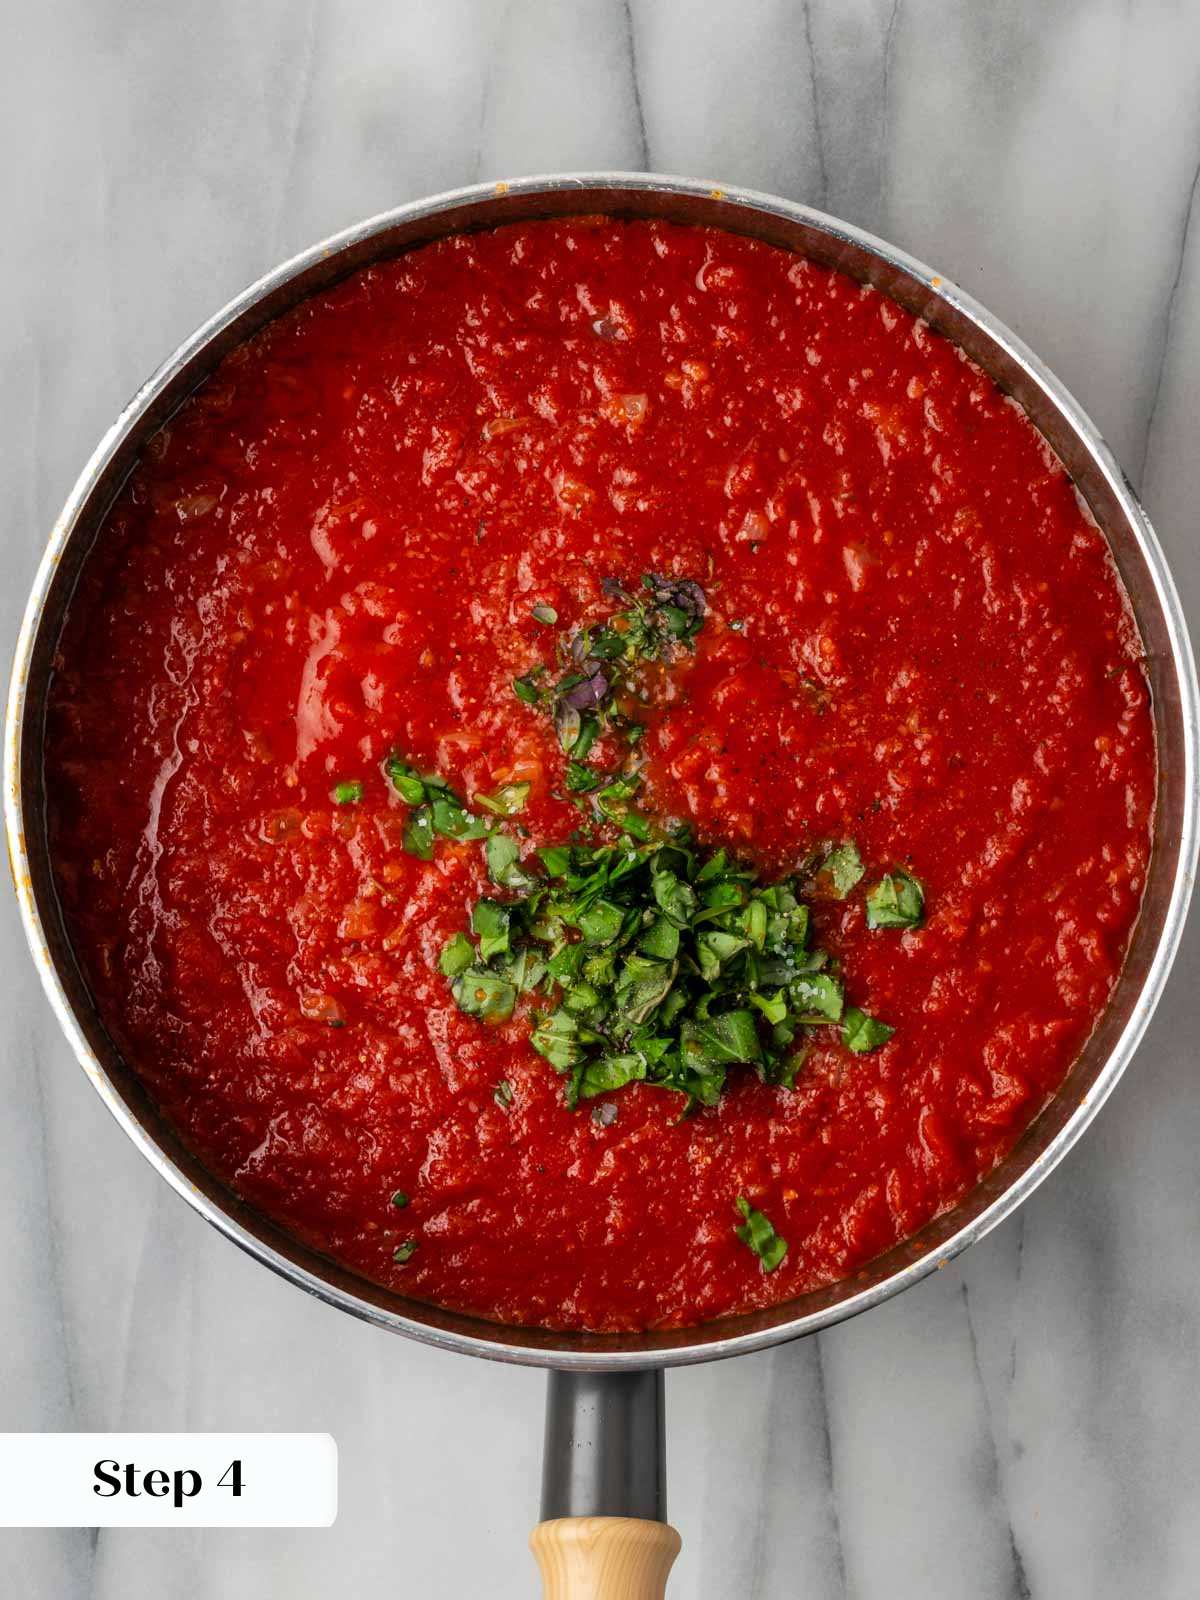
Step 4: Build the sauce. Add tomatoes to the pan and stir to combine. Stir in basil, thyme, kosher salt, and black pepper.
Step 5: Simmer gently. Bring the sauce to a boil, then reduce to a low simmer. Taste and adjust seasoning as needed.
Step 6: Prepare baking dish. Spread a thin layer of sauce in the bottom of a large baking dish.
Step 7: Preheat the oven. Preheat the oven to 350°F with a rack in the middle.
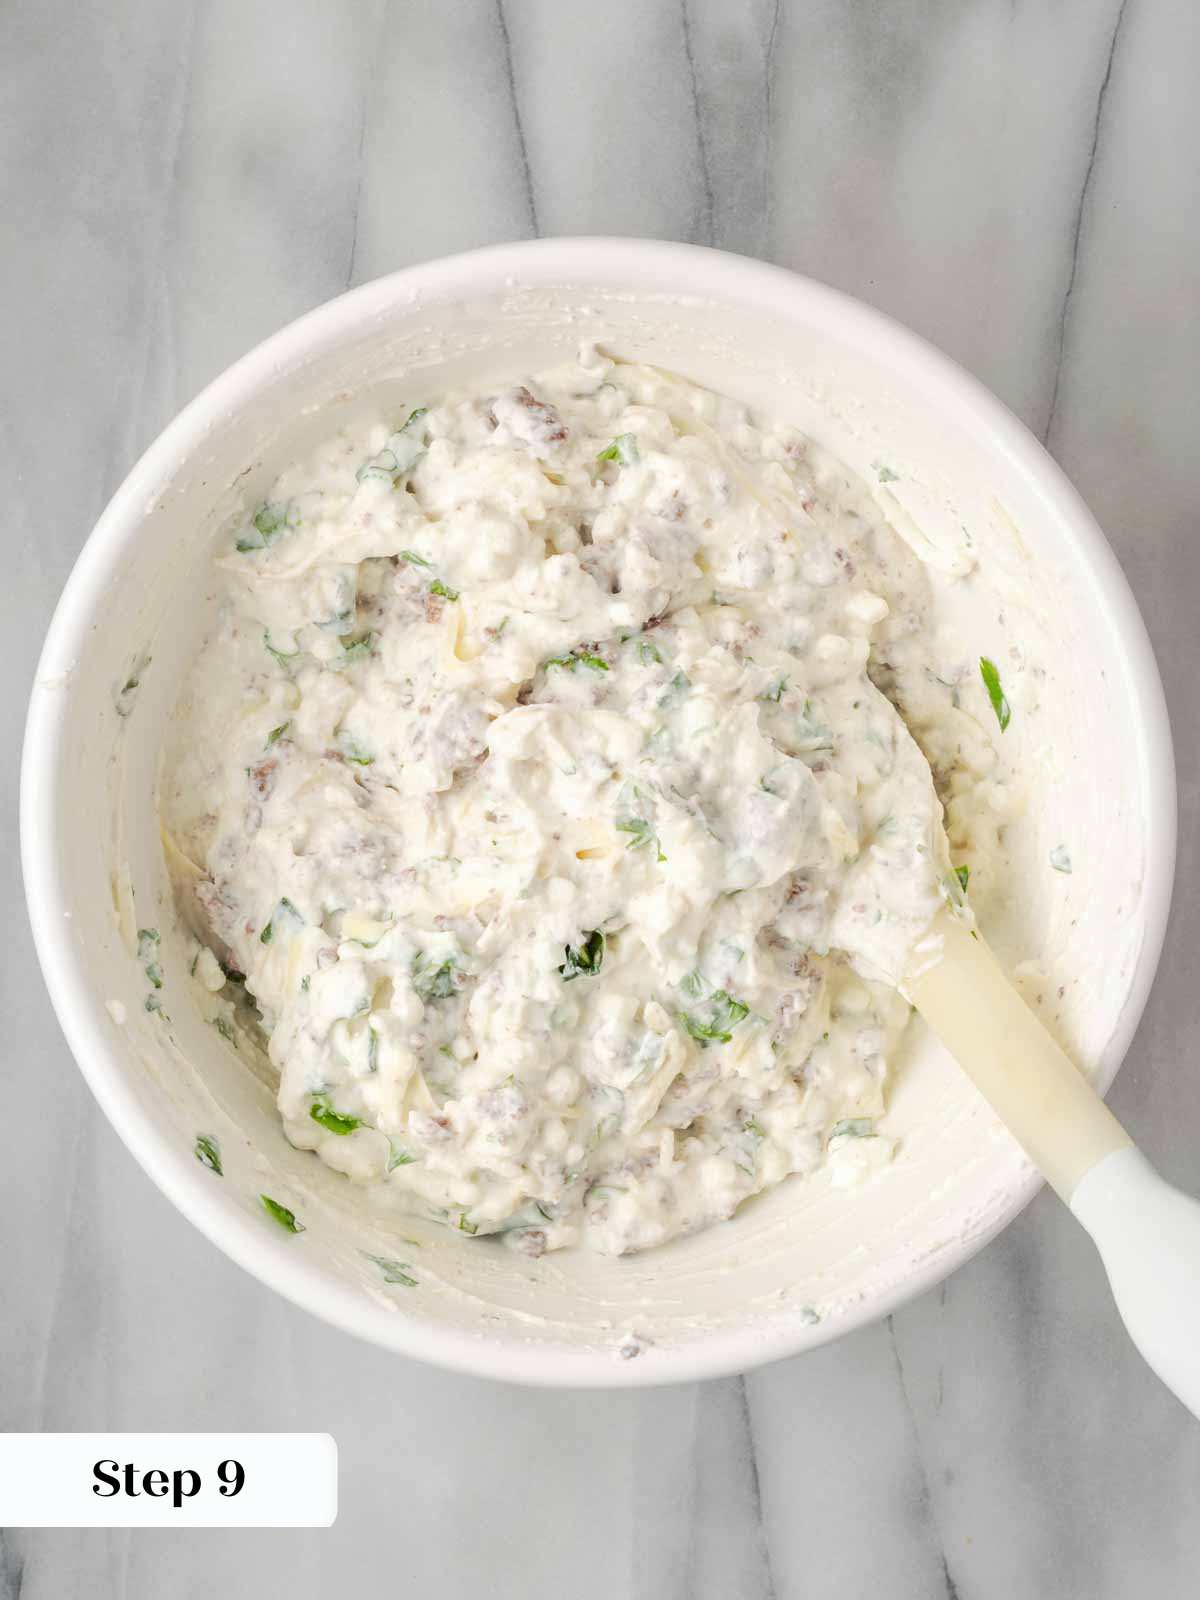
Step 8: Mix the filling. In a large bowl, combine ricotta and cottage cheese. Blend the ricotta mixture until smooth if desired.
Step 9: Add filling ingredients. Stir in ½ cup mozzarella, Parmesan, cilantro, basil, and cooked beef. Transfer to a gallon plastic bag and cut a nickel-sized hole in one corner.
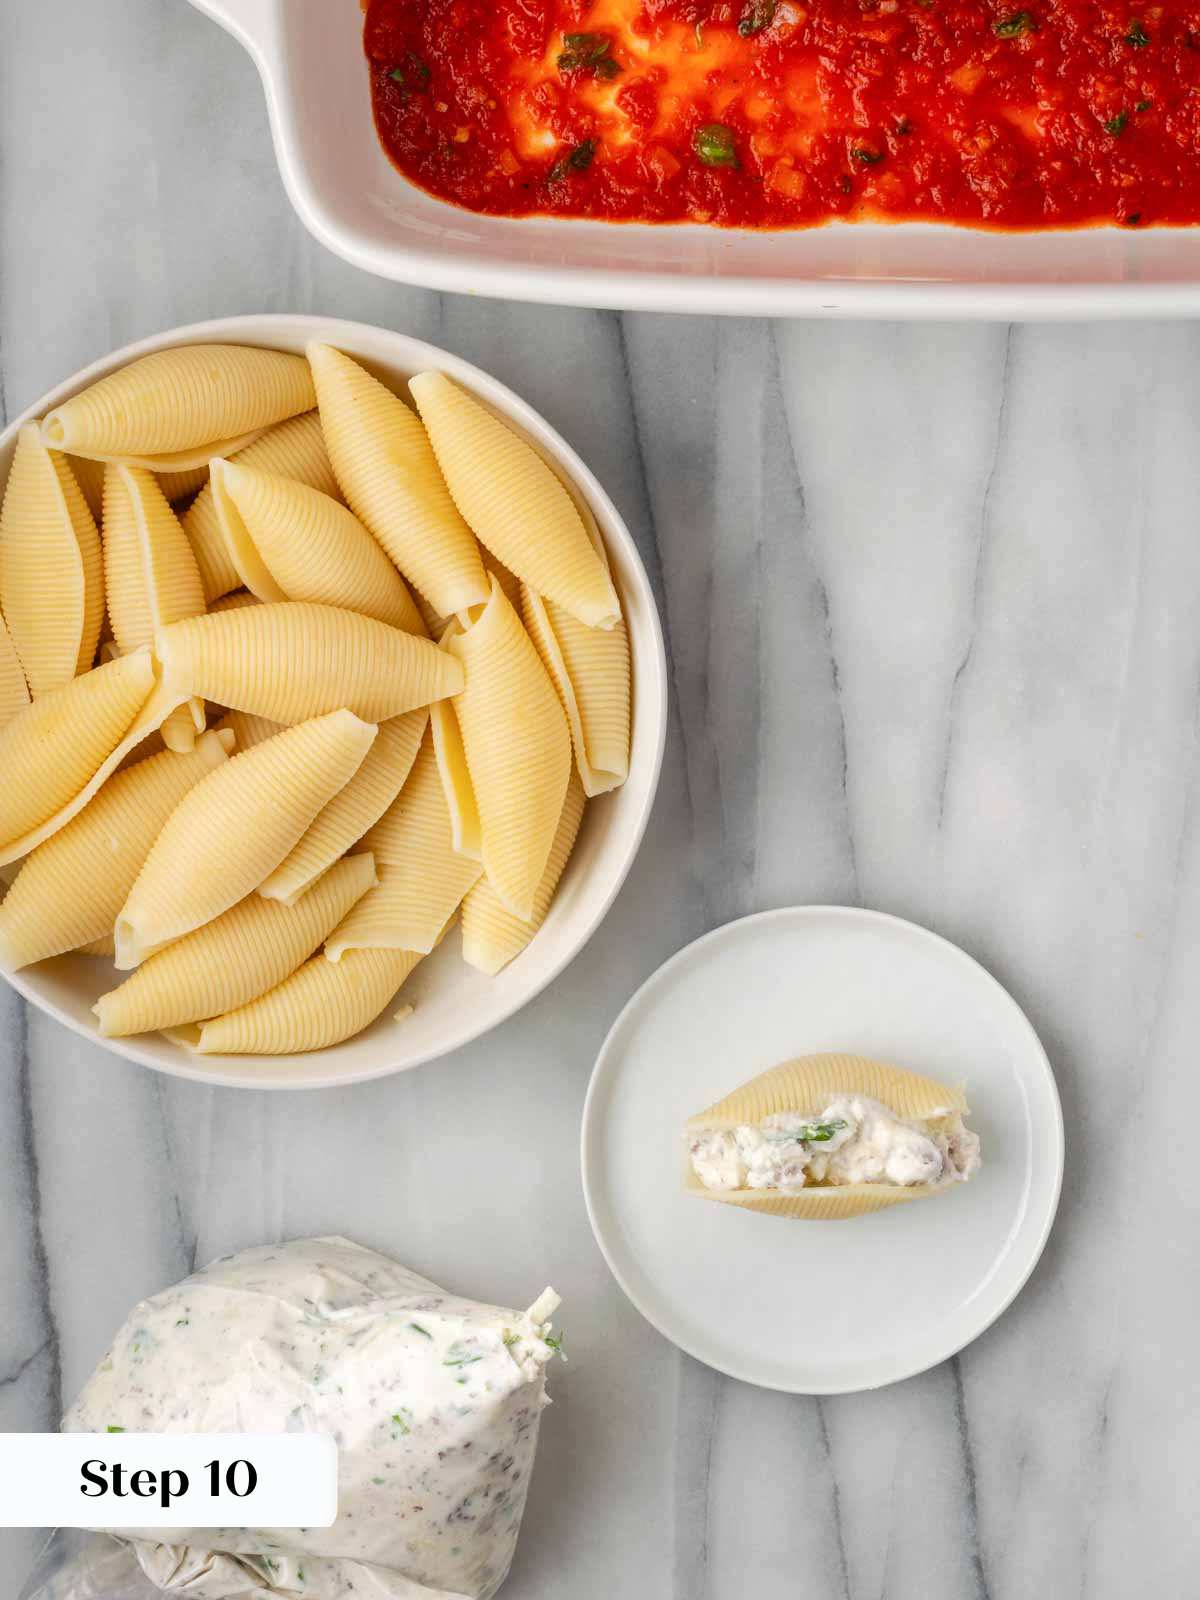

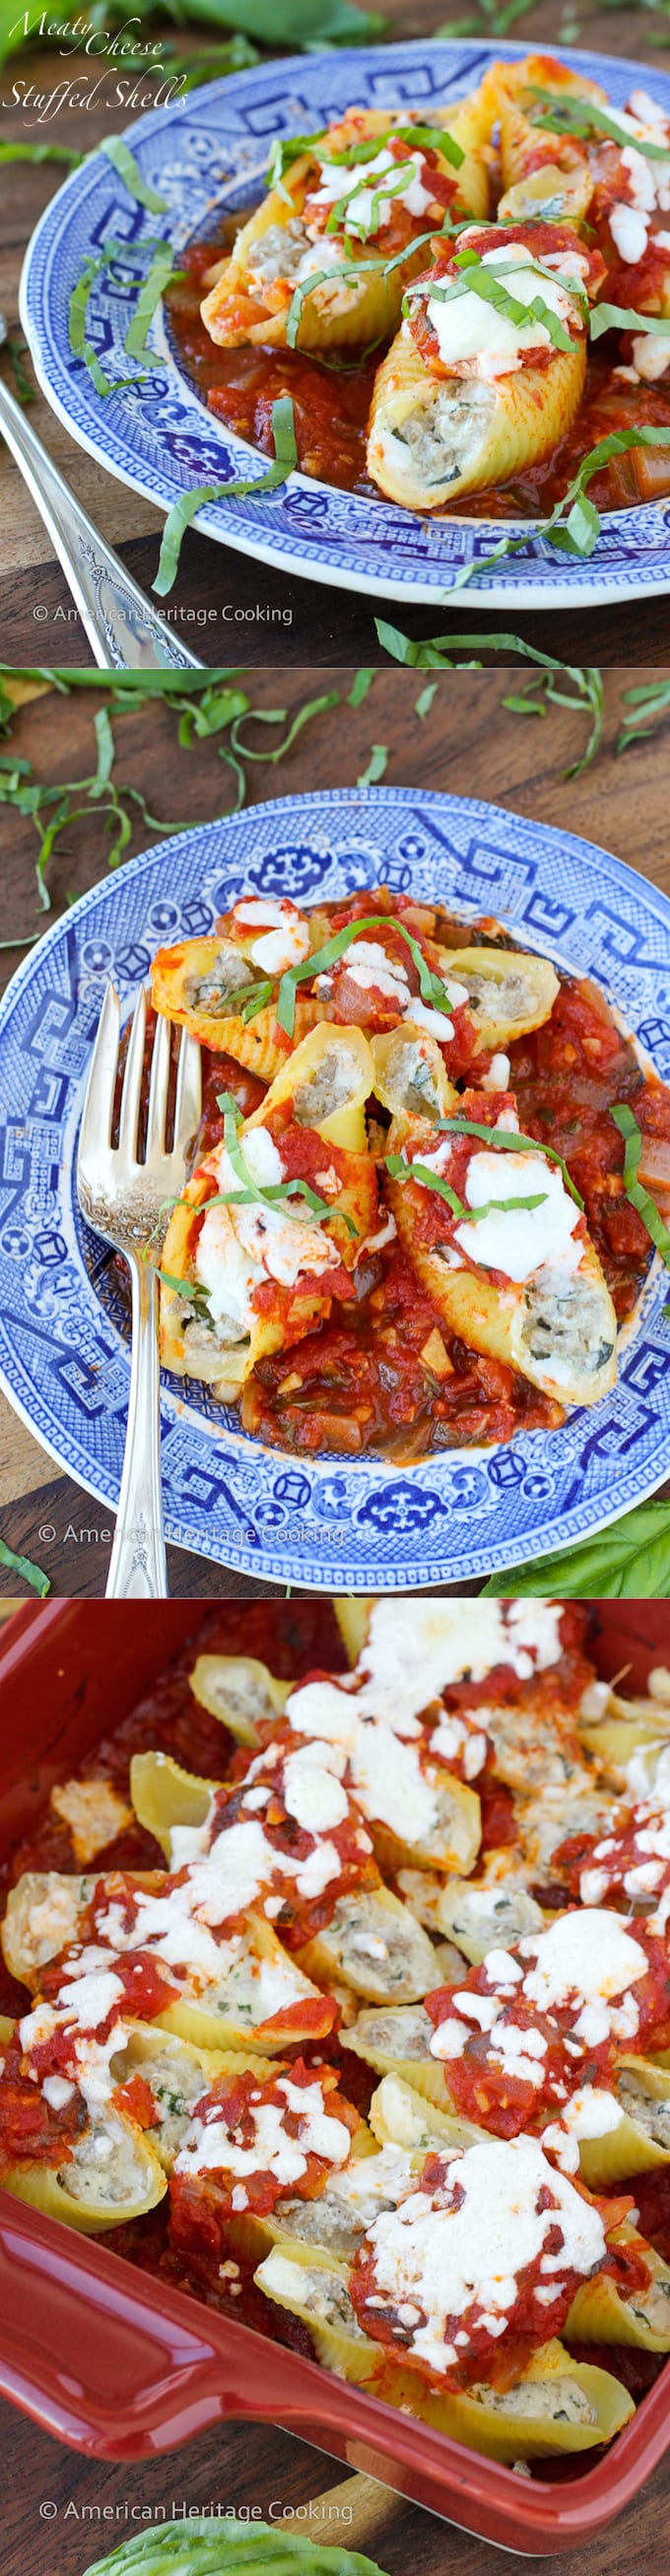
Step 10: Fill the shells. Pipe filling into each shell, starting at one end and filling completely. Nestle shells tightly in the baking dish with filling facing up.
Open the cooked shells gently before filling.
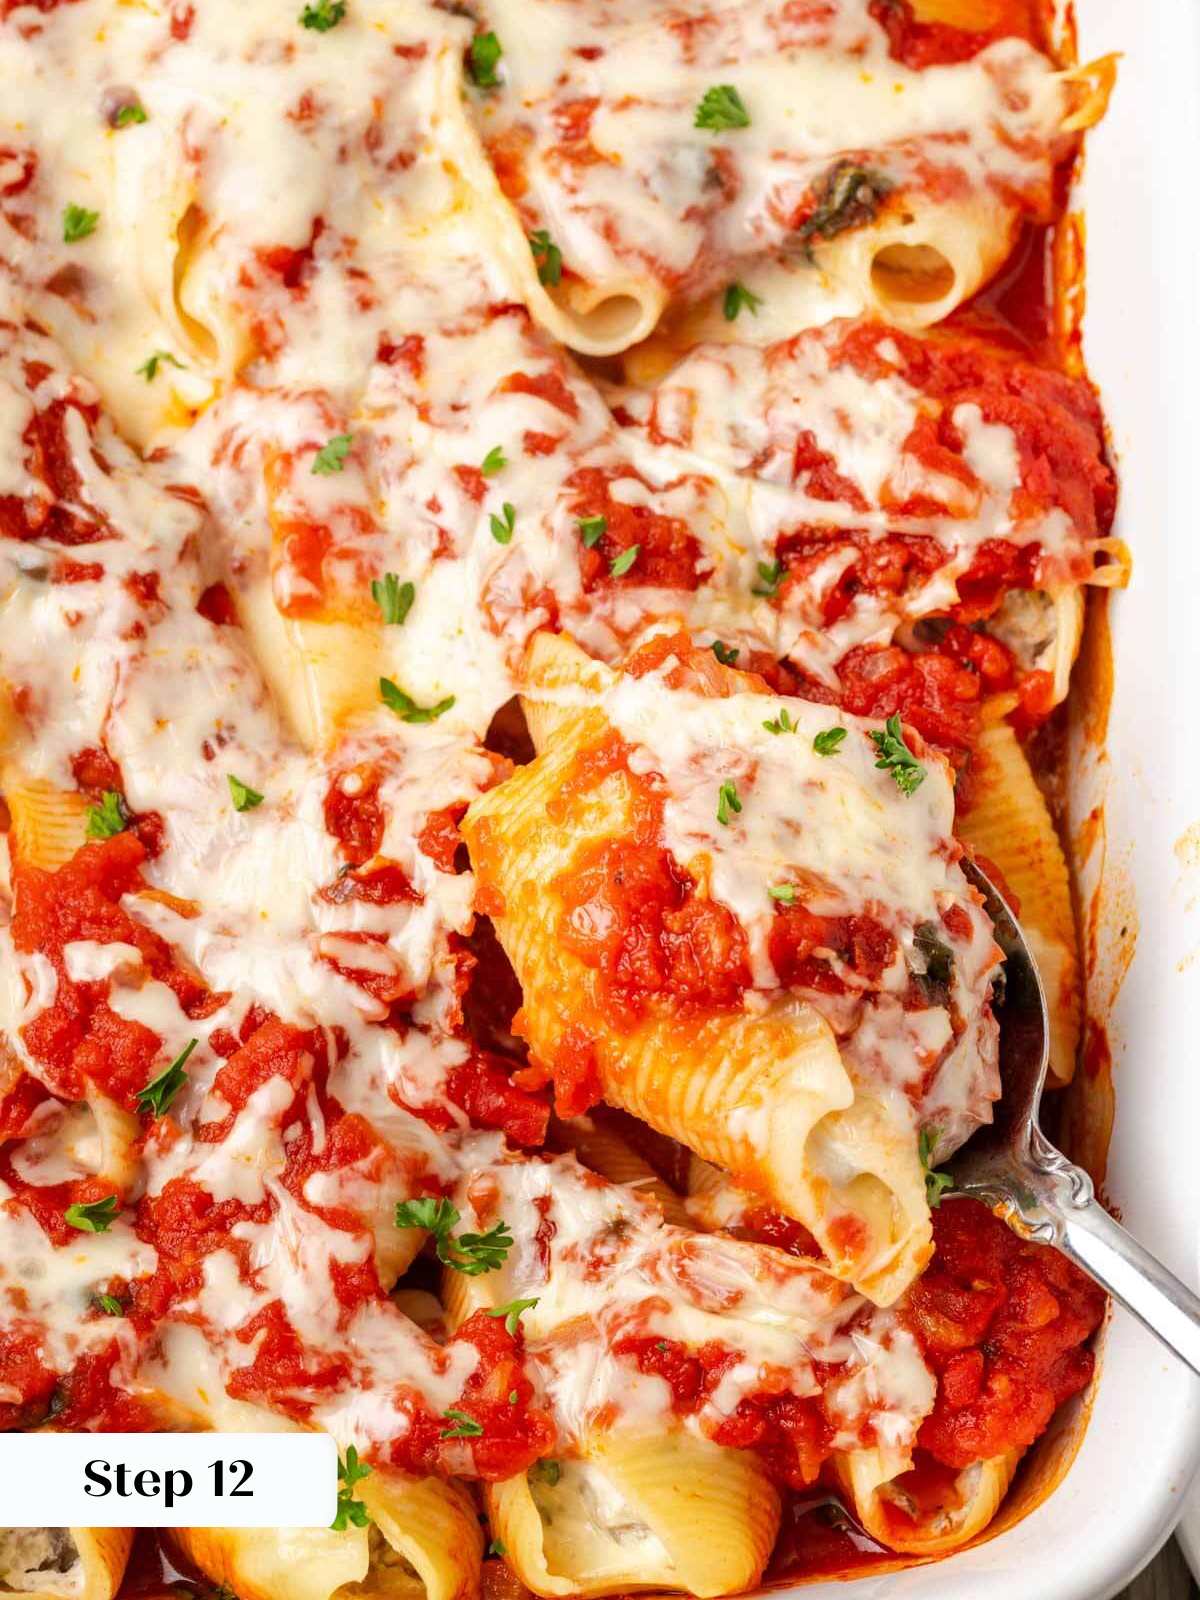
Step 11: Bake until bubbly. Spoon sauce over the shells, top with remaining mozzarella, cover with aluminum foil, and bake in the preheated oven for 30 minutes. Uncover and continue baking until the filling is bubbling and the cheese is melted.
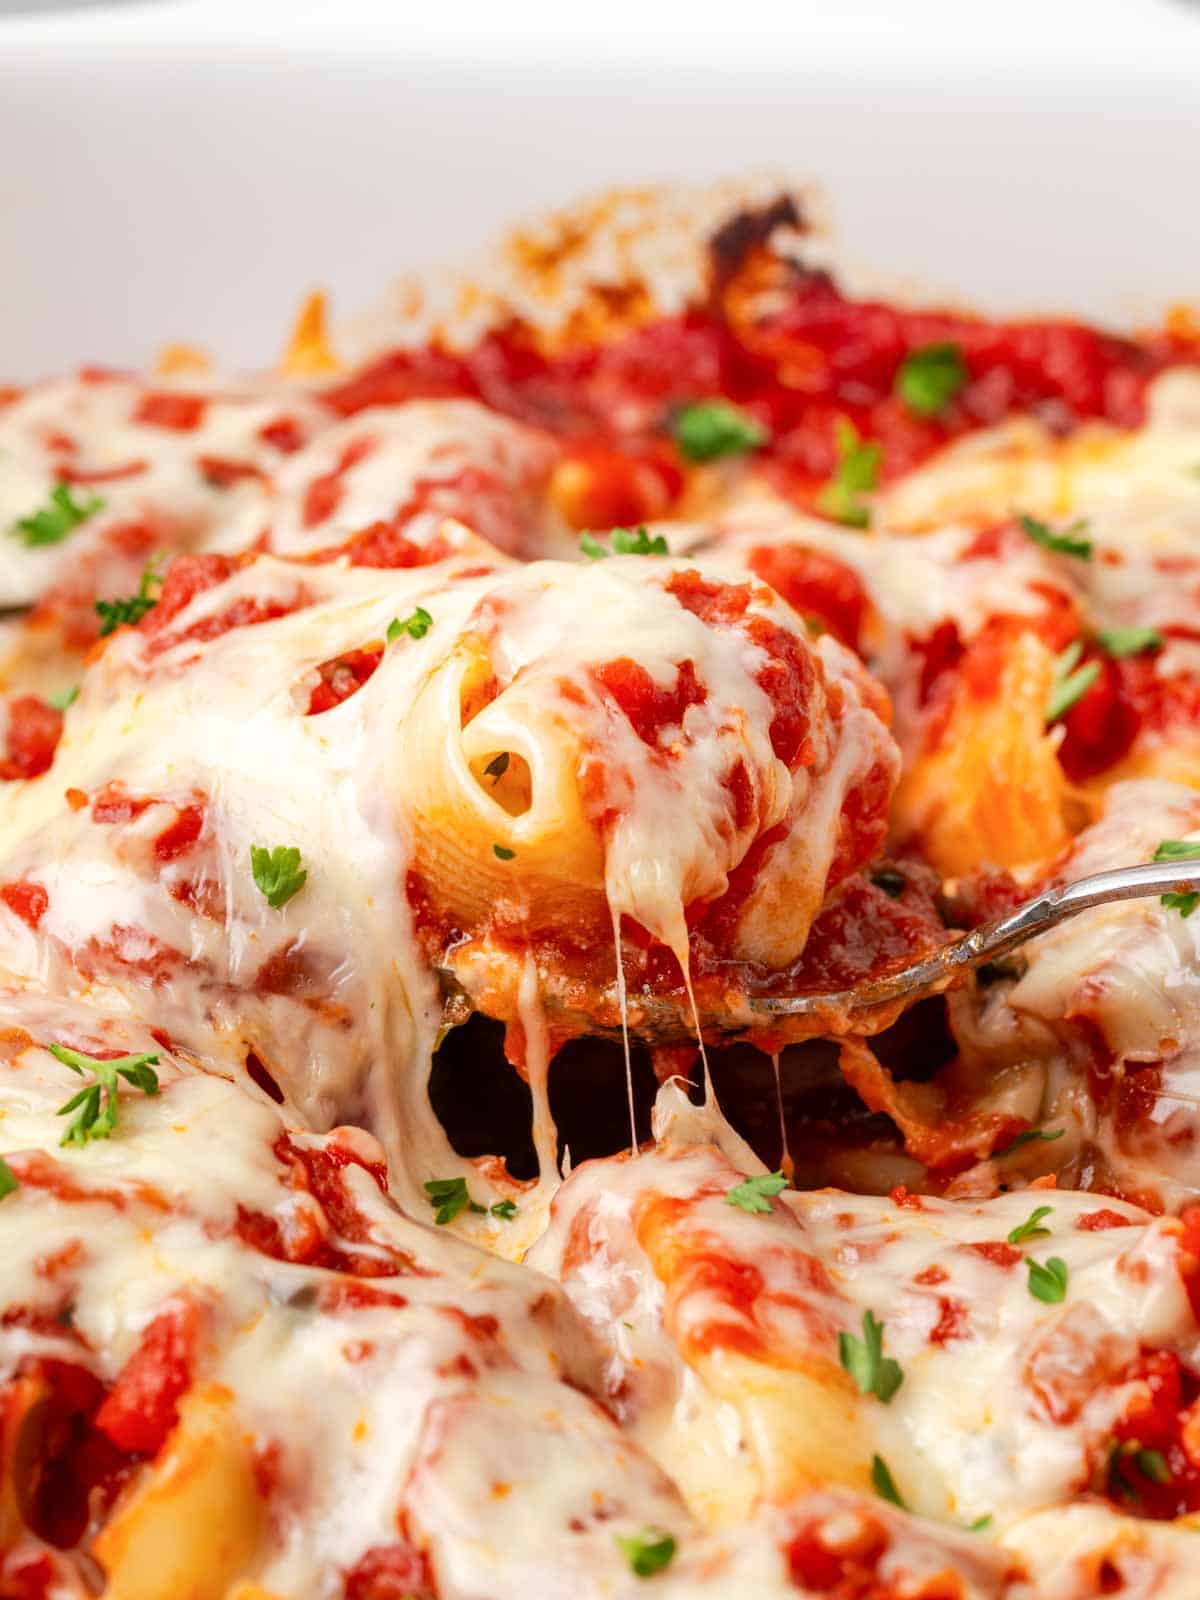
Step 12: Serve and enjoy.
These pair beautifully with healthy kale and cabbage slaw salad, rosemary lemon roasted cauliflower, or roasted acorn squash slices. Serve with a crisp caesar salad for balance!
Chef Lindsey’s Recipe Tip
Always cook a few extra shells. Some will tear during filling, and having backups makes the process stress-free.
Recipe FAQs
Yes, jumbo shells must be cooked before stuffing them with meat. For stuffed shells with meat, the shells should be boiled until just under al dente so they finish cooking in the oven without becoming mushy.
Stuffed shells with meat can become runny if the filling contains too much moisture or if the shells are overcooked. Using part-skim ricotta, draining cottage cheese if needed, and undercooking the shells slightly helps prevent excess liquid.
Store leftovers in the refrigerator in an airtight container for 3–5 days. Freeze filled shells without sauce for up to 3 months. Add sauce and cheese before baking.
Recommended Dinner Recipes
Beef Recipes
Easy Beef Stroganoff
Beef Recipes
Easy Lasagna Recipe
Date Night
Red Wine Pasta Sauce
Summer Dinner Recipes
Zucchini Lasagna
If you tried this recipe and loved it please leave a 🌟 star rating and let me know how it goes in the comments below. I love hearing from you; your comments make my day!
Stuffed Shells with Meat
Ingredients
For the Stuffed Shells:
- 30 jumbo pasta shells
- 2 cups part skim ricotta cheese
- 1 ½ cups 2% cottage cheese large curd
- 1 ½ cup fresh mozzarella cheese shredded and divided [1 cup is for the topping]
- ¼ cup Parmesan cheese freshly grated
- ¼ cup fresh cilantro chopped
- ¼ cup fresh basil chopped & packed into the measuring cup
- ¾ pound ground beef I used 96% lean
For the Quick Sauce:
- 2 tablespoons olive oil
- ½ cups yellow onions chopped [More if you wish. I used almost a full cup]
- 3 cloves garlic minced
- 28 oz San Marzano tomatoes crushed or whole and you can crush them in the pan
- ¼ cup fresh basil chopped
- 1 teaspoon fresh thyme chopped
- kosher salt to taste
- pepper to taste
Instructions
- Cook pasta shells according to package directions, reducing the cooking time by 2 minutes. Drain, rinse with cold water, and set aside.
- Brown the ground beef fully. Transfer to a paper towel–lined bowl.
- Heat olive oil in a pan. Sauté onions until softened, then add garlic and cook until fragrant.
- Add tomatoes, basil, thyme, salt, and pepper. Stir to combine.
- Bring to a boil, then reduce to a low simmer until ready to use.
- Spread a thin layer of sauce in the bottom of a baking dish.
- Preheat the oven to 350°F.
- Combine ricotta and cottage cheese until smooth.
- Stir in ½ cup mozzarella, Parmesan, herbs, and cooked beef. Transfer to a piping bag.
- Fill each shell and arrange snugly in the baking dish.
- Top with sauce and remaining mozzarella. Bake covered for 30 minutes, then uncover until bubbly and melted.
- Serve warm.
Notes
- Flavor Tips: Fresh herbs and freshly grated cheese make a noticeable difference.
- Technique: Cook a few extra shells in case some tear.
- Storage: Refrigerate leftovers for up to 5 days or freeze for up to 3 months.
Nutrition
Before You Go
I hope you enjoyed this cozy, chef-tested pasta dinner. Be sure to explore my full collection of dinner recipes or try something lighter next, like my lemon chicken recipe or strawberry spinach salad!


I loved the tip about undercooking the shells slightly—mine filled easily and didn’t tear. The step-by-step photos made piping the filling feel approachable, and freezing half for later was a huge win. Thanks, Chef!
These are the best stuff shells! My husband has been craving stuffed shells for a while, and I kept pushing it off because it seemed like too much work. But your recipe made it easy, and they are so delicious. I love that you added cottage cheese for extra protein.
Oh, girl…I’m dying for this wicked pasta dish right now! (Haven’t eaten dinner yet and wishing there were a frozen portion for me!) We do the same thing with baked ziti…stick some in the freezer to enjoy as a treat later. Your recipe looks divine and I like that you link over to sauce choices. Thanks for sharing, my friend. Have a wonderful Friday and weekend!
50 shells too many for 2 people? Maybe… but I take that as a challenge. #stuffedshelleatingcontest
Lol! Let’s just say you win! 🙂
Stuffed shells are my favorite! Love that you used cottage cheese. I like it so much better than ricotta.
I’m shocked you don’t like ricotta! I love ricotta and have been known to eat it with a spoon! For shame!
These are pretty stuffed shells..and yes, I love, love the idea of cheese and meat all together in a bite…beautiful Lindsey!
Hope you are enjoying your week 🙂
Thanks, Juliana! You too!
This is looking awesome Lindsey, Love stuffed shells. need to try your recipe the next time.
Thanks, Ella! They really are!