This post may contain affiliate links. Please read our disclosure policy.
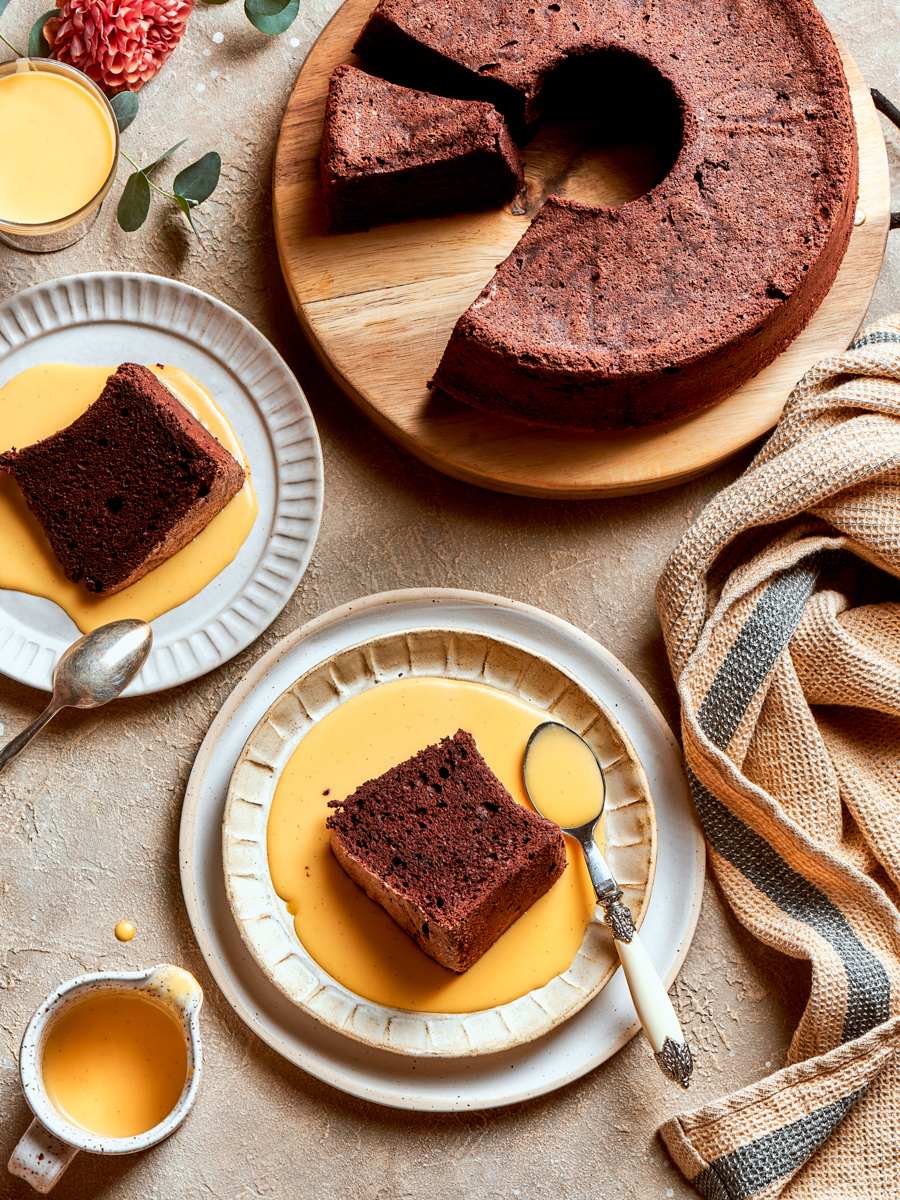
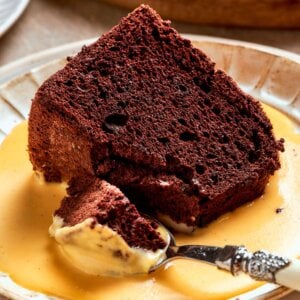
Chocolate angel food cake with genuine depth of flavor: this version uses a carefully balanced meringue and measured cocoa ratio to produce a tall, spongy crumb that is light and tastes deeply of chocolate.
A Quick Look At The Recipe
This is a brief summary of the recipe. Jump to the recipe to get the full details.
Jump to RecipePrep Time
30 minutes
Cook Time
30 minutes
Cooling / Rest Time
2 hours
Total Time
3 hours
Servings
12 slices
Difficulty
Intermediate — requires proper meringue technique and careful folding to maintain volume.
Calories *
443 kcal per serving
Technique
Meringue-based method with sifted dry ingredients folded in stages for a tall, airy, deeply chocolatey crumb.
Flavor Profile
Deep cocoa, balanced sweetness, hint of coffee, subtle vanilla.
* Based on nutrition panel
I was nervous about the folding step, but the instruction to add the dry ingredients in thirds made it so manageable. The cake rose beautifully and the crumb was genuinely light with real chocolate flavor. Served it with crème anglaise and it disappeared within the hour. ⭐⭐⭐⭐⭐
Tish
Why This Recipe Works
- Deep chocolate flavor with a light crumb. Substituting cocoa powder for part of the flour and powdered sugar delivers real chocolate flavor without weighing down the meringue.
- Precisely tuned supporting flavors. Tripling the salt and adding coffee extract from my angel food cake round out the cocoa and amplify its depth in ways one ingredient alone cannot. Together they make the chocolate taste more fully like chocolate.
- Perfect pairing. I developed this cake to pair with vanilla bean crème anglaise, and the balance of bittersweet cocoa against a cool vanilla custard sauce makes both components better. If you need a quick alternative, gently melted vanilla bean ice cream works just as well.
Table of Contents
This chocolate angel food cake came together in the first test batch, which almost never happens! Converting my classic formula took careful math—swapping some flour and powdered sugar for cocoa, recalibrating the salt, and adding coffee extract—but the ratios landed exactly right.
For more perfect chocolate cakes, check out this chocolate cherry cake and this German chocolate cake! Want chocolate but not a cake? I have all you need here with these Easy Chocolate Desserts!
Ingredients & Substitutions
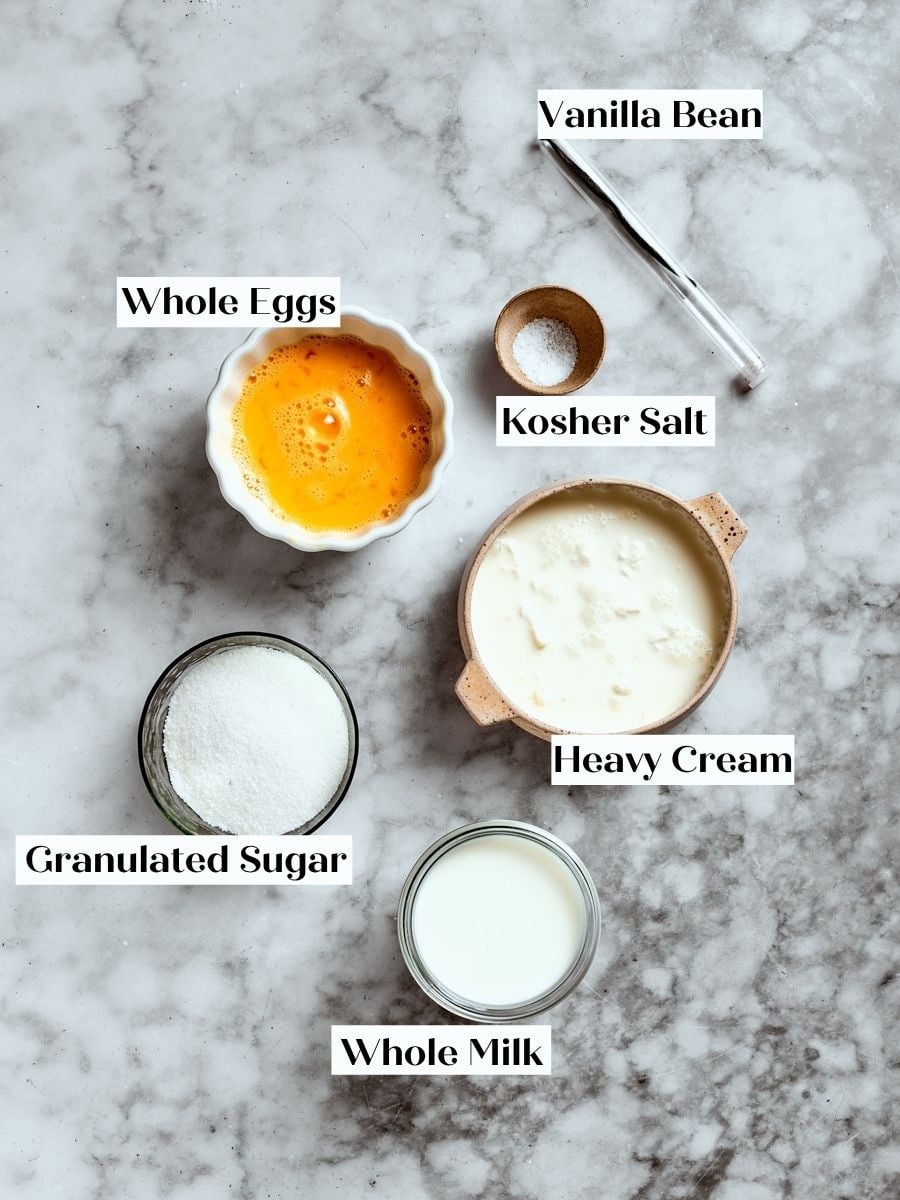
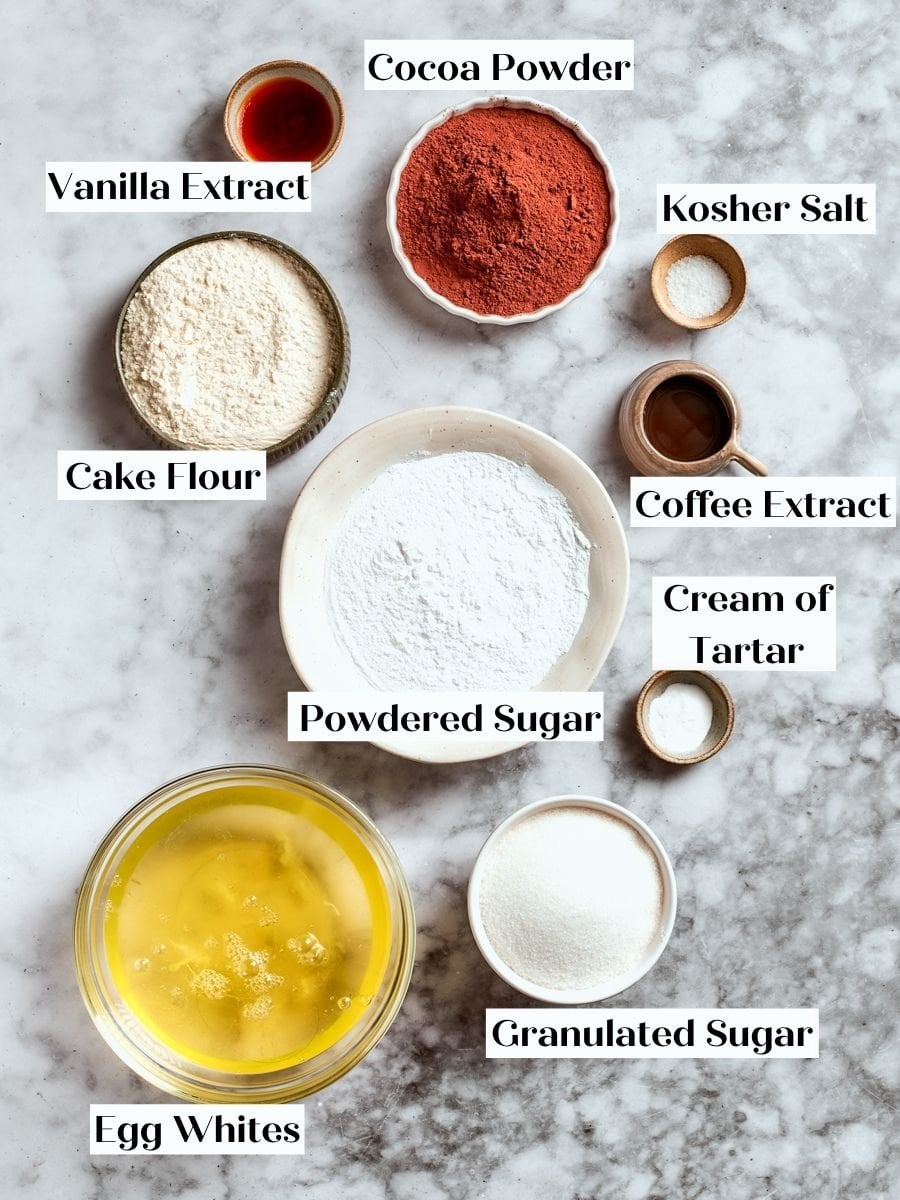
- Cake Flour: Cake flour’s lower protein content limits gluten development so the meringue can lift the batter tall and set into a spongy, open crumb. Bleached cake flour will give you the best rise!
- Cocoa Powder: Cocoa adds deep chocolate intensity without introducing fat or weight from solid chocolate, which would compromise the delicate structure the egg whites provide.
- Egg Whites: Egg whites are the structural backbone of this cake. Whipped, they create the foam that gives the cake height; baked, their proteins set into a stable, spongy crumb.
- Cream of Tartar: This mild acid stabilizes the egg white foam so it whips to glossy, stiff peaks and holds that structure in the oven. It also reduces the risk of overbeaten, dry whites that would collapse during folding.
- Coffee Extract: A small amount of coffee extract amplifies the chocolate flavor by adding roasted, bitter notes that make the cocoa taste richer and deeper. At half a teaspoon, you won’t detect coffee, which I love. If you want to understand how cocoa behaves differently in butter-based cakes, my Easy Moist Chocolate Cake is a good comparison point.
- Heavy Cream and Whole Milk: Together, they form the custard base. The cream provides richness and carries the vanilla flavor; the milk lightens the mixture so it stays pourable rather than heavy.
- Vanilla Bean: Infusing a split, scraped vanilla bean in the warm dairy extracts its aromatic oils more fully than extract alone, delivering an intense, pure vanilla flavor with visible seeds throughout the finished sauce.
See the recipe card for full information on ingredients and quantities.
Variations on This Chocolate Angel Food Cake with Crème Anglaise
- Make a trifle! Make this into a trifle: layer the cake with crushed Oreos and homemade vanilla pudding, or substitute it into my berry trifle or this red velvet trifle!
- Change the serving sauce. Serve this angel food cake with salted caramel sauce, whipped cream, cherry compote, or vanilla ice cream! Really, the combinations are endless.
- Heaven on Earth cake! This is heaven on earth cake, but make it chocolate! A perfect no-bake dessert for summer, or when you just don’t want to turn on the oven.
- Pan fry the cake. Hear me out: put some butter on the cake and pan-fry it, then serve it with a scoop of vanilla ice cream!
Professional Tips
- Bring the egg whites to room temperature before whipping. Cold whites take significantly longer to reach volume, and the resulting foam can be less stable. An hour on the counter is enough — if you forget, just allow extra whipping time.
- Add granulated sugar gradually, and don’t rush the meringue. Add about 2 tablespoons at a time, with no more than 15 seconds between additions, to build a stable, glossy foam that will hold the dry ingredients without collapsing. The peaks must be stiff and shiny before you add the extracts or touch the flour-cocoa mixture.
- Do not grease the pan, and cool completely before releasing. The batter needs to grip the sides to climb and set tall; a greased pan will cause the cake to collapse during baking. Bake at 325°F convection or 350°F conventional, invert immediately after pulling it from the oven, and let it cool completely before running your offset spatula around the edges.
How to Make Chocolate Angel Food Cake with Crème Anglaise
This cake has two components: the chocolate meringue cake and the crème anglaise. Start with the cake, then make the sauce while the cake cools.
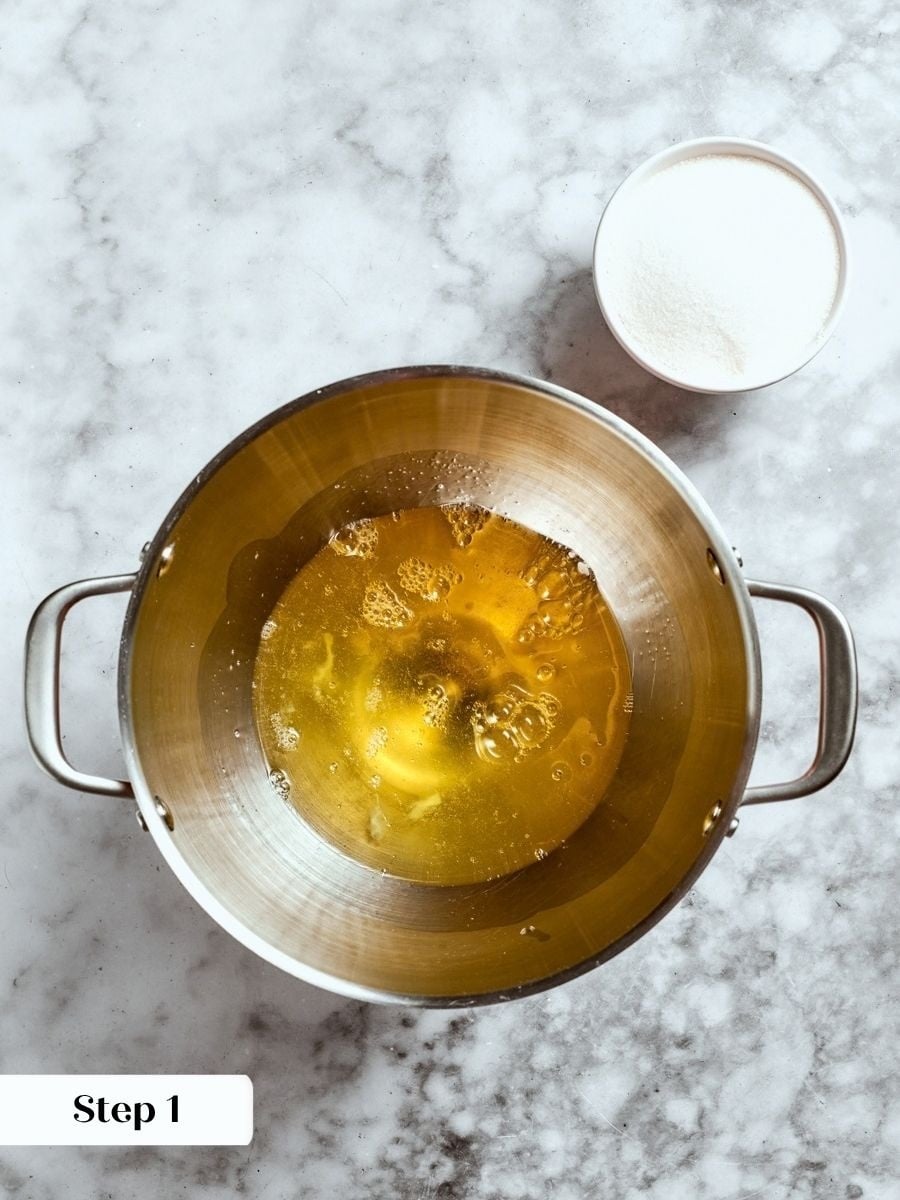
Step 1: Separate and temper the egg whites. About an hour before you plan to bake, separate the egg whites into a clean, grease-free bowl and leave them at room temperature. Room temperature whites foam faster and produce more volume. If you forgot to plan ahead, that is completely fine — they will just take a few extra minutes to reach the foamy stage, and the final cake will be the same. (photo 1).
Step 2: Preheat the oven and prepare the pan. Set your oven to 350°F convection or 375°F conventional, with the rack in the middle. Check that your pan has enough vertical clearance in the oven, especially if it has built-in feet.
Do not grease the tube pan — the batter needs to grip the sides of the pan as it rises.
Make the Cake Batter
Step 3: Sift together the dry ingredients. Sift the cake flour, powdered sugar, and cocoa powder together and set them aside with the sifter still resting over the bowl — you will sift this mixture a second time, directly over the meringue, in a later step.
Sifting twice keeps the cocoa from clumping and ensures the flour integrates without deflating the whites.
Step 4: Begin whipping the egg whites. Beat the egg whites with cream of tartar on medium speed until foamy and opaque, with small, uniform bubbles throughout. The mixture should no longer look clear or watery. This stage can take several minutes longer if the whites are still cool.
Step 5: Add the sugar and whip to stiff peaks. Increase the speed to high and begin adding the granulated sugar and salt together, roughly 2 tablespoons at a time, without letting more than 15 seconds pass between additions. A slow, continuous stream of sugar gives the meringue structure and stability. Continue beating on high until the whites are stiff, glossy, and hold a firm peak that does not curl at the tip.
Step 6: Add the extracts. With the mixer on low, add the vanilla extract and coffee extract. Increase the speed back to high briefly to incorporate. (photo 2).
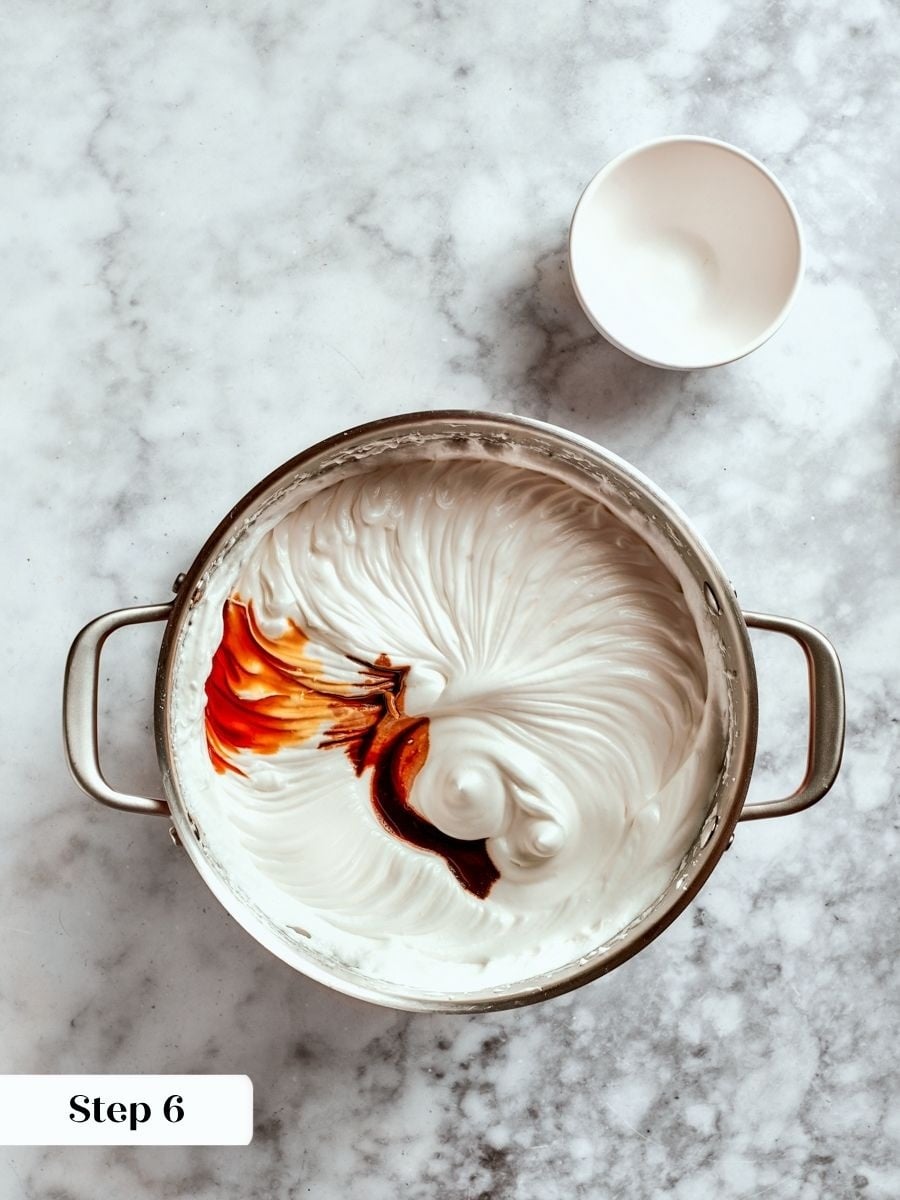
The coffee extract doesn’t make the cake taste like coffee—along with the tripled salt, it deepens and rounds out the chocolate flavor in a way that straight cocoa alone cannot achieve.
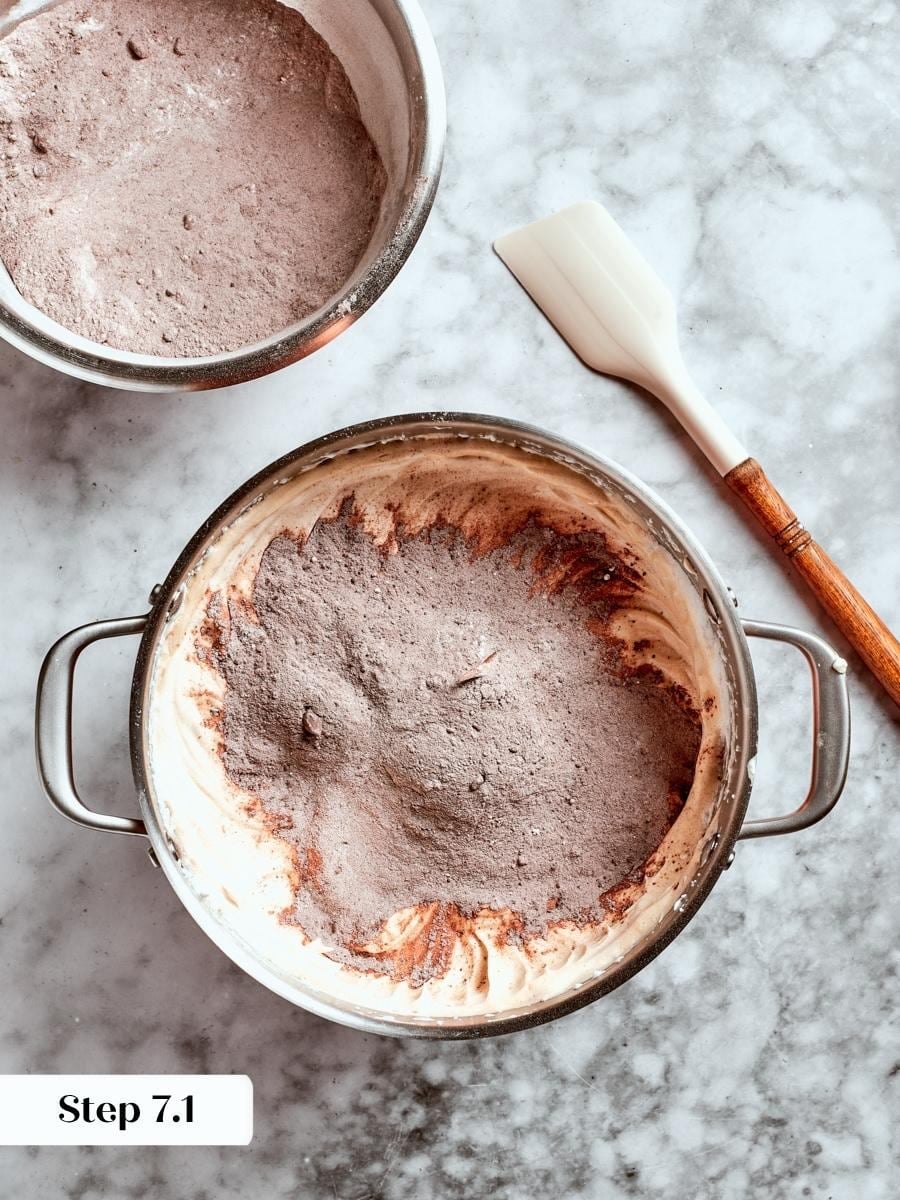
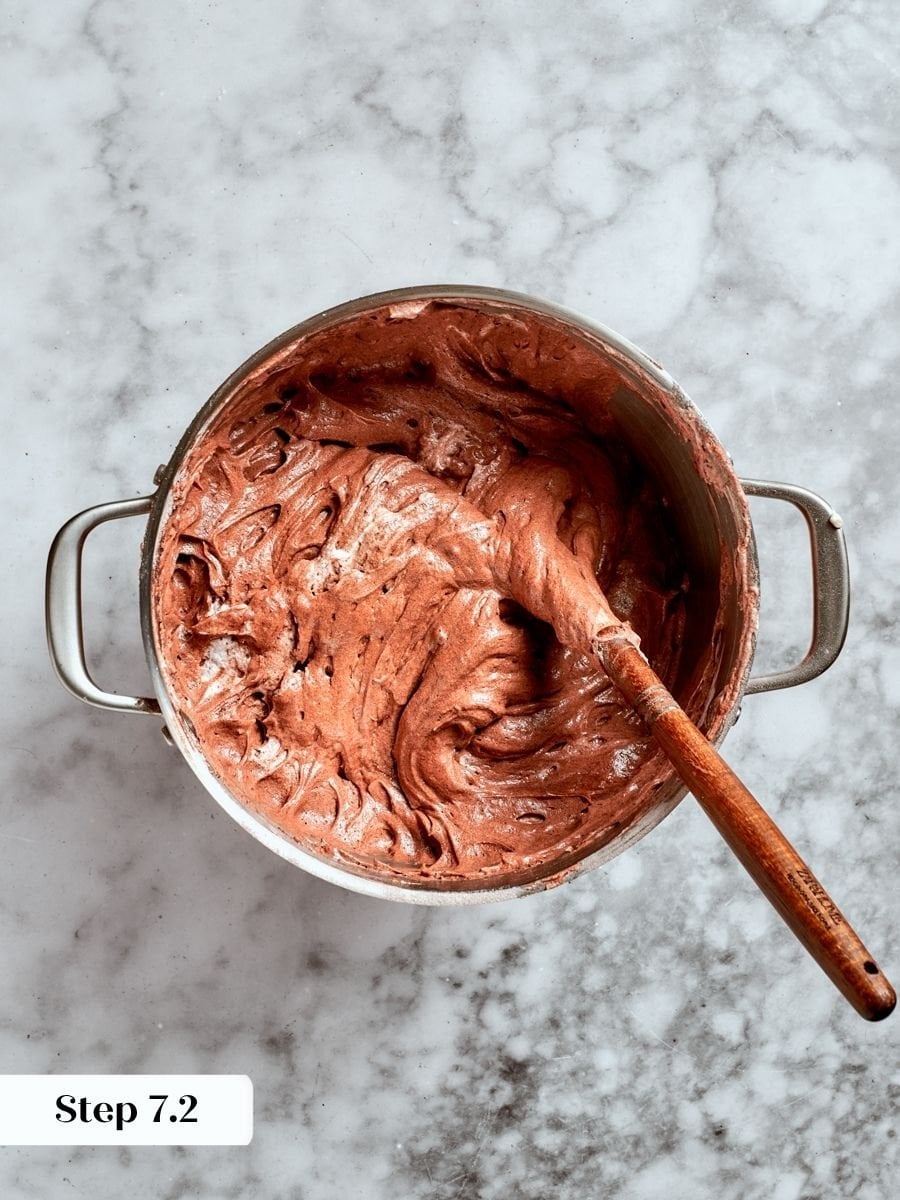
Step 7: Fold in the dry ingredients. Sift the flour-cocoa mixture over the meringue about ¼ cup at a time, folding gently after each addition just until the flour almost disappears. A few streaks are good. Continue adding and folding in increments. If the batter starts to look thin or liquid before all the flour is incorporated, stop folding immediately and move to the pan. Overfolding deflates the whites and is the single most common way this cake loses height. (photos 3 & 4).
Bake the Cake
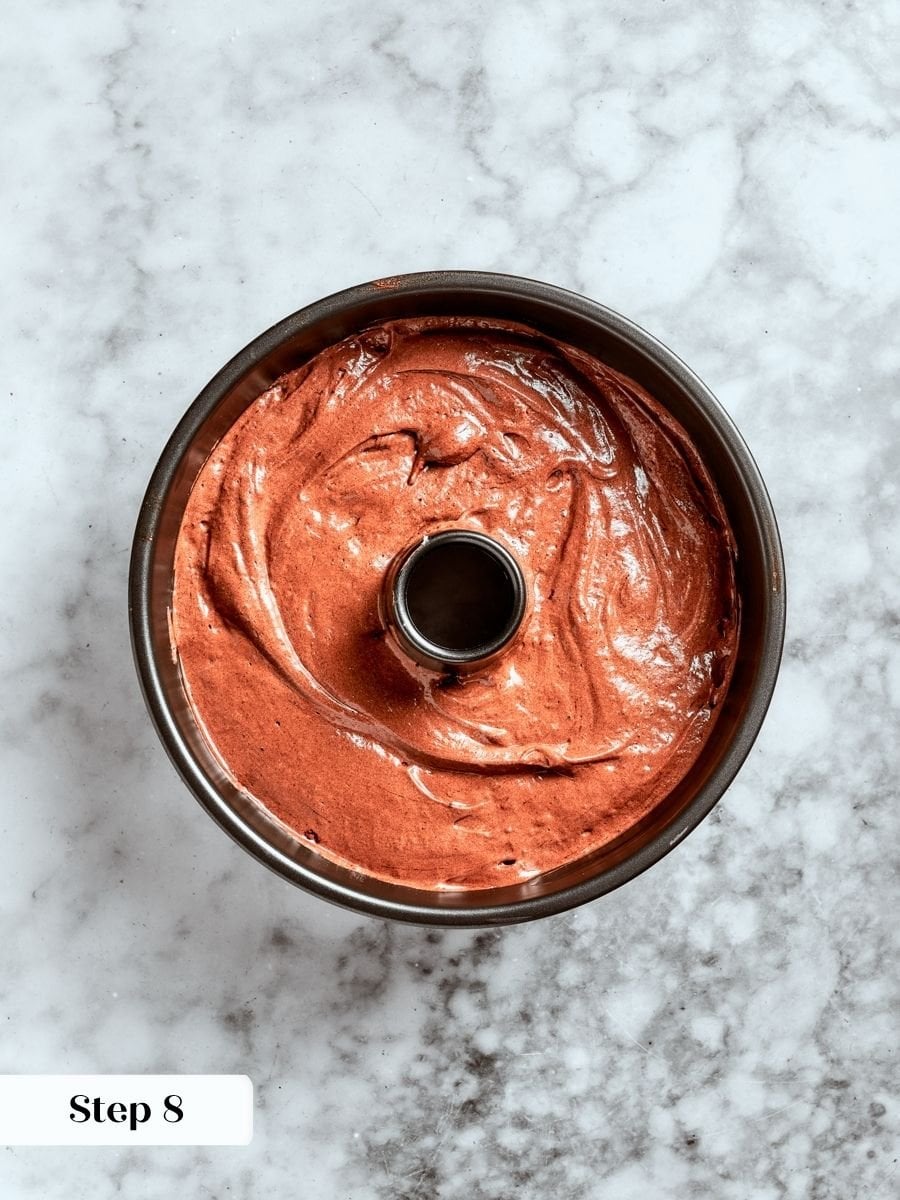
Step 8: Transfer the batter to the pan. Gently push the batter into an ungreased 10×4-inch tube pan and smooth the top. Run a knife or small offset spatula through the batter in a slow swirling motion to release any large air pockets. (photo 5).
Do not skip this step — large pockets leave visible holes in the finished crumb.
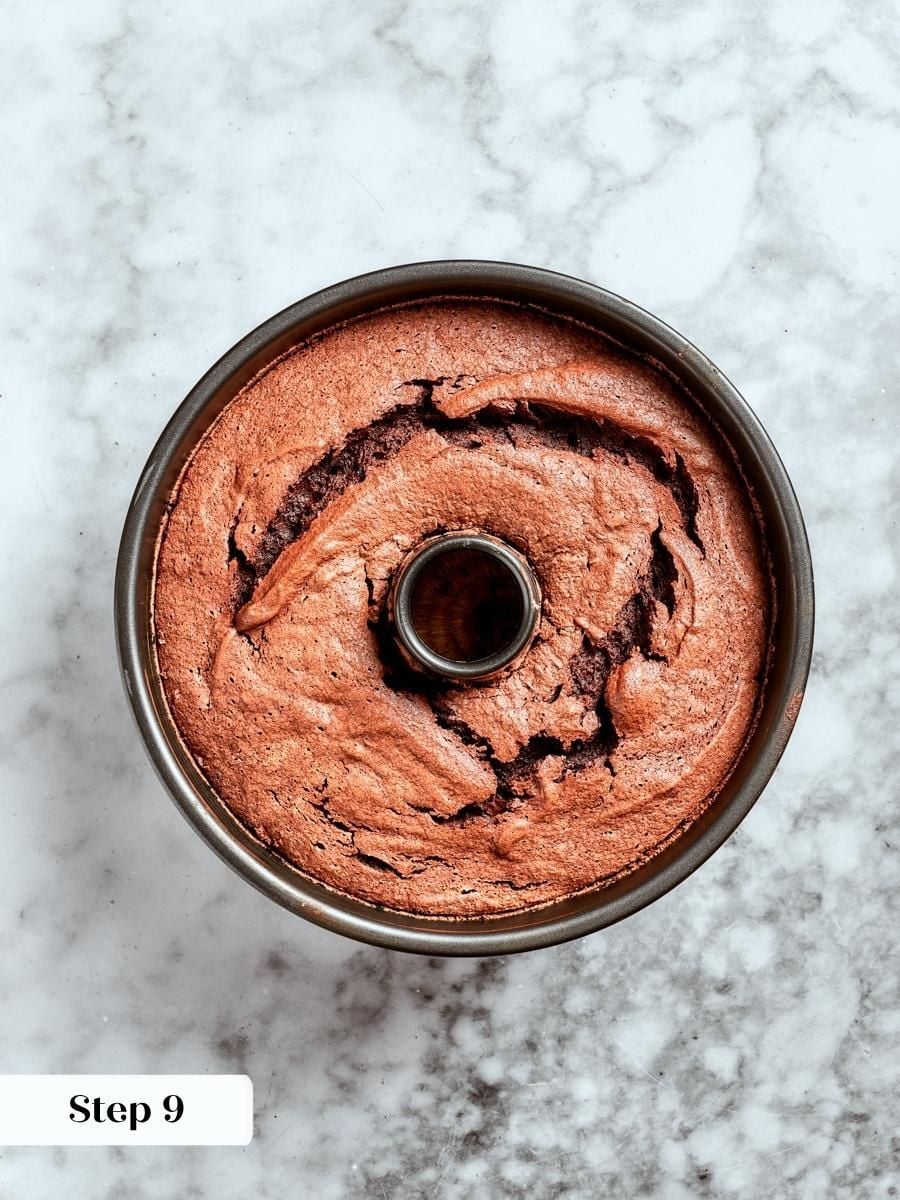
Step 9: Bake the cake. Slide the pan into the oven and bake for 30 to 40 minutes. Start checking at 30 minutes. The cake is done when the top springs back when pressed and a skewer inserted into one of the surface cracks comes out clean. (photo 6).
Mine finished at exactly 30 minutes on convection — a conventional oven will likely need a few minutes more and if your whites are cold the cake might take a little bit longer.
Step 10: Invert and cool completely. As soon as the cake comes out of the oven, invert the pan immediately onto its built-in feet, or set the tube over the neck of a tall bottle if your pan does not have feet. Leave it completely undisturbed until it reaches room temperature. Cooling upside down keeps the structure from collapsing under its own weight while the crumb sets. Do not rush this step — releasing a warm angel food cake almost always ends in a collapsed or sticky mess.
Make the Crème Anglaise
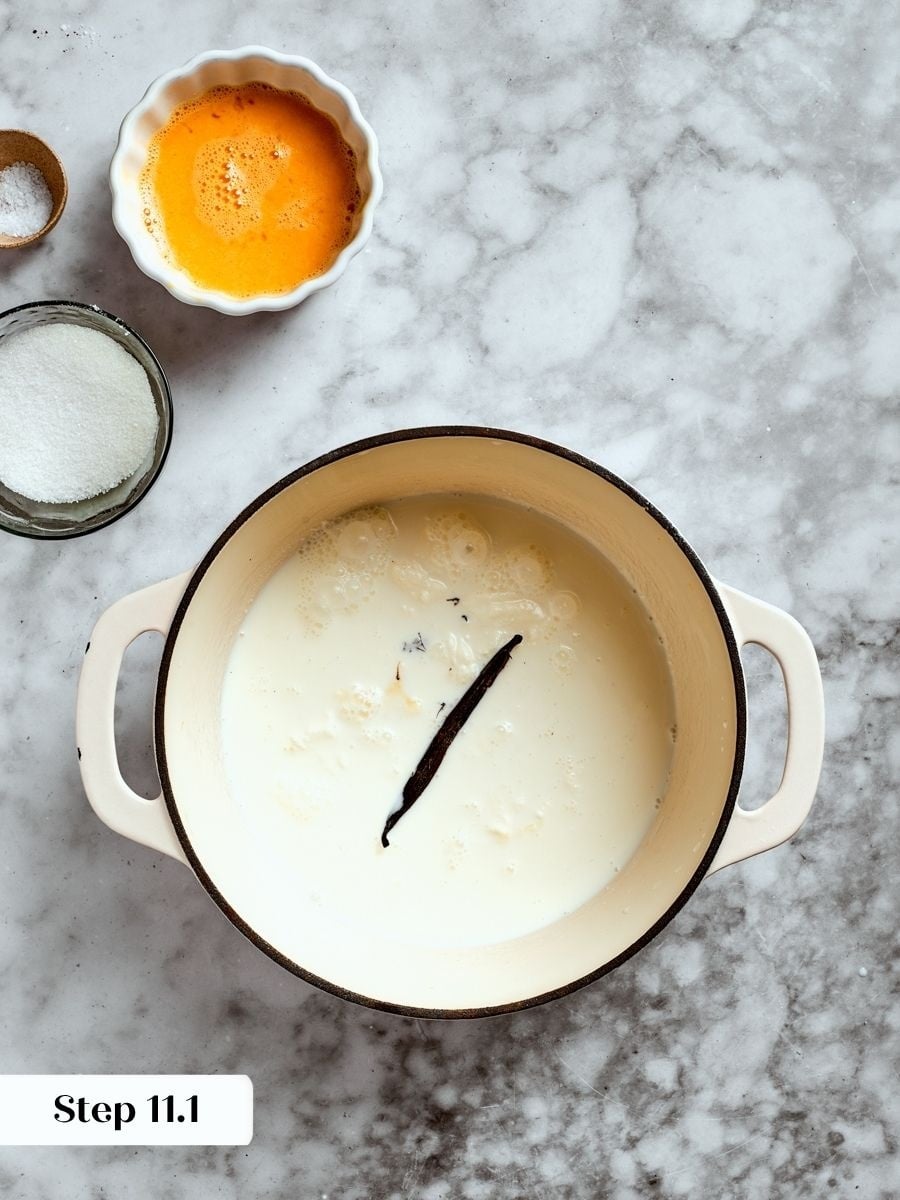
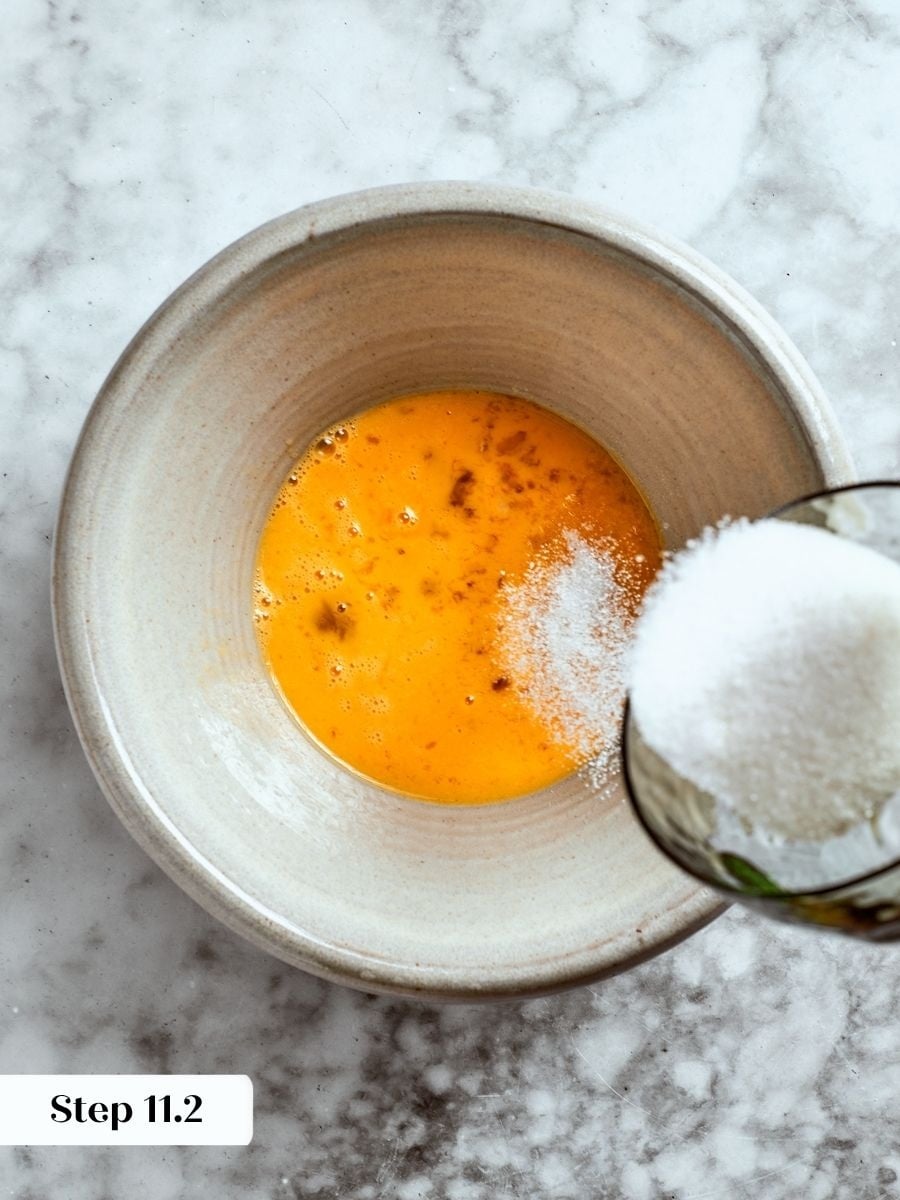
Step 11: Heat the cream mixture. In a heavy-bottomed saucepan, combine the cream, milk, half the sugar, the salt, and the vanilla bean seeds and pod. Bring to a boil over medium heat, then remove from heat immediately. While the cream heats, whisk the eggs and remaining sugar in a separate bowl until the mixture lightens to pale yellow. (photos 7&8).
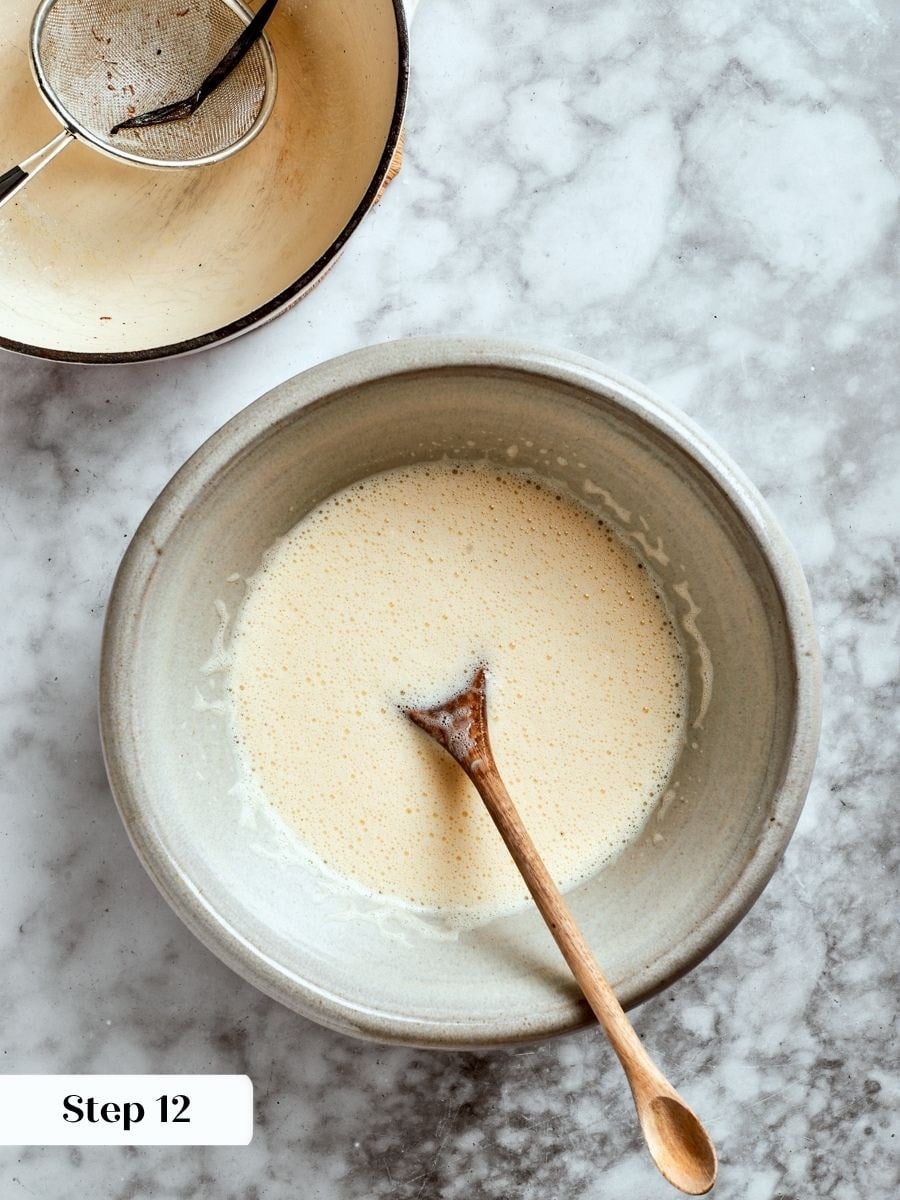
Step 12: Temper the eggs. Slowly whisk about one-quarter of the hot cream mixture into the egg mixture to gradually raise the eggs’ temperature without scrambling them. Add another quarter and whisk again, then pour the entire egg mixture back into the saucepan with the remaining cream. (photo 9).
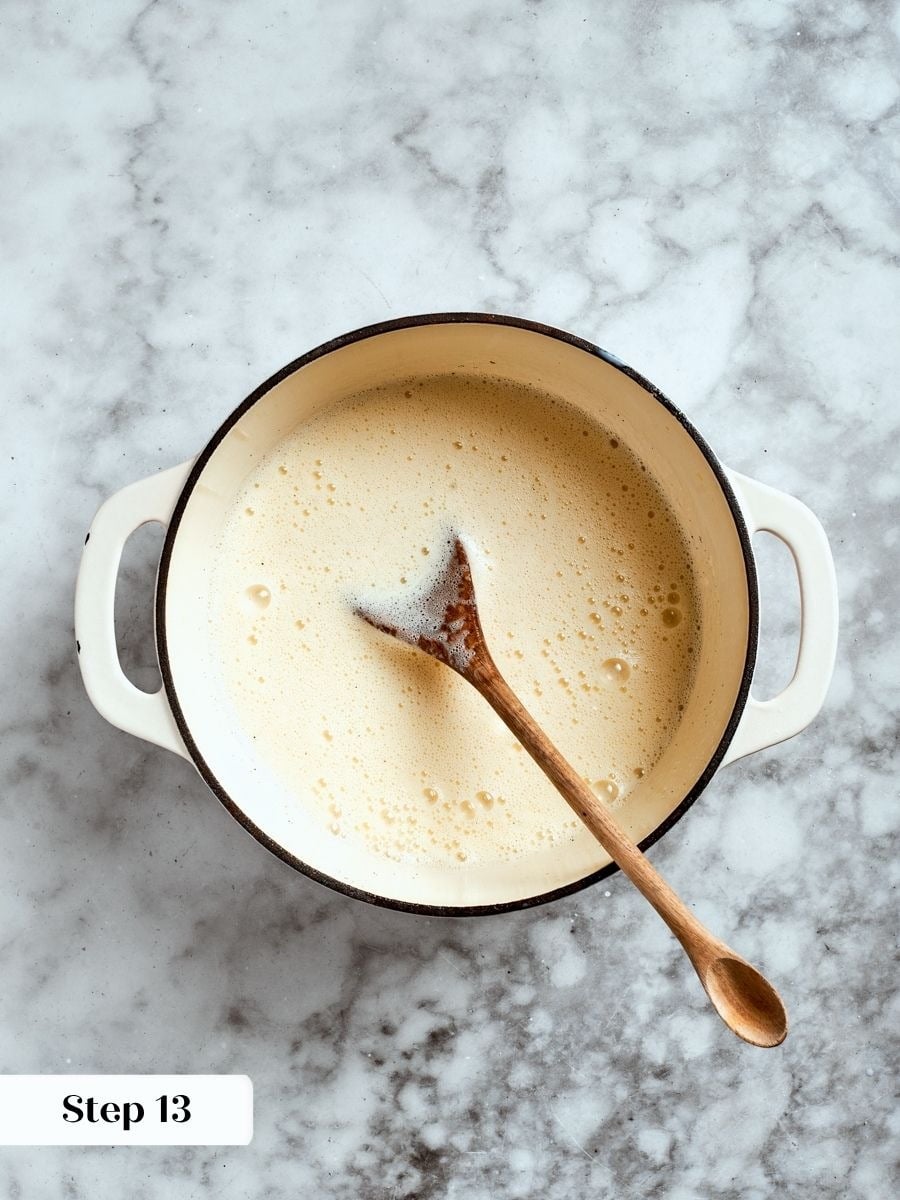
Step 13: Cook to nappant. Return the saucepan to medium-high heat and stir constantly, scraping the bottom and sides of the pot. The custard will look thin and loose for several minutes. When it is ready, it will coat the back of a wooden spoon and hold a clean line when you drag your finger through it. (photo 10).
For precision, pull it at 178°F on an instant-read thermometer. Do not walk away from the pot — custard at this stage can go from perfect to scrambled quickly.
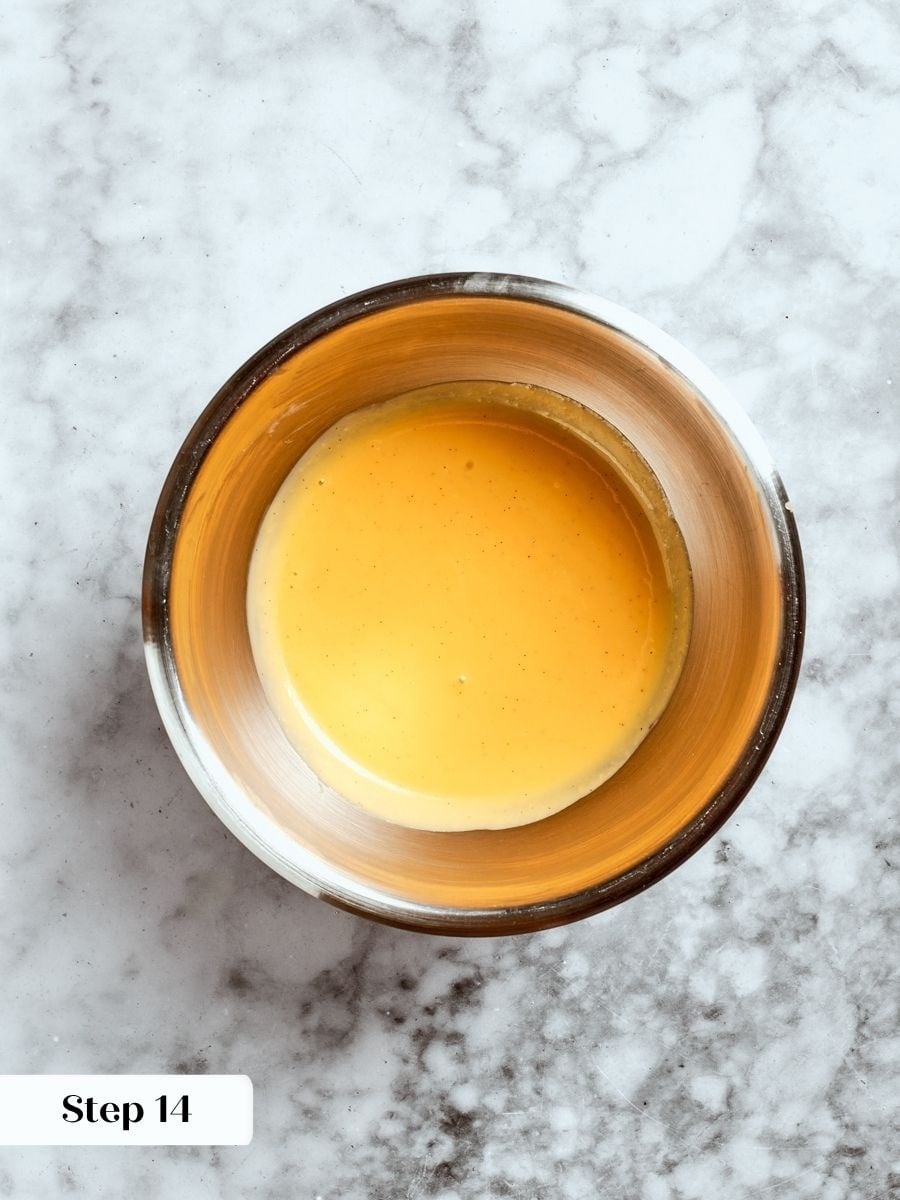
Step 14: Strain and chill. Pour the anglaise immediately through a fine-mesh strainer into a clean bowl to remove the vanilla pods and any cooked egg bits. Press a sheet of plastic wrap directly onto the custard’s surface to prevent a skin from forming, then set the bowl in an ice bath. Stir occasionally until fully cold. Refrigerate the anglaise until you are ready to serve. (photo 11).
Release and Serve
Step 15: Release the outer ring. Once the cake is fully cooled, run a small offset spatula around the entire outer edge, pressing the spatula firmly against the side of the pan and moving it all the way down to the base. Then run it around the inner tube in the same way, pressing close to the metal and working down to the bottom. Lift or press up on the removable bottom — the outer ring should release cleanly.
Step 16: Release the cake from the base. With the cake still resting on the tube insert, run the offset spatula around the bottom of the pan, keeping the blade as close to the metal as possible and sweeping all the way to the center tube. To test the release, flip the cake over onto your open hand while holding the center tube. It should drop away from the base on its own with no forcing. If it hesitates, check where the tube meets the base — that junction is where sticking usually happens — and work the spatula back through that spot. If you force it before it is ready, the cake can tear. Take your time here.
Step 13: Plate and dust. Set the cake right-side up on a serving platter or cake stand and dust generously with confectioners’ sugar just before serving.
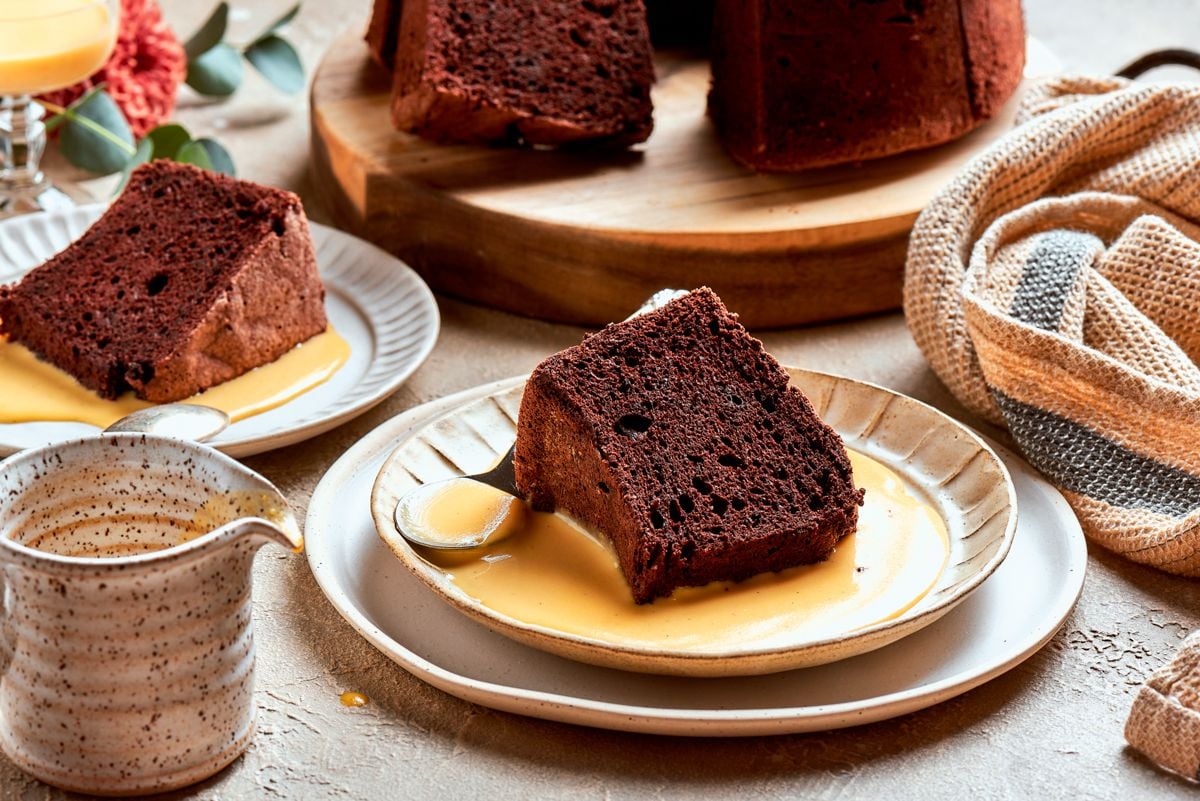
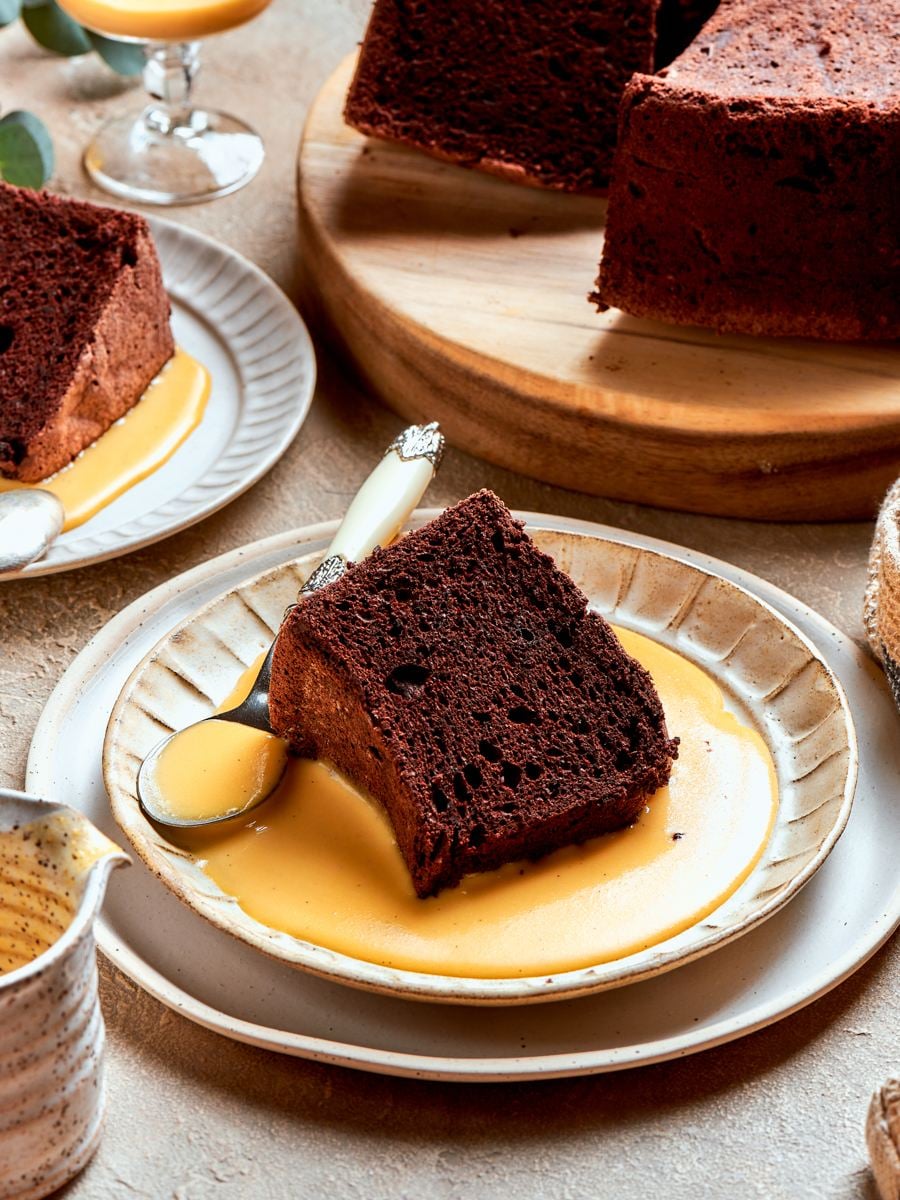
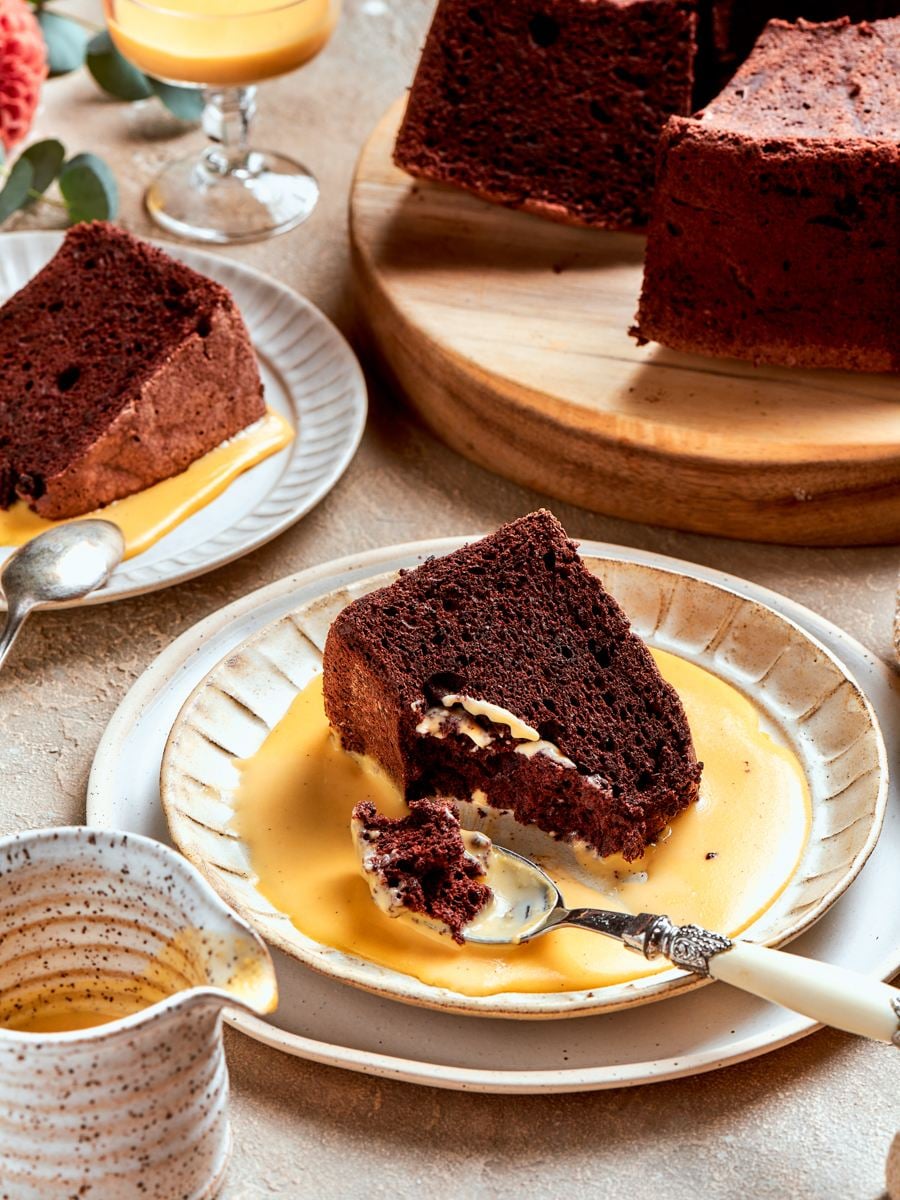
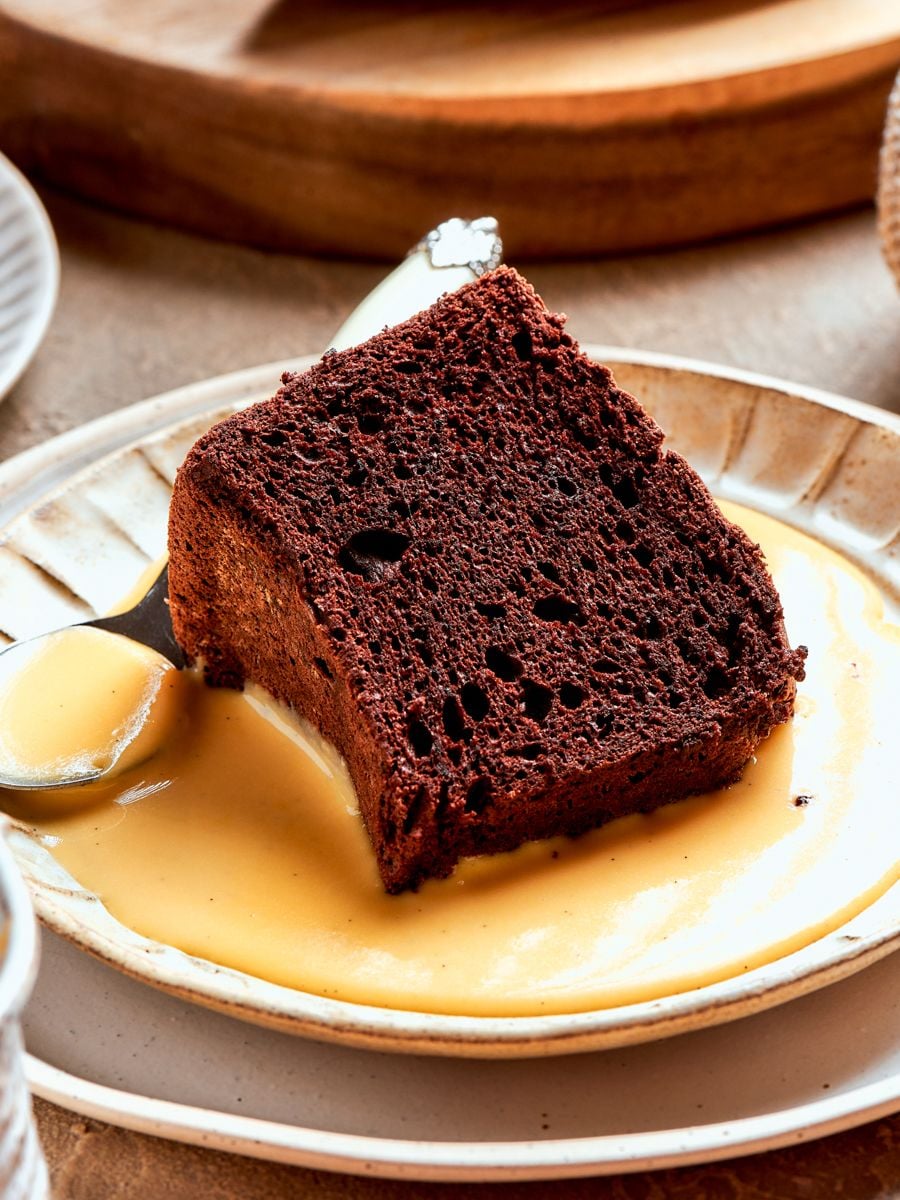
Step 18: Serve. Spoon a generous pool of cold crème anglaise onto the plate and place a slice of cake alongside it. This dessert is all about the contrast between the light, airy chocolate cake and the cold, silky custard!
Chef Lindsey’s Recipe Tip
Let the cake cool! Once you invert the pan, let the cake hang undisturbed until it reaches room temperature. The proteins in the meringue are still setting as it cools, and cutting that time short will leave you with a dense, compressed crumb instead of the tall, airy texture. Just like with sourdough raisin bread, you need to let that crumb set.
Recipe FAQs
The top of the cake should spring back when lightly pressed, and a tester inserted into a crack in the surface should come out clean. Don’t rely on color alone, as the cocoa keeps the exterior dark throughout baking.
The two most common causes are an underwhipped meringue and an overfolded batter. Stiff, glossy peaks before you add the extracts are not optional — a soft or medium peak meringue will not support the weight of the cocoa-flour mixture. Overfolding is equally damaging.
Inverting keeps the cake suspended so gravity does not compress the airy crumb as it sets. Without inversion, the delicate meringue structure collapses under its own weight before the proteins have fully firmed. This is why the pan must remain ungreased — the batter grips the sides to hold itself up during that cooling period.
Wrap cooled angel food cake in plastic wrap or store in an airtight container at room temperature for up to a week. The sugar keeps it fresh. I do not recommend storing angel food cake in the refrigerator because the sugar will absorb the moisture from the air and it will become soft and gummy. If you must make angel food cake ahead of time, I recommend freezing it, then unwrapping it and thawing it at room temperature. It will keep frozen for 3 months.
If you tried this recipe and loved it please leave a 🌟 star rating and let me know how it goes in the comments below. I love hearing from you; your comments make my day!
Chocolate Angel Food Cake Recipe
Ingredients
For the Cake:
- 1 cup cake flour
- 1½ cups powdered sugar
- ⅔ cup cocoa powder
- 1½ cups egg whites about 12 large eggs
- 1½ tsp cream of tartar
- 1 cup granulated sugar
- ¾ tsp kosher salt
- 1½ tsp vanilla extract
- ½ tsp coffee extract
- Powdered sugar for dusting
For the Crème Anglaise:
- 2 cups heavy cream
- 2 cups whole milk
- 1 cup granulated sugar divided
- ½ tsp kosher salt
- 1 vanilla bean split and scraped
- 5 large whole eggs
Instructions
For the Cake:
- Separate the egg whites about an hour ahead and let them come to room temperature.
- Preheat the oven to 375°F conventional or 350°F convection with the rack in the middle. Confirm the tube pan will fit with space above it.
- Sift together the cake flour, powdered sugar, and cocoa. Set aside with the sifter — you will sift again directly over the batter.
- Beat the egg whites and cream of tartar on medium speed until foamy.
- Increase to high speed and add the granulated sugar and salt about 2 tablespoons at a time, no more than 15 seconds between additions. Beat until stiff, glossy peaks form.
- Add the vanilla extract and coffee extract. Mix briefly on low, then increase to high speed.
- Sift the flour-cocoa mixture over the meringue in approximately ¼ cup increments, folding gently after each addition until almost incorporated. A few streaks are fine. If the batter begins to look liquid, stop folding immediately and transfer to the pan.
- Push the batter into an ungreased 10×4 in tube pan. Run a knife or small offset spatula through in a swirling motion to release any large air pockets.
- Bake 30 to 40 minutes until the top springs back and a tester inserted into a crack comes out clean.
- Immediately invert the pan onto its built-in legs or over a bottle and cool completely before releasing.
- To release, run a small offset spatula all the way to the bottom around the outer edge, then around the inner tube. Flip carefully onto your hand while holding the center tube — it should release cleanly without forcing.
- Set on a serving platter.
For the Crème Anglaise:
- Combine the cream, milk, half the granulated sugar, salt, and vanilla bean seeds and pod in a heavy-bottomed saucepan. Bring to a boil, then remove from heat.
- While the milk mixture heats, whisk together the eggs and remaining sugar until lightened to pale yellow.
- Whisk ¼ of the hot milk mixture into the eggs, then another ¼, then pour the egg mixture back into the pot with the remaining milk.
- Cook over medium-high heat, stirring constantly, until the custard reaches 178°F or is nappant — it holds a clean line when you drag a finger across the back of a coated spoon.
- Strain immediately into a bowl, press plastic wrap directly onto the surface, and cool over an ice bath.
- To serve, spoon a smooth pool of cold crème anglaise onto the plate and set a slice of cake alongside.
Notes
Doneness cue: Start checking at 30 minutes. The cake is done when the top springs back under light pressure and a tester inserted into a surface crack comes out clean.
Pan: Use an ungreased 10×4 in tube pan. Any grease prevents the batter from gripping the sides, which is what holds the structure during the inverted cooling period.
Storage: Store at room temperature, covered loosely, for up to 3 days. Freeze individual slices wrapped tightly in plastic for up to 2 months; thaw at room temperature.
Nutrition
Before You Go
If this chocolate angel food cake found its way into your regular rotation, I think you will keep coming back to it. Browse more inspiration in Cake Recipes or try this Devil’s Food cake next!