
This post may contain affiliate links. Please read our disclosure policy.
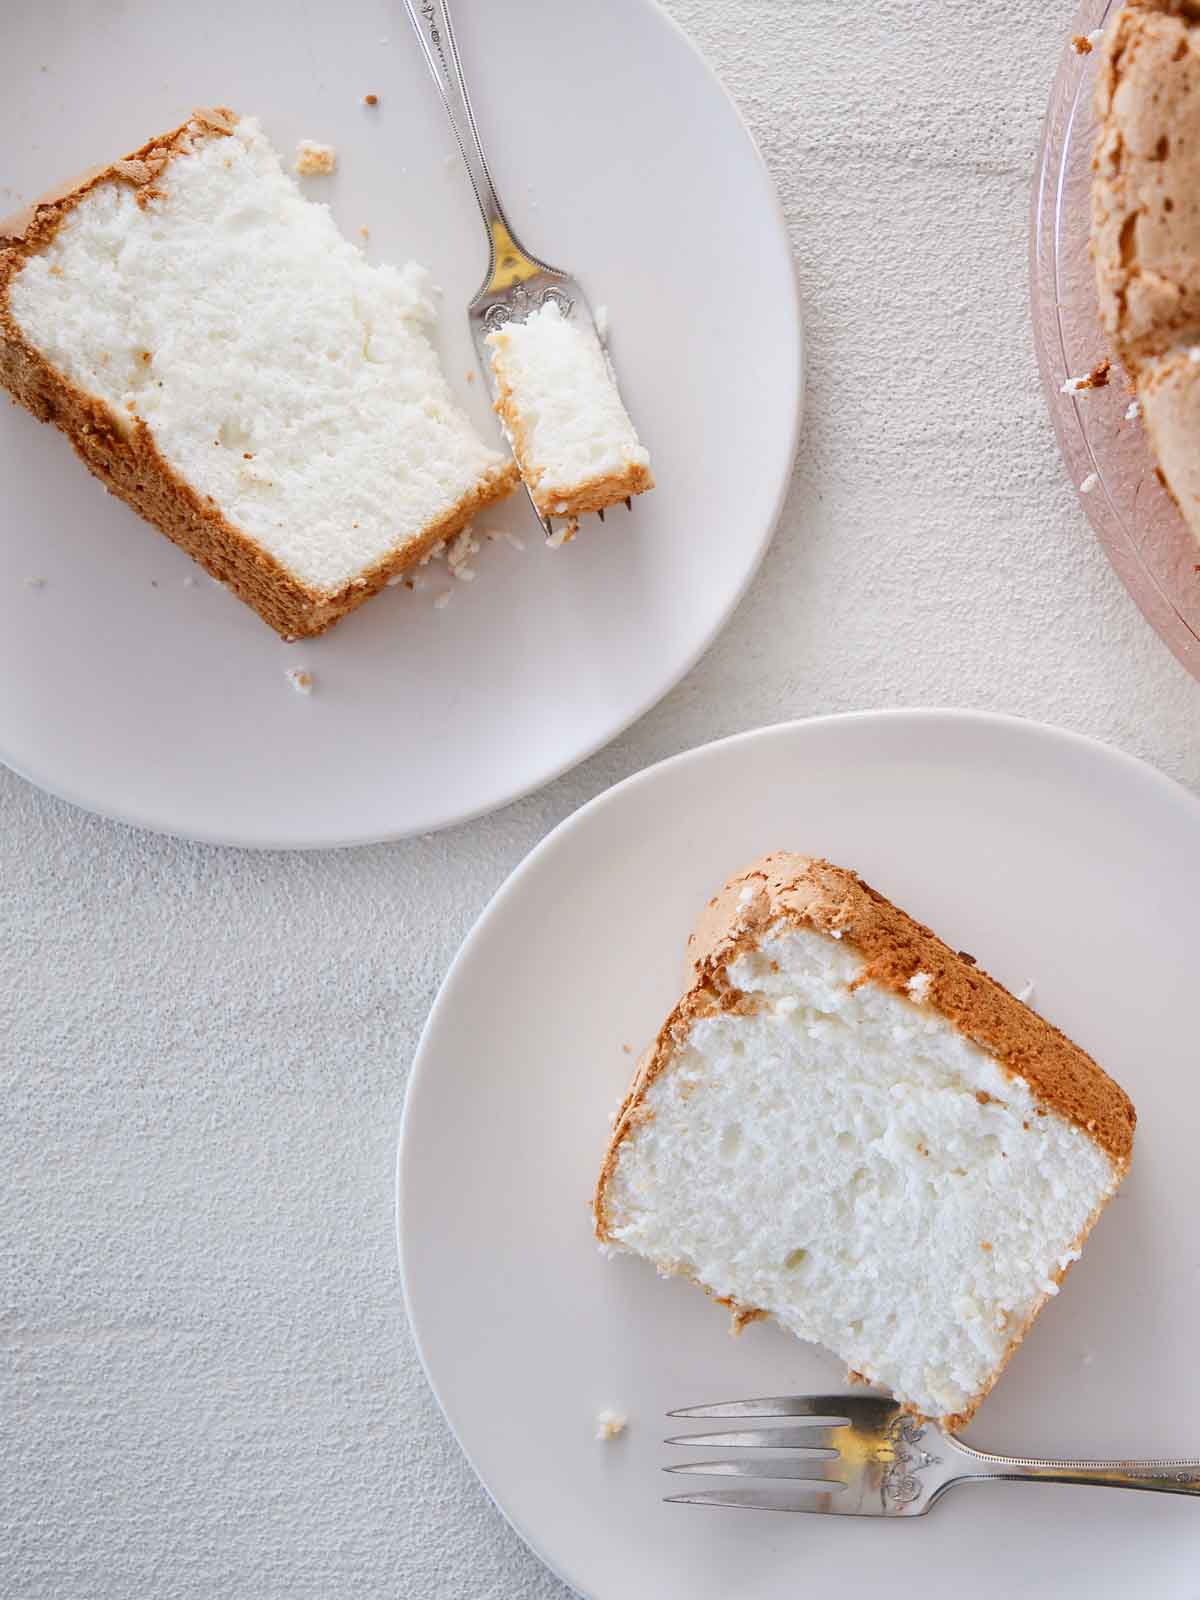
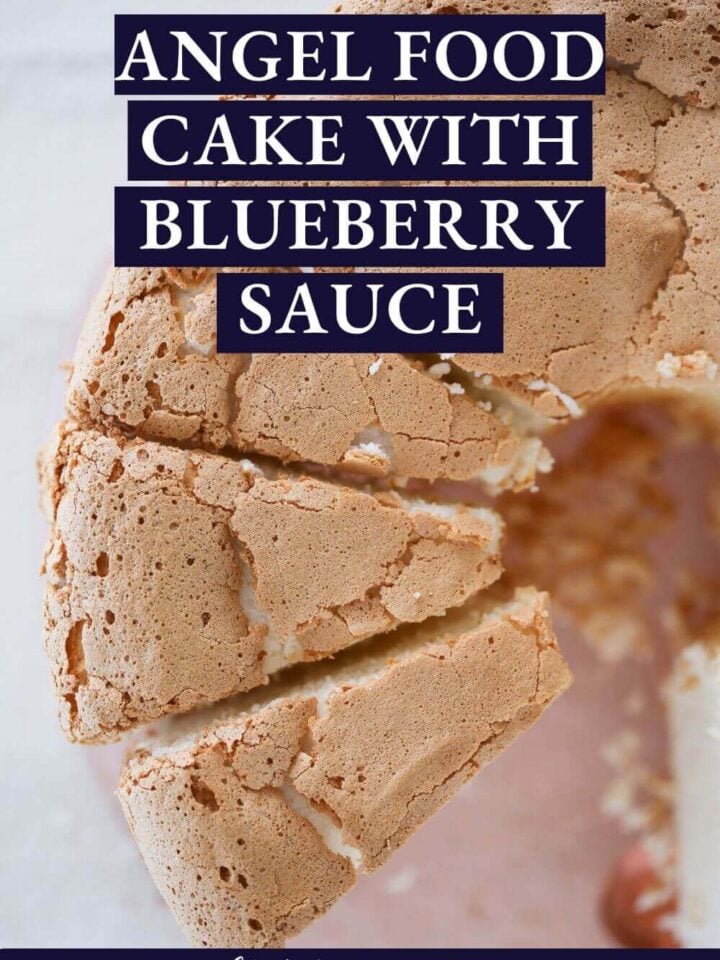
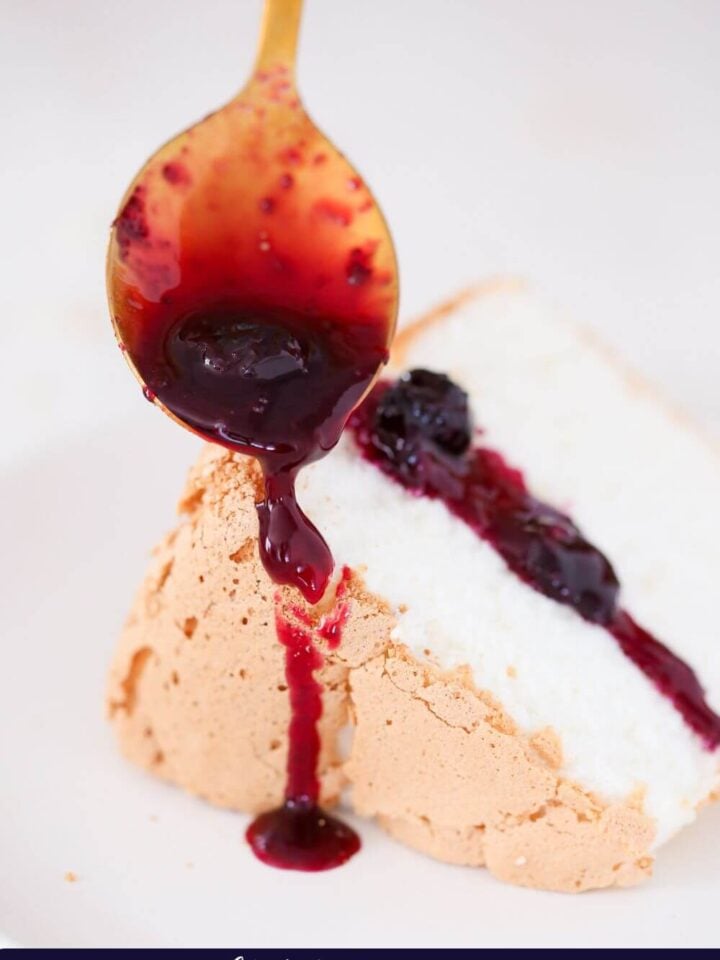
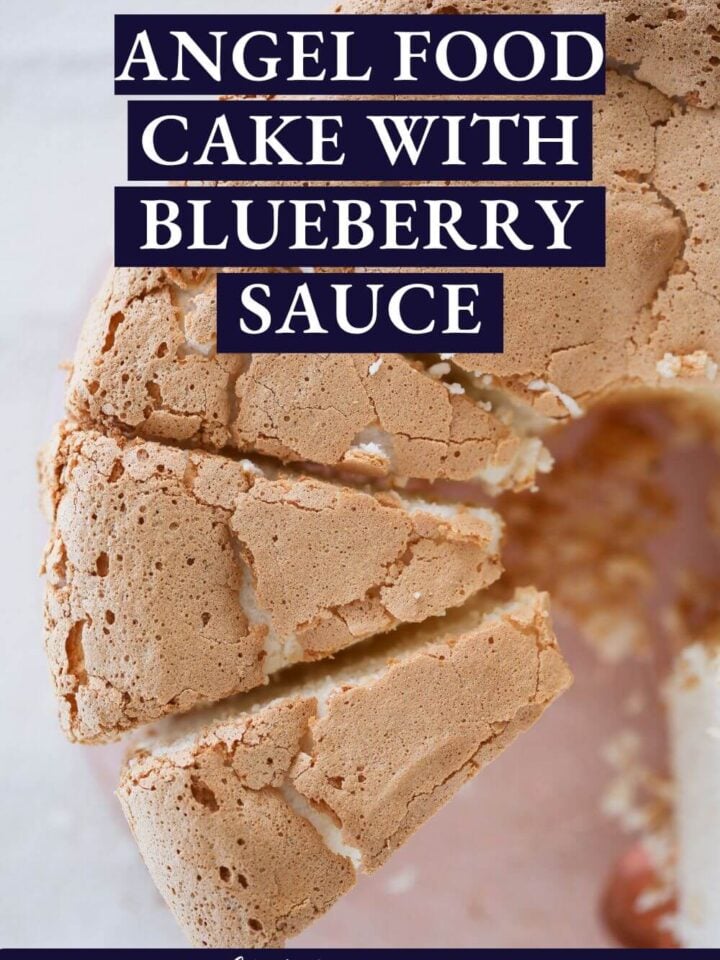
This Angel Food Cake is so light and moist that it practically melts in your mouth! It is naturally fat-free and easier to make than you think! Pair it with a blueberry coulis for the perfect dessert.

A Quick Look At The Recipe
This is a brief summary of the recipe. Jump to the recipe to get the full details.
Jump to RecipePrep Time
25 minutes
Cook Time
40 minutes
Chilling Time
2 hours
Total Time
3 hours 5 minutes
Servings
16 Slices
Difficulty
Intermediate
Calories *
134 kcal per serving
Technique
Fold a flour-sugar mixture into a stiff meringue, bake in an ungreased tube pan, and invert to cool completely before unmolding.
Flavor Profile
Light, airy, subtly sweet with a soft vanilla finish
* Based on nutrition panel
I have made a lot of angel food cakes over the years but this one came out taller and lighter than any I have attempted before. Following the tip to add the sugar two tablespoons at a time made a noticeable difference in how glossy and stable the meringue was. The cracks on top were perfectly dry when I pulled it out at 35 minutes. ⭐⭐⭐⭐⭐
Patricia
Why This Recipe Works
- Proper meringue structure built from the start. Sifting the flour and half the sugar together, then folding in stages, keeps the foam stable and prevents deflation before the batter ever hits the pan.
- Less sweet than other recipes. Adding just enough granulated sugar to the meringue to stabilize it, but not so much that the whole cake becomes cloying.
- Perfect light, airy texture every time. The key to a light and airy texture in angel food cake is whipping the egg whites to just stiff peaks, then efficiently folding in the dry ingredients to lose as little volume as possible.
- All the advice from a pastry chef you’ll ever need. Don’t let other recipe posts scare you as I did before culinary school. If 2014 me made a perfect angel food cake on the first try, so can you!
Table of Contents
Way back in 2014 when I first published this recipe, I was downright fearful about attempting an angel food cake. People’s well-meaning advice terrified me: don’t over-whip the egg whites; don’t under-whip the egg whites; don’t fold in the flour too aggressively; don’t open the oven door prematurely or your cake will fall; don’t overbake; don’t underbake. The more I read, the further back in the cabinet went the round tube pan until I decided to tie on my big-girl apron and tackle the challenge.
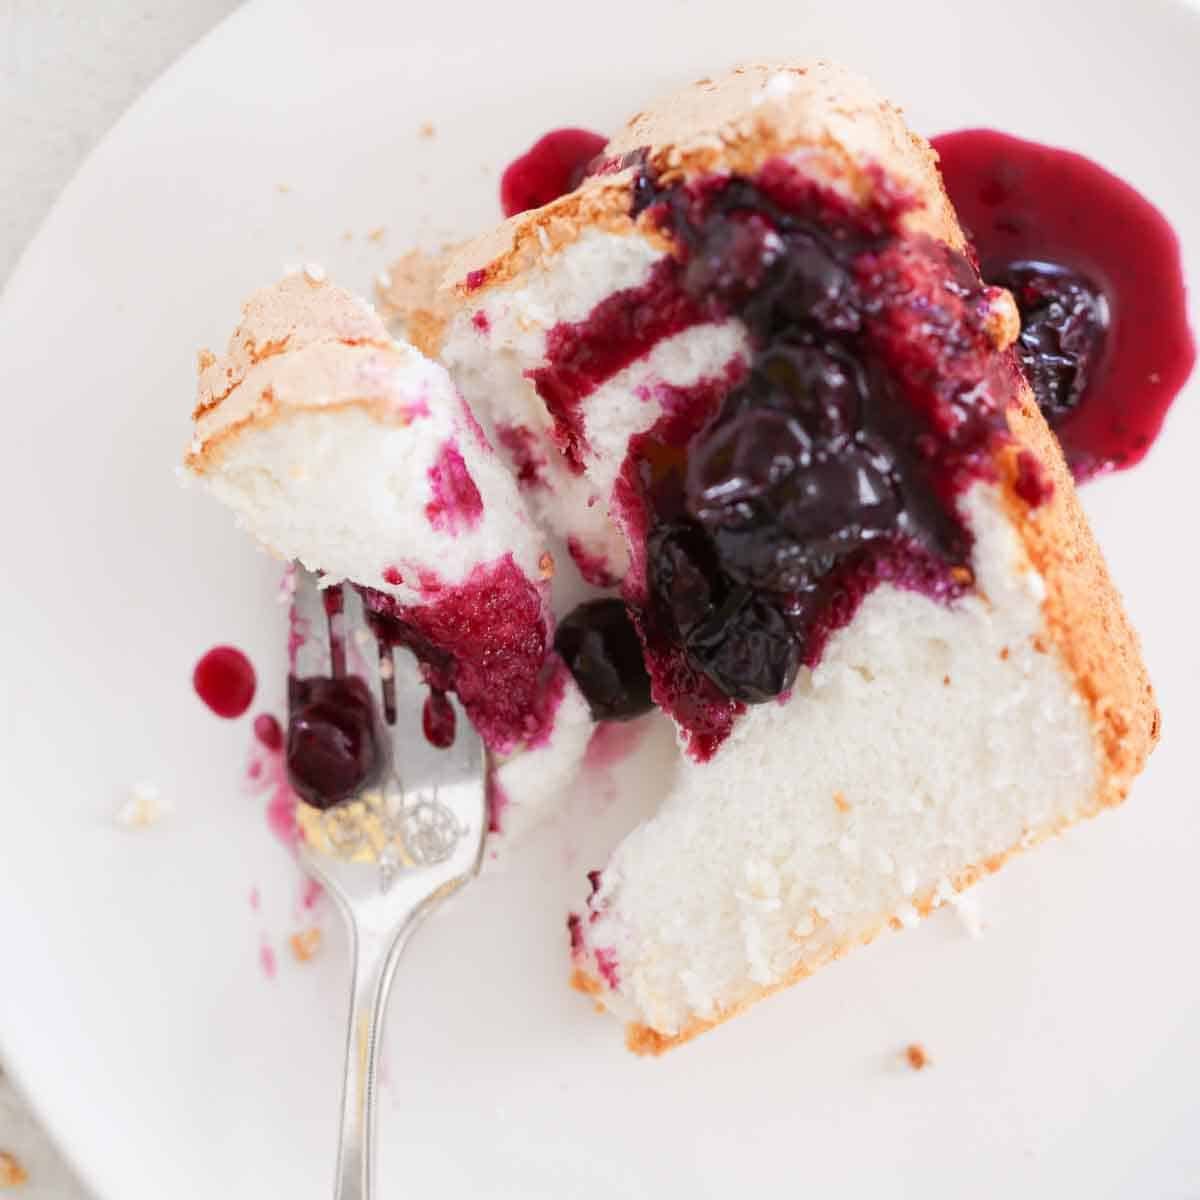
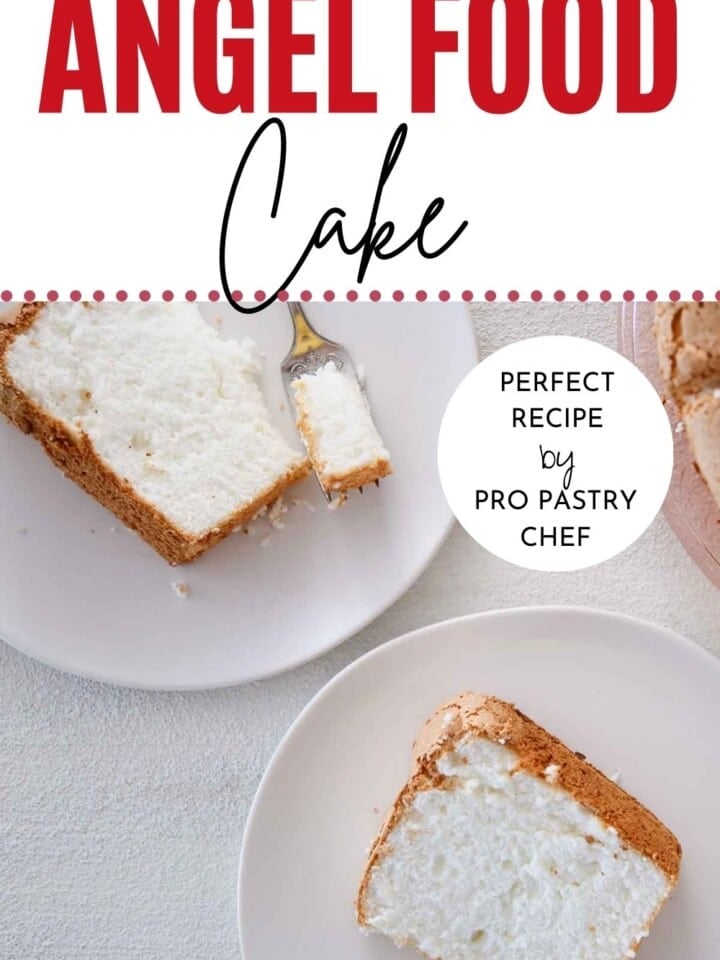
Let me be the first to tell you that angel food cake should not be that daunting. Every single one I’ve baked has been perfect, from my very first try before culinary school through the hundreds I baked afterward. This recipe is foolproof if you follow the instructions. It has a lovely crunchy exterior and a soft, light, fluffy interior that melts in your mouth! It is tender and moist. The perfect dessert with an easy strawberry jam, a scoop of raspberry sorbet, or just with lemon curd whipped cream!
Ingredients & Substitutions
- Cake Flour: The lower protein content keeps the crumb tender and fine, which is exactly what you need when egg whites are doing all the structural work. Do not substitute all-purpose flour, or your cake won’t be white and have that perfect angel food cake texture.
- Powdered Sugar
- Egg Whites: The entire structure of this cake depends on them, so room temperature whites are key. Cold whites whip to lower volume and take longer to reach stiff peaks. Separate your eggs when they are cold for the cleanest separation, then let the whites come to room temperature before you begin.
- Cream of Tartar: This acid lowers the pH of the whites, which tightens the protein network and makes the meringue more stable at high volume. Do not skip it or substitute lemon juice here; the stabilizing effect of tartaric acid is more reliable and consistent, and you can make the best snickerdoodle recipe after!
- Granulated Sugar
- Kosher Salt
- Vanilla and Almond Extract: Use high-quality extracts for both. The almond is subtle, but it does real work beneath the vanilla, giving the cake a slightly floral, bakery-style depth that makes people ask what is in it.
See the recipe card for full information on ingredients and quantities.
Variations on This Angel Food Cake
- Add spices to the dry ingredients. I made a spiced angel food cake by sifting 1 teaspoon of my [apple pie spice] into the dry ingredients. You can also use cinnamon, or 1 ½ teaspoons of this pumpkin spice recipe; this gingerbread spice mix would also be delightful!
- Make it strawberry. Add ¼ cup strawberry powder or ground dehydrated strawberries to the dry ingredients after sifting. This will make the cake ever so slightly more dense. The egg whites are leavening more than just cake flour, so it is to be expected. Strawberry powder is better than processing dehydrated strawberries because it is finer.
- Make it chocolate. Substitute ¼ cup cocoa powder for ¼ cup of the cake flour and sift it into the dry ingredients, then follow the rest of the instructions as written, or head over to my Chocolate Angel Food Cake(coming soon!)!
Professional Tips
- Do not grease the pan. The batter needs to cling to the sides of the tube pan as it bakes and rises. A greased pan will cause the cake to pull away from the sides and collapse inward before it sets. This is the single most common reason angel food cakes fail, and after testing it both ways, there is no version of this recipe that works in a nonstick or greased pan.
- Add sugar gradually and do not rush the meringue. Beat it in two tablespoons at a time on high speed. Adding it all at once deflates the foam and produces a grainy, unstable meringue that will not hold through folding.
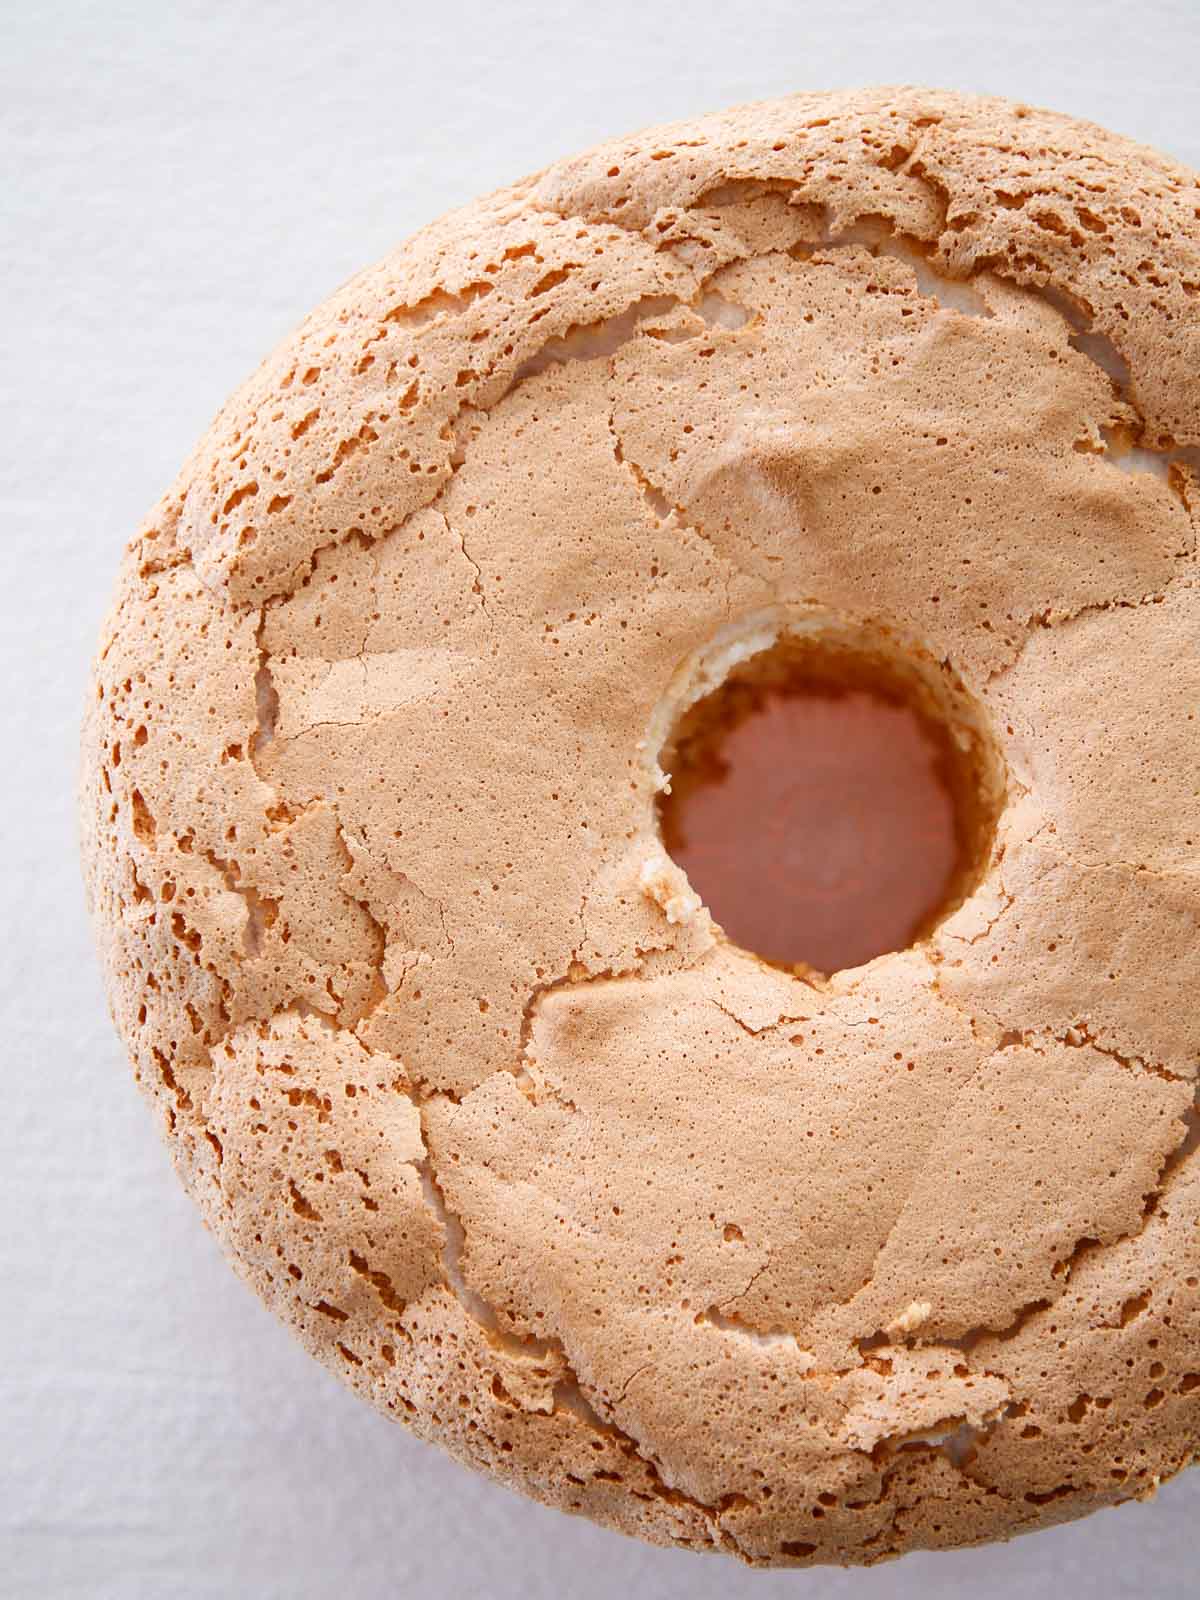
- Bake at the correct temperature. The recipe calls for 375°F conventional. Convection ovens run hotter, so reduce the temperature to 350°F when using the convection setting. Check the cake at 30 minutes: the cracks should feel dry, and the top should spring back when pressed lightly.
- Invert immediately and cool completely before unmolding. The moment the cake comes out of the oven, flip the pan onto a bottle and walk away. Cutting into or unmolding a warm angel food cake will compress the crumb and undo everything the bake built. Let it hang inverted until it is fully cool, at least 90 minutes.
How to Make Angel Food Cake
Follow these instructions for a perfectly light and fully angel food cake! Further details and measurements can be found in the recipe card below.
Make Meringue
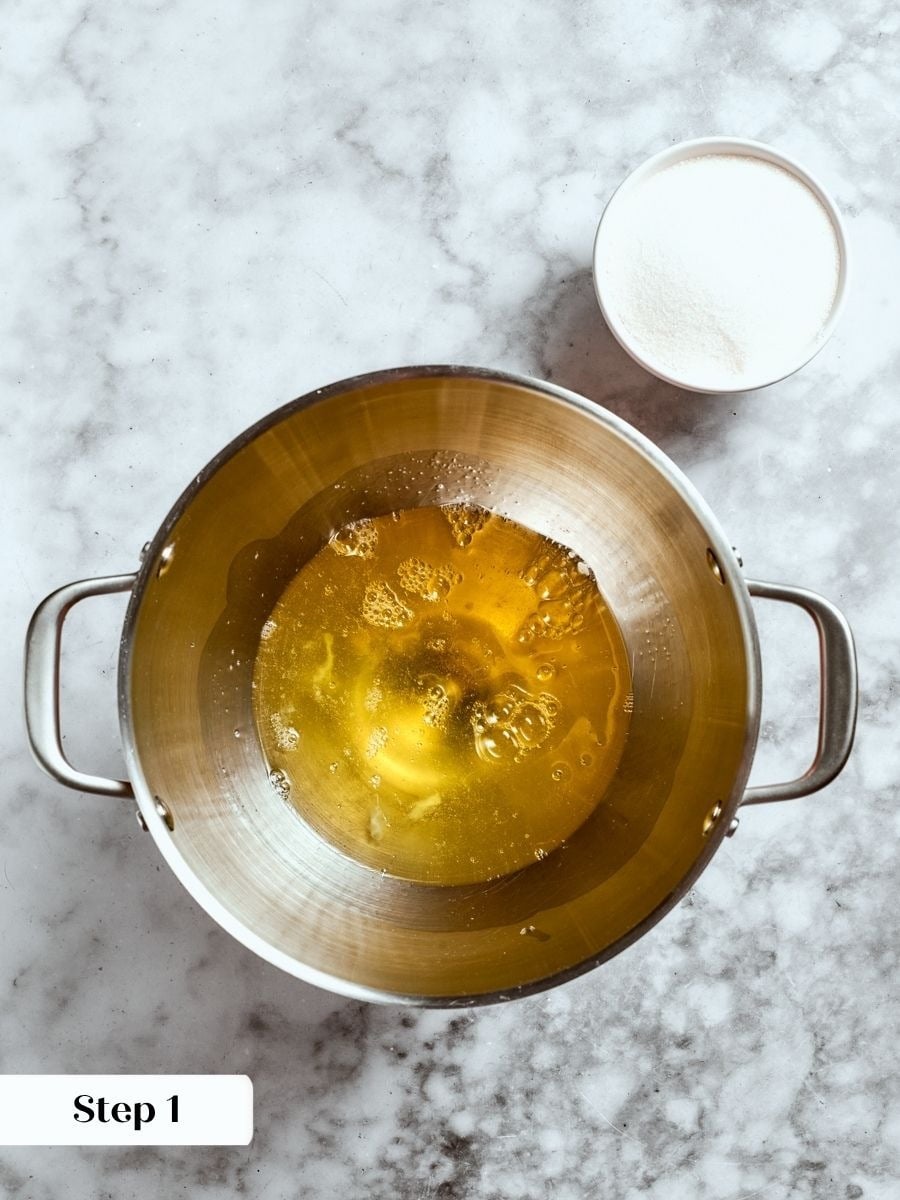
Step 1: Separate your eggs and let the whites come to room temperature. Separate the egg whites from the yolks, then use the yolks to make pastry cream or crème caramel!. Transfer the whites to a measuring cup or small bowl and let them sit uncovered at room temperature for a full hour. (photo 1)
Cold whites will still whip, but it will take longer, and you will not get the volume you need for a properly tall, airy cake.
Step 2: Preheat the oven and sift the flour and sugar. Set your oven to 375°F with the rack in the middle position. Sift the cake flour and powdered sugar together into a bowl, then set aside.
Sifting is not optional here: clumps of flour folded into meringue will deflate it faster than almost anything else.
Step 3: Beat the egg whites with cream of tartar until foamy. In the bowl of a stand mixer fitted with the whisk attachment, or using a hand mixer, beat the egg whites and cream of tartar together on medium speed until the mixture is foamy and the cream of tartar has fully distributed through the whites.
Step 4: Add the granulated sugar and salt gradually. With the mixer on high speed, add the granulated sugar two tablespoons at a time, waiting a few seconds between each addition to let it incorporate. Continue beating until the meringue is stiff and glossy — when you lift the whisk, the peaks should hold their shape without flopping.
If the meringue looks slightly overwhipped and starts to look dry or cottony, it has gone too far.
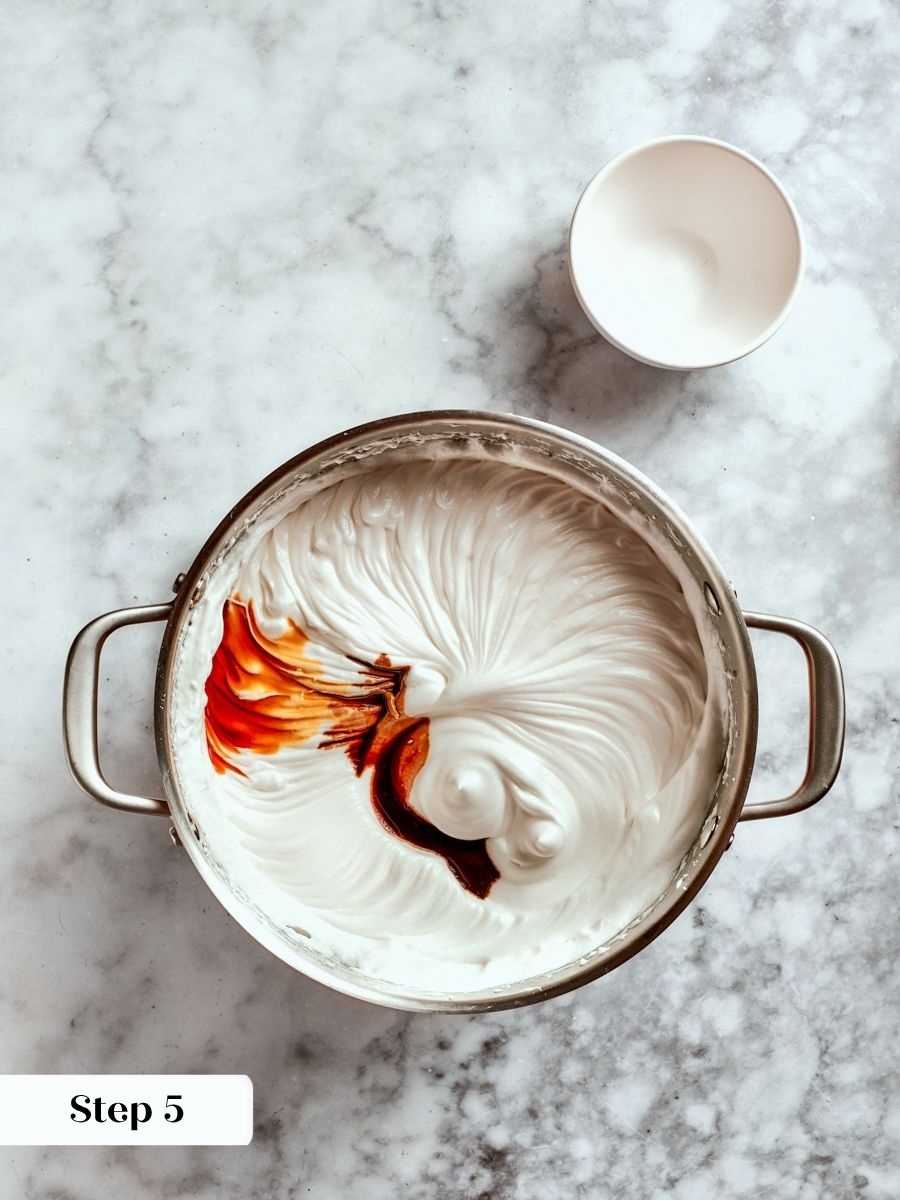
Step 5: Once you have almost reached stiff peaks, add the extracts. (photo 2)
Occasionally mine have been slightly less stiff than true stiff peaks, and the cake still turned out fabulous, so don’t be too worried, but ideally you should have true stiff peaks.
Fold in Dry Ingredients
Step 6: Fold in the flour-sugar mixture. Remove the bowl from the stand mixer. Sift the flour-sugar mixture over the meringue in four additions, about ¼ cup at a time, and fold each addition just until it disappears before adding the next. Use a wide silicone spatula and work in long, deliberate strokes from the bottom of the bowl up and over the top of the meringue.
That double sift ensures no clumping and helps the dry ingredients incorporate better.
Step 6: Transfer the batter to an ungreased tube pan. Gently push the batter into a 10×4-inch tube pan. Use a metal spatula to cut gently through the batter in a few places to release any large air pockets. I don’t tap my angel food cake.
This sounds obvious, but I’ve watched cooks do it a million times. Don’t drop the batter from way up high. When it lands, it will deflate slightly, so gently push the batter from the bowl while holding it just above the pan.
Bake
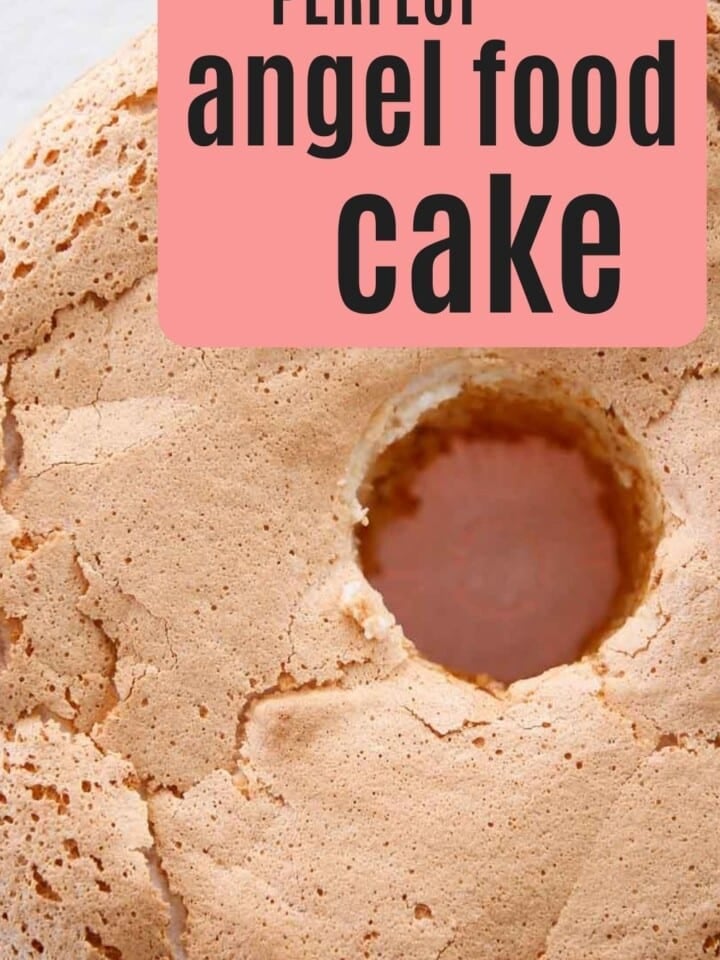
Step 7: Bake until the top springs back and the cracks feel dry. Bake at 375°F for 30 to 40 minutes, starting to check at 30. The surface will crack as the cake rises, which is exactly what you want to see.
Pulling the cake from the pan while it is still warm will turn your cake into mush.
Step 8: Invert the pan and cool completely. As soon as the pan comes out of the oven, invert it over a long-necked bottle, like a wine bottle, so the pan is suspended upside down above the counter.
Step 9: Remove the cake from the pan. Run a flat offset spatula firmly against the outer wall of the pan all the way around, then use a thin knife or cake tester to cut around the center tube.
Chef Lindsey’s Recipe Tip
Proper folding is integral to the success of this recipe! Sift the dry ingredients directly onto the meringue, then slice through the center of the batter with a large rubber spatula(the largest you own!) , slice down, then fold the bottom of the batter onto the top. I do this while rotating my bowl. Rotating the bowl in the opposite direction allows for quicker, more efficient incorporation of the dry ingredients.
Recipe FAQs
Angel food cake has no fat or egg yolk to stabilize its structure when warm, so it will collapse under its own weight if cooled right-side up. Inverting the pan over a bottle suspends the cake so gravity works in your favor: the crumb sets fully extended rather than compressing as it cools. This is non-negotiable for a tall, airy result.
Wrap the cooled cake in plastic wrap or place it in an airtight container and keep it at room temperature for up to a week. Do not refrigerate it: the sugar will draw moisture from the air inside the fridge, and the cake will become soft and gummy. If you need to make it further ahead, freeze it for up to 3 months, then unwrap and thaw completely at room temperature before serving.
The tube pan is essential. The hollow center allows heat to travel through the middle of the batter, so the cake bakes evenly all the way through without the outside overbaking before the center sets. A standard Bundt pan has too many ridges and the wrong geometry for this to work reliably.
Cake flour has a lower protein content, which keeps the crumb tender and fine. All-purpose flour will produce a slightly denser, chewier texture because the higher protein content encourages more gluten development when the flour is folded into the meringue. If cake flour is not available, sift all-purpose flour with a small amount of cornstarch to approximate it: replace 2 tablespoons of flour per cup with cornstarch.
Recipes to Pair with Angel Food Cake!
Dessert Toppings & Sauces
Salted Caramel Sauce
Dessert Toppings & Sauces
Salted Maple Caramel Sauce
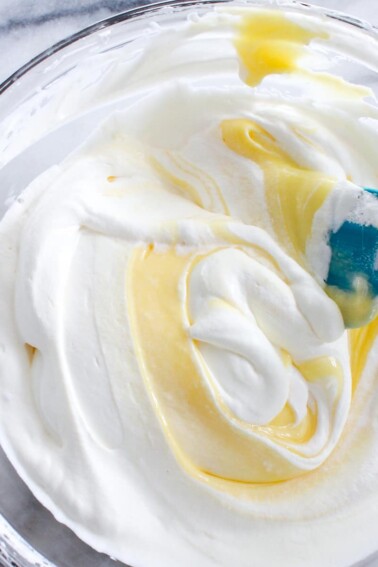
Summer Dessert Recipes
Lemon Curd Whipped Cream Recipe
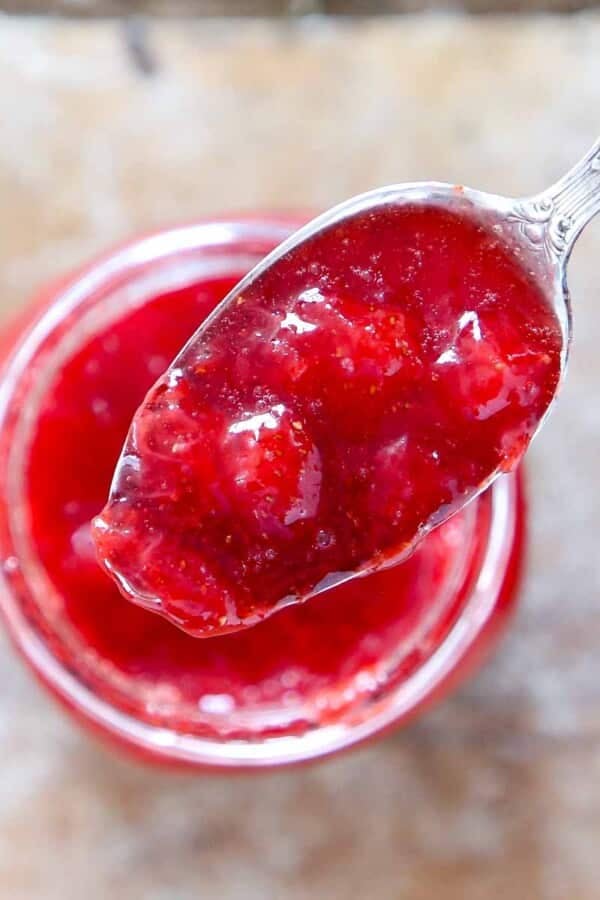
Jams & Jelly Recipes
Easy Strawberry Jam Recipe
If you tried this recipe and loved it please leave a 🌟 star rating and let me know how it goes in the comments below. I love hearing from you; your comments make my day!
Angel Food Cake
Ingredients
- 1 cup cake flour — high quality
- 1 ½ cups powdered sugar
- 1 ½ cups egg whites
- 1 ½ teaspoons cream of tartar
- 1 cup granulated sugar
- ¼ teaspoon kosher salt
- 1 ½ teaspoons vanilla
- ½ teaspoon almond extract
Instructions
- About an hour before starting, separate egg whites from yolks. Cover yolks with cold water and refrigerate. Let egg whites warm to room temperature in a measuring cup or small bowl.
- Preheat the oven to 375°F conventional. Set rack to the middle shelf.
- Sift cake flour and powdered sugar together. Set aside.
- Beat egg whites with cream of tartar in the bowl of a stand mixer or with a hand mixer until foamy and the cream of tartar is evenly distributed.
- With the mixer on high speed, beat in granulated sugar 2 tablespoons at a time until the meringue is stiff and glossy. Add the vanilla, almond extract, and salt with the last addition of sugar.
- Remove the bowl from the mixer. Sprinkle the flour-sugar mixture over the meringue ¼ cup at a time, folding just until the flour-sugar mixture disappears after each addition. Do not overfold.
- Push the batter into an ungreased 10×4-inch tube pan. Run a metal spatula gently through the batter or tap the pan lightly on the counter to settle it and eliminate air pockets.
- Bake 30 to 40 minutes, until the top cracks feel dry and spring back when lightly touched. A tester inserted into a crack should come out with only a few clinging crumbs.
- Immediately invert the pan over a bottle and cool completely, at least 1 hour.
- To unmold, run a flat offset spatula around the outer edge and a thin knife or cake tester around the center tube. Invert onto a cooling rack, lift off the pan, and turn the cake right side up.
Video
Notes
Doneness Cue: Top cracks feel dry to the touch and the surface springs back when lightly pressed. A tester inserted into a crack comes out with only a few clinging crumbs.
Storage: Wrap cooled cake in plastic wrap or store in an airtight container at room temperature for up to a week. Do not refrigerate: the sugar will pull moisture from the air inside the fridge and the cake will turn soft and gummy.
Make Ahead: Freeze the fully cooled cake for up to 3 months. Unwrap and thaw completely at room temperature before serving.
Nutrition
Before You Go
If you are ready to put that impossibly light, cloud-like crumb to use, browse more ideas in Cake Recipes or try this lemon olive oil cake next!









I have made a lot of angel food cakes over the years but this one came out taller and lighter than any I have attempted before. Following the tip to add the sugar two tablespoons at a time made a noticeable difference in how glossy and stable the meringue was. The cracks on top were perfectly dry when I pulled it out at 35 minutes.
Patricia, that is exactly what we love to hear! Thank you for taking the time to share. ~CLF team
This recipe is absolutely the best!
Hi Kim! I’m so happy to hear you loved it and I really appreciate you taking the time to comment!
I made the apple pie spiced version and served it with your apple pie filling, and wow, it was a fantastic dessert! Thank you for all the tips and tricks. I always love watching your videos before making the recipe, very helpful.
I always hesitate to make angel food cake but I decided to give it a try with your recipe. I am so happy I did.
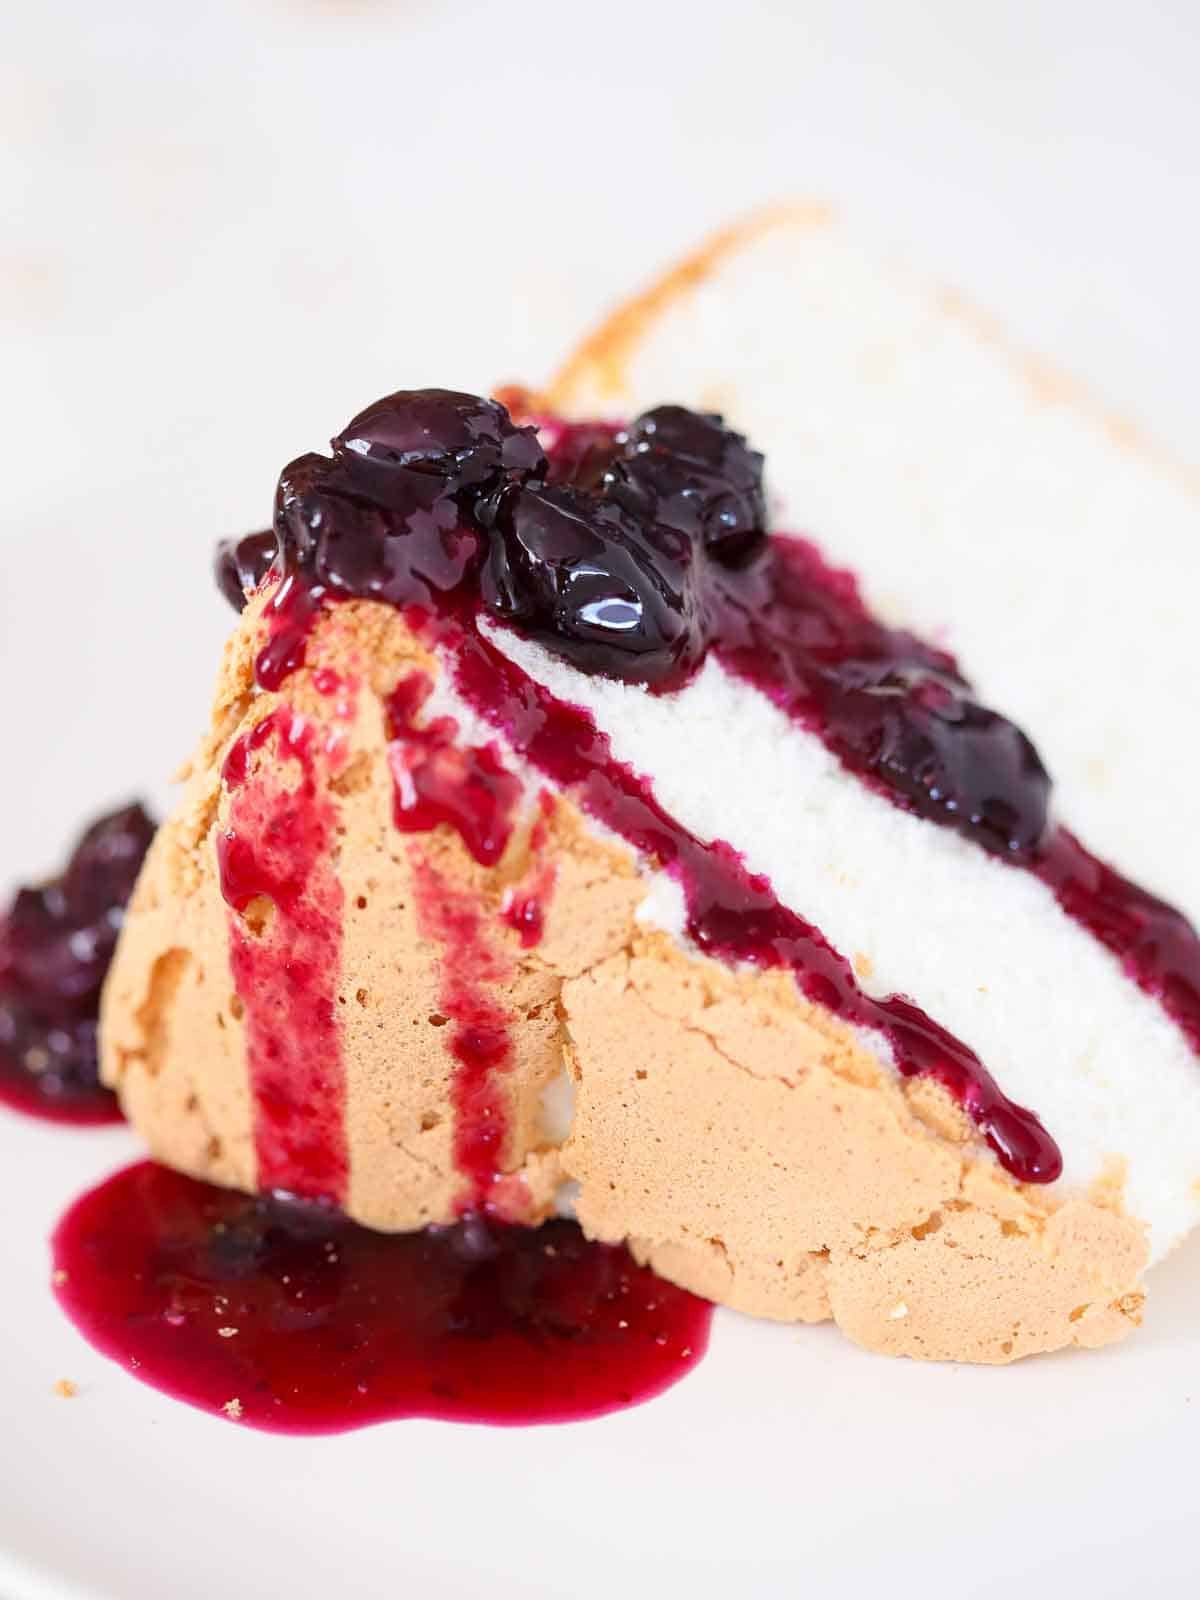
Soft, airy, delicious, and the blueberry sauce with it, to die for it.
Thank you for the inspiration.
Hi Giangi! I’m so happy you went for it, thank you for coming back and letting me know it was wonderful!
I love how this angel food cake with fresh blueberry sauce satisfies my sweet tooth without packing on the calories as much as other options. (Yes, I’m looking at you all things decadently chocolate!)
Hi Sage! It’s good to have a break from the chocolate decadence every so often! 🤎
Homemade angel food cake has always been super intimidating to me, so I love how you included all these tips. My family loves this!
Hi Gena! I’m so happy to hear your family loved it!
It is moist and perfect texture. I will make it again and again.Thank you for sharing. I tried some other recipes but none came out the texture that I liked.
I am so happy to hear that, Manee! This is a tried and true recipe that I have used for years in my professional life. So happy you found it!
Ah the blueberry sauce was everything! Thank you for this recipe, planning to make it again for Mother’s day.
Hi Rose! This is a perfect Mother’s Day recipe! Please let me know how it goes! ❤️
This is delicious! I love blueberries and this sauce is so easy to make.
Hi Jane! I’m so glad it was easy to make and that you loved it!