
This post may contain affiliate links. Please read our disclosure policy.
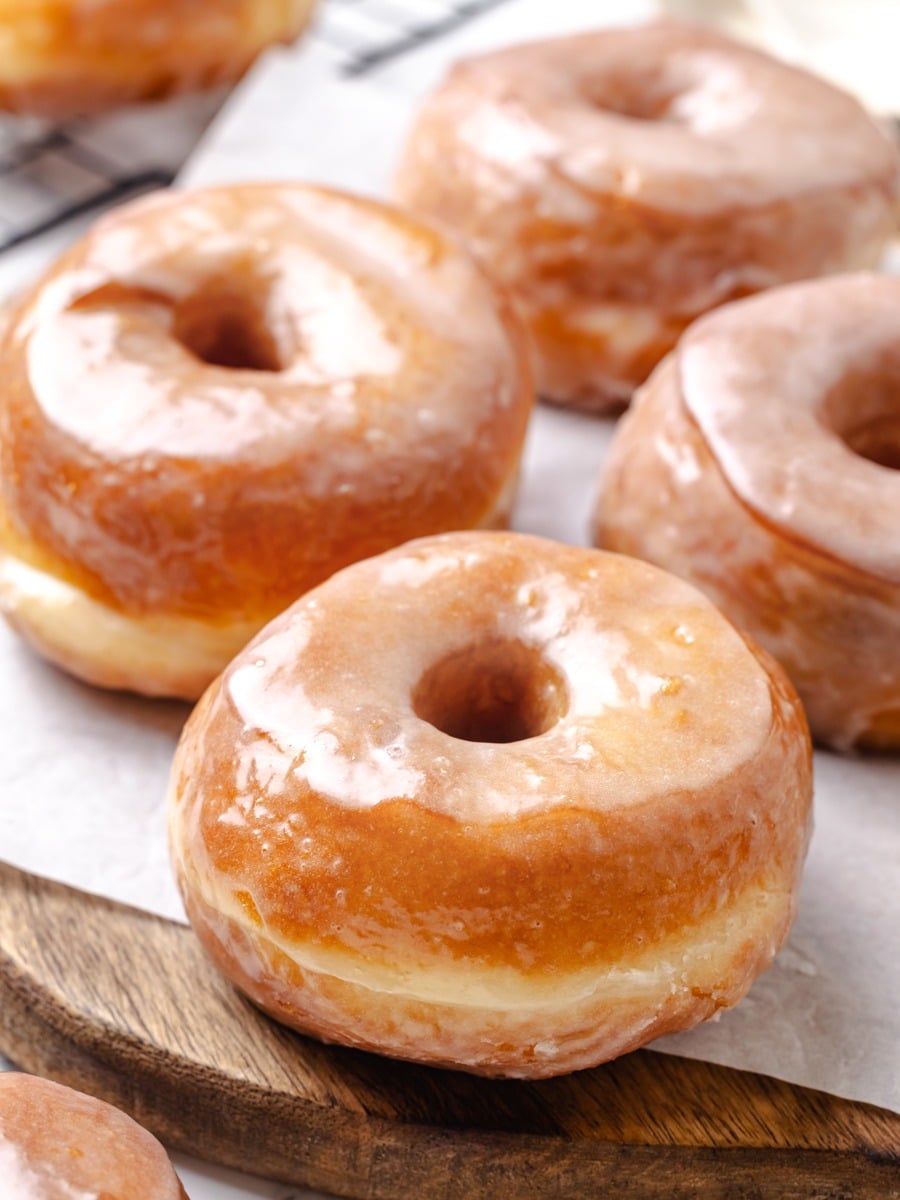
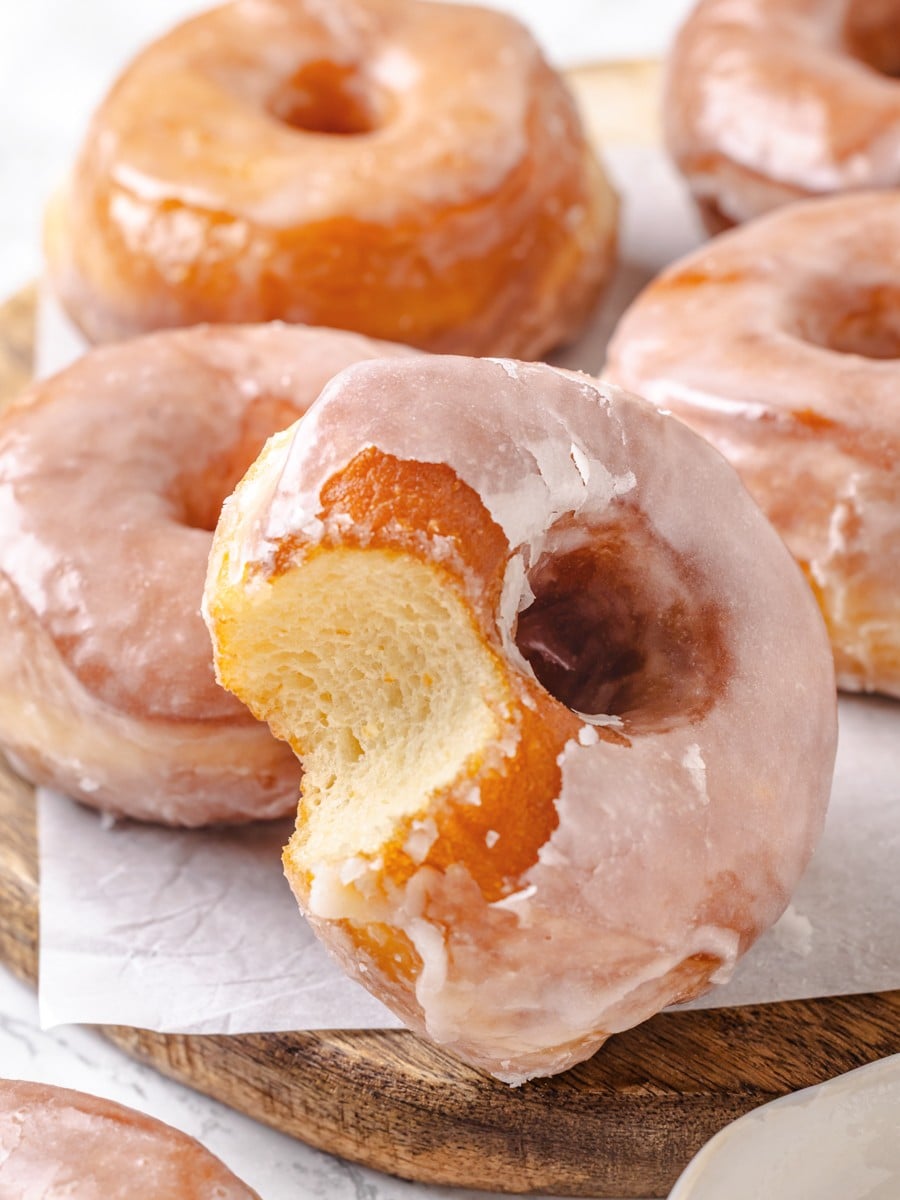
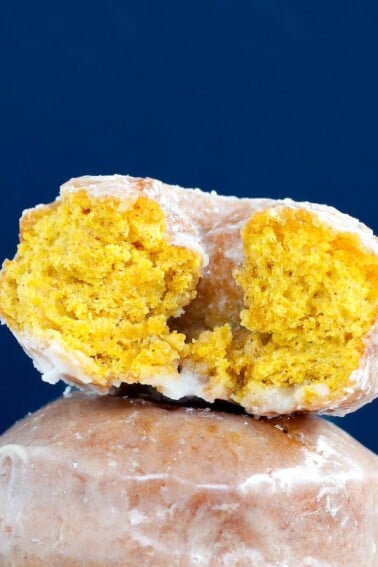
These Krispy Kreme donuts are the closest I have gotten to the real thing at home, with that signature airy crumb and crackly glaze you expect from the original.
A Quick Look At The Recipe
This is a brief summary of the recipe. Jump to the recipe to get the full details.
Jump to RecipePrep Time
35 minutes
Cook Time
15 minutes
Proof Time
1 hour
Total Time
1 hour 50 minutes
Servings
13 Donuts
Difficulty
Intermediate
Calories *
236 kcal per serving
Technique
Mix and knead dough, chill-proof, then fry in temperature-controlled oil for even browning.
Flavor Profile
Light, pillowy, and sweet with a crackly powdered sugar glaze
* Based on nutrition panel
I have made donut recipes before and none of them ever had that signature light, airy texture I was looking for. These nailed it. The tip about heating the oil to 360°F before adding the cold dough made a huge difference in how evenly they browned. ⭐⭐⭐⭐⭐
Megan
Why This Recipe Works
- Enriched dough built for frying. The balance of fat, sugar, and milk in this dough produces the signature tender crumb without absorbing excess oil. Proper proofing is what gets you that light, pillowy interior.
- Controlled fermentation creates structure. A first rise develops flavor, and a second proof after cutting gives the dough time to relax and puff before it hits the oil. Skipping either step produces flat, dense donuts.
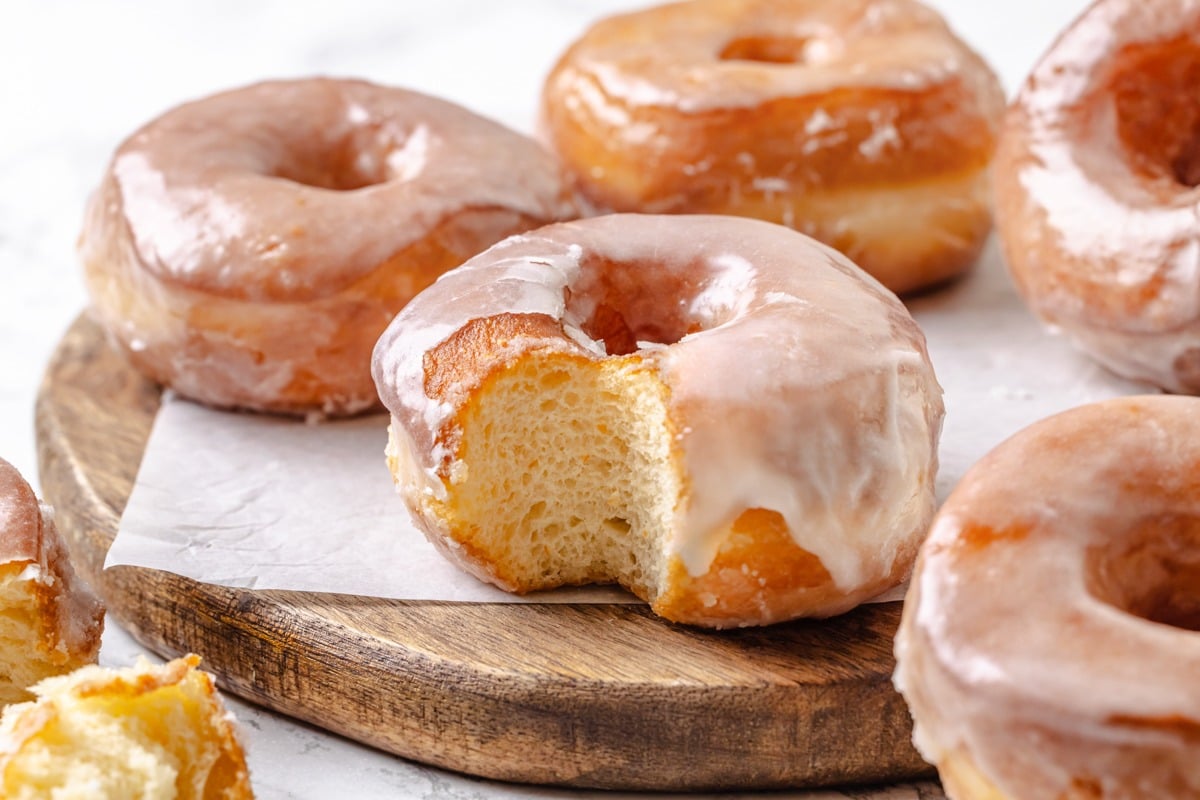
- A thin, classic glaze finishes the texture. The Donut Glaze Recipe sets into a crackly, translucent shell, the defining characteristic of a Krispy Kreme-style donut. Dipping while the donuts are still warm ensures even coating and that signature thin finish.
Table of Contents
Yes, you can make these iconic donuts right from your own kitchen. And you’ve landed on the exact site to help you through it. These Krispy Kreme donuts are perfectly sweet, tender, and unbelievably satisfying. Like I was telling you in my recent donut glaze post, as a pro chef, I’ve developed more donut recipes than is altogether normal. This recipe was constantly under development so I could present it to you in its perfect form!
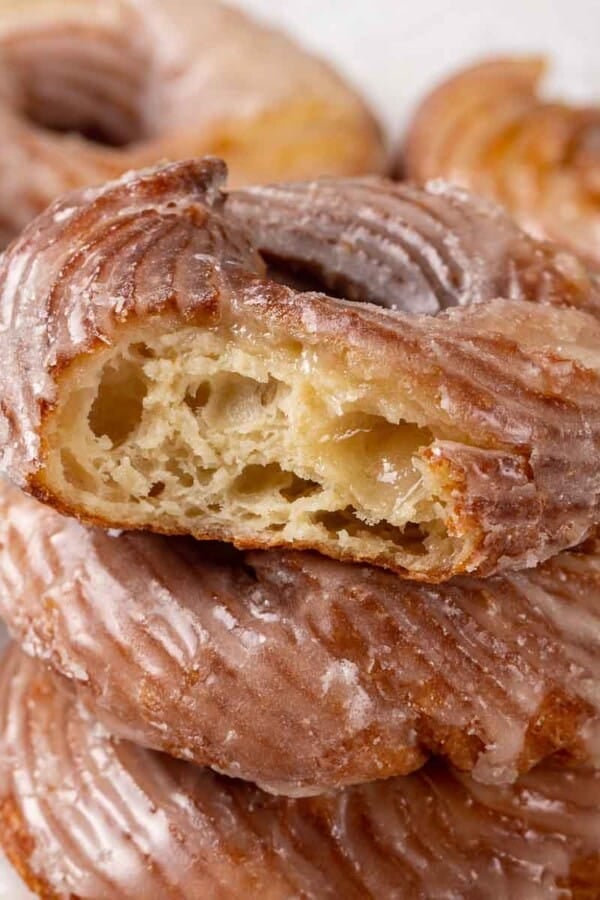
Yeasted donuts bring their own challenges and rewards. If you’re looking for a more beginner-friendly recipe with a similar flavor profile, I got you. You can head over to my sour cream donuts or French crullers instead and circle back when you’re ready!
Ingredients & Substitutions
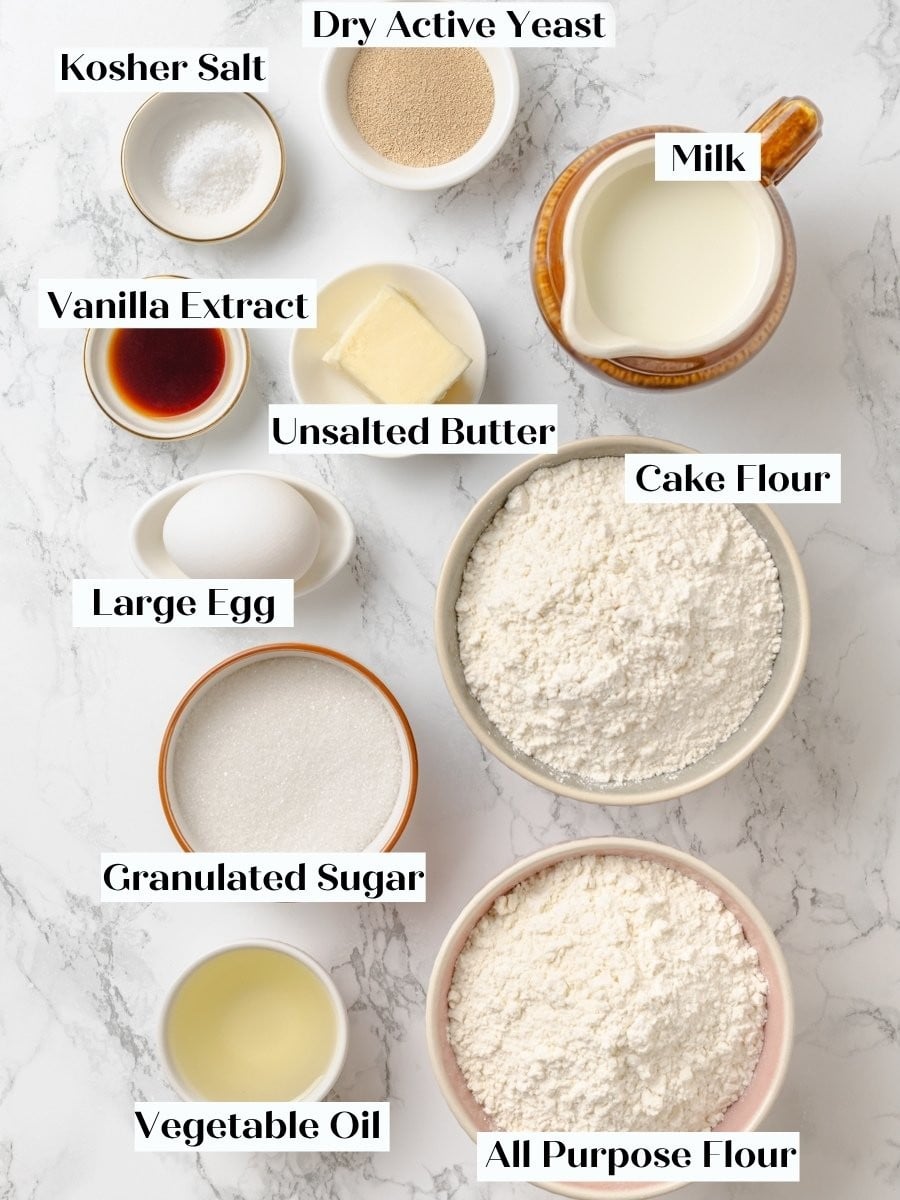
- Unsalted Butter: Adds richness and tenderness to the dough without contributing extra salt. Use it cold from the fridge and cut it into pieces so it incorporates evenly during mixing.
- Vegetable Oil: Keeps the crumb soft after frying by contributing liquid fat that stays fluid at room temperature. Canola oil works just as well here.
- Dry Active Yeast: The leavening agent that gives these donuts their signature pillowy lift. Proof it in warm milk before mixing to confirm it is active; if it does not foam within 10 minutes, start over with a fresh packet. If you don’t have dry active yeast, you can substitute double the weight of fresh yeast or half the weight in instant yeast. If using either fresh or instant yeast, you can add it straight to the dough, but mixing it into the sponge will still kickstart fermentation and gluten development!
- Cake Flour and All-Purpose Flour: Using both flours is the key to this dough’s texture. Cake flour has a lower protein content, which produces that characteristically soft, fine crumb. I tested this with all-purpose flour alone, and the donuts were noticeably chewier and less delicate.
- Sugar: A small amount feeds the yeast during proofing and adds a light sweetness to the dough. Do not reduce it, as it also affects browning during frying.
See the recipe card for full information on ingredients and quantities.
Variations on This Krispy Kreme Donut Recipe
- Shortening-Fried. For the most authentic Krispy Kreme flavor, fry in vegetable shortening instead of canola or vegetable oil. The flavor difference is subtle but noticeable if you grew up eating the real thing.
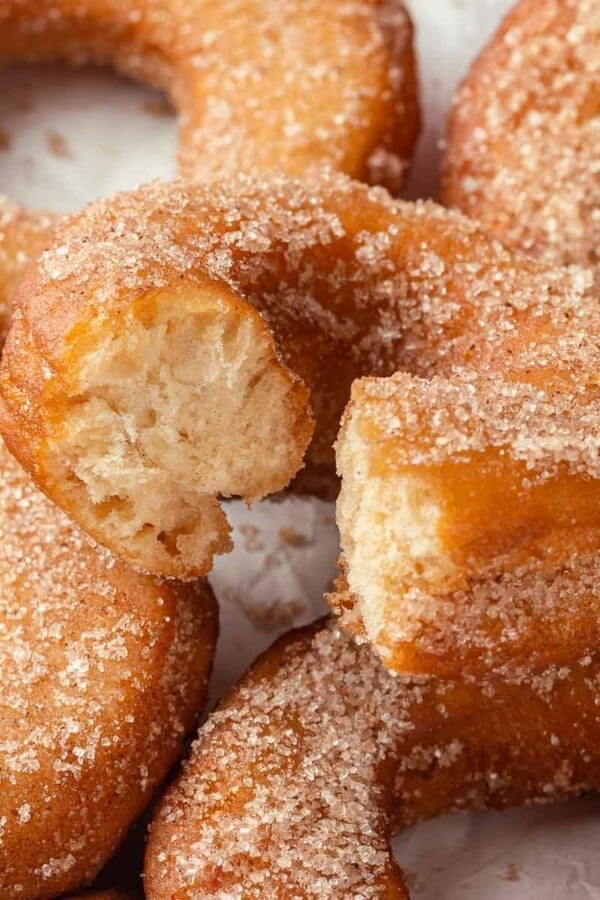
- Granulated Sugar Coating. Instead of glaze, roll the warm donuts in granulated sugar or cinnamon sugar like I do with these [apple cider donuts]! Coat them after they come out of the oil. It gives you a crunchier, less sweet finish that works especially well on the donut holes.
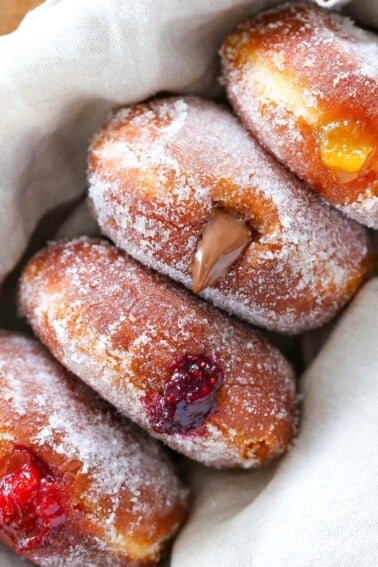
- Filled Donuts. Skip the donut cutter hole and fry rounds instead, then pipe in your filling of choice after cooling. My jelly donut recipe post covers exactly how to fill and finish them without making a mess.
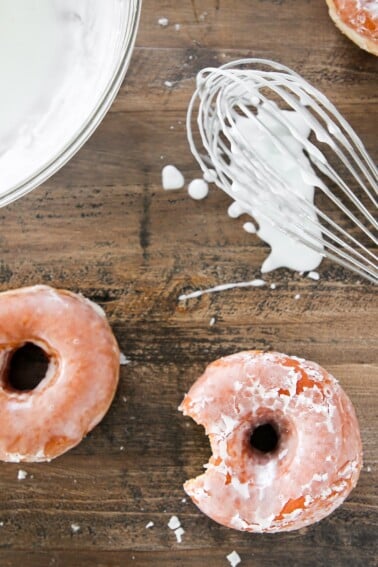
- Use a different glaze. I’m a sucker for my classic donut glaze, but you know from my devotion to chocolate recipes that [chocolate fudge glaze] would be a winner in my book. You could also add some fresh strawberry flavor using the glaze from my [lemon cake donuts].
Professional Tips
- Use a thermometer for the oil. Use this candy thermometer while frying. The temperature needs to stay between 350°F and 360°F throughout the whole batch. I heat my oil to 360°F before adding donuts because cold dough drops the temperature immediately; anything below 350°F means greasy donuts, and too hot means burnt on the outside and raw on the inside. Don’t be afraid to turn off the stove.
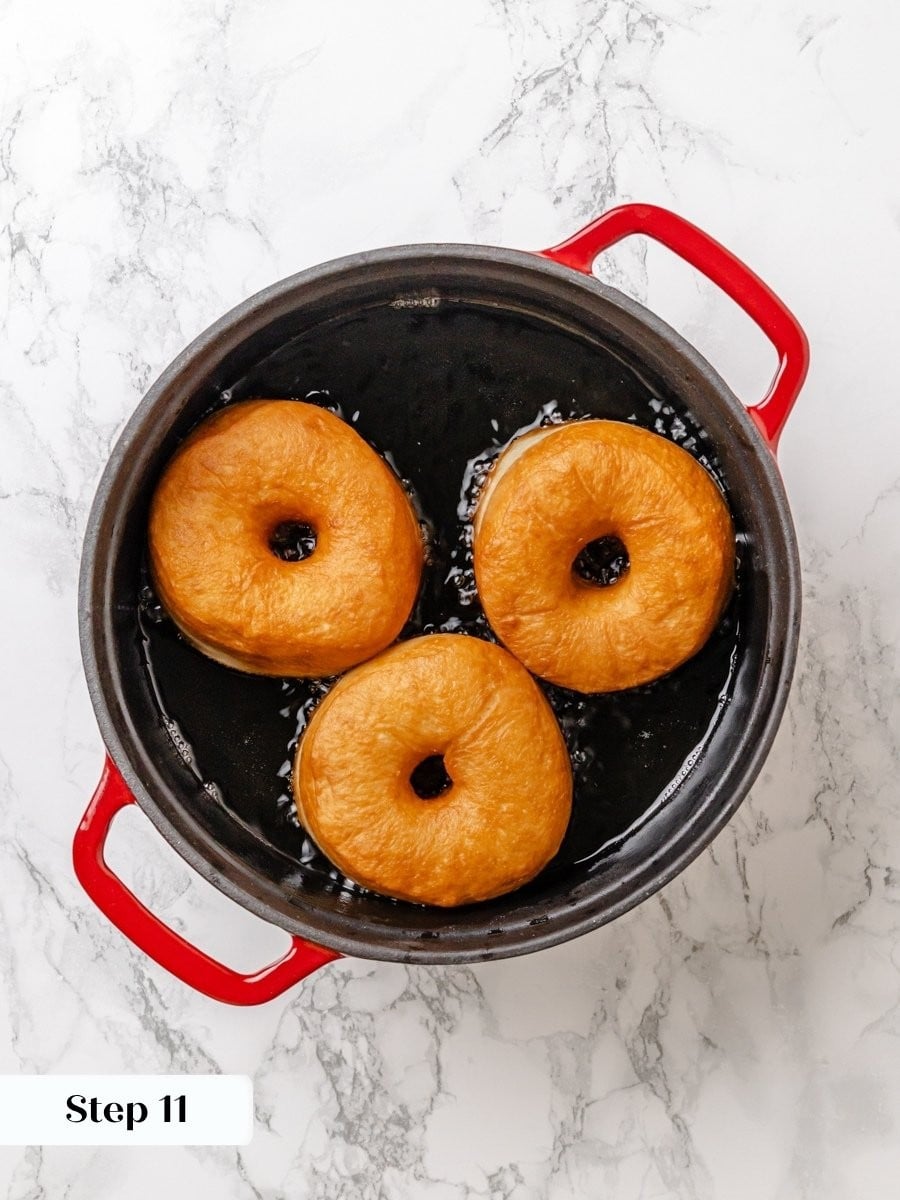
- Do not crowd the pot. Fry 3 to 5 donuts at a time depending on your pot size. They need room to puff and float freely; too many at once causes the temperature to crash and the donuts to stick together.
- Rest scraps before re-rolling. You can re-roll the dough scraps once, but first knead them into a ball, wrap tightly in plastic, and let them rest for at least 20 minutes. If you try to roll them immediately, the gluten will fight you and the donuts will be dense.
- Keep unfried donuts cold until the moment you fry. Pull them from the refrigerator in small batches and let them sit at room temperature for 6 minutes before frying, which is exactly what I do. Letting the full tray sit out while you work through earlier batches results in overproofed donuts that deflate in the oil.
How to Make Krispy Kreme Donut Recipe
Start with the dough, since it needs two rounds of cold rest before you can fry. Plan ahead, and this recipe moves smoothly. Further details and measurements can be found in the recipe card below!
Make dough
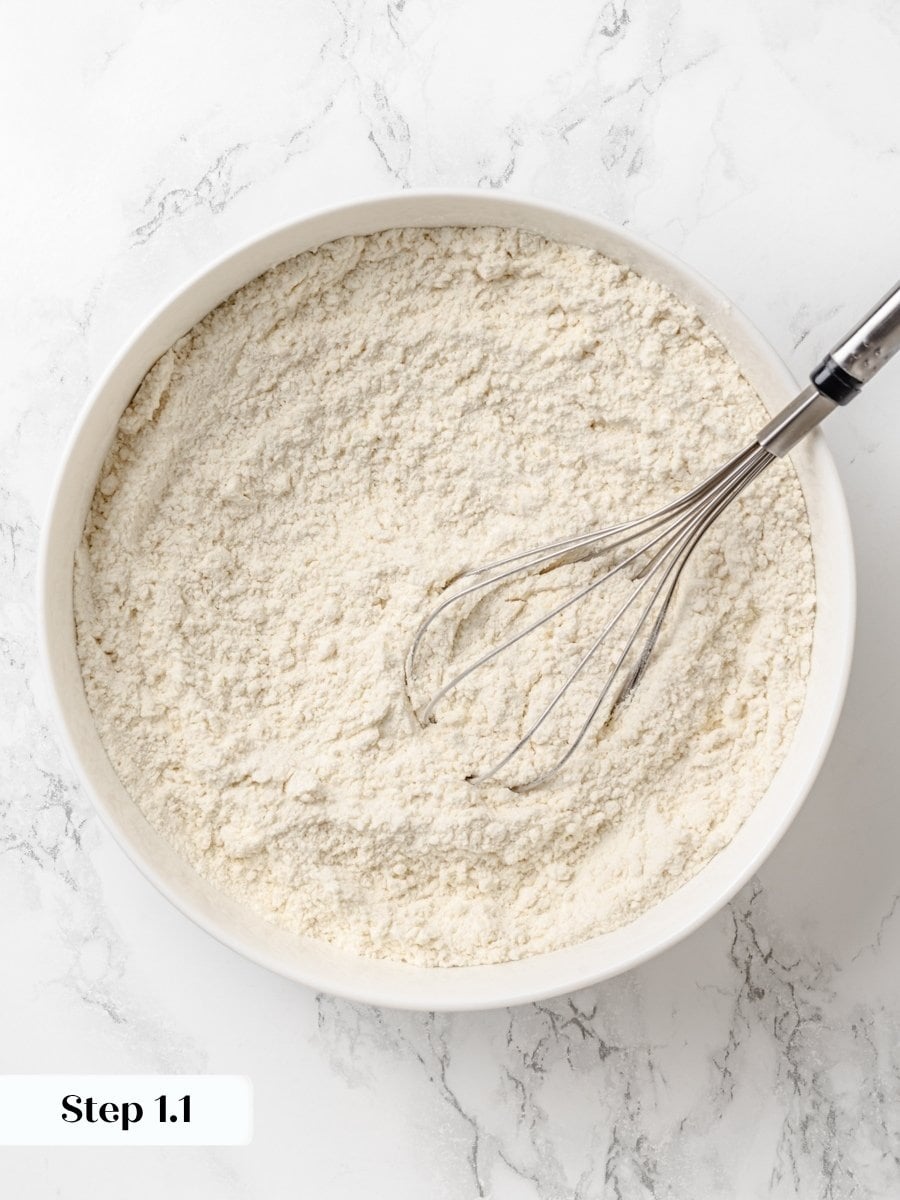
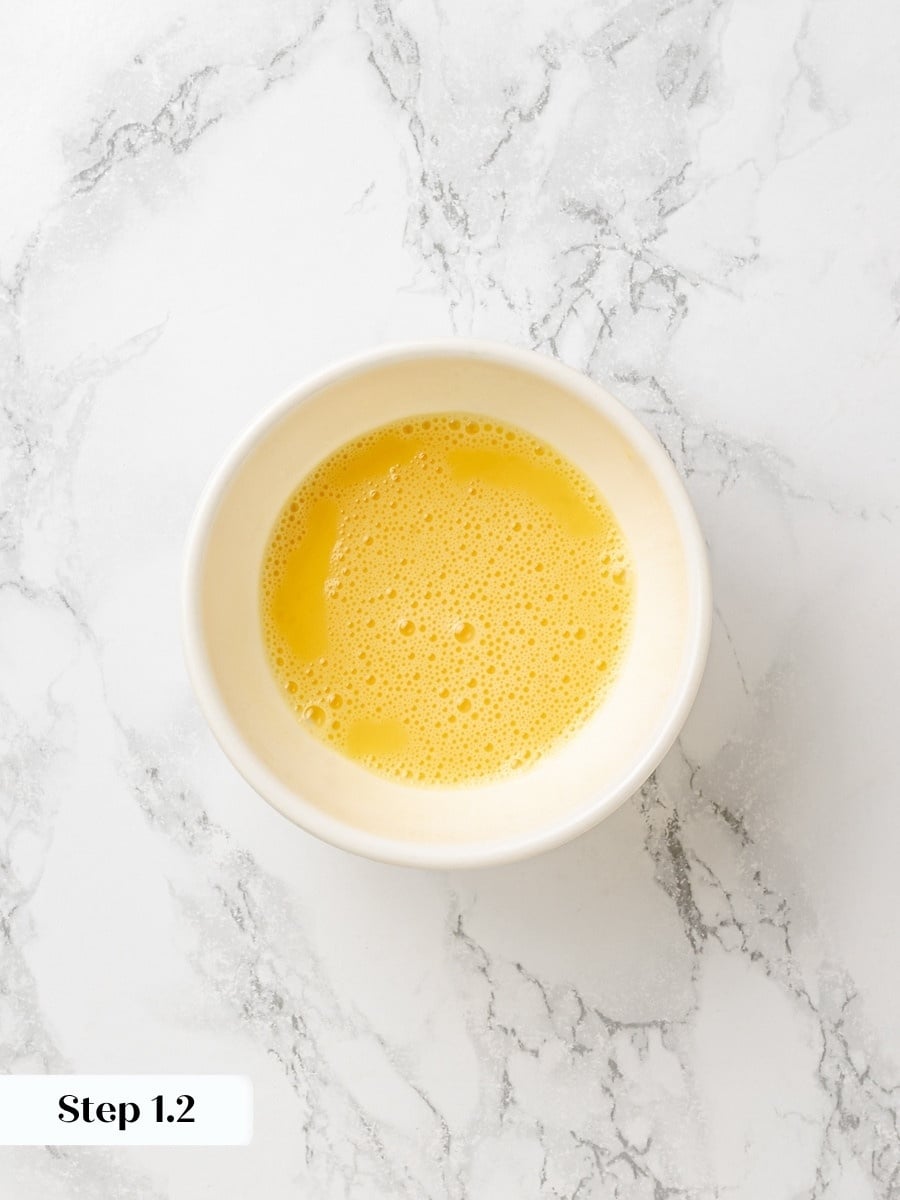
Step 1: Whisk together flours, sugar, and kosher salt in a bowl and set aside. In another small bowl, beat the egg until smooth and no streaks of white remain. (photos 1 & 2)
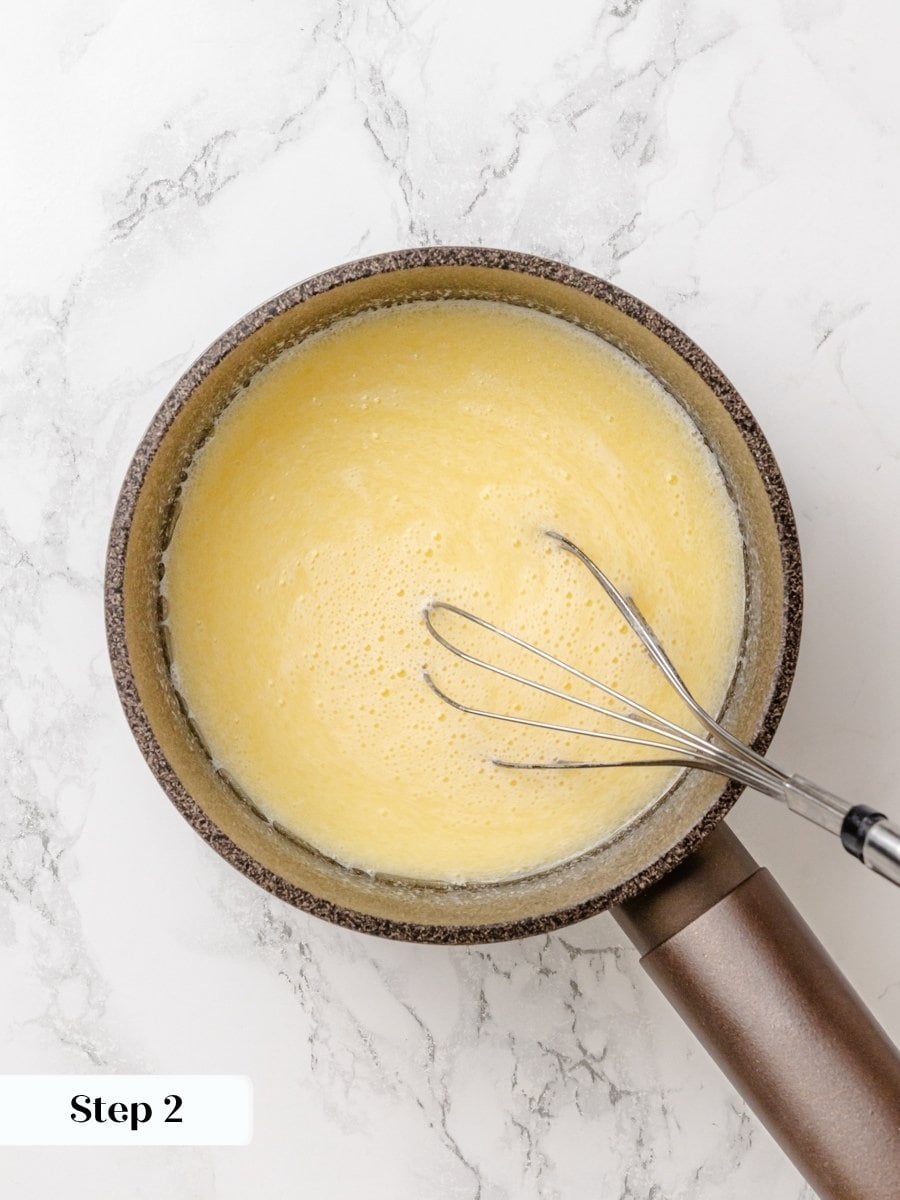
Step 2: In a small pot, melt butter over low heat. Whisk in the oil, followed by the milk, and finally the beaten egg and vanilla. Cook over low heat, stirring constantly, until 106°F. (photo 3)
If your butter mixture was too hot when you added the egg and it scrambled, start over. Whisking the egg into the pot in a steady stream will help prevent this.
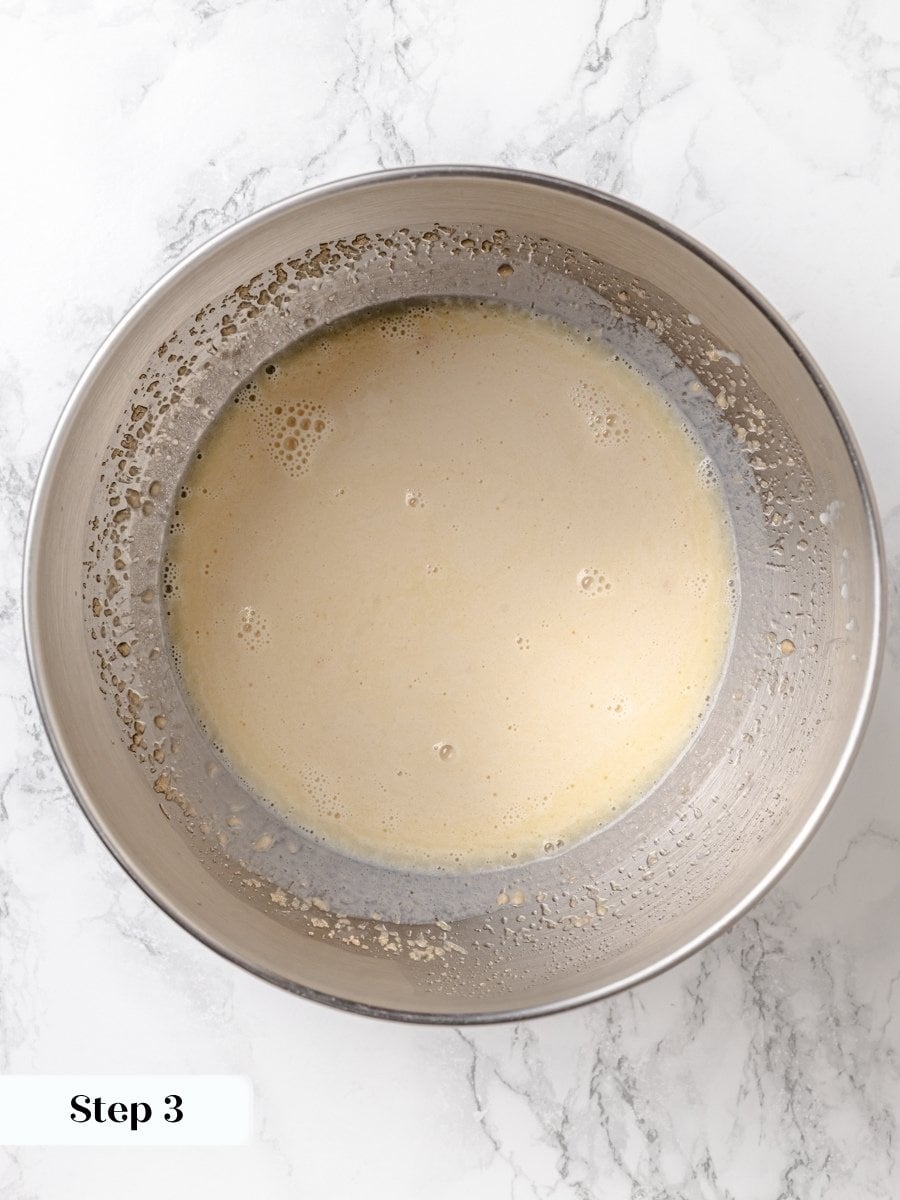
Step 3: Pour into the bowl of a stand mixer and whisk yeast into the milk mixture. Set it aside and allow it to bloom for 10 minutes. (photo 4)
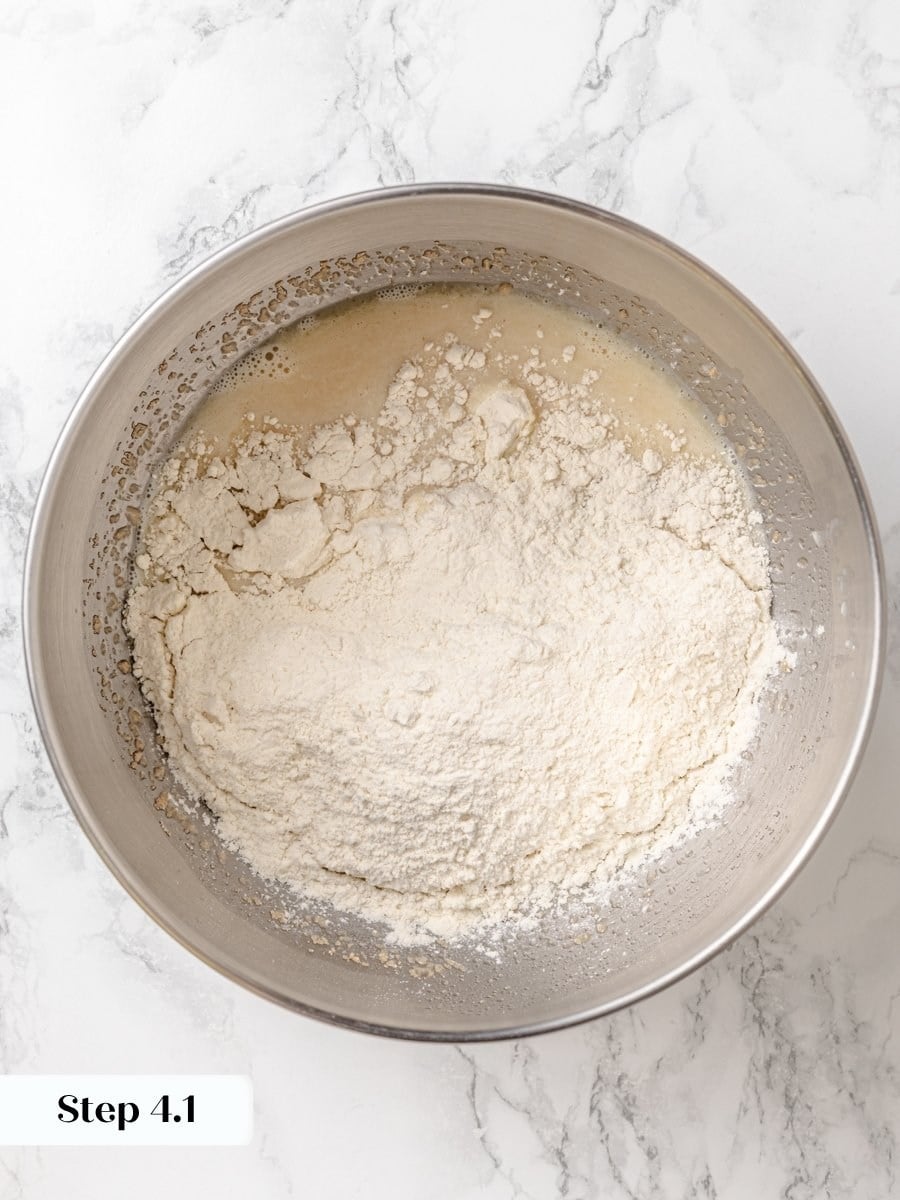
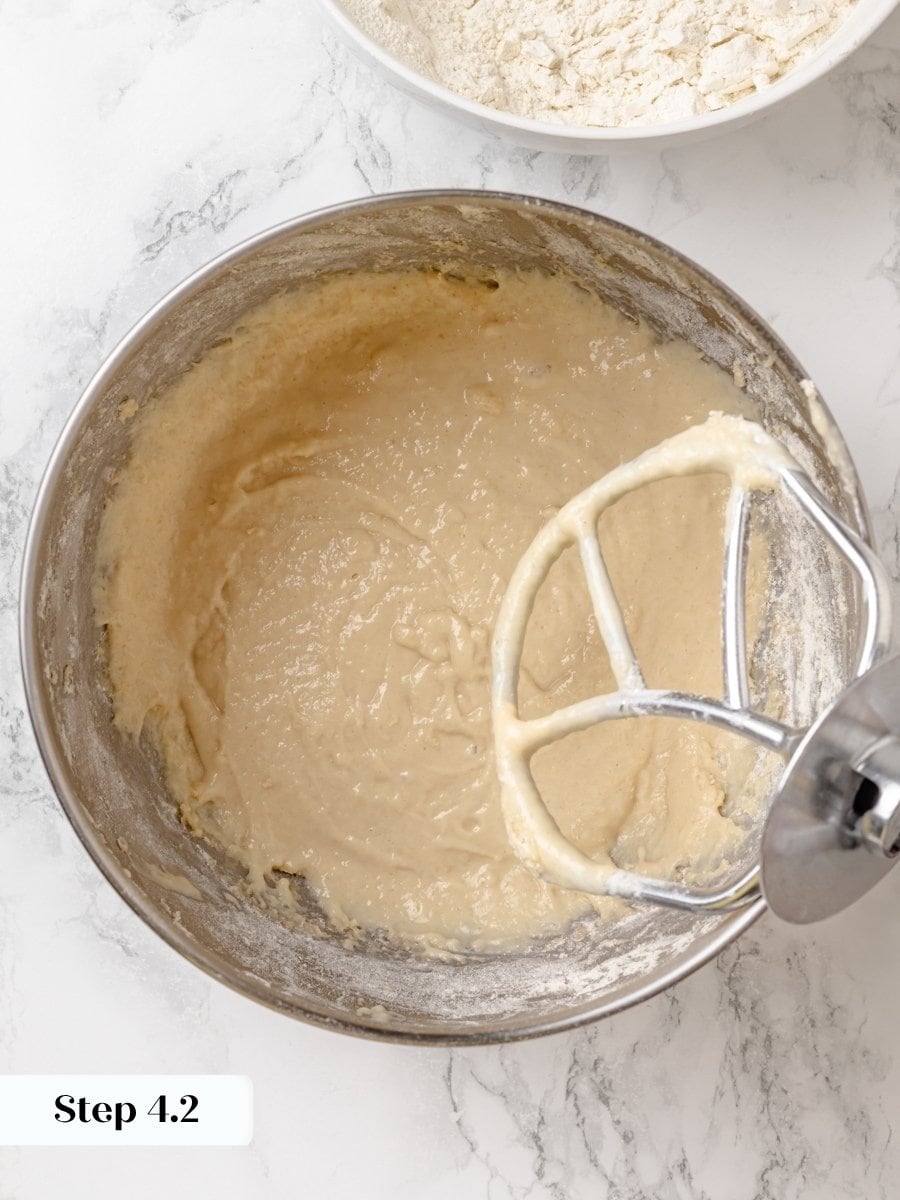
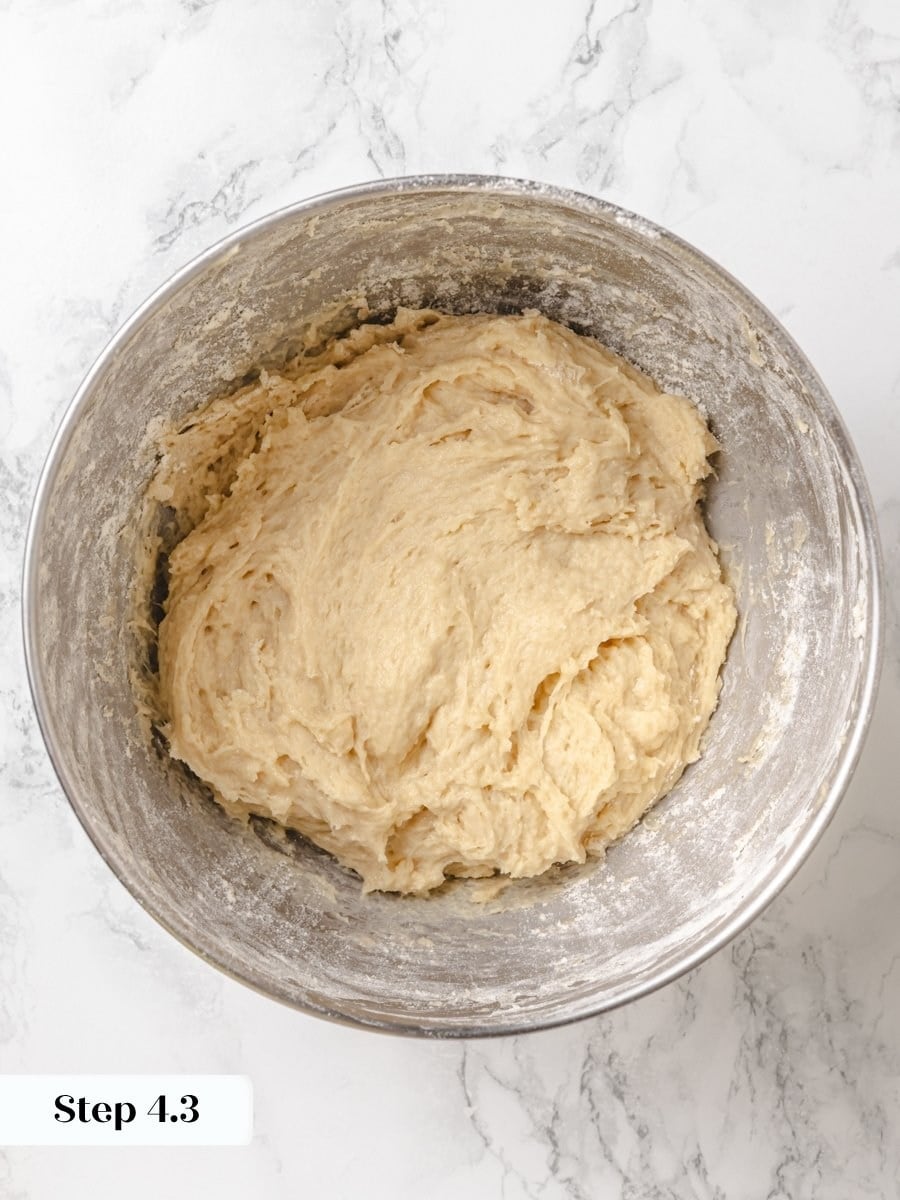
Step 4: Fit the mixer with the paddle attachment and add half the flour to the bowl with the yeast/milk mixture. Mix on low to combine, then add the remaining flour and mix on low until flour is incorporated. (photos 5-7)
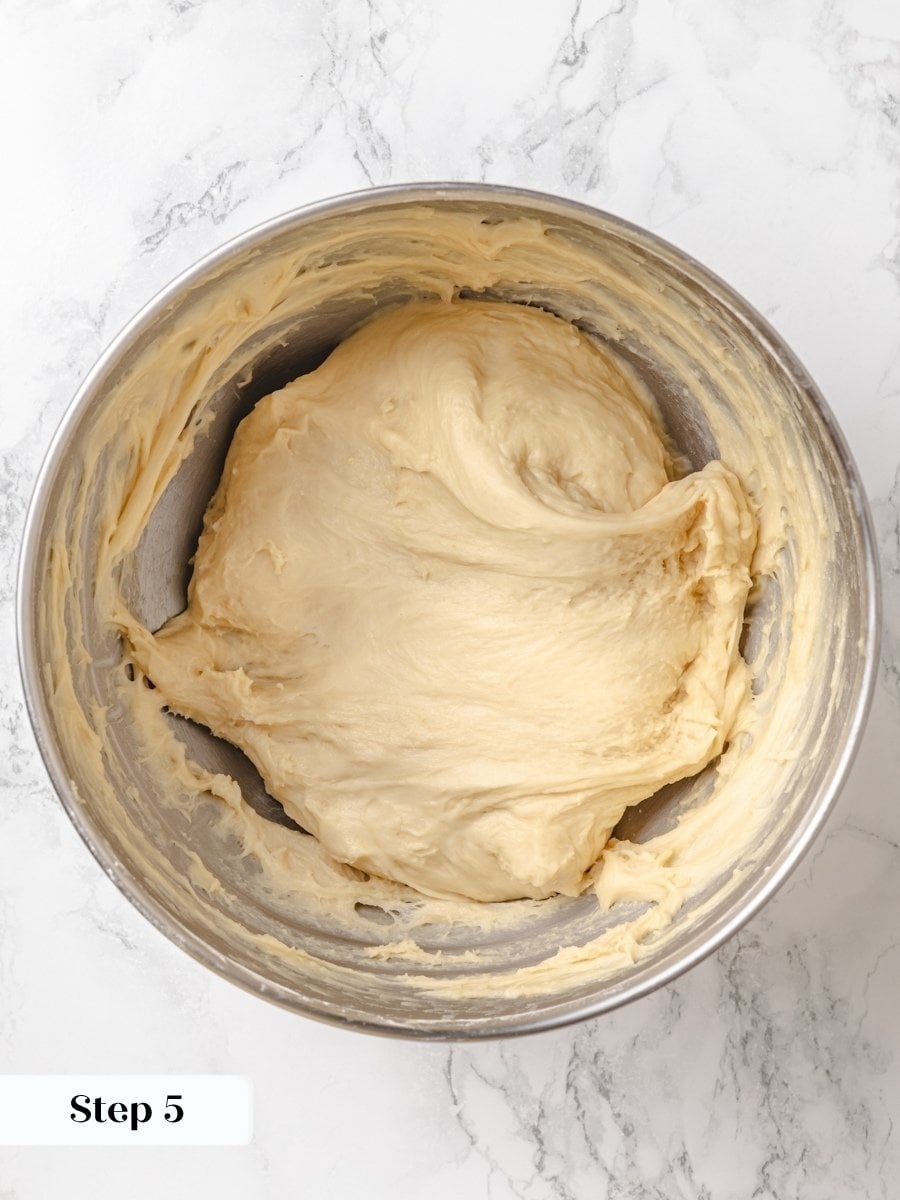
Step 5: Switch to the dough hook, set the speed to medium-high, and continue mixing until you can see strands pulling from the sides of the bowl into the center, approximately 12 minutes. It will not completely form a smooth dough ball. There isn’t enough gluten for that! (photo 8)
This is not a beginner’s dough. That doesn’t mean you should shy away from attempting it. Just don’t get frustrated. Be patient with yourself and the dough. Accept that it is going to be sticky and not form a smooth dough. I highly suggest you watch my video on making Krispy Kreme donuts, because nothing beats showing someone how to handle a yeasted dough.
Proof
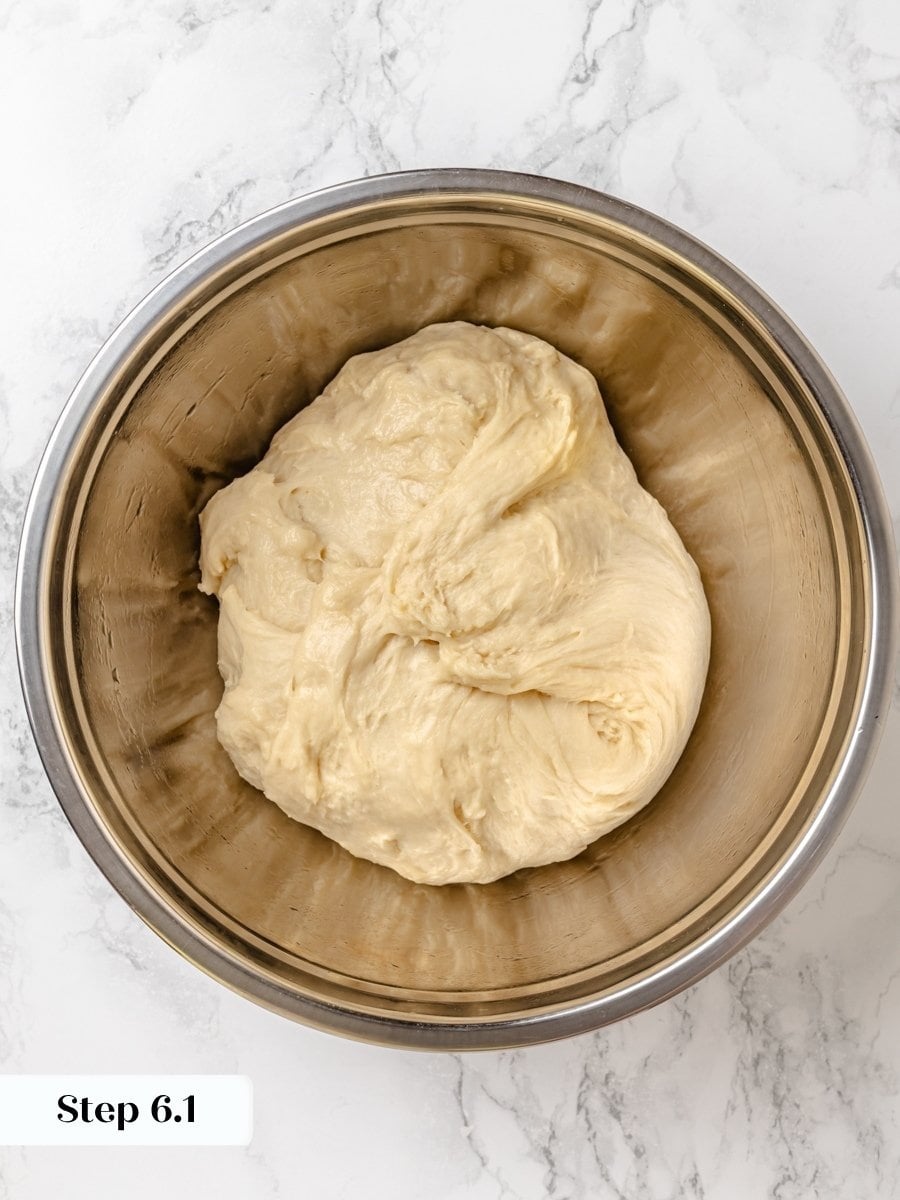
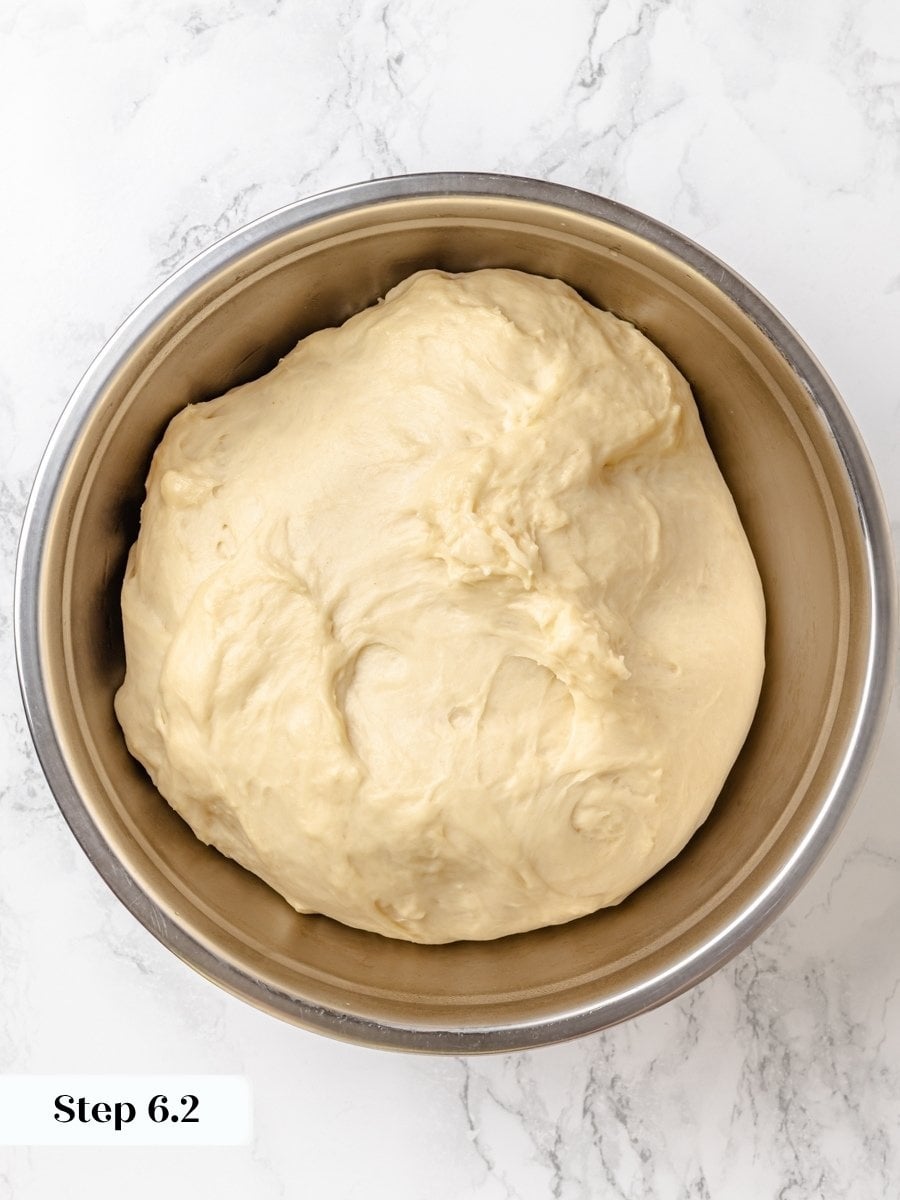
Step 6: Spray a large bowl with nonstick cooking spray. Spray hands and bowl scraper with the spray, scrape out the dough into your hands, and form it into a ball. Place in an oiled bowl. Cover with plastic wrap and bulk proof in the refrigerator for 30 minutes. (photo 9 & 10)
My best professional advice is to let the dough guide you. If it isn’t light and airy when the timer says it “should” be, give it more time or proof it in a warmer environment.
Roll and Cut
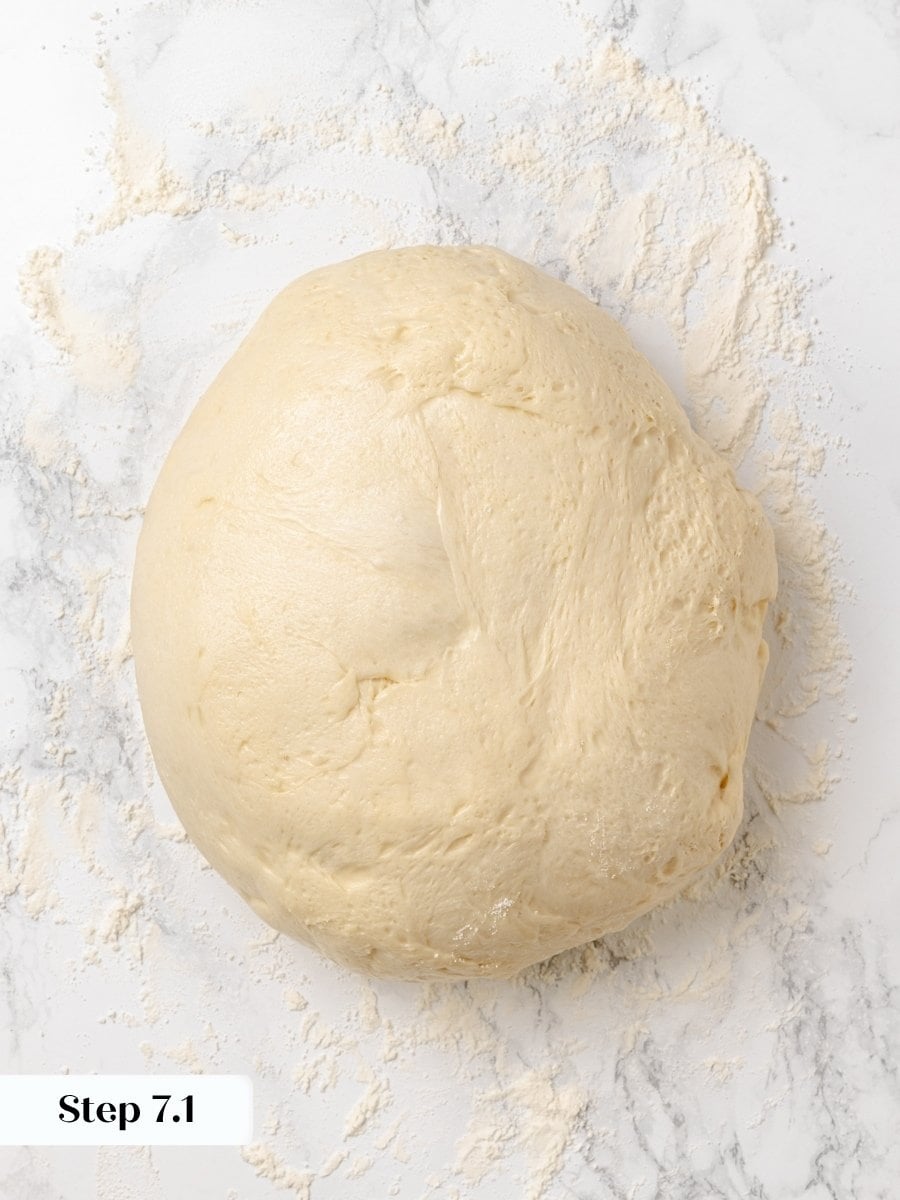
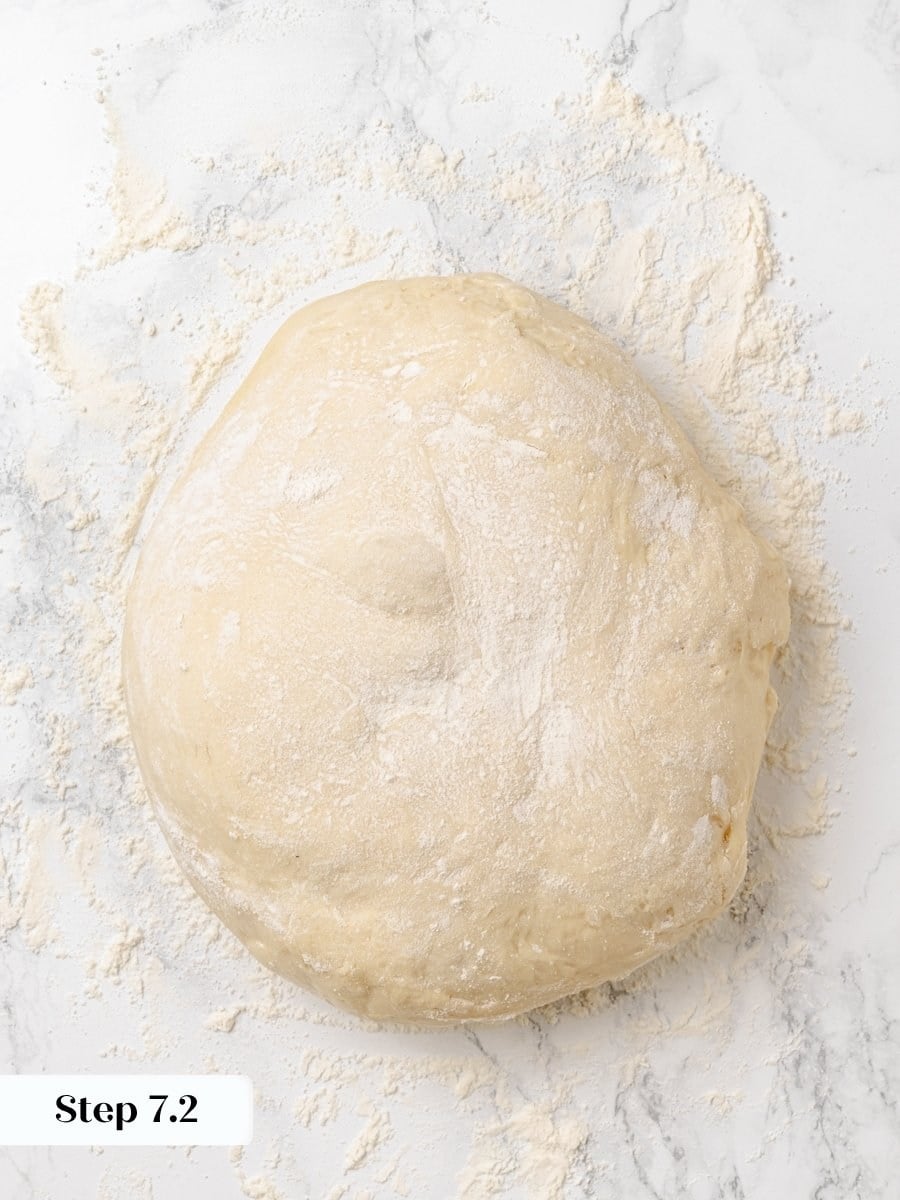
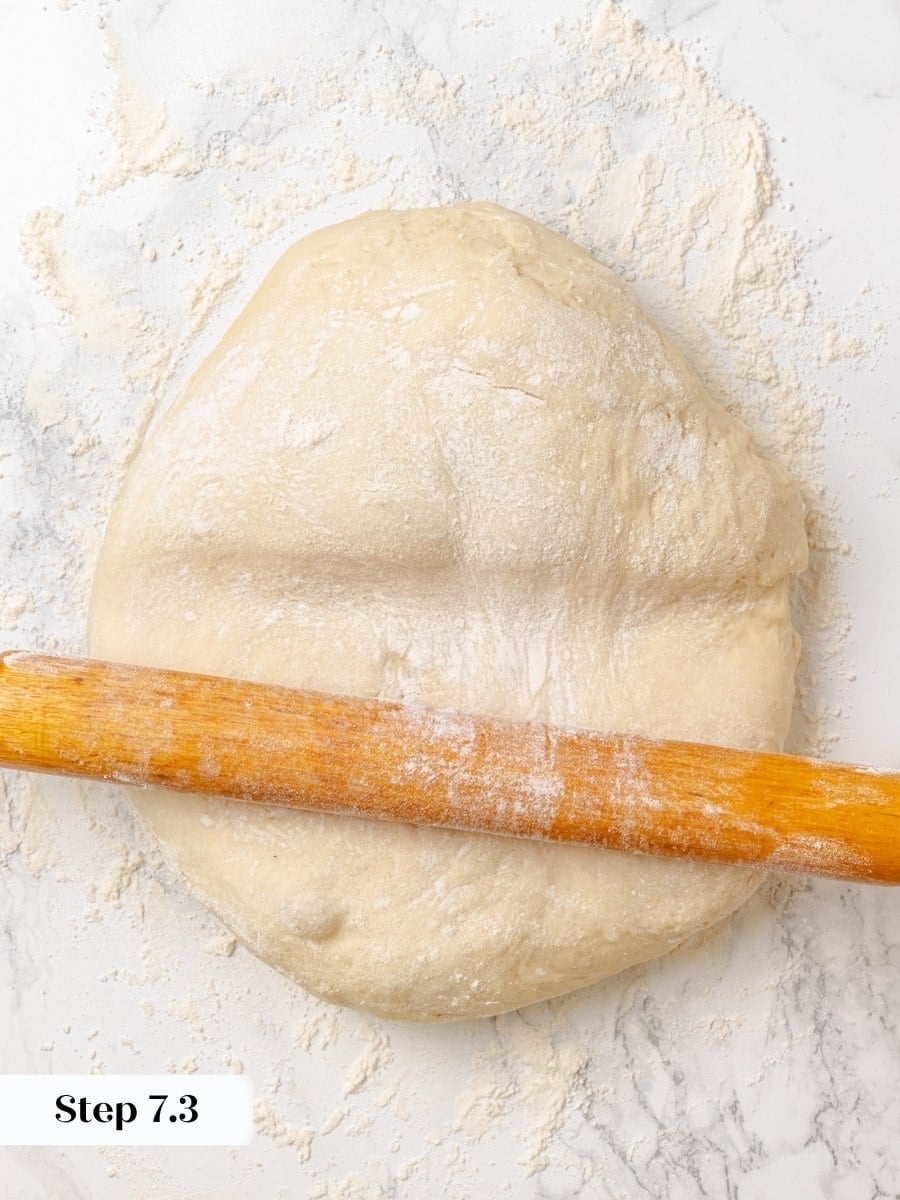
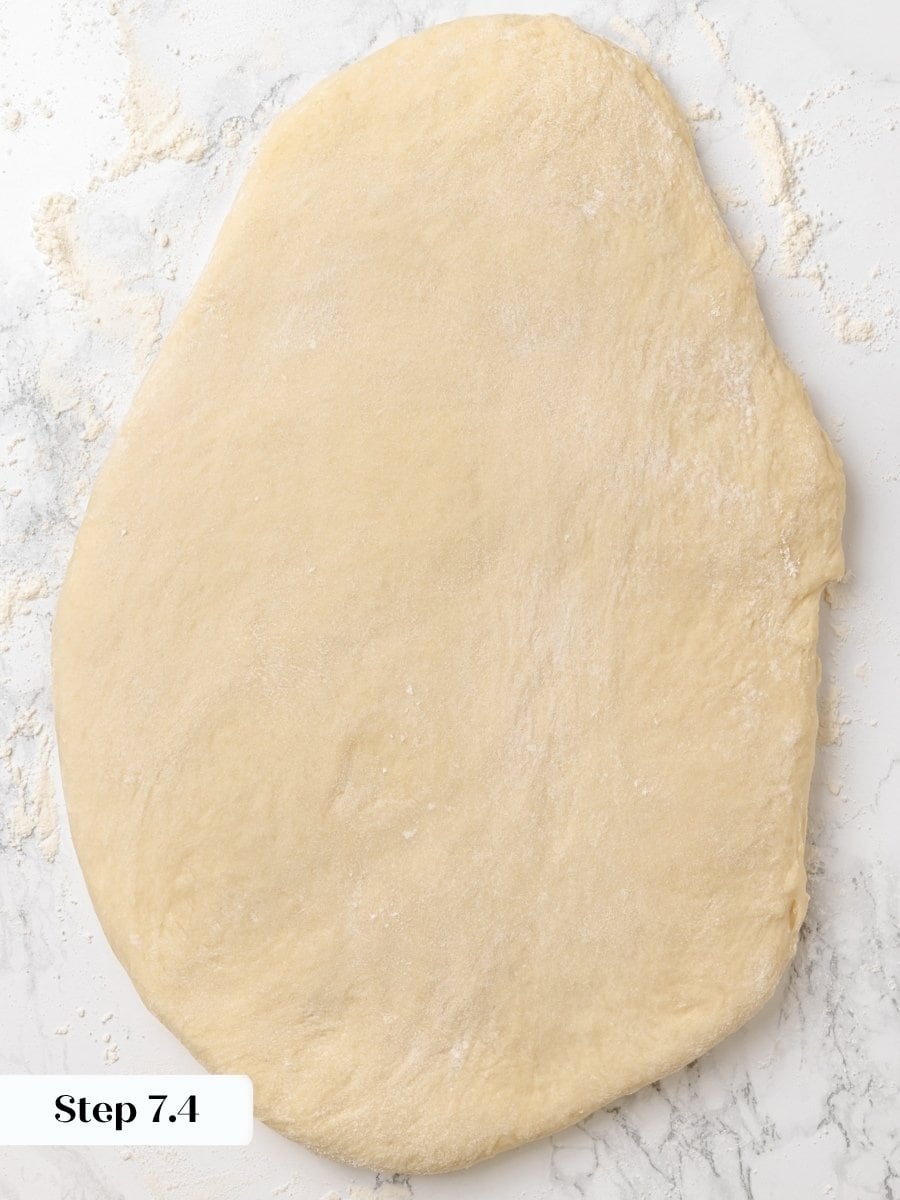
Step 7: Lightly flour your work surface. Using a bowl scraper or silicone spatula, scrape the dough onto the surface. Sprinkle it with a bit more flour. Flour your rolling pin. Gently roll out to approximately ½ inch thickness. (photos 11-14)
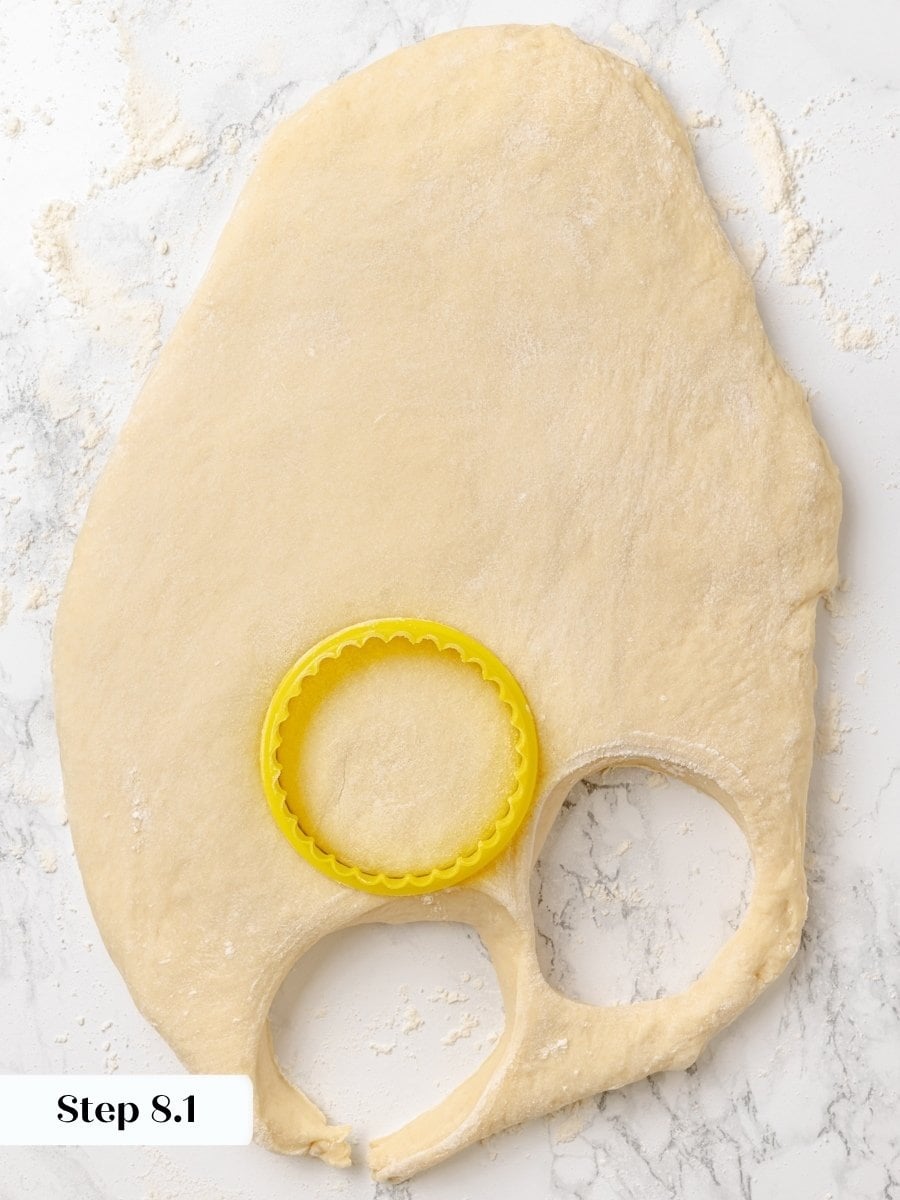
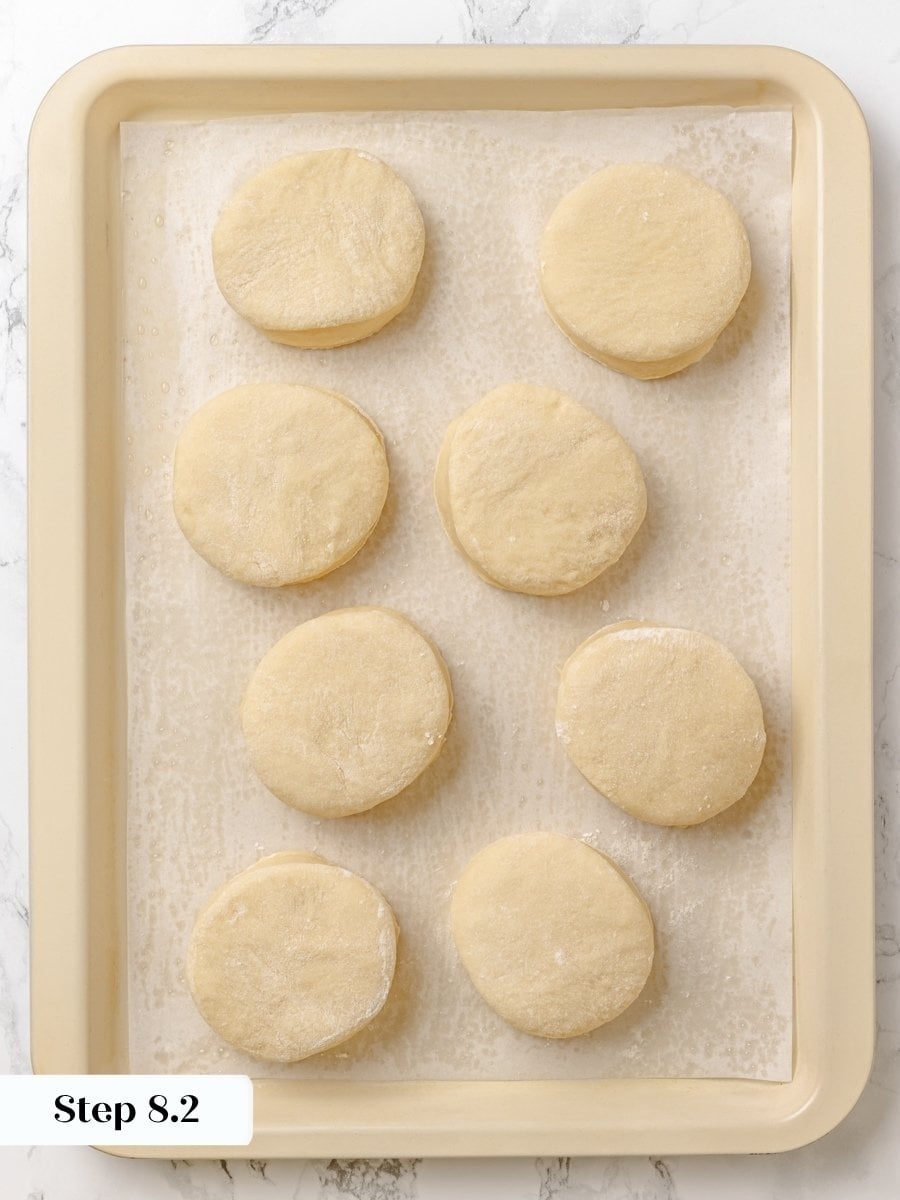
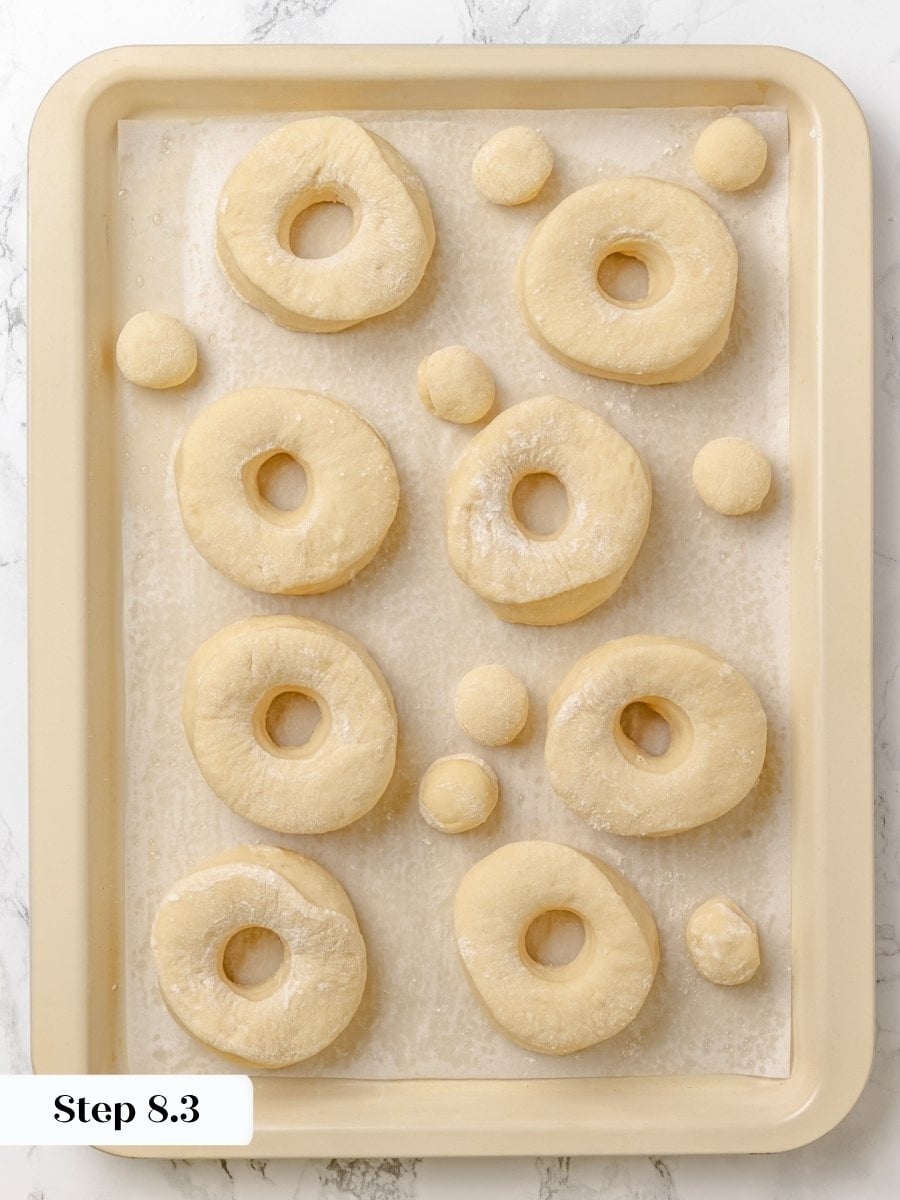
Step 8: Line a baking sheet with parchment paper and lightly spray with cooking spray. Cut doughnuts with ring molds, biscuit cutters (3”), or a doughnut cutter, and place them on a parchment-lined baking sheet. Cut out the holes with a 1” cutter while they are on the baking sheet. This will keep them from misshaping. Spray surface of doughnuts, wrap with plastic wrap and refrigerate 2 hours. (photos 15-17)
Final Proof and Fry
Step 9: Pour oil into a fryer or a Dutch oven, making sure the oil is at least 2 inches deep. Heat your oil to 355°F. Adjust your heat to keep the temperature between 350°- 360°F while frying. You will need a clip-on fry/candy thermometer for this. I heat my oil to 360°F before adding a batch of donuts because the cold dough will lower the oil temperature.
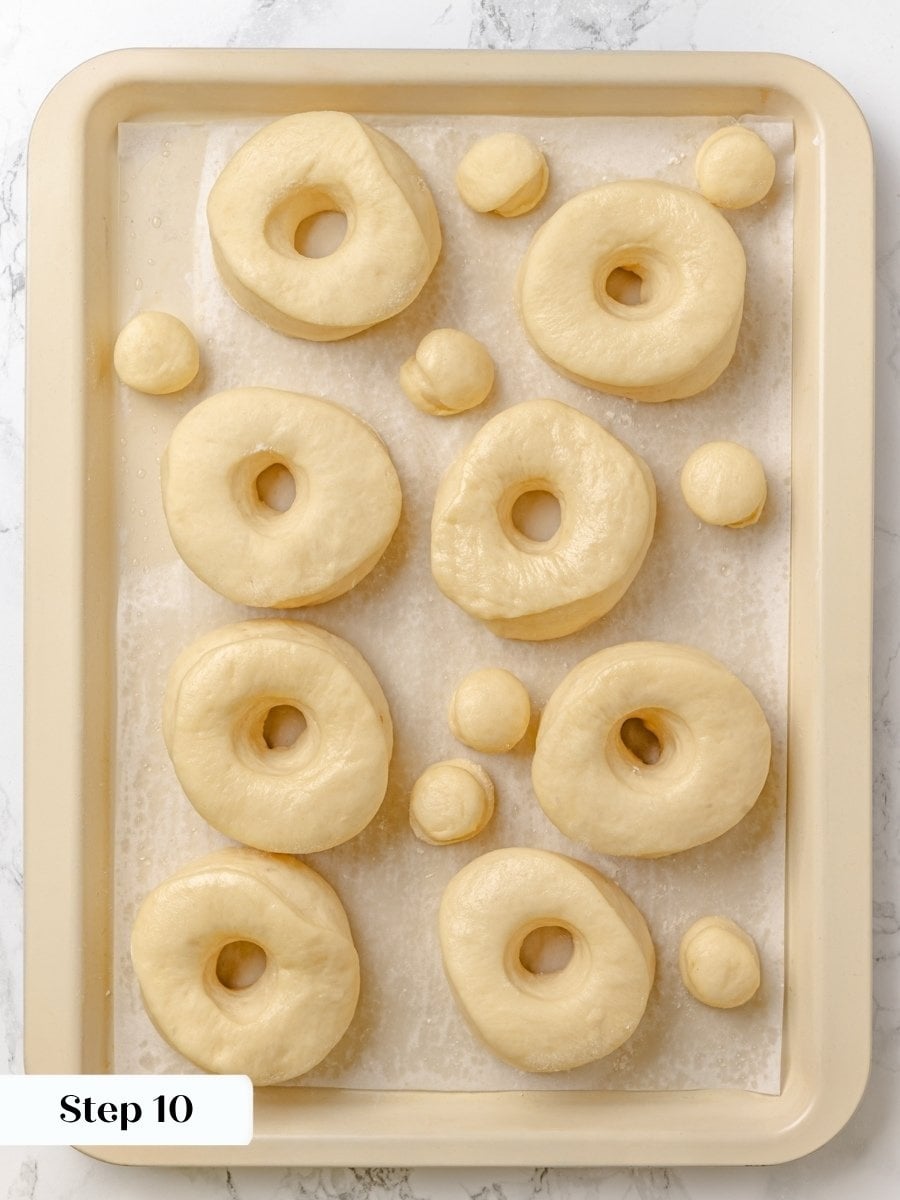
Step 10: Allow the donuts to sit at room temperature for 6 minutes prior to frying. (photo 18)
Step 11: Gently place 3-5 donuts in the fryer, while keeping the remaining donuts in the fridge. The number you can fry at once depends on the size of your pot. You want the donuts to have room to move around and space to puff. (photo 19)
Step 12: Once they rise to the surface, cook for 60 seconds and then flip them with a slotted spoon. Fry until the bottom develops a nice golden brown color, about 45 seconds. Flip it again, then fry for another 10-30 seconds, or until the color is a nice, even golden brown. I usually test mine with a cake tester. Pull the donut out of the oil with a spider or slotted spoon, poke it, then pull out the cake tester. It should not have any streaks of dough or crumbs.
Glaze and Serve
Step 13: Transfer to a wire rack set over a sheet pan or paper towels.
The fry time depends not only on oil temperature but also on the dough temperature and how well it is proofed. The easiest thing to do is to check it intermittently with a cake tester. If it comes out clean through the center, it’s done!
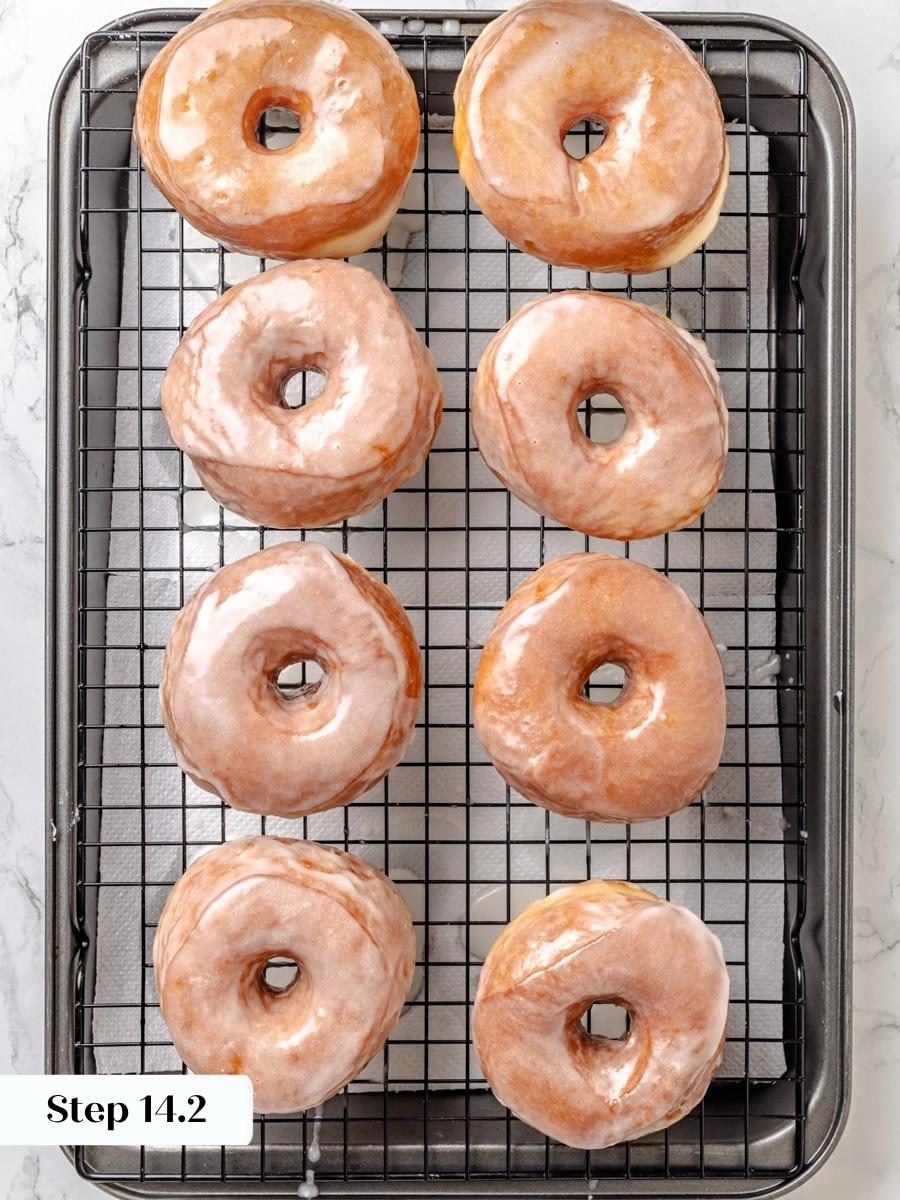
Step 14: Allow oil to drip off the doughnut for 10 seconds, then roll in granulated sugar or dip in a simple powdered sugar glaze. (photo 20)
Chef Lindsey’s Recipe Tip
You can re-roll scraps once after at least 20 minutes of bench rest. Knead the scraps together into a ball, cover with plastic wrap, and let sit for 20 minutes before rolling out again. If they shrink back, give them a little more time to rest! You can also rest them in the refrigerator well wrapped in plastic wrap for up to 24 hours.
Recipe FAQs
This dough needs 12 minutes of mixing at medium-high speed to develop the gluten strands that give it structure. Hand-kneading is not a reliable substitute because the dough is too soft and sticky to work effectively by hand. A stand mixer is the right tool here.
Donuts are best the day they are made and should be stored at room temperature uncovered. Covering them traps moisture and makes the exterior soggy. If you want to get ahead, the cut raw dough freezes well for up to a week.
Yes. After cutting the donuts, freeze them on the parchment-lined baking sheet before frying. They will keep in the freezer for up to one week, and you can fry them straight from frozen with a few extra minutes of rest time at room temperature first.
Both canola and vegetable oil work well and produce donuts very close to the original. For the most authentic flavor, fry in vegetable shortening instead. The difference is subtle, but it is there if you know what to taste for.
If you want to keep going, my Chocolate cake donuts are a completely different style with a dense, craggy exterior and a tangy crumb. You can also browse the full Donut Recipes archive for more options, including [pumpkin donuts] if you are looking for something seasonal.
Recommended Donut Recipes!
Donut Recipes
Sour Cream Donuts
Donut Recipes
Glazed Chocolate Donuts
Summer Dessert Recipes
Lemon Cake Donuts
Donut Recipes
Apple Cider Donuts
If you tried this recipe and loved it please leave a 🌟 star rating and let me know how it goes in the comments below. I love hearing from you; your comments make my day!

Krispy Kreme Donuts
Ingredients
- 3 tablespoons unsalted butter
- 3 tablespoons vegetable oil
- 1 ¼ cups milk
- 1 large egg — beaten
- 1 teaspoon vanilla extract
- 1 ½ tablespoons dry active yeast
- 2 cups cake flour
- 2 cups all purpose flour
- ½ cup sugar
- 1 teaspoon Kosher salt
Instructions
- Whisk together cake flour, all-purpose flour, sugar, and kosher salt in a bowl and set aside. Beat the egg until smooth with no streaks of white remaining.
- In a small pot over low heat, melt butter, then whisk in the oil, milk, beaten egg, and vanilla. Cook, stirring constantly, until the mixture reaches 106°F, then pour into the bowl of a stand mixer.
- Whisk the yeast into the warm milk mixture and let it bloom for 10 minutes until foamy.
- Fit the mixer with the paddle attachment. Add half the flour mixture and mix on low to combine, then add the remaining flour and mix on low until fully incorporated.
- Switch to the dough hook and mix on medium-high for approximately 12 minutes, until you can see strands pulling from the sides of the bowl into the center. The dough will not form a fully smooth ball.
- Spray a large bowl and your hands with nonstick cooking spray. Scrape the dough into your hands, form into a ball, and place in the oiled bowl. Cover with plastic wrap and refrigerate for 30 minutes.
- Turn the dough onto a lightly floured surface and roll gently to approximately ½ inch thickness. Cut donuts with a 3-inch cutter and holes with a 1-inch cutter directly on the baking sheet to prevent misshaping. Place on a parchment-lined baking sheet, spray the surface, cover with plastic wrap, and refrigerate for 2 hours.
- Heat oil in a Dutch oven or fryer to 360°F, with at least 2 inches of oil depth. Keep oil between 350°F and 360°F throughout frying using a clip-on candy thermometer.
- Let donuts rest at room temperature for 6 minutes before frying. Fry 3 to 5 donuts at a time, giving them room to puff. Once they rise to the surface, fry 60 seconds, flip, fry 45 seconds, flip again, and fry another 10 to 30 seconds until evenly golden brown. Test doneness with a cake tester: it should come out clean with no streaks of raw dough.
- Transfer to a wire rack set over a sheet pan. Allow oil to drip off for 10 seconds, then roll in granulated sugar or dip in a simple powdered sugar glaze.
Video
Notes
Doneness Cue: A cake tester inserted into the donut should come out clean with no streaks of dough or crumbs.
Storage: Donuts are best the day they are made and should be stored at room temperature uncovered. The cut, raw dough can be stored in the freezer for up to one week.
Make Ahead: Cut and shaped raw dough can be frozen for up to one week. For a same-day alternative to the second refrigerator proof, allow cut donuts to sit at room temperature for 30 minutes until doubled in size before frying.
Nutrition
Before You Go
If these light, pillowy yeasted donuts with that glossy vanilla glaze are your kind of thing, you will find plenty more to love in my Donut Recipes or Dessert Recipes.









Why did it taste somewhat like bread ans thick? Where do I go wrong?
Hi Lauran! That usually happens if the dough is over-mixed or too much gluten develops. Make sure to handle the dough gently, keep it cold when resting, and let it proof just until light and airy before frying. That’ll help keep the texture soft and fluffy instead of dense. Don’t give up, I think you’re really close!
What kind of oil do you fry your donuts in. In the past Ive used canola oil but I hate the taste of oil in my donuts.
Hi Carol! I use canola oil for frying but another neutral-flavored oil with a high smoke point will do, like crisco shortening. Peanut oil or sunflower oil can also work well if no one has allergies. Hope that helps you get the flavor you’re after! Happy frying!
Lindsay, can I use half and half instead of whole milk with the same result?
I don’t drink milk and usually have half and half for baking. Thank you.
Hi JK! You can definitely try it with half and half—it’ll still be delicious, but the dough might be slightly richer and a bit less light since half and half has more fat than whole milk. You try to experiment with watering the half and half down a tad (say a 3:1 ratio of half and half to water), but I always experiment myself before confidently prescribing specifics. Let me know how they turn out, and happy frying!
Thank you, Lindsey
Maybe I’ll use the whole milk when I make these donuts to be sure they come out like yours
Nothing like Krispy kreme. Sorry
Can I make the dough ahead of time for our Sunday morning services at church?
Hi Tonya! Yes, you can absolutely make the dough ahead of time—and that’s a great idea for church services! You can also rest them in the refrigerator well wrapped in plastic wrap for up to 24 hours. In the morning, you’ll just need to let the donuts sit at room temp before frying. Let me know what kind of glaze you end up using! Happy frying!
Can I use coconut oil instead of vegetable oil? Thank you (:
Hi Sandra! You can experiment with coconut oil instead of veggie oil in the dough, just expect a slightly more coconut flavor and make sure it’s liquid. However, for frying, it has a lower smoke point (by about 50 deg F!) so you’re going to have to keep really close track, and it will behave a little differently than vegetable oil. Let me know how it works out, and happy frying!
Oh wow…. So worth the patience it took to wait on the dough to be its best! Love the end result. I’ve made these copycat donuts with different methods; but this was the best outcome! Family fav now! Thank you
Hi Andrea! I’m so happy you had the best outcome here. Thanks for taking the time to come back to rate/comment, means a lot!
Why not just use heavy cream instead of the milk/butter mixture
Hi Nicole, you can certainly try that but butter and heavy cream do not behave the same in baked goods. The butter will resolidify in the fridge but cream will not. I say any idea is worth an experiment! ~Lindsey
Oh wow…. So worth the patience it took to wait on the dough to be its best! Love the end result. I’ve made these copycat donuts with different methods; but this was the best outcome! Family fav now! Thank you!
😊 Will be checking out other recipes you offer!!
Hi Andrea! Aw, that makes me so happy!
Can I use all purpose flour and not cake flour?
Hi Maria! Honestly, yes it’s possible, but the cake flour really helps keep this particular recipe tender. Yes, they will still be delicious with only all-purpose flour, but they won’t be quite as airy! Happy frying!