This post may contain affiliate links. Please read our disclosure policy.
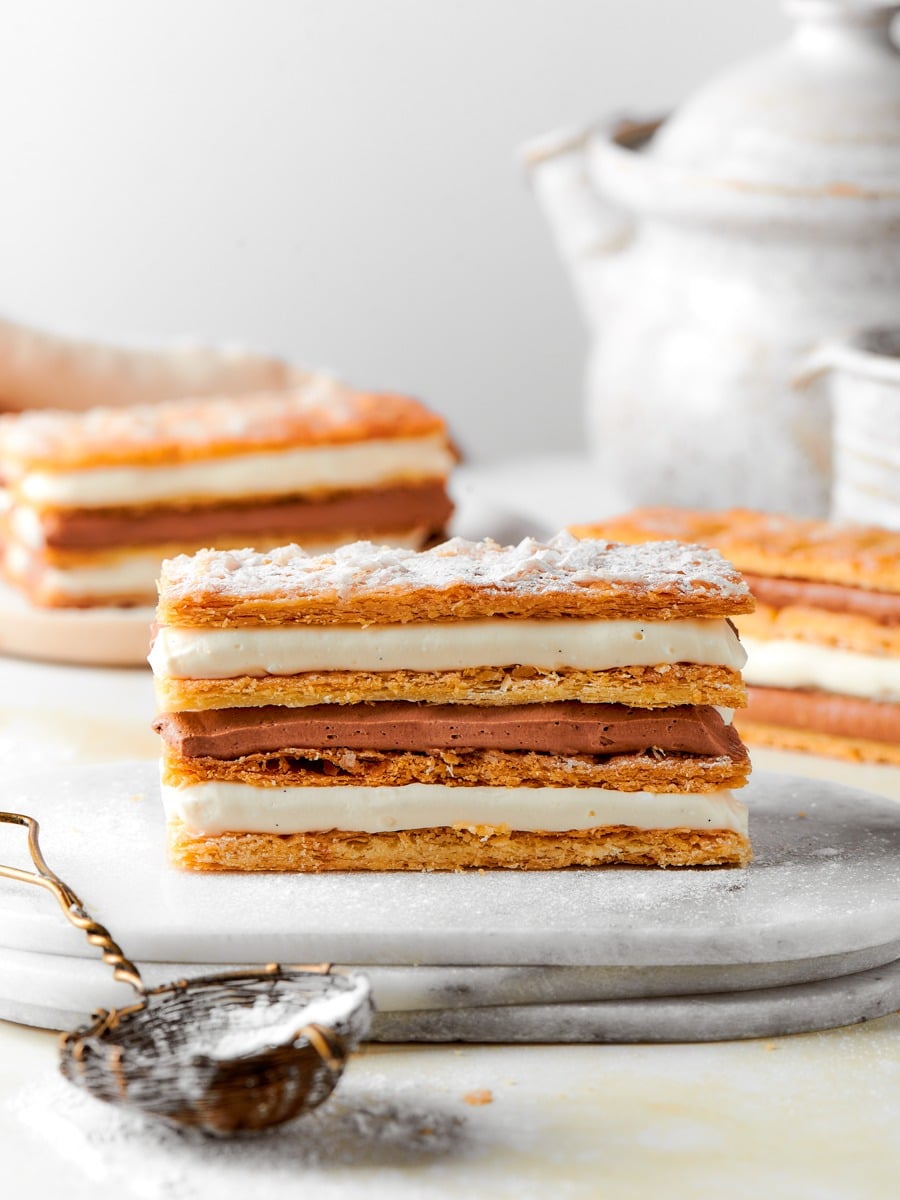
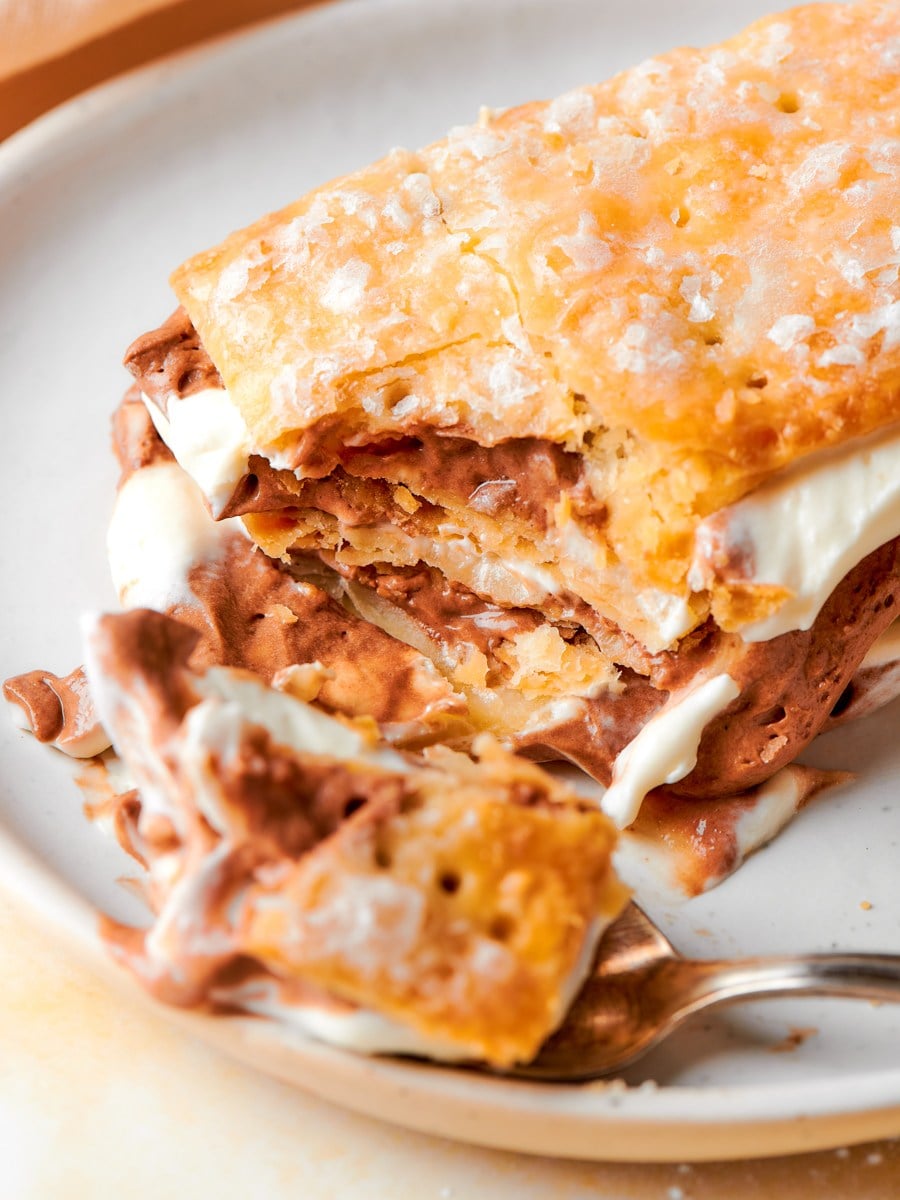
Mille-feuille is one of the most impressive things you can build in a home kitchen, and this version makes it achievable without fondant, gelatin, or specialty equipment. One batch of pastry cream splits into chocolate and vanilla, and the checkerboard finish comes together with a technique anyone can follow.
A Quick Look At The Recipe
This is a brief summary of the recipe. Jump to the recipe to get the full details.
Jump to RecipePrep Time
45 minutes
Cook Time
25 minutes
Cooling / Rest Time
2 hours
Total Time
3 hours 10 minutes
Servings
4 Individual mille feuille
Difficulty
Advanced
Calories *
555 kcal per serving
Technique
Baked puff pastry layers; single-batch pastry cream split into chocolate and vanilla crème légère; alternating checkerboard assembly.
Flavor Profile
Buttery pastry, creamy vanilla, rich dark chocolate, lightly sweet.
* Based on nutrition panel
Cutting the store-bought puff pastry along the fold lines made such a difference — the layers came out clean and even. Splitting one batch of pastry cream into chocolate and vanilla saved so much time, and the finished mille-feuilles looked like they came from a real patisserie. I will absolutely be making these again and next time I will be trying with homemade puff pastry!. ⭐⭐⭐⭐⭐
Lisa
Why This Recipe Works
- One batch of pastry cream, two fillings. Splitting the hot pastry cream between chocolate and vanilla means you work from a single pot, and the residual heat melts the chocolate cleanly without a double boiler or extra steps making a perfect chocolate pastry cream!
- Flat, shatteringly crisp pastry without specialty equipment. Baking classic puff pastry weighted between parchment and a second sheet pan keeps it level and even. If you are using store-bought, splitting each baked piece horizontally with a serrated knife solves the thickness problem without any additional equipment.
- No fondant, no gelatin, no complicated glaze. A simple syrup finish gives the tops a clean gloss without the cloying sweetness fondant brings. This is an impressive Valentine’s Day dessert without requiring any specialty finishing techniques.
Table of Contents
This classic mille-feuille gets a modern twist with alternating lines of vanilla and chocolate crème légère, layered to reveal a striking checkerboard at every slice. Both creams start from a single batch of my pastry cream, then half is melted over dark chocolate for a truly chocolatey contrast.
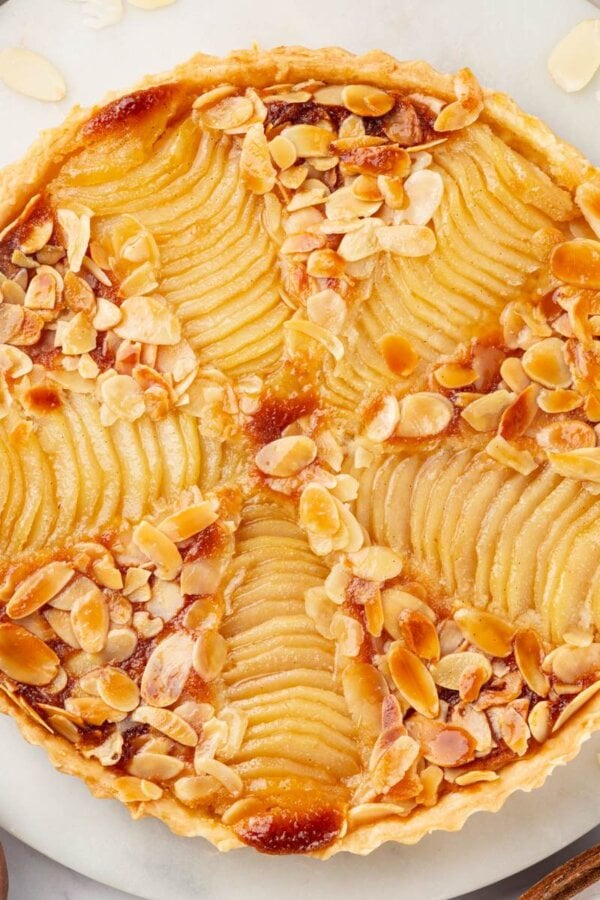
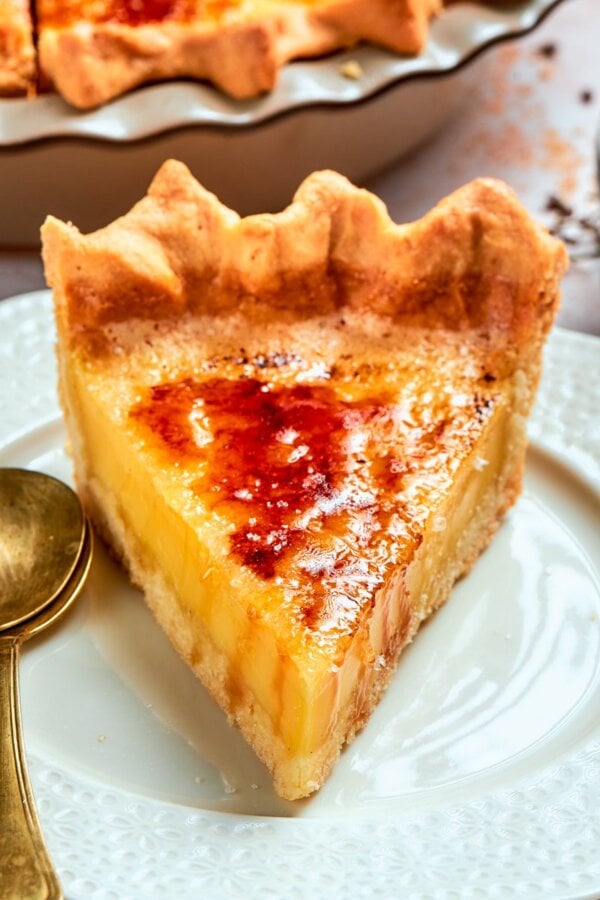
You’ll love how the creamy, nuanced filling and buttery, crisp pastry come together—no fondant, no fuss, just pure flavor and texture. If classic French pastry is your reference point, you might also appreciate my Tarte Bourdeloue or this fruit tart recipe. Both from a classically French-trained pastry chef straight to your kitchen! You can also learn the ins and out of all three recipe in Kitchen Confidence Live!
Ingredients & Substitutions
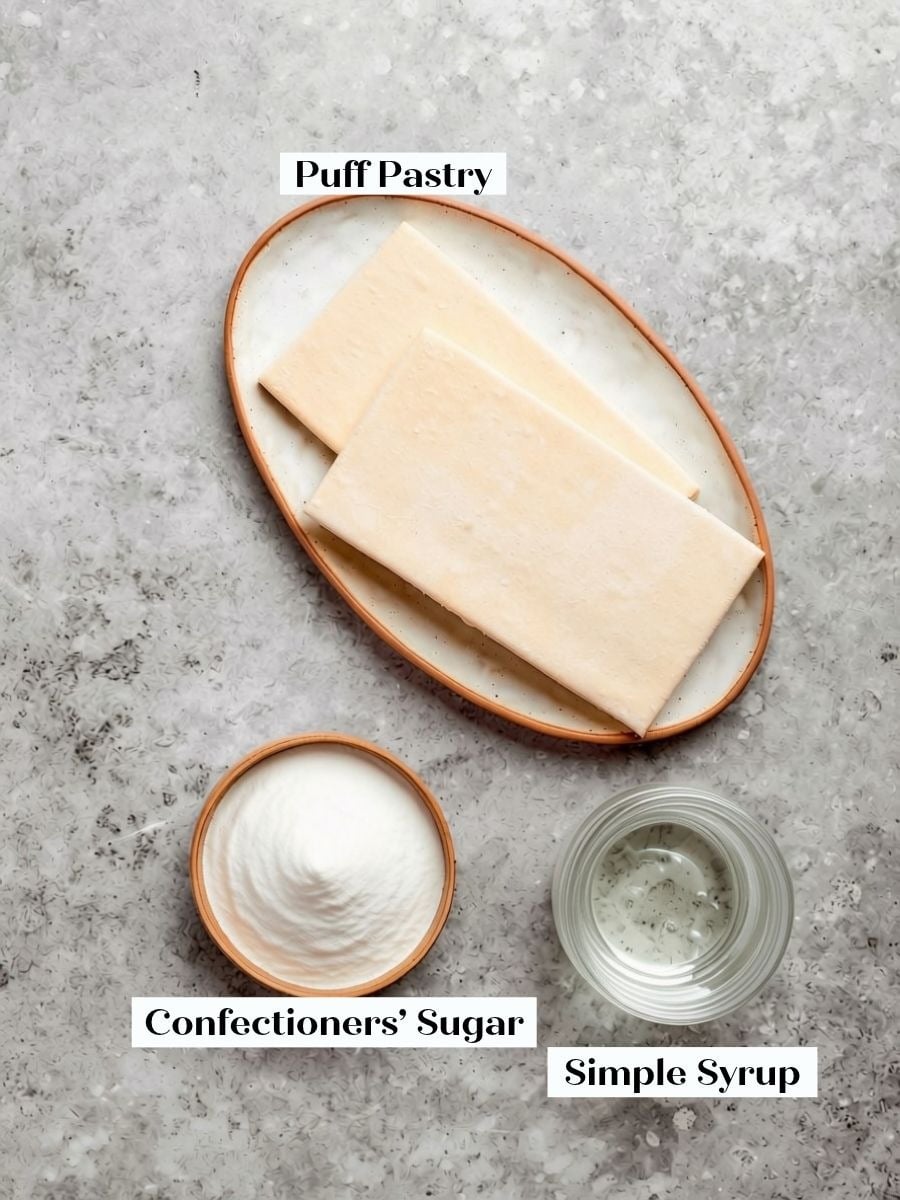
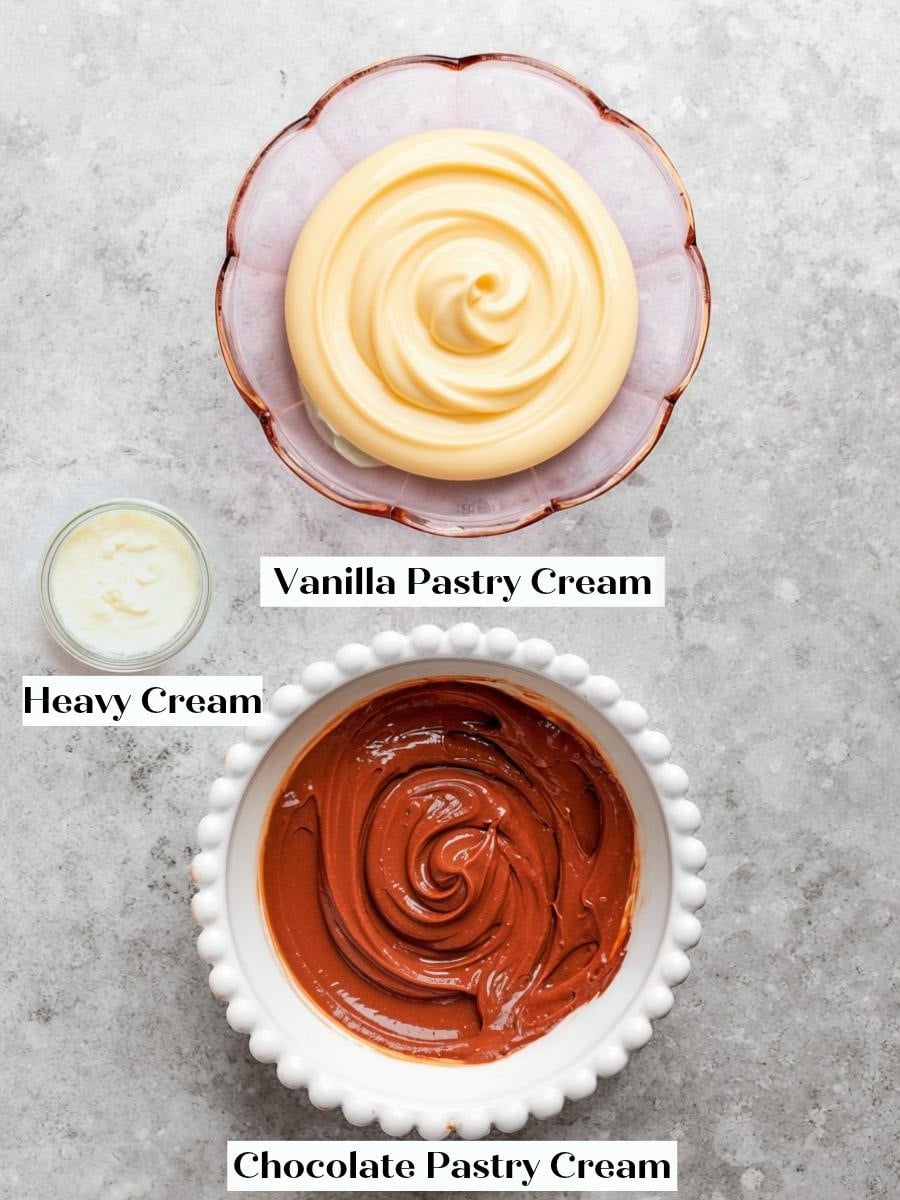
- Puff Pastry: This is the structural backbone of the mille-feuille, and the quality of your puff pastry determines everything about the final texture. Homemade puff pastry or inverse puff pastry gives the best results, but store-bought puff pastry folded in thirds works just as well, which is what I used in testing. You will need 2 sheets for 4 individual mille-feuilles.
- Simple Syrup: Brushing the baked pastry with simple syrup adds a light gloss and just enough tack to hold a dusting of confectioners’ sugar. It also softens the very top surface so the pastry slices with fewer shards. There is truly no need to make anything fancier than equal parts sugar and water.
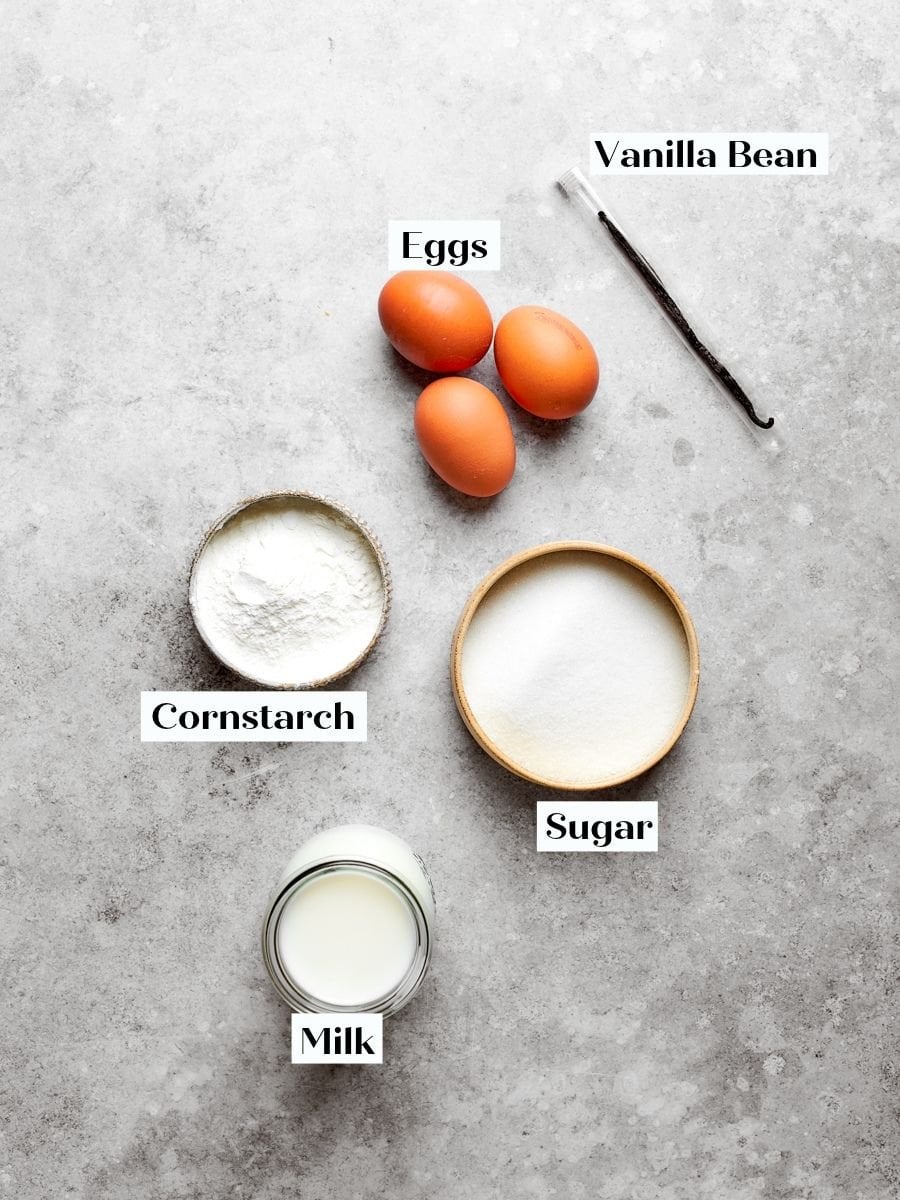
- Whole Milk: Milk is the liquid base for the pastry cream and provides the body and protein that give the custard its structure. Whole milk is the right choice here for a custard that sets firmly enough to slice but stays silky.
- Vanilla Bean: Half a vanilla bean infuses the milk with pure, intense flavor and leaves those visible seeds that signal a real crème pâtissière. Steeping the pod in the hot milk before the custard comes together maximizes extraction.
- Whole Egg and Egg Yolks: The whole egg provides structure from both yolk and white, while the extra yolks are the primary enriching and thickening agents that give the pastry cream its custardy mouthfeel and pale yellow color. Their combined emulsifiers keep the custard glossy and prevent a grainy texture.
- Cornstarch: This is the critical thickener that allows the pastry cream to hold sharp, clean edges in a layered dessert. It stabilizes the eggs so you can boil the custard to full thickness without scrambling, which is essential for a mille-feuille that must stand tall between crisp pastry layers.
- Dark Chocolate (53%), finely chopped: I use more chocolate than the culinary school standard because a chocolate cream should actually taste like chocolate, and 53% keeps the filling smooth and soft at refrigerator temperature without being cloying. For another recipe that showcases dark chocolate, see my easy chocolate desserts
See the recipe card for full information on ingredients and quantities.
Variations on This Mille-Feuille (Napolean)
- All-Vanilla or All-Chocolate Version. Pipe a single flavor in all three layers instead of alternating — this is the simplest adjustment and one I used during the photo shoot to give visual options alongside the checkerboard.
- Change the Crème Légère! Use my caramel pastry cream to make the legere and alternate with the vanilla or chocolate to do all the caramel!
- Add some fruit. You can add alternating layers of raspberries or strawberries in place of one of the creams. Just be aware that with fresh fruit, you will need to eat these the day they are made. You could also try making a banana pudding mille-feuille!
Professional Tips
- Weigh the puff pastry when baking. An unweighted sheet will puff unevenly and create layers that are too thick and irregular to stack cleanly. Bake between two parchment-lined sheet pans at 325°F convection or 350°F conventional, and do not lift the top pan until you are ready to glaze.
- Split the pastry cream while it is still hot. If the cream cools before you pour it over the chopped chocolate, the chocolate will not melt fully, and you will spend time trying to fix a grainy filling. Pour half the hot custard directly over the chocolate and let it sit for two minutes before whisking — the residual heat does the work cleanly without any additional equipment. For reference on what a properly emulsified chocolate cream looks and feels like, my professional chocolate ganache recipe covers the same technique in detail.
- Refresh and smooth the chilled pastry creams before folding in the whipped cream. Pastry cream firms up significantly under refrigeration, and folding stiff cream directly into whipped cream will deflate it and leave streaks. Whisk each chilled portion briefly until smooth and loose before adding the whipped cream.
- Chill before you trim. Two hours in the refrigerator after assembly is not optional if you want clean, defined checkerboard ends. Trimming a freshly assembled mille-feuille at room temperature will compress the layers and smear the pattern — a sharp serrated knife and a cold interior are the only things standing between you and a clean cross-section.
How to Make Mille-Feuille (Napolean)
This recipe has three components: pastry cream (split into vanilla and chocolate while still hot), puff pastry (baked flat and cut to size), and a whipped cream fold-in to make the crème légère. Start with the pastry cream, so it has time to chill completely before assembly.
Step 1: Prepare your workspace. Place the chopped chocolate in a medium heatproof bowl and set it aside where you can reach it quickly. Line two sheet trays with plastic wrap. Having everything ready before the pastry cream comes off the heat is what makes the split seamless.
Make the Pastry Cream
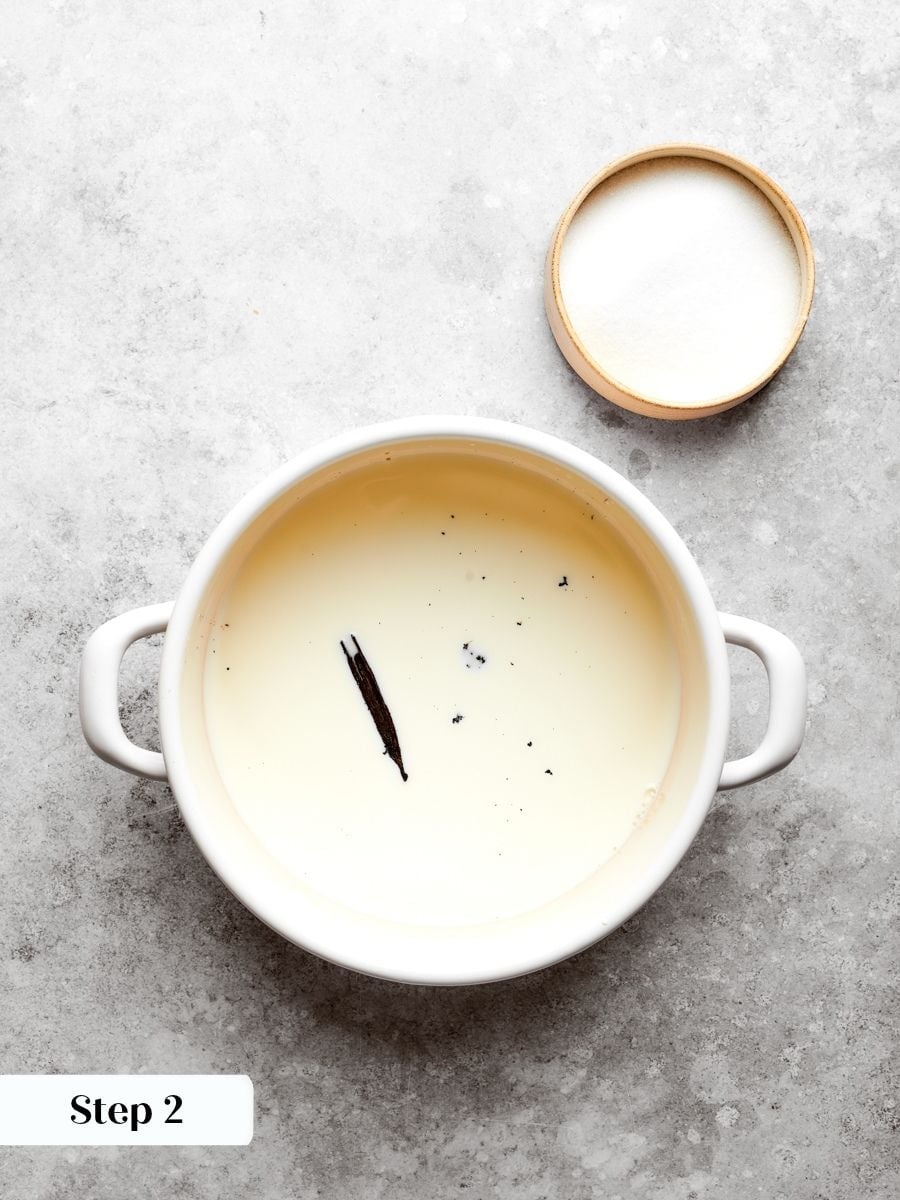
Step 2: Heat the milk. Combine the milk and sugar in a medium pot, then scrape in the vanilla seeds and whisk. Heat over medium heat until the mixture comes to a rolling boil. (photo 1).
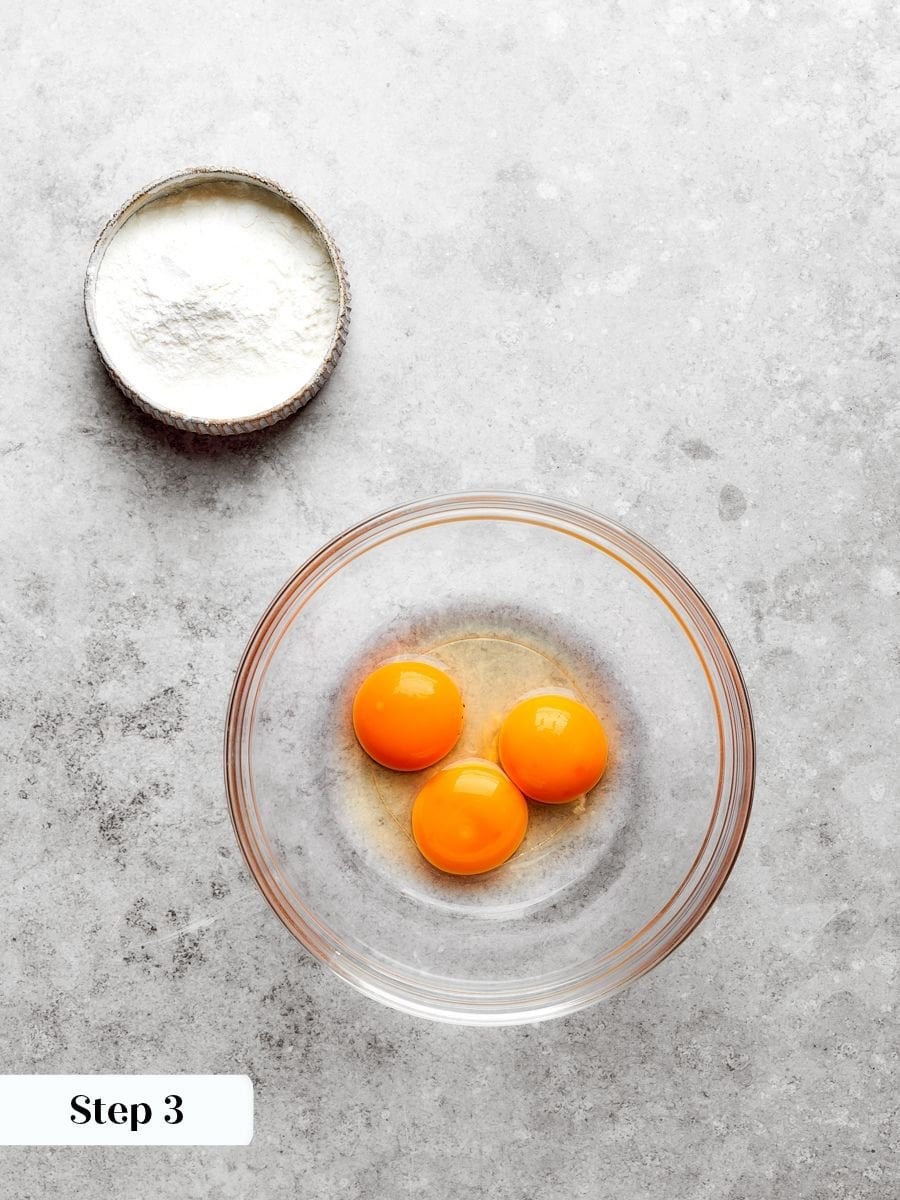
Step 3: Whisk the eggs and cornstarch. While the milk heats, whisk the egg and yolks together to break up the proteins, then whisk in the cornstarch until the mixture is completely smooth and noticeably lightened in color. That pale, thick consistency tells you the cornstarch is fully dispersed with no lumps to cook into the finished cream. (photo 2).
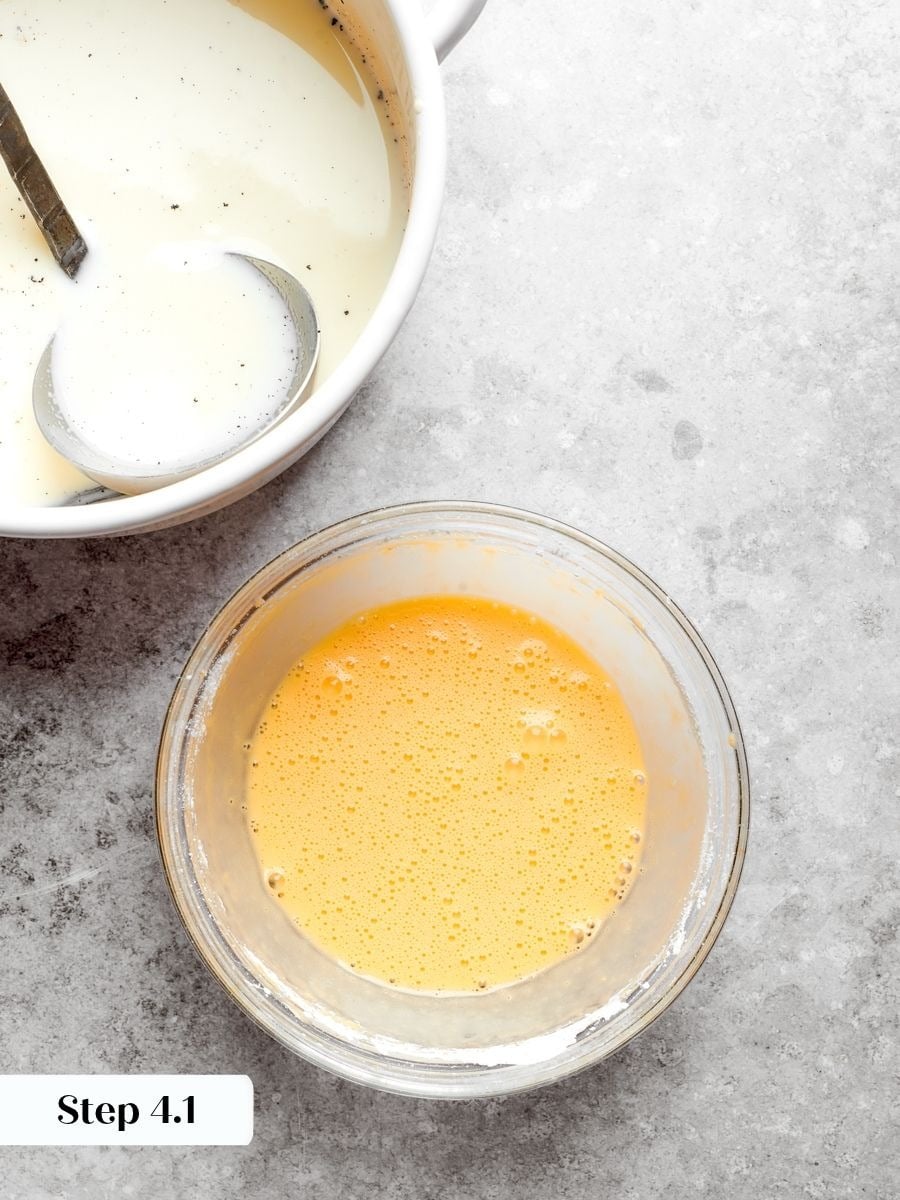
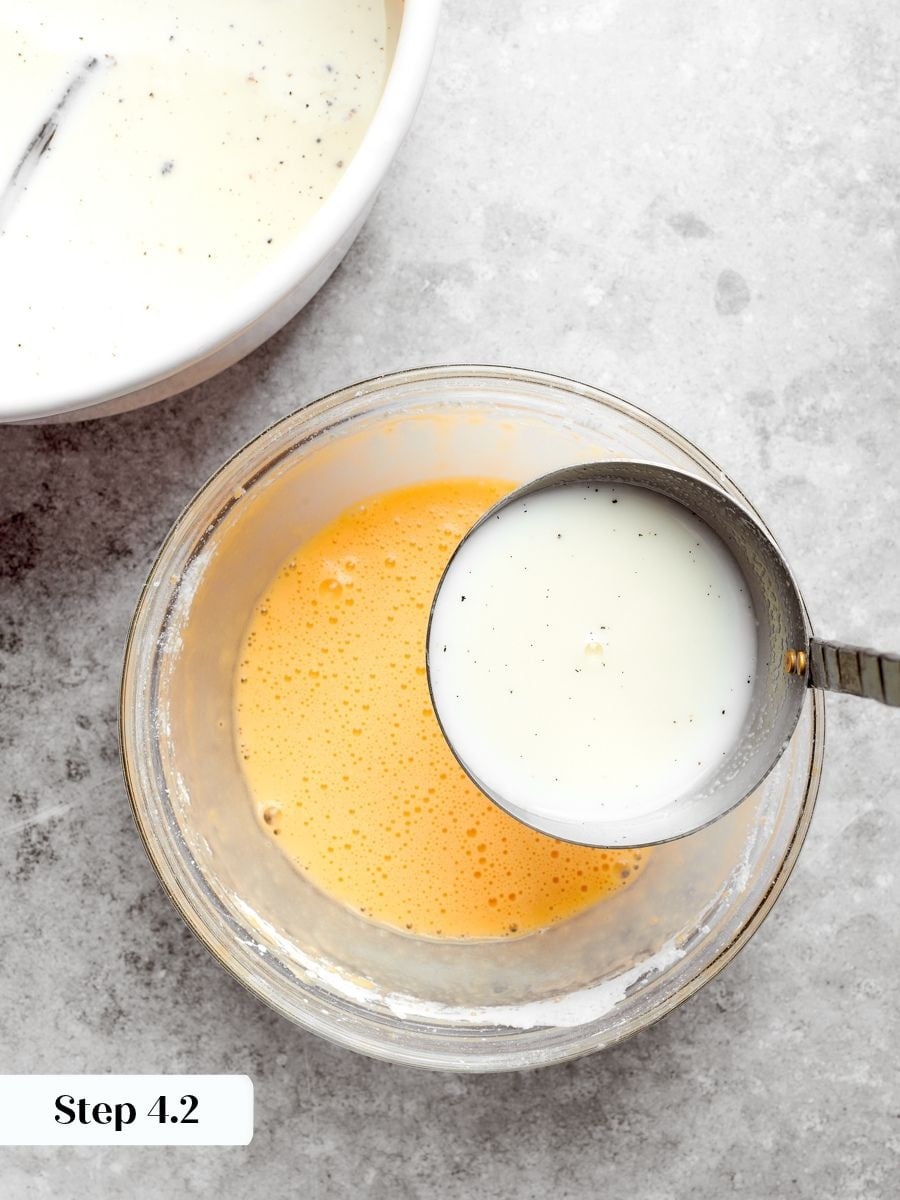
Step 4: Temper the egg mixture. Slowly pour all the hot milk into the egg mixture in a thin, steady stream, whisking constantly. This gradual temperature increase prevents the eggs from scrambling. The mixture will look thin and loose at this stage, which is correct. (photos 3 & 4).
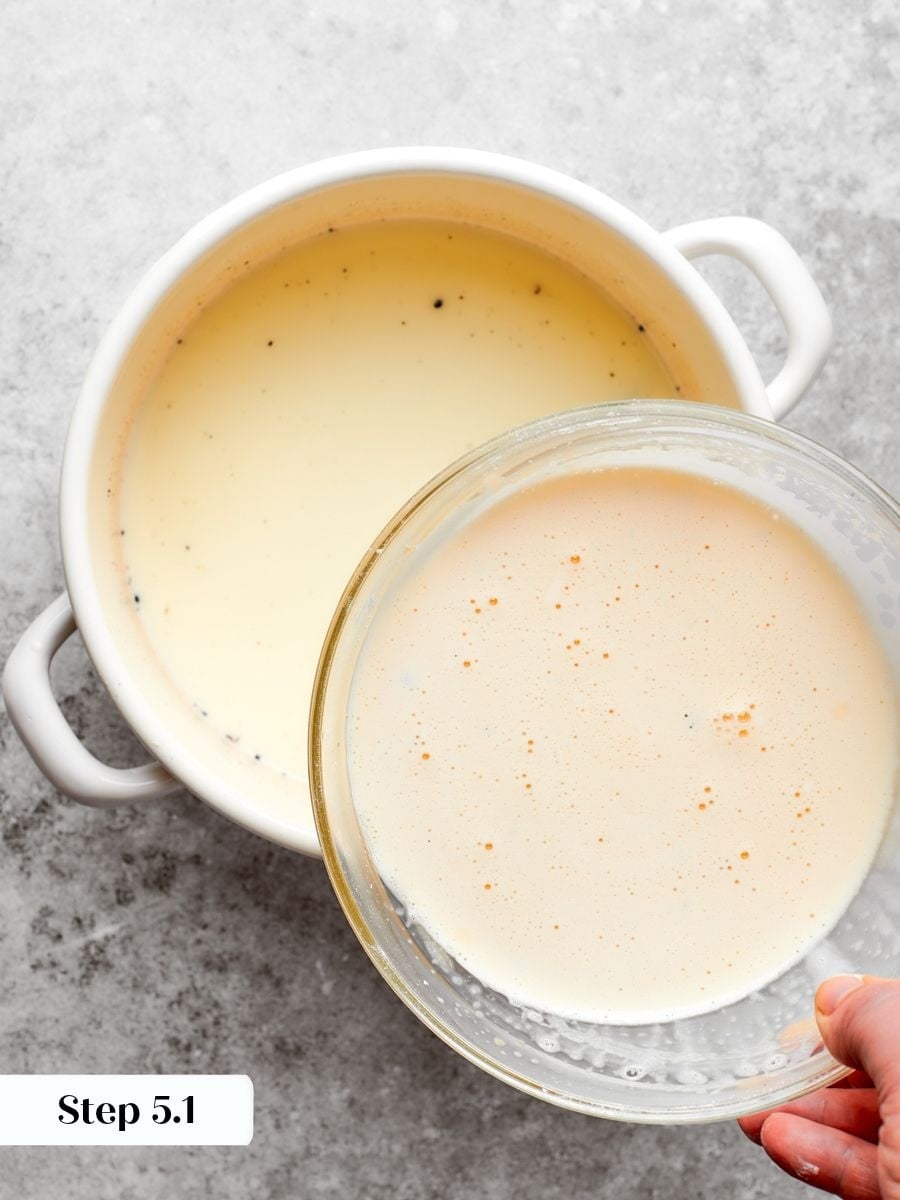
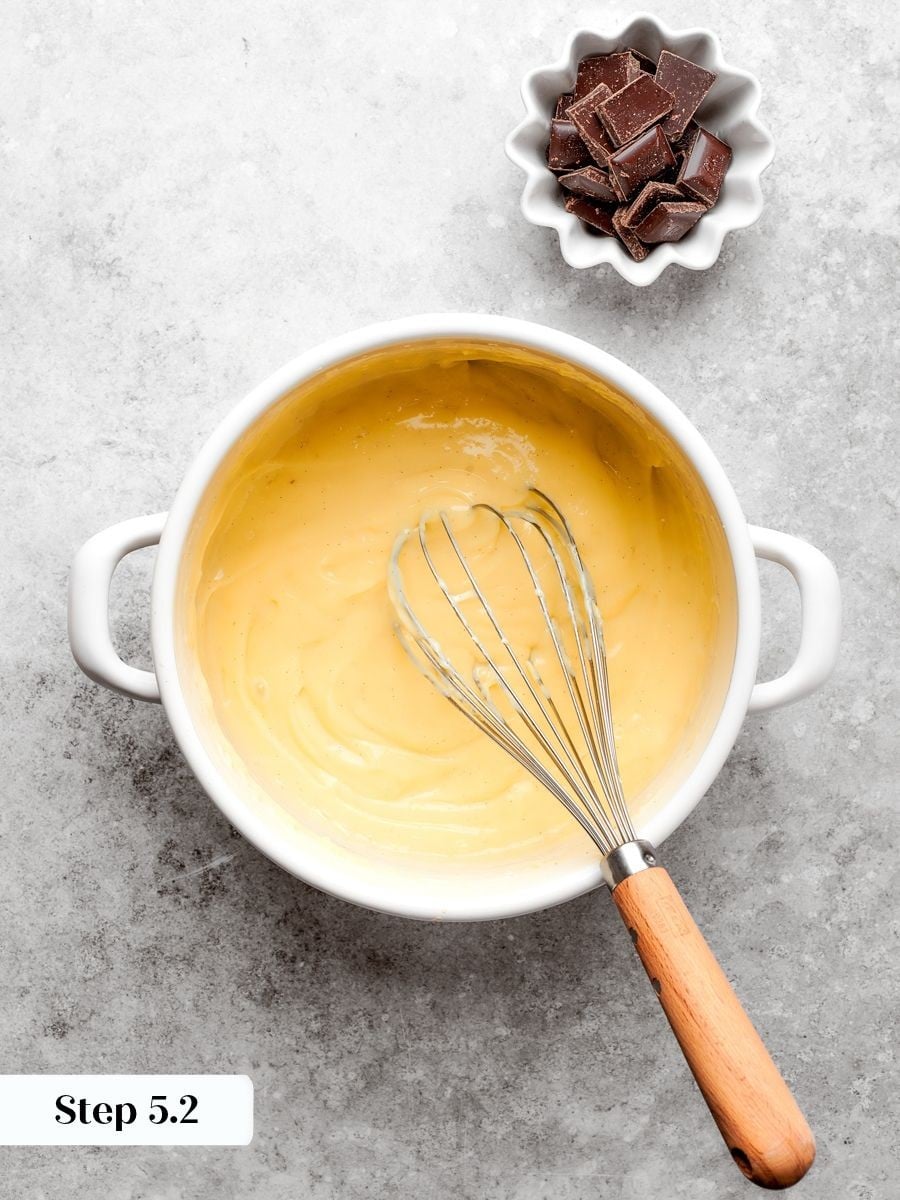
Step 5: Cook the pastry cream. Return the mixture to the pot and cook over medium-low heat, whisking constantly and making sure the whisk reaches the bottom and edges of the pot. The cream will look loose for several minutes. Once it starts to boil, keep whisking and let it boil for a full 1 minute. That extra minute cooks out the starchy taste and stabilizes the cream so it sets properly. (photos 5 & 6).
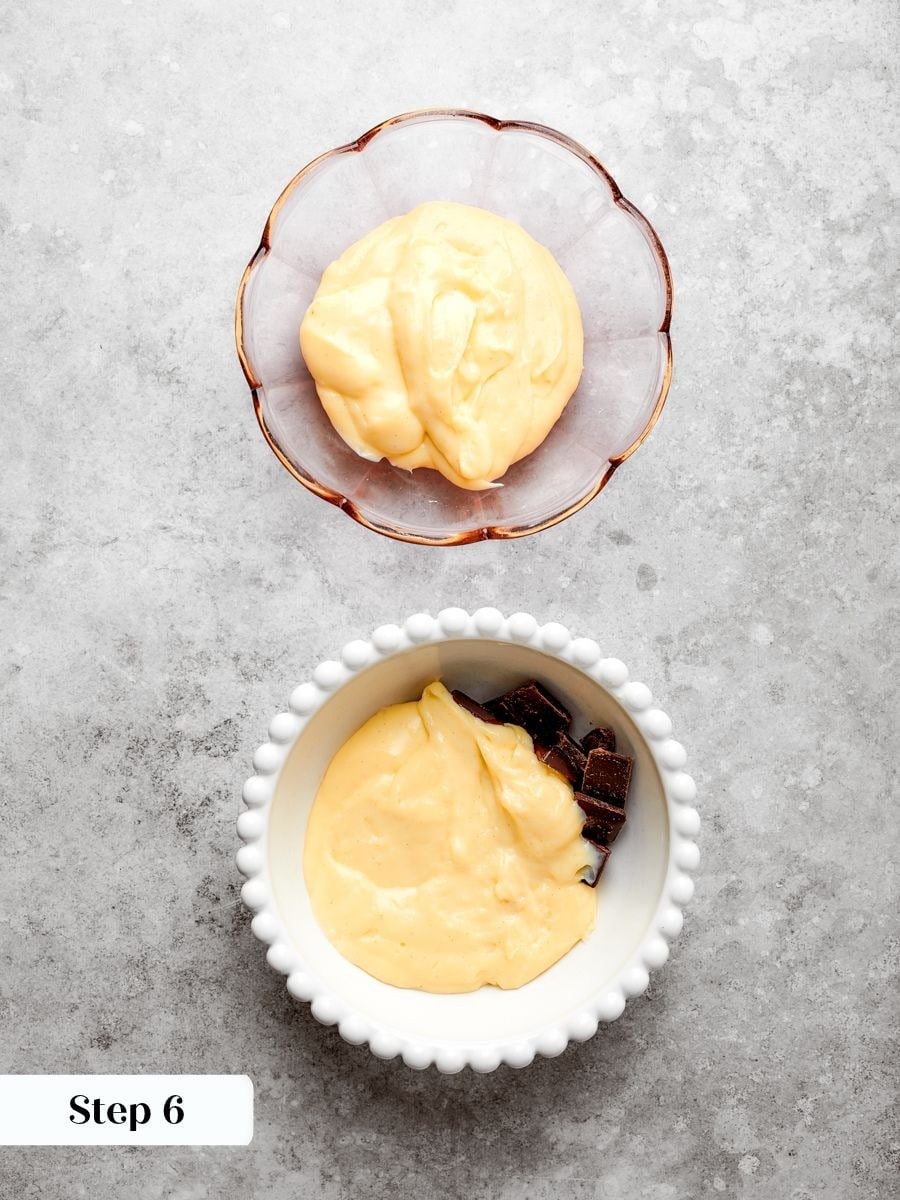
Step 6: Split the cream and make the chocolate version. Working quickly while the pastry cream is still hot, pour about 325 g directly over the chopped chocolate, making sure the cream covers the chocolate completely. Let it sit undisturbed for about 2 minutes, just like a ganache. (photo 7).
This resting time lets the residual heat melt the chocolate gently without a double boiler or scorching the chocolate in a hot pot.
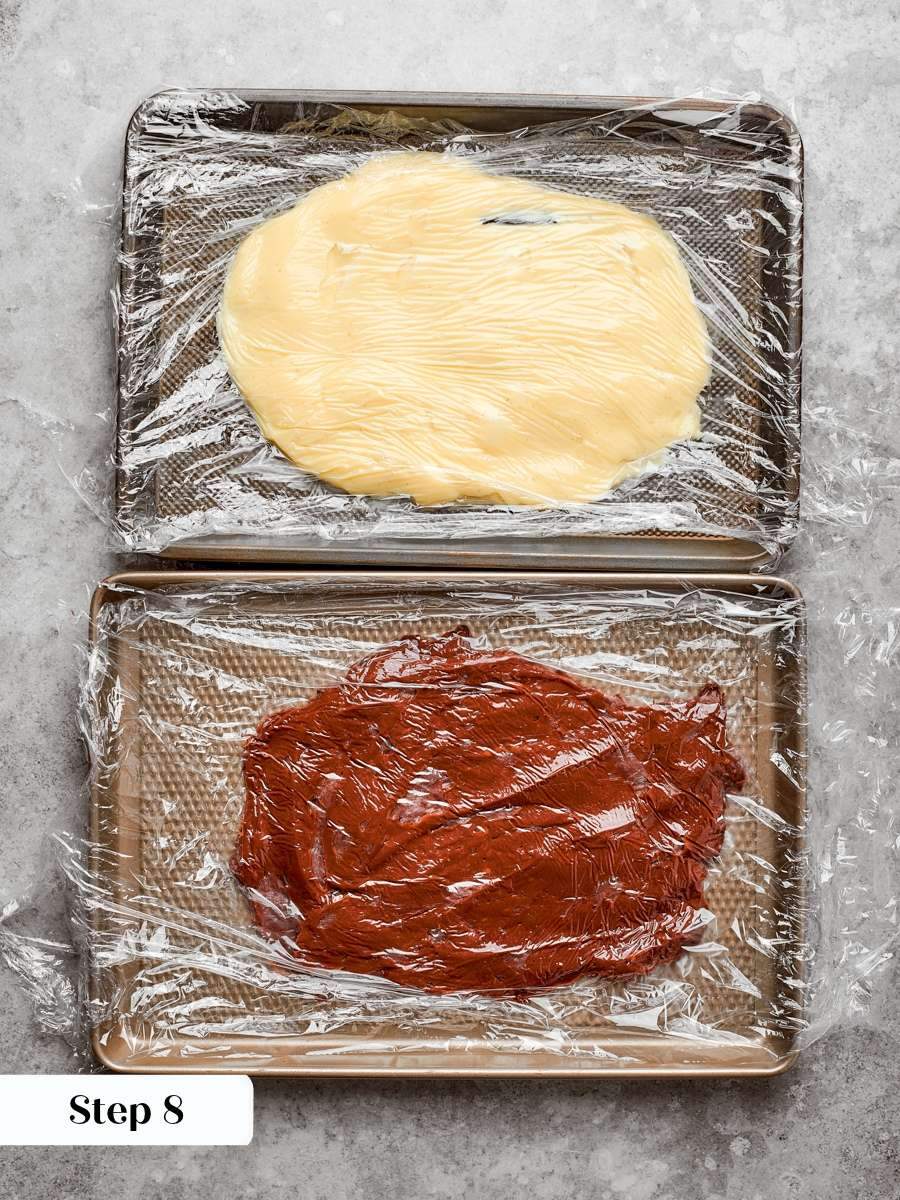
Step 7: Set the vanilla pastry cream to chill. Pour the remaining vanilla pastry cream onto one of the lined trays, spread it into an even layer, and press plastic wrap directly against the surface. Poke a few small holes in the wrap so steam can escape without condensing back into the cream.
Step 8: Finish and chill the chocolate pastry cream. Whisk the chocolate pastry cream until the chocolate is fully melted and completely incorporated. The mixture will look streaky and separated at first, then suddenly come together into a smooth, glossy cream. Turn it out onto the second lined tray, cover with plastic wrap the same way, and chill both creams completely before moving forward. (photo 8).
Prepare the Puff Pastry
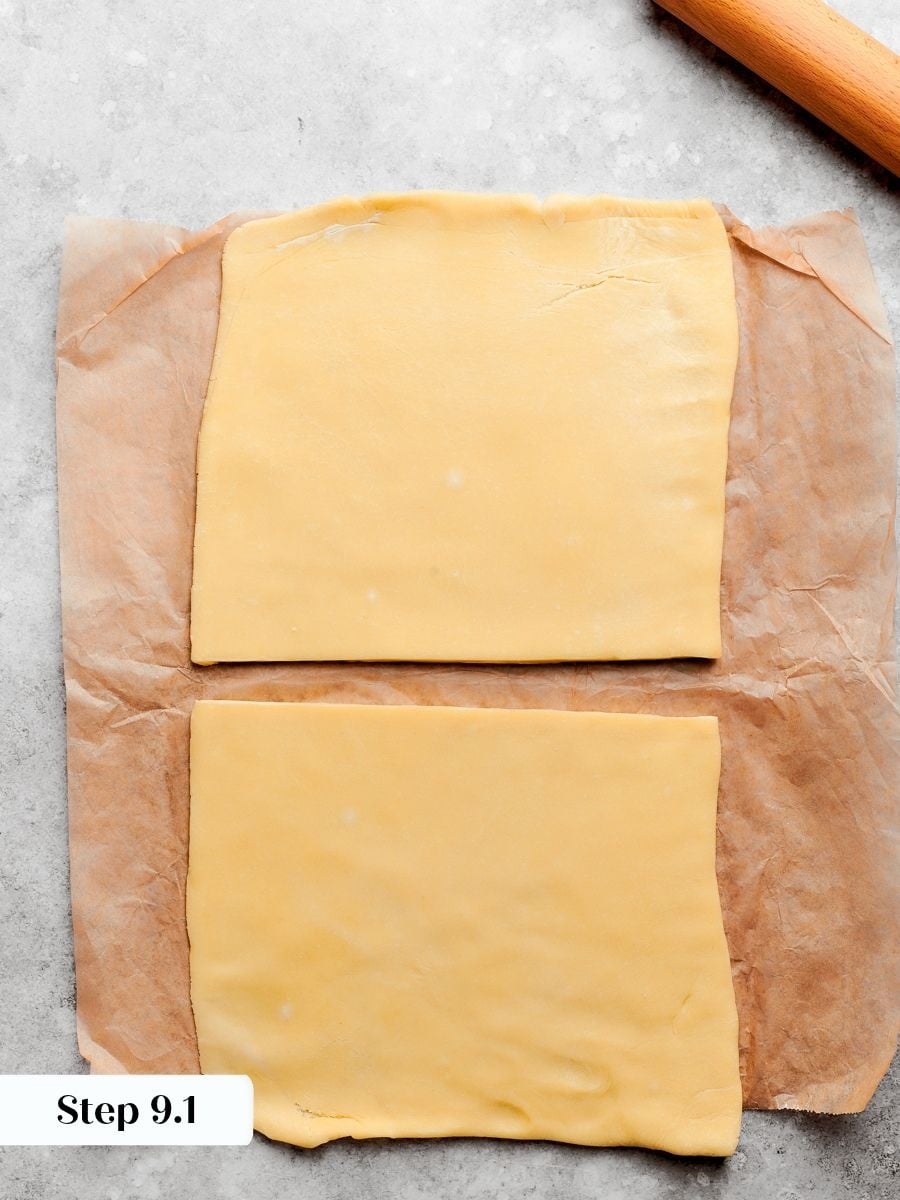
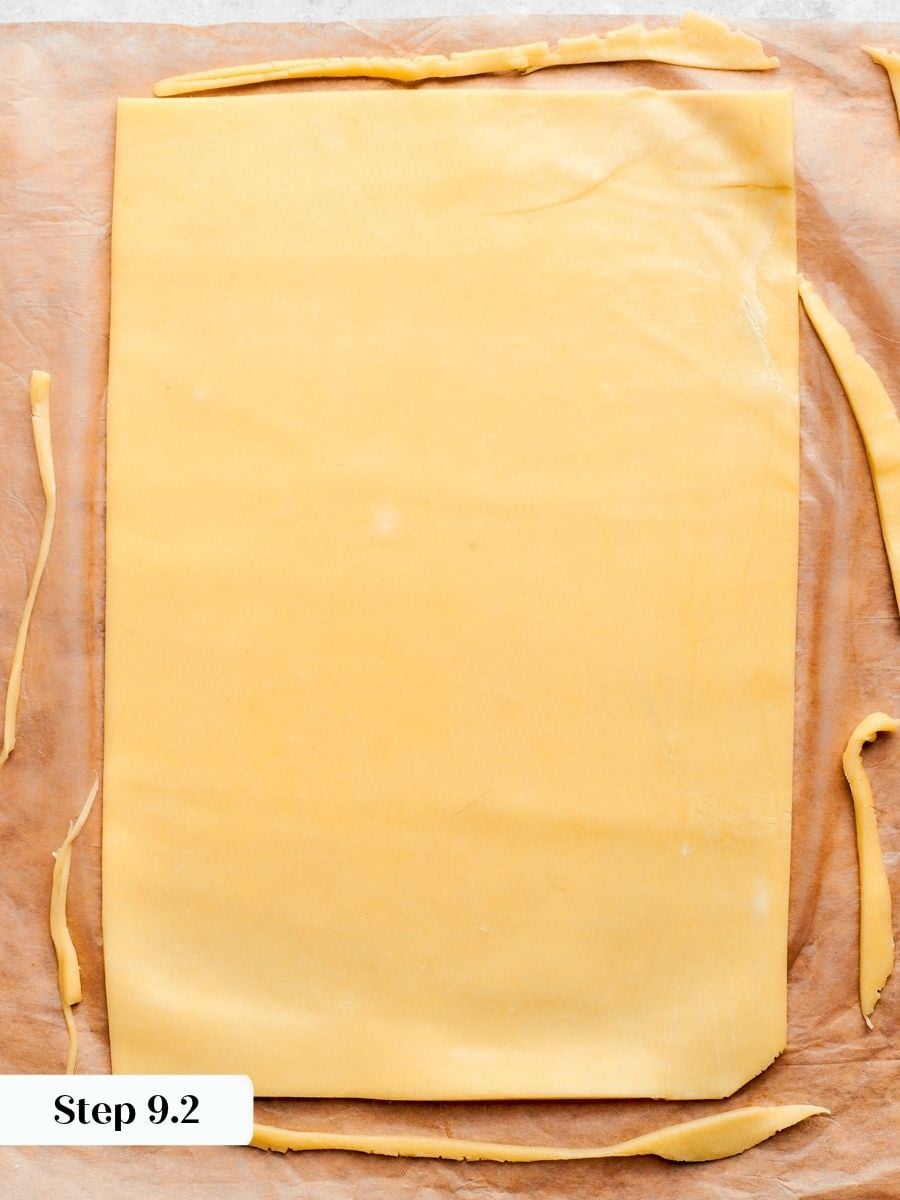
Step 9: Roll and chill the puff pastry (homemade). If you are using homemade puff pastry, preheat the oven to 375°F. Line two half sheet pans with parchment. Divide the puff pastry in half and roll each piece into a 9-inch by 12-inch rectangle about ⅛ inch thick. Transfer to the lined pans and refrigerate for 20 to 30 minutes so the gluten can relax and the pastry holds its dimensions in the oven. (photos 9 & 10).
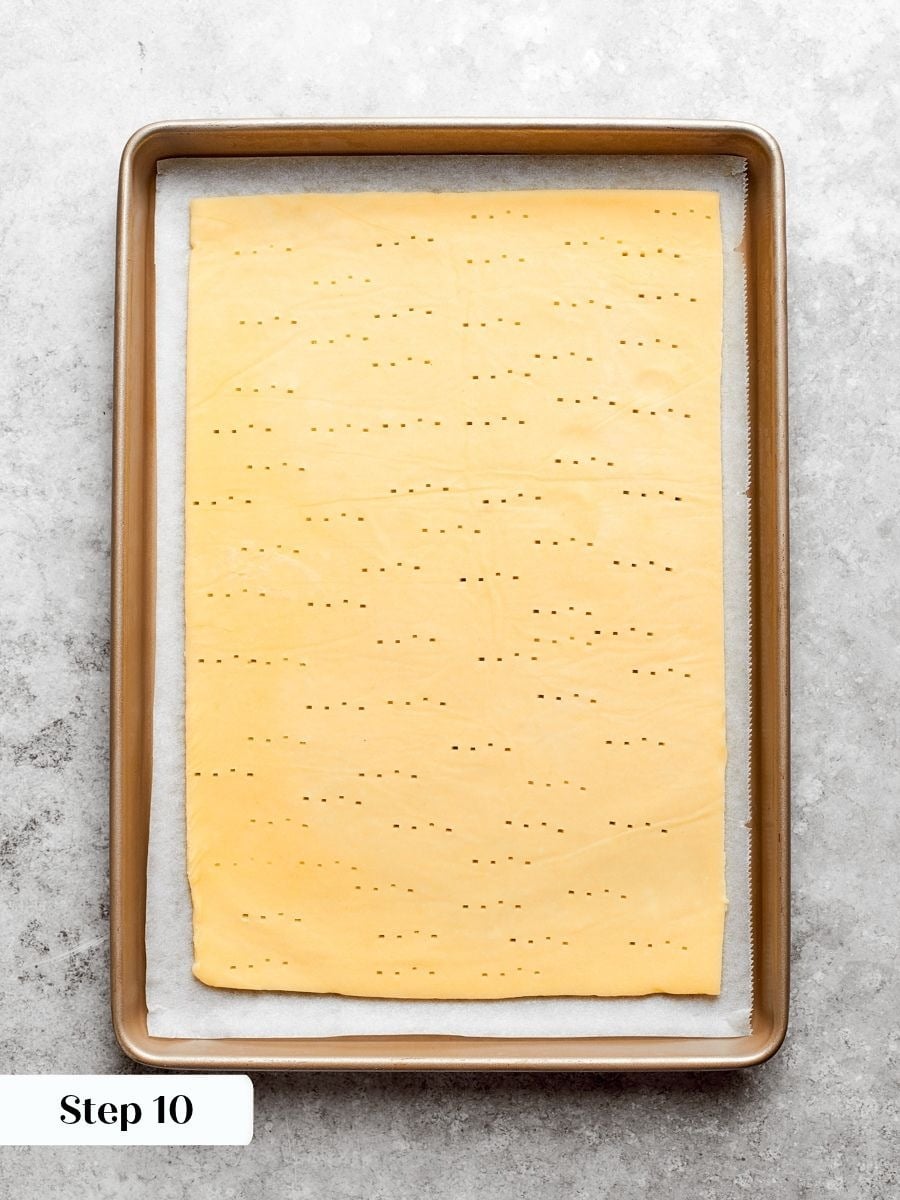
Step 10: Dock and weight the pastry. Dock the pastry all over with a fork or docker, cover each with a sheet of parchment, and set a second sheet pan on top to weight it down. Bake for 15 to 20 minutes, until the pastry is deep golden brown. (photo 11).
The weight is not optional: it is what keeps the layers flat and even so assembly is possible.
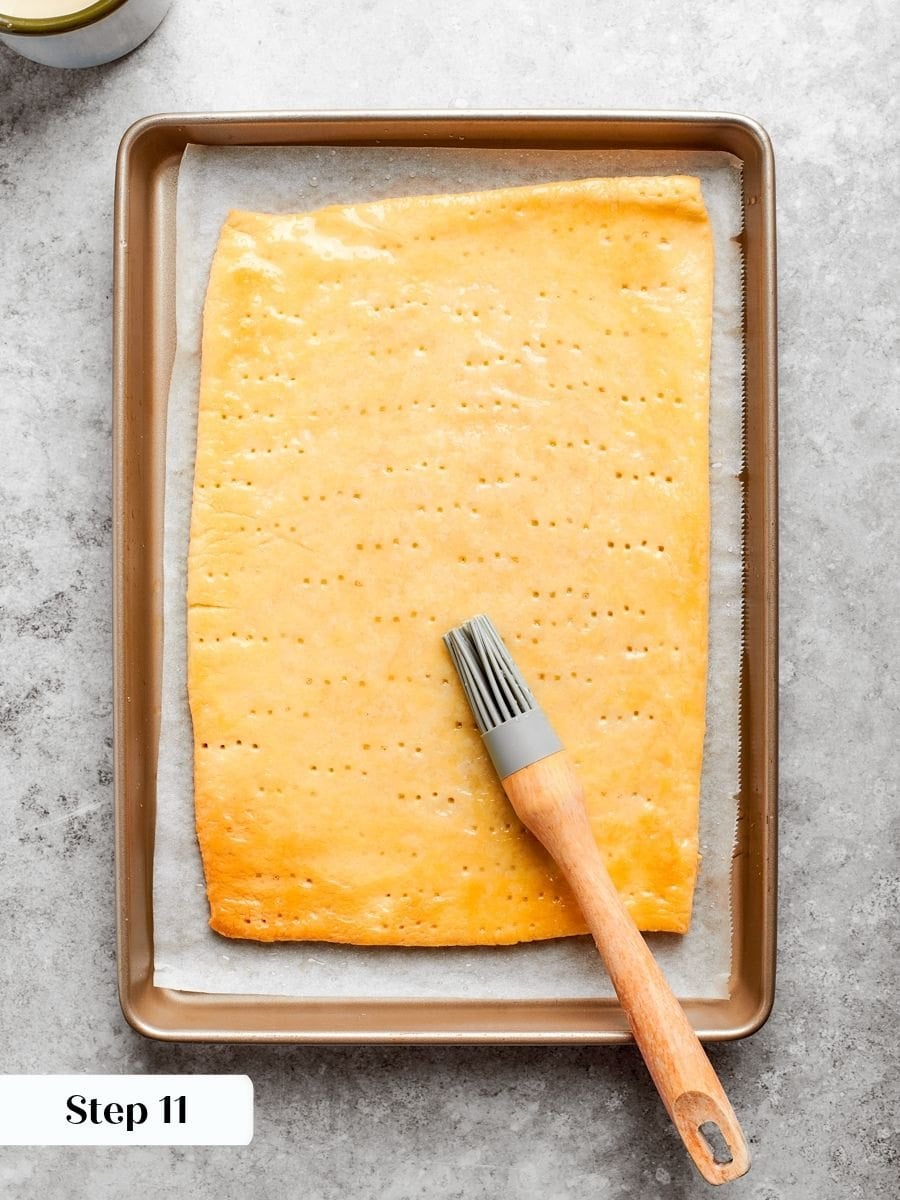
Step 11: Glaze and finish baking. Remove the top pan and parchment, brush the surface generously with simple syrup, and return the pastry to the oven for another 5 minutes, or until the syrup stops bubbling. Simple syrup is all you need here; there is truly no reason to complicate this step. (photo 12).
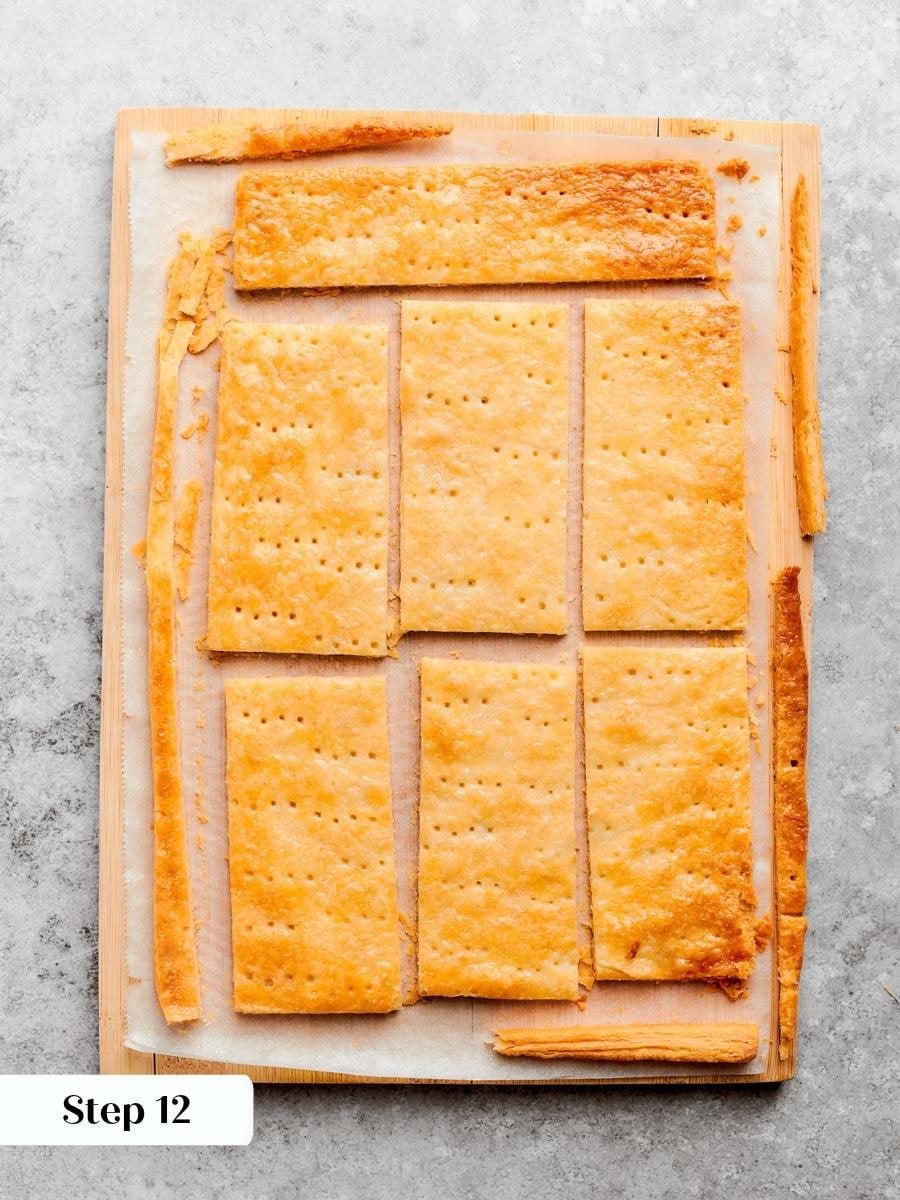
Step 12: Cut the puff pastry while hot. While the pastry is still very hot, use a serrated knife to trim the edges clean and cut each sheet into eight 4-inch by 2½-inch pieces, for 16 total. Work quickly and use a gentle sawing motion so the layers do not compress. (photo 13).
If you are using store-bought puff pastry, thaw according to the package instructions, then preheat the oven to 375°F and line two sheet pans with parchment. Gently unfold each sheet and cut along the fold lines where it naturally cracks, giving three long panels per sheet. You need four panels for four mille-feuilles; bake the remaining two as spares or use them for palmiers(coming soon!) or [cinnamon twists]. Cutting along the natural fold lines is the only reliable way to get clean, presentable panels from store-bought puff pastry. Cutting across the folds tears the layers. Follow the baking and trimming instructions for the homemade puff pastry!
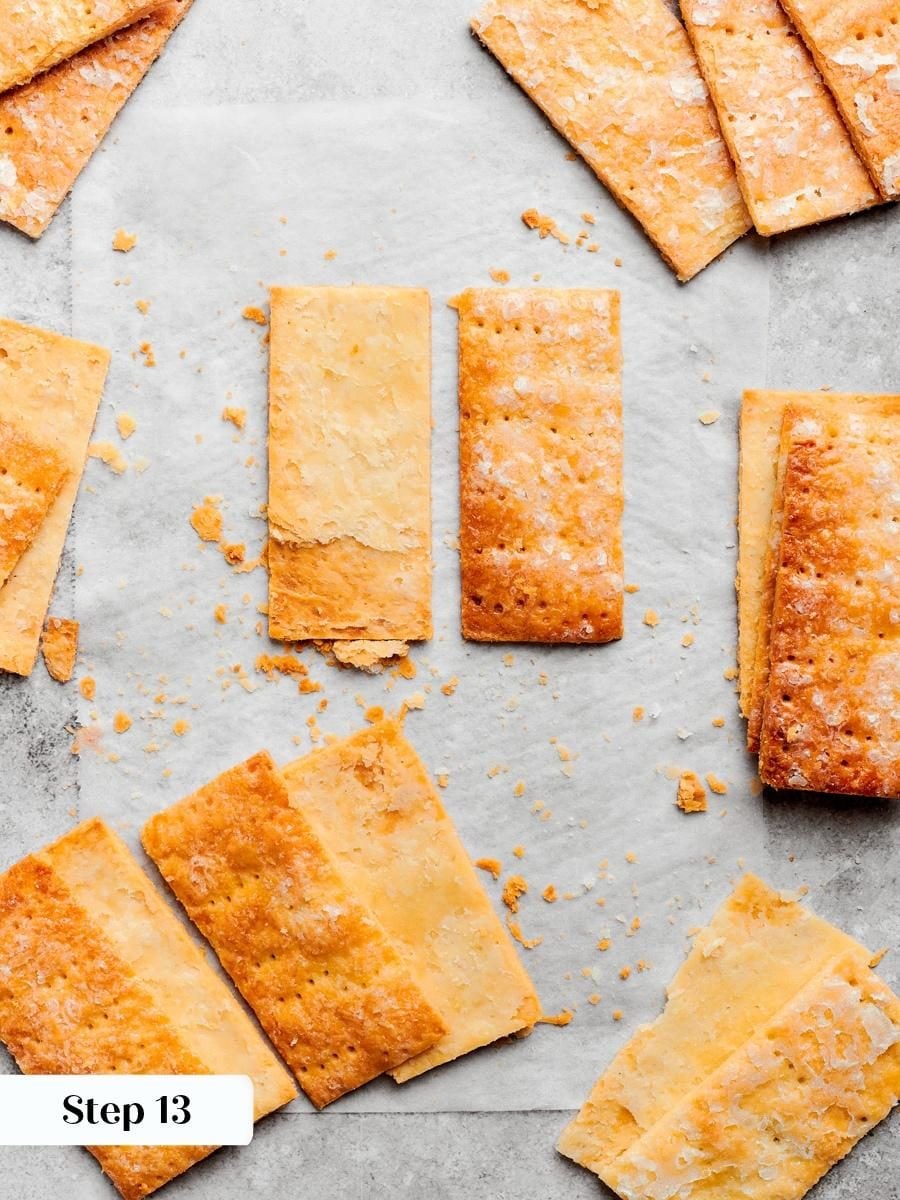
Step 13: Unlike homemade, store-bought puff pastry puffs up thick even under weight, so split each piece horizontally through the middle with a serrated knife, exactly like torting a cake. Each original strip becomes four thin layers and one complete mille-feuille. (photo 14)
Homemade puff pastry baked under weight stays thin enough that it does not need to be split horizontally before assembly.
Make Crème Légère
Step 14: Refresh the chilled pastry creams. Once both creams are completely cold, transfer each to a stand mixer fitted with the paddle attachment and beat on medium-high speed until smooth and silky, scraping down the sides as needed. The cream will look stiff and slightly grainy when it first hits the bowl, then relax into a glossy, spreadable consistency. Do not overbeat: too much agitation breaks down the cornstarch structure and you will end up with a cream that is too loose to pipe cleanly.
I always refresh the vanilla first, remove it, then use the same bowl for the chocolate — no one has 45 bowls, and it works perfectly.
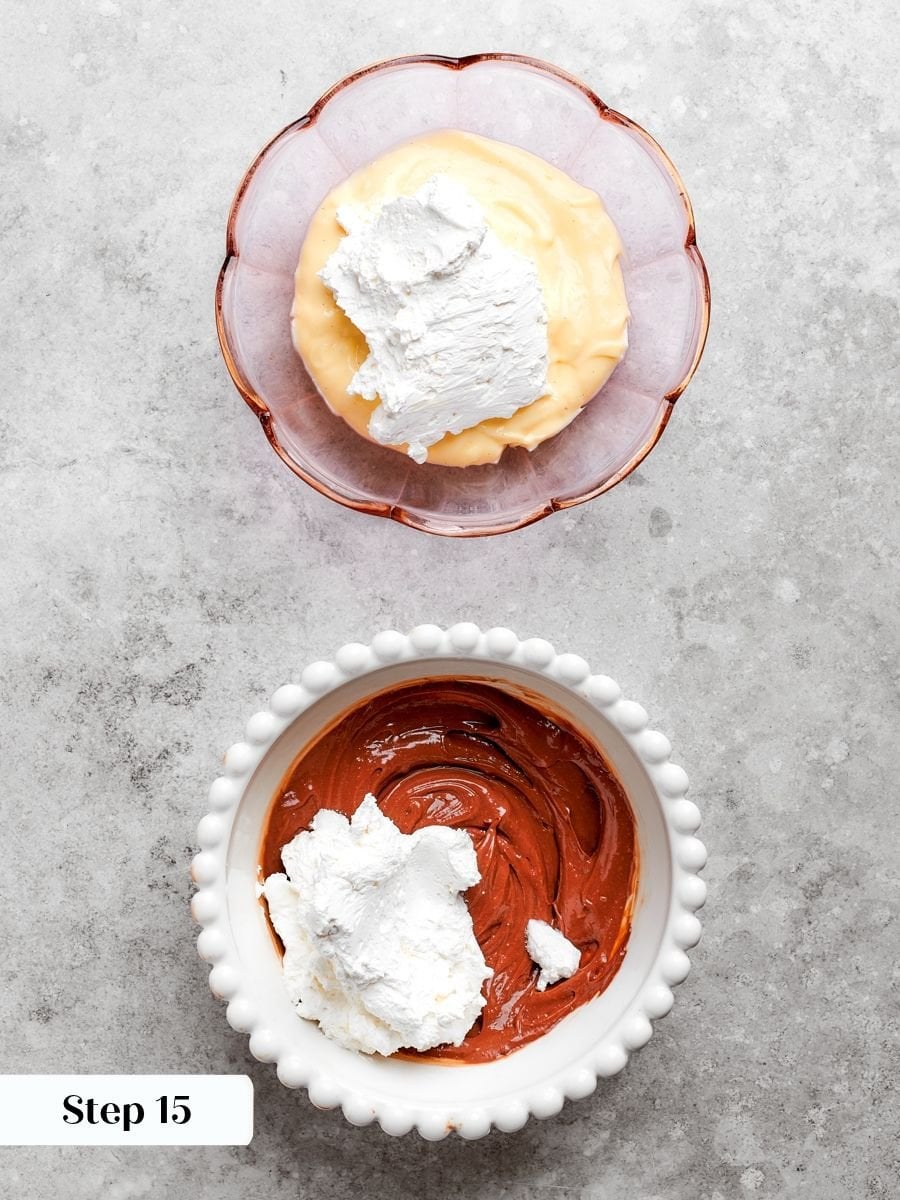
Step 15: Fold in the whipped cream. Fold half of the whipped cream into the vanilla pastry cream and the remaining half into the chocolate. Use a large flexible spatula and work in a slow, deliberate folding motion, cutting down through the center and sweeping up along the edge of the bowl. Stop the moment the cream is fully incorporated, and the mixture looks uniform. Overfolding deflates the whipped cream and makes the finished crème légère dense instead of light. (photo 15).
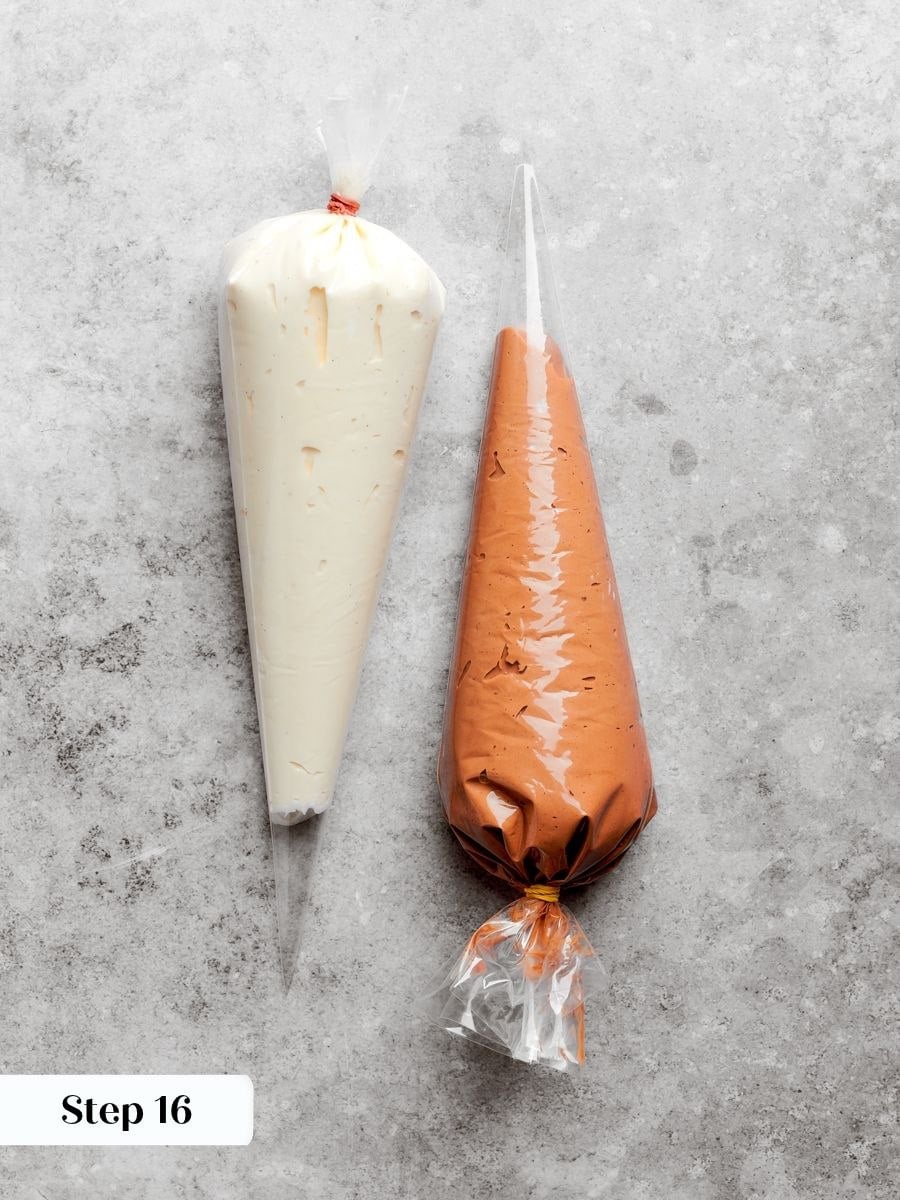
Step 16: Fill the pastry bags. Transfer each crème légère to its own pastry bag fitted with a #6 plain tip. Twist the top of each bag closed and set both aside upright in tall glasses or cups so they hold their shape while you set up for assembly. (photo 16).
Assemble
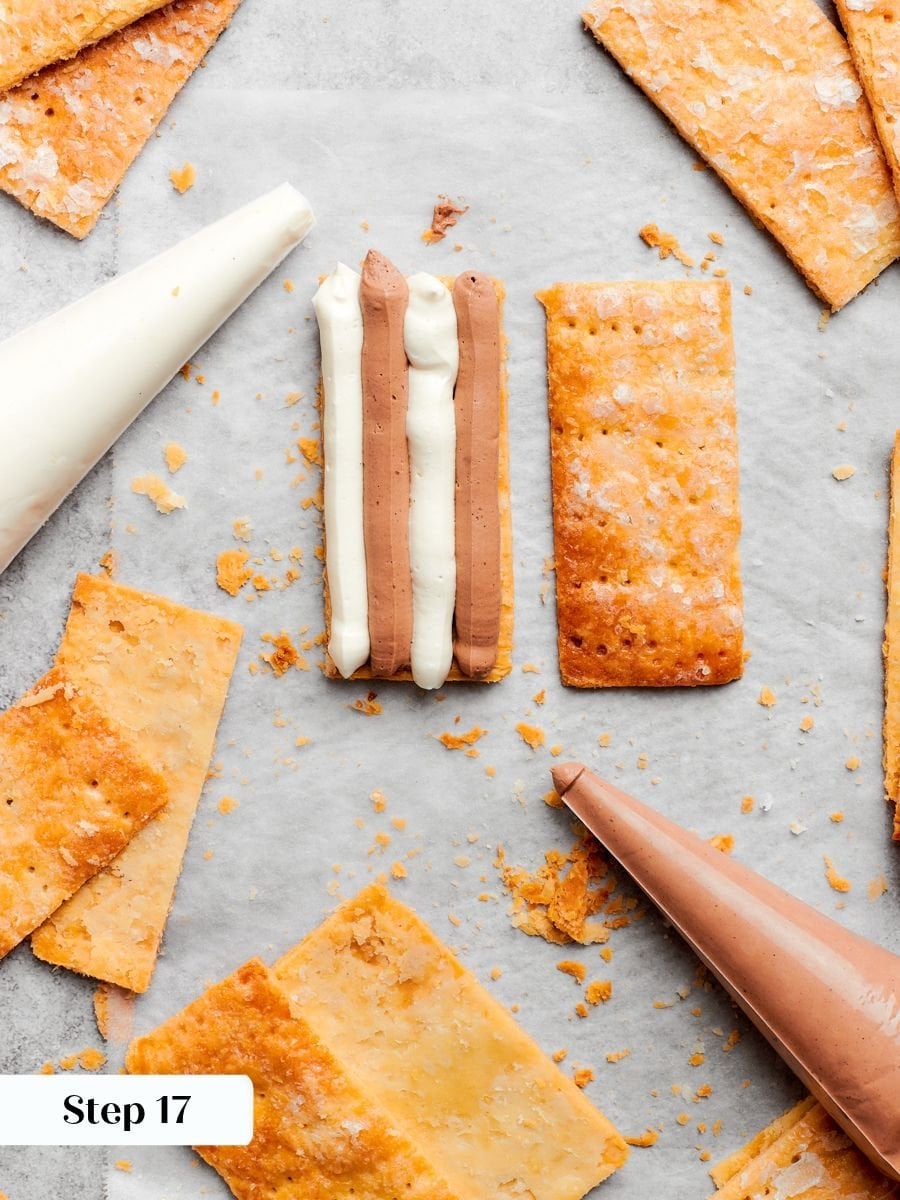
Step 17: Begin assembling the checkerboard mille-feuille. Lay one 4-inch by 2½-inch pastry layer flat on a board or parchment-lined sheet tray. Pipe four lengthwise lines of crème légère side by side, running the full length of the pastry with no gaps between the lines: chocolate, vanilla, chocolate, vanilla. (photo 17).
The lines should sit snug against each other and reach edge to edge so every bite has both flavors.
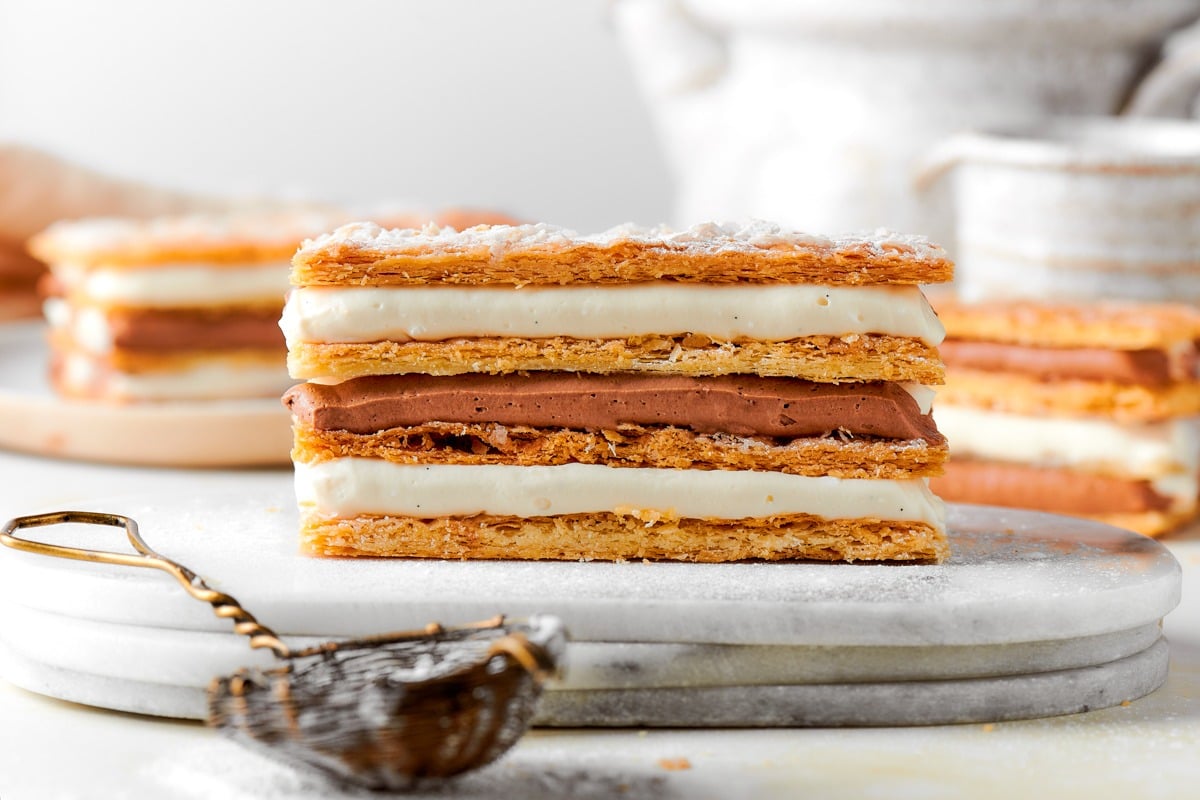
Step 18: Add the second layer and reverse the pattern. Gently press a second pastry layer on top to level the cream slightly, then pipe the opposite pattern: vanilla, chocolate, vanilla, chocolate. Reversing the order on each layer is what creates the checkerboard when you look at the cut ends, so the alternation must be exact.
Step 19: Add the third cream layer and finish with the top pastry. Top with a third pastry layer, press gently, and pipe the first pattern again: chocolate, vanilla, chocolate, vanilla. Finish with a fourth pastry layer, glazed-side up, so the top is smooth and glistening. You now have four layers of pastry and three layers of cream, with the cream offset so the short ends will reveal the checkerboard pattern once trimmed.
Step 20: Repeat and chill. Repeat the assembly process to build all four mille-feuilles. Transfer them to a lined tray or sheet pan, cover loosely, and refrigerate for at least 30 minutes so the cream firms up enough to hold the structure. For the cleanest checkerboard ends, I strongly recommend a 2-hour chill before trimming — this is the step most people rush, and it shows in the final cut.
If you are making all-chocolate or all-vanilla versions, assemble exactly the same way, piping a single flavor across all three cream layers.
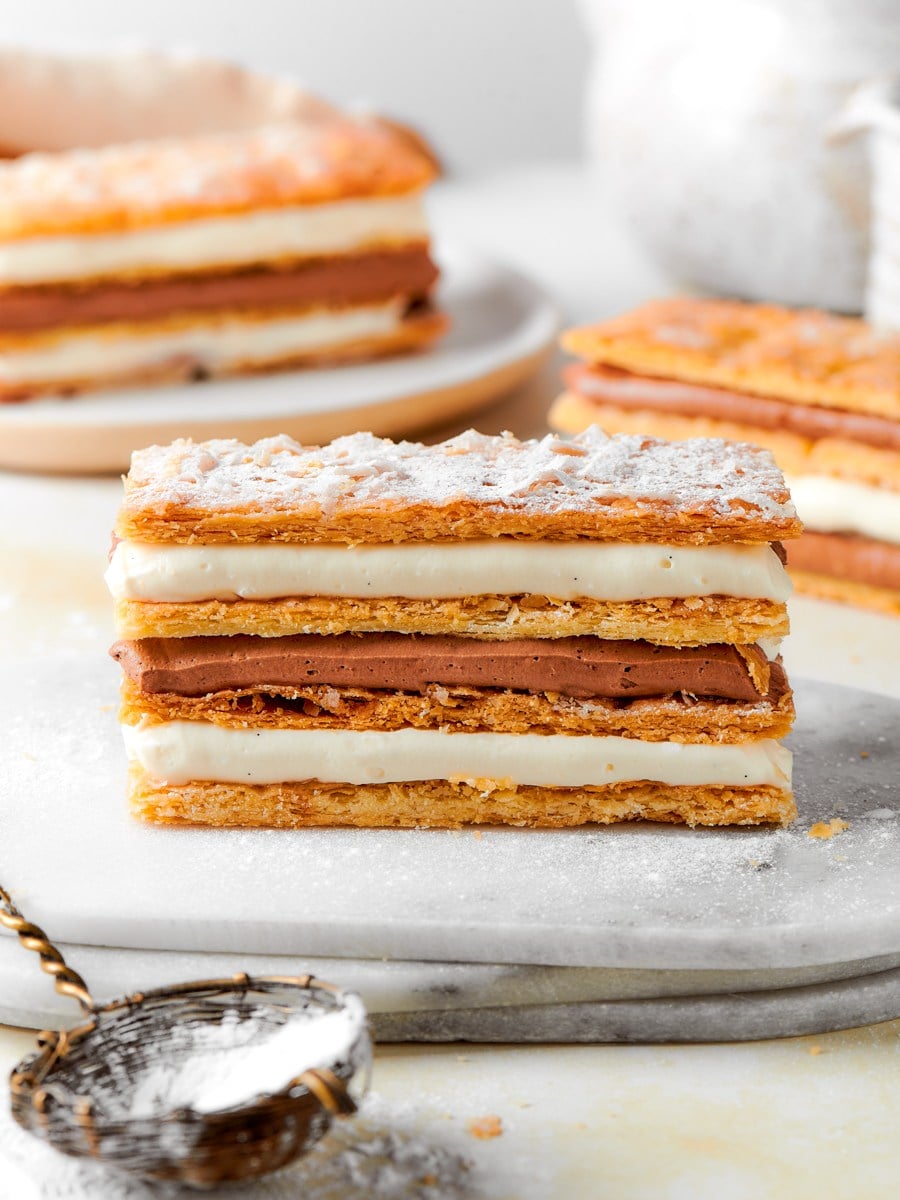
Step 21: Trim the ends and finish. Once the mille-feuilles are well chilled, use a serrated knife and a gentle sawing motion to trim a thin slice off each short end. The cut will reveal the clean checkerboard of alternating chocolate and vanilla cream — this is the moment that makes the whole project worth it. For the top, leave it glistening from the simple syrup glaze, or give it a light dusting of confectioners’ sugar just before serving. Skip the fondant: I find it cloying, and it adds nothing the syrup glaze does not already do better. Refrigerate until you are ready to serve. These are best the day they are made. (photo 18 & 19).
Chef Lindsey’s Recipe Tip
The single move that separates a mille-feuille with a clean checkerboard from one that looks smeared is temperature control at two specific moments: the pastry cream must be hot when you split it, and the assembled mille-feuille must be thoroughly cold before you trim it. If you rush either end of that window, the chocolate cream will be grainy, and the cut edges will compress into a muddy stripe. Get those two moments right, and everything else in this recipe follows.
Recipe FAQs
Yes, and store-bought puff pastry folded in thirds is exactly what I used during testing. Cut along the natural fold lines where the pastry tends to crack — in my tests, this is the only way to get clean, presentable layers rather than ragged edges. After baking, split each piece horizontally with a serrated knife, the same way you would tort a cake, because store-bought puff will still bake up thick and uneven without that step.
The pastry cream can be made a day in advance and refrigerated; whisk it smooth before folding in the whipped cream. The assembled mille-feuilles need to chill for at least 30 minutes so the cream firms up, and a full two hours before trimming gives you the cleanest edges. These are best served the day they are assembled, since the pastry softens overnight in the refrigerator.
Refrigerate assembled mille-feuilles until you are ready to serve them, and plan to eat them the day they are made. The pastry will begin to absorb moisture from the cream overnight, losing its shatter and becoming soft by the next day. There is no practical way to freeze a fully assembled mille-feuille without compromising the pastry layers.
If you tried this recipe and loved it please leave a 🌟 star rating and let me know how it goes in the comments below. I love hearing from you; your comments make my day!
Mille-Feuille Recipe
Ingredients
Pastry Cream
- 2 cups milk
- ½ vanilla bean seeded
- ½ cup sugar
- 1 whole egg
- 2 egg yolks
- 5 tablespoons cornstarch
Chocolate Crème Légère
- ⅔ cup dark chocolate (53%) finely chopped
- ¼ cup heavy cream whipped to soft peaks
Vanilla Crème Légère
- 1⅓ cups vanilla pastry cream (half the recipe above)
- ¼ cup heavy cream whipped to soft peaks
Puff Pastry and Finish
- ¼ # homemade puff pastry or 2 sheets store-bought puff pastry (folded in thirds), thawed
- 2 tablespoons simple syrup equal parts sugar and water, as needed
- Confectioners’ sugar optional, for dusting
Instructions
- Place the chopped chocolate in a medium heatproof bowl. Line two sheet trays with plastic wrap and set aside.
- Combine the milk, sugar, and vanilla seeds in a medium pot and heat over medium until it comes to a rolling boil. Meanwhile, whisk the egg and yolks until smooth, then whisk in the cornstarch until lightened in color.
- Temper the egg mixture by slowly pouring in all the hot milk while whisking constantly. Return to the pot and cook over medium-low, whisking constantly and reaching the bottom and edges of the pan, until thickened and boiling. Boil for 1 full minute.
- Pour half of the hot pastry cream (about 325 g) directly over the chopped chocolate, covering it completely, and let sit 2 minutes. Pour the remaining vanilla pastry cream onto one lined tray, cover with plastic wrap pressed directly on the surface, and poke a few holes. Whisk the chocolate pastry cream until fully melted and smooth, pour onto the second tray, and cover the same way. Chill both completely.
- For homemade puff pastry: Preheat the oven to 375°F. Roll each half into a 9-in × 12-in rectangle about ⅛ in thick. Transfer to parchment-lined sheet pans and chill 20 to 30 minutes. Dock all over, cover with parchment, and weight with a second sheet pan. Bake 15 to 20 minutes until golden. Remove the top pan and parchment, brush with simple syrup, and bake another 5 minutes until the syrup stops bubbling. While hot, trim the edges and cut each sheet into eight 4-in × 2½-in pieces with a serrated knife.
- For store-bought puff pastry: Preheat the oven to 375°F. Unfold each sheet and cut along the natural fold lines, giving 3 panels per sheet. Use 4 panels total. Dock all over, cover with parchment, and weight with a second sheet pan. Bake 20 to 25 minutes until golden. Remove the top pan and parchment, brush with simple syrup, and bake another 5 minutes. While hot, trim each panel to 8-in × 2½-in. Let cool, then cut each strip in half crosswise into two 4-in × 2½-in pieces. Split each piece horizontally through the middle with a serrated knife to give 4 thin layers per strip.
- Refresh each chilled pastry cream in a stand mixer with the paddle on medium-high speed until smooth and silky; do not overbeat. Fold half the whipped cream into each flavor to make vanilla and chocolate crème légère. Transfer each to a pastry bag fitted with a #6 plain tip.
- To assemble, lay one pastry layer on a board. Pipe 4 lengthwise lines of crème légère side by side (chocolate, vanilla, chocolate, vanilla). Top with a second layer, press gently to level, and pipe the reverse pattern (vanilla, chocolate, vanilla, chocolate). Add a third layer and repeat the first pattern. Finish with a fourth layer, glazed side up. Repeat to make 4 mille-feuilles.
- Chill at least 30 minutes so the cream firms up — 2 hours if you plan to trim the ends. Trim a thin slice off each short end with a serrated knife using a gentle sawing motion to reveal the checkerboard. Dust with confectioners’ sugar just before serving, or leave the tops glistening from the syrup.
Notes
Pastry cream timing: Split the pastry cream while it is still hot — this is the only way the chocolate melts smoothly off the heat without seizing.
Checkerboard ends: Chill the assembled mille-feuilles for 2 full hours before trimming. A cold interior holds its shape cleanly under the knife; a warm one compresses and smears.
Storage: Refrigerate until serving and eat the day they are assembled. The pastry softens overnight as it absorbs moisture from the cream, and fully assembled mille-feuilles cannot be frozen without compromising the layers.
Nutrition
Before You Go
If you made it through all those layers of caramelized pastry, pastry cream, and fondant, you already know this one is worth every step. For more recipes to try next, browse my Dessert Recipes or make this mille crepe cake next!