
This post may contain affiliate links. Please read our disclosure policy.
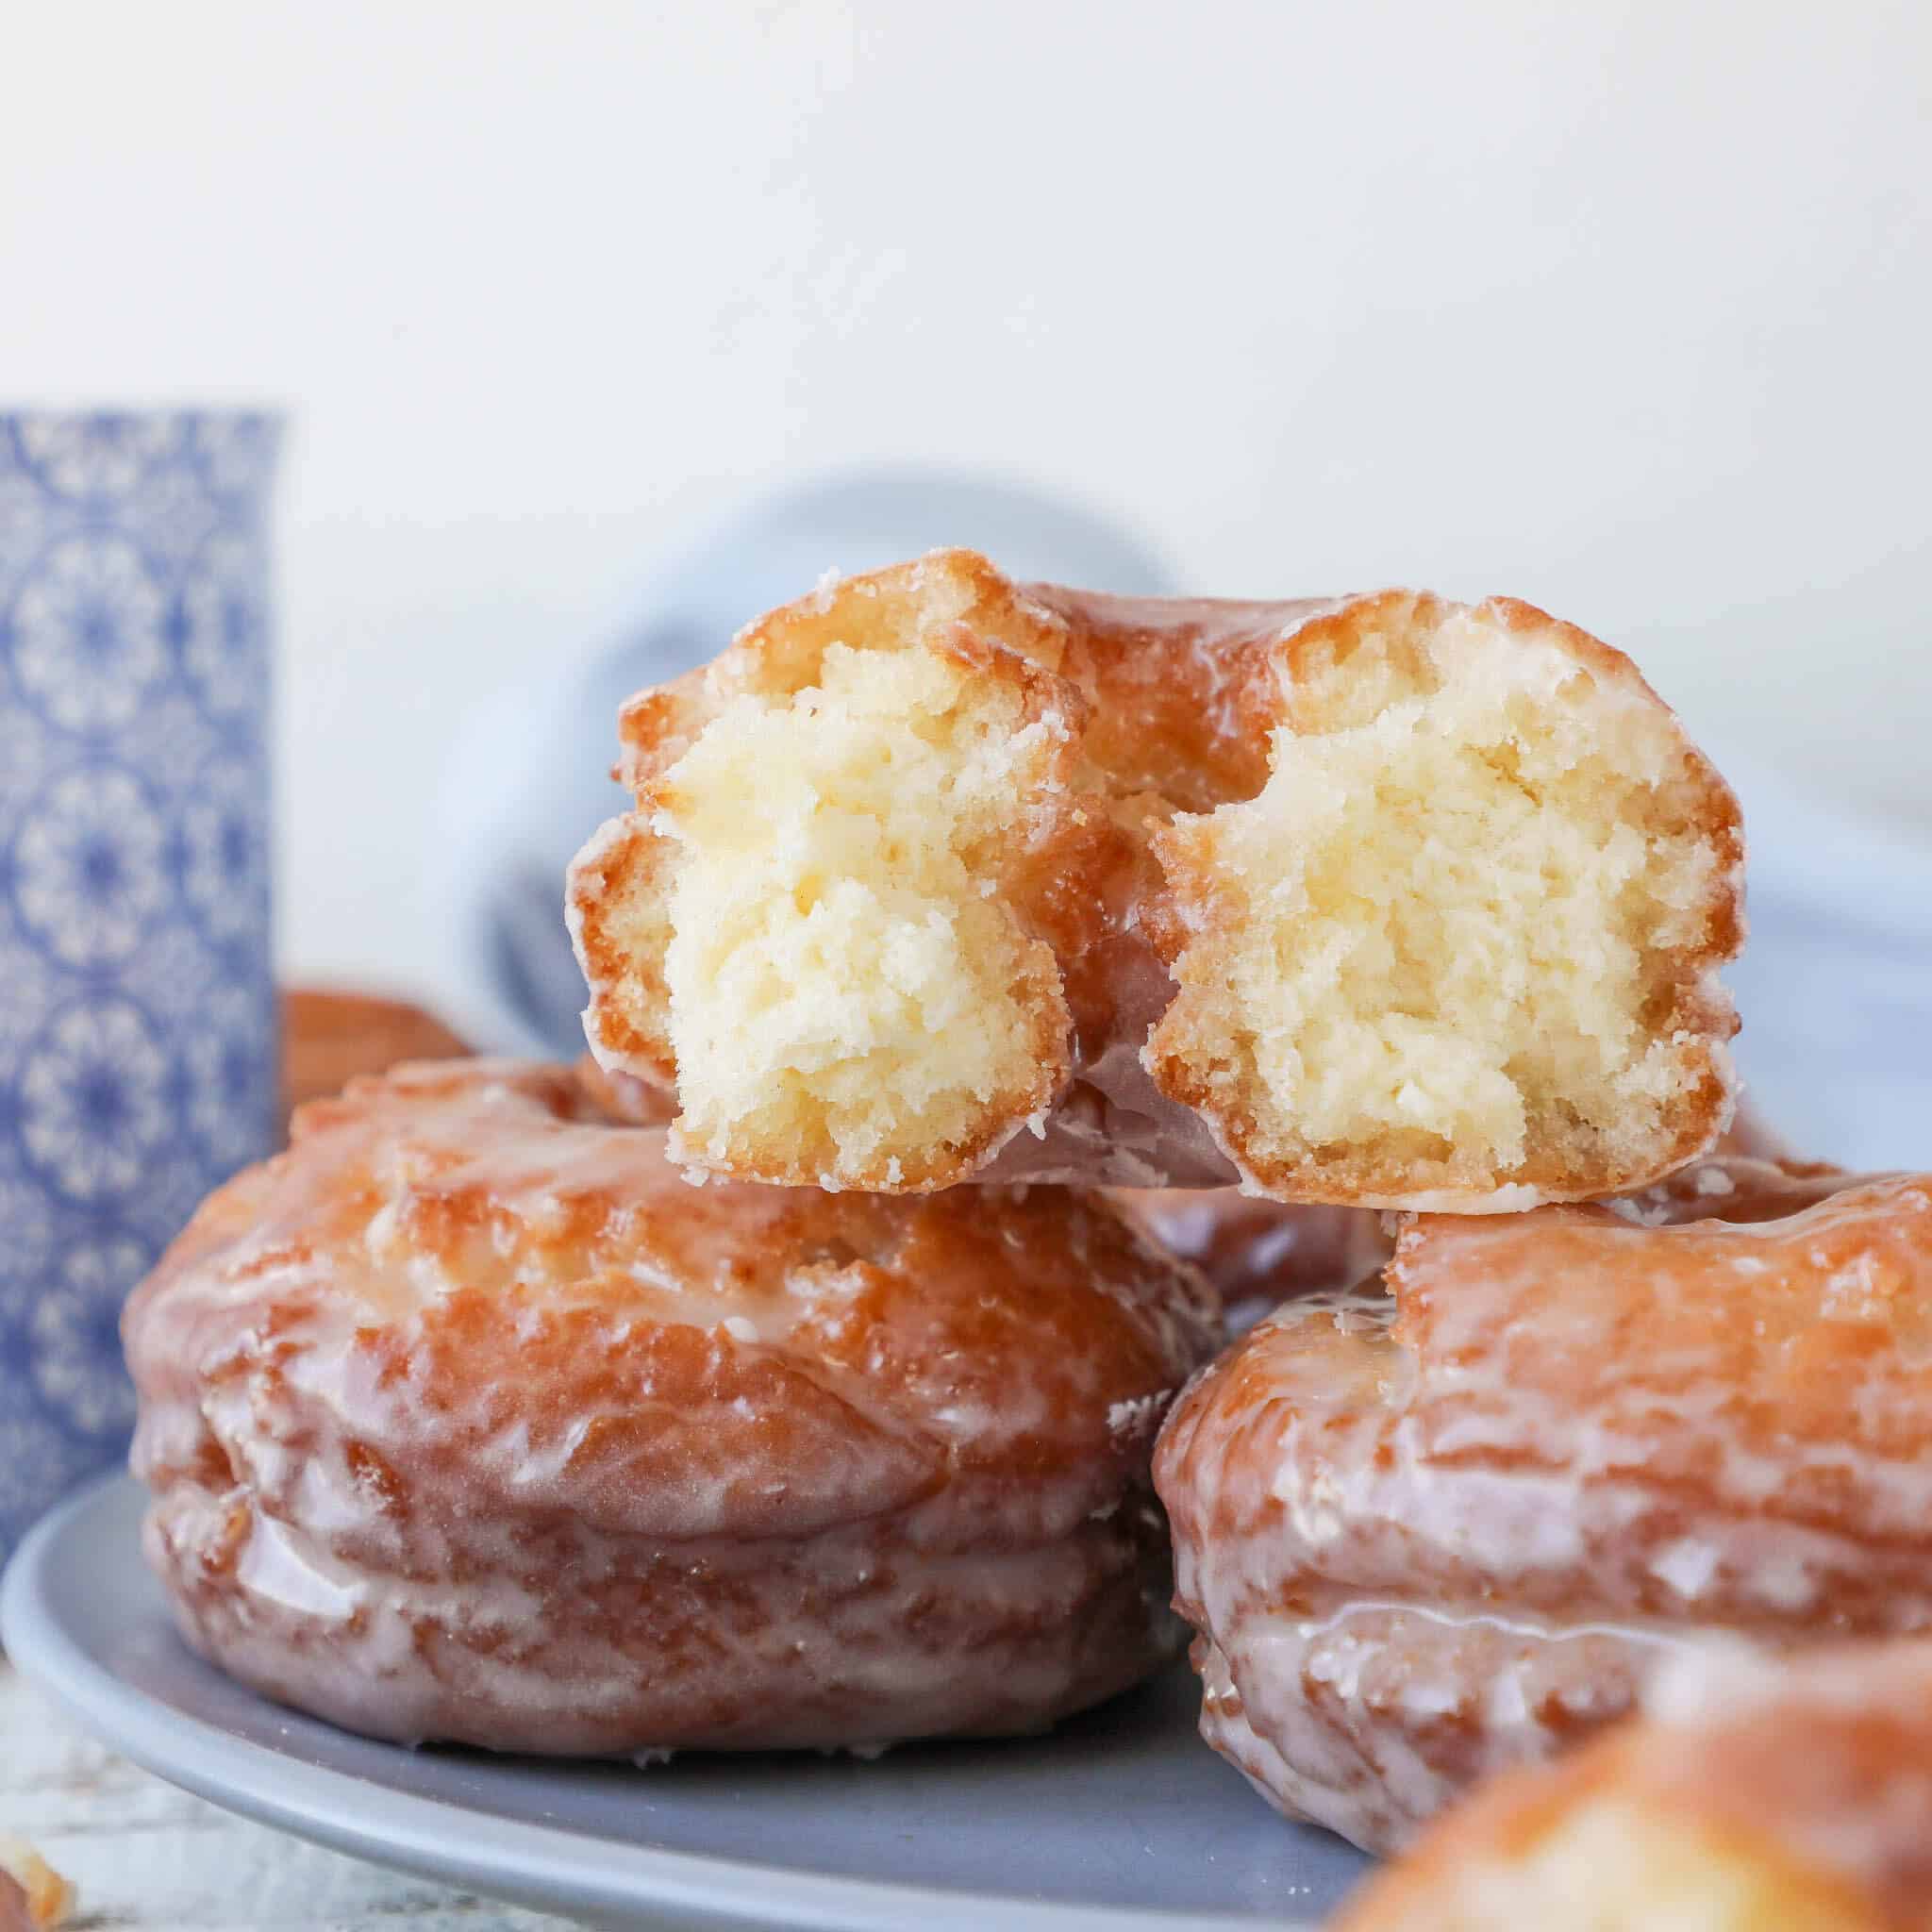
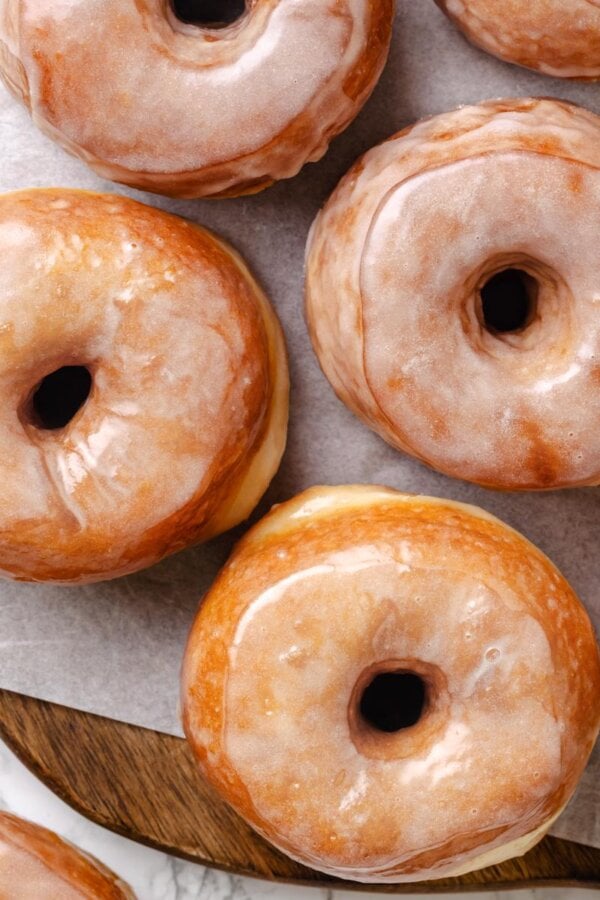
Pillowy perfection, these Old Fashioned Sour Cream Donuts are UNREAL. This cake donut recipe makes fried doughnuts with insides that are soft, tender and cakey, with crispy outsides, and a classic sweet glaze to finish it off!
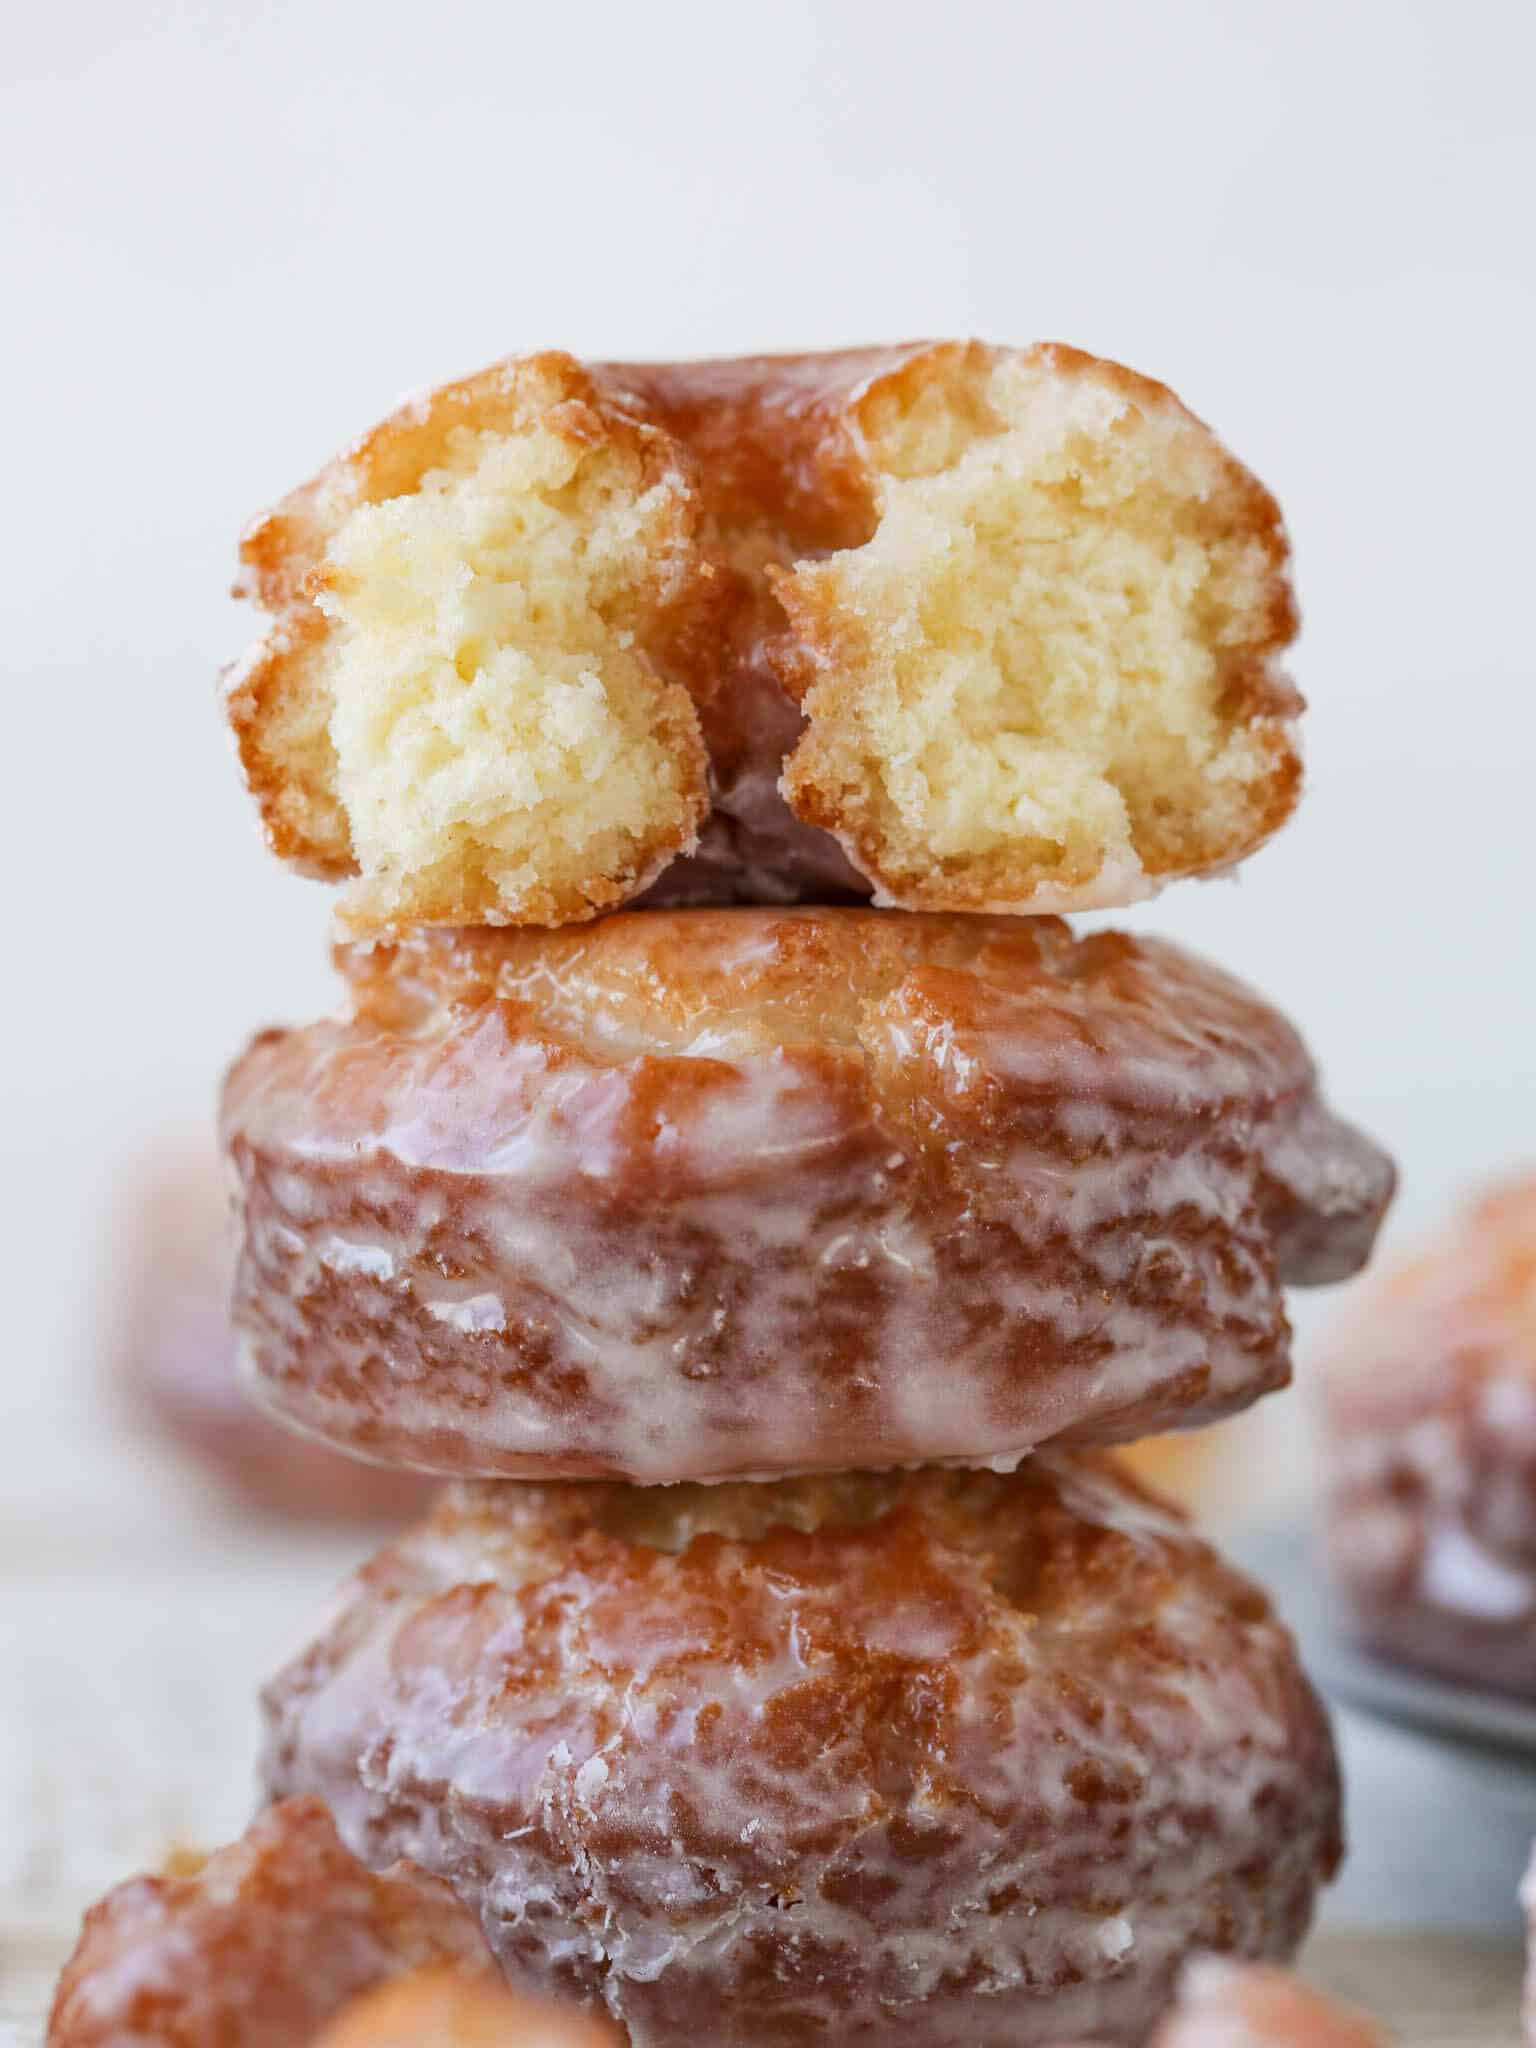
This Sour Cream Cake Donut Recipe is so easy it’s kind of dangerous. The dough is straightforward to make, and after chilling it, heat up your fry oil to have perfect old-fashioned donuts in under 2 minutes! Finish it all off with my simple, classic donut glaze and you will wonder why you ever bought donuts instead of making them yourself! I smell trouble. Oh no…that’s just fryer oil heating up…
While attending the International Culinary Center (ICC), I had a secret fear of frying. Of course I mustered the courage to fry beignets, churros, and jelly donuts, but there were serious butterflies in my stomach. Fast forward 6 years through several line cook positions and being a pastry chef for Manhattan restaurants, and now I can confidently share all my secrets!
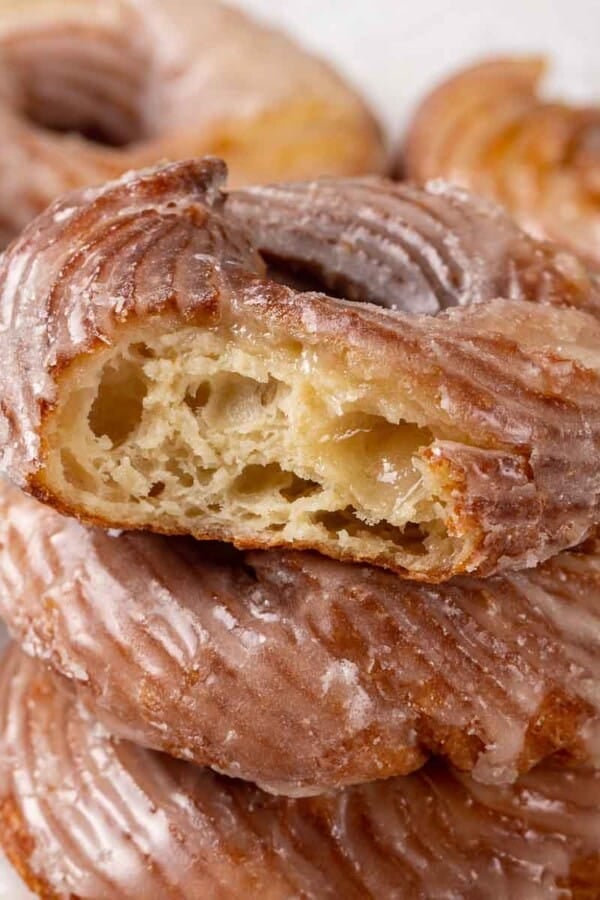
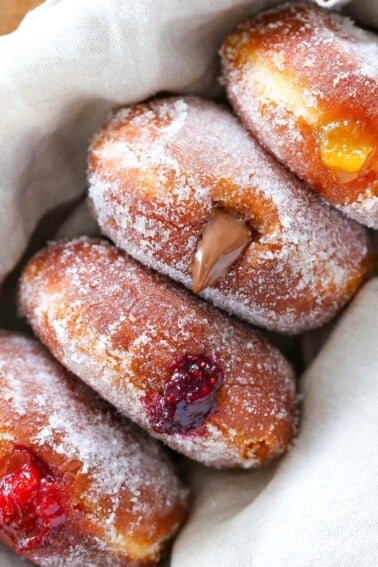
If you’re nervous, I’ve been there. We’ll fry these sour cream donuts as a team! Then you can move on to my glazed chocolate donuts, French crullers, pumpkin donuts and this jelly donut recipe!
Table of Contents
- Why you will love these sour cream donuts:
- Why do you put sour cream in donuts?
- Ingredients needed for Sour Cream Donuts
- How to Make:
- How to fry sour cream donuts like a pro:
- Professional Tips for making sour cream donuts:
- Can you bake these sour cream donuts?
- Recipe Substitutions
- Variations
- Storage
- Frequently Asked Questions
- Chef Lindsey’s Recipe Tip
- Old Fashioned Sour Cream Cake Donuts Recipe
- Before You Go!
Why you will love these sour cream donuts:
- A pillow of fried love: The texture on these donuts cannot be beat. They are both light and airy while having a slightly crispy outside. Divine.
- The dough can be made in advance: You can make sour cream cake donuts up to three days ahead of time. They can be refrigerated at any stage in the process before frying so take the time you need for each stage. Just fry or freeze within three days!
- Impressive but simple: I break down each step of these donuts into small details so you can say farewell to anxiety and hello to perfect homemade donuts every time! These donuts are the entryway to a beautiful world of fried desserts. Imagine the look on people’s faces when you tell them that the donut shop that provided the old-fashioned treat they’re eating was actually your kitchen!
Why do you put sour cream in donuts?
The fat in the sour cream helps keep these donuts soft and tender. All the moisture in the doughnuts is provided by the sour cream. It keeps the dough together without making it overly wet. When you have overly-wet dough, the donuts will have a gummy, tough texture. Sour cream is the perfect solution, maintaining a soft and tender crumb inside while allowing for the outside to crisp up.
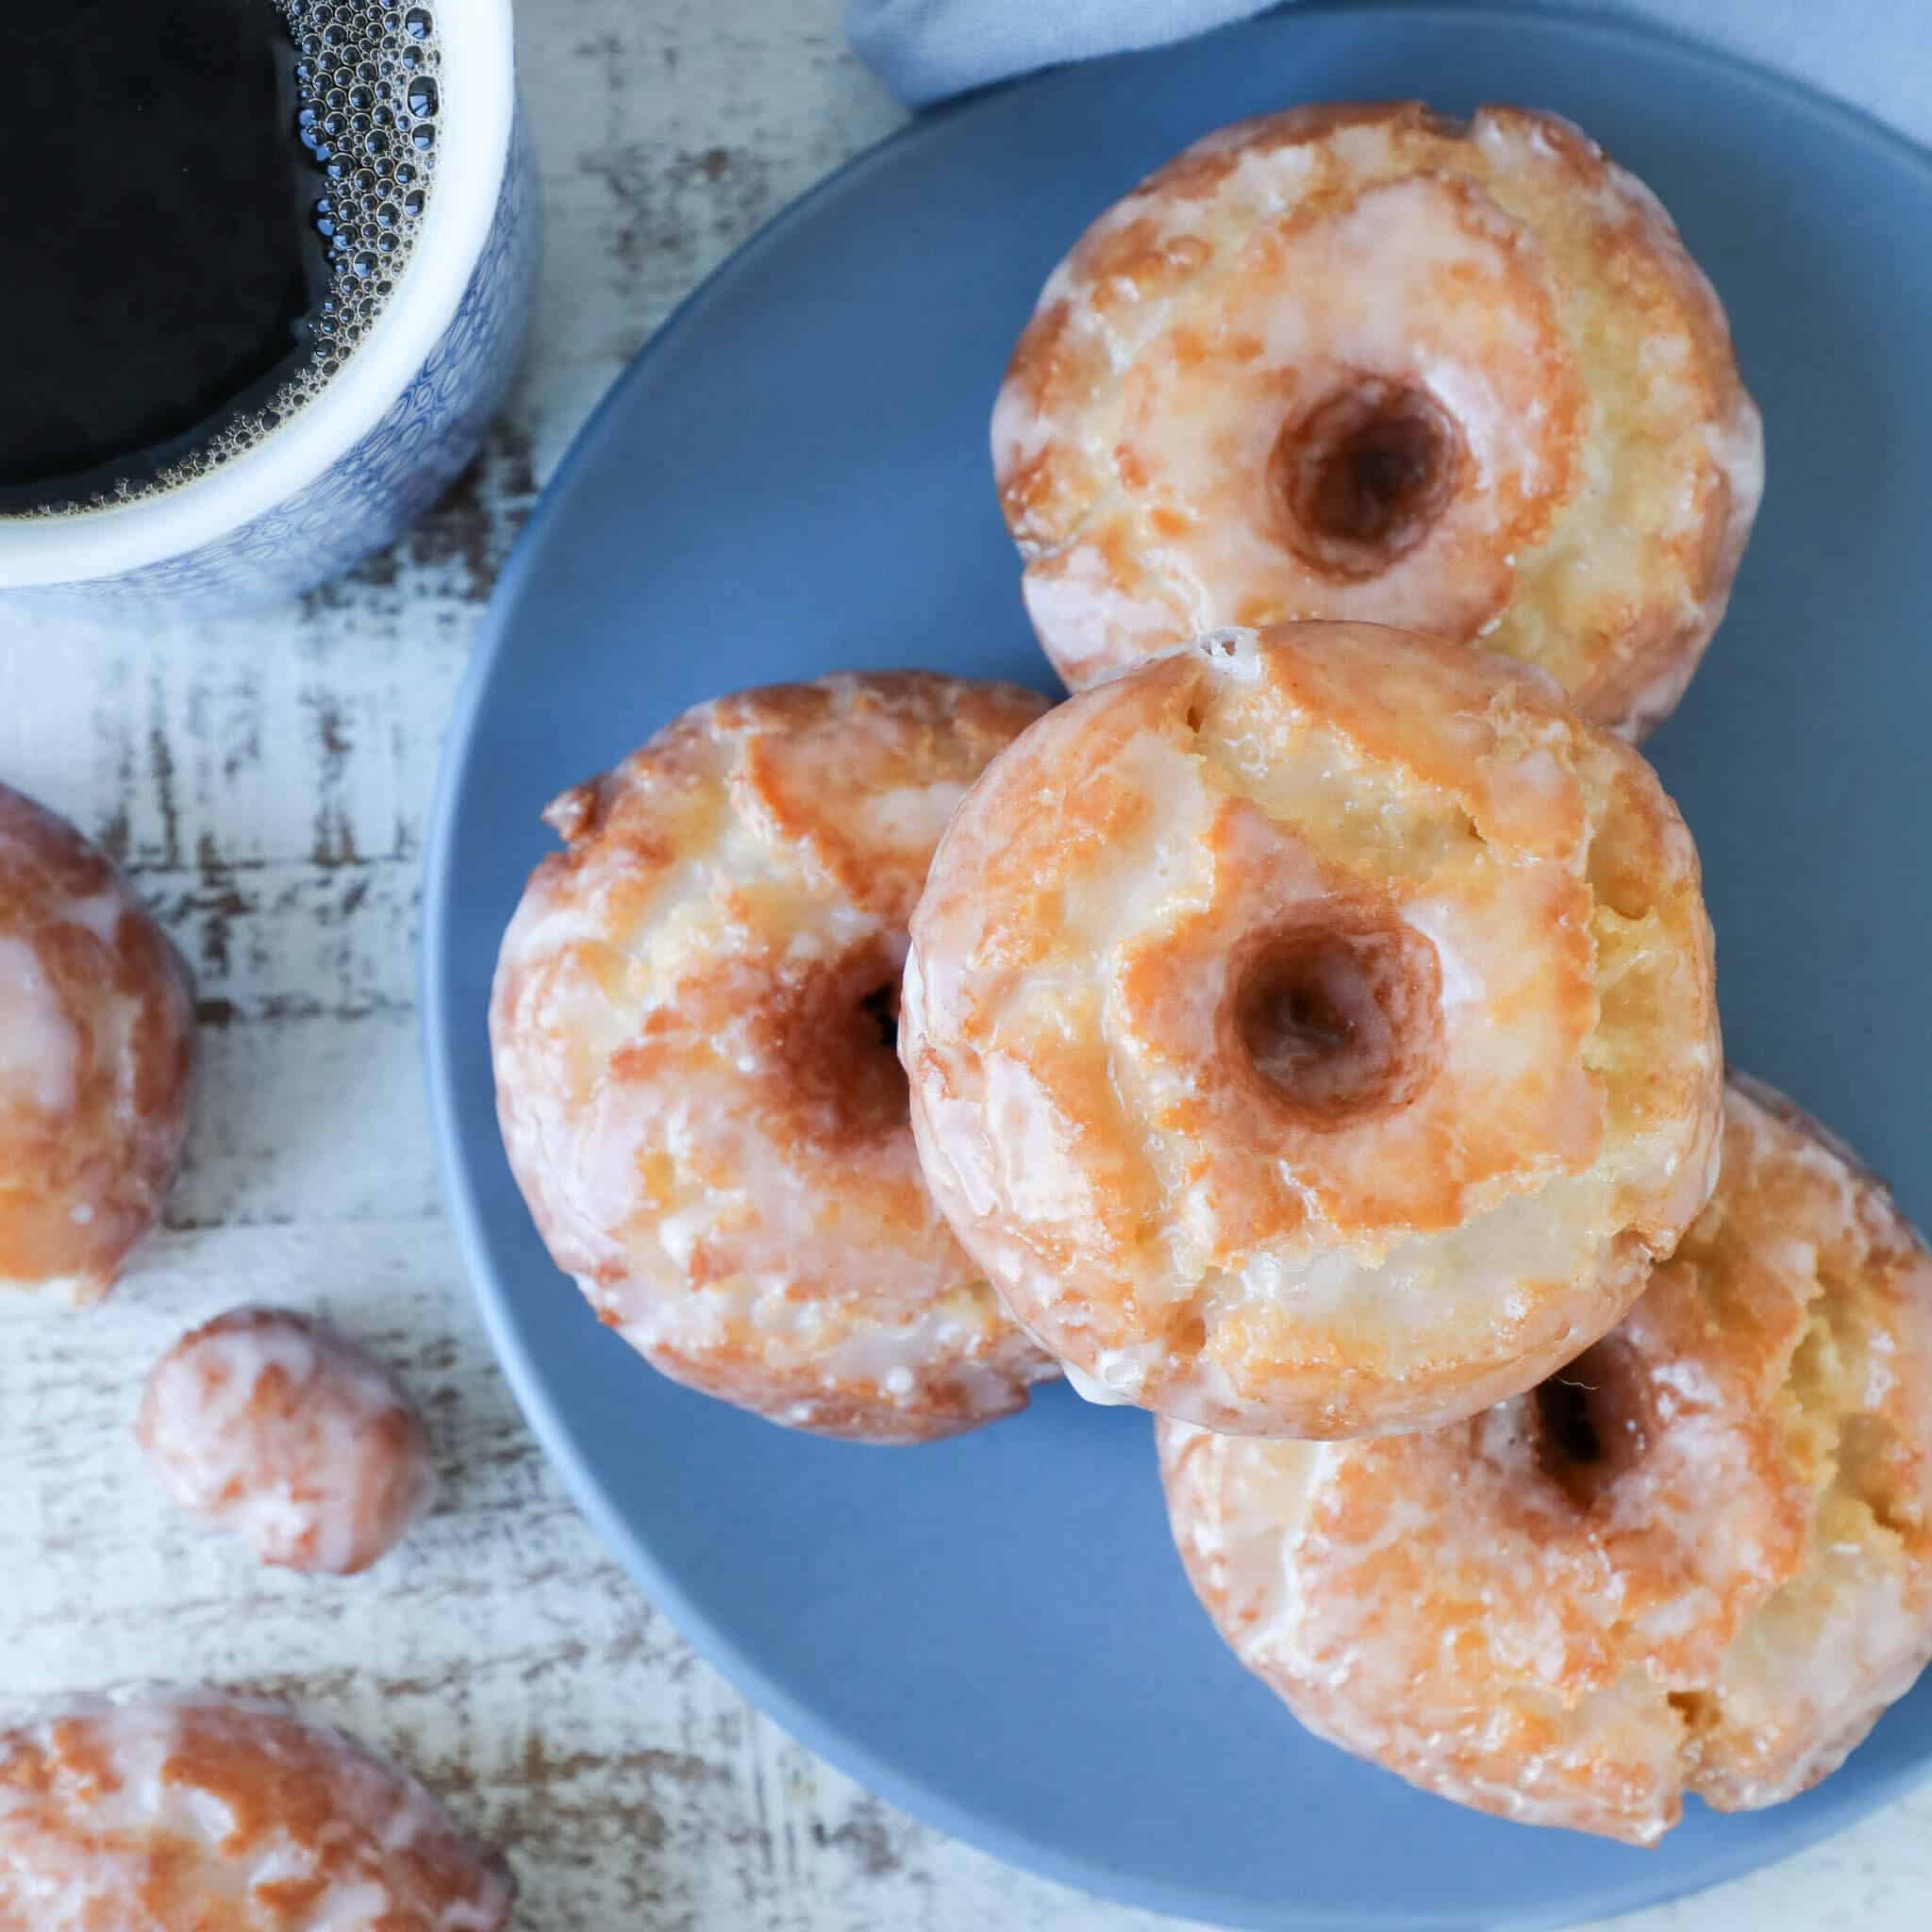
Ingredients needed for Sour Cream Donuts
- All-Purpose Flour: I prefer to use all-purpose flour in the majority of my donut recipes because it has the perfect amount of gluten. This amount of gluten allows the dough to develop a strong network but remain tender and soft. Cake flour or pastry flour would also work in this recipe. But, to be totally candid, I’ve been using all-purpose for the last five years!
- Granulated Sugar: Sugar is here for sweetness, but it also adds leavening when you beat it with the eggs. It helps create a soft, tender, and light texture that puff when fried.
- Kosher Salt: Kosher salt is less salty than table salt and a teaspoon weighs less than other finer ground varieties. The salt seems like a lot but it is here to enhance the flavor of the dough.
- Egg Yolks: The egg yolks are here to add fat, moisture and leavening. The fat from the yolk adds richness and shortens some of the gluten strands to keep the donuts cakey and tender. Beating in the eggs just enough will add a little or a lot of leavening depending on the desired texture. Eggs also emulsify the batter and keep everything texturally perfect.
- Butter: Unsalted butter allows you to control the saltiness of the dough while still adding all the buttery goodness!
- Sour Cream: This should go without saying here, but sour cream is essential in sour cream cake donuts. This provides all the moisture in the donuts, and is what will hold the dough together without making it too wet. A dough that is too wet will yield tough donuts.
- Baking Powder: Double acting baking powder will react instantly when it is mixed with an acid, which is sour cream here, and then again when it is heated. Baking soda will not leaven these doughnuts as well, especially if making the dough a day or two in advance. It will react once and then it won’t have much leavening power left once it hits the oil.
Keep the dough cold. Roll and cut your dough quickly to keep the baking powder from starting to react with the sour cream.
- Canola Oil: I use canola oil for frying but another neutral-flavored oil with a high smoke point will do, like crisco shortening.
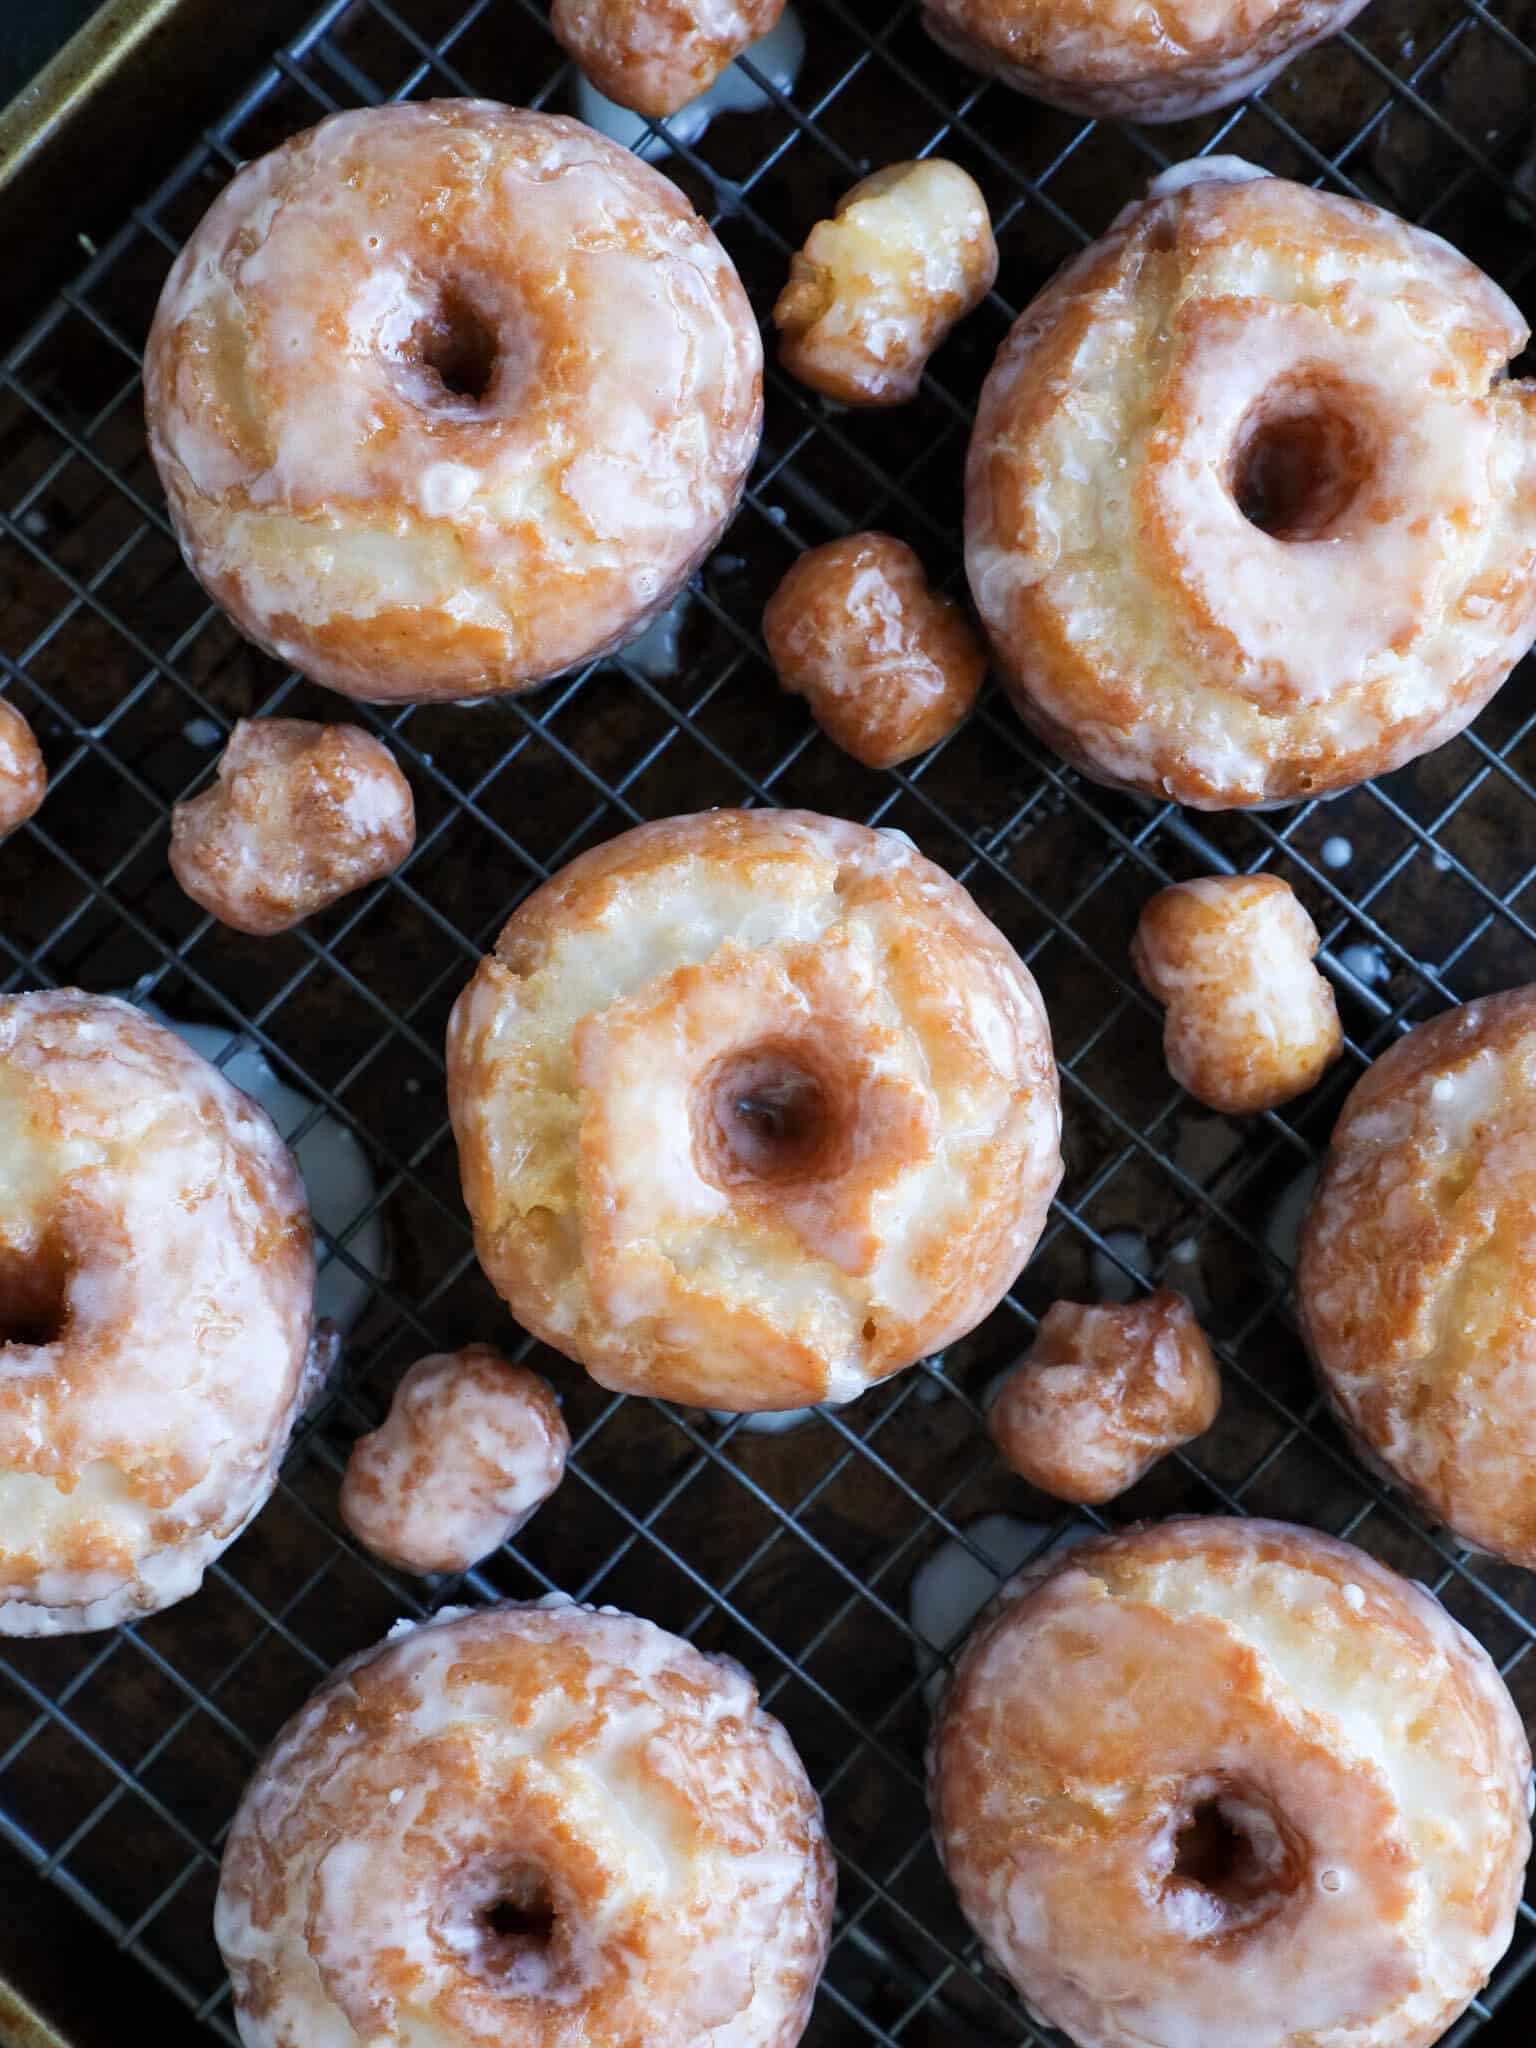
How to Make:
Use these instructions to make the perfect sour cream donuts every time! Further details can be found in the recipe card below!
Make the donut dough:
Step 1: In a large bowl, whisk together the flour, baking powder and kosher salt to distribute. Set aside.
Step 2: Line a large mixing bowl with plastic wrap and then spray the surface of the plastic wrap with nonstick spray. Set this aside too.
Step 3: In the bowl of a stand mixer fitted with the paddle attachment, beat together the granulated sugar and butter on high speed until the butter has completely incorporated. There is too much sugar in proportion to butter to look “light and fluffy.”
Step 4: Add the egg yolks and continue to beat on high until the mixture lightens and the volume increases. This will take about 2 minutes. Stop and scrape down the mixture a few times to be sure it is all evenly incorporated.
Step 5: With the stand mixer on low, gradually add the dry ingredients to the bowl a large spoonful at a time alternating with spoonfuls of sour cream. Add the next spoonful when you only see a few large streaks of flour left in the bowl. I alternate almost nonstop between the two. Stop the mixer to scrape in the last bit of sour cream. Only mix until the dry ingredients are fully incorporated. You want to do this as quickly as possible so that not too much gluten develops, which will make tunnels in your donuts and also make them tough.
Step 6: Transfer the dough to the plastic wrap lined bowl. Spray the top of the dough with nonstick spray and then fold the edges of the plastic over the top to cover it. Refrigerate for 60 minutes. At this point, the dough can be held in the fridge for up to 2 days.
Portion and cut dough:
Step 1: Line a half-sheet baking pan with parchment paper and spray the paper with nonstick spray. Set this aside.
Put bench flour on your counter. This dough is sticky, and a generously floured surface will work wonders for your ability to manipulate the dough.
Step 2: Lightly dust a work surface with flour. While the dough is still in the bowl, dust the top of the dough with flour. Turn the dough out onto your floured work surface, floured side down. Lightly dust the top with more flour.
Step 3: Working quickly to keep the dough cool, roll out the dough to ½ inch thick.
Step 4: Brush any excess flour from the top of the dough. Use 3-inch and 1 ¼ – inch ring cutters to cut the donuts and holes. You can use a donut cutter, biscuit cutter, cookie cutter, or even the rim of a glass! Lightly tap the cutters in flour before cutting each donut. Place the donuts and donut holes on the prepared sheet pan.
Step 5: Cover sheet pan with plastic wrap, but be sure not to let the plastic touch the top of the donuts. Chill in the refrigerator for at least 30 minutes up to overnight at this step.
Make the glaze:
Step 1: In a medium bowl whisk together the milk, powdered sugar and salt. Cover the glaze with plastic wrap directly on the surface to prevent it from getting a skin. You can heat up the glaze over a pot of simmering water on the stove if you want it to be warm. I typically dip my donuts while they are still very hot, so I don’t need to do this.
Fry the donuts:
Use canola oil or some other neutral tasting oil that has a high smoke point.
Step 1: Pour oil into a fryer or a Dutch oven, making sure the oil is at least 2 inches deep. Heat your oil to 350°F. Adjust your heat to keep the temperature between 350°- 360°F while frying. You will need a clip-on fry/candy thermometer for this. I heat my oil up to 360°F before adding a batch of donuts, because the cold dough will lower the temperature of the fryer oil.
Step 2: Gently place 3-5 donuts in the fryer, while keeping the remaining donuts in the fridge. The number you can fry at once depends on the size of your pot. You want the donuts to have room to move around and space to puff. Once they rise to the surface, cook for 30 seconds and then flip them with a slotted spoon. Fry until the bottom develops a nice golden brown color, about 80 seconds. Flip it again and then fry for another 80 seconds or until the color is a nice even golden brown. I usually test mine with a cake tester.
Pull it out of the oil, poke it and then pull the cake tester out. It should not have any streaks of dough or crumbs. Transfer to a wire rack set over a sheet pan or paper towels. Donut holes fry for 30 seconds then flip, then another 60 seconds, then flip, then another 40-60 seconds. They will puff up and be golden brown all over.
Step 3: Once the donut is just barely cool enough to handle, dip the donut in the glaze and place it back on the wire rack. Dipping a hot donut will give you a nice, even glaze that isn’t too thick or too thin!
Step 4: Store at room temperature in a container with the corner cracked overnight but they are best consumed the day they are fried…with coffee.
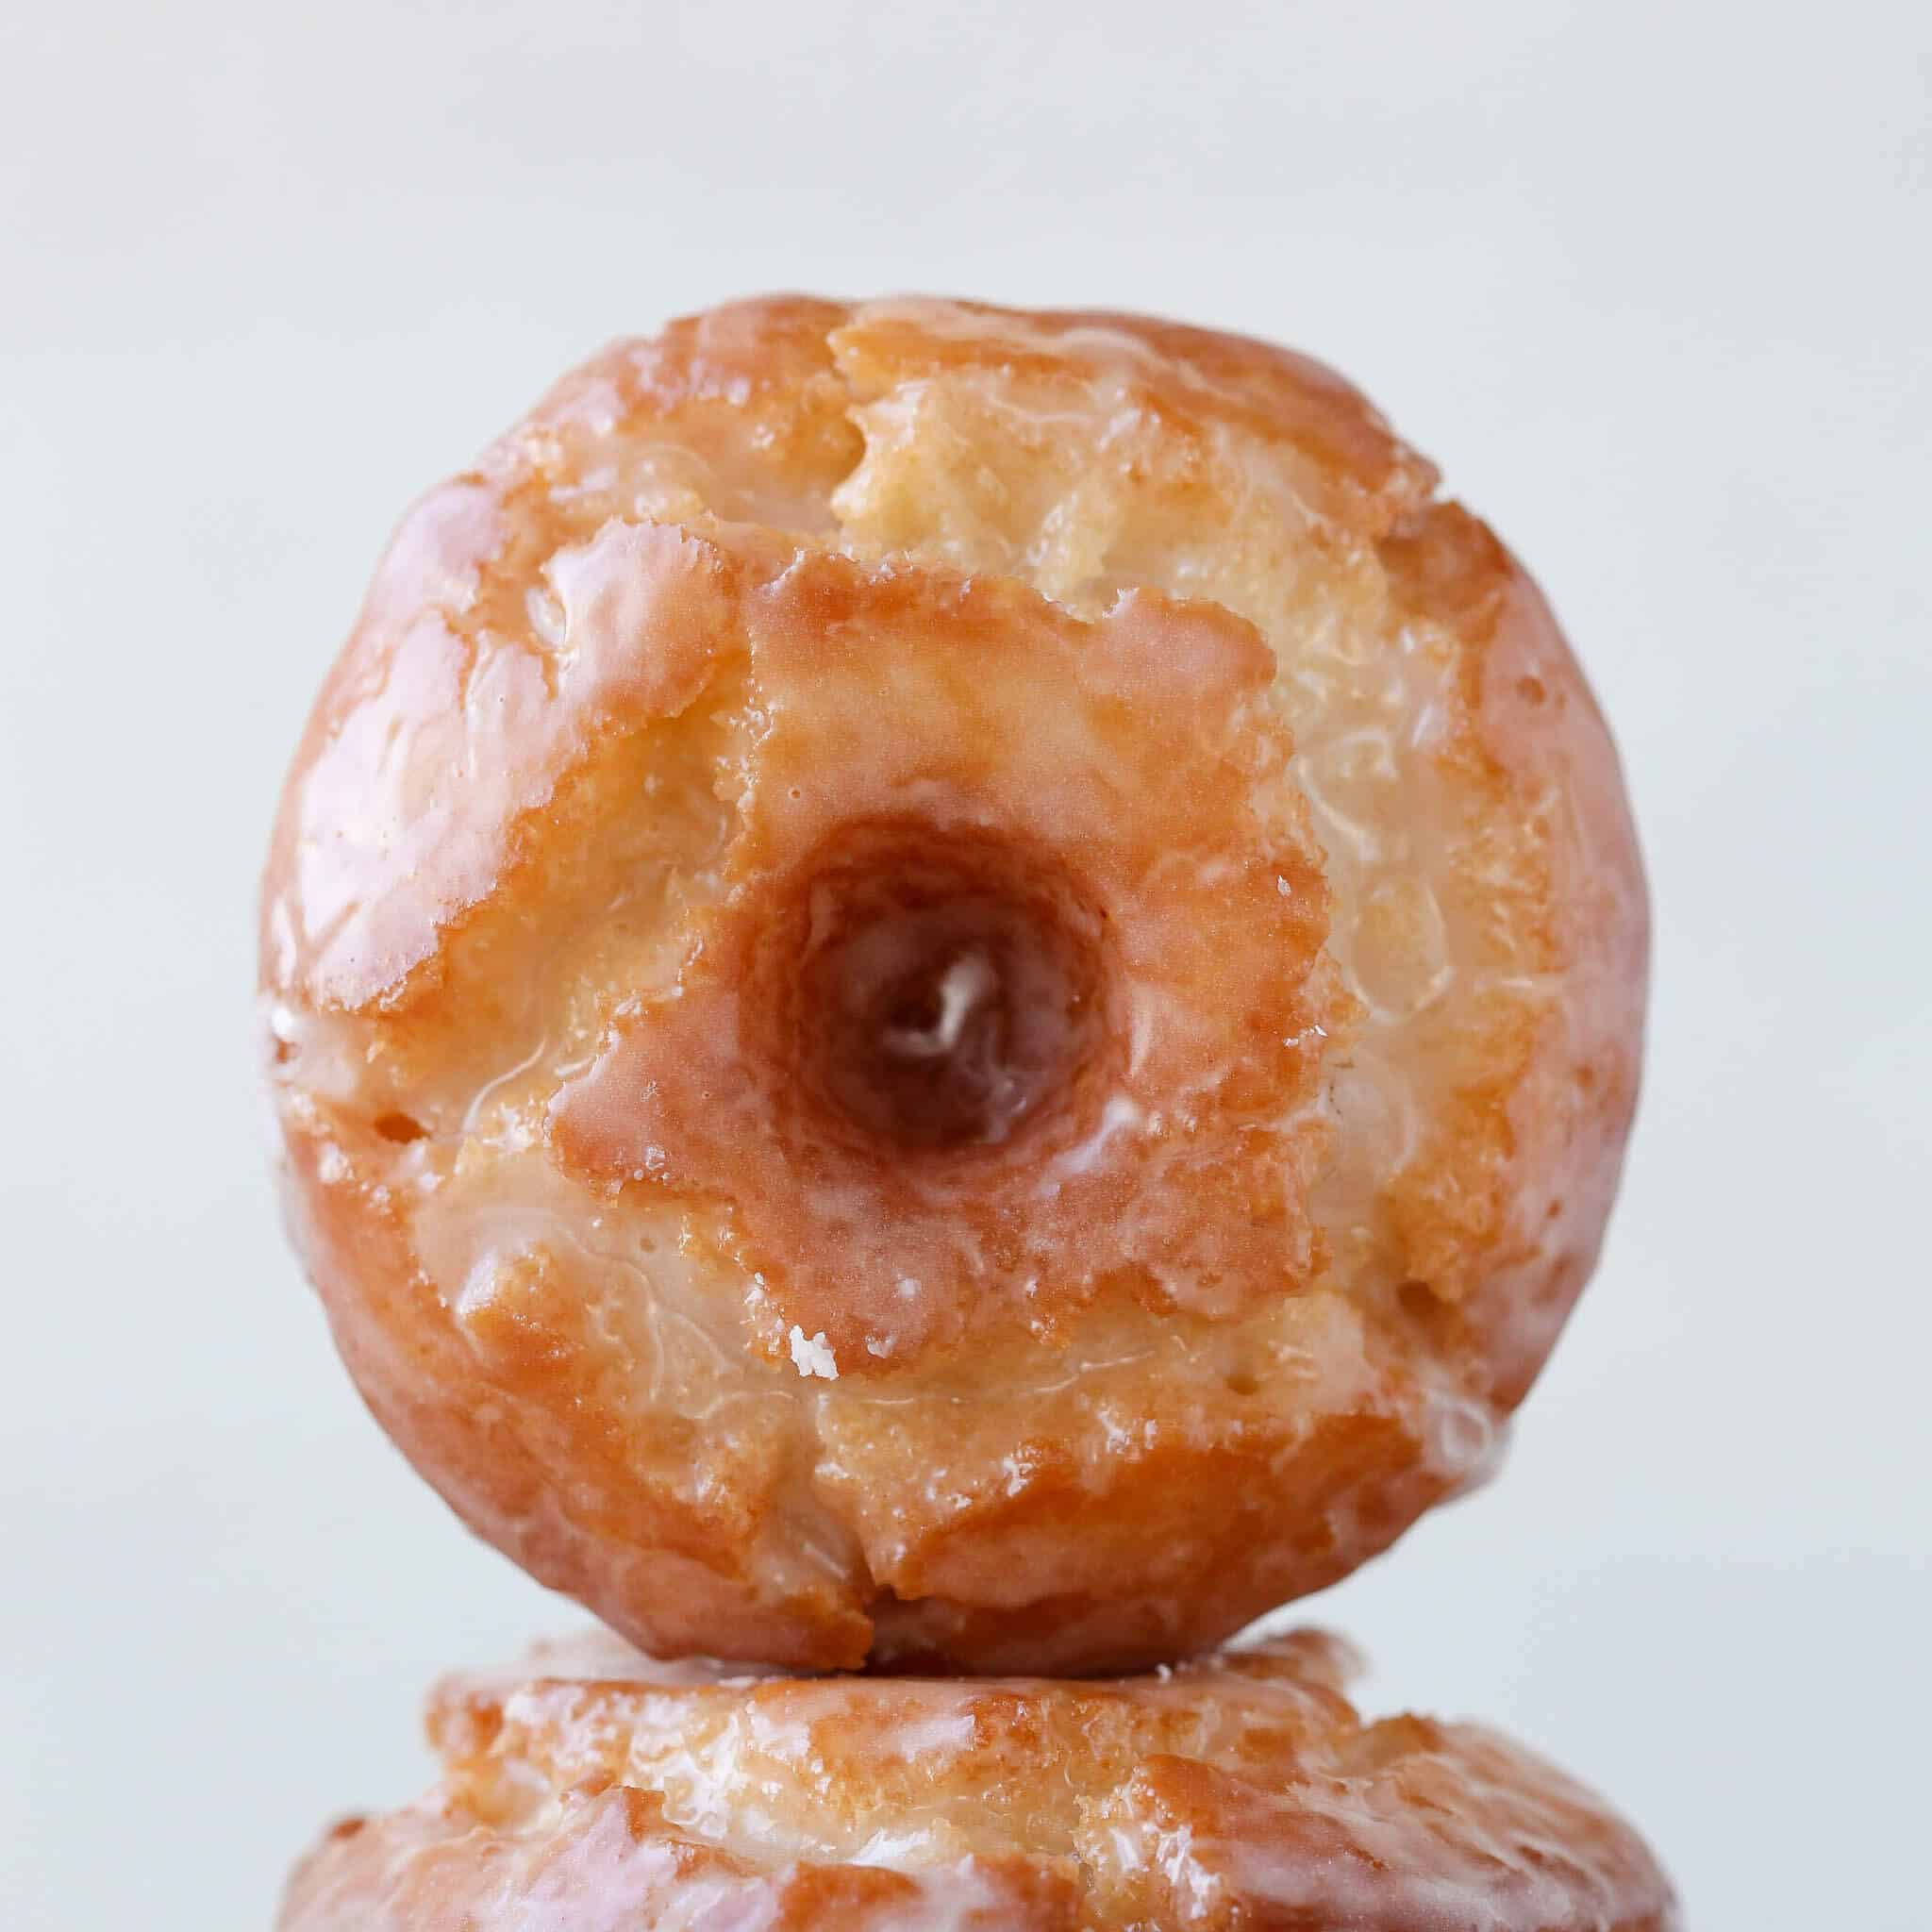
How to fry sour cream donuts like a pro:
- Monitor your oil temperature. 350°-360°F is your target range. Adjust your heat as it approaches the boundaries of this temperature range. 340°F is too cold. When the temperature is too cold, your donuts will be greasy. 380° F is too damn hot. The outside of the donuts at a temperature that is too hot will be dark and awful and the inside will still be gooey. 350°- 360° F is where you want to be! Don’t be afraid to turn off the stove. This is the great thing about frying. If the oil temperature isn’t where you want it, just wait. So liberating.
- Do be careful. The oil looks so happy and peaceful in there, but I can assure you that oil at 350°F is VERY hot. I have the scars from work to prove it. Carefully use the slotted spoon, both to place the donut in the oil and to remove it. I gently drop it in the oil with my hand so that it slips inside, but I trained for a long time to have that level of courage, and it isn’t necessary.
- Test for doneness: While time and color are great indicators of doneness, once you have honed in on maintaining the perfect oil temperature, a cake tester will be your best friend. Think of the first one like a tester pancake; if it’s a little raw or a little dark, no big deal. Adjust and carry on. Use your cake tester to be sure the inside is completely cooked.
Place your fried donuts on a cooling rack over a baking sheet or towels to catch the extra oil. This will keep the bottoms crispy.
- Just a little scientific PSA: May I remind you that oil and water do not mix. When water gets into hot oil, it splatters violently. If this happens, back away. Quickly. To avoid this, dry all your utensils after rinsing them off. A properly wrapped dough will not have water collected on top, but if it does, blot it off before putting it in the oil.
Professional Tips for making sour cream donuts:
- Keep the dough cold. Roll and cut your dough quickly to keep the baking powder from starting to react with the sour cream. It’s true that double-acting baking powder will react again when fried, but if we want the most leavening it’s best to keep it from reacting too early. Additionally keeping the dough cold will inhibit gluten formation, thus making the softest, most tender donuts.
- Put bench flour on your counter. This dough is sticky, and a generously floured surface will work wonders for your ability to manipulate the dough.
- Use canola oil or some other neutral tasting oil that has a high smoke point.
- Place your fried donuts on a cooling rack over a baking sheet or towels to catch the extra oil. This will keep the bottoms crispy. There will be no soggy bottoms on our donuts!
- Dip the donuts in the glaze while they are still warm so you don’t need to heat up your glaze. Some people use chopsticks for this step, but I use my fingers. Either way works, I just find it to be easier to use my hands and they have toughened up through the years in a fast-paced professional kitchen.
Can you bake these sour cream donuts?
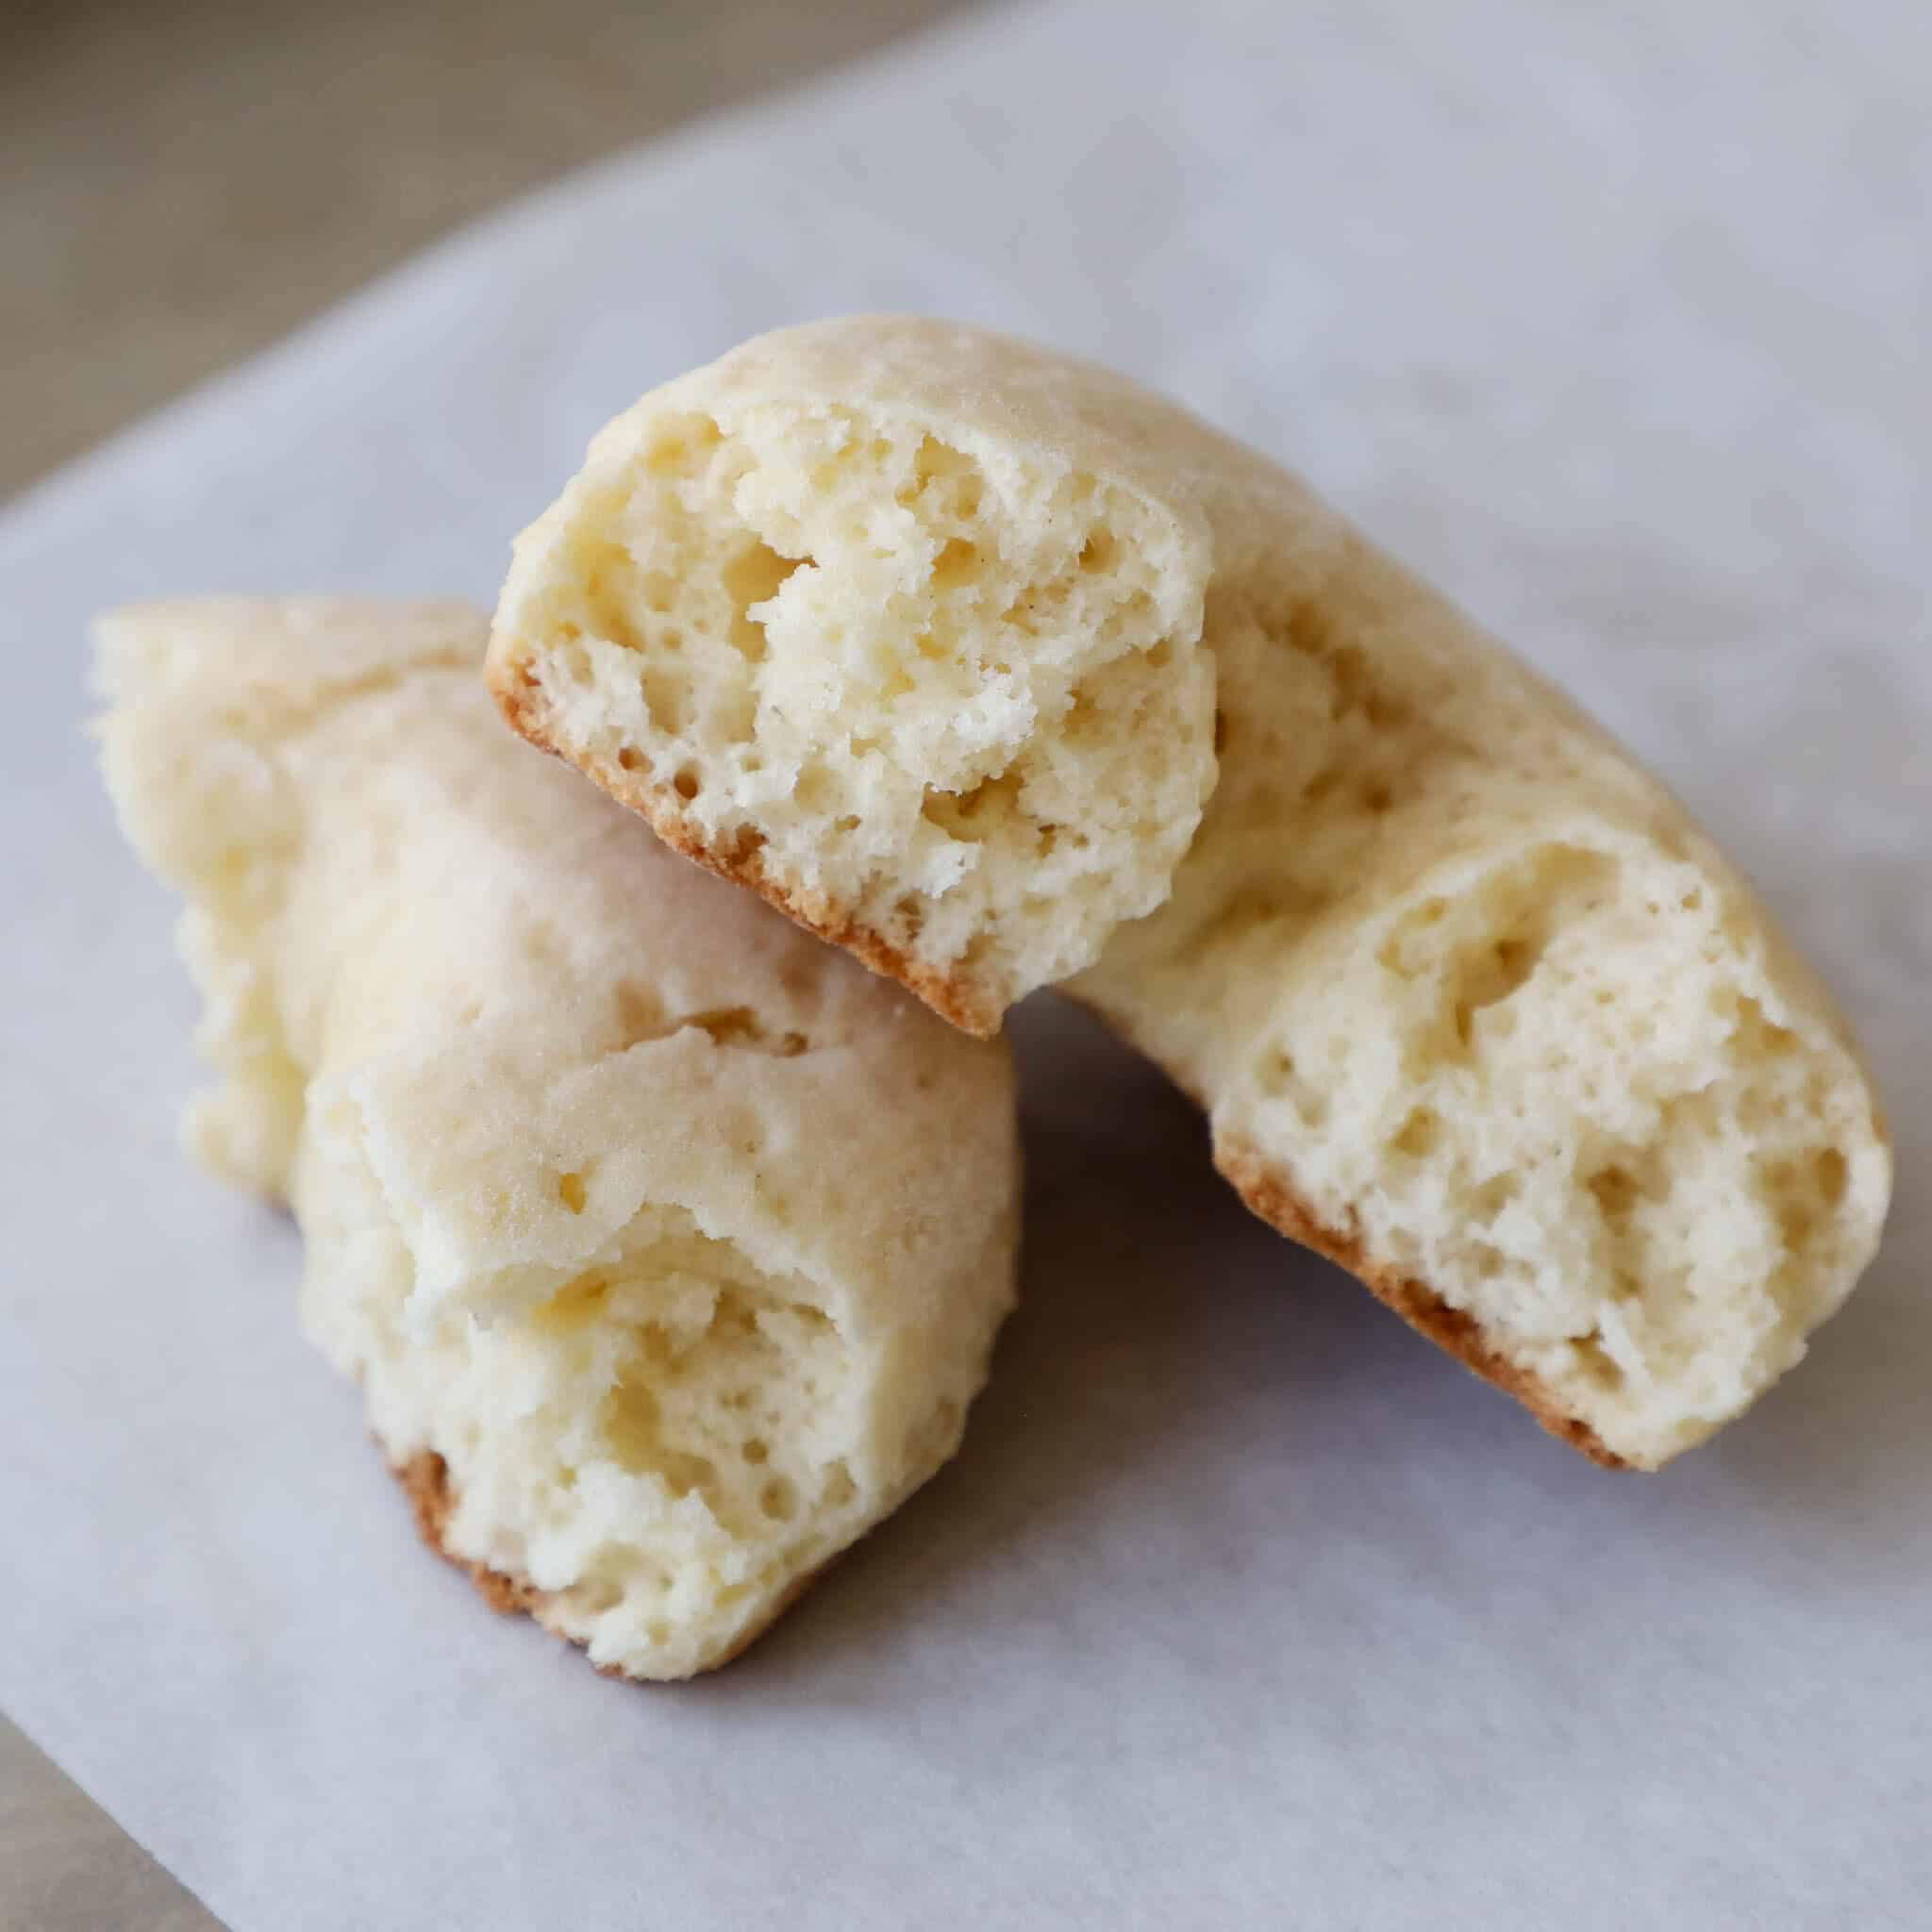
As this photo evidence shows, no. Do not bake these donuts. If this recipe is baked, the donuts will be dense with an unpleasant taste and texture. This is because baked donuts are actually cake. If optimal for baking, the batter would be more like cake batter and less like dough. This recipe baked instead of fried are far less delicious.
Recipe Substitutions
- Sour Cream: I use a high-quality, full-fat sour cream because it is thicker and has a more tangy flavor. The fat in the sour cream helps keep these donuts soft and tender. You cannot decrease the fat and expect the same results. Will it work with low fat, yes.
- Baking Powder: Double acting baking powder will react instantly when it is mixed with an acid, which is sour cream here, and then again when it is heated. I don’t recommend using baking soda instead of baking powder unless it is a donut emergency. Baking soda will not leaven these as well, especially if making the dough a day or two in advance. It will react once and then it won’t have much leavening power left once it hits the oil.
- Egg Yolks: While you could use whole eggs instead of the egg yolks in this old fashioned sour cream cake donut recipe, the texture of the donuts will be impacted. You are adding moisture from the whites without fat and that is just going to make a tougher donut. Take the moment to separate them and then make a Lemon Berry Pavlova Cake with your spare egg whites for dessert.
Variations
- Glaze: My classic donut glaze is unstoppable on these sour cream donuts. But, the world is your donut shop! If you want to mix it up, you could make a citrus variety, or even a coffee donut glaze. Let me know in the comments which glaze pairing ends up being your favorite!
Dip the donuts in the glaze while they are still warm so you don’t need to heat up your glaze
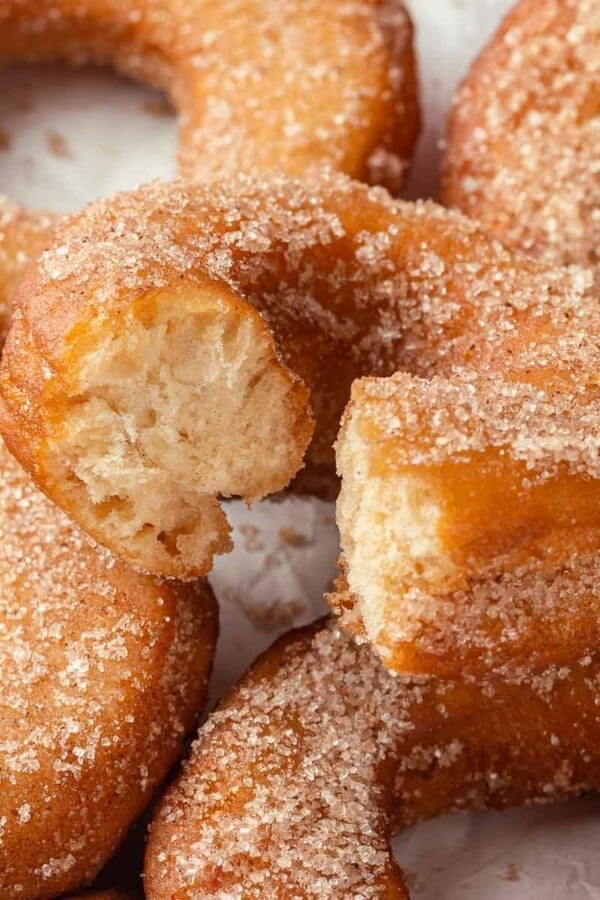
- Spice it up: Add about 1 ½ tablespoons of your favorite spice mixture to these donuts, like I do in my Pumpkin Cake Donuts!
- Get fruity: My Strawberry Lemon Cake Donuts are a beautiful variation with lemon zest and easy strawberry jam!
Storage
Fried, glazed cake donuts are best the day they are made and should be stored at room temperature uncovered. When stored in an airtight container, the glaze softens and they begin to taste a bit like oil. If storing longer than a day, store in a container with the corner slightly cracked as a vent for up to three days. They will slowly begin to dry out but they will still taste delicious! I do not recommend refrigerating or freezing fried cake donuts.
Frequently Asked Questions
Your dough will be much easier to handle and fry much better if you chill it twice during your process. Chill the dough prior to cutting for at least 60 minutes. Chill your dough after cutting for at least 30 minutes before frying. Chilling the dough also allows the gluten to relax, which will yield more tender, larger donuts.
You can make sour cream cake donuts up to three days ahead of time. They can be refrigerated at any stage in the process before frying so take the time you need for each stage. Just fry or freeze within three days!
I have tested this donut recipe in a professional bakery setting. You are only limited by the capacity of your particular mixer. I would strongly suggest measuring by weight when multiplying this recipe. Doughnut doughs are particularly sensitive to minute adjustments of flour and hydration. I scale all my recipes, but it is particularly important when making a larger batch.
Cake donuts are fried donuts that are leavened with baking powder rather than yeast. They get their name because their texture is similar to cake but they are not simply fried cake batter! They typically use sour cream as the moisture resulting in a dough that is thick and rollable rather than pourable like cake batter.
There is no difference between sour cream cake donuts and sour cream donuts. Sour cream donuts are donuts that use sour cream in the dough. It adds just the right amount of moisture, a bit of fat and an acid for the baking powder to react with.
I do not recommend freezing fried sour cream donuts. Instead, freeze the cut dough. This dough will keep for one month frozen. Gradually, over time the baking powder will lose its potency and they will not puff as much as when the dough was freshly made. Allow to thaw a few hours in the refrigerator and then fry away!
I would not suggest frying from frozen. Rather thaw the cut donuts unwrapped in the refrigerator and then fry! It will only take an hour or so. The outsides will cook while the insides will remain raw.
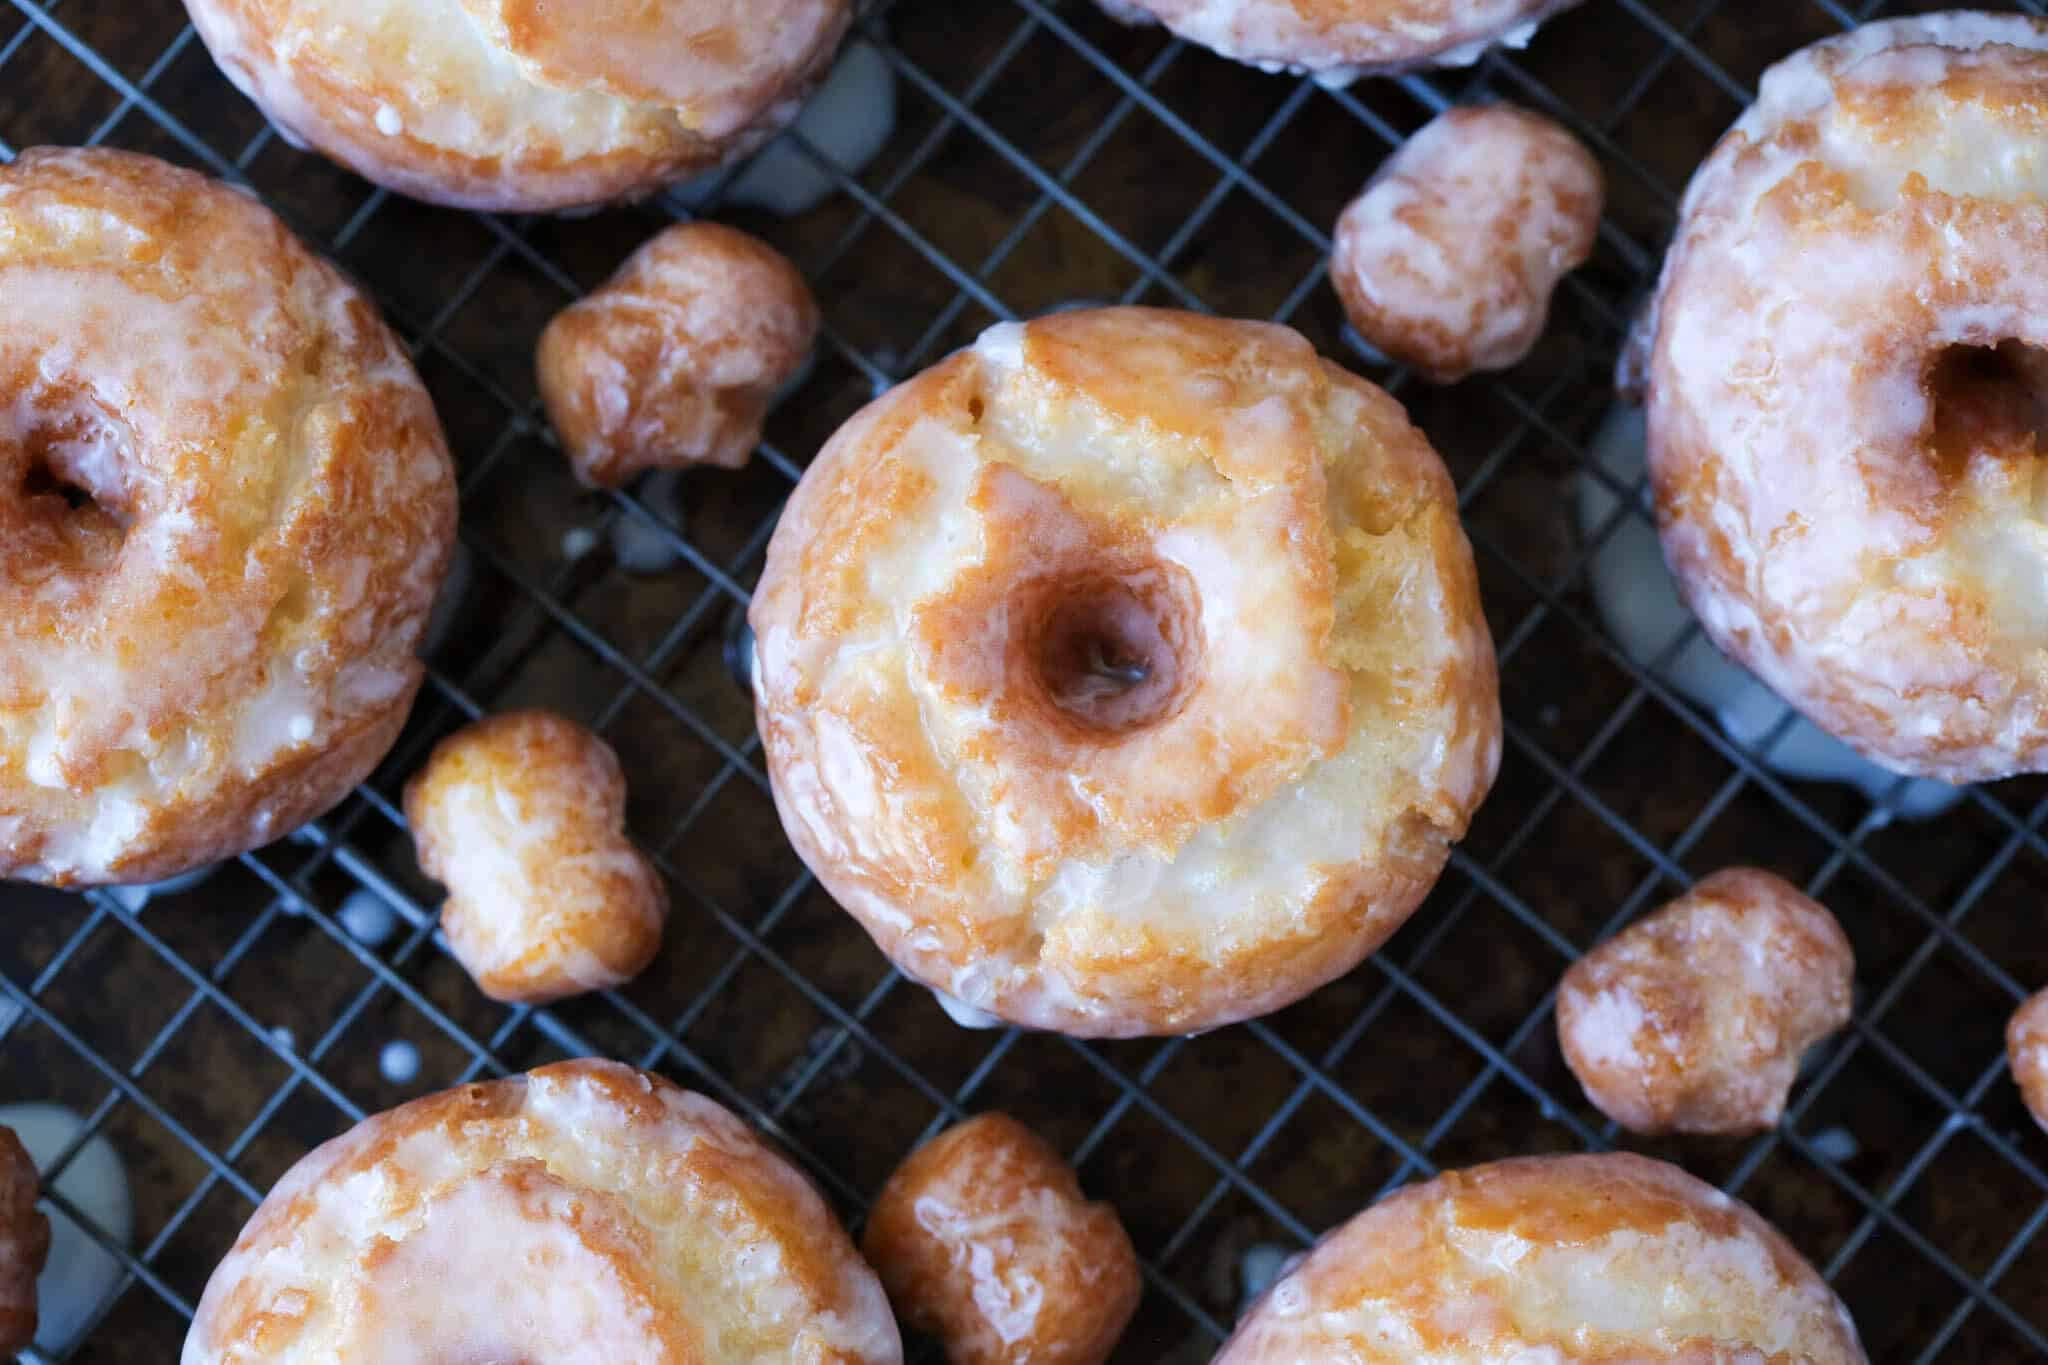
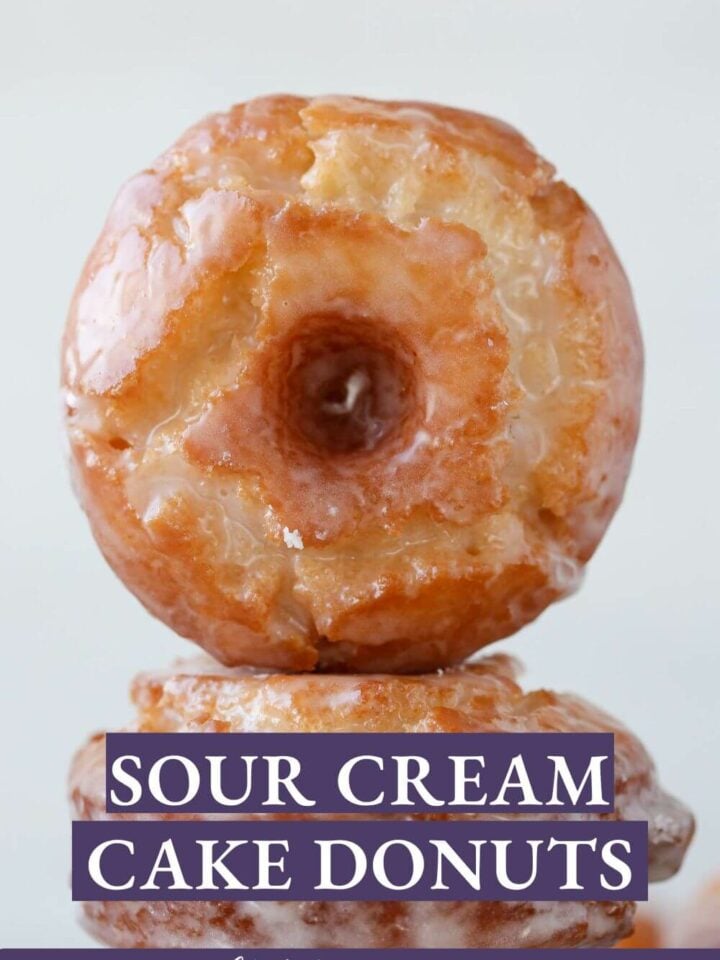
The donut cracks happen naturally when they fry. Generally, they are more cracked on the side that is initially down in the oil. If you overworked the dough, they won’t crack as much. Each one cracks differently and to a different degree. Check your oil temperature and make sure the oil isn’t too cold. If the donut dough is cold and the oil is right around 350°F, they will crack. Another possibility for donuts not cracking is that your baking powder is too old, and is no longer reactive.
Chef Lindsey’s Recipe Tip
If you were to take away one tip from this post: stay calm and keep going. If the dough feels too sticky, add more bench flour. If your first donut comes out doughy and dark, lower the temperature and test with a cake tester as you move forward.
If you tried this recipe and loved it please leave a 🌟 star rating and let me know how it goes in the comments below. I love hearing from you; your comments make my day!
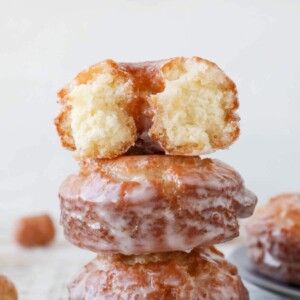
Old Fashioned Sour Cream Cake Donuts
Ingredients
For the Donuts:
- 4 ¾ cups pastry flour all-purpose flour is fine
- 1 tablespoon baking powder
- 1 tablespoon kosher salt
- 1 ¼ cups granulated sugar
- 2 ½ tablespoons unsalted butter
- 5 egg yolks
- 1 ½ cups sour cream
- 96 oz vegetable oil for frying, can also use shortening
For the Glaze:
- ⅓ cups whole milk 100 ML
- 1 teaspoon kosher salt
- 3 ¼ cups powdered sugar
Instructions
Make the donut dough:
- In a large bowl, whisk together the flour, baking powder and kosher salt to distribute. Set aside.
- Line a large mixing bowl with plastic wrap and then spray the surface of the plastic wrap with nonstick spray. Set this aside too.
- In the bowl of a stand mixer fitted with the paddle attachment, beat together the granulated sugar and butter on high speed until the butter has completely incorporated. There is too much sugar in proportion to butter to look “light and fluffy.”
- Add the egg yolks and continue to beat on high until the mixture lightens and the volume increases. This will take about 2 minutes. Stop and scrape down the mixture a few times to be sure it is all evenly incorporated.
- With the stand mixer on low, gradually add the dry ingredients to the bowl a large spoonful at a time alternating with spoonfuls of sour cream. Add the next spoonful when you only see a few large streaks of flour left in the bowl. I alternate almost nonstop between the two. Stop the mixer to scrape in the last bit of sour cream. Only mix until the dry ingredients are fully incorporated. You want to do this as quickly as possible so that not too much gluten develops, which will make tunnels in your donuts and also make them tough.
- Transfer the dough to the plastic wrap lined bowl. Spray the top of the dough with nonstick spray and then fold the edges of the plastic over the top to cover it. Refrigerate for 60 minutes. At this point, the dough can be held in the fridge for up to 2 days.
Portion and cut dough:
- Line a half-sheet baking pan with parchment paper and spray the paper with nonstick spray. Set this aside.
- Lightly dust a work surface with flour. While the dough is still in the bowl, dust the top of the dough with flour. Turn the dough out onto your floured work surface, floured side down. Lightly dust the top with more flour.
- Working quickly to keep the dough cool, roll out the dough to ½ inch thick.
- Brush any excess flour from the top of the dough. Use 3-inch and 1 ¼ – inch ring cutters to cut the donuts and holes. You can use a donut cutter, biscuit cutter, cookie cutter, or even the rim of a glass! Lightly tap the cutters in flour before cutting each donut. Place the donuts and donut holes on the prepared sheet pan.
- Cover sheet pan with plastic wrap, but be sure not to let the plastic touch the top of the donuts. Chill in the refrigerator for at least 30 minutes up to overnight at this step.
Make the glaze:
- In a medium bowl whisk together the milk, powdered sugar and salt. Cover the glaze with plastic wrap directly on the surface to prevent it from getting a skin. You can heat up the glaze over a pot of simmering water on the stove if you want it to be warm. I typically dip my donuts while they are still very hot, so I don’t need to do this.
Fry the donuts:
- Pour oil into a fryer or a Dutch oven, making sure the oil is at least 2 inches deep. Heat your oil to 350°F. Adjust your heat to keep the temperature between 350°- 360°F while frying. You will need a clip-on fry/candy thermometer for this. I heat my oil up to 360°F before adding a batch of donuts, because the cold dough will lower the temperature of the fryer oil.
- Gently place 3-5 donuts in the fryer, while keeping the remaining donuts in the fridge. The number you can fry at once depends on the size of your pot. You want the donuts to have room to move around and space to puff. Once they rise to the surface, cook for 30 seconds and then flip them with a slotted spoon. Fry until the bottom develops a nice golden brown color, about 80 seconds. Flip it again and then fry for another 80 seconds or until the color is a nice even golden brown. I usually test mine with a cake tester. Pull it out of the oil, poke it and then pull the cake tester out. It should not have any streaks of dough or crumbs. Transfer to a wire rack set over a sheet pan or paper towels. Donut holes fry for 30 seconds then flip, then another 60 seconds, then flip, then another 40-60 seconds. They will puff up and be golden brown all over.
- Once the donut is just barely cool enough to handle, dip the donut in the glaze and place it back on the wire rack. Dipping a hot donut will give you a nice, even glaze that isn’t too thick or too thin!
- Store at room temperature in a container with the corner cracked overnight but they are best consumed the day they are fried…with coffee.
Video
Notes
Nutrition
Before You Go!
I hope you enjoyed this professional chef tested recipe. Check out our other delicious, chef-developed donut recipes!









Terrible! Too greasy and most of them fell apart in oil. After waiting sooo long with all of the chilling of the dough, then to have them taste horrible was just sad.
I’m sorry they didn’t work for you, Janet. I find that hard to believe given I make large batches of these at the restaurant. If they were greasy it is because the oil temperature was too low.
So… I followed the recipe to the gram… and I even left it in the fridge overnight…
I floured the HECK out of my counter, my pin… they rolled out nicely… then I floured the cutter… but, when I went to get the cut out shape off the counter (and my ring) it was a gooey mess…
This is the second time this has happened… I’m honestly at my wits end… this time I ended up kneading in (what seemed like a ton) more flour… and they just didn’t cook correctly… but, i was able to cut them…
The only thing that I can think of is that I live in Florida where it’s super humid… but, i’m in A/C… and it’s only about 50% humidity in the house…
Do you have any advice?
Hey Bill, I make large batches of these donuts several times a week. The dough is sticky. That is so that it produces a light, cakey donut when fried. Thats why when you kneaded in more flour your final product wasnt tasty: you activated the gluten by kneading (making it tougher and more chewy and less cakey) and added more flour (making it more dense and less flavorful). You just have to use more flour to roll, and if some gets stuck to your cutter, pull it off and flour it again. Sticky doesn’t mean bad. It just means sticky!
Hi Lindsey… yeah… I should have replied… I made a second batch and forded through the “sticky”… I also forgot to cover them in the fridge… which apparently does something bad… but, they turned out beautiful!!!
Thanks so much.
No problem! I’m glad you found success! Just like with a lot of things in pastry, you just have to power through!
Of all the pastry sins, not covering your doughnut dough isn’t very high on the list! 🙂
Thank you!!! One last question.. can I sub buttermilk for the sour cream?
not 1 : 1 because buttermilk is more liquid and hydrates differently plus has a different fat content. You could try to add it gradually until you get the same consistency of dough but I feel thats asking for trouble. I’ve substituted other liquids for a portion of the sour cream or I have used creme fraiche when I ran out of sour cream but never just buttermilk. Good luck!
They do puff… But I didn’t put them in the fridge after cutting.. could that be the culprit? They were likely closer to room temp.
Hooray! And now we’ve found the issue. Yes, they need to be cold! After cutting, put them back in the fridge for at least 30 minutes and then you will get nice cracked donuts. If you are frying in batches, put the donuts waiting to be fried back in the fridge while you fry and dip the others. Happy frying!
this is the United States of America…Not UK! Teaspoons, tablespoons and cups!
There is both! Weight is more accurate 🙂
Hello!
I have been trying to achieve the “cracked” look and have not have success. do I need to cut slots after cutting them out and before putting them in the friedge? Help please!!
Hi Becky, The cracks happen naturally when they fry. Generally they are more cracked on the side that is initially down in the oil. If you overwork the dough, they won’t crack as much. Each one cracks differently and to a different degree. Check your oil temperature and make sure it isn’t too cold. IF the donut is cold and the oil is right around 350, they will crack. Unless maybe your baking powder is old and not reactive? Are they puffing at all? Best, Lindsey
I tried this recipe yesterday. They looked amazing and I was so excited to eat them, but the only flavor we could taste was canola oil. I’m sure this is my fault. The changes I did to the recipe were – I used light sour cream since that’s all I had at the time. I had the temp between 350-360 and the donuts weren’t brown at all using your timing. So I kept them frying longer. I set them on a wire rack for 20 seconds and then glazed them like you instructed. Do you think it was the extra time in the fryer that ruined the donuts? Should I have used a different type of oil?
Hi Madelyn, I’m so sad for you (and your donuts). I am sure the light sour cream was a perfectly fine substitute and that was certainly not the problem. It does sound like your temperature and fry times were the problem. If your oil is too hot then the outside will burn and the inside will be raw, but if you oil is too cold then the donut will absorb too much oil before it is cooked through and you will get an oily donut. If you do a tester donut and it isn’t cooking in the right time, turn up your temp. I fry in canola oil both at home and at the restaurant, so that’s not the problem. I also assume your oil was clean, because dirty oil will also impart a flavor. You might also look to your candy/fry thermometer as the culprit. If the red line is broken at any point then it is sadly worthless. You can test it in boiling water and see if it reads 212F. At the restaurant I have a fryer that holds temp and I set it at 355F and its good. Your instincts were spot on!
You can delete my comments if you like. No skin off my back…but in response…Several people in this thread complained about the salt. And I’m the only one who’s wrong??? I used KOSHER salt, just probably picked ‘salt’ on the conversion table.
Furthermore, as for chopped, it wasn’t your food that I was so unimpressed with. I don’t even remember what you made, just that it was too sweet. What I was unimpressed with was you personally! You have a very arrogant personality, saying how awesome you are and several other arrogant comments. You proved it again here. Telling me what an idiot I am and how you’re absolutely right because you know it all. No, your words don’t say that but your attitude behind them does. I wish you all the best, but as I said I’m moving on because there’s nothing to be impressed with here…
And, my comment is a bit snarky, but you and your “holier than though’’ attitude is what’s rude. You think you’re too good for everyone, especially your readers and too ‘awesome’ to be questioned by them…if you’re going to write a blog that has readers, learn to take some flack!
Unlike some other blogs I only delete comments if they include profanity because I believe in free speech which says more about the person who wrote it and less about the subject. I have been writing the blog for eight years so I know a little bit about taking negative comments in a stride. If you actually bothered to follow my blog or read any other posts and their comments you would know that I have adjusted recipe errors that readers have caught. I know my salt scaling is right because I bake professionally every single day. It’s not arrogance it is hard won knowledge. Some other peoples comments about salt are in the glaze, which is fair. I like to balance the sweetness of 10x with salt. It is my preference. I have no such holier than thou attitude neither here nor on the show. Perhaps you have confused me with another contestant. If you recall I was the first to say that I felt I might be going home and was worried about the judges comments.
As for this space, I try to offer answers to people comments, questions and concerns regardless of how right they feel they are or how they choose to address me. If you want to read some negative comments and people getting angry because their own knowledge or opinions differ from mine, you should read this post’s comments. I’m still here because I want to share with people and help people see that nothing is out of their grasp in their home kitchen. You don’t know me.
Why are you continuing to reply to this troll’s comments? Obviously “Jean” could never do what you do, let alone be asked to be on Chopped. Faceless, anonymous comments trying to bring others down; that’s what’s wrong with comment/message boards.
You continue to do you and help people with your insights and thoughtfulness.
Thank you Bill! I know you’re right and I appreciate you chiming in 🙂
I made this recipe exactly as you wrote it and they were little salt bombs! I hope you don’t make them with that much salt at the restaurant!! First your conversion of the salt is wrong. 12g is about 2 1/2 teaspoons not a tablespoon. Even that is s but high but might enhance the flavor as you stated, but a whole tablespoon is CRAZY!! Are you tastebuds dulled? A smoker maybe? I saw you in Chopped and your dish was too sweet there…talk to a doctor…looking for a new recipe and a new blog to follow. Not imoressed with your content here, OR you in tv…
Hi Jean, your comment is very rude. Be sure you use KOSHER salt. The grain is coarser and thus won’t fit as much in a tablespoon. Yes, I use this exact recipe for some of the donuts I make in restaurant and zero people have complained, in fact quite the opposite. Your conversion of the salt tells me that you used table salt which would make this incredibly salty because the granules are finer.
As for Chopped, you try making a dish with 40 cameras in front of you out of 4 random ingredients, half of which are sweet, in 20 minutes and you let me know how that goes.
A lot of mean ugly people in the world. Thanks for your fabulous recipe! And the time you have. Much appreciated.