This post may contain affiliate links. Please read our disclosure policy.
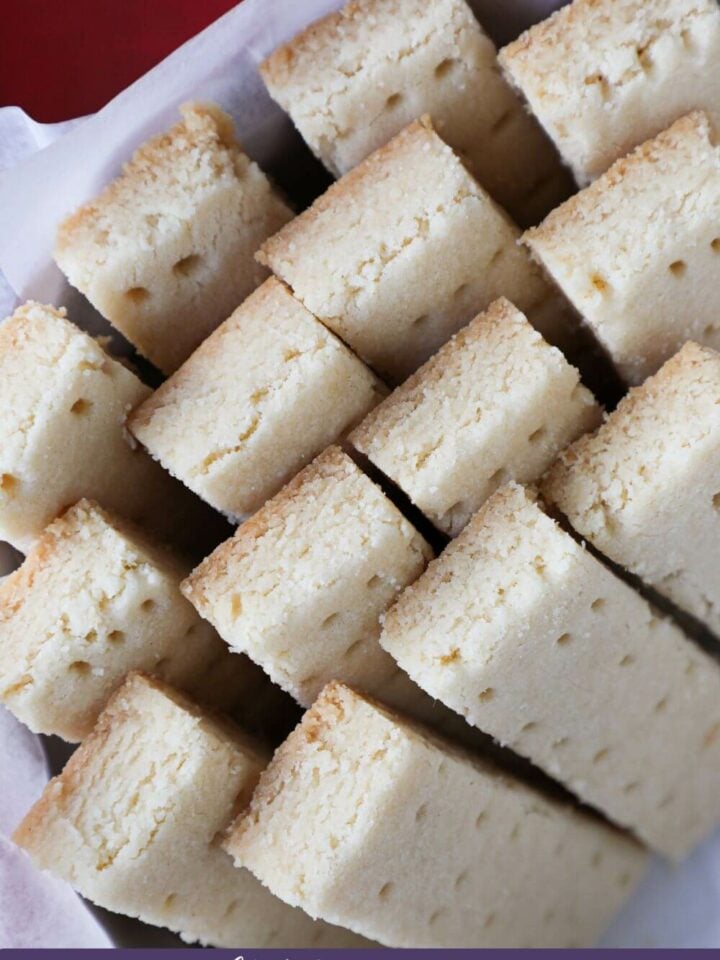
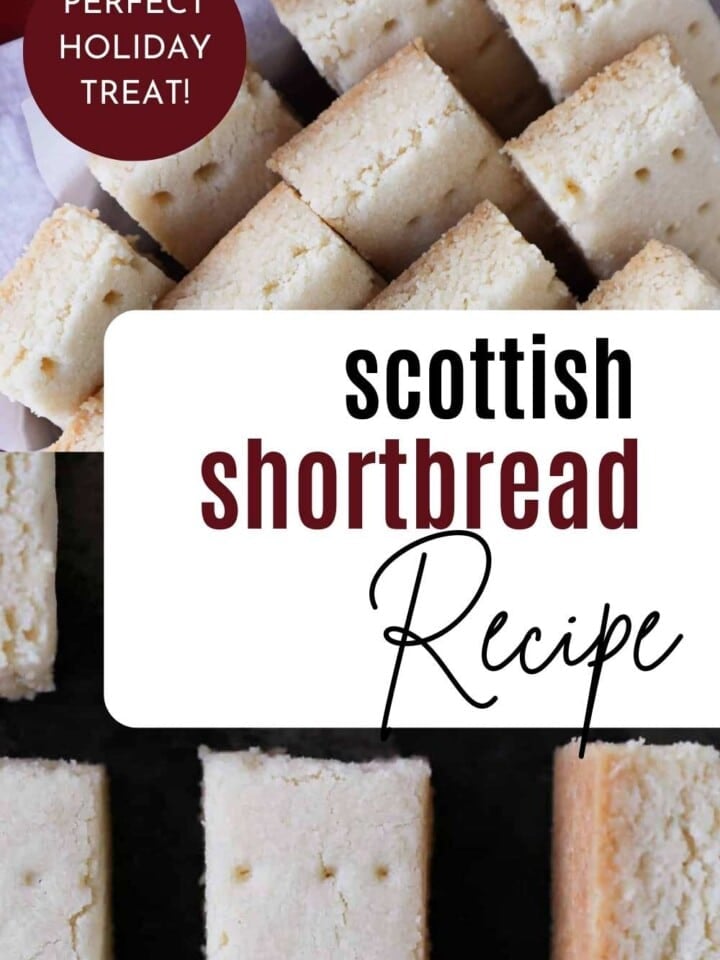
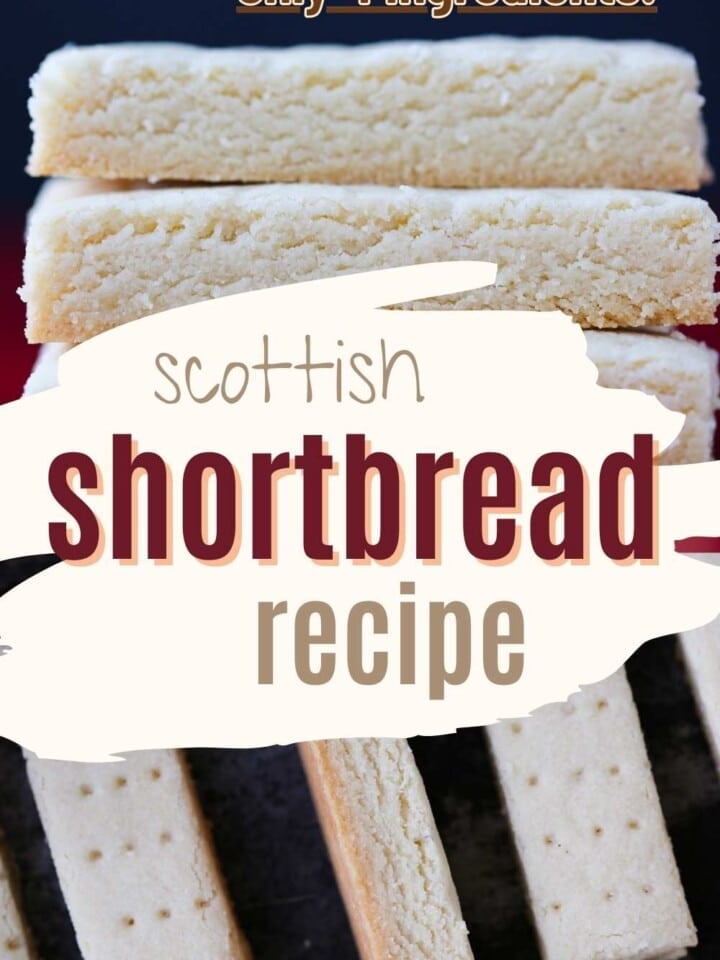
This authentic Scottish Shortbread recipe makes tender, buttery shortbread with only 4 ingredients! A professional pastry chef takes you gently through each step, to make a no-stress sensational shortbread cookie in no time!
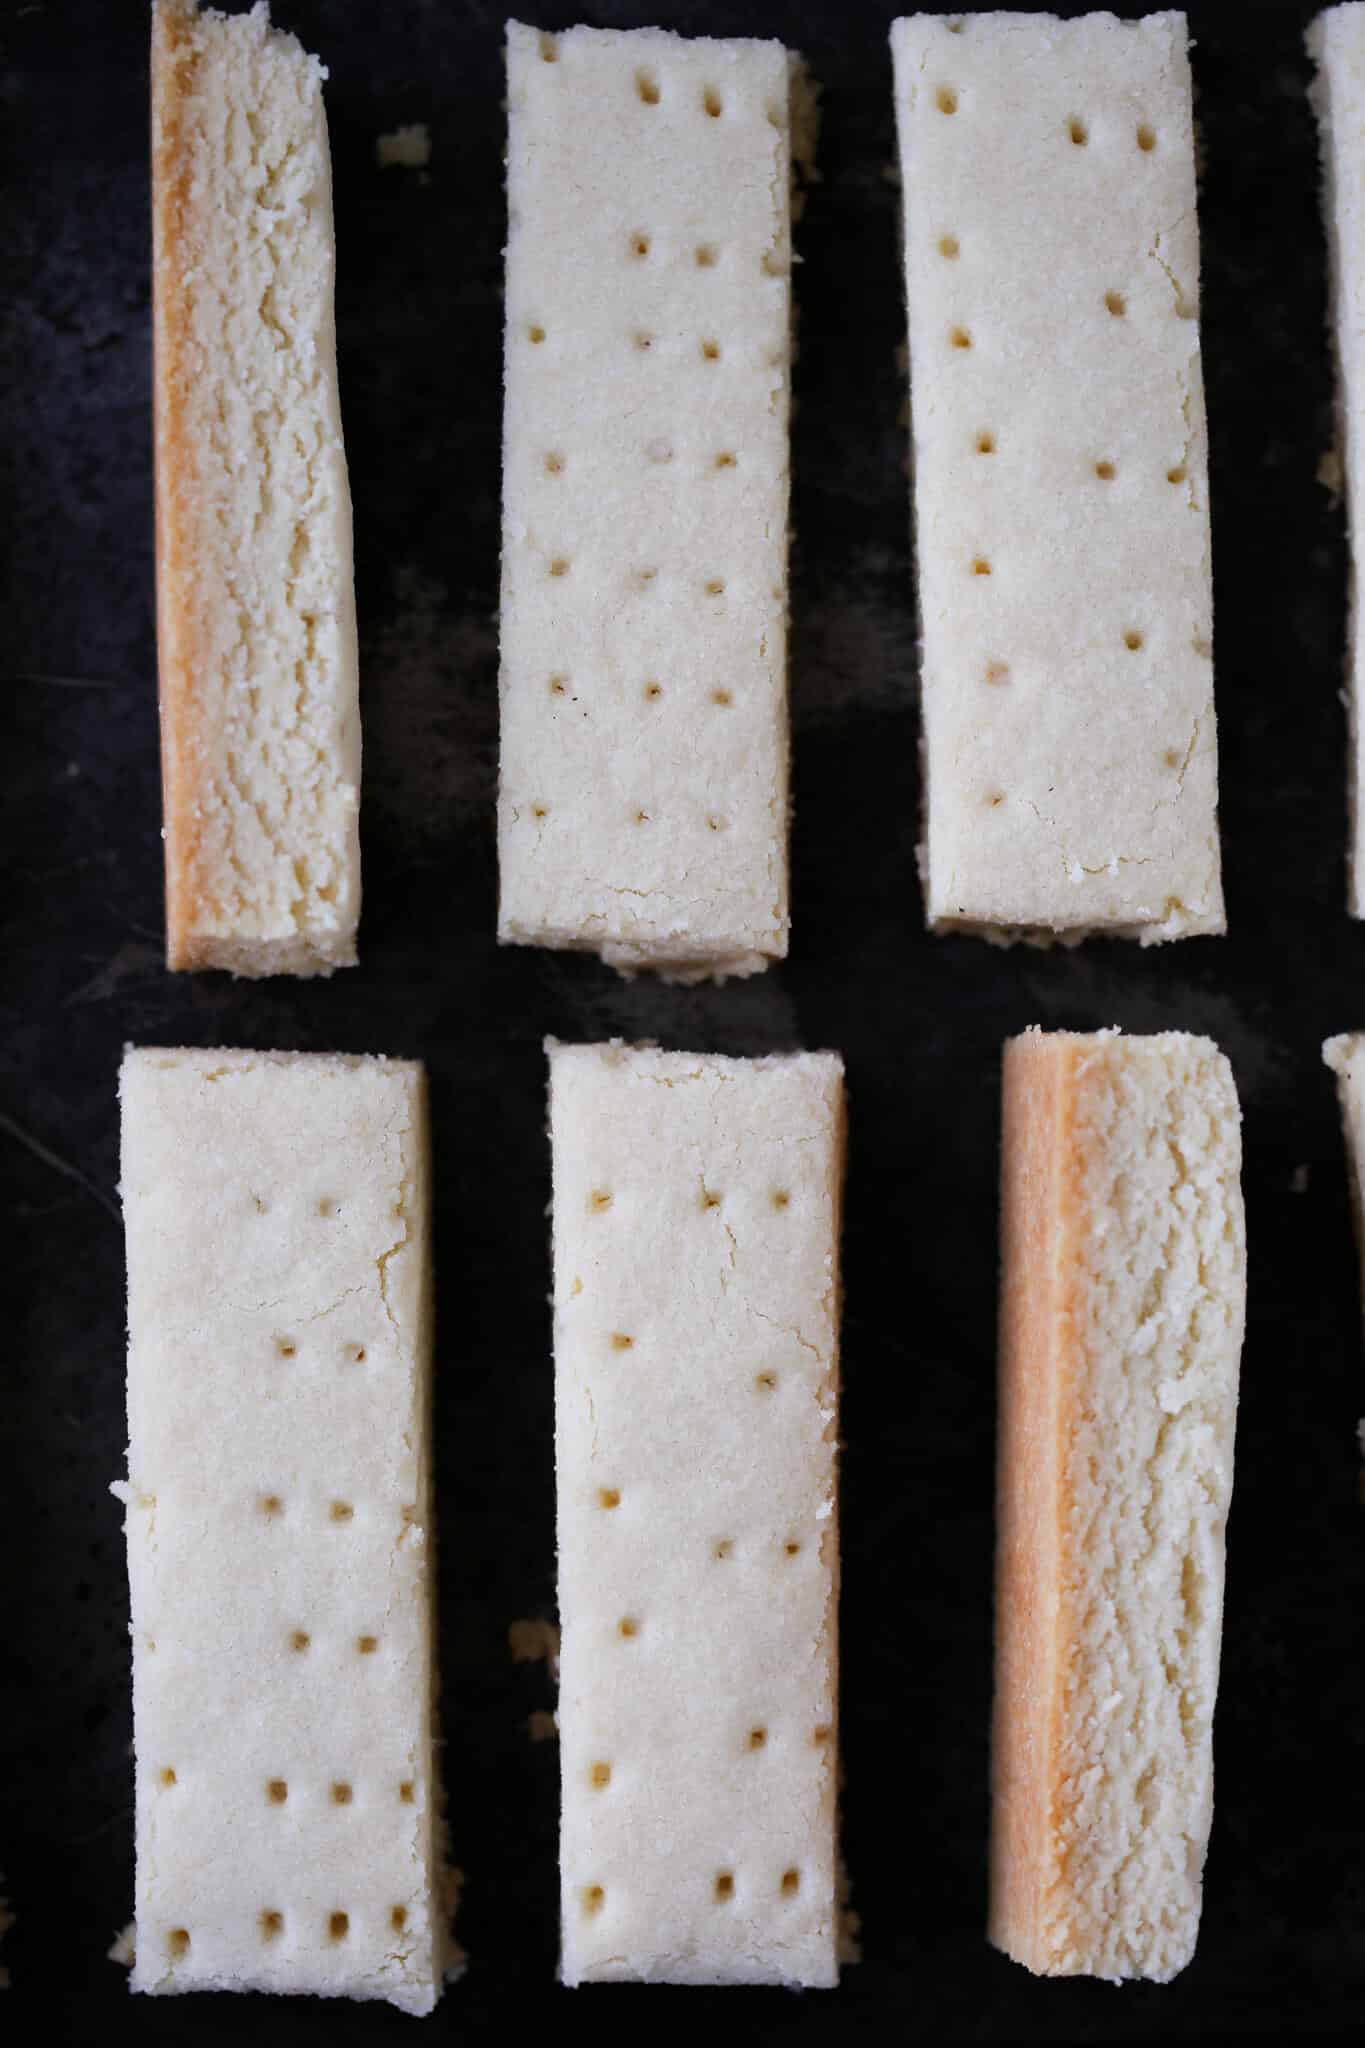
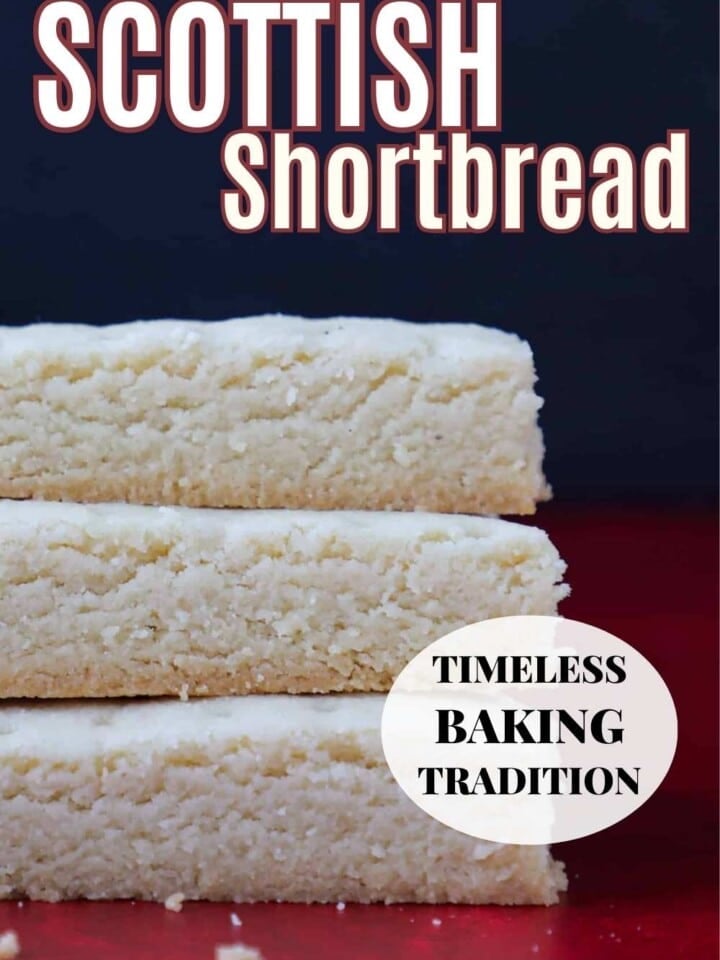
This Scottish Shortbread heritage recipe only has 4 ingredients! Oftentimes shortbread cookies are just flour, butter, and sugar, but traditional shortbread contains rice flour to add starch without adding gluten. This makes these cookies even more tender than other recipes, yielding buttery crumbly perfection with a slight crunch on the outside! Prepare to be blown away.
If you receive a box of homemade shortbread from me for Christmas, know that I must love you, because it’s hard for me not to eat all of them with my tea or whiskey! They are perfect for gifting on their own or with an array of other cookies like these Bakery Style Chocolate Chip Cookies, Linzer Cookies, Snowball Cookies, spice cookies and Ginger Orange Almond Biscotti.
Table of Contents
- Why this is the best traditional Scottish shortbread:
- What are the secrets to making good shortbread?
- Why do they call it shortbread?
- What is the history of Scottish shortbread?
- Ingredients in a Traditional Shortbread Recipe:
- Variations
- How to Make Scottish Shortbread
- Chef Lindsey’s Recipe Tip
- Frequently Asked Questions
- Scottish Shortbread Recipe Recipe
- Before You Go!
Why this is the best traditional Scottish shortbread:
- Simple & winning taste. These cookies have been passed down for centuries for a reason: their rich buttery flavor from simple ingredients brightens even the worst day.
- The right ingredients for the right texture. Shortbread only has 4 ingredients, so it’s important to use a recipe with the right ones! Caster sugar (easy to make) and rice flour enable these cookies to have their characteristic sandy texture.
- Reliable and precise directions by a pastry pro. In order to get authentic shortbread cookies, it is necessary to shorten the gluten strands using the cut-in method of cutting butter into the flour. All outlined below!
What are the secrets to making good shortbread?
- Avoid streaks of butter in your dough. While cutting your ingredients together, it’s important to check and scrape the sides of the bowl to make sure your butter is being evenly incorporated.
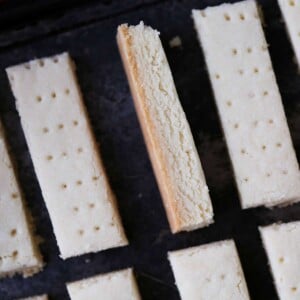
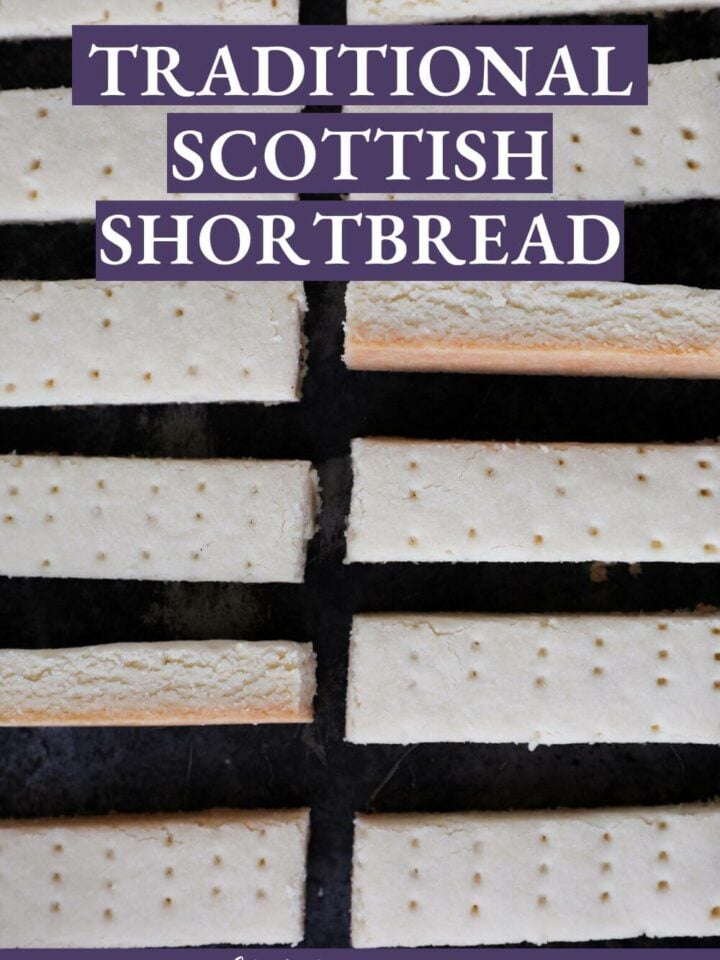
- Don’t forget to prick holes in your shortbread! The holes in shortbread allow the steam to release from the dough while it is baking. This will keep the cookies from puffing irregularly and will allow for an even bake.
- Partially bake, cut, then bake a little more. The trick to perfect shortbread cookies is partially baking the dough, then cutting the pieces before continuing to bake. The result is crispy, melt-in-your-mouth shortbread cookies that don’t spread.
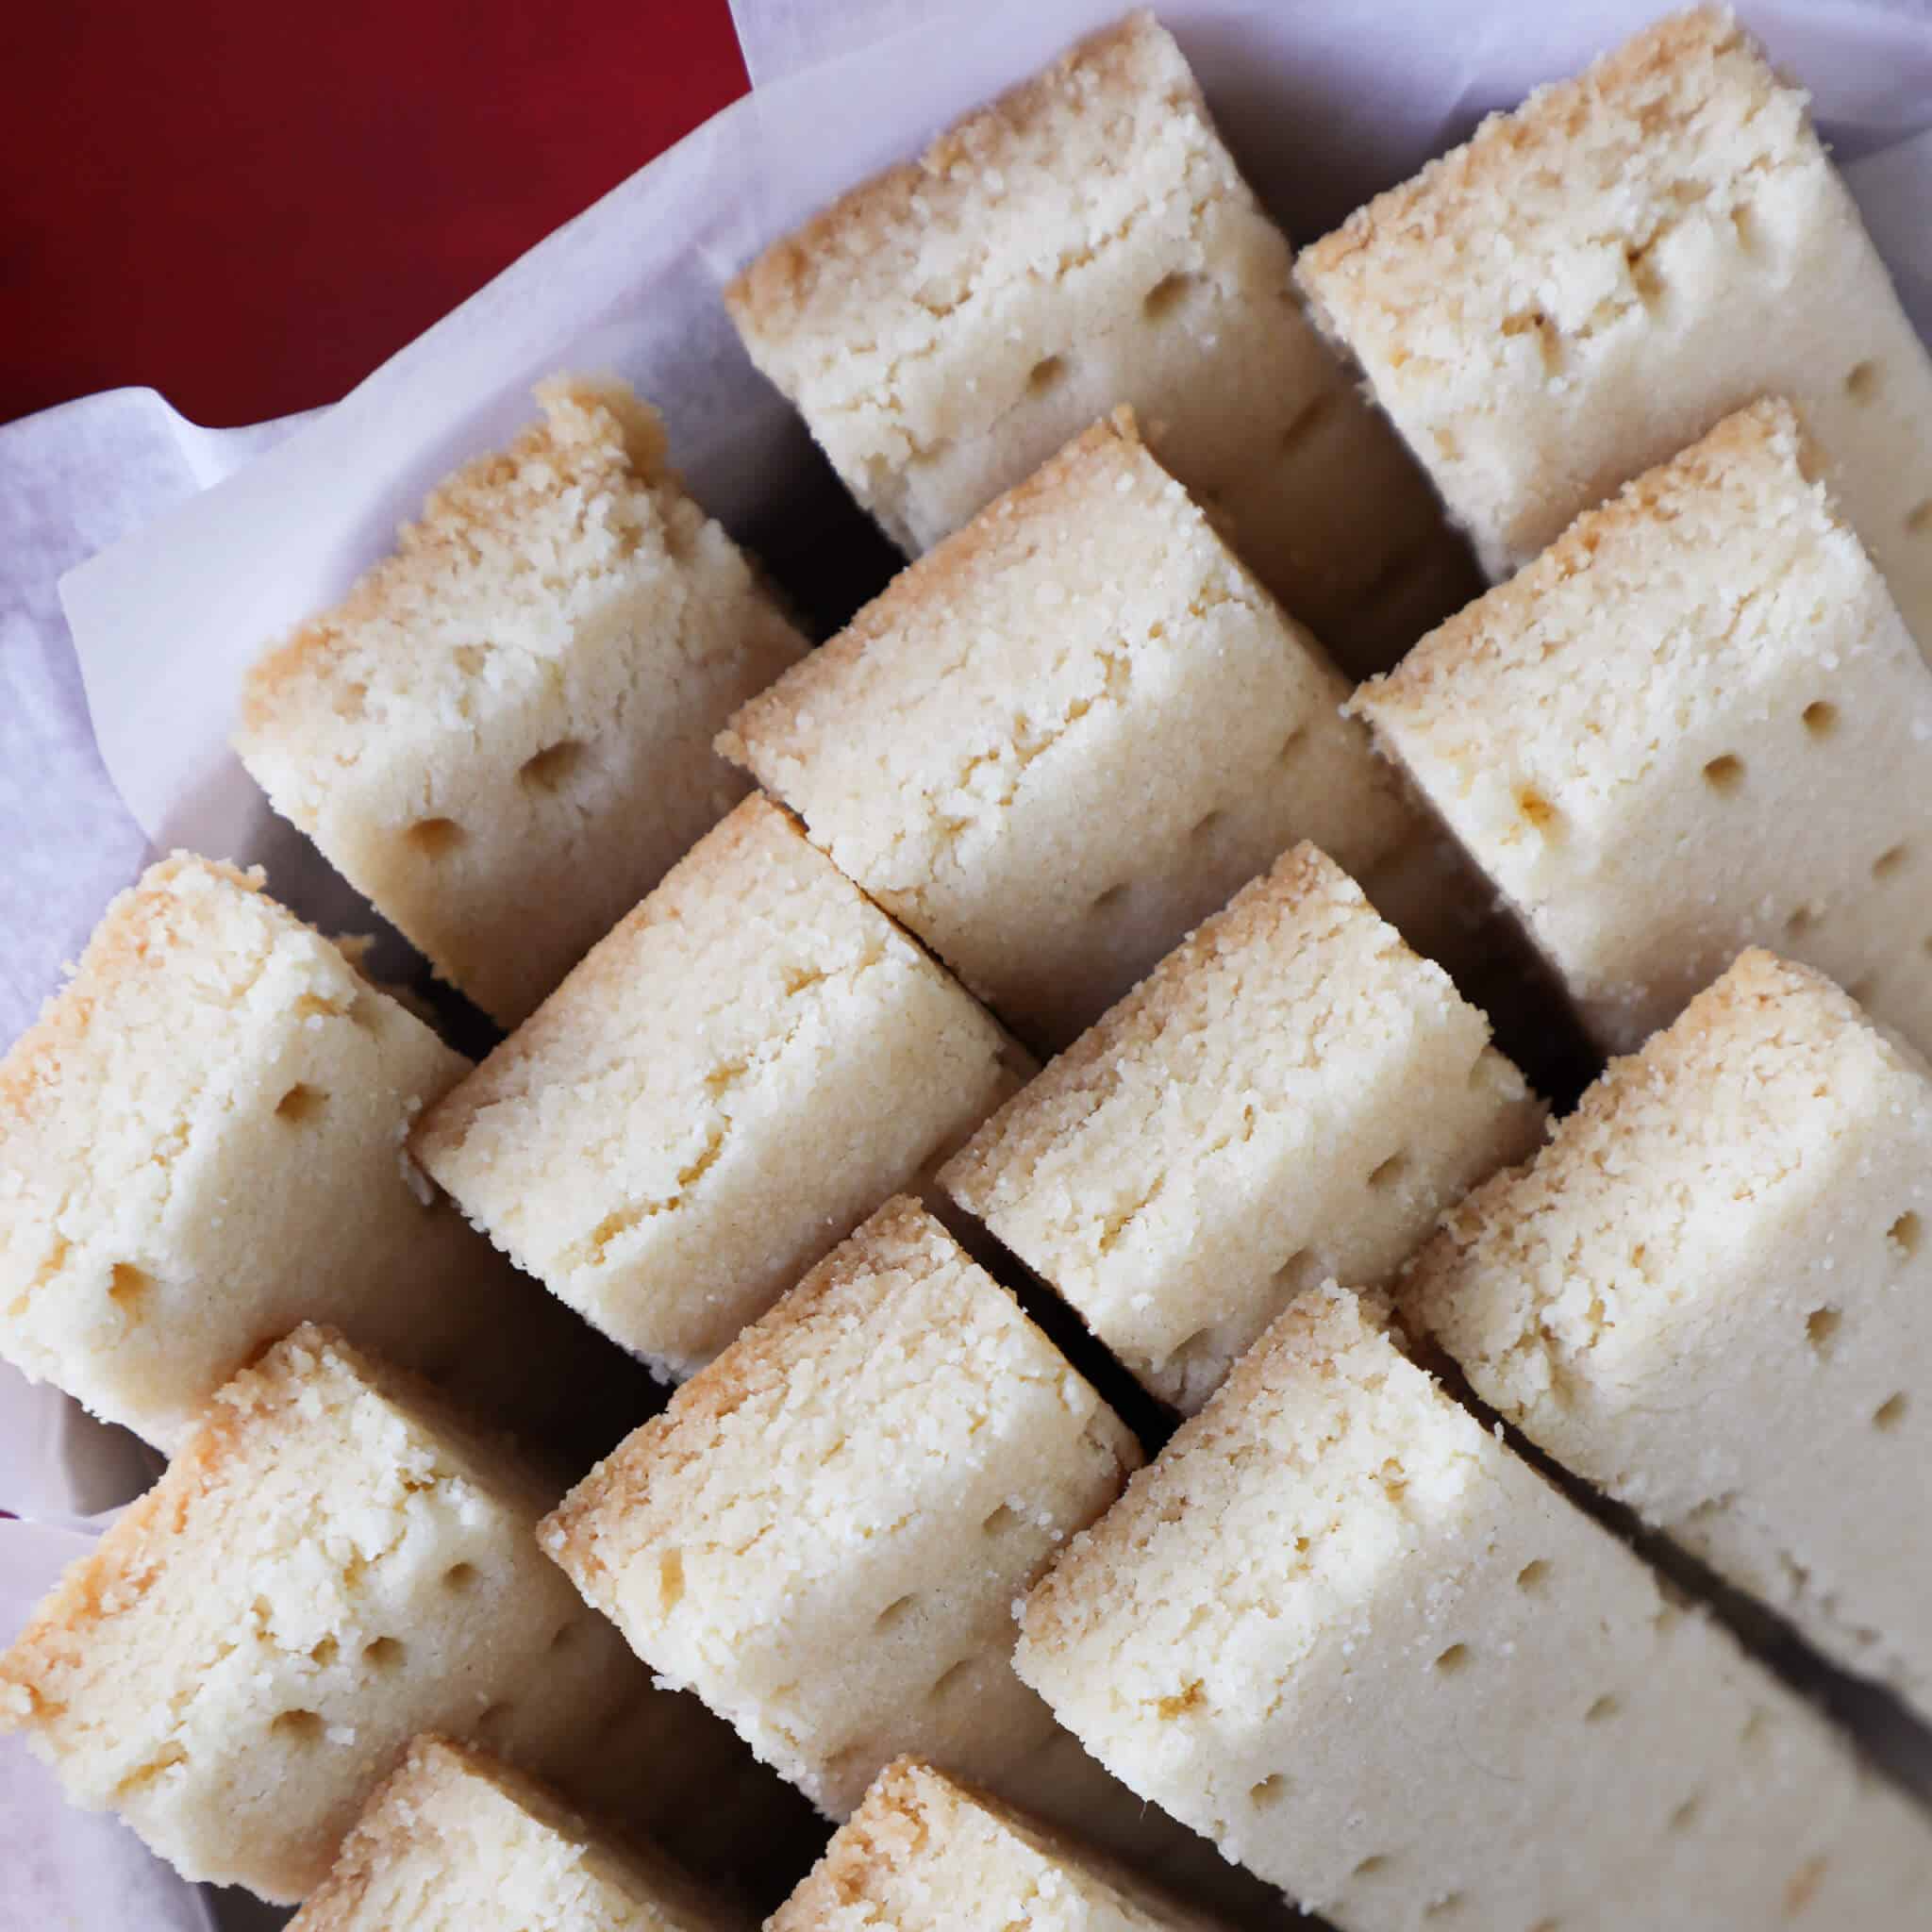
Why do they call it shortbread?
Shortbread is called shortbread because of the ‘cut in’ mixing method. This method is so named because you are literally cutting in the butter with a pastry blender or two knives (now we have machines). The method coats the flour. This makes it more difficult for the gluten proteins to form a strong network because they have been “shortened” or “cut” by the surrounding butter. It is really inhibiting gluten formation. Traditionally, this method is often used when there is a higher ratio of fat (in this case, butter) to flour, which makes a “short” crumbly texture.
What is the history of Scottish shortbread?
While there are recipes all over the world for shortbread, Scotland in particular claims its earliest origins. Remember how we talked about it being necessary for the butter to coat the flour, so that less gluten can form? In order to have butter, it’s necessary to have some serious access to dairy. Enter Scotland, her cool climate, and her dairy cows! One of its traditional shapes, besides the shortbread fingers we’re making together today, is a wedge or triangle. This shape resembles a woman’s petticoat (yes, Outlander!) and is why you will sometimes hear these biscuits called ‘petticoat tails’.
Ingredients in a Traditional Shortbread Recipe:
- Butter: I use unsalted butter for baking, because you want to control the amount of salt you are adding. Since there is no egg in this recipe, any moisture you’re getting at all is coming from the butter, so you want to use a high quality butter. If you were making true Scottish shortbread, you’d get your butter from Scotland, but not all of us have access to it!
- All-purpose flour: Fluff up the all purpose flour in the bag then spooning it into a measuring cup. Level it off with a knife. Be careful not to tap or compress the flour. Not measuring correctly, will lead to dry cookies.
- Rice Flour: Rice flour has a coarser texture than all-purpose flour, so it gives shortbread cookies their distinctive texture. Rice flour is gluten free! It will add to the structure without developing the gluten protein network. This will keep the cookies tender rather than tough.
- Caster Sugar: Caster sugar is finely ground granulated sugar. It is not readily available in the United States, but you can make your own by processing granulated sugar in the food processor. To be on the safe side, grind 3/4 cup or 172g of granulated sugar, then measure out 3/4 cup or 150g of the superfine (caster) sugar. Caster sugar is finer than granulated sugar, but don’t get it confused with powdered sugar!
- Kosher salt
See the recipe card for full information on ingredients and quantities.
Variations
- Citrus: Zest orange, lemon or grapefruit peel into the sugar and allow to infuse for at least 30 minutes to overnight. Mix according to the instructions for a super flavorful citrus shortbread, or head over to my Cranberry Orange Shortbread Cookies for more inspiration.
- Glazed: Mix together powdered sugar, a tiny pinch of salt and just enough lemon juice to make a thick glaze. Drizzle over the top of the shortbread and allow to set. You could also try something outside the box, like the strawberry glaze on my lemon pound cake or dip your traditional scottish shortbread cookies in some hot fudge sauce!
- Chocolate Chip: After the dough for this Scottish shortbread recipe has come together, sprinkle in up to a cup of mini chocolate chips or sliced chocolate like I did in these Chocolate Chip Shortbread Cookies.
- Gluten free: You can use gluten free all-purpose flour in this recipe. I prefer Cup 4 Cup gluten free flour because I find it is the closest texturally to regular all-purpose flour.
- Use a shortbread mold: If you want to opt to use a mold, this is a beautiful wedge shaped shortbread mold I have used. Be aware that ceramic does not conduct heat as effectively as metal, so it is a little more challenging to get the crisp finish. I would also recommend you sift a little rice flour over the top of your mold before you roll your dough onto it. This will ensure your shortbread releases from the mold. Otherwise, the process is much the same!
How to Make Scottish Shortbread
Further details and measurements can be found in the recipe card below.
Make dough:
Step 1: Preheat the oven to 275°F (135°C) and line a baking sheet or pan with parchment paper.
Step 2: In the bowl of a stand mixer cream the butter. Beat on high until completely softened and smooth. If your butter is already room temperature, there is no need to do this step.
Step 3: In a large mixing bowl, combine rice flour and all-purpose flour. Add the caster sugar and kosher salt. Whisk to combine.
Step 4: Place the flour mixture in the bowl of the stand mixer with the butter. Mix on low until completely combined. This will take at least 10 minutes. Scrape down the sides of your bowl to avoid butter streaks.
There are no additional liquids in this cookie dough; it is just held together by butter. The dough will look clumpy but will hold together when squeezed in your hand.
Shape and bake:
Step 5: Gather the dough in a ball and press it out into a rectangle or your desired shape on the parchment lined baking sheet. It will be about ½ inch thick. The size and shape don’t matter but do think about the size you want before you bake them. I wanted 3 ½ x 1 inch sticks. So, I pressed my dough out to about 7 inches high and 9 inches across.
It will slope slightly on the sides when baked. So you want to have a little buffer to cut perfect rectangles.
Step 6: Poke holes with a fork to prevent air bubbles during baking. You can try and keep in mind the final shape or not.
Step 7: Bake in a preheated oven for about 45 minutes. The cookies will be puffed and look a little matte on the surface.
Step 8: Remove them from the oven and slice with a sharp knife into desired shapes on the baking sheet. If you try to remove the parchment from the baking sheet they will crack. Once you have cut the slices, separate them so they have enough airflow around each to cook properly.
Step 9: Increase the oven temperature to 300°F (150°C) and continue baking for 30-45 minutes more until they have begun to brown on the bottom. Cool completely (NOT on a wire rack) before serving, and enjoy!
If you want no browning, then continue baking them at 275°F for an additional 60-75 minutes. They will look completely matte.
Chef Lindsey’s Recipe Tip
Leave the shortbread on the baking sheet while it cools. This will help them to crisp up and also keep them from cracking! A win-win situation.
Frequently Asked Questions
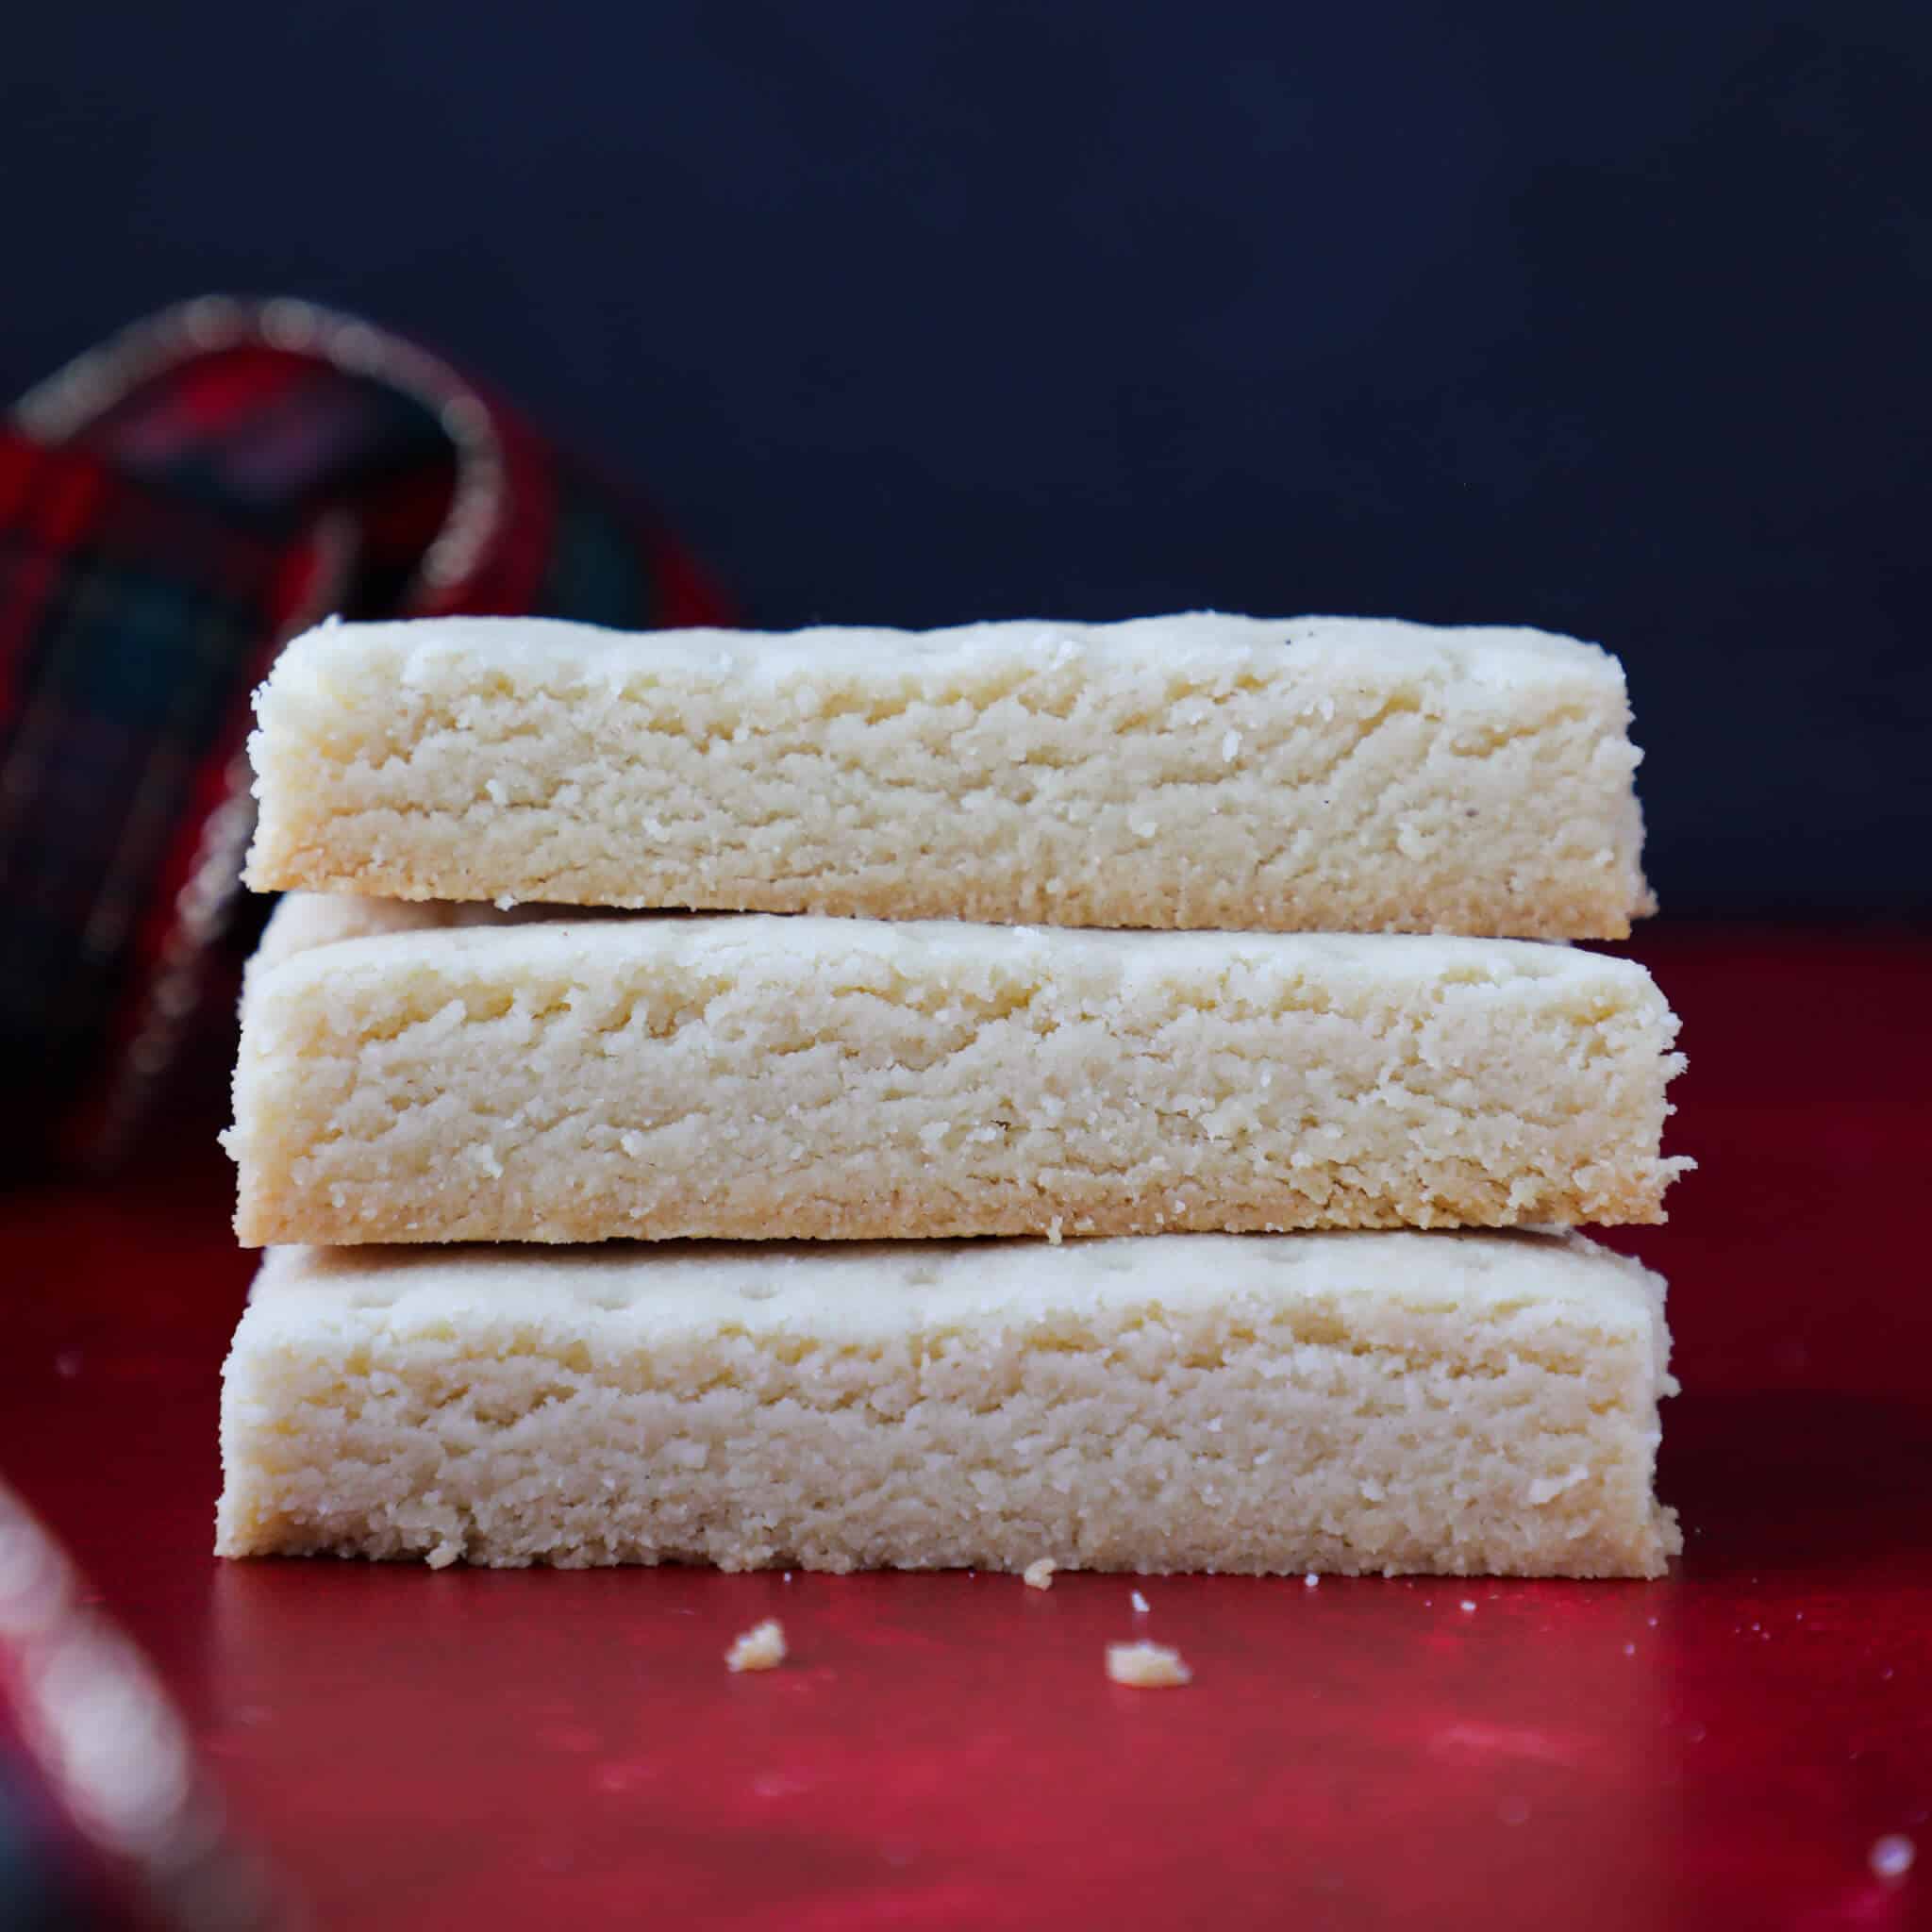
To keep shortbread cookies crisp, store in an airtight container at room temperature. Scottish shortbread cookies will keep at room temperature for two weeks or frozen for up to 3 months.
You don’t need to chill the dough prior to baking, because we are mitigating any spreading by baking the shortbread first in one block, then slicing into individual cookies.
If you tried this recipe and loved it please leave a 🌟 star rating and let me know how it goes in the comments below. I love hearing from you; your comments make my day!
Scottish Shortbread Recipe
Ingredients
- 1 cup unsalted butter room temperature, 2 sticks
- ¾ teaspoon kosher salt
- 2 cups all-purpose flour
- ½ cup rice flour
- ¾ cup caster sugar or granulated sugar ground in food processor, see note
Instructions
- Preheat the oven to 275°F (135°C) and line a baking sheet with parchment paper.
- In the bowl of a stand mixer place the butter. Beat on high until completely softened and smooth. If your butter is already room temperature, there is no need to do this step.
- In a large mixing bowl, combine rice flour and all-purpose flour. Add the caster sugar (double check the note in the recipe if making your own!) and kosher salt. Whisk to combine.
- Place the flour mixture in the bowl of the stand mixer with the butter. Mix on low until completely combined. This will take at least 10 minutes. Scrape down the sides of your bowl to avoid butter streaks.
- Gather the dough in a ball and press it out into a rectangle or your desired shape on the parchment lined baking sheet. It will be about ½ inch thick. The size and shape don’t matter but do think about the size you want before you bake them. I wanted 3 ½ x 1 inch sticks. So, I pressed my dough out to about 7 inches high and 9 inches across.
- Poke holes with a fork to prevent air bubbles during baking. You can try and keep in mind the final shape or not.
- Bake in a preheated oven for about 45 minutes. The cookies will be puffed and look a little matte on the surface.
- Remove them from the oven and slice into desired shapes on the baking sheet. If you try to remove the parchment from the baking sheet they will crack. Once you have cut the slices, separate them so they have enough airflow around each to cook properly.
- Increase the oven temperature to 300°F (150°C) and continue baking for 30-45 minutes more until they have begun to brown on the bottom. Cool completely before serving, and enjoy!
Video
Notes
Nutrition
Before You Go!
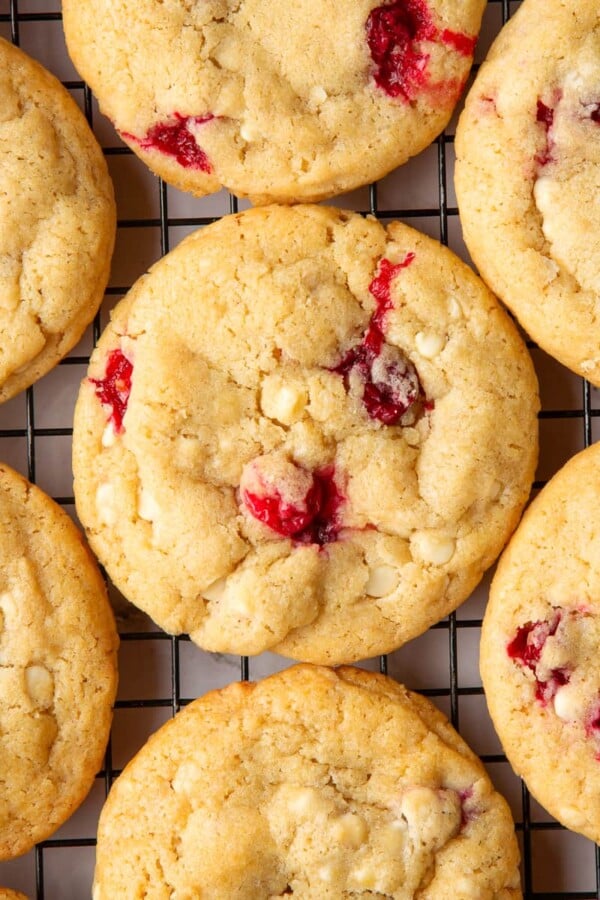
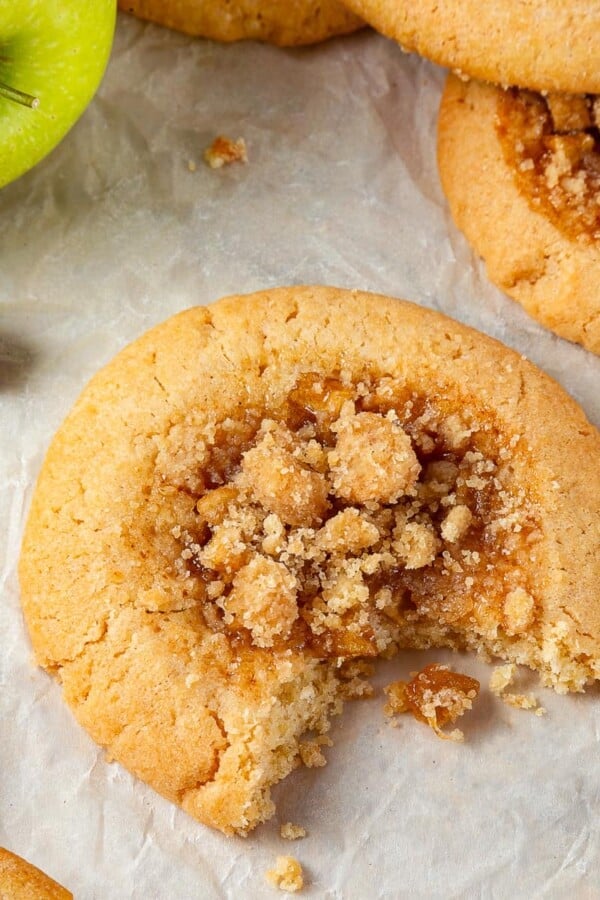
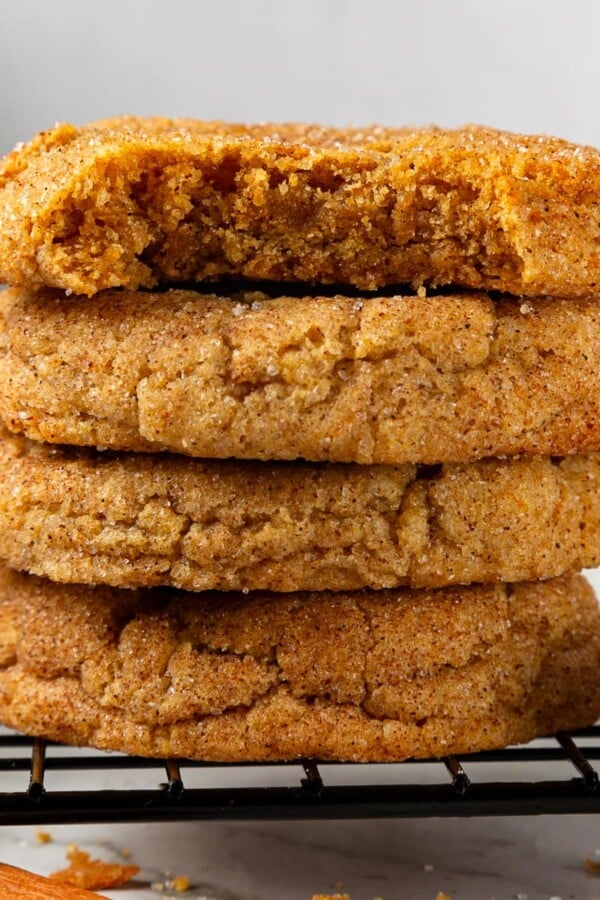
Check out our other delicious, chef-developed recipes for Cookie recipes! Peruse other traditional Christmas cookies or try some of my best Christmas cookie recipes!


I love this recipe! Shortbread is something my grandmother and I can always agree on. I’ve made it plain, with lemon zest, mini chocolate chips, or with a glaze. The texture that just crumbles and melts in your mouth is just perfect. I swear I make these cookies more than any other.
Do you have any tips for making these into cookies? It’s a two-step process so I am wondering how to adapt it to cookies.
Hi Barbra! Would you mind giving me just a little more information? You can also email me at cheflindseyfarr @gmail.com if that is easier. Do you mean that you want to roll out the dough and cut it with cookie cutters? I think this will work as long as you have the patience to transfer the cut cookies to the baking sheet with a spatula. I think the dough will be too crumbly to pick them up with your hands. Once you have rolled (or pressed out your dough), cut and transferred to the baking sheet bake at 275. The baking time with vary greatly depending on the size and shape of your cookies. For example, if you cut snowflakes those will bake faster than cutting the same sized stars. That being said, I wouldn’t recommend cutting snowflakes with this dough! I hope that helps and if you have time, I’d love if you come back and tell me how it goes! ~lindsey
These were so good and buttery. They will be my go to recipe.
Hi Barbra! Glad to hear it, thank you for commenting!