This post may contain affiliate links. Please read our disclosure policy.
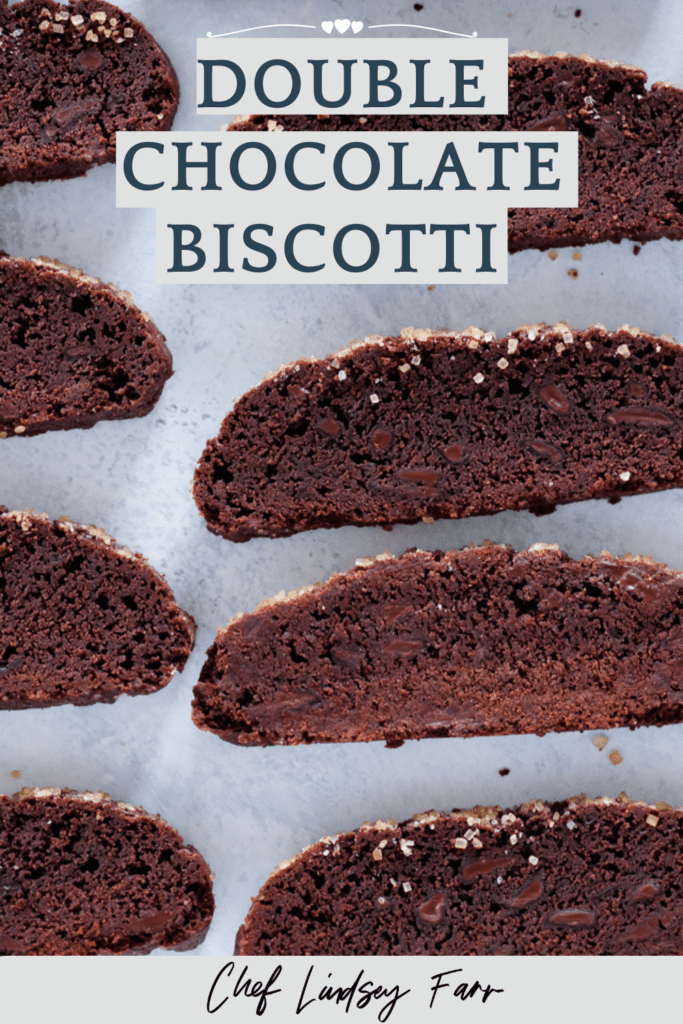
These crisp and easy-to-make double chocolate biscotti have a rich chocolate flavor and the perfect crunchy cookie texture for dipping into coffee, tea or hot chocolate!
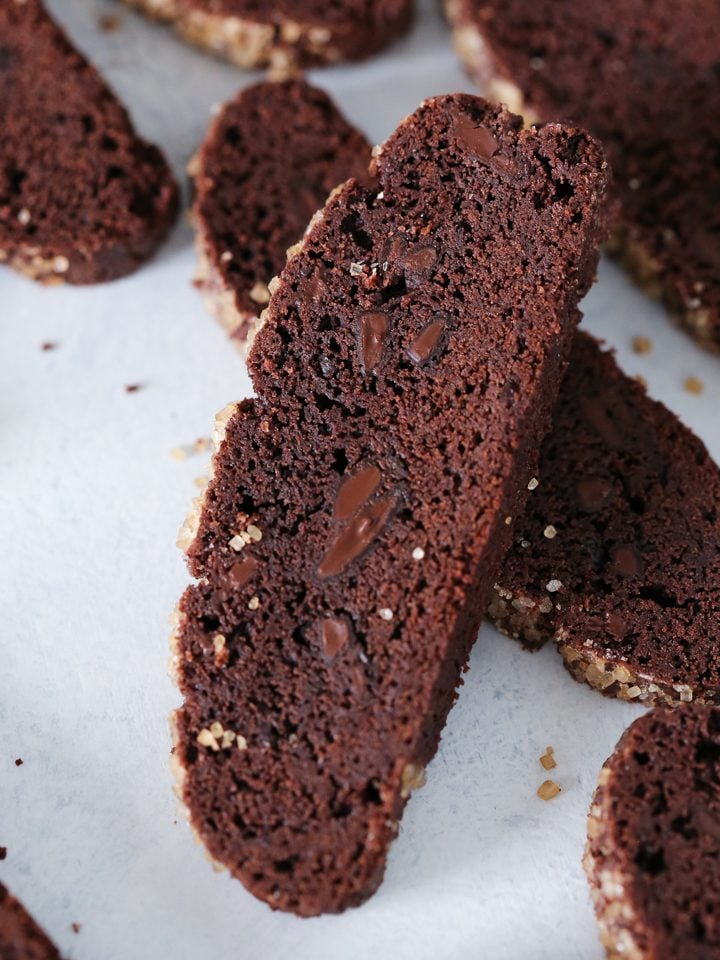
My obsession with creating the BEST double chocolate biscotti started in 2019 when my mom and I went on a mother-daughter trip to Italy. While making our way around Florence, we took in the architecture and key tourist locations and found this adorable market. We went in and grabbed a bag of biscotti to accompany us for the rest of the day. We almost missed our return flight because we went back for another (several) bags!
As soon as we hit stateside, I made it my mission to recreate these deliciously crunchy twice baked cookies! The dough is straightforward and full of chocolate flavor. Since they have a long shelf life, trust me when I say these cookies will become your favorite afternoon chocolate fix! To add variety to your crunchy cookie love, make sure to check out my delightfully fresh and crisp ginger biscotti, these thumbprint cookies, or these light Mexican wedding cookies!
Why You Will Love These Double Chocolate Biscotti
- Deep, rich chocolate flavor. Cocoa powder and chocolate chips add a full and rich chocolate flavor. Plus vanilla extract and kosher salt amplify the chocolate flavor.
- Easy to mix and bake. With a very straightforward mixing method and easy to follow baking instructions, these cookies might become your new go to!
- The perfect crunchy texture. The ratio of butter and sugar helps to create a crunchy but not tough or dry texture.
- Developed in a professional kitchen in large batches. Bake these cookies with the confidence that you can make as large a batch as you want! We have made this recipe in an 80 quart commercial mixer and it produces tender, crunchy biscotti every time.
Professional Tips for the Best Biscotti Recipe
- Let the full biscotti logs sit overnight before the second bake. This process will ensure a cleaner slice for some gorgeous cookies! Once your cookies have cooled from the first bake, wrap them in plastic wrap and store them at room temperature overnight. This softens the crust slightly allowing for cleaner slices with less breakage.
- A cake tester will be your best friend here. Since you are working with chocolate dough, it will be slightly harder to tell whether your biscotti is done baking. Once your logs have cracked slightly on the top and the dough has become matte, use your cake tester to ensure they are baked through. You might have to test multiple times since the dough is FULL of chocolate chips.
- Quality chocolate is key! In order to have the best tasting biscotti, you will want to use quality Dutch processed cocoa powder and your favorite chocolate chips.
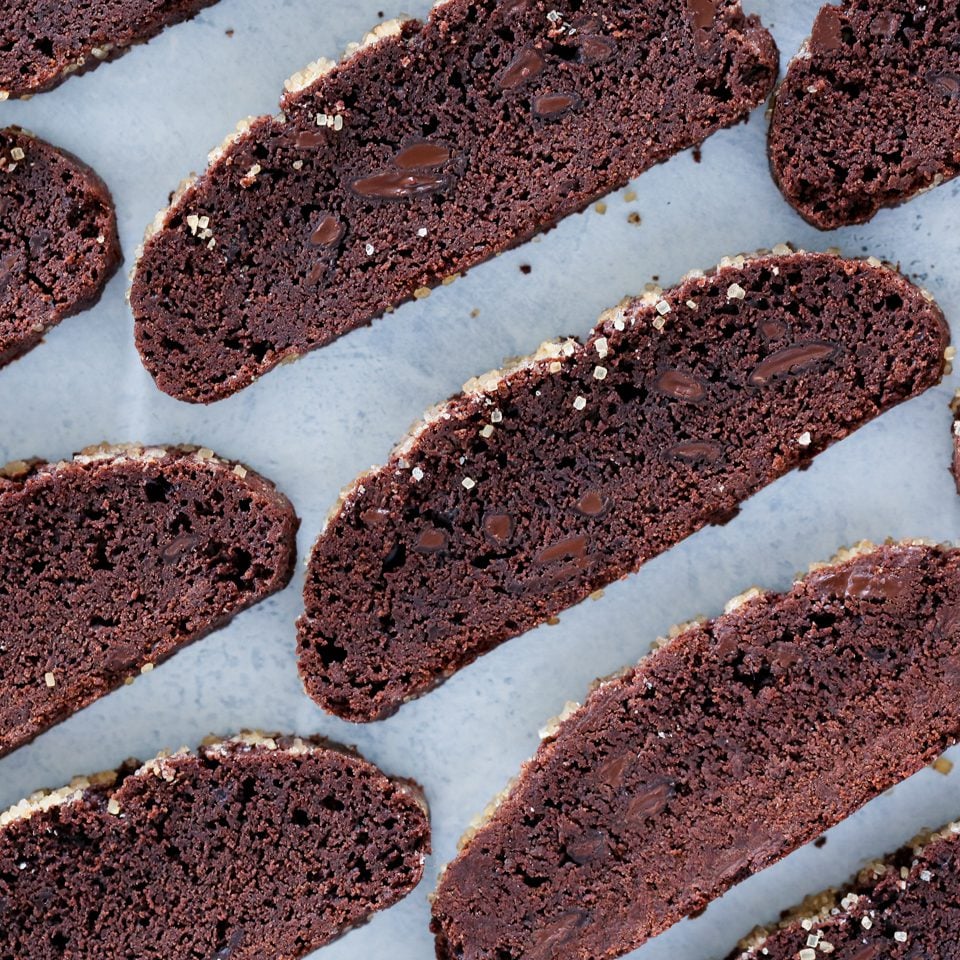
Ingredients
- All-Purpose Flour: All-purpose flour has just the right amount of gluten to ensure these biscotti are crunchy but not tough.
- Dutch Processed Cocoa Powder: This adds chocolate flavor to the dough. You’ll want to use a high-quality cocoa powder such as Valhrona or Ghirardelli for a rich and robust chocolate flavor just like in my chocolate thumbprint cookies or these chocolate sugar cookies!
- Granulated Sugar: Granulated sugar is here for sweetness, but if you add too much in proportion to the butter and flour, the cookies will spread. The sugar also shortens the flour’s gluten strands, creating that tender, crunchy texture.
- Baking Powder
- Kosher Salt: Kosher salt is here to boost the chocolate flavor.
- Butter: I use unsalted butter for baking because you want to control the amount of salt you add. There is no control over how much salt is in salted butter.
- Vanilla Extract
- Egg
- Whole Milk: There is just enough milk to pull the biscotti dough together but not so much to make it tough.
- Semi-Sweet Dark Chocolate: I am picky about my semi-sweet chocolate chips. I want them to be sweet enough without touching on cloying and to have a high-quality texture. Choose a brand that you love.
See the recipe card for full information on ingredients and quantities.
Variations
- Experiment with your mix-ins. You can replace chocolate chips with nuts, dried fruit, or white chocolate! Let your imagination go wild, and let us know your favorite add-in.
- Add some zest! Chocolate and orange have always been one of my favorite flavor combos! Add some orange zest to your sugar when scaling your ingredients. And if you love it just like me, check out my Orange Chocolate Shortbread Cookies.
- Add more chocolate or a glaze. Once your biscotti are cooled, you can melt additional chocolate and dip or drizzle it over them or dip them and add a little gold leaf. You can also add a simple glaze to add more depth to your cookie.
How to Make Chocolate Biscotti
Follow these instructions to make the perfect biscotti every time! Further details and measurements can be found in the recipe card below.
Make Dough:
Step 1: In a bowl of your stand mixer, combine all your dry ingredients: flour, cocoa powder, sugar, baking powder, and salt. With my paddle attachment, I like to mix all the dry ingredients on low to ensure everything is evenly dispersed.
Step 2: Cut cold butter into cubes. Add the butter to the dry ingredients in the stand mixer. With your mixer on low, start cutting in the butter. Continue to mix until there are no visible butter pieces left.
I recommend actually putting your hand into the dry ingredient mixer and letting it run through your fingers to test if all the butter has been incorporated. Mixing the butter in completely is not only coating the gluten strands, but also distributing the moisture evenly throughout the dough. This will keep the cookies from being dry or having to add more moisture to the dough.
Step 3: Whisk together the eggs, vanilla, and milk in a separate bowl. Slowly pour the egg mixture into the bowl with your mixer on low.
Pre-mixing the wet ingredients allows for a faster incorporation into the dry ingredients. This means there will be less gluten development and the resulting cookies will be more tender.
Step 4: Once you have added all your wet ingredients, you want to add your chocolate chips before it becomes a cohesive dough to prevent from over mixing. This helps to keep from developing gluten to ensure a lovely tender, and crunchy texture.
Shape and First Bake:
Step 5: Gather your dough and shape it into a log about 2 inches wide and ¾ inches tall. Transfer the dough onto a parchment lined sheet tray with an offset spatula. You will want your log the same height throughout to ensure even baking.
Step 6: Place into the fridge and chill until the dough is firm.
Step 7: Preheat the oven to 350°F.
Step 8: Once the dough is firm, brush the top with heavy cream and sprinkle with turbinado sugar.
Step 9: Bake for 15-20 minutes until the top has cracked slightly, and your dough has become matte. When you press lightly on the center, it should provide a little resistance.
You may also test with a cake tester. The cake tester should come out clean, you might have to test in multiple spots to ensure you haven’t poked at melted chocolate.
Step 10: Allow the biscotti to cool completely. For a cleaner cut, wrap the biscotti with plastic wrap and allow it to sit overnight. It is not necessary, you can finish the biscotti in one day if your cravings are calling!!
Second Bake:
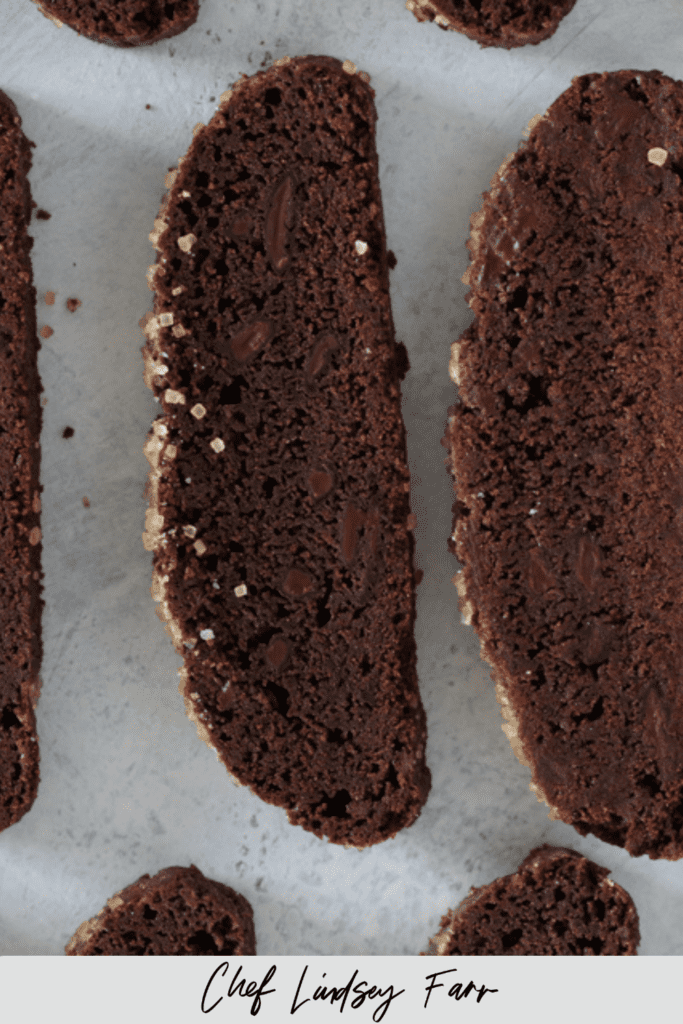
Step 11: Time to cut! With a serrated knife, slice your biscotti on a bias about ½ inch thick. And yes, those end pieces make perfect snacks while you’re waiting!
Step 12: Reduce the oven temperature to 300°F and place your sliced cookies on a parchment lined sheet tray cut side down. Don’t worry about spacing, they won’t spread anymore.
Step 13: Bake the cookies for 8-12 minutes until the outside is crispy and the center gives a little resistance when pressed lightly. Cool completely before serving, and enjoy!
Chef Lindsey’s Recipe Tip
The first bake is the most important. You want to make sure you bake your biscotti completely; otherwise, on the second bake, you risk having the remaining unactivated baking powder cause a small bump on your individual cookies. It’s not catastrophic; I just want you to have a show-stopping biscotti!
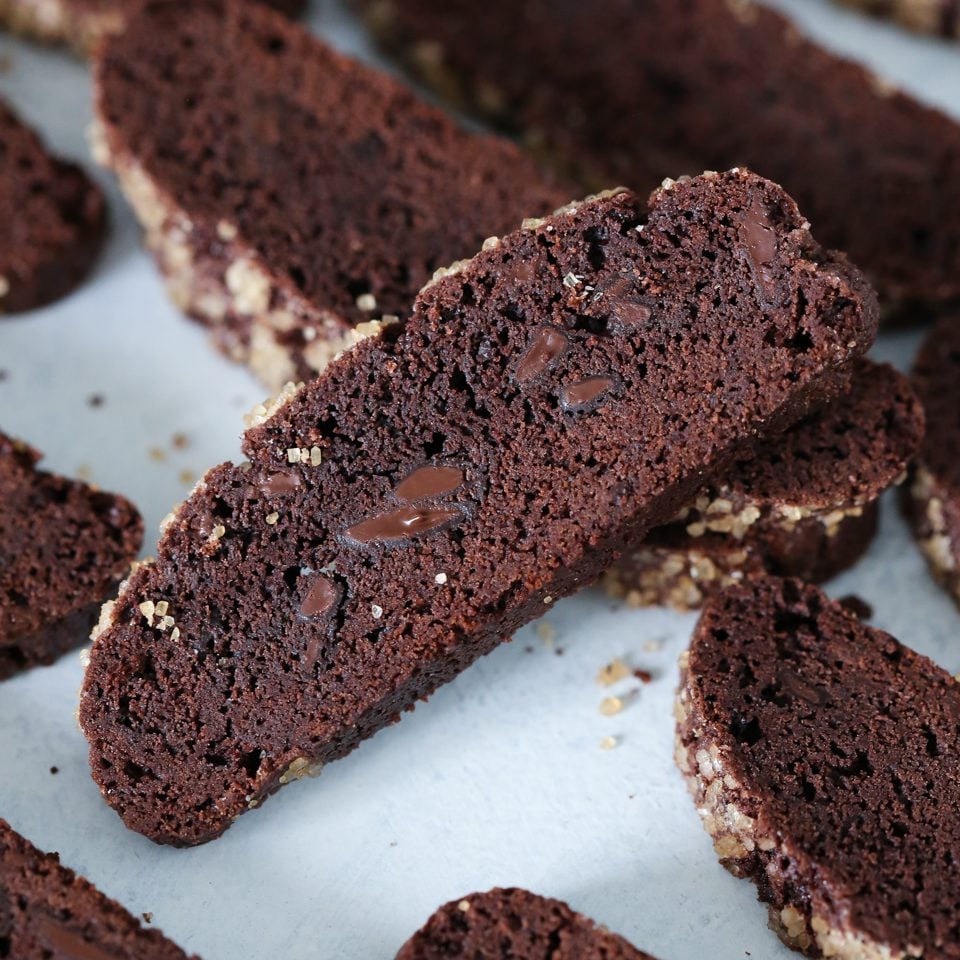
Frequently Asked Questions
To keep the biscotti crisp store in an airtight container at room temperature. These cookies will keep at room temperature for two weeks or frozen for up to three months.
Of course! These cookies will keep for up to two weeks. So perfect to make ahead for a party or to give out as holiday gifts.
Sadly, biscotti being crispy and oblong, have a tendency to break during shipping. We learned this the hard way in our bakery, Les Filles.
Yes, before the first bake, you need to chill until the dough is firm to the tough. This prevents the biscotti from spreading too much and allows whatever gluten developed during mixing to relax.
If you tried this recipe and loved it please leave a 🌟 star rating and let me know how it goes in the comments below. I love hearing from you; your comments make my day!

Chocolate Biscotti
Ingredients
- 1 ½ cups all purpose flour
- ½ cup cocoa powder
- 14 tablespoons sugar just shy of 1 cup
- 1 ¼ teaspoons baking powder
- 1 teaspoon kosher salt
- 4 ½ tablespoons unsalted butter cubed, cold
- 1 ¼ teaspoon vanilla
- 1 egg
- 3 tablespoons milk
- ½ cup semi sweet dark chocolate chopped or chocolate chips
- turbinado sugar for topping
- heavy cream for topping
Instructions
Make Dough:
- In a bowl of your stand mixer, combine all your dry ingredients: flour, cocoa powder, sugar, baking powder, and salt. With my paddle attachment, I like to mix all the dry ingredients on low to ensure everything is evenly dispersed.
- Cut cold butter into cubes. Add the butter to the dry ingredients in the stand mixer. With your mixer on low, start cutting in the butter. Continue to mix until there are no visible butter pieces left.
- Whisk together the eggs, vanilla, and milk in a separate bowl. Slowly pour the egg mixture into the bowl with your mixer on low.
- Once you have added all your wet ingredients, you want to add your chocolate chips before it becomes a cohesive dough to prevent from over mixing. This helps to keep from developing gluten to ensure a lovely tender, and crunchy texture.
Shape and First Bake:
- Gather your dough and shape it into a log about 2 inches wide and ¾ inches tall. Transfer the dough onto a parchment lined sheet tray with an offset spatula. You will want your log the same height throughout to ensure even baking.
- Place into the fridge and chill until the dough is firm.
- Preheat the oven to 350°F.
- Once the dough is firm, brush the top with heavy cream and sprinkle with turbinado sugar.
- Bake for 15-20 minutes until the top has cracked slightly, and your dough has become matte. When you press lightly on the center, it should provide a little resistance.
- Allow the biscotti to cool completely. For a cleaner cut, wrap the biscotti with plastic wrap and allow it to sit overnight. It is not necessary, you can finish the biscotti in one day if your cravings are calling!!
Second Bake:
- Time to cut! With a serrated knife, slice your biscotti on a bias about ½ inch thick. And yes, those end pieces make perfect snacks while you’re waiting!
- Reduce the oven temperature to 300°F and place your sliced cookies on a parchment lined sheet tray cut side down. Don’t worry about spacing, they won’t spread anymore.
- Bake the cookies for 8-12 minutes until the outside is crispy and the center gives a little resistance when pressed lightly. Cool completely before serving, and enjoy!
Video
Notes
Nutrition
Before You Go
I hope you enjoyed this professional chef tested recipe. Check out our chocolate recipes, or try your hand at one of our 250+ cookie recipes!


It did take longer than suggested for the top to dry on the first bake and for them to dry on the second. Could be my refrigerator is colder. But, if you are patient, these are a delicious fudge-tasting treat. I liked cutting the butter in using the KitchenAid. I grated the zest of a naval orange into the dry ingredients and liked the little kick of taste.
Awesome! Thanks for coming back to comment and rate. Bake times definitely depend on the oven and how thick the log is that you shaped. These are one of my favorite biscottis! ~Lindsey
Your instructions are kissing steps or ingredients within the steps.
Hi CJ! I re-read it and added when to add the salt and cocoa powder. Thank you for commenting and happy baking!