This post may contain affiliate links. Please read our disclosure policy.
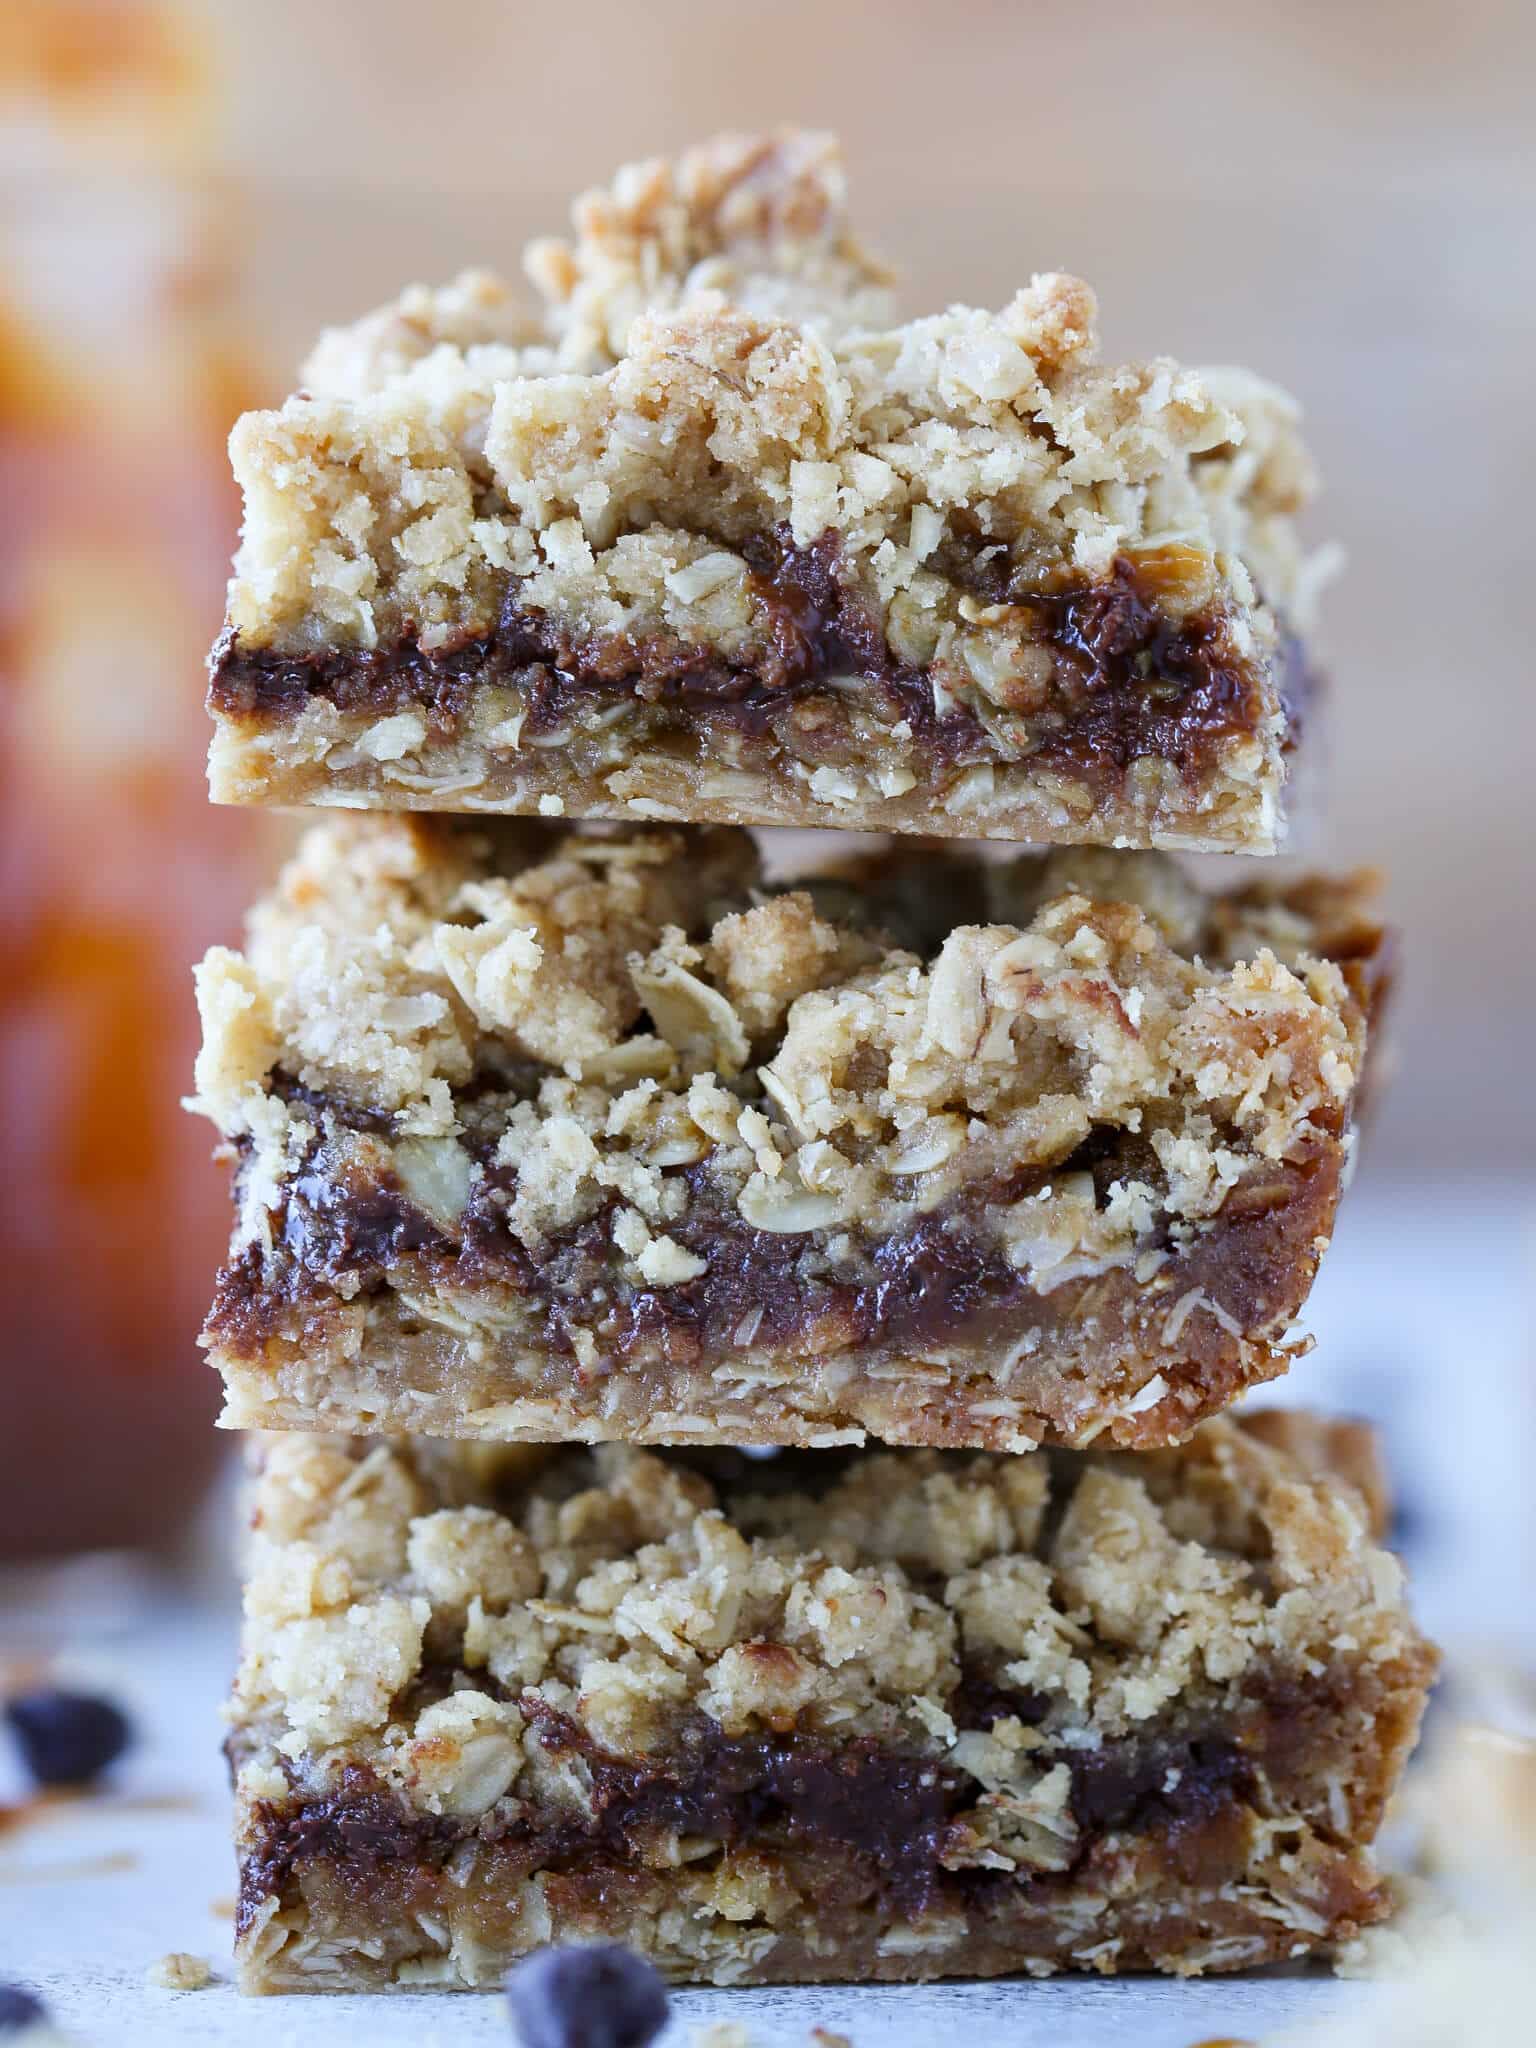
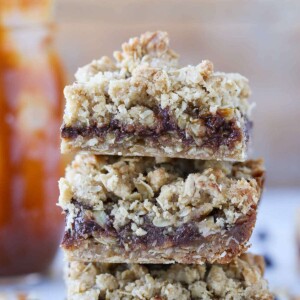
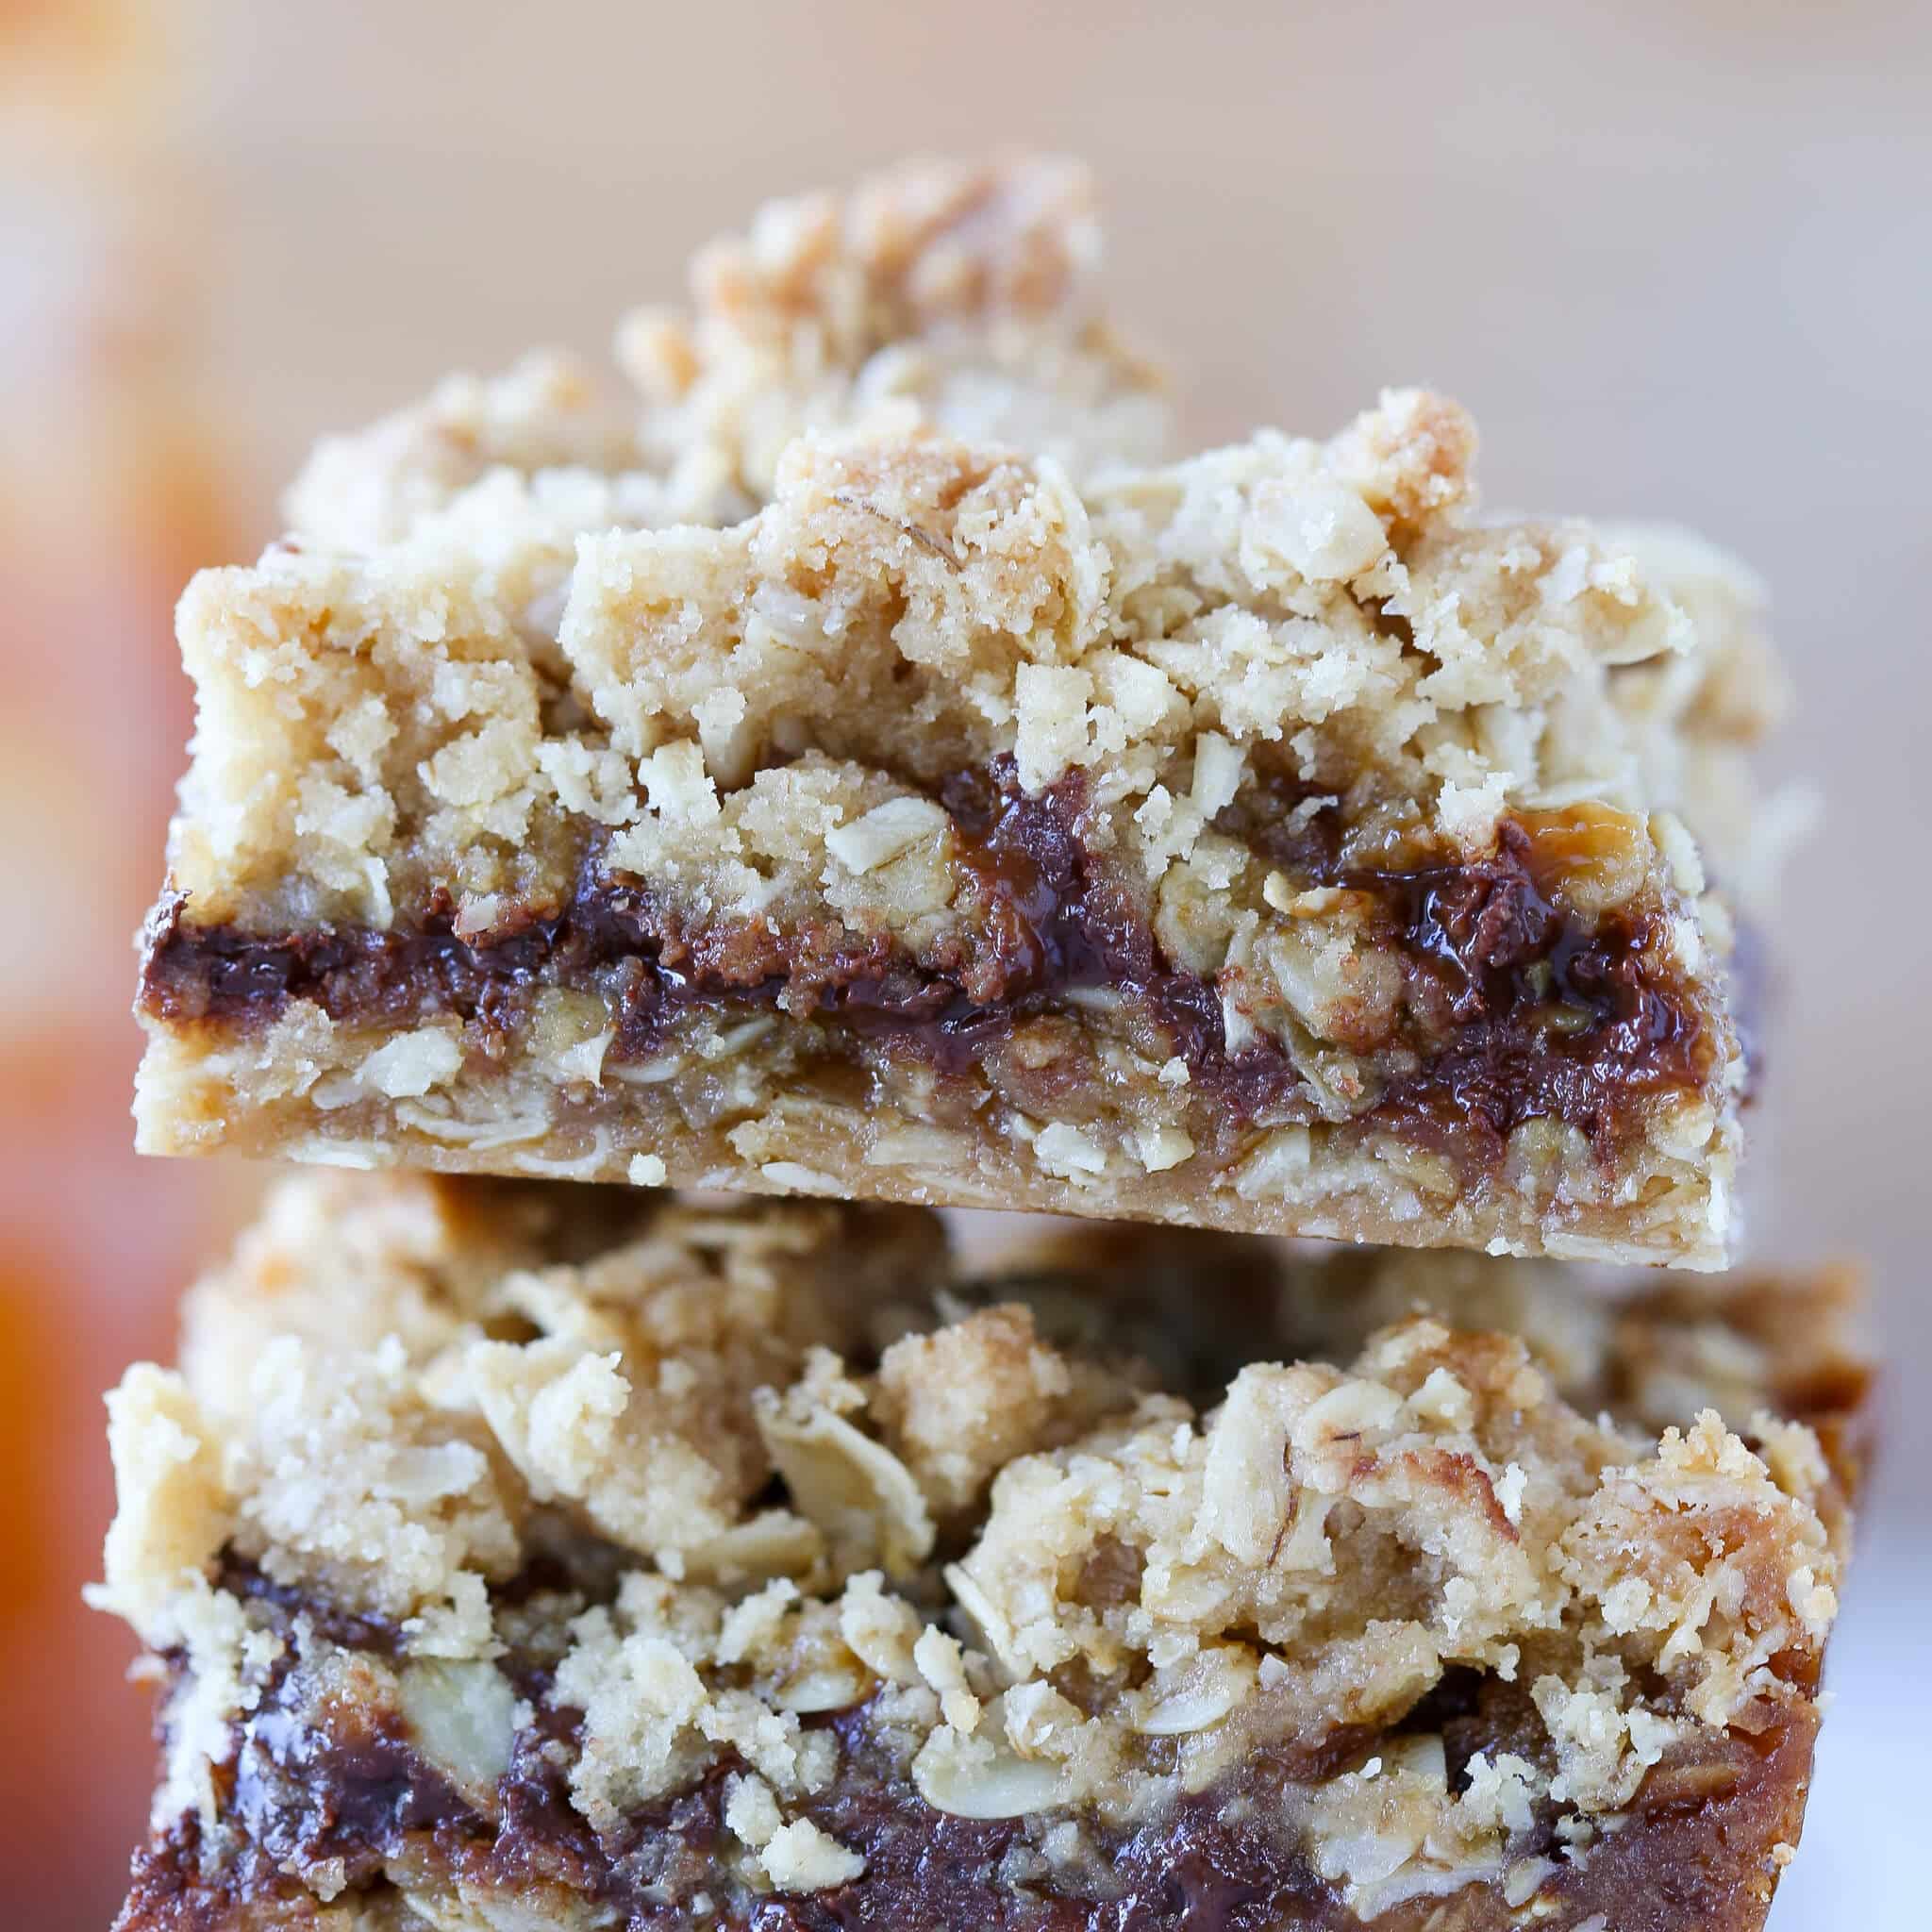
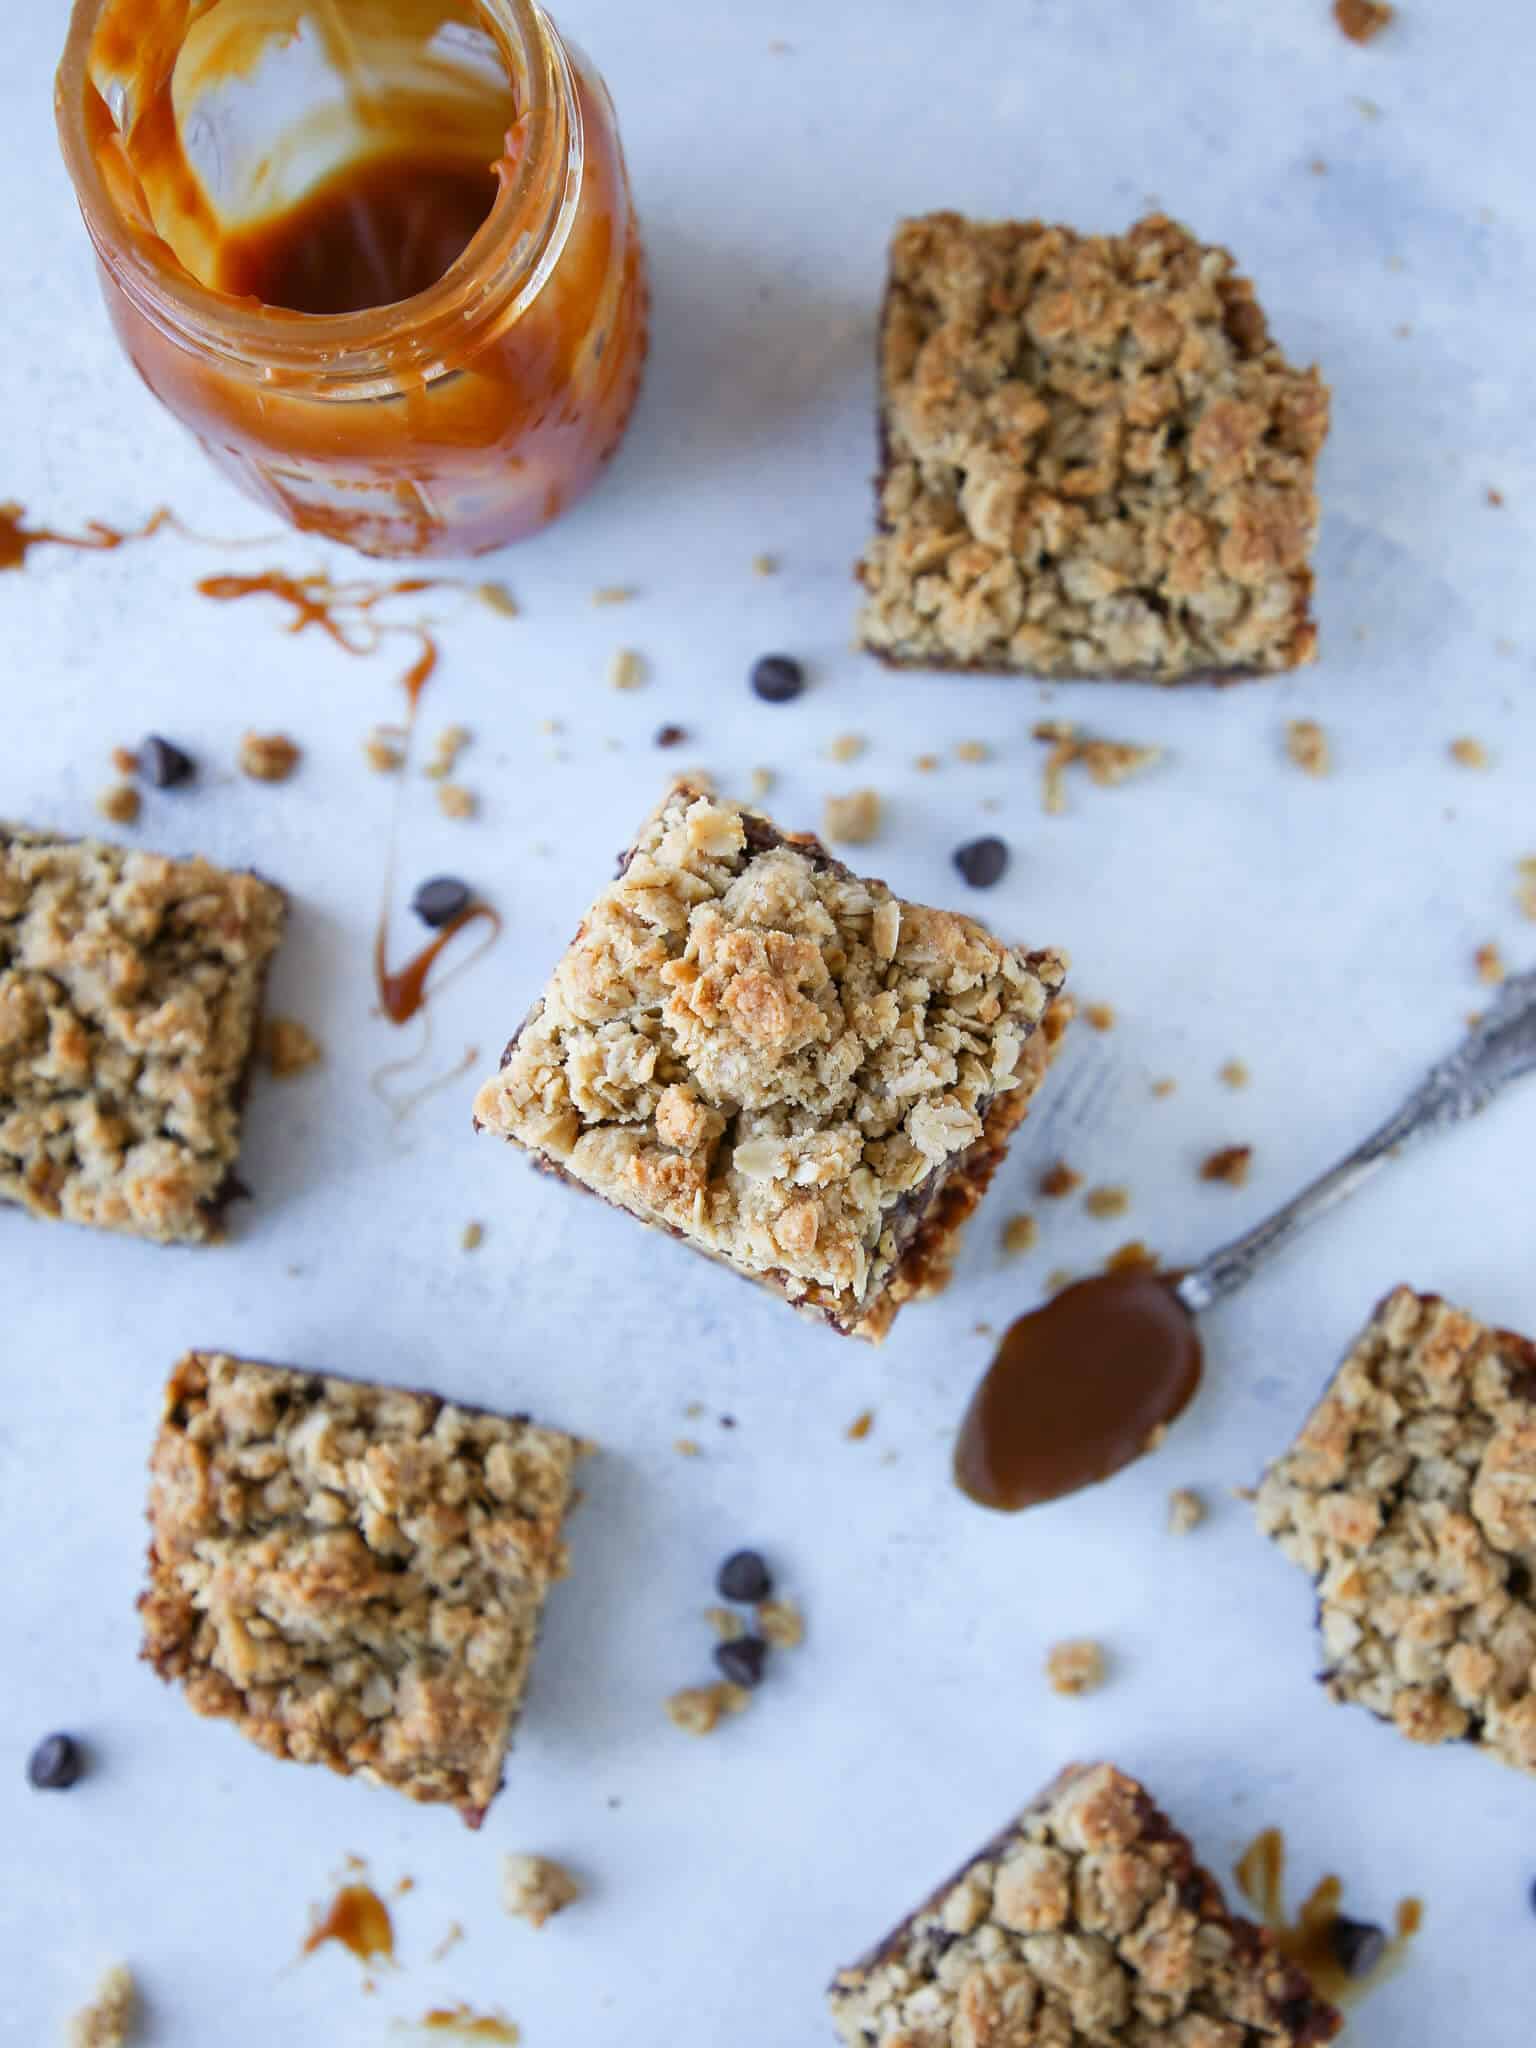
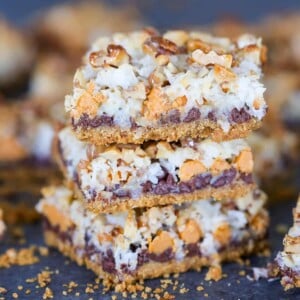
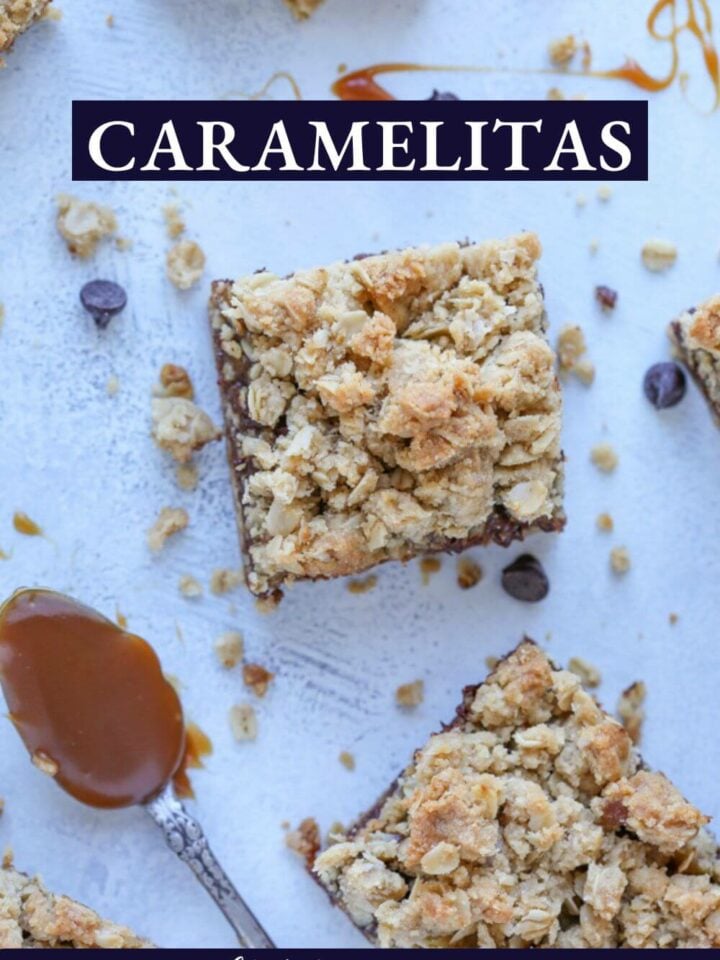
Carmelitas recipe is a bar cookie that looks and tastes like far more effort than it actually requires! A press-in oat crust, a layer of caramel, chocolate chips, and a crumbled oat topping, all baked twice and sliced when cool.
A Quick Look At The Recipe
This is a brief summary of the recipe. Jump to the recipe to get the full details.
Jump to RecipePrep Time
15 minutes
Cook Time
20 minutes
Total Time
35 minutes
Servings
16 people
Difficulty
Easy
Calories *
304 kcal per serving
Technique
Press-in oat crust baked twice with a caramel and chocolate filling layered between.
Flavor Profile
Buttery oat crust, salted caramel, and semi sweet chocolate.
* Based on nutrition panel
I made these for a bake sale and they were gone in minutes. The caramel layer stays gooey even after the second bake, and the oat topping adds just the right texture. I will make it again and again! ⭐⭐⭐⭐⭐
Sarah
Why This Recipe Works
- Oat-based press-in crust does double duty. The same mixture forms both the base and the crumble topping, so you are building structure and texture with one bowl of dough, just like with the salted caramel bars!
- Salted caramel sauce binds and flavors simultaneously. Rather than a plain sugar filling, caramel sauce seeps into the chocolate chips and sets into a chewy, pull-apart layer as the bars cool. It acts as the binder, like the sweetened condensed milk in my 7 layer bars(magic bars).
- Partial baking the base prevents a soggy bottom. Pre-baking the crust before adding the filling gives it enough structure to absorb the caramel without turning soft underneath the same idea behind how to blind bake pie crust.
Table of Contents
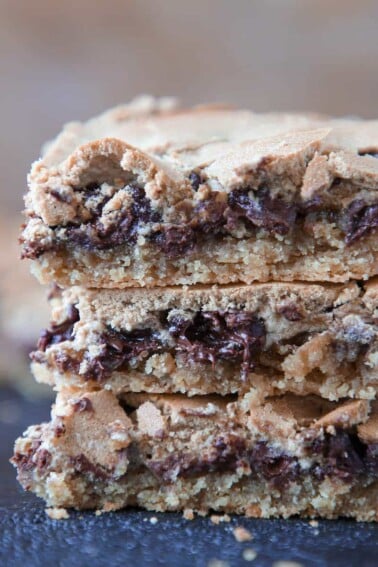
Carmelitas are pressed oat bars layered with chocolate chips and caramel, which set into a chewy, gooey filling between two crumble layers. They are straightforward to make and genuinely hard to stop eating once they are cut.
The caramel layer is what makes or breaks this recipe. If you love using caramel sauce in baking, check out these caramel cupcakes or this caramel apple tart!
Ingredients & Substitutions
- Butter
- Light brown sugar: The molasses in brown sugar deepens the flavor of the oat base and complements the caramel layer. Dark brown sugar works and will give a more pronounced molasses note.
- Vanilla extract
- All-purpose flour
- Rolled oats: These create the characteristic chew and crumble texture that defines carmelitas. Make sure to use rolled oats for the right texture, if you have quick oats you can make these old fashioned oatmeal cookies!
- Baking soda and kosher salt
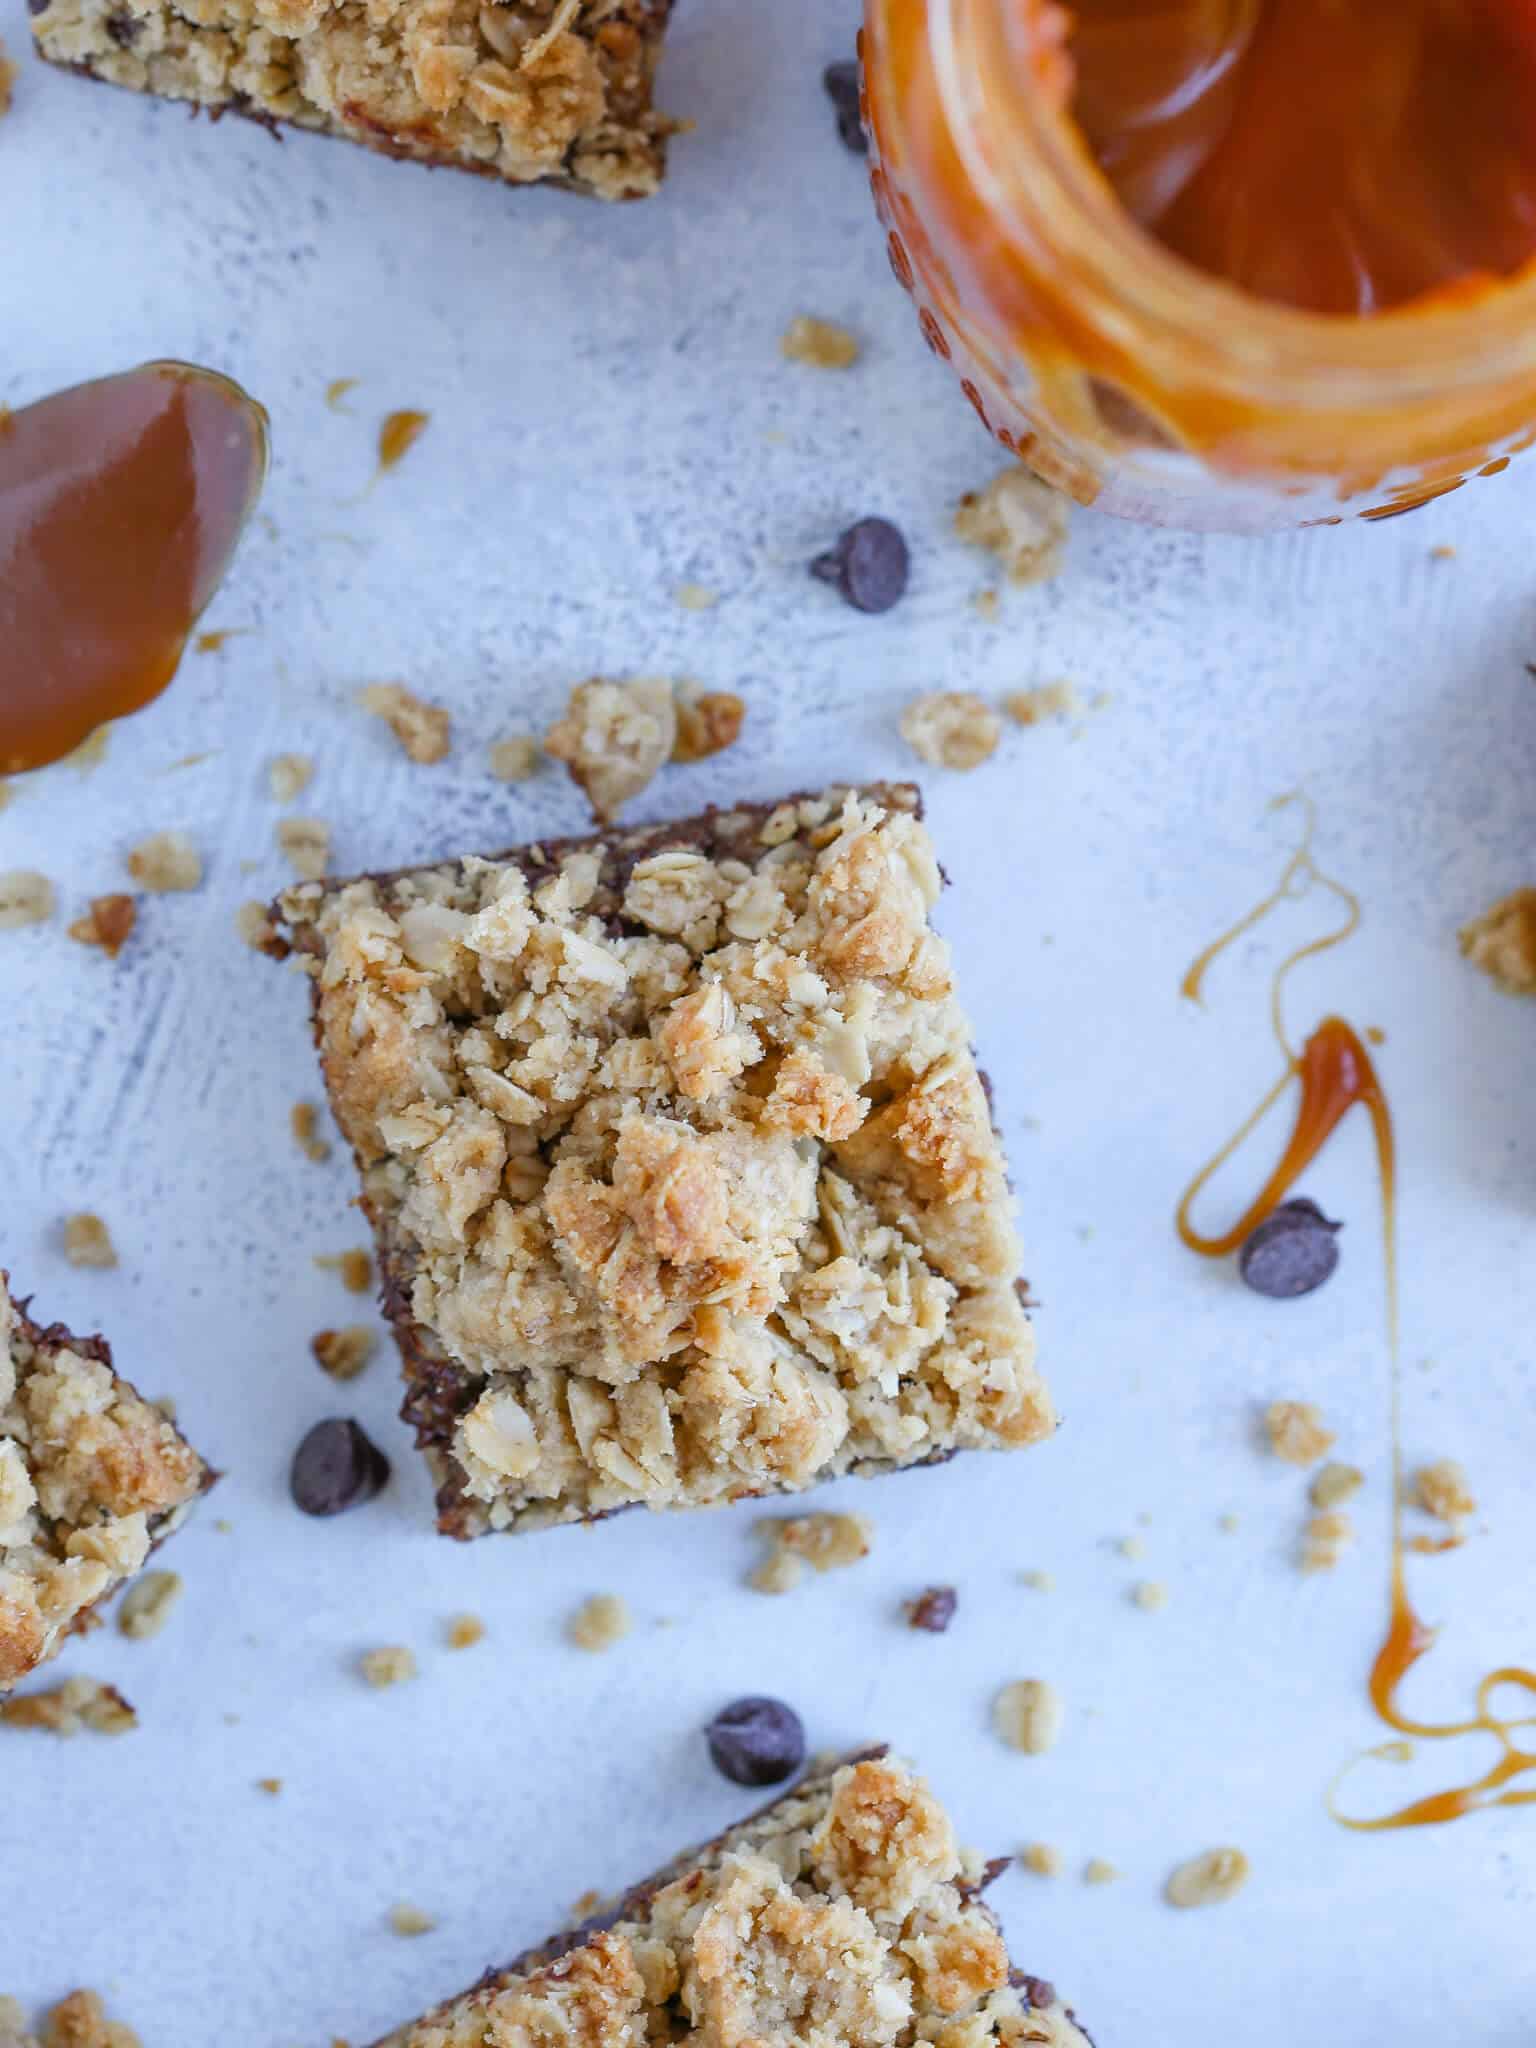
- Caramel: This is the most critical ingredient in the recipe. I use my salted caramel sauce, which has the right consistency and depth to set properly between the layers without becoming rock hard or running out when you cut the bars. A store-bought sauce can substitute, but look for one that is thick rather than pourable.
- Chocolate chips: Chopped chocolate or mini chips both work, depending on how much you want to melt and the coverage you want in each bite.
See the recipe card for full information on ingredients and quantities.
Variations on This Carmelitas Recipe
- 9×11 pan. This batter will fit a 9×11-inch pan, though the base will be thinner. Bump up both the chocolate chips and the caramel sauce by half to make sure the filling layer stays generous enough to matter!
- Add nuts! Like my maple pecan blondies, you could fold some toasted nuts into the caramel or layer them between the caramel and chocolate!
- Change the chocolate! Yes, you could make these with bittersweet chocolate, milk chocolate, or even white chocolate. If you use chopped bar or pistols, just be aware that the chocolate won’t set back up as nicely as chocolate chips.
- Add a layer! I think we could add a layer of this apple pie filling recipe to make a caramel, chocolate apple crisp bar! This cherry pie filling recipe would also make an amazing cherry crisp bar!
Professional Tips
- Use the pan material to guide your bake time. The base needs 8 to 10 minutes for the first bake, and metal pans heat up faster than ceramic ones. Start checking at 8 minutes in a metal pan, and expect closer to 10 in a ceramic pan. You are looking for light golden brown, not fully baked through.
- Spread the caramel while the base is still warm. A warm base helps the caramel flow onto the surface rather than sit on top as a stiff layer. If it cools completely first, the caramel tends to pool unevenly, leaving the bars with dry spots.
- Do not skip the full cool. I tested cutting these at 30 minutes and at full room temperature, cool, and there is no comparison. The caramel needs that time to set from a molten layer into the chewy, pull-apart filling that makes carmelitas worth making. Cut too early and the whole thing slides apart. But don’t refrigerate before cutting or you will have a very hard time.
How to Make This Carmelitas Recipe
Use these instructions to make this chewy carmelitas recipe! Further details and measurements can be found in the recipe card below!
Step 1: Prep your pan and preheat the oven. Heat the oven to 350°F. Spray your pan with nonstick spray and line it with parchment, leaving some overhang on the sides so you can lift the whole slab out cleanly once it is cool.
I always do this for any bar that involves caramel, because the overhang makes removing them and cutting infinitely easier.
Step 2: Mix the oat dough. In the bowl of a stand mixer fitted with the paddle attachment, combine the butter, brown sugar, vanilla, flour, oats, baking soda, and salt. Mix on low speed until the mixture comes together into dough that holds when pressed between your fingers.
Step 3: Press and par-bake the base. Press half of the dough into an even layer across the bottom of your prepared pan. This layer will look thinner than you expect, which is completely normal. Bake for 10 to 15 minutes, starting to check at 8. You are looking for the edges to turn light golden brown and the surface to look matte. Metal pans heat faster and will be done in about 8 minutes; ceramic dishes hold heat more slowly and will need the full 10 minutes.
Step 4: Add the caramel and chocolate while still warm. Straight out of the oven, spread the caramel in an even layer over the hot base. Then scatter the chocolate chips over the top. The warmth helps the caramel spread and begins melting the chocolate just slightly, which helps everything bind together during the second bake.
If your caramel is thick and resists spreading, warm it in the microwave for 15 to 20 seconds before pouring.
Step 5: Add the remaining dough and bake again. Crumble the remaining oat dough evenly over the chocolate and caramel layer. Bake for approximately 8-12 minutes depending on how much crumble you have on top. Just until the topping is set and golden brown and the caramel is bubbling at the edges.
Step 6: Cool completely before cutting. This is the hardest part. The caramel needs time to set fully. Cutting too early will cause the layers to slide and the bars to fall apart. Let the pan cool to room temperature on a wire rack, then lift the slab out using the parchment overhang and cut into bars on a flat surface.
Chef Lindsey’s Recipe Tip
The ratio of dough to filling in carmelitas is intentional: half the dough goes down as the base, half goes on top as a crumble, and the filling layer sits sandwiched between them. When you press the base, aim for an even thickness across the entire pan rather than thick edges and a thin center, because uneven pressing leads to uneven baking, and some bars will be underdone while others overbake.
Recipe FAQs
Yes. Bake and cool the bars completely, then store them in an airtight container at room temperature for up to three days. They actually slice more cleanly on day two once the caramel has fully set.
A thick, pourable salted caramel sauce works best here. Thin caramel will absorb into the base rather than forming a distinct filling layer, so make sure yours has enough body to hold its shape between the dough layers.
This recipe fits an 8×8, but it will also work in a 9×11-inch pan with a slightly thinner base. If you use the 9×11 pan, increase both the chocolate chips and caramel sauce by half to keep the filling layer from feeling sparse.
The caramel needs to cool fully before the bars can hold their shape when sliced. If the pan is still warm, the caramel is still molten and will run the moment you cut through it. Cool the slab to room temperature, then lift it out using the parchment and cut on a flat surface.
Recommended Bar Recipes

Brownies & Bars Recipes
Blondies Recipe
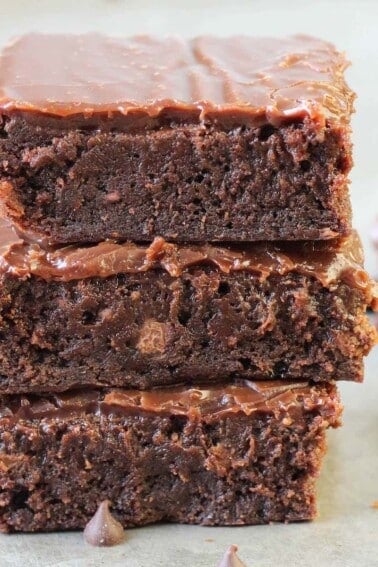
Brownies & Bars Recipes
Chocolate Halfway Bars
Brownies & Bars Recipes
Milk Chocolate Brownies
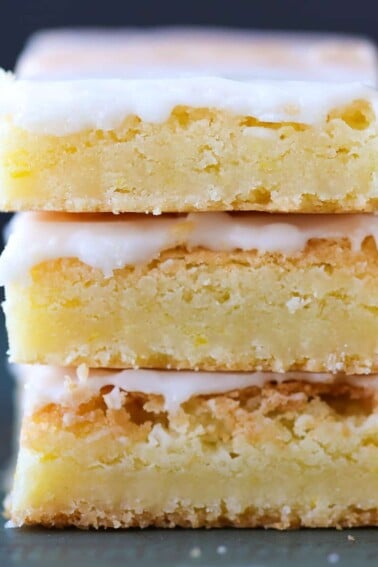
Summer Dessert Recipes
Lemon Blondies
If you tried this recipe and loved it please leave a 🌟 star rating and let me know how it goes in the comments below. I love hearing from you; your comments make my day!
Carmelitas Recipe
Ingredients
- 13.5 tablespoons butter cubed
- 1 cup light brown sugar
- 2 teaspoons vanilla extract
- 2 cups all-purpose flour
- 2 cups rolled oats
- 1.5 teaspoons baking soda
- 3/4 teaspoons salt
- ½ cup caramel — Homemade Recipe Here
- 3/4 cup chocolate chips chopped or mini chips
Instructions
- Preheat the oven to 350°F. Spray your chosen pan and line it with parchment.
- In the bowl of a stand mixer fitted with the paddle attachment, combine butter, brown sugar, vanilla, flour, oats, baking soda, and salt. Mix on low speed until a cohesive dough forms. Alternatively, melt the butter and mix by hand.
- Press half the dough evenly into the bottom of a half sheet pan, making sure the thickness is uniform across the entire surface.
- Bake for 10-15 minutes, until the base is light golden brown. A metal pan will be done closer to 8 minutes; a ceramic dish will take closer to
- While the base is still warm, spread the caramel evenly over the surface, then sprinkle the chocolate chips over the caramel.
- Crumble the remaining dough over the top in an even layer. Return to the oven and bake for approximately 8-12 minutes.
- Cool completely before cutting. Lift the slab from the pan using the parchment and cut on a flat surface.
Video
Notes
Doneness Cue: The crumble topping should look set and lightly golden at the edges after the second bake. The caramel layer will still appear soft but will firm as it cools.
Storage: Store in an airtight container at room temperature for up to three days or in the freezer for 2 months.
Make Ahead: Bake and cool completely, then store as above. The bars slice more cleanly on day two once the caramel has fully set.
Nutrition
Before You Go
These carmelitas, with their buttery oat crust and that molten layer of chocolate and caramel, are the kind of bar that disappears faster than anything else on the table. If you want to keep exploring, browse my brownie and bars recipe, or make these caramel blondies next!


I made these for a bake sale and they were gone in minutes. The caramel layer stays gooey even after the second bake, and the oat topping adds just the right texture. I will make it again and again!
These are one of my favorites I can’t make them to keep at home or I’ll just eat them in one sitting! Thank you for coming back and sharing! ~CLF team
I have been making these for more years than I would like to admit. Every time I make them I get asked for the recipe. The recipe I use is about double this and is made in a 13×9. They never last long. Using homemade caramel is the “secret”.
Gotta love some caramelitas! ????