This post may contain affiliate links. Please read our disclosure policy.
A pastry chef explains the difference between blind baking and par baking, shows you how to blind bake pie crust, and when to use each!
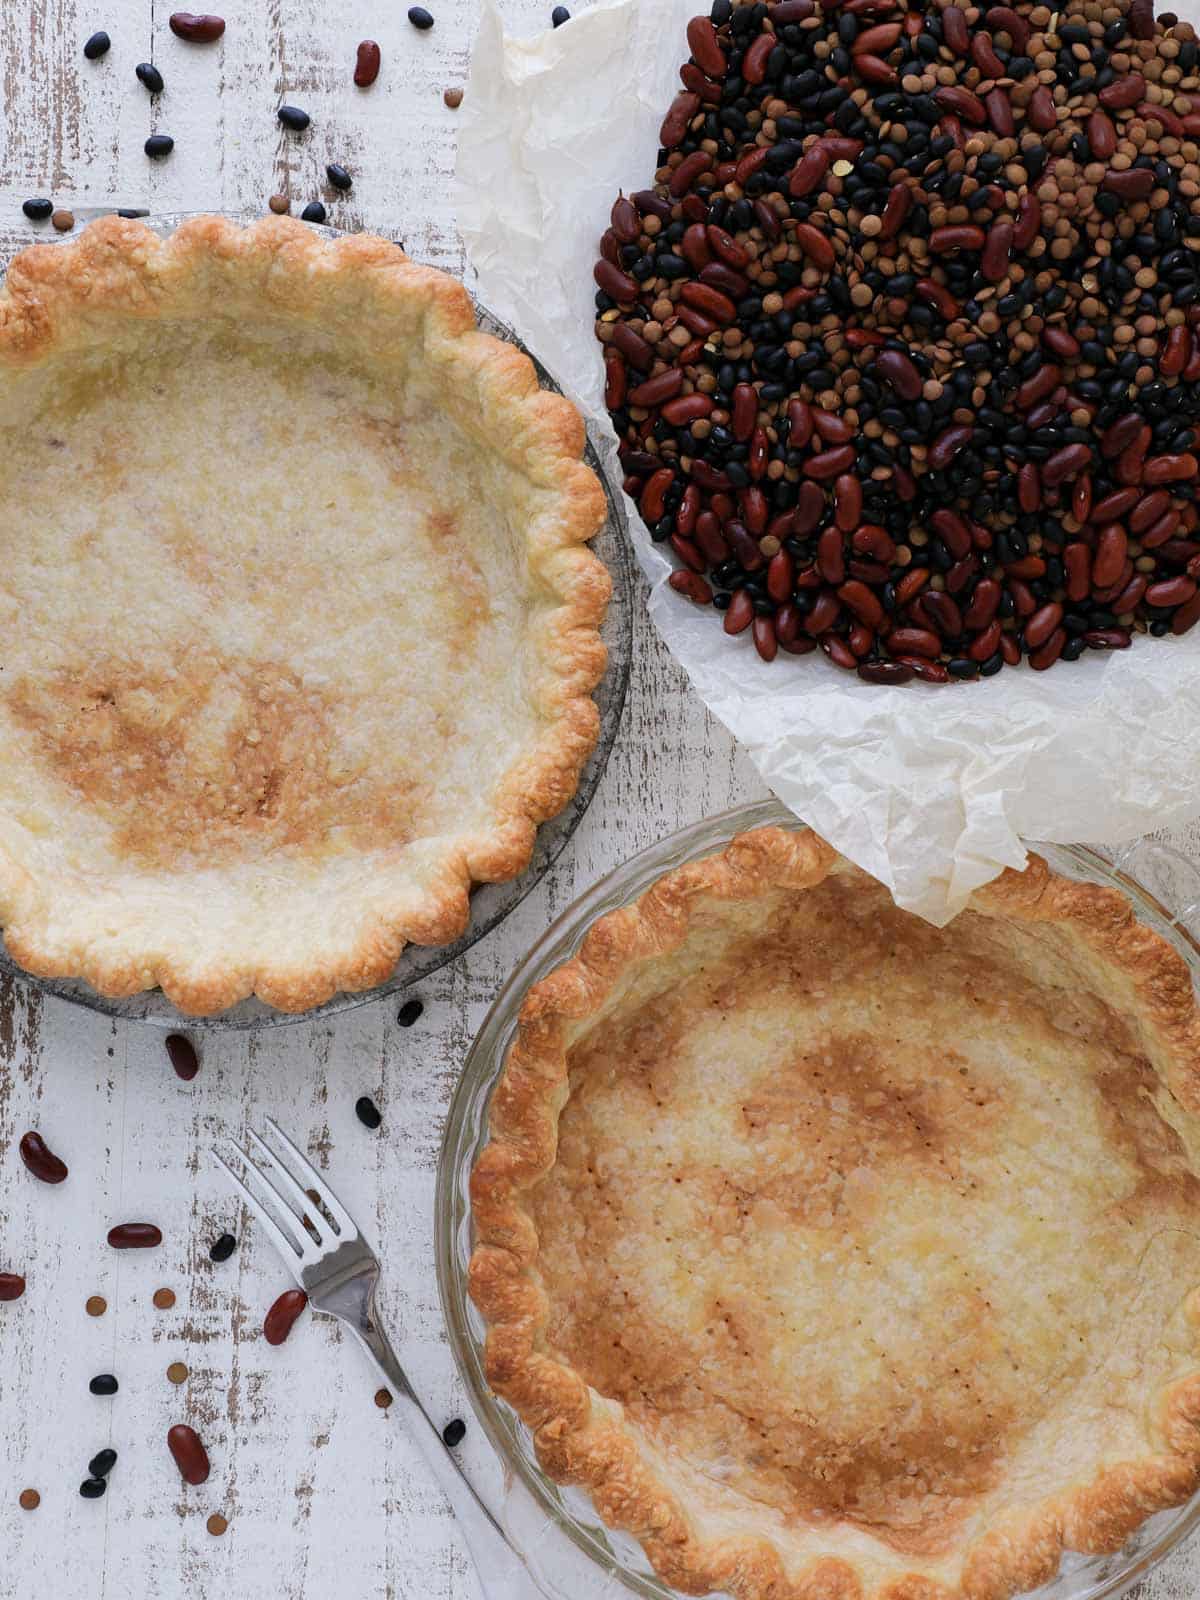
Partially or fully blind baking pie crust will ensure a flaky, golden brown crust for single crust pies! Partially bake empty pie crusts when you will continue baking both the filling and the crust together for a perfectly baked pie. This is the perfect technique to use when the pie filling needs to bake at a lower temperature or doesn’t require baking long enough for the crust to fully bake. Examples of that are lemon meringue pie and easy pumpkin pie!
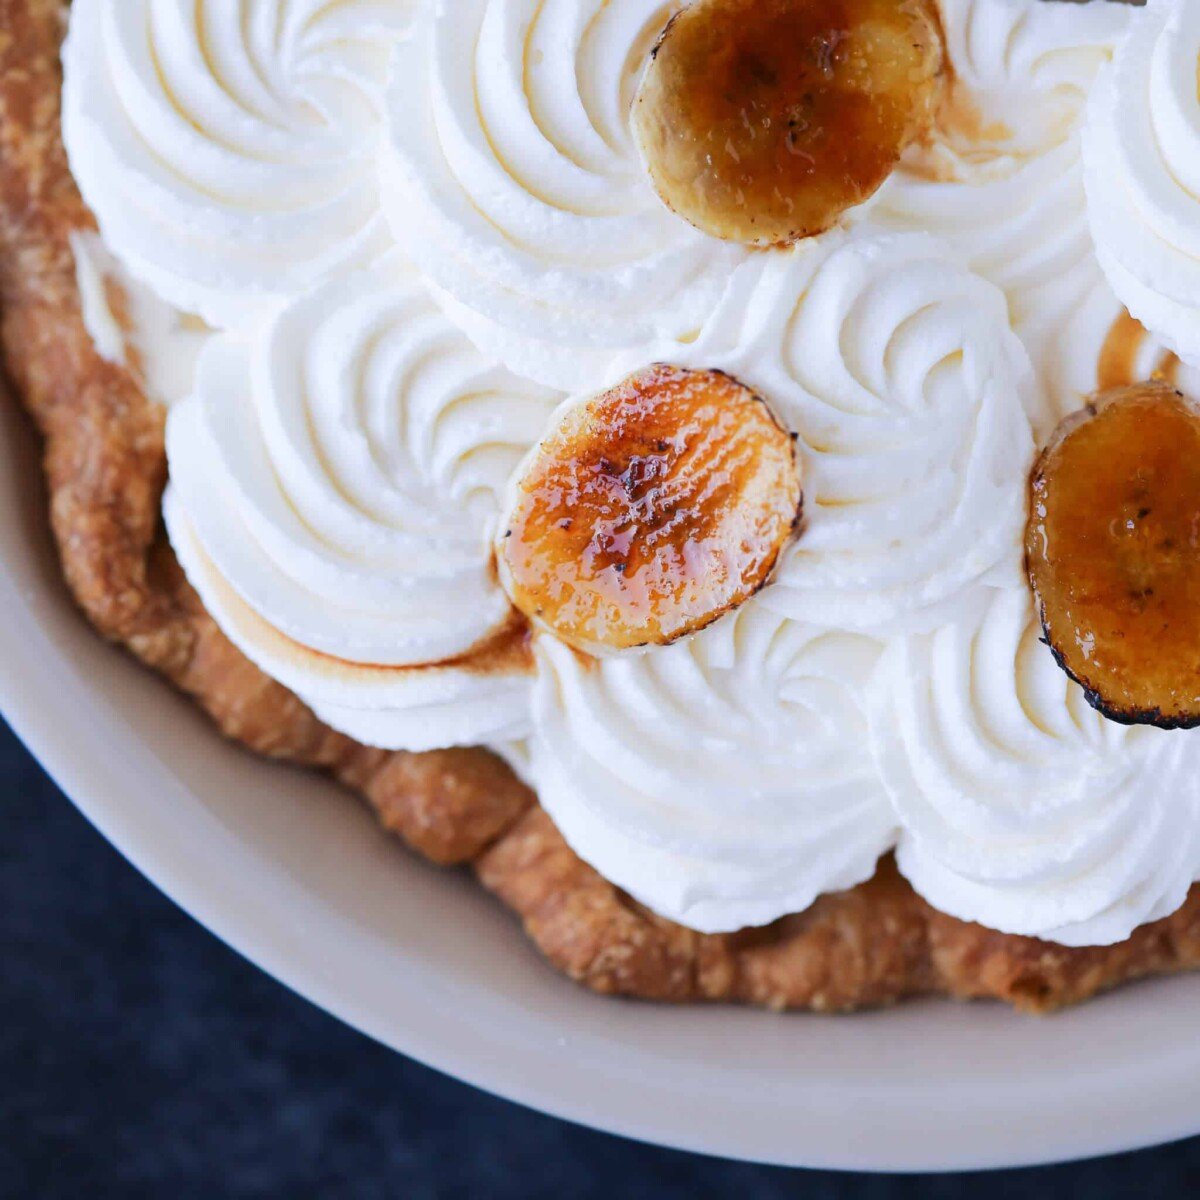
Fully blind baking crusts for pies and tarts when using a no-bake filling for some types of custard pie, like banana cream pie, coconut cream pie, or French silk pie.
Table of Contents
Professional Bakers’ Tips for Prebaking Pie Crusts
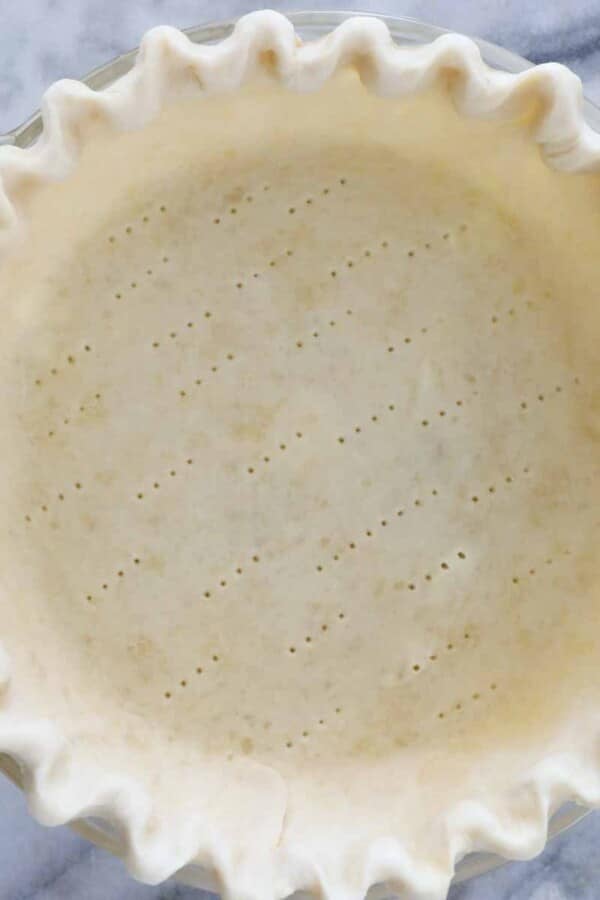
- Know when to dock the pie crust. Docking a pie crust is when you poke holes in the bottom crust before blind-baking. This keeps the crust from puffing up. Typically you do not want to dock a crust that will hold a liquid filling like pecan pie. Read more about when & how to dock pie crust.
- Only remove pie weights when the crust has begun to brown on the bottom. This will keep it from puffing after the weights are removed. It also keeps the sides of the pie crust from sliding unattractively down the sides of the pie plate.
- Prepare prebaked pie crusts ahead. You can bake and store blind baked or par-baked pie crusts at room temperature for up to 3 days. Or, freeze them for up to 2 months!
What is blind-baking?
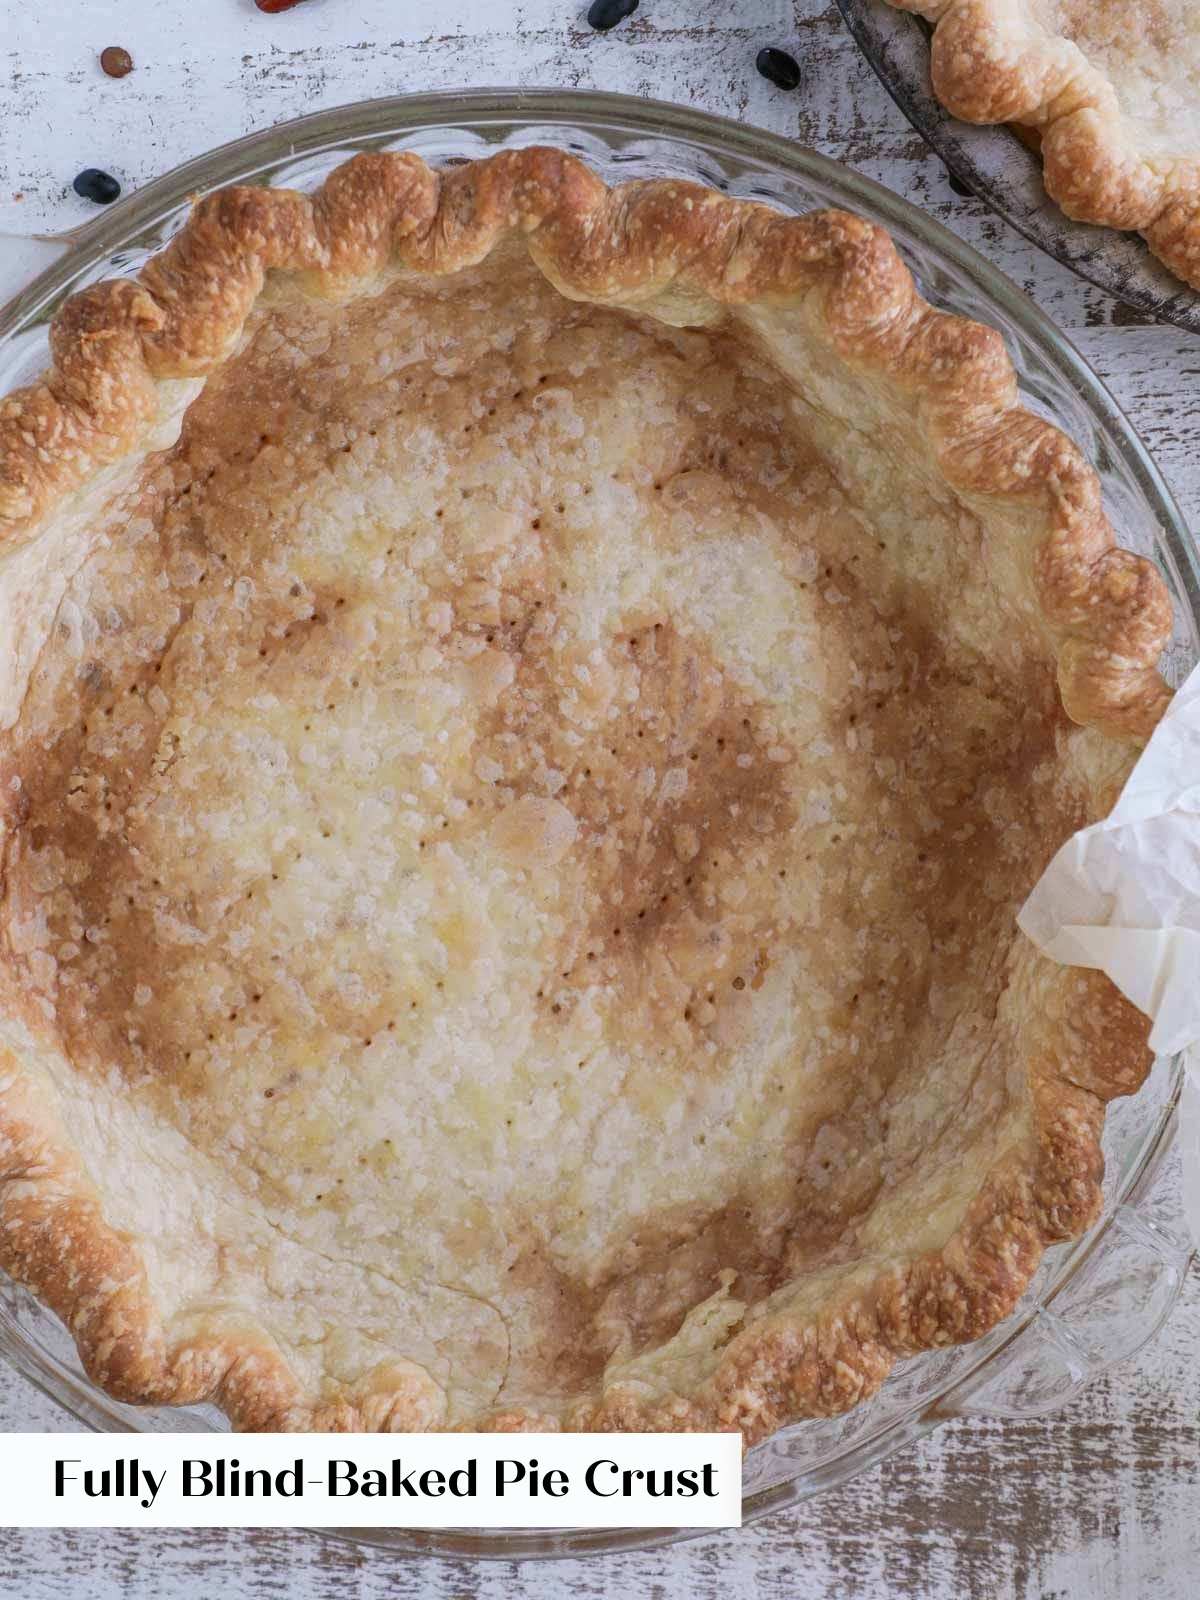
Blind baking is when the bottom crust of a pie is baked completely without filling. To blind bake, a pie dish is lined with a pie crust, parchment paper, and then weighed down with beans, rice or pie weights. The crust is baked until it is fully cooked. A fully baked crust will typically be filled with an unbaked filling!
What is par-baking?
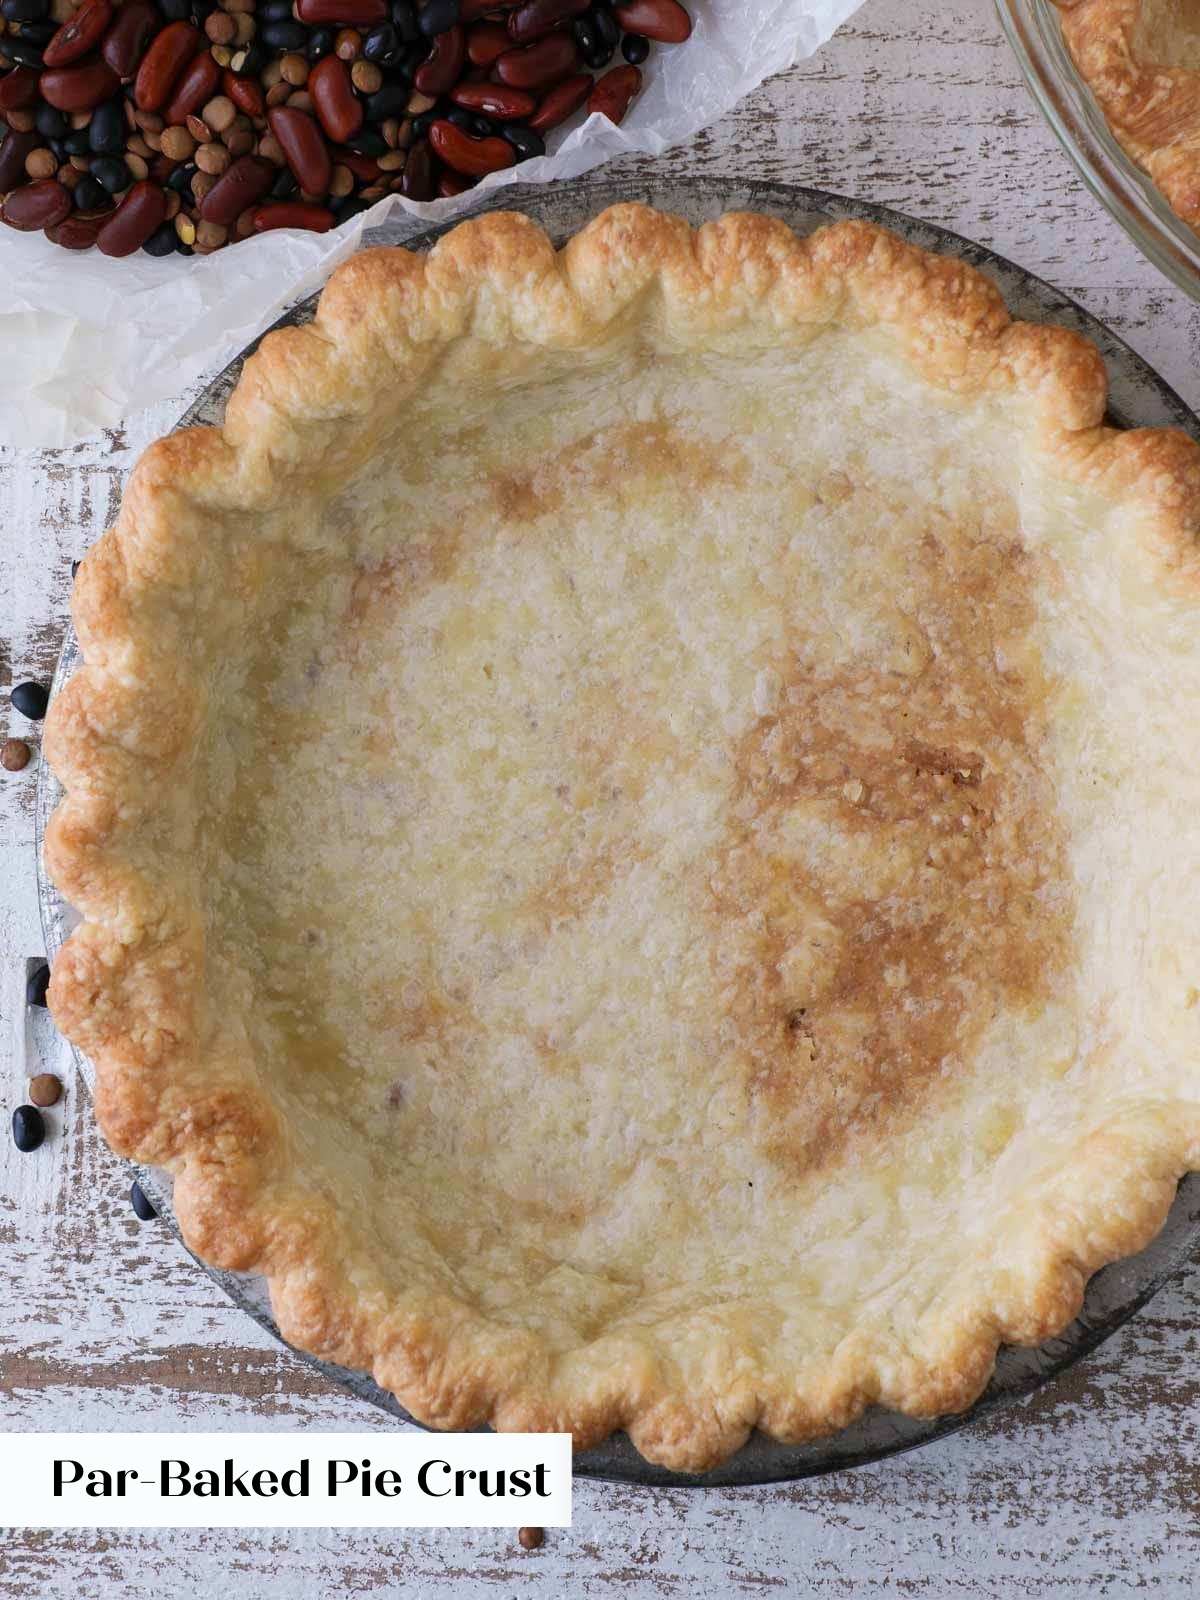
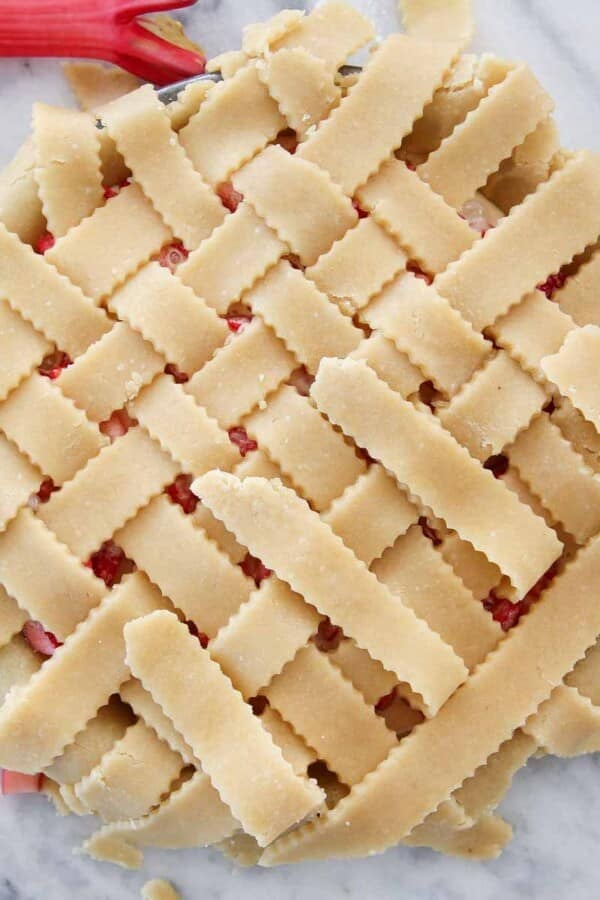
Par-baking a pie crusts involves “blind baking” but it is only partially baked before adding filling. Once the pie shell is no longer doughy but is only lightly brown, the weights and parchment are removed. Then the partially baked crust is filled and both the filling and crust will continue baking together.
What you will need
- Pie dough: Any and all pie crust can be partially or fully blind baked! Choose one that complements your filling, like an all butter pastry like my vodka pie crust, a Crisco pie crust or almond flour pie crust. Yes, you can also use store-bought crust!
- Rolling pin: I prefer a French rolling pin because it tapers at the ends. I find it easier to apply even pressure at the beginning and then you can use it to roll specific areas thinner later on.
- Kitchen shears: The easiest way to trim the excess crust from around the edges of the dish is to use scissors! Dedicate some kitchen shears to the cause. I don’t like cutting open boxes with the same scissors that is touching my baked goods. Just me?
- Pie dish: A metal or glass dish will encourage even and quick browning of the crust. They conduct heat much more efficiently than ceramic.
- Parchment paper: I crumple my parchment paper into a tight ball and then unroll it. This allows it to form to the shape of the pie more easily without poking the dough.
- Pie weights or beans: To weigh down the crust as it bakes, use pie weights, dried beans or rice inside the parchment paper. To full ensure the crust doesn’t puff, only remove the parchment with weights when the bottom crust has begun to brown.
How to Blind-Bake Pie Crust
Use these instructions to partially or fully blind bake pie crust every time!
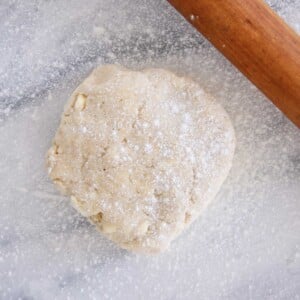
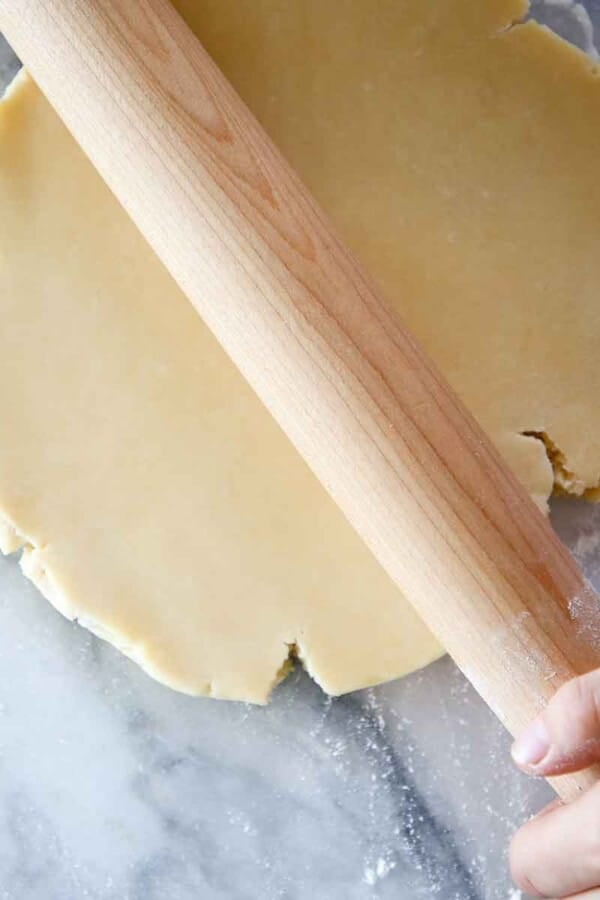
Step 1: Lightly flour a flat surface, the top of the dough, and a rolling pin.
Step 2: Roll the dough out to about 1/8th inch thickness in as close to a circle as possible. Chill for 30 minutes. Preheat the oven to 350°F convection or 375°F conventional.
Step 3: Gently place pie dough into pie dish. Fold the dough to fit it flush to the bottom and sides allowing any excess dough to overhang the edges. Chill 30 minutes.

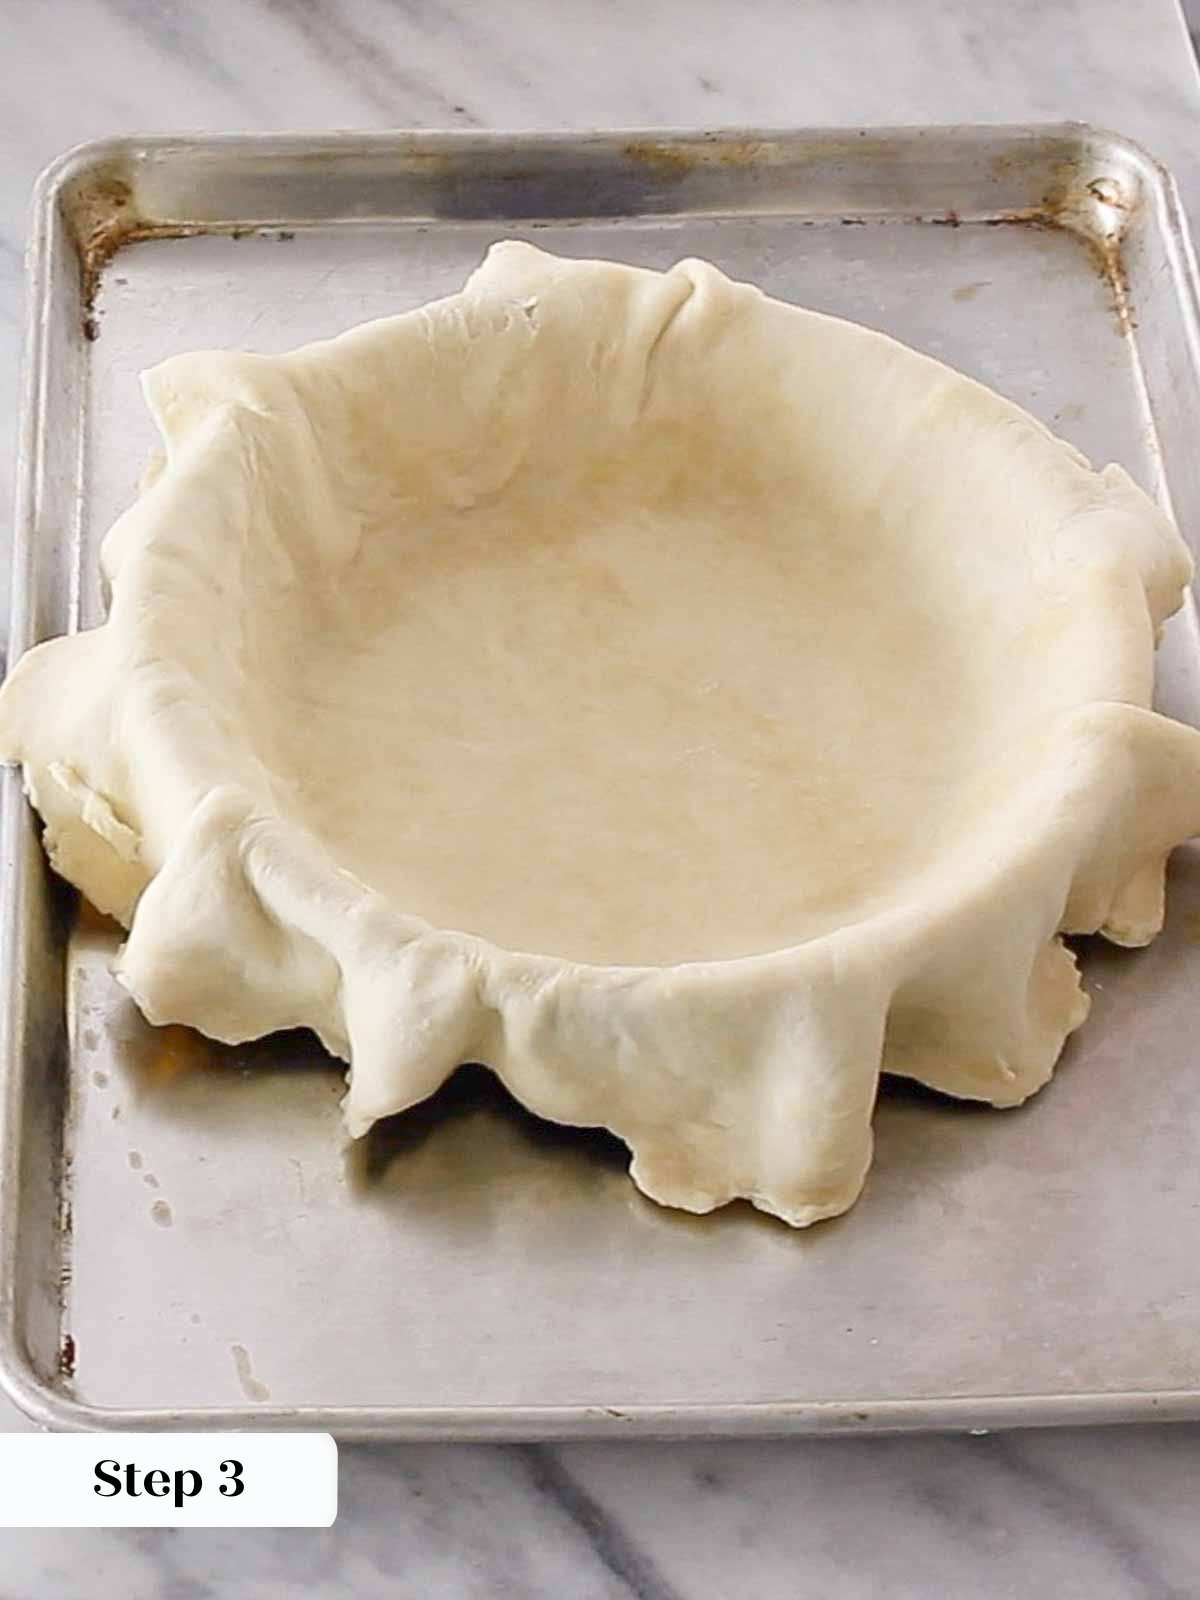
You can skip chilling at this stage but it will yield the best pie crust.
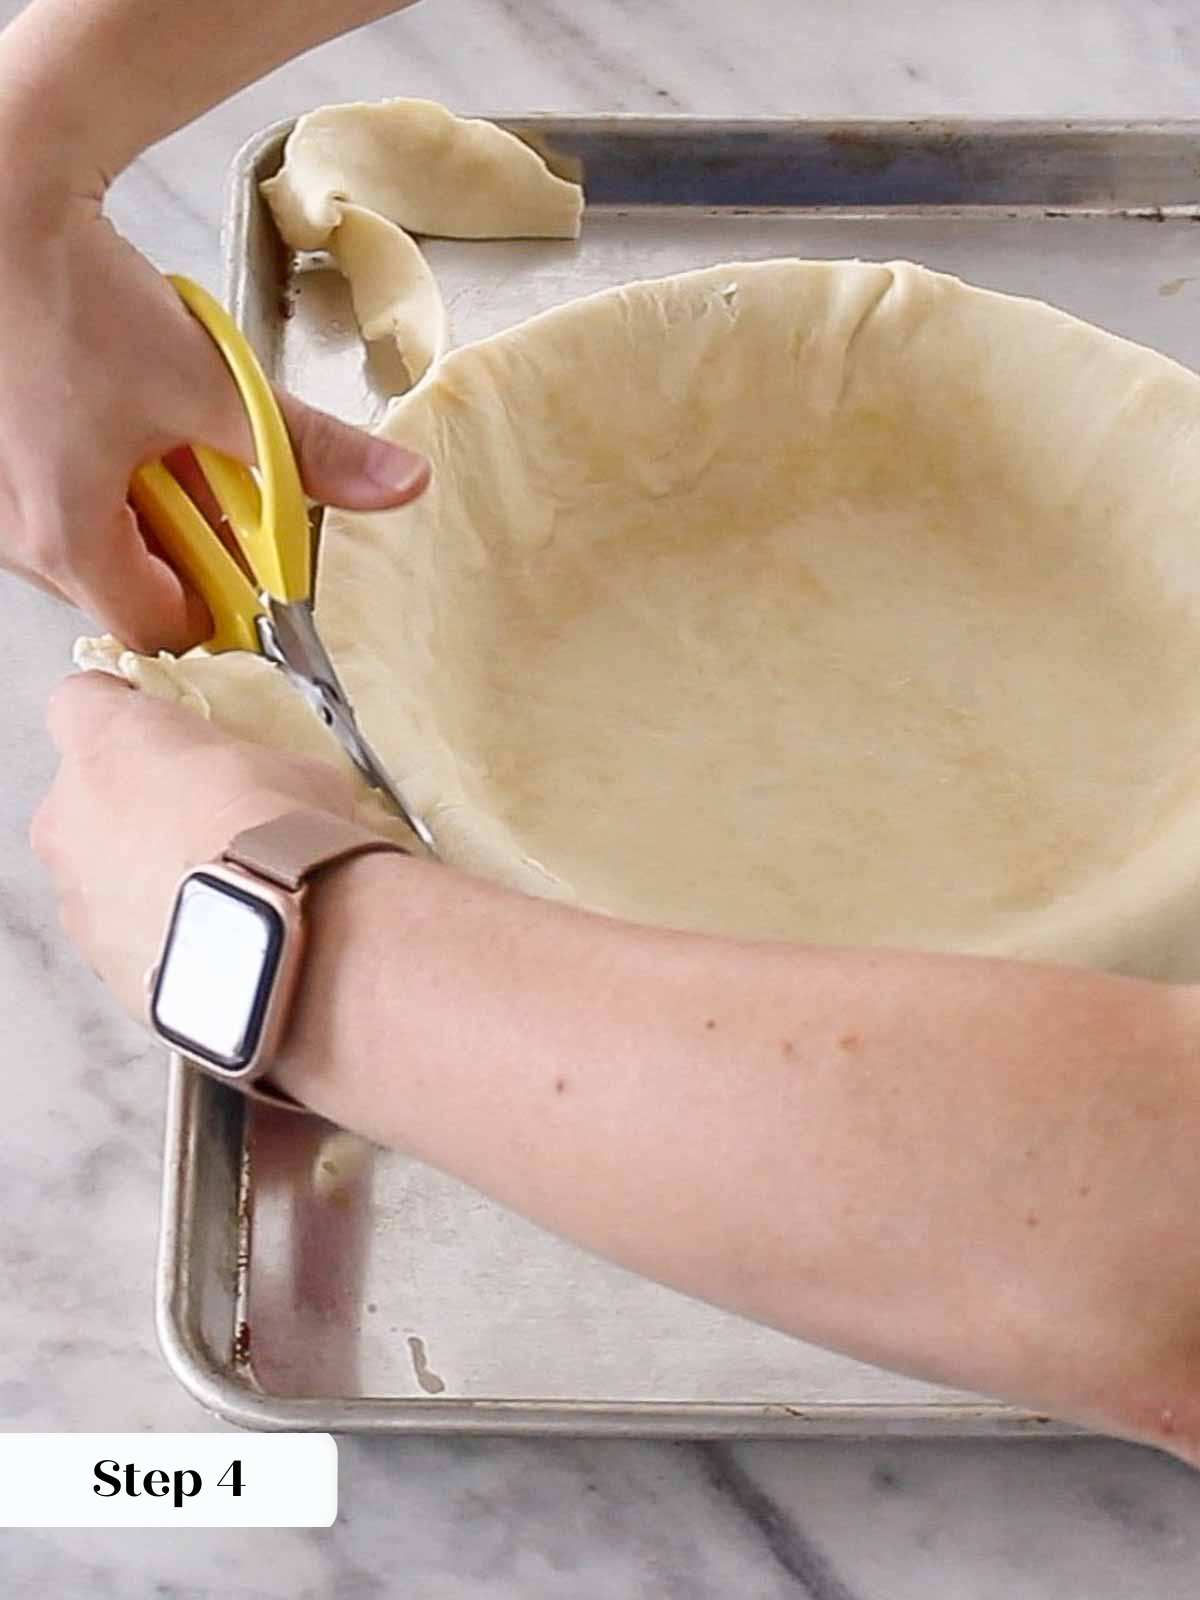
Step 4: Trim any dough that is hanging over in excess of 1 inch. Roll under tightly by pressing and rolling the dough between your thumb and first two fingers. Be sure to roll tightly to avoid it popping open in the oven.
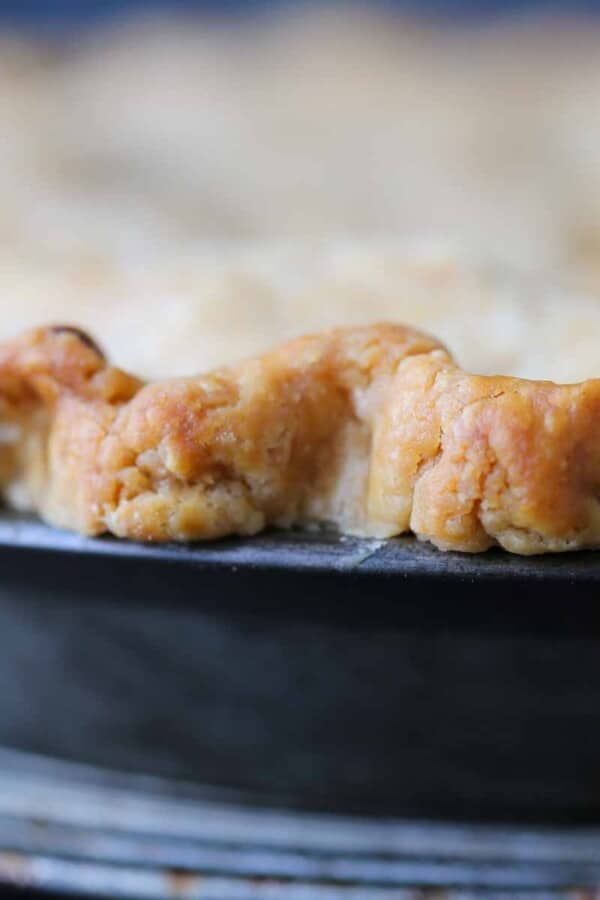
Leaving too much dough around the edges will make the edge too fat and it will not bake at the same rate as the rest of the crust. This results in an underbaked center.
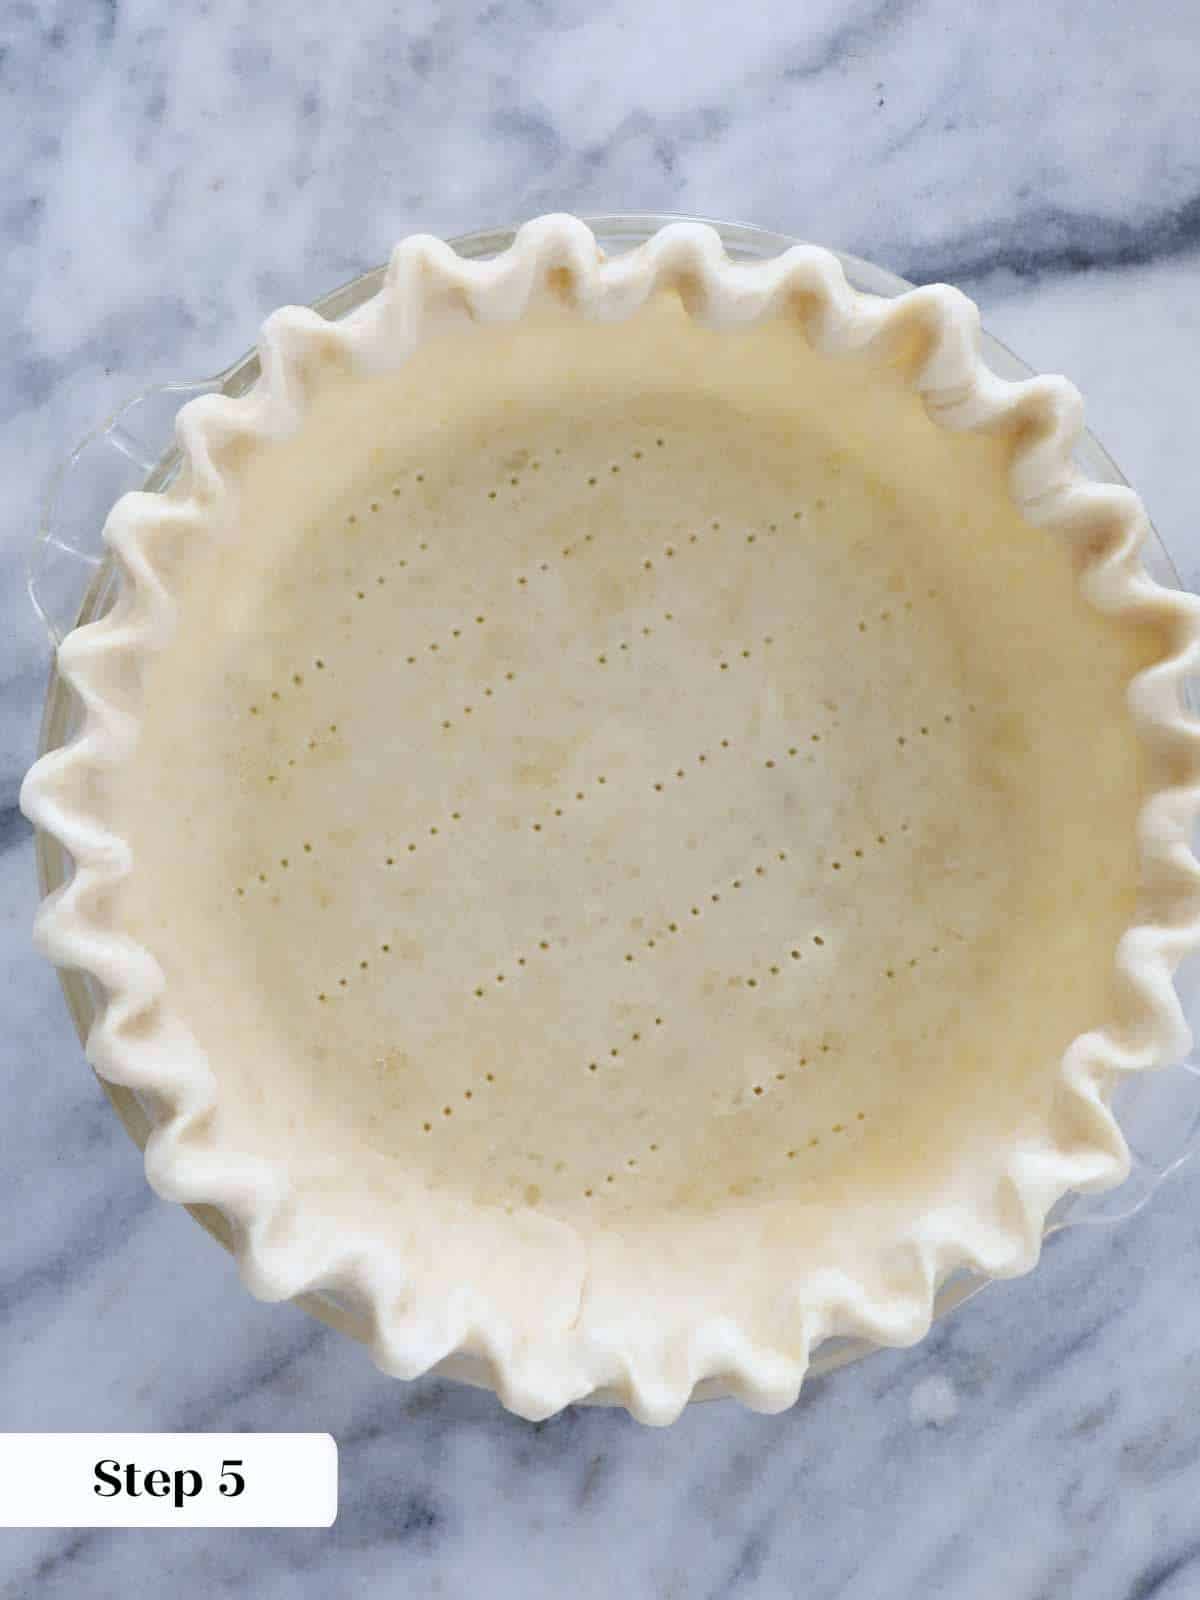
Step 5: Crimp or flute the edges or mark with the tines of a fork. If it has been long enough for the dough to no longer feel cool to the touch, chill it again for 15-30 minutes.
Step 6: Line with parchment paper and fill with pie weights, beans or rice.
I find that rice isn’t heavy enough to completely prevent the crust from having a bubble or puffing. And I feel that pie weights are too heavy and keep the dough from rising enough to make a flaky crust. I cool and reuse the same beans every time. You can use any beans that you’d like!
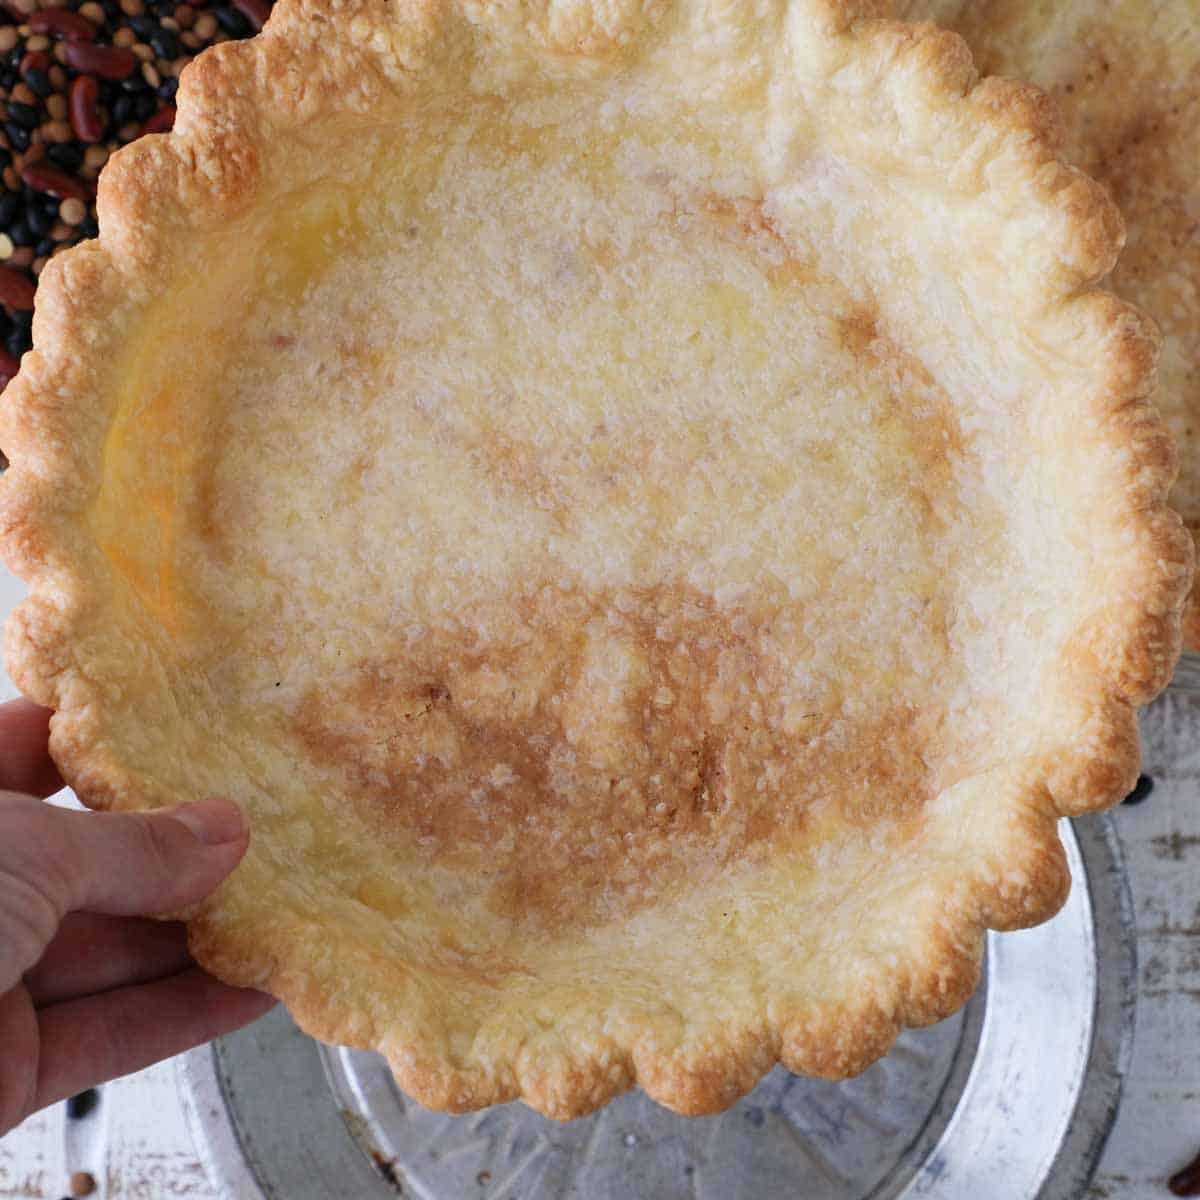
Step 7: Bake crust in preheated oven for 12-20 minutes or until the bottom crust begins to brown. Welcome to the par-baked stage! If you are going to continue baking the crust with filling, end here! Depending on your filling you can use immediately or allow the crust to cool before filling.


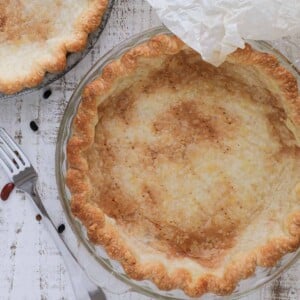
Step 8: To finish blind baking the pie crust, remove the parchment and weights, beans or rice. Continue baking for 8-15 minutes or until the bottom and edges have turned a nice golden brown. Allow to cool before filling.
Did you know that you can actually fully bake the pie crust in the parchment with weights? It’s not ideal for an even browning of the bottom of the pie crust, but if it happens to you, don’t stress. Just take the parchment out and call it a day.
Chef Lindsey’s Recipe Tip
You can follow this same tutorial with store-bought pie dough but that is generally much thinner, so the baking times will be greatly reduced. Take a peek at the pie crust after just 5 minutes to ensure it doesn’t burn.
How to keep pie crust from shrinking?
There are several things you can do during the whole pie crust process to keep pie crust from shrinking.
- Don’t overwork the dough. The best crust begins with making the dough. Over-mixing or kneading the pie dough will activate more gluten strands and cause the crust to shrink when baked.
- Chill, chill, chill the dough! After each and every step, put the dough in the refrigerator for at least 30 minutes to allow the gluten strands to relax and re-solidify the fat. This will give you the flakiest, most tender crust.
- Choose a glass or metal pie dish. Not only do these dishes encourage browning and an even rate of cooking, they also don’t allow the crust to slide down the sides of the pan as easily as ceramic dishes.
- Lastly, blind-bake long enough with the weights. The weights keep the crust in place and will prevent it from sliding down the sides especially in a ceramic dish like mine did in this banana cream pie!
Frequently Asked Questions
Store partially or fully prebaked pie crust wrapped at room temperature for up to 3 days or frozen for up to 2 months. I do not recommend refrigerating prebaked pie crusts because the crust will soften and it can absorb the flavors of the fridge.
Prebake pie crusts up to 3 days in advance when storing at room temperature or make several, cool, stack and wrap to store frozen for up to 2 months.
Bake store-bought pie crust at 375°F for about 8 minutes before removing weights and homemade pie crust for about 12 minutes. Remove the weights when the bottom crust is just beginning to brown. Either add filling and continue baking according to the recipe instructions or continue baking the empty pie crust for 8-10 minutes or until the edges and bottom are a nice golden brown.
Fully blind bake a pie crust when filling with an unbaked filling like banana cream pie, French silk pie or chocolate tarts.
Partially blind bake a pie crust when you are going to continue baking both the pie crust and filling together like in pumpkin pie, sweet potato pie or chocolate pie. I also par-bake pie crust when the filling ideally bakes at a lower temperature like pecan pie.
If you tried this recipe and loved it please leave a 🌟 star rating and let me know how it goes in the comments below. I love hearing from you; your comments make my day!
How to Blind Bake Pie Crust
Ingredients
- 1 cup all-purpose flour
- ½ teaspoon kosher salt
- ½ teaspoon granulated sugar
- 4 ½ tablespoons unsalted butter cubed, cold
- 1 ¼ oz cold water as much or as little as needed
Instructions
- Use any of the 5 methods in this all butter pie crust recipe tutorial to prepare you pie crust or use store bought. You can also make any of these pie crust recipes.
- Lightly flour a flat surface, the top of the dough, and a rolling pin.
- Roll the dough out to about 1/8th inch thickness in as close to a circle as possible. Chill for 30 minutes. Preheat the oven to 350°F convection or 375°F conventional.
- Gently place pie dough into pie dish and fold the dough to fit it flush to the bottom and sides allowing any excess dough to overhang the edges. Chill 30 minutes.
- Trim any dough that is hanging over in excess of 1 inch. Roll under tightly by pressing and rolling the dough between your thumb and first two fingers. Be sure to roll tightly to avoid it popping open in the oven.
- Crimp or flute the edges or mark with the tines of a fork. If this too long enough for the dough to no longer feel cool to the touch, chill it again for 15-30 minutes.
- Line with parchment paper and fill with pie weights, beans or rice.
- Bake crust in preheated oven for 12-20 minutes or until the bottom crust begins to brown. This is the par-baked stage! If you are going to continue baking the crust with filling, you are done! Depending on your filling you can use immediately or allow the crust to cool before filling.
- To finish blind baking the pie crust, remove the parchment and weights, beans or rice. Continue baking for 8-15 minutes or until the bottom and edges have turned a nice golden brown. Allow to cool before filling.
Video
Notes
Presentation – Leaving too much dough around the edges will make the edge too fat and it will not bake at the same rate as the rest of the crust resulting in an underbaked center.
Technique – I find that rice isn’t heavy enough to completely prevent the crust from puffing and that pie weights are too heavy and keep the dough from rising enough to make a flaky crust. I cool and reuse the same beans every time. You can use any beans that you’d like!
Storage – Store partially or fully blind baked pie crust wrapped at room temperature for up to 3 days or frozen for up to 2 months.
Nutrition
Before You Go
You might also want to look at our pie recipes including my favorite custard pies and fruit pies! You’ll also want to check out my pie crust recipes and this tutorial on when to dock a pie crust to get some pro-level pies started.


I’ve messed this up before and wanted to finally understand what I was doing instead of guessing. The timing range was helpful because it let me bake based on color instead of panic. Everyone commented on how flaky the crust was! Win win win.