This post may contain affiliate links. Please read our disclosure policy.
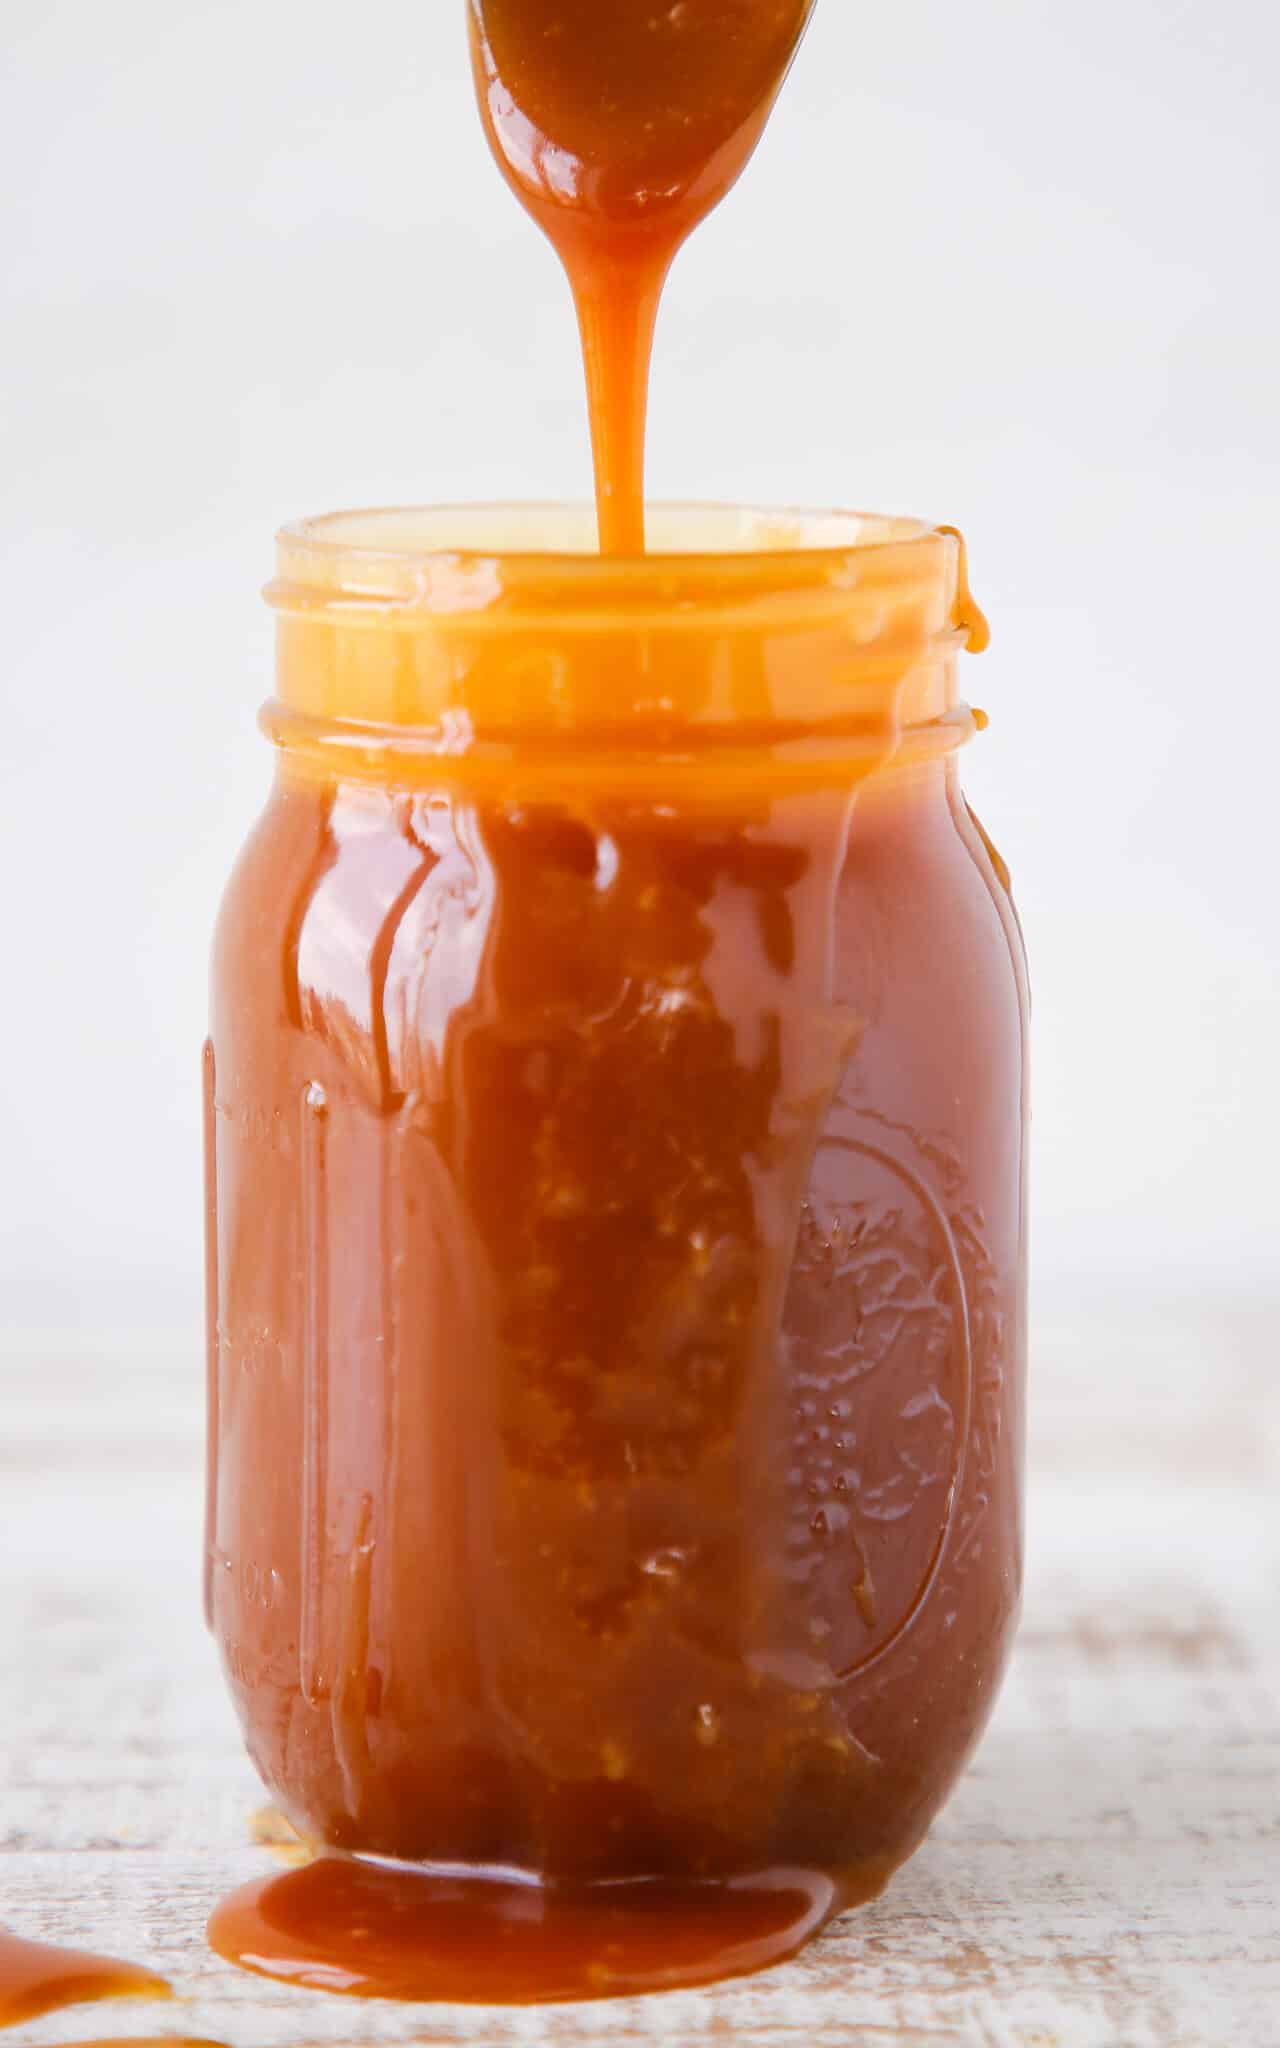
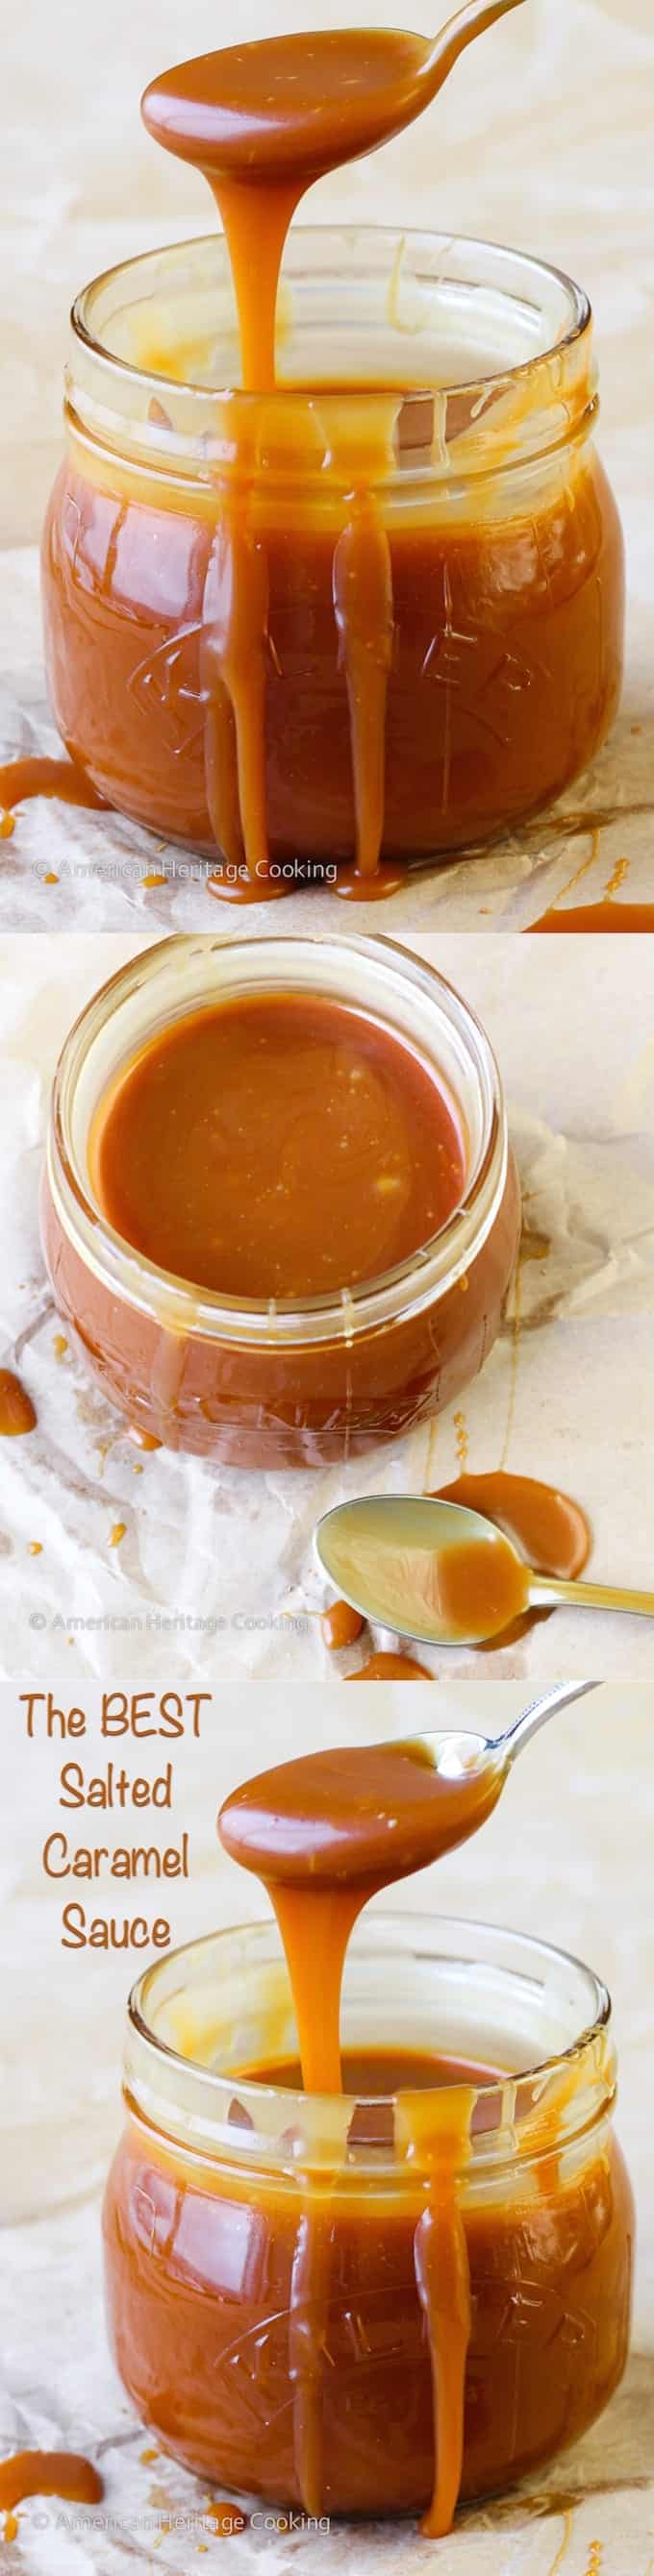
A thick, easy Salted Caramel Sauce recipe that you can make in under 15 minutes! Just 5 ingredients for the best caramel sauce you’ve ever tried! Use in bars, tarts, and cakes, or use it as a topping!
A Quick Look At The Recipe
This is a brief summary of the recipe. Jump to the recipe to get the full details.
Jump to RecipePrep Time
2 minutes
Cook Time
13 minutes
Total Time
15 minutes
Servings
18 people
Difficulty
Moderate
Calories *
121 kcal per serving
Technique
Dry caramel: caramelize sugar, add cream and butter, cool and store.
Flavor Profile
Rich salted vanilla caramel sauce.
* Based on nutrition panel
Your caramel is the first one I ever made. (Years ago, before you went to culinary school!)I used the “wet” method. Was it scary at first..sure a lot of things worth doing are.
Nikky P
Anyway well worth the time making your own caramel. And just in time for the holidays. It makes a great gift as well. ⭐⭐⭐⭐⭐
A versatile salted caramel sauce recipe made using the dry caramel method. It makes a thicker sauce, which is ideal for using in baked goods like these caramel chocolate chip blondies, buttercreams like this caramel swiss meringue buttercream, or custards like crème caramel, as well as topping desserts!
I give you all my professional tips and tricks to help you get the perfect caramel every time, and to teach you how to fix it the next time, because bad caramel days happen to everyone.
Table of Contents
- Why This is the Best Salted Caramel Recipe
- Professional Tips for Making Caramel Sauce
- Ingredients Needed
- Possible Variations
- How to use Homemade Caramel Sauce
- How to Make Homemade Salted Caramel Sauce
- How to Make a Wet Caramel
- Chef Lindsey’s Recipe Tip
- Frequently Asked Questions
- Salted Caramel Sauce Recipe
- Before You Go
Why This is the Best Salted Caramel Recipe
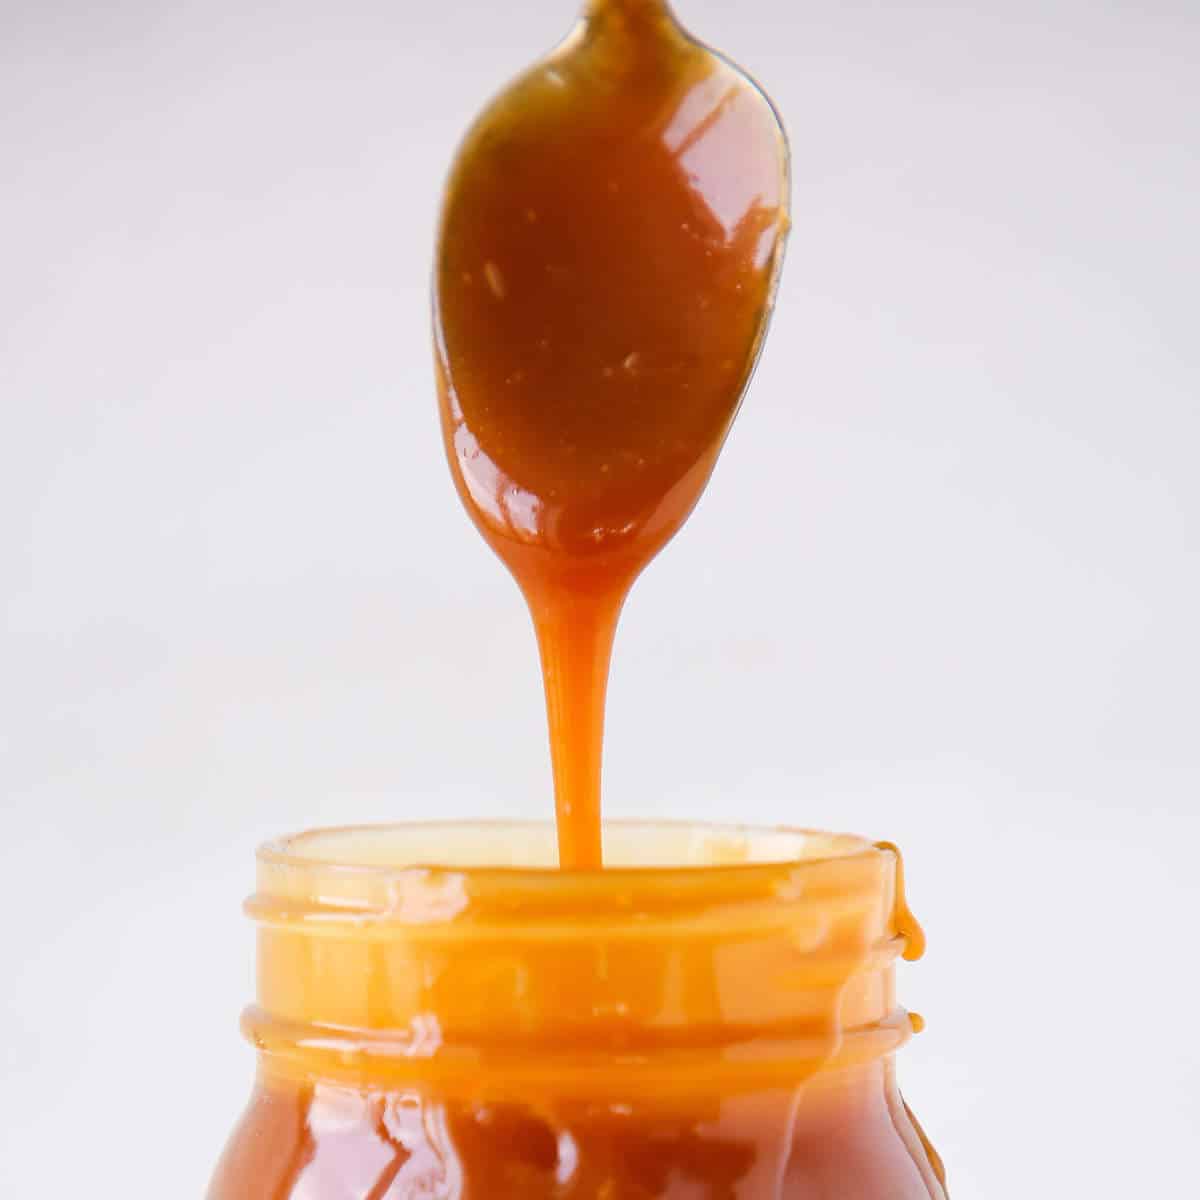
- It is thick and pourable. This makes a thicker caramel sauce, which makes it ideal not only for topping ice cream, cakes or other desserts, but also perfect for baking into recipes!
- Developed in a professional kitchen. This is the recipe that Chef Lindsey used in the restaurants. It is adaptable and can be made in very large batches.
- Perfectly balanced flavors. This sauce is rich but does not rely on too much butter or heavy cream for the flavor. The salt, caramel and cream flavors are in balance.
Professional Tips for Making Caramel Sauce
- The #1 Rule of Caramel is remembering that you are in control. You control the heat of the stove, and therefore you control how fast the caramel is cooking.
- Sugar caramelizes at different rates in the same pot. Don’t freak out when you see that parts are already a dark amber and you have a bunch of unmelted sugar. This happens every time. Embrace it. Stir or swirl the sugar crystals into those pockets. This will melt the granules and also lower the temperature of those pockets.
- Bring the butter, cream, vanilla and salt to a boil in the beginning. This way it’s already hot when you add it to the hot caramel and it won’t seize.
- Don’t fear the caramel. Take precautions but don’t have fear. Fear makes people do dumb stuff or act erratically. Never act erratically around 340°F sugar. The worst thing that can happen is your sugar gets too dark and you have to start over.
- Use a whisk to add your wet ingredients at the end and don’t stop whisking. Add them slowly to control the ferocity of the caramel but also don’t stop whisking! The whisking calms the caramel down. Choose the longest handled whisk you own. This is no time for a mini-whisk.
- After incorporating your cream/butter mixture pour the caramel into a heat proof glass, ceramic or metal bowl. This will stop the cooking process or your caramel will continue to get darker especially in a larger batch.
- Practice makes perfect. Sometimes you don’t know what “too dark” is until you take it there. Then you know and next time you can add your cream/butter mixture earlier. When training new cooks, this is the best way for them to learn. I’m like Goldie Locks: too light, too dark, waaaay too dark, just right.

Ingredients Needed
- Butter: This recipe calls for unsalted butter because of the additional salt that is added. You could roll the dice with salted butter and omit the salt.
- Heavy Cream: The heavy cream is here for flavor, texture and also to loosen the caramel into a sauce consistency.
- Vanilla Extract: I love the added vanilla extract in the sauce, but you could certainly omit it for a pure salted caramel version.
- Kosher Salt: A lot of recipes call for fleur de sel, and while flaky sea salt is delightful, I find it harder to ensure it dissolves in the final caramel sauce. I also find the “sea salt” flavor to be overpowering unlike kosher salt or even regular table salt, but these are just my opinions.
- Granulated Sugar
See the recipe card for full information on ingredients and quantities.
Possible Variations
- Change the consistency: For a looser sauce, add more heavy cream to the recipe as written. I don’t suggest adding more than an additional ¼ cup.
- Change the flavor: While technically a gastrique, you can use lemon juice, orange juice or apple cider in place of the heavy cream. This will make a bright caramel sauce that will temper some of the sweetness. I usually finish the gastrique with a touch of butter just for the added silkiness and to round out the flavor. Be sure to reduce the salt if changing out the dairy.
- Infuse the caramel sauce: This is ideal for adding flavors like whole cinnamon sticks, vanilla bean pods (spent), or other unexpected spices. I usually make the sauce, add the spice or vanilla bean, reheat both together, and then remove from the heat and cover to infuse. Taste as you go because some spices can be more overpowering than others.
How to use Homemade Caramel Sauce
- Baked into cookies, cakes & more! The thickness of this sauce makes it ideal for baking into desserts like these chocolate caramel cupcakes, carmelita recipe, caramel butter bars, caramel apple tart or these caramel chocolate chip blondies! It won’t loosen the batter too much or change the texture.
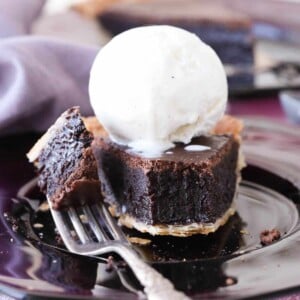
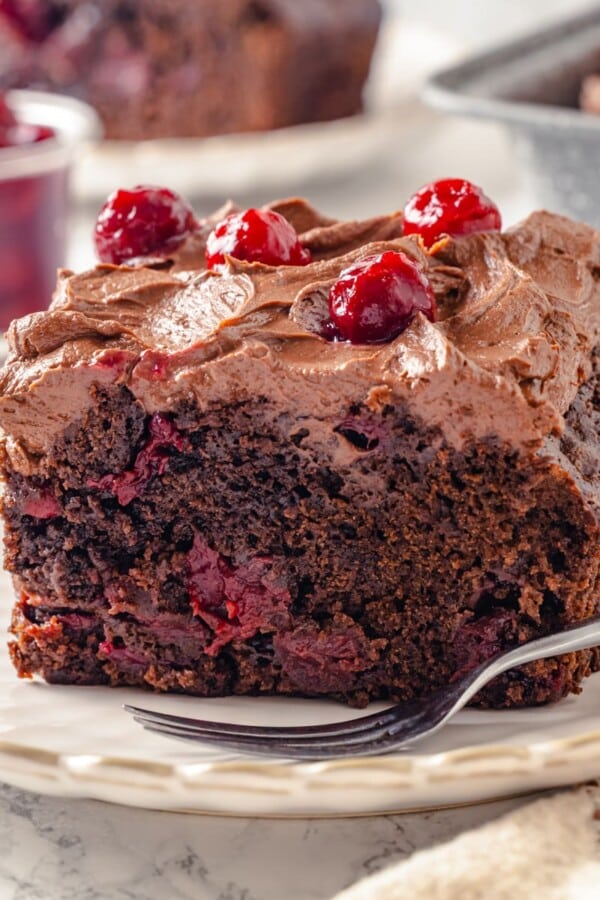
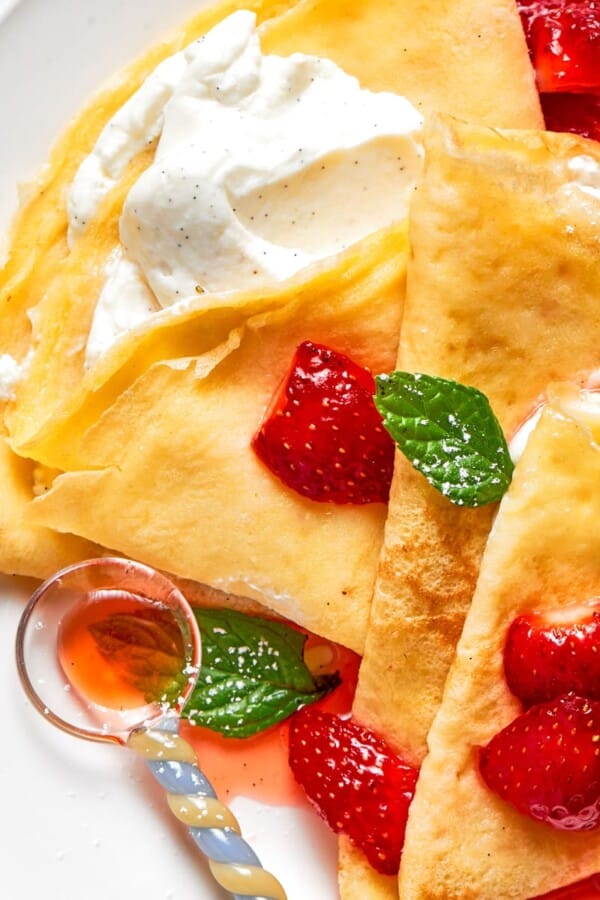
- Uses it as a topping for cakes, tarts, & ice cream. Pour this salted caramel sauce over just about anything like I did with this caramel molasses pound cake. Drizzle it on chocolate cheesecake, buttermilk panna cotta or to add extra pizzazz to vanilla cake.
- Mix it in to change the flavor of buttercreams or custards. Use it to flavor buttercream like this caramel Swiss meringue buttercream or the easy caramel buttercream from these caramel apple cupcakes. Then move beyond buttercream and try it in this caramel pastry cream or caramel pudding.
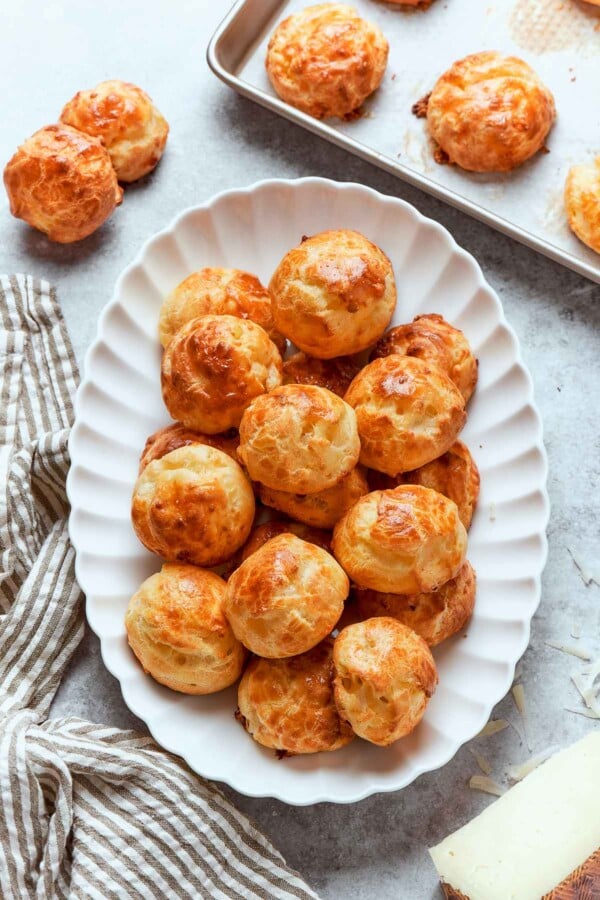
- It makes a delicious filling or swirl. Use it to fill cupcakes or add to cream puffs like these caramel cupcakes, or swirl into ice cream like the chocolate caramel ice cream! Make an easy dessert by making salted caramel tartlets.
How to Make Homemade Salted Caramel Sauce
Further details and measurements can be found in the recipe card below.
Step 1: In a small saucepan combine cream, butter, vanilla and salt. Bring just to a boil over medium heat and set aside.
Step 2: Heat a heavy bottomed pot with high sides over medium high heat. Begin by sprinkling the granulated sugar over the bottom in a thin layer, when that begins to melt, sprinkle some more. Keep sprinkling until all the sugar is in the pot. As parts begin to melt, gently stir with a wooden spoon and break up any clumps that form.
If, despite your best efforts, you still have undissolved sugar pieces when your caramel reaches dark amber, don’t fret, just strain them out with a sieve. Worse things have happened in pastry.
Step 3: Continue to stir to distribute the sugar into any hot spots and use the already melted sugar to melt the rest. Once the sugar has melted stop stirring and swirl until a dark amber color is achieved.
If you have a hard time telling the color of the caramel, tilt the pot towards you so that there is only a thin layer. I find it easier to see that way. A medium amber is a perfectly acceptable color but I like to take mine to deep amber color, which is right when it starts to smoke but before it smells burnt.
Step 4: Remove from the heat and place on a trivet or folded towel. Slowly pour in your cream/butter mixture while constantly whisking. You don’t want to add the cream too fast or it will bubble up aggressively and could burn you. Don’t fear, just keep whisking.
Step 5: Once all the liquid is incorporated, pour into a heat safe bowl (glass, ceramic, pyrex, metal are all fine). Allow to cool to room temperature then pour into the storage container of your choice.
How to Make a Wet Caramel
You can make this recipe using the wet caramel method by adding ¼ water and ¼ cup light corn syrup. The corn syrup is optional but really helps avoid crystallization.
- Step 1: In a small pot combine cream, butter, vanilla and salt. Bring just to a boil and set aside.
- Step 2: Pour the sugar into a heavy bottomed pot with high sides. Shake to distribute sugar in an even layer over the bottom. Pour the water around the edges and stir to hydrate the sugar. Stir carefully so that no sugar gets on the sides of the pot. If you did get sugar on the sides, don’t worry. Dip a clean pastry brush (or folded paper towel) in water and wash the sugar off. Don’t be concerned with the amount of water because it will all evaporate anyways.
- Step 3: Pour the corn syrup into the sugar water mixture and turn on the burner to medium high. Allow the sugar to come to a boil before you disturb it. Gently swirl the pot but do not stir! This will allow you to redistribute the caramel around the pot and control the hot spots.
- Step 4: Continue to cook and occasionally swirl until a dark amber color is achieved.
- Step 5: Remove from the heat and place on a trivet or folded towel. Slowly pour in your cream/butter mixture while constantly whisking.
Step 6: Once all the liquid is incorporated, pour into a heat safe bowl.
Chef Lindsey’s Recipe Tip
There is a sliding scale of acceptable caramel flavor. From the very light in color and light on taste to the almost burnt, dark, sultry caramel that I prefer. I add the butter when the sugar turns a deeper, rich amber color and there is just the slightest hint of burning scent when you waft the vapors (just like they taught in middle school chemistry).
Frequently Asked Questions
Cool completely then store in an airtight container at room temperature for up to a month, refrigerated for up to 2 months or frozen forever. It will gradually lose its fresh taste, so try to use it within a few months.
If storing frozen, simply thaw at room temperature or in the fridge. You can also microwave at 50% power in 30 second intervals, stirring between with a silicone spatula.
Yes, you can absolutely make a larger batch. You are limited by the size of your pot. Be sure to account for the caramel bubbling up when the cream and butter are added. I don’t need to tell you what happens if you don’t. That being said, I prefer to make large batches of caramel with the wet caramel method because it is more consistent.
Lastly, you must account for carryover cooking when making large batches of caramel. It will continue to caramelize as it cools. I suggest pouring it into a long, flatter container like a baking dish that will increase the surface area and thus allow it to cool faster.
The only critical difference between the wet and dry caramel method is the addition of water and sometimes light corn syrup or glucose to the sugar before caramelization in the wet method. It is imperative to swirl, never stir, a wet caramel.
Using the wet caramel method allows you to make large batches with more control, and it allows you to do other things while the sugar syrup cooks. This is critical in a professional kitchen!
There are 3 reasons to put butter in caramel sauce: it makes the sauce looser, adds flavor and creates a silky mouthfeel.
Caramel sauce can be grainy if the sugar mixture seized while caramelizing, if the sugar wasn’t cooked long enough (it was too light), or if the butter/cream mixture was added to cooled sugar syrup.
You do not need a candy thermometer for caramel sauce. A thermometer will tell you when you’ve reached the caramel stage but it is better to make caramel sauce by sight. The color of the cooking sugar will tell you everything you need to know.
If you tried this recipe and loved it please leave a 🌟 star rating and let me know how it goes in the comments below. I love hearing from you; your comments make my day!
Salted Caramel Sauce
Ingredients
- 4 tablespoons unsalted butter cut into pieces
- ¾ cup heavy cream
- ½ teaspoon vanilla extract
- ¼ tablespoon kosher salt
- 1 ½ cups granulated sugar
Instructions
Dry Caramel Method
- In a small pot combine cream, butter, vanilla and salt. Bring just to a boil and set aside.
- Heat a heavy bottomed pot with high sides over medium high heat. Begin by sprinkling the granulated sugar over the bottom in a thin layer, when that begins to melt, sprinkle some more. Keep sprinkling until all the sugar is in the pot. As parts begin to melt, gently stir with a wooden spoon and break up any clumps that form.
- Continue to stir to distribute the sugar into any hot spots and use the already melted sugar to melt the rest. Once the sugar has melted stop stirring and swirl until a dark amber color is achieved.
- If you have a hard time telling the color of the caramel, tilt the pot towards you so that there is only a thin layer. I find it easier to see that way. A medium amber is a perfectly acceptable color but I like to take mine to dark amber which is right when it starts to smoke but before it smells burnt.
- Remove from the heat and place on a trivet or folded towel. Slowly pour in your cream/butter mixture while constantly whisking. You don’t want to add the cream too fast or it will bubble up aggressively and could burn you. Don’t fear, just keep whisking.
- Once all the liquid is incorporated, pour into a heat safe bowl (glass, ceramic, pyrex, metal are all fine). Allow to cool to room temperature then pour into the storage container of your choice.
Wet Caramel Method
- You can make this recipe using the wet caramel method by adding ¼ water and ¼ cup light corn syrup. The corn syrup is optional but really helps avoid crystallization.
- In a small pot combine cream, butter, vanilla and salt. Bring just to a boil and set aside.
- Pour the sugar into a heavy bottomed pot with high sides. Shake to distribute sugar in an even layer over the bottom. Pour the water around the edges and stir to hydrate the sugar. Stir carefully so that no sugar gets on the sides of the pot. If you did get sugar on the sides, don’t worry. Dip a clean pastry brush (or folded paper towel) in water and wash the sugar off. Don’t be concerned with the amount of water because it will all evaporate anyways.
- Pour the corn syrup into the sugar water mixture and turn on the burner to medium high. Allow the sugar to come to a boil before you disturb it. Gently swirl the pot but do not stir! This will allow you to redistribute the caramel around the pot and control the hot spots.
- Continue to cook and occasionally swirl until a dark amber color is achieved.
- Remove from the heat and place on a trivet or folded towel. Slowly pour in your cream/butter mixture while constantly whisking. You don’t want to add the cream too fast or it will bubble up aggressively and could burn you. Don’t fear, just keep whisking.
- Once all the liquid is incorporated, pour into a heat safe bowl. Allow to cool to room temperature then pour into the storage container of your choice.
Video
Notes
Nutrition
Before You Go
I hope you enjoyed this professional chef tested recipe. Check out our other delicious, chef-developed dessert topping and sauce recipes!


Nice Post!
thank you so much before because you have share very awesome post of salt caramel sauce
First time I made salted caramel and it turned out amazing. Thank you for the easy peasy recipe!
I’m so glad!
Amazing post such a great idea!! Thanks Keep posting like this.
This really makes me want to try it out, I hope it turns as tasty as it looks <3
I think adding butter to this recipe was a bad idea not only for healthy reason but also because it makes the salted caramel taste way too buttery. I had to add a lot of vanilla essence to get rid of the buttery smell. Sugar, brand name heavy cream, salt and vanilla essence is all you need to make the best salted caramel.
I’m sorry you find the flavor and smell of butter so offensive! I think the French would disagree. Butter has other properties other than flavor here, but you can certainly make it with out.
HELP!
1. I’m using kosher salt which is bigger chunks of salt than fleur de sel, as far as I know. I CANNOT get it to dissolve, no matter when I add it or how long I stir. It just sinks to the bottom.
2. When I follow the instructions exactly in melting the sugar, it almost always burns right away… I see amber coloured bubbles burst through the granulated sugar and then it’s basically burnt. I’m having the hardest time finding the right temperature to melt the sugar on my gas stove. The only thing that has worked is to put it on super low and stir constantly (instead of medium high and just swirl the pan).
Hi Bridget! Fear not, you’re in luck. I actually just did two different video tutorials on caramel. Plus a new post with more tips. You are making a “dry caramel” so you may absolutely stir it. There will be parts that will burn before others and that is totally normal – just keep moving the unmelted caramel to the hot spots. The melting and caramelizing sugar will melt the rest. You can also try the wet caramel method in the video.
As for the salt. I now exclusively combine the butter, cream, salt and vanilla in a small pot and then bring that just to a boil. Then set it aside and it will be ready when your caramel is. That way there is no pesky undissolved chunks of sugar or seized caramel from too cold of cream. Fleur de sel are larger piece but they (generally) more easily dissolved than kosher salt. You can’t go wrong with heating it with the wet ingredients
Do you think I could do half brown sugar and half white? Also, would this thicken/harden up enough to pur over a white cake as a frosting?
HI Beth! Brown sugar does not have the same properties as white granulated sugar, so, no it won’t work with half and half in the way you want it to. It will create a syrup but it will be a bit grainy unless hot. It will thicken up to pour over cake but it will have to stay cold or it will begin to run. I would also pour it onto a frozen cake. Happy baking!