This post may contain affiliate links. Please read our disclosure policy.
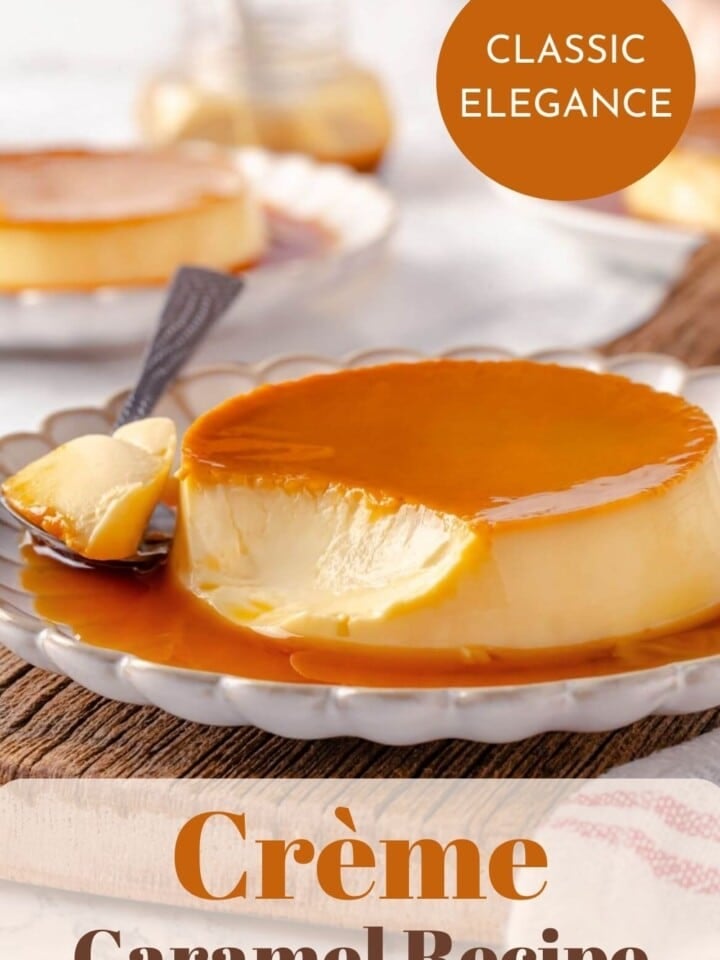
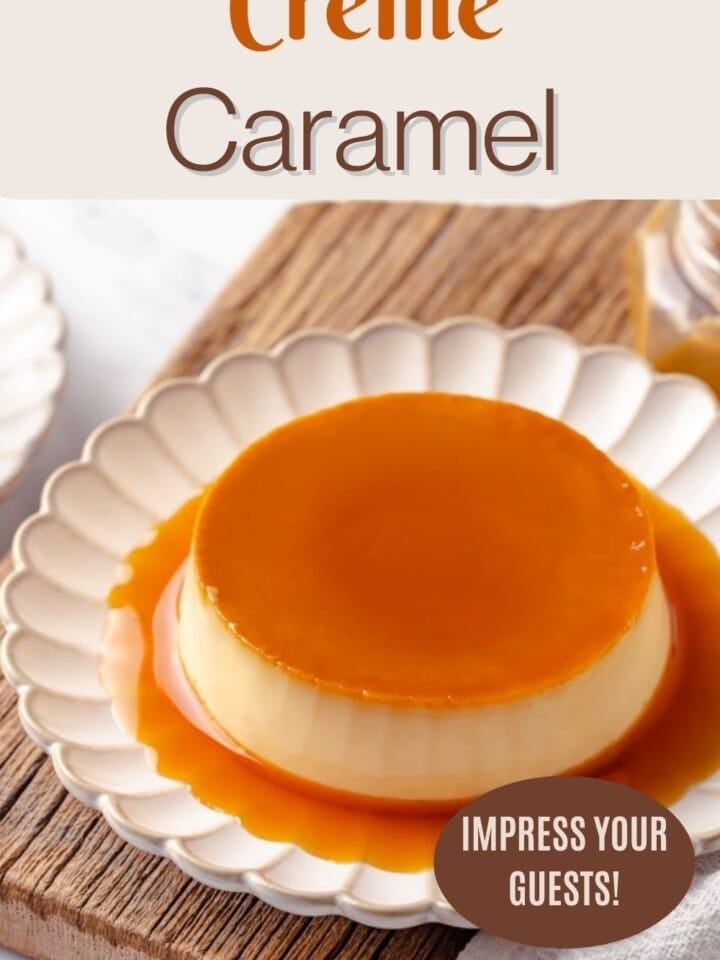
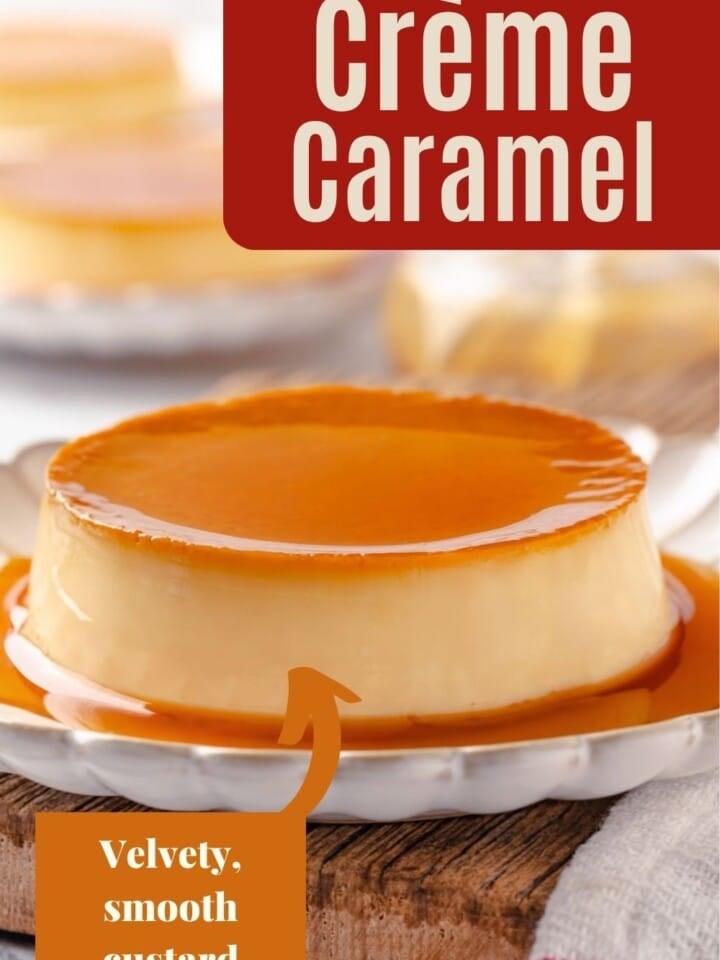
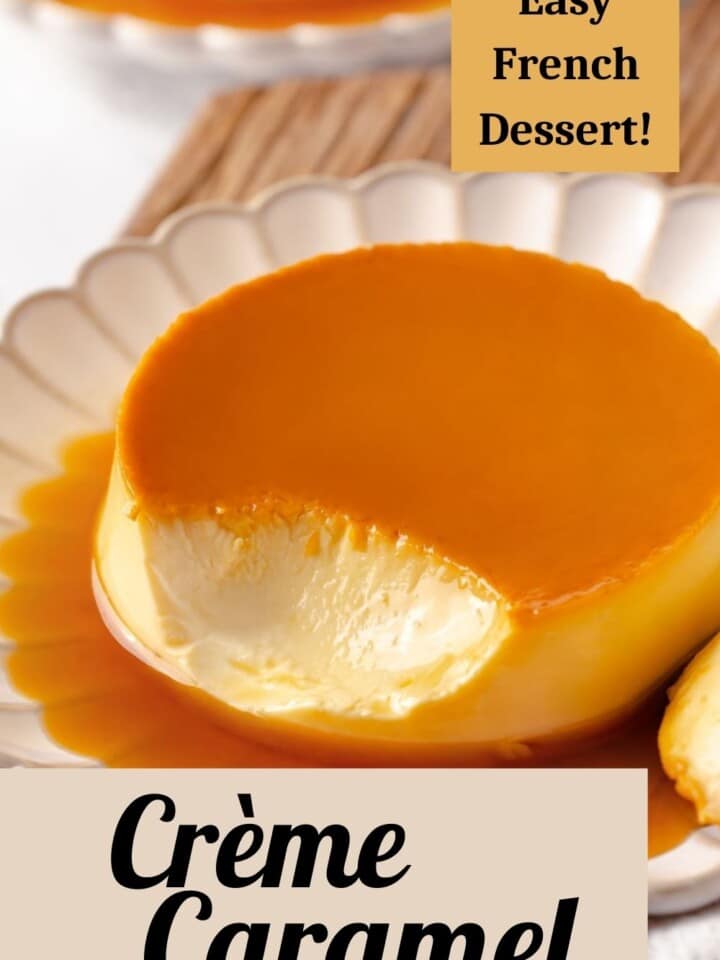
French crème caramel is an easy and impressive dessert. An amber caramel with a silky, creamy vanilla crème base comes together for the perfect melt-in-your-mouth dessert. Made with pantry ingredients, this impressive dessert can be made anytime!
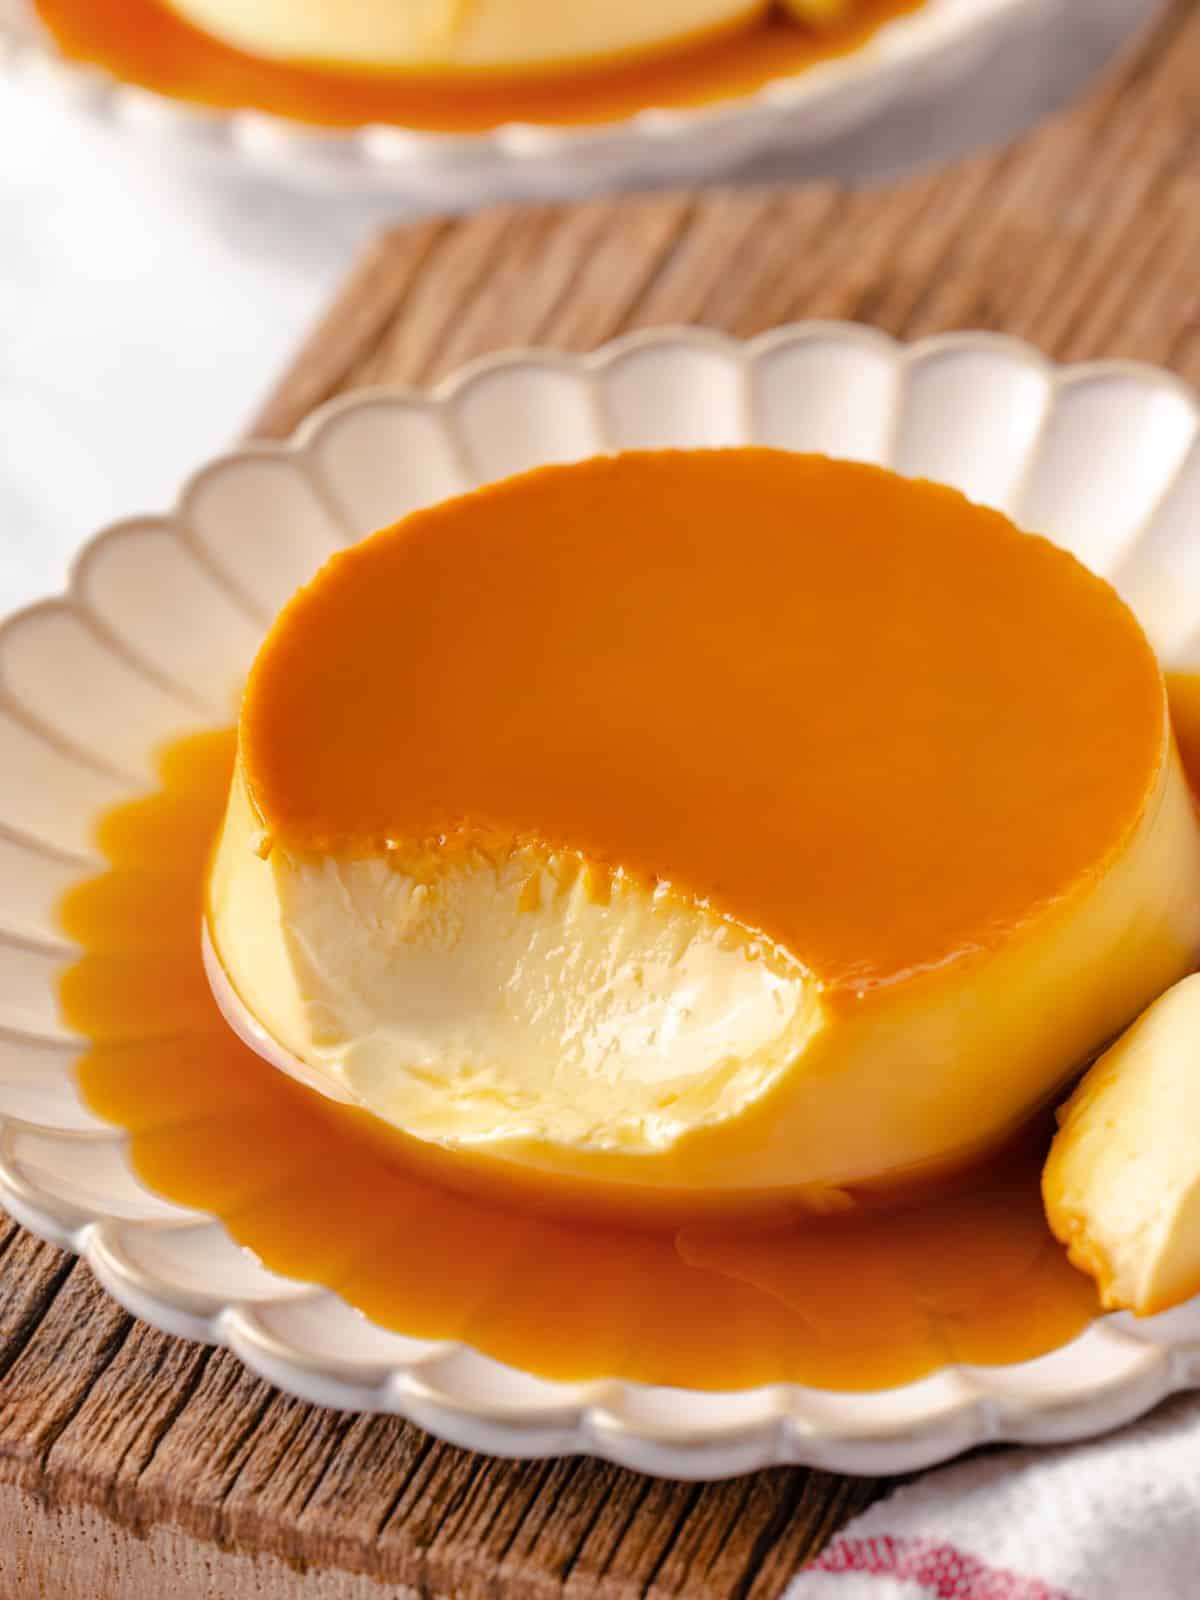
Crème caramel is one of those desserts you think are too hard to make until you actually make it. Let me tell you that crème caramels are easy and impressive. Start with an amber caramel, then top it with a creamy and rich custard base. Bake and then let sit in the fridge. When it’s time to serve, you invert the baked custard and out comes this beautifully colored liquid caramel and a silky crème! They are perfect for any dinner party, weeknight dessert, or date night!
Custards are truly one of my favorite desserts. There are many options, and it is easy to customize flavors. There are three types of custards: baked, stirred, and frozen. If you want to stick with the caramel theme, try my caramel pastry cream, caramel pudding (a stirred custard), or my bourbon cherry caramel ice cream (a frozen custard).
Why You Will Love This Crème Caramel
- The perfect make-ahead dessert! The wonderful thing about crème caramels is that they NEED to sit in the fridge for a few days. Maybe you have a dinner party coming up, and you want to get as much done beforehand as possible. Crème caramels are the answer.
- Silky and rich texture. Making the crème base with milk, cream, whole egg, and yolks gives these crème caramels a truly rich and silky texture. Not to mention, it has a more well-rounded flavor.
- Made with pantry ingredients. Crème caramels only require seven ingredients, which can all be found in your kitchen.
Table of Contents
Ingredients
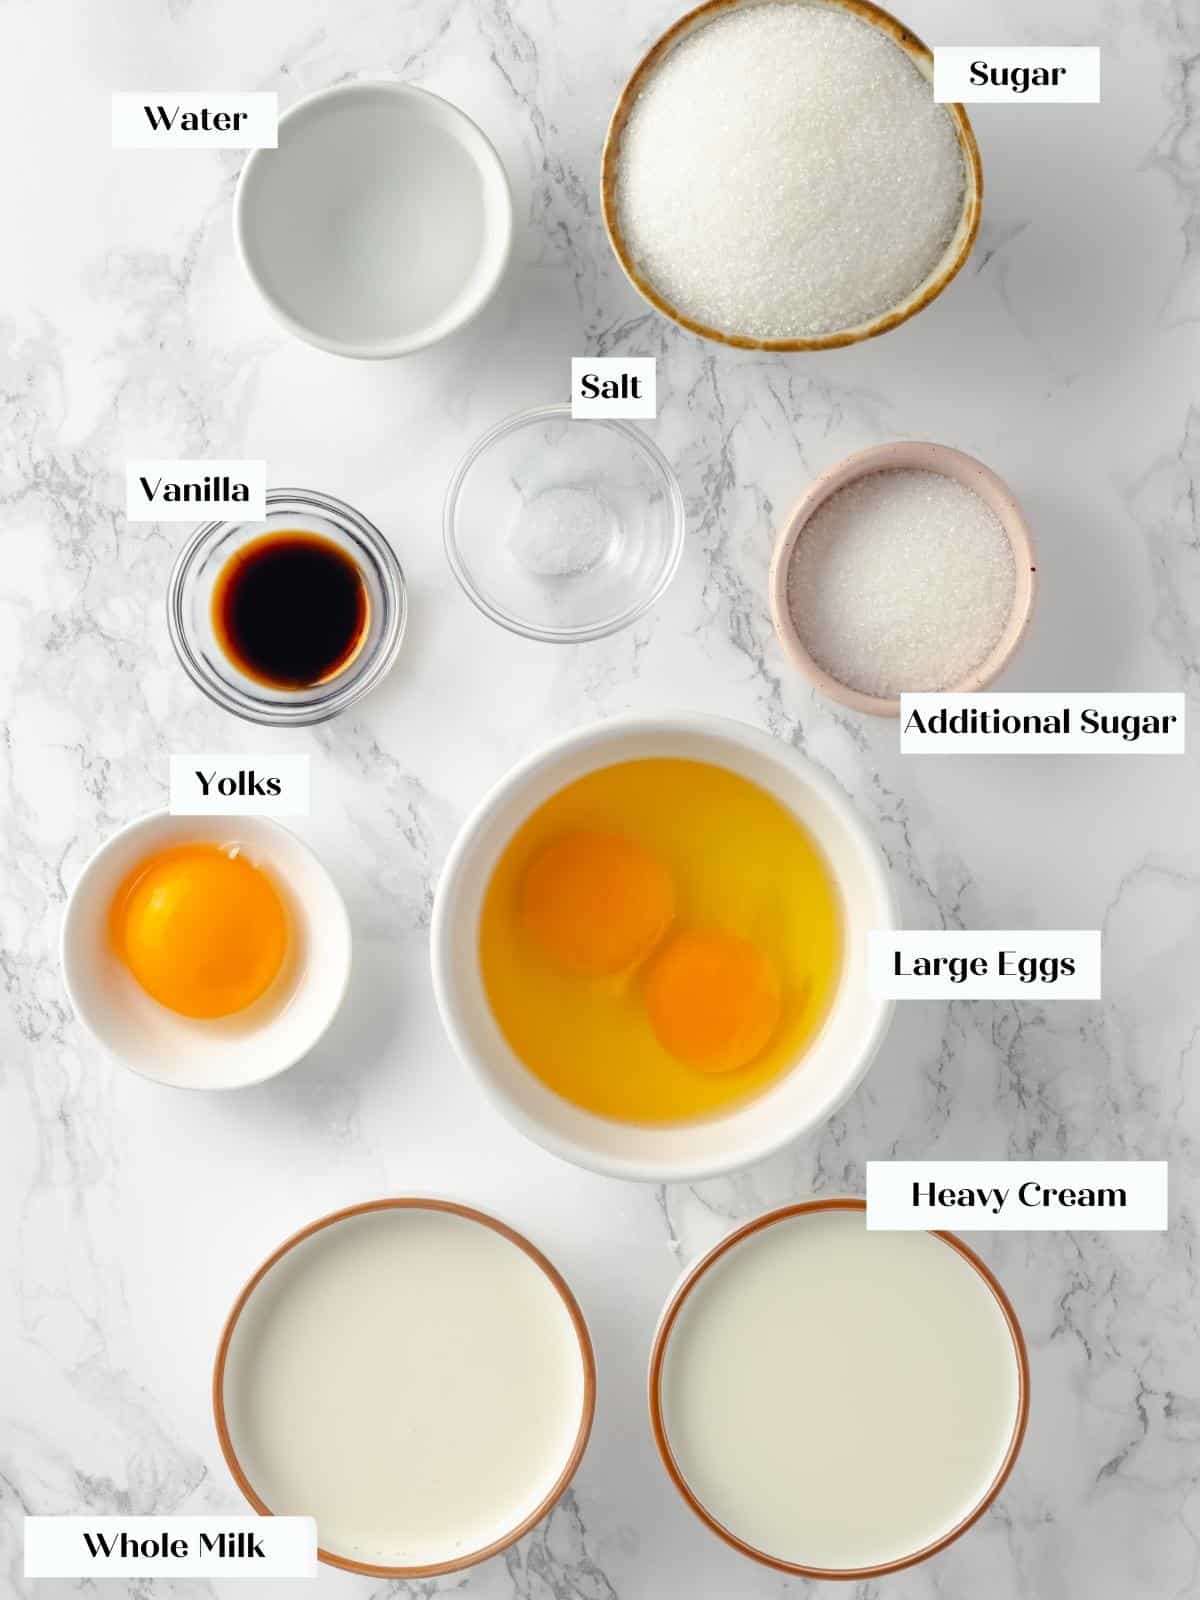
- Granulated Sugar: Sugar is here for sweetness and to protect the egg and egg yolks from the heat.
- Water: The water is optional, depending on which type of caramel you are most comfortable with. For dry caramel, you won’t need water, and wet caramel will use the water.
- Whole Milk: I use 2% milk in this custard to keep a little of the milk flavor and fat. You could use nonfat or whole milk. The more fat, the richer the custard!
- Heavy Cream: Heavy cream adds richness to the crème caramel, and it has a little natural sweetness. The fat in it makes for a thicker custard with a smooth texture.
- Kosher Salt
- Whole Eggs & Yolks: The large egg in a baked custard is integral to thickening the custard. Whisking it first with the sugar protects it from the heat. Egg yolks in a baked custard are also thickeners like whole eggs, but they add more fat than whole eggs without the added moisture from the whites. This makes a thick, rich cheesecake. Too many yolks will make it taste “eggy”.
- Vanilla Bean Paste or Extract: Vanilla bean paste will give you a stronger and more well-rounded flavor, but vanilla extract will still give you an absolutely delicious crème caramel. You may also use a knife to scrape vanilla beans but would want to add those when heating the milk and cream.
See the recipe card for full information on ingredients and quantities.
Crème Caramel VS Crème Brûlée
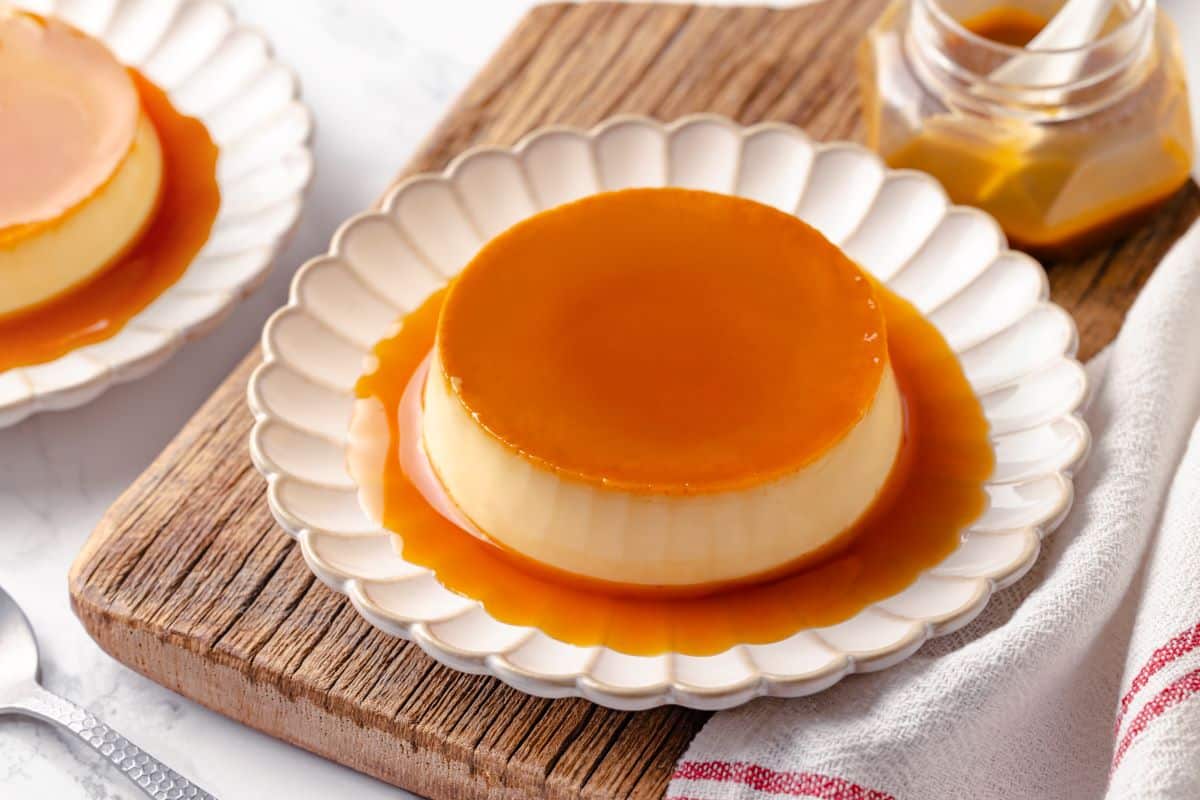
The key difference between crème caramel and crème brûlée is where the caramel is. Crème caramel has a premade caramel on the bottom of the dessert, which is added before baking. It is liquefied in the fridge and inverted before serving, while a crème brûlée has a caramelized sugar crust on top created by torching the sugar after baking. Another difference is that crème caramel is generally firmer than a crème brûlée because it does get removed from its dish while the crème brûlée stays put.
Variations
- Infuse the caramel. Infusing the caramel with spices is a great way to add flavor. Infusion works best with wet caramel sauce. Once the sugar and water start to boil, add the ingredients. Once the caramel is ready, strain the caramel through a fine mesh sieve when dividing among the ramekins.
- Flavor the crème base. Flavor the base with matcha, mascarpone, chocolate, or lemon curd!
- Infuse the crème base. You can also infuse the milk and cream. Try with Earl Grey tea, cinnamon, toasted nuts, ginger, or bananas. Simply heat the dairy with the ingredient to a boil, cover with plastic wrap, and allow to infuse until the desired flavor is reached.
- Change the size. You can make mini or large creme caramels. Just keep an eye on the baking time.
Professional Tips
- Don’t boil the vanilla. For the best flavor in your crème caramel, add the vanilla after the tempering process. Vanilla bean paste and extract both lose flavor when boiled.
- Give the caramel the attention it deserves. The caramel is the first thing you need to make. Whether you are making dry or wet caramel, it needs your undivided attention. Caramel can go from undercooked to overcooked in a few seconds flat. Keep an eye on it; if it crystalizes or burns, just start over. We have all been there!
- Be aware of air bubbles. When tempering the cream mixture into the eggs, be careful not to whisk too much air into the crème base. Air bubbles will stay and bake into the crème caramel, leaving it with a grainy texture. The best way to ensure you don’t is by using a proper whisk. It’s called a piano whisk, which is smaller and tighter than a balloon whisk typically used for whipped cream.
How to Make Homemade Crème Caramel
Use these instructions to make the perfectly silky crème caramel every time! Further details and measurements can be found in the recipe card below.
Step 1: Preheat the oven to 325°F.
Step 2: Spray ramekins with nonstick cooking spray and place on a flat baking sheet. This will keep them level while the caramel sets.
Step 3: In a heavy-bottomed saucepan, make a dry caramel by melting the sugar (without water) over medium heat until it becomes a medium amber. You can also add the optional 3 tablespoons of water to the sugar, stir to incorporate, and then do not stir as you allow it to caramelize over medium heat.
Step 4: Swirl as it caramelizes to encourage even cooking. Take it to medium amber and divide between the ramekins. If it gets too cold to pour and spread, reheat and continue.
I have found that a dry caramel works best on gas, and a wet caramel works best on induction. If you are making a larger batch, I recommend making a wet caramel. If you find you have undissolved crystals after the caramel reaches medium amber, simply pour through a metal sieve into ramekins. No one will be the wiser.


Step 5: Place the baking sheet with the ramekins in the refrigerator until set. This will take less time than it takes to make the custard!
Putting the custard on warm caramel can cause a skin to form between the caramel and the custard case.
Step 6: Heat milk, cream, salt, and sugar in a small saucepan. While the milk mixture is heating, whisk together the eggs and egg yolks until they have lightened and increased in volume.


Step 7: Once the milk mixture comes to a boil, slowly pour into whisked eggs and yolks.
I like to place my bowl of eggs on a towel for stability, then whisk while pouring in the milk mixture.
Step 8: Add the vanilla bean paste or vanilla extract and whisk to combine. Pour through a fine mesh sieve and divide amongst ramekins, then set them in a large deep baking dish or roasting pan.
If there are bubbles on the top of the crème caramels, use plastic wrap, a spoon, or a kitchen torch (on low heat and from a distance) to remove them. They won’t pop on their own; they will bake and cause an off texture on the top of the custard.


Step 9: Cover the top of the entire larger dish with foil, then pull back a corner so you can see.
Step 10: Transfer to the middle rack in the preheated oven. Carefully pour hot water into the dish just to come halfway up the sides of the ramekins. Be careful not to splash water from the water bath into the custards. Replace the foil over the corner and close the oven.
Step 11: Bake in a preheated oven for approximately 30-45 minutes, or until completely set but not cracked. When lightly shaken, you will not see any liquid movement in the centers of the custard.
Step 12: Carefully remove the ramekins using a combination of kitchen tongs, a spatula, and a towel. Place them on a baking sheet and cool completely at room temperature.
Step 13: Cover and refrigerate at least overnight and up to 8 days.


Chef Lindsey’s Recipe Tip
It is the refrigeration, in combination with the cold custard, that softens the caramel. If removed too soon, the custard may be set, but the caramel will not be liquid. It has been my experience with many variations on restaurant menus over the years that 3 days is the sweet spot! After more time, the custard begins to break down into the caramel, and that is when you get those little bits of custard floating.
Recipe FAQs
Baked crème caramels can be stored well-wrapped in the refrigerator for up to 8 days. After 8 days, the caramel starts to break down the custard, and chunks of custard will remain in the caramel.
Crème caramels cannot be frozen. The defrosting process will break down the custard and cause it to separate.
First, you want to work with a clean, heavy-bottomed pot. Even if you take the pot from the cupboard, give it a quick wipe down. Any debris or grease will cause the caramel to crystallize. Second, if making a wet caramel, don’t stir the caramel. Agitation promotes crystallization, and once it starts, it spreads like wildfire. If your caramel does crystallize, take a breath and start over. Crystallized caramel won’t liquify in the fridge.
If you have enough ramekins and a large enough roasting pan to cook them in, it does very well.
Crème caramel truly can be a dessert on its own, or you can serve it with easy blueberry sauce, easy strawberry jam, chocolate fudge sauce, or roasted stone fruit.

Recommended Caramel Recipes
Custard Recipes
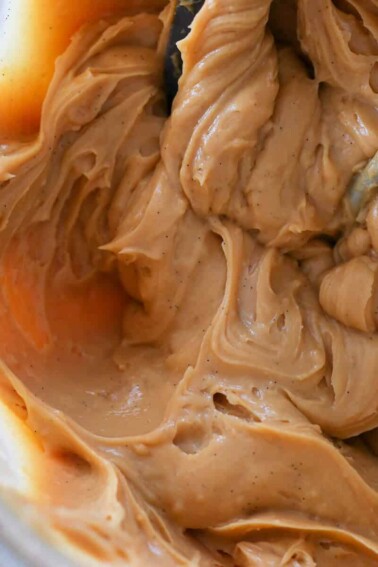
Caramel Pastry Cream
Date Night
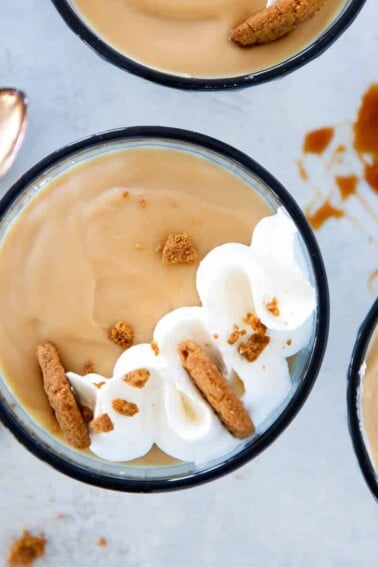
Caramel Pudding
Date Night
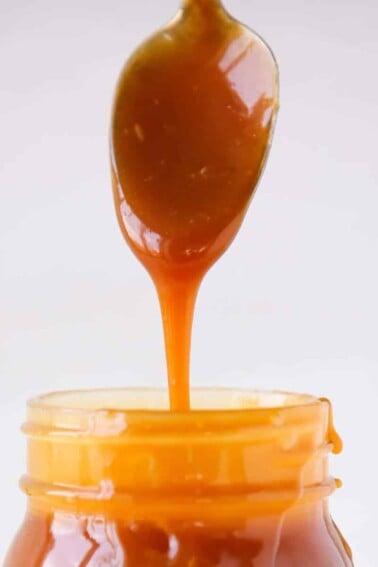
Salted Caramel Sauce
Date Night
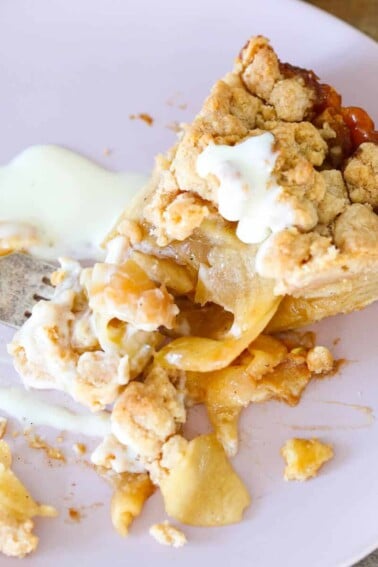
Caramel Apple Tart
If you tried this recipe and loved it please leave a 🌟 star rating and let me know how it goes in the comments below. I love hearing from you; your comments make my day!

Crème Caramel
Ingredients
For the Caramel:
- ¾ cup granulated sugar
- 3 tablespoons water optional
For the Custard:
- ¾ cup whole milk
- ⅔ cup heavy cream
- ⅛ teaspoon kosher salt
- 2 tablespoons granulated sugar
- 2 large eggs
- 1 egg yolks
- 1 teaspoon vanilla bean paste or vanilla extract
Instructions
- Preheat the oven to 325°F.
- Spray ramekins with nonstick cooking spray and place on a flat baking sheet. This will keep them level while the caramel sets.
- In a heavy-bottomed saucepan, make a dry caramel by melting the sugar (without water) over medium heat until it becomes a medium amber. You can also add the optional 3 tablespoons of water to the sugar, stir to incorporate, and then do not stir as you allow it to caramelize over medium heat.
- Swirl as it caramelizes to encourage even cooking. Take it to medium amber and divide between the ramekins. If it gets too cold to pour and spread, reheat and continue.
- Place the baking sheet with the ramekins in the refrigerator until set. This will take less time than it takes to make the custard!
- Heat milk, cream, salt, and sugar in a small saucepan. While the milk mixture is heating, whisk together the eggs and egg yolks until they have lightened and increased in volume.
- Once the milk mixture comes to a boil, slowly pour into whisked eggs and yolks.
- Add the vanilla bean paste or vanilla extract and whisk to combine. Pour through a fine mesh sieve and divide amongst ramekins, then set them in a large deep baking dish or roasting pan.
- Cover the top of the entire larger dish with foil, then pull back a corner so you can see.
- Transfer to the middle rack in the preheated oven. Carefully pour hot water into the dish just to come halfway up the sides of the ramekins. Be careful not to splash water from the water bath into the custards. Replace the foil over the corner and close the oven.
- Bake in a preheated oven for approximately 30-45 minutes, or until completely set but not cracked. When lightly shaken, you will not see any liquid movement in the centers of the custard.
- Carefully remove the ramekins using a combination of kitchen tongs, a spatula, and a towel. Place them on a baking sheet and cool completely at room temperature.
- Cover and refrigerate at least overnight and up to 8 days.
Notes
Nutrition
Before You Go
I hope you enjoyed this professional chef-tested recipe. Check out our other delicious, chef-developed custard recipes like the Vanilla Bean Crème Brûlèe, slightly tart Buttermilk Pie, or the decadent Chocolate Chip Cheesecake!


Watching the sugar hit that perfect amber stage felt like a tiny personal triumph. I brought these to a dinner party and everyone thought I’d secretly gone to pastry school! hehehe