This post may contain affiliate links. Please read our disclosure policy.
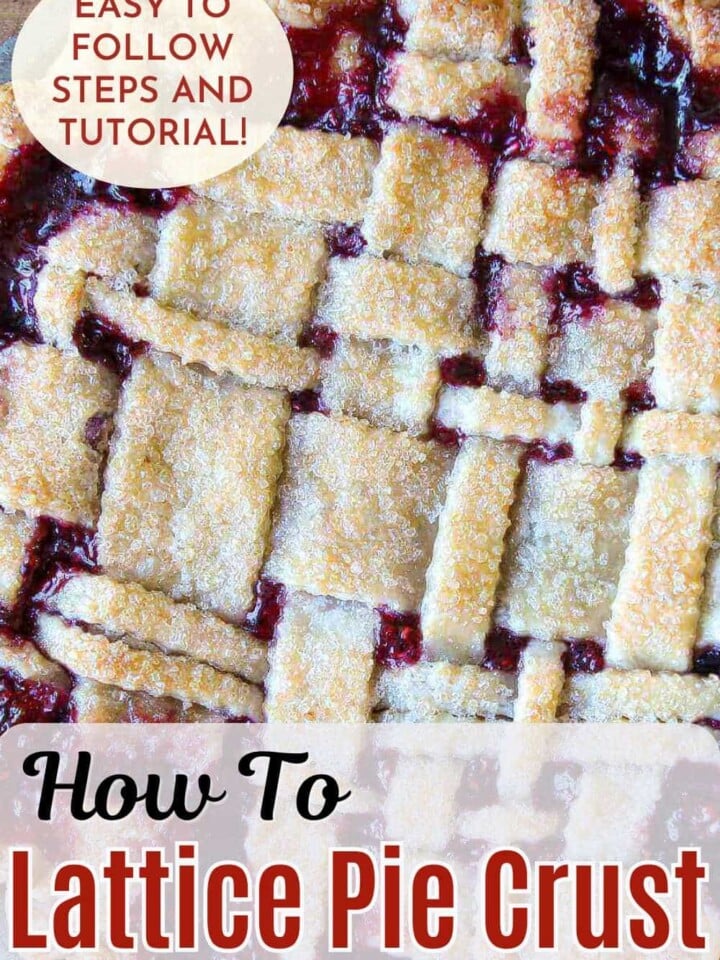
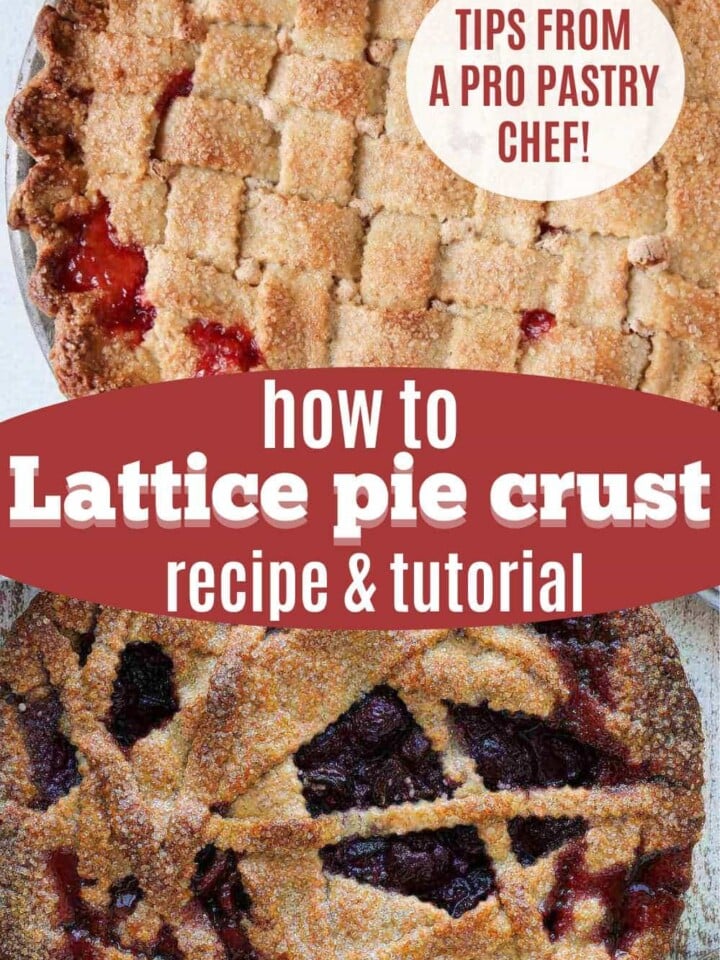
An easy to follow tutorial on how to lattice pie crust by a professional pastry chef. All the tips for latticing any type of pie crust in a variety of ways! Plus a video to show you how.

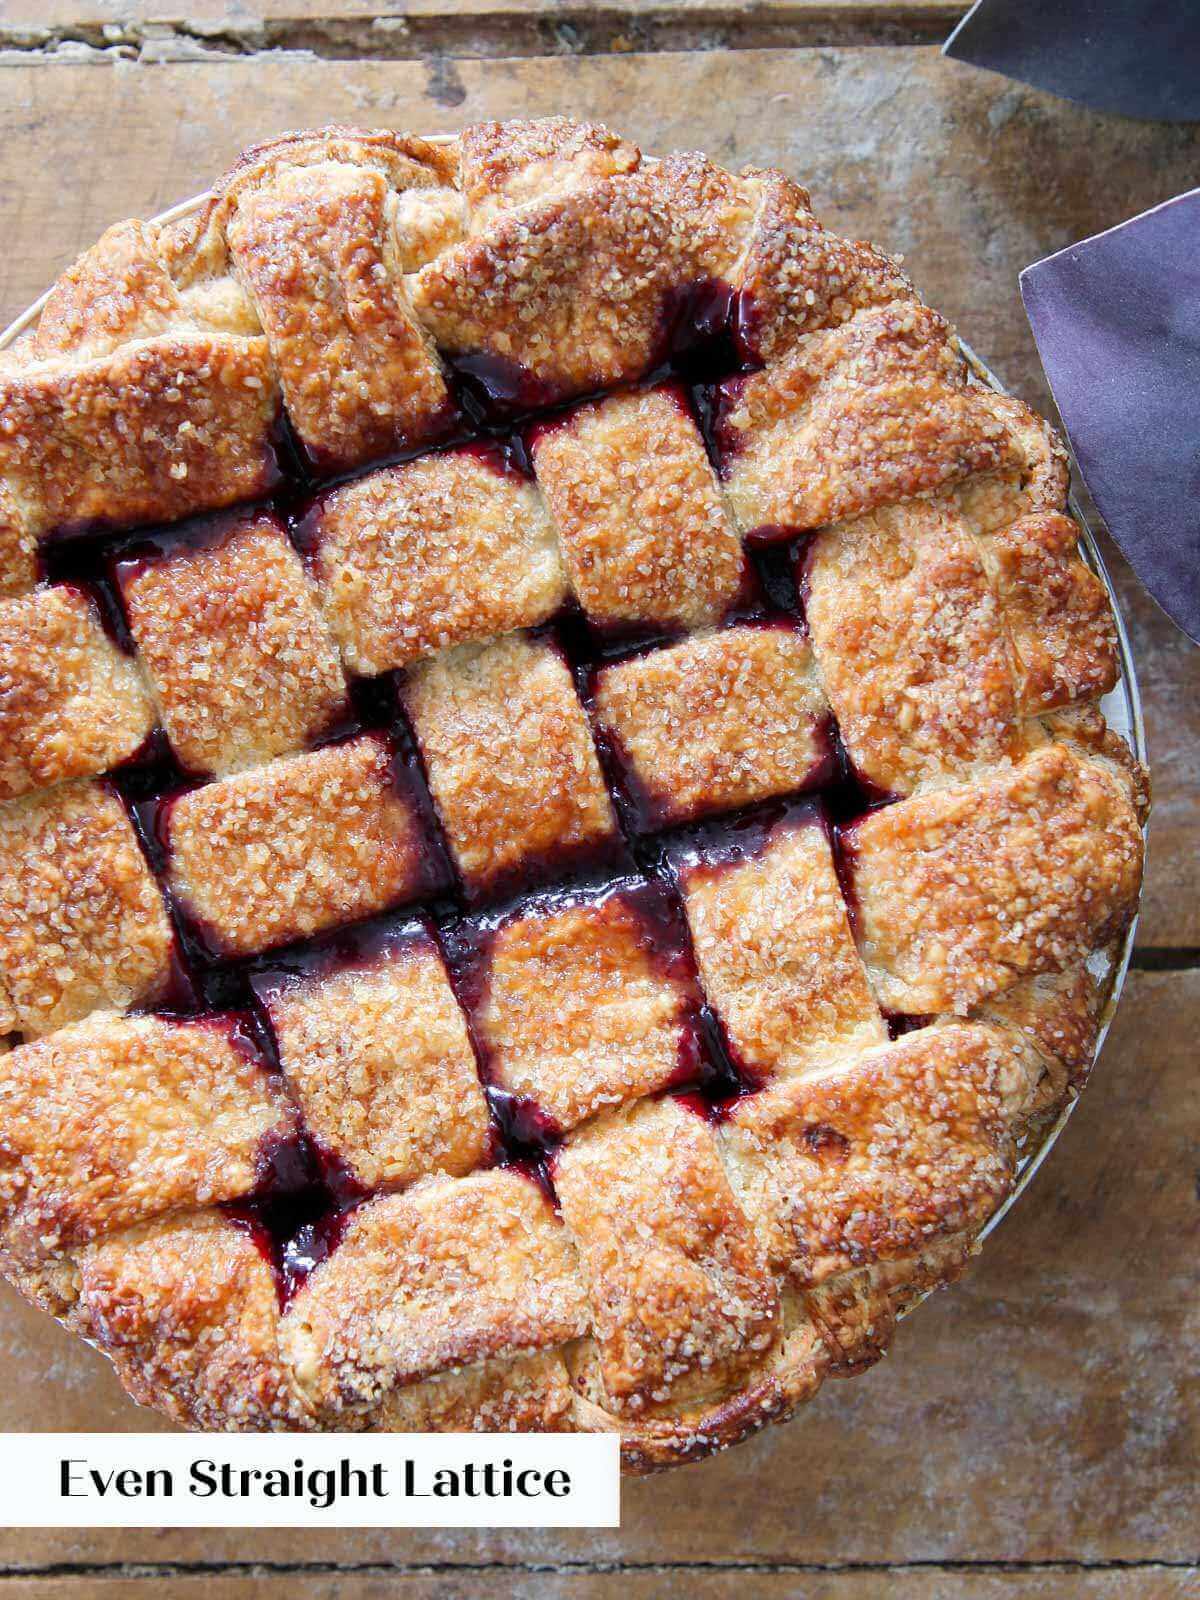
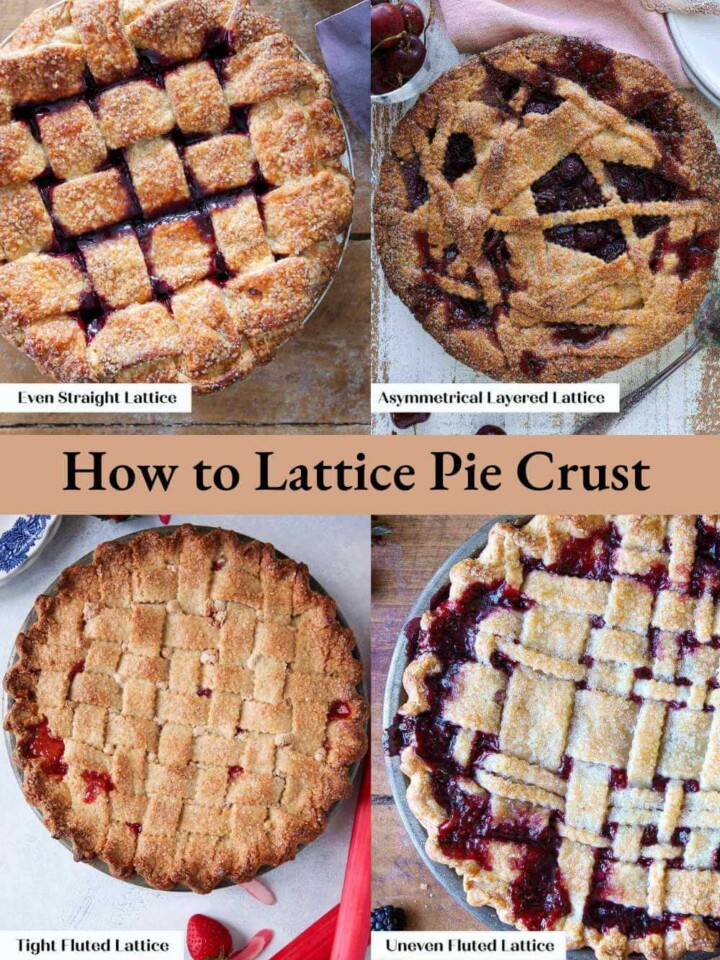
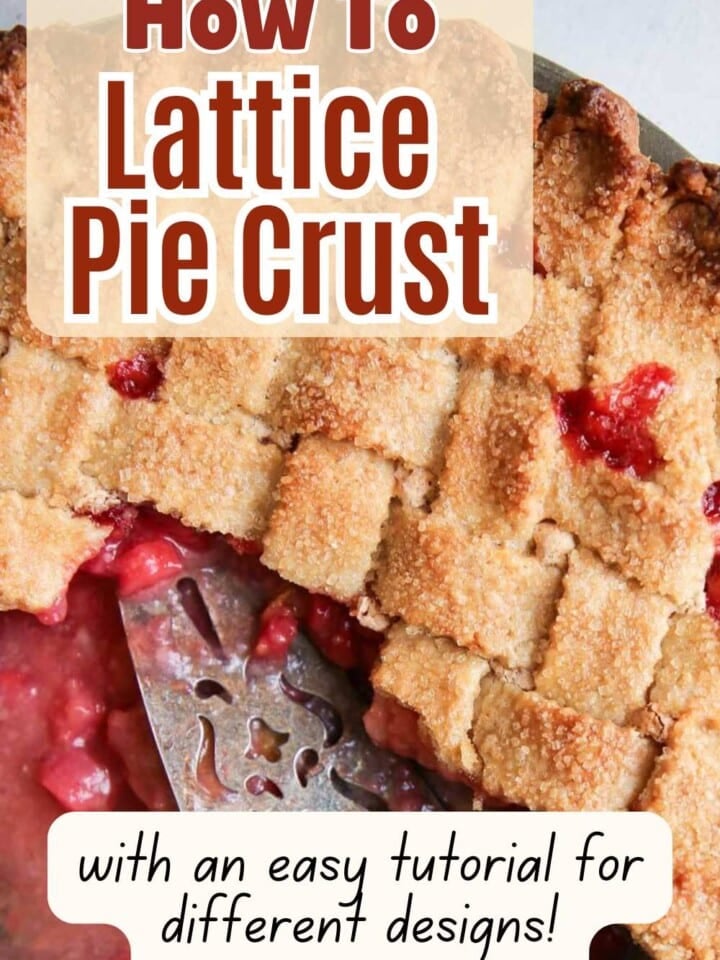
Follow these basic steps for a lattice pie crust and then let your individuality show! I will show you how to do a basic woven lattice, an asymmetrical layered crust, a straight edged lattice and a varied fluted lattice! Every single pie you make this year can look individual and professionally made!
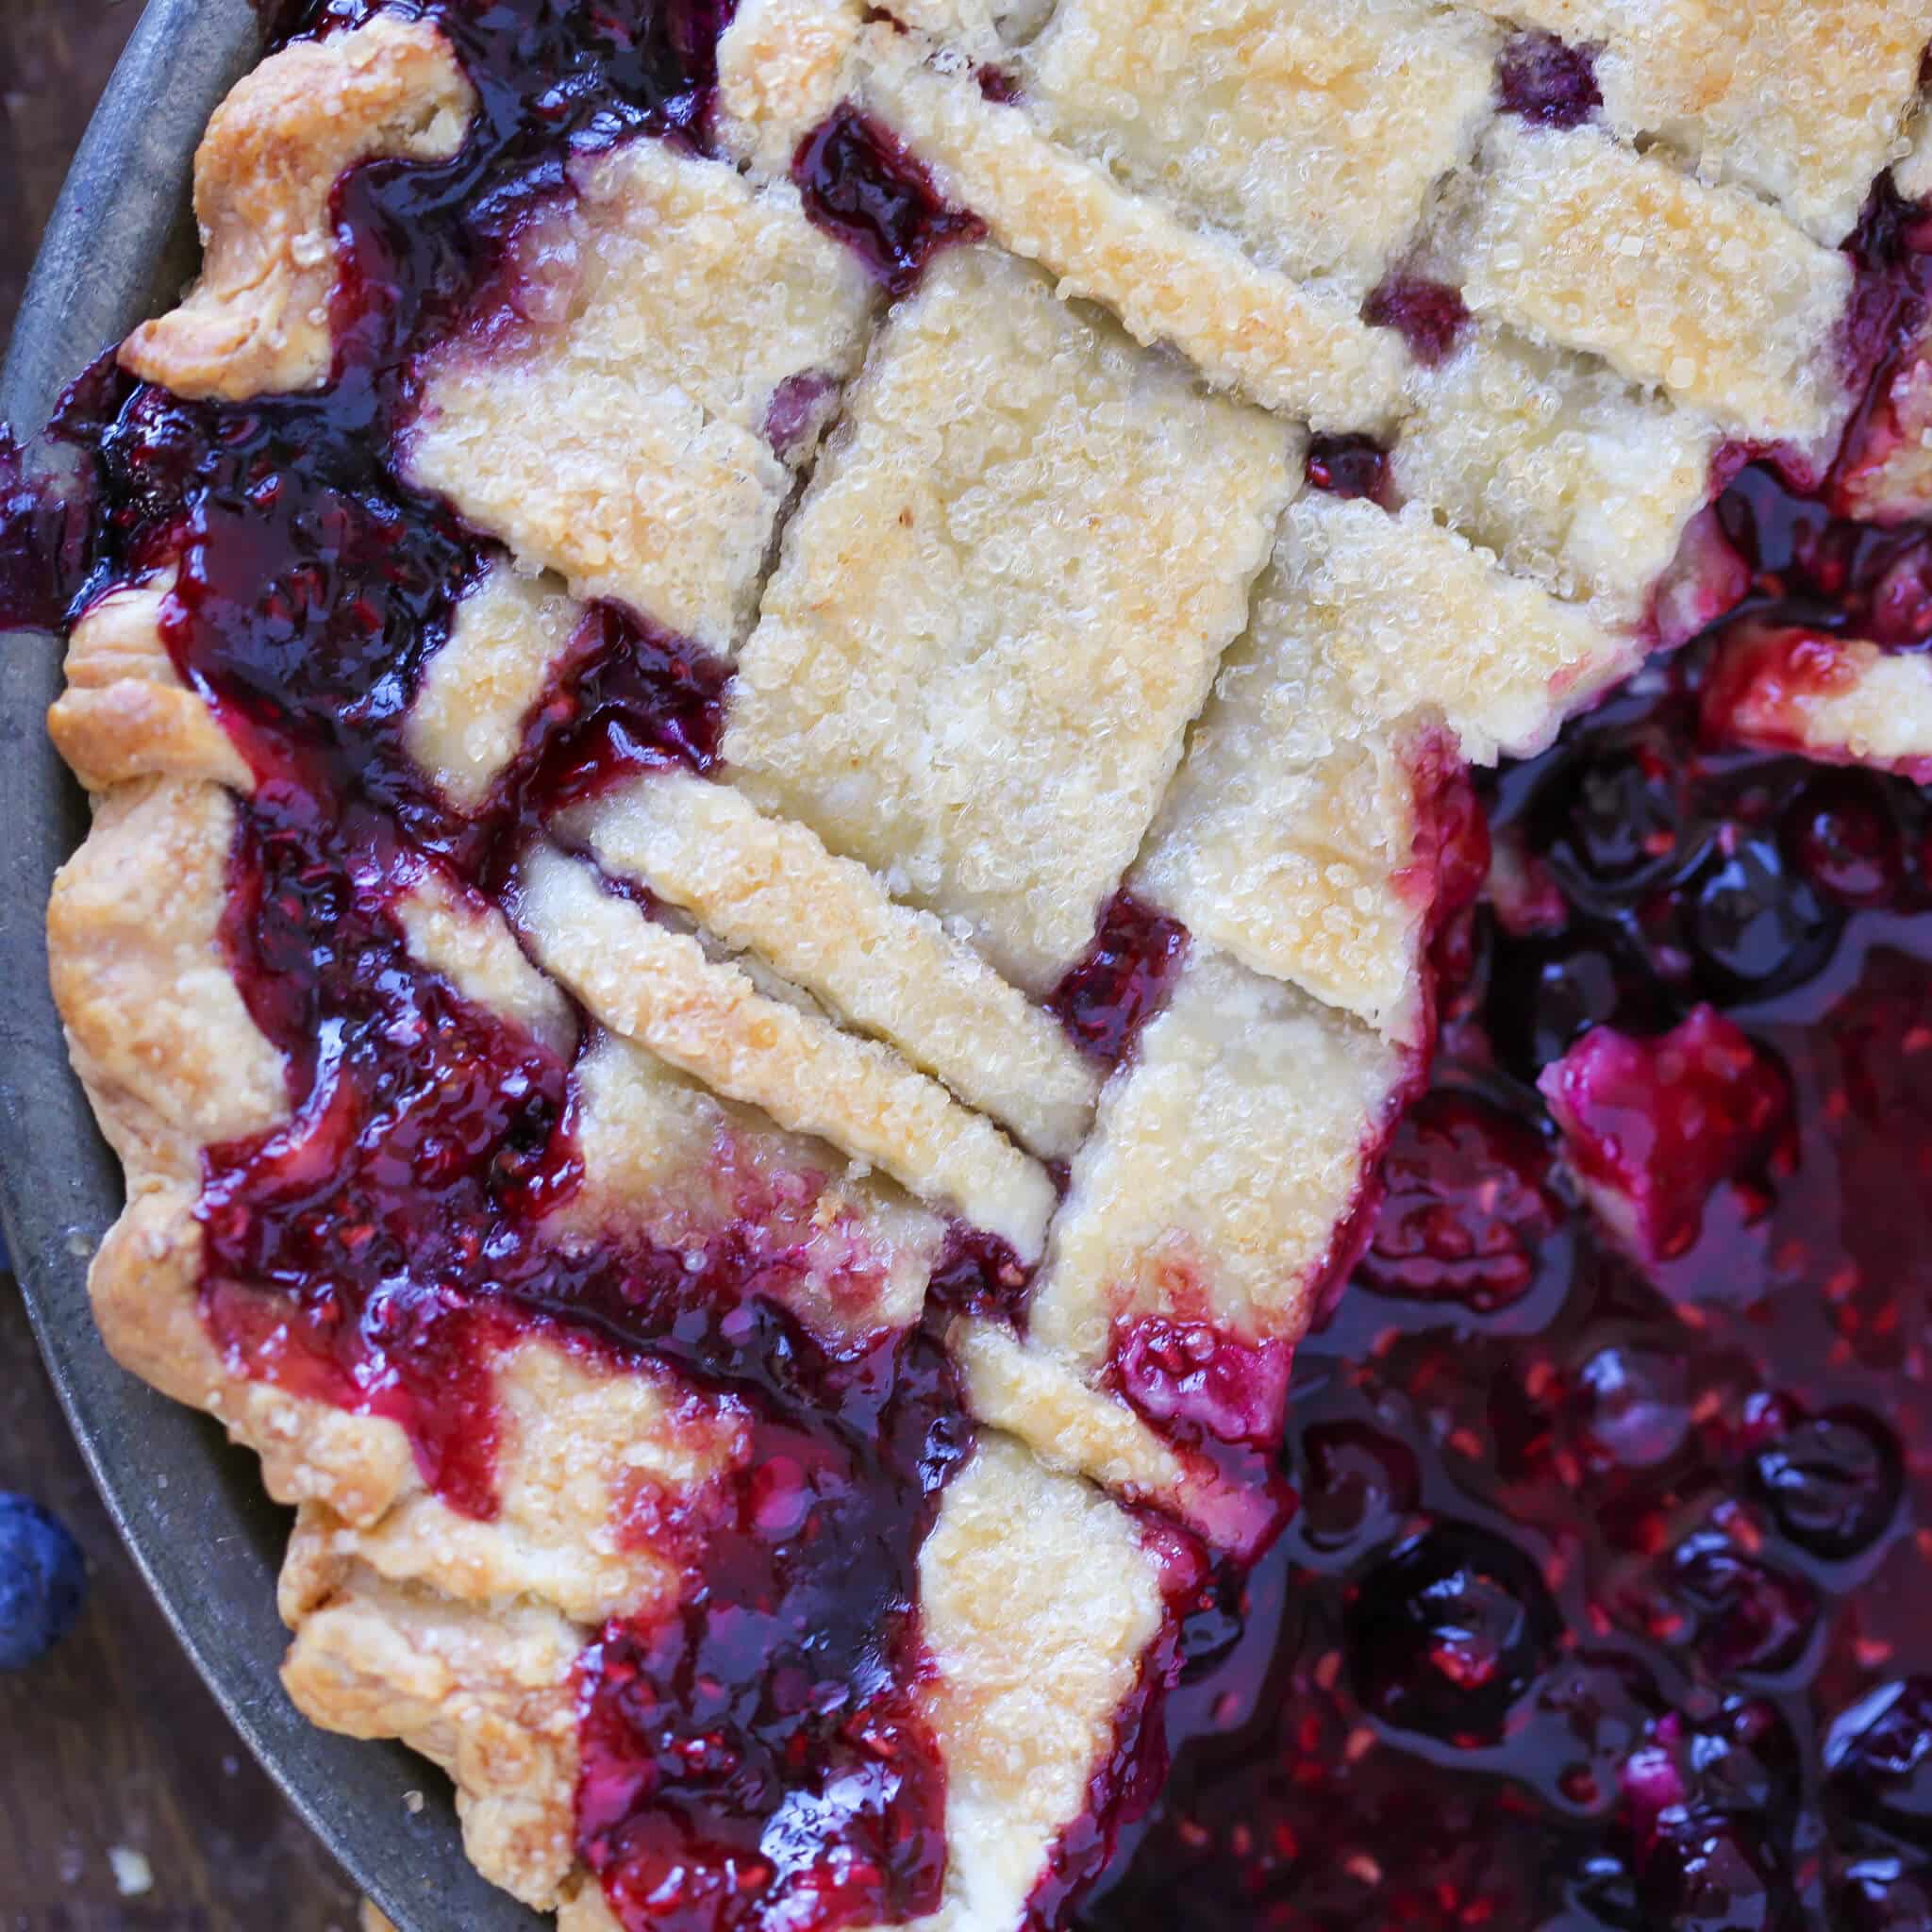
I promise that it is easier than you think and no matter what it looks like, it is still going to taste like homemade pie! Lattice tops look stunning on any double crust pie, but I prefer them on fruit pies like this blueberry pie, peach blackberry pie, mixed berry pie or easy apple pie!
Table of Contents
Professional Tips for a Lattice Pie Crust
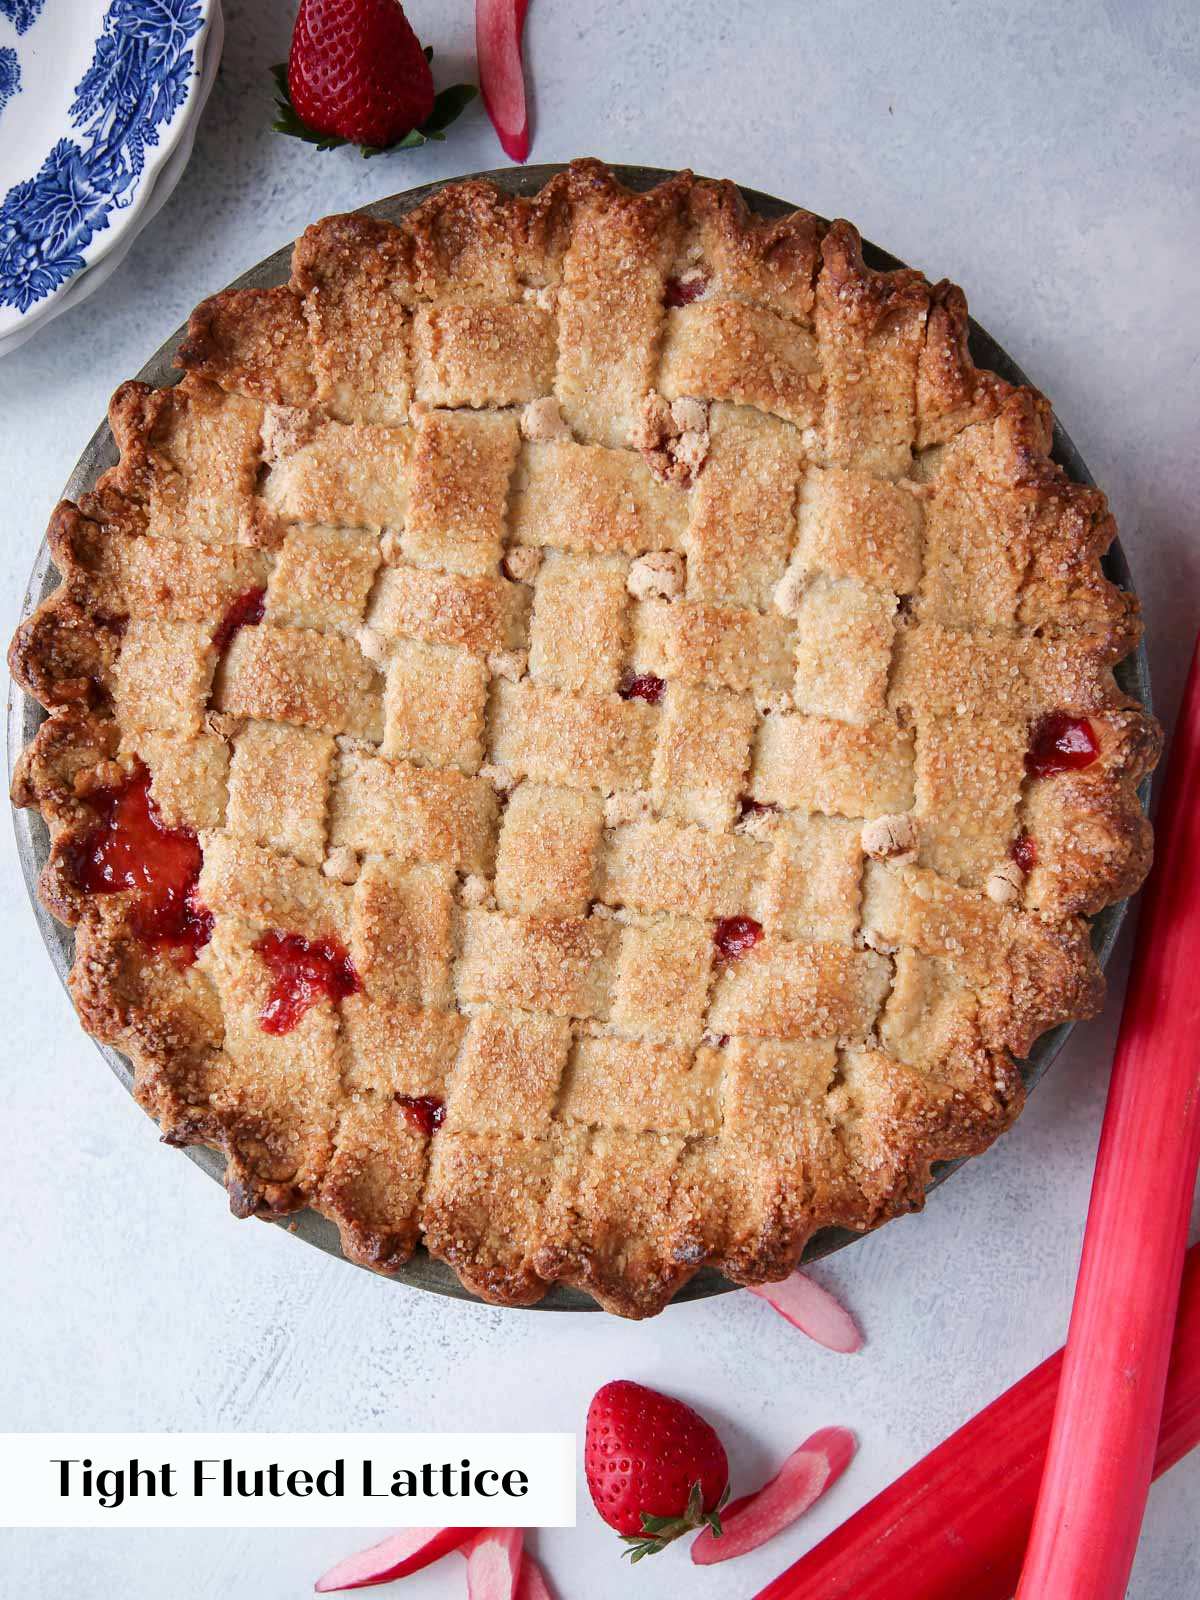
- Know your dough. Some pie doughs are better suited to lattice crusts. An all butter pie crust, Crisco pie crust or a sweet tart crust will be an easier and more forgiving dough to lattice. This almond flour pie crust is best layered like I did on this cherry pie but you can lattice it straight on the pie filling like I did in this strawberry rhubarb pie.
- Work quickly to keep the dough cold. When pie dough warms up, especially while it is being worked, it activates the gluten and it will shrink and become tough. Work on a cool surface like marble or stone and work in short bursts, chilling in between each step.
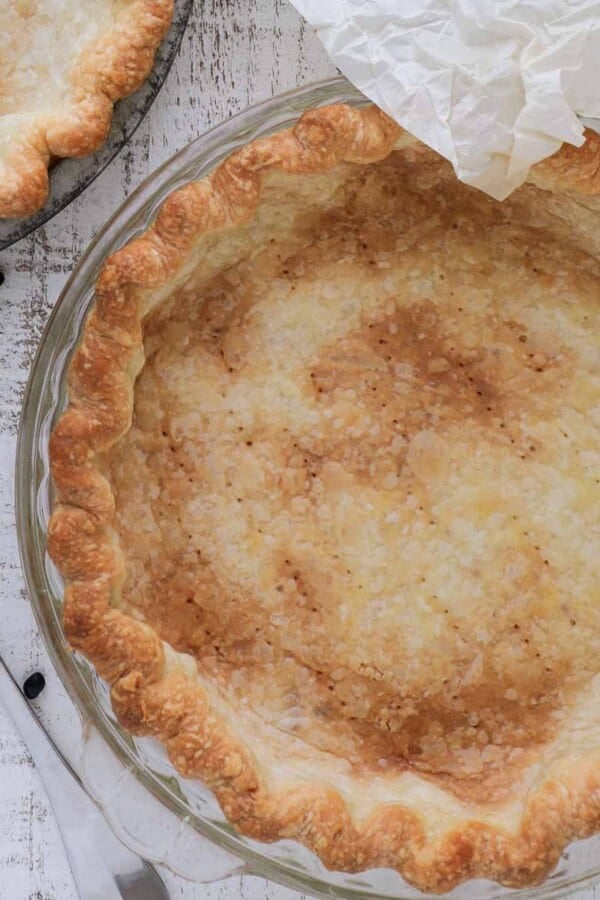
- Build the lattice off the pie crust. This is a tip straight from my bakery business: lattice the pie crust on a piece of parchment paper, refrigerate or freeze, then assemble the pie when the filling is ready!
- You can put two shorter pieces of dough together. When you get to the end of the latticing and you are running short on longer pieces, simply put two (or three!) shorter pieces together and hide the seam under another cross lattice strip!
What you will need
- Pie dough: I prefer to lattice an all butter pastry like my vodka pie crust, a shortening pie crust or a pâte sûcrée. They are more forgiving and less crumbly than some others like this almond pie crust. The amount you need will depend on the type of lattice you want. A traditional lattice with a gap between each strip can be made with a recipe for a single crust pie; however, more intricate designs or to make a weave with no gaps, will require 1.5-2x that.
- Rolling pin. I prefer a French rolling pin because it tapers at the ends. I find it easier to apply even pressure at the beginning and then you can use it to roll specific areas thinner later on.
- Ruler. Yes, pastry is precision, but I am here to tell you it is okay to eyeball it, or lean into it and make them all different sizes!
- Pizza roller or pie wheel. A pizza cutter or chef’s knife works well for straight edged lattice but you’ll want a pie wheel to achieve that beautiful fluted edge. If you want to make quick work of it and get perfectly sized strips without the ruler, use an accordion wheel cutter.
See the recipe card for full information on ingredients and quantities.
Troubleshooting Pie Crust
- The pie dough is cracking when rolling: If you are trying to roll it and the dough is cracking it could be because it is too cold or too dry. If it is too cold, allow it to sit on the counter for 5 minutes before trying again. If it is too dry, try dipping your hands in cold water and applying it directly to the dry parts. Press them together, chill and try again.
- The pie dough is falling apart when rolling: If the dough is falling apart in chunks when trying to roll it, dip your hands in ice water and apply it directly to the cracks. Gently knead the dough together by pressing it away from you with the heel of your hand and pulling it all back towards you. It should only take 2-3 presses. Chill thoroughly and then try rolling again.
- The pie dough is shrinking when rolling: If the dough is shrinking back when rolling, then too much gluten has been activated by a combination of heat, hydration and working the dough. If you continue to work the dough once it shrinks, it will become tough and not be flaky or tender. You must stop and chill the dough.
- There isn’t enough pie dough to cover the top of the pie: There are a few solutions to not having enough pie dough to cover the top. Combine smaller pieces into one long piece and hide the seams under cross lattice pieces; re-roll scraps; or space out the strips to have a bigger gap. Only re-roll pie dough as a last result and be sure to chill it at least 2 hours before rolling again. I like to work with more pie dough to start to have the flexibility to create the pie I want!
How to Lattice Pie Crust
Follow these instructions to make a beautiful lattice pie crust! It is easier than you think! Further details and measurements can be found in the recipe card below.
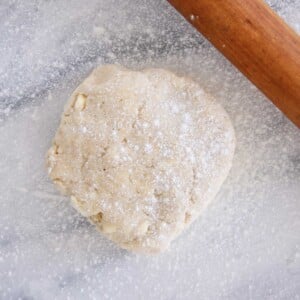
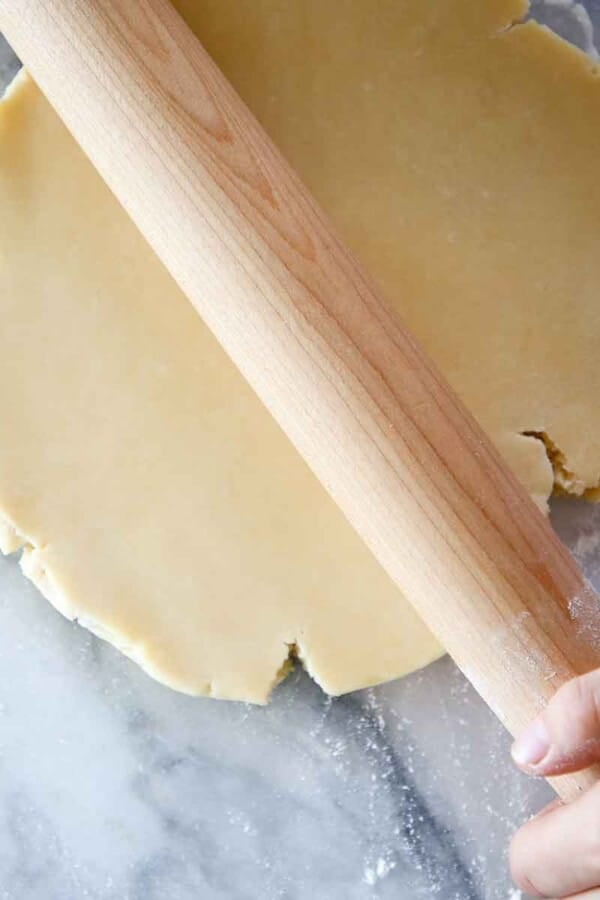
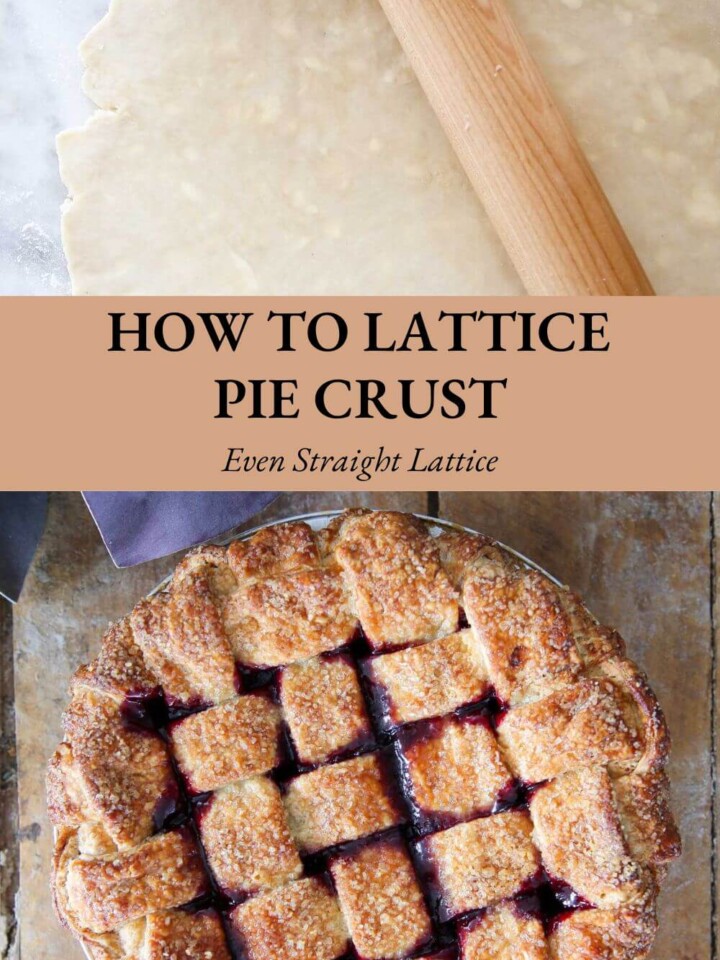
Step 1: Lightly flour a flat surface, the top of the dough, and a rolling pin.
Step 2: Roll the dough out to about 1/8th inch thickness in as close to a circle as possible. Chill for 30 minutes.
You can skip chilling at this stage but it will yield the best pie crust.
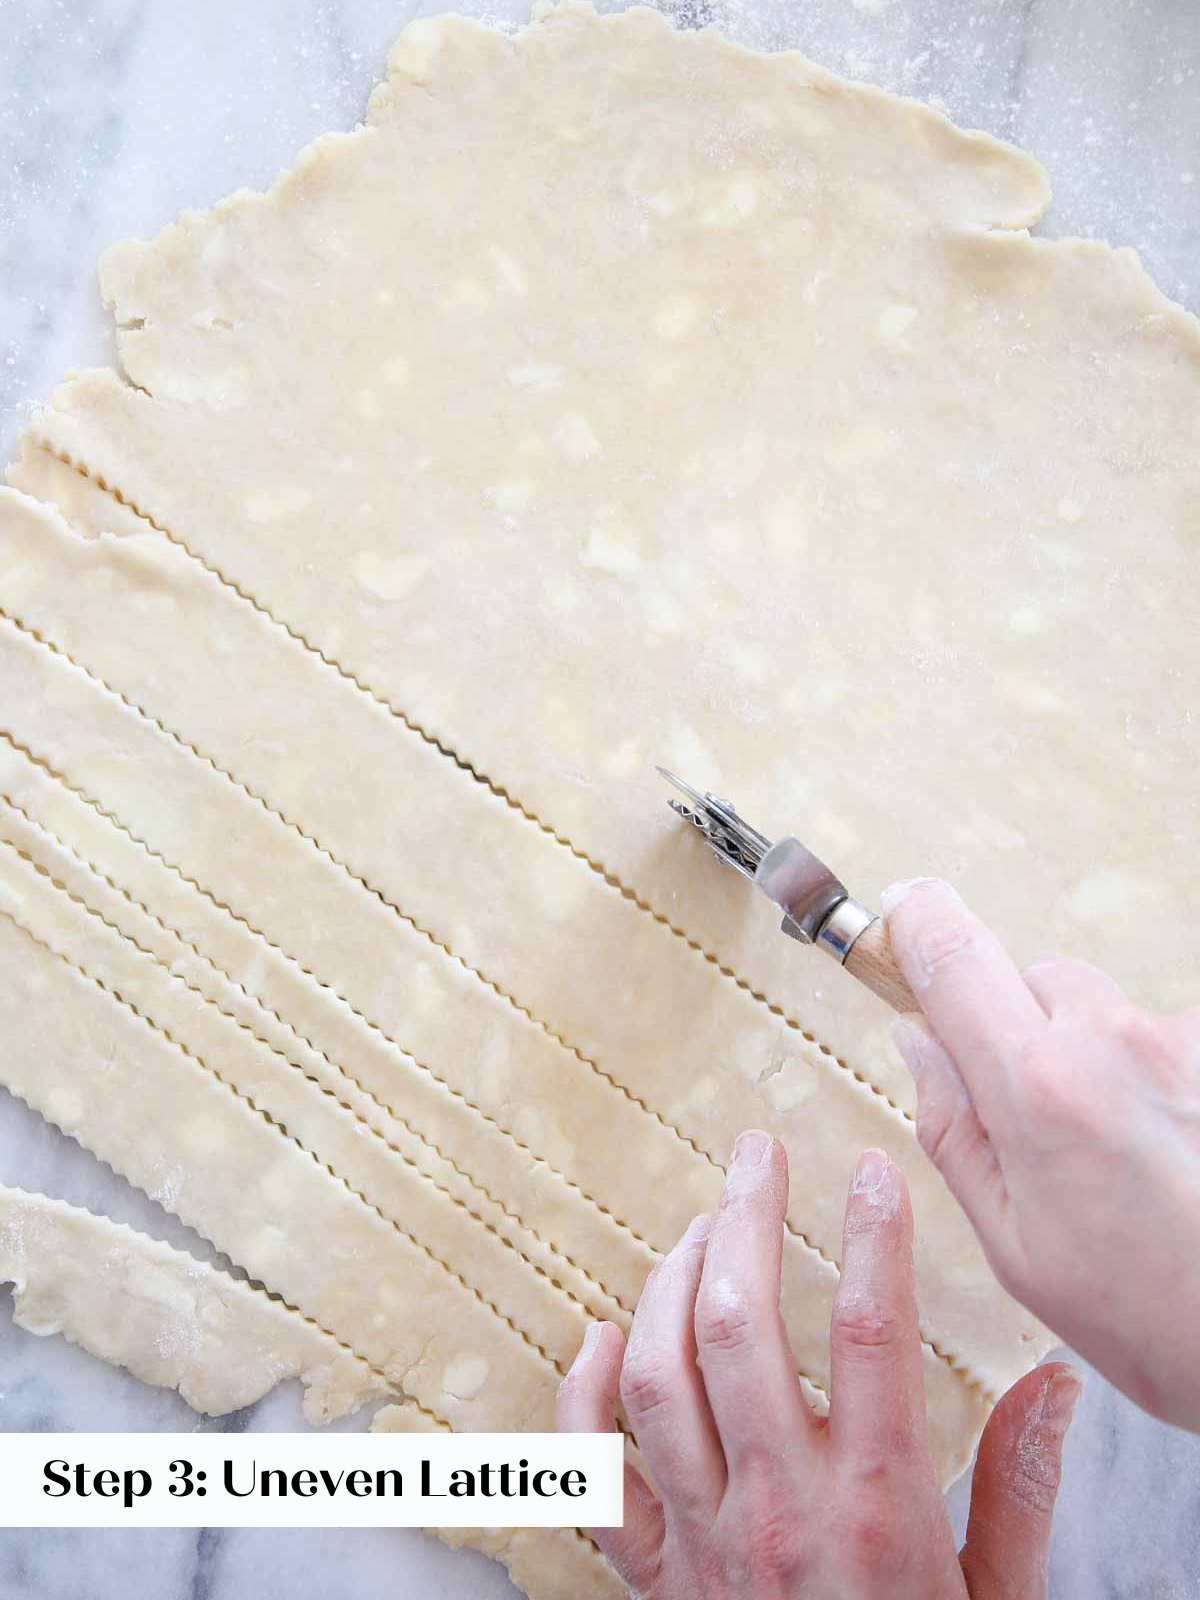
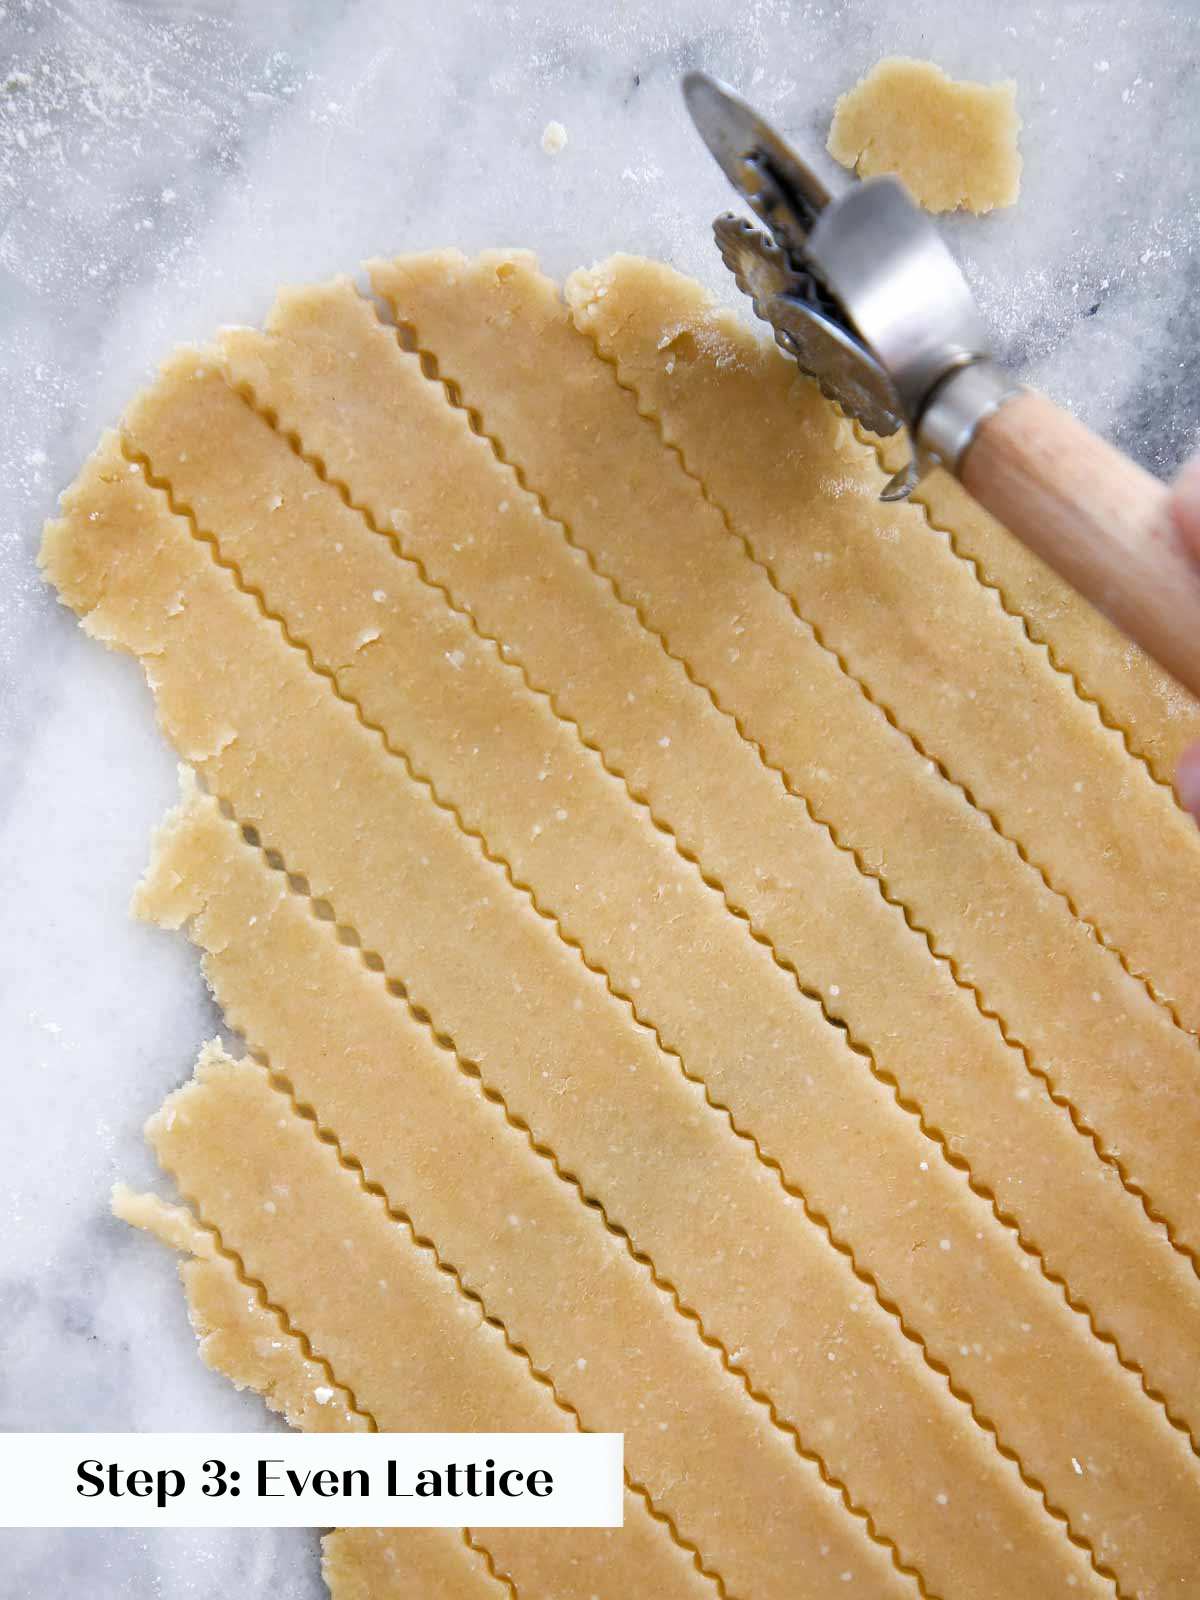
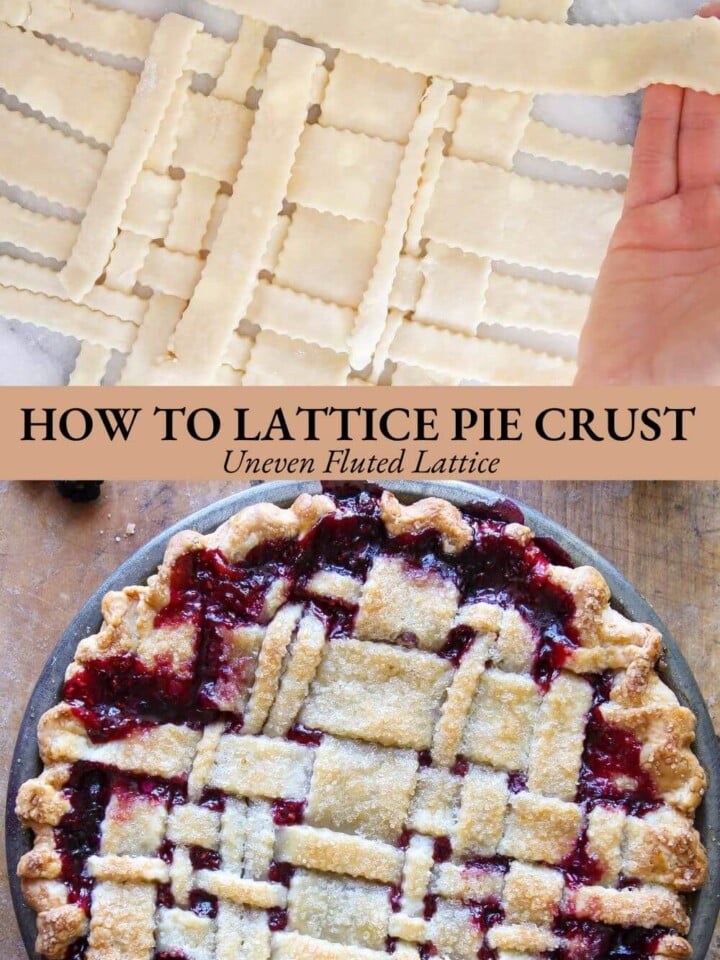
Step 3: Use a ruler to mark the dough in 12 equal pieces and then cut with a pizza cutter or pie wheel. You can also just cut strips in varying widths like I did here.

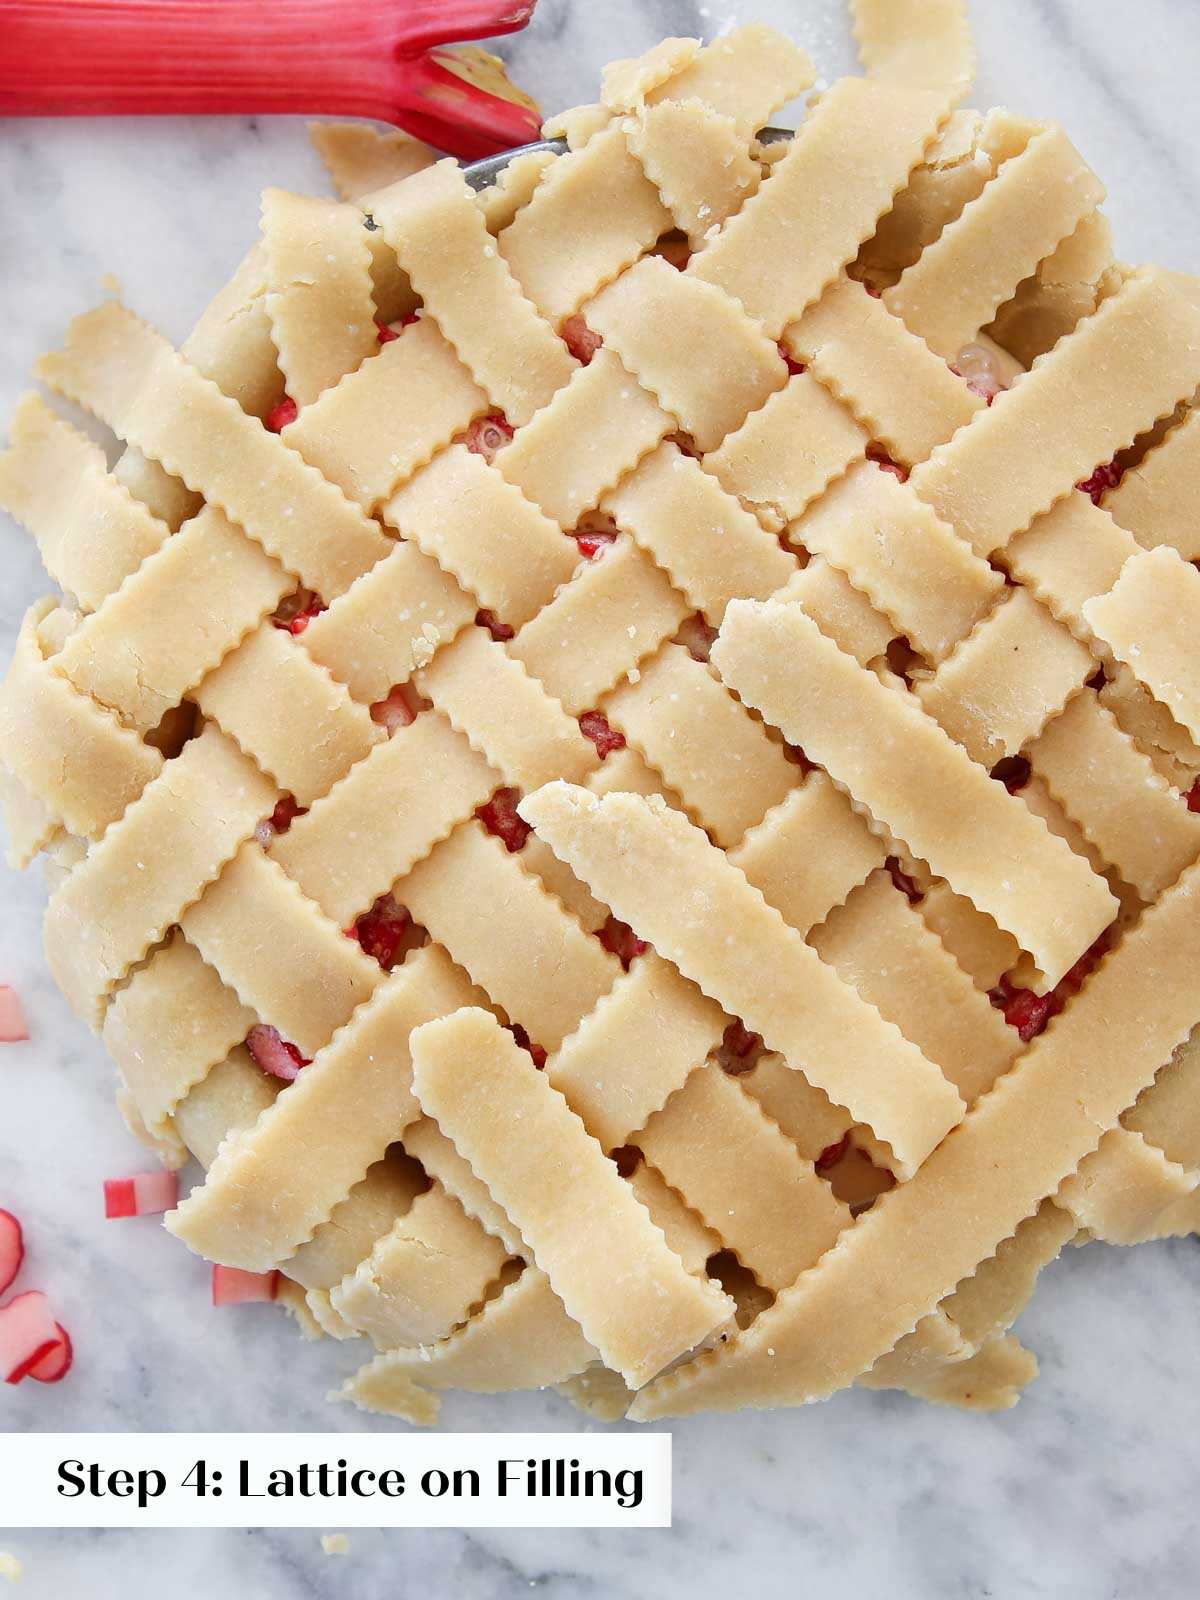
Step 4: Decide if you are going to lattice directly on the dough like the rhubarb pie below or on a piece of parchment. Place 6 strips vertically either on the parchment or directly on the pie filling.
Try to use the longest strips for the middle of the lattice and reserve the shorter pieces to lattice near the edges.
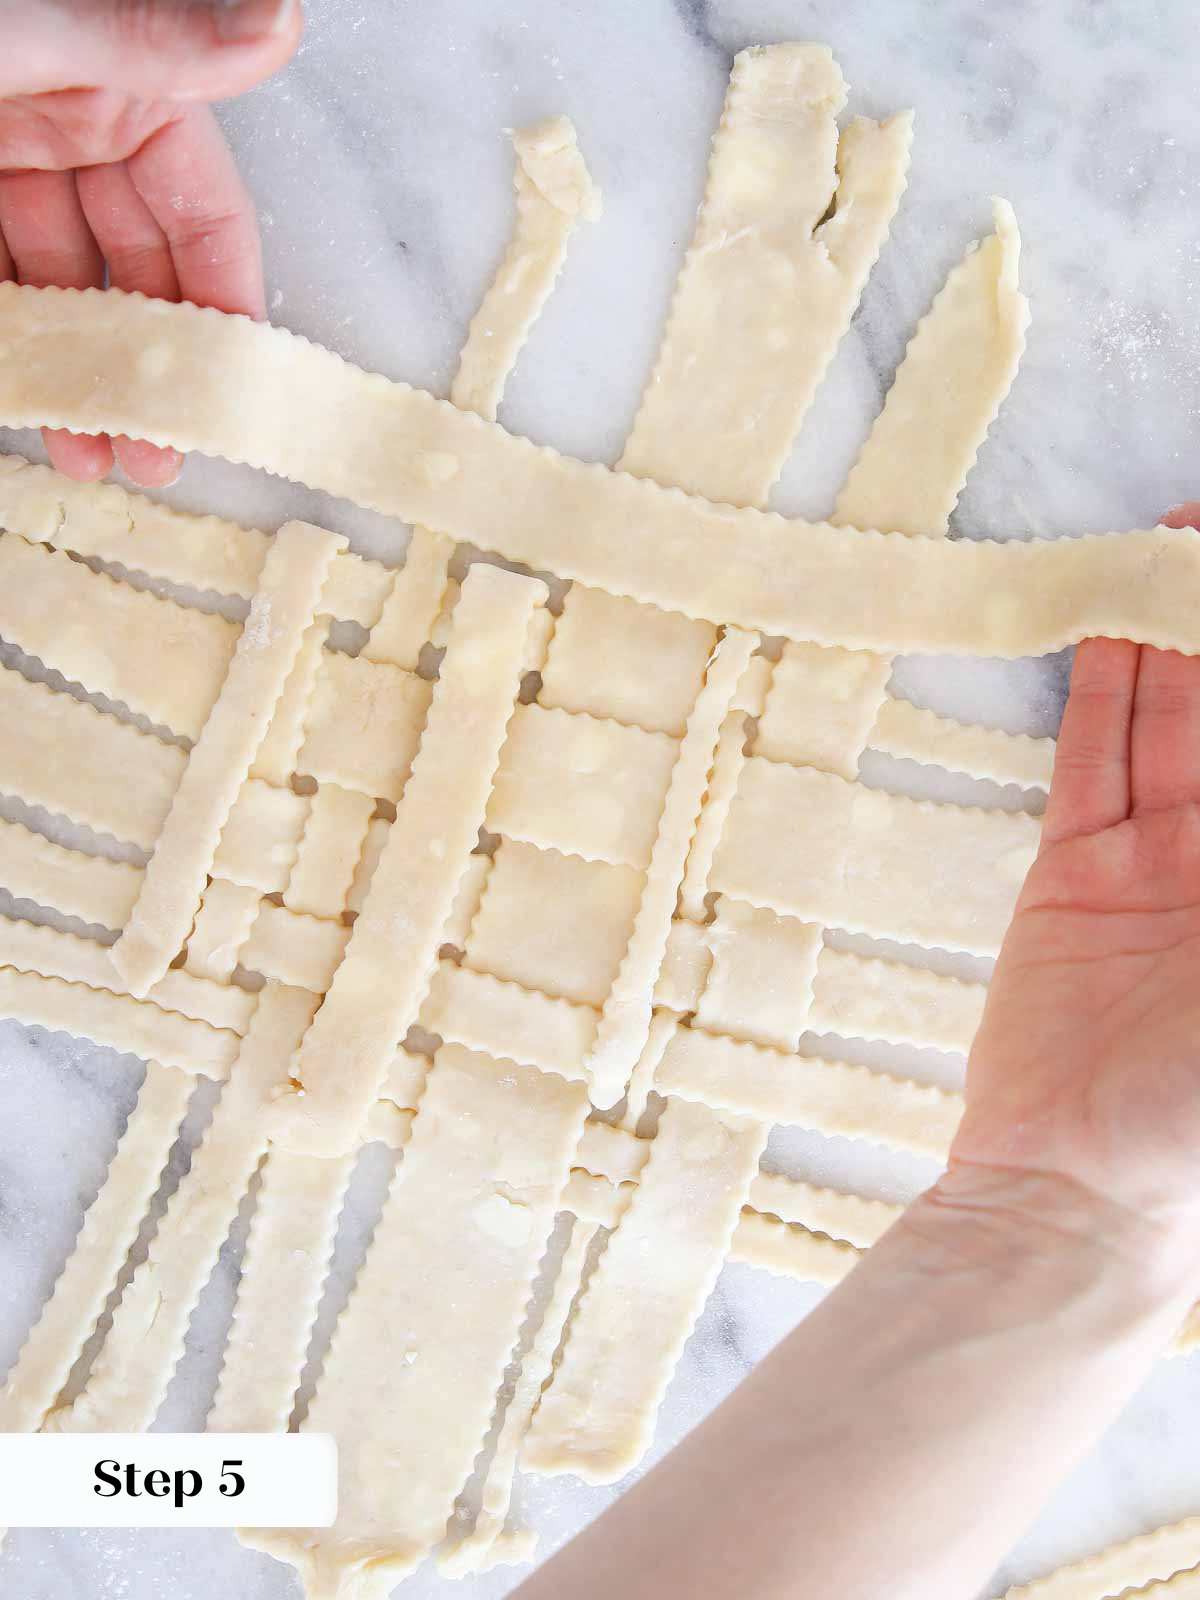
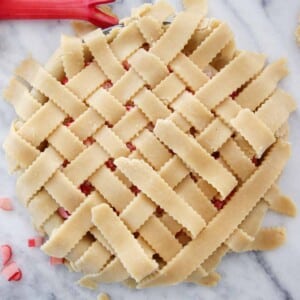
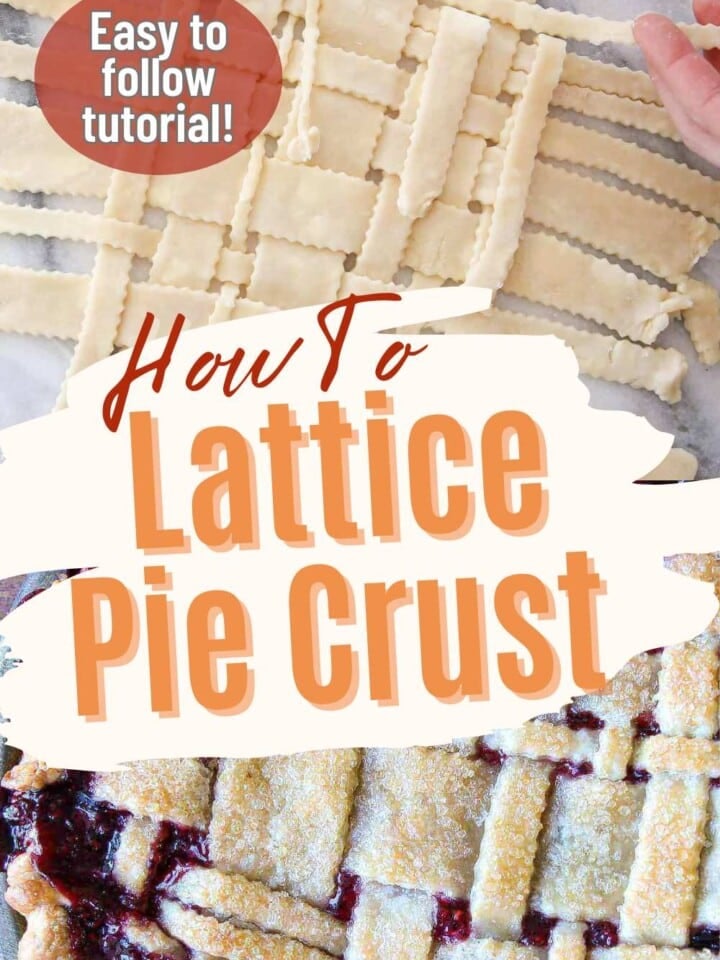
Step 5: Lift up every other strip and fold it back onto itself. Place an unused strip of dough perpendicular to the folded back strips, right in front of the fold. Then fold each one back over the new strip of dough.
Step 6: Gently fold back the other strips of dough. These are the pieces that went under the strip you just placed on the pie. The idea is that the initial 6 strips alternately go over and under the cross pieces of dough you are placing. Repeat in both directions until the lattice is complete.
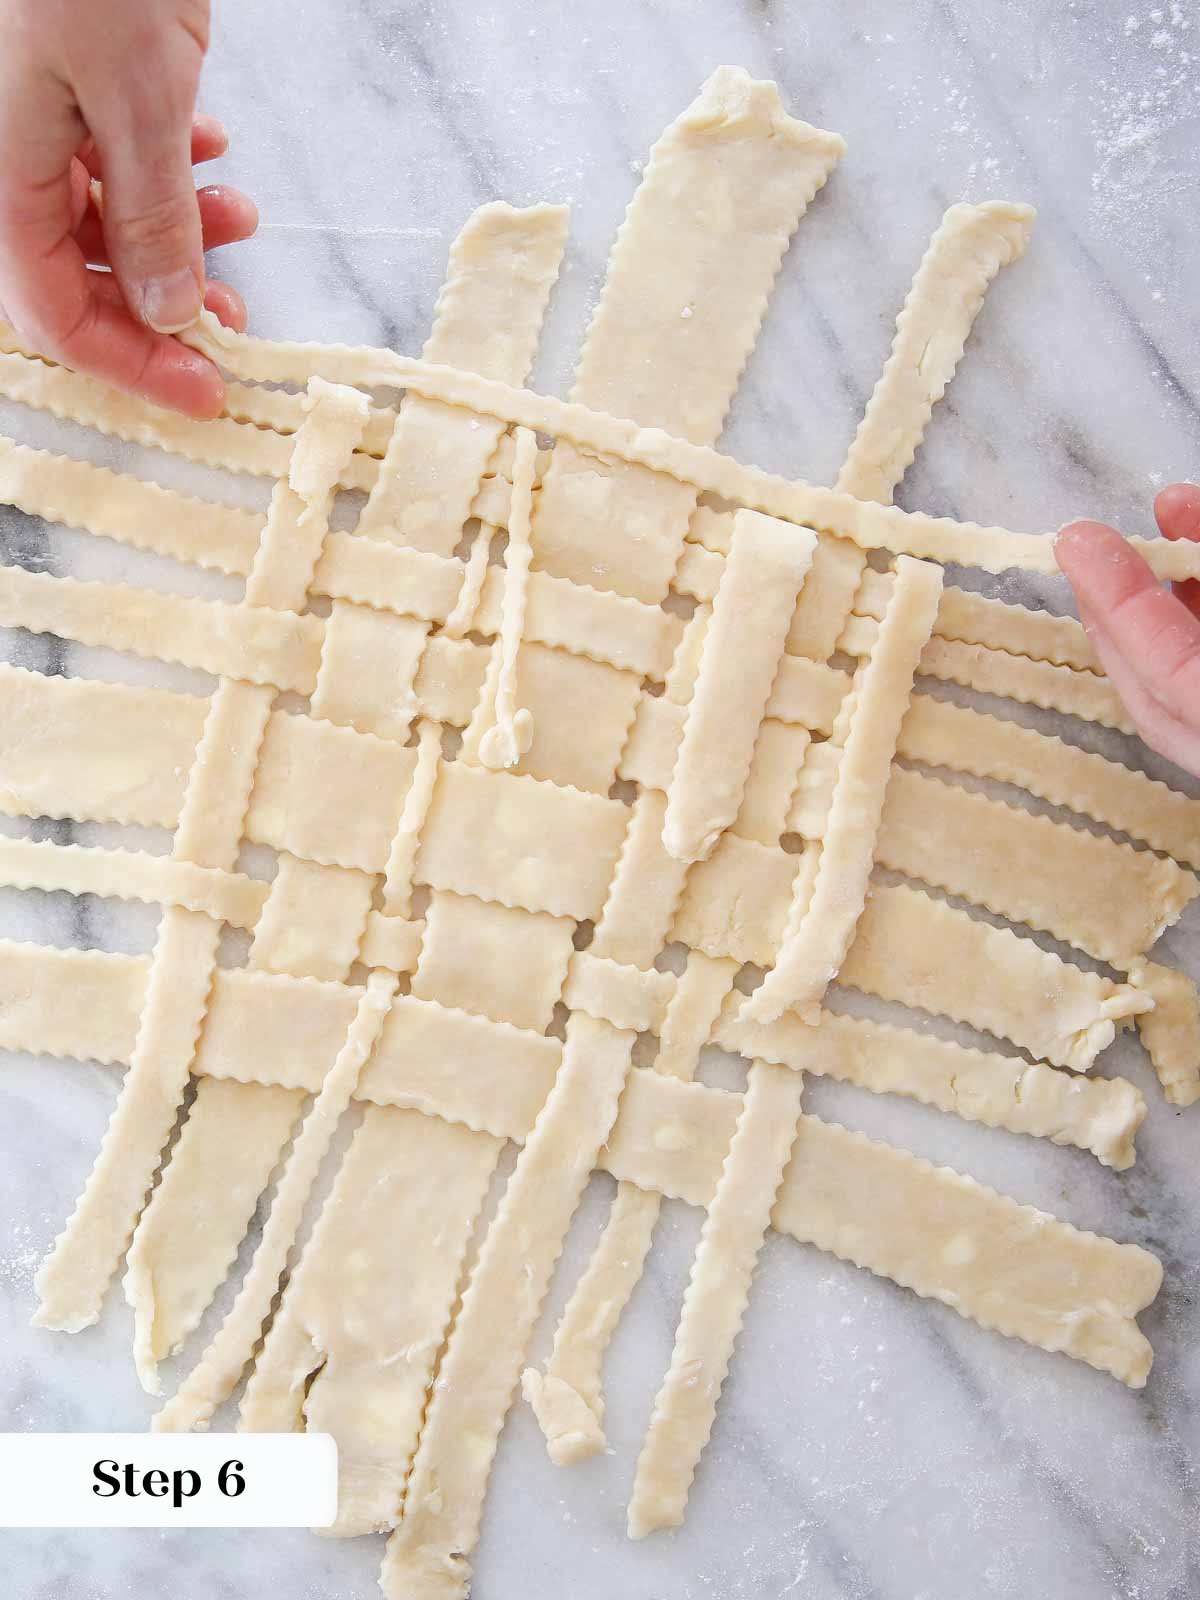
If you miss a piece of dough, simply undo the weave and fix it, or decide you don’t care and leave it. It will still be delicious!
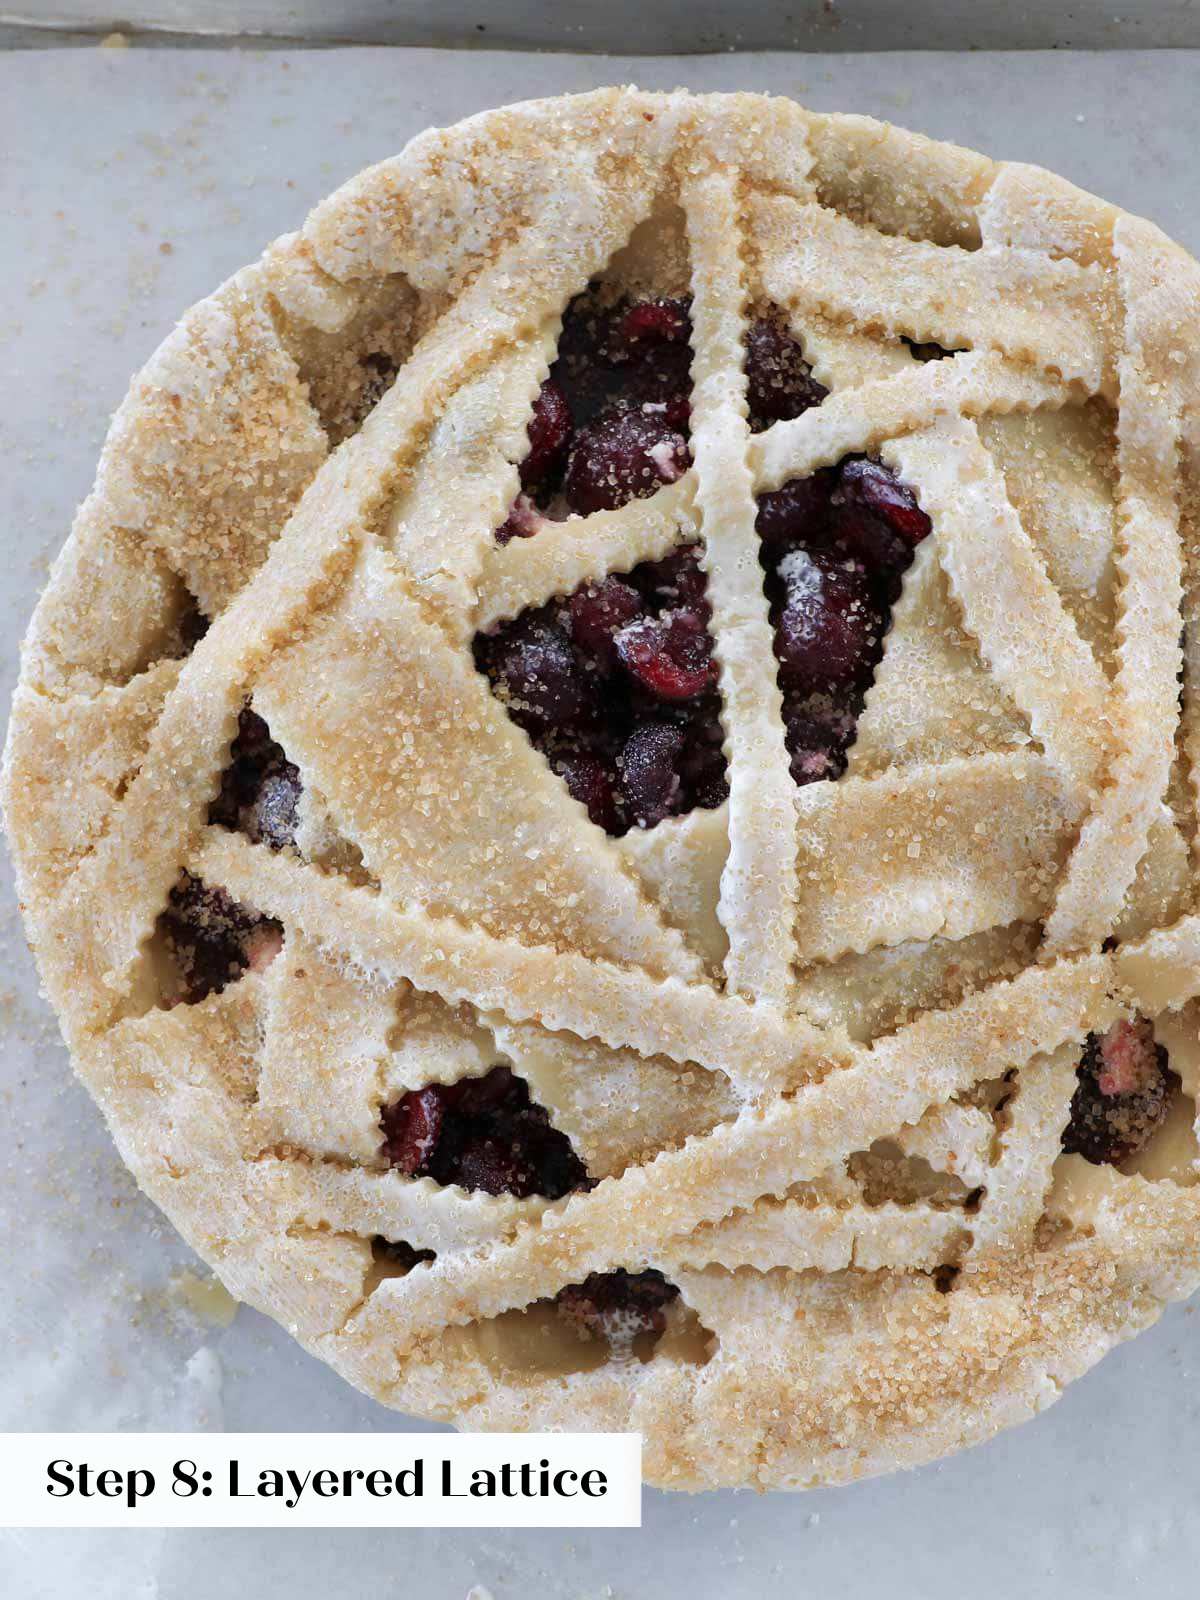
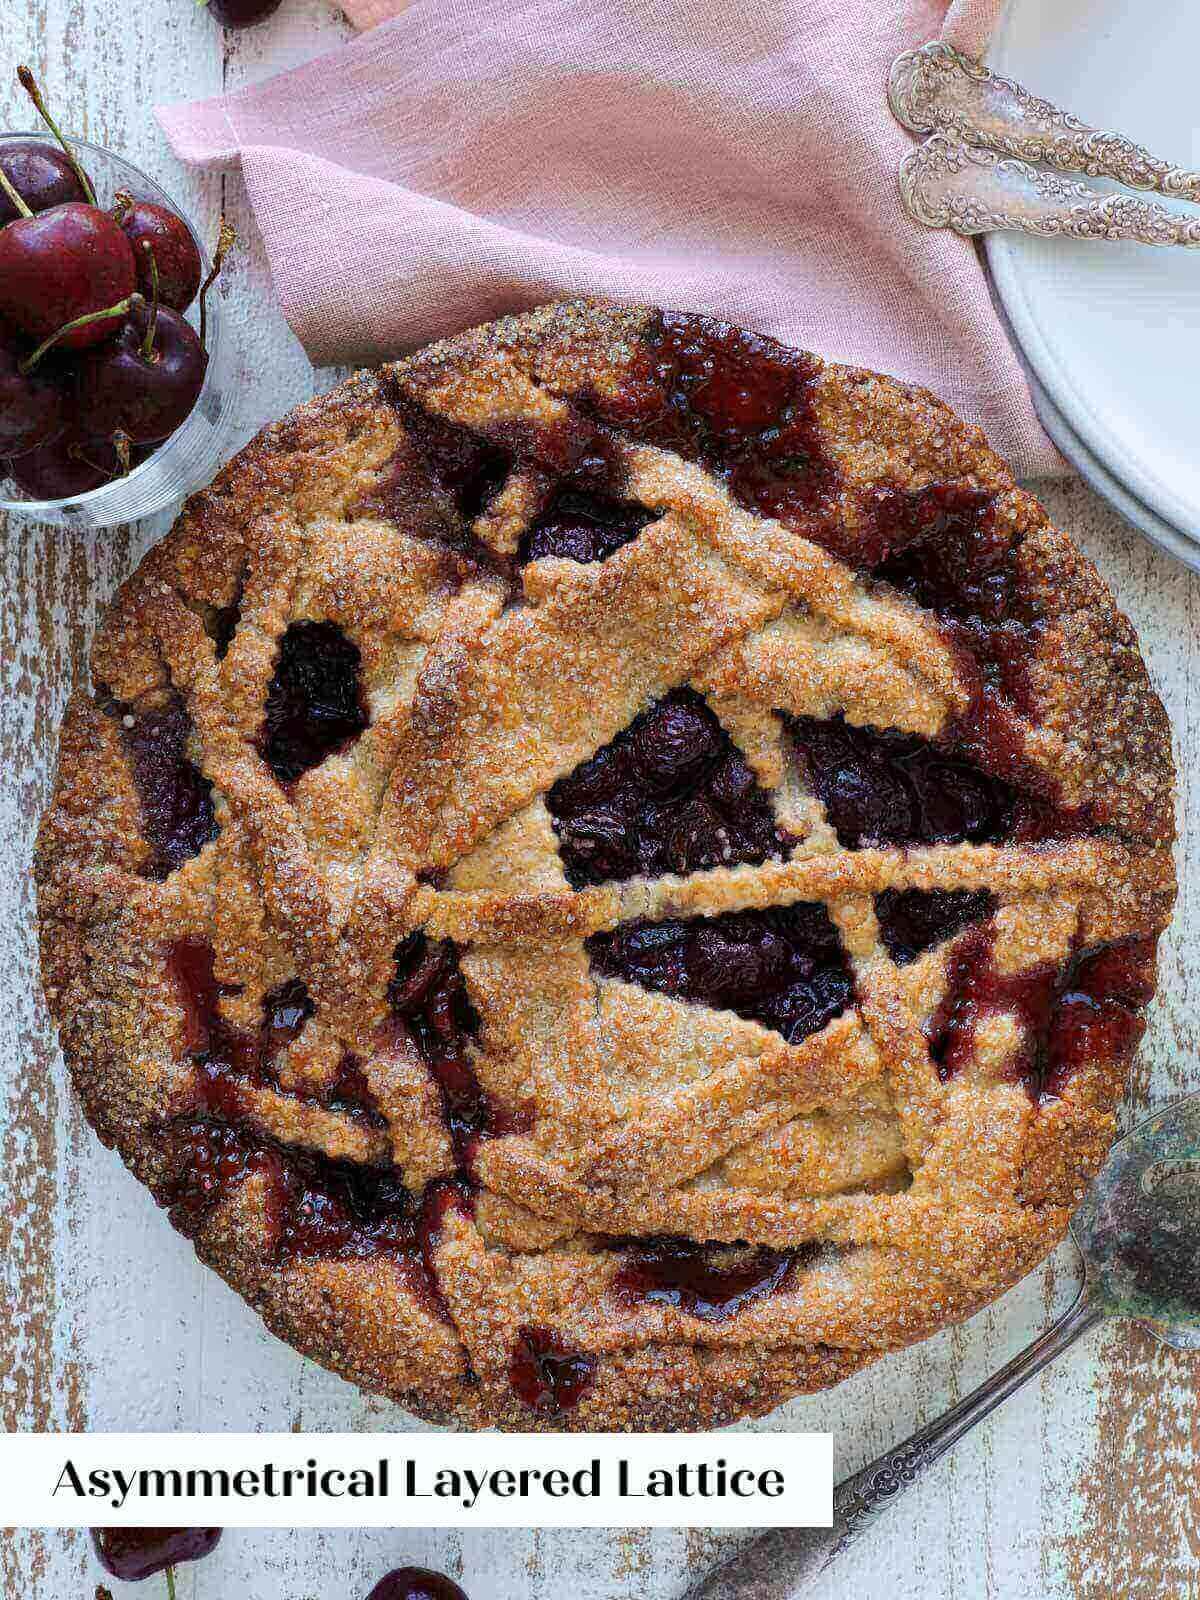
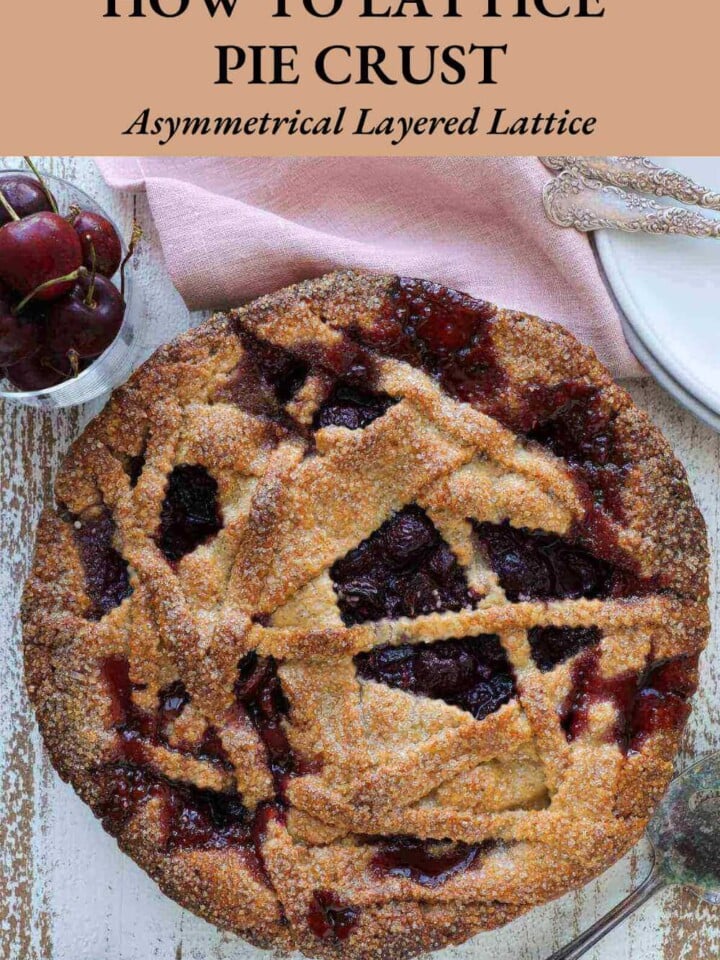
Layered Lattice: You can also skip the weaving altogether and create a layered lattice like I did on the pie below. I feel this looks best when it appears intentional, which is why I cut different strips of different widths and I layer them asymmetrically. The same method works in a crisscross pattern.
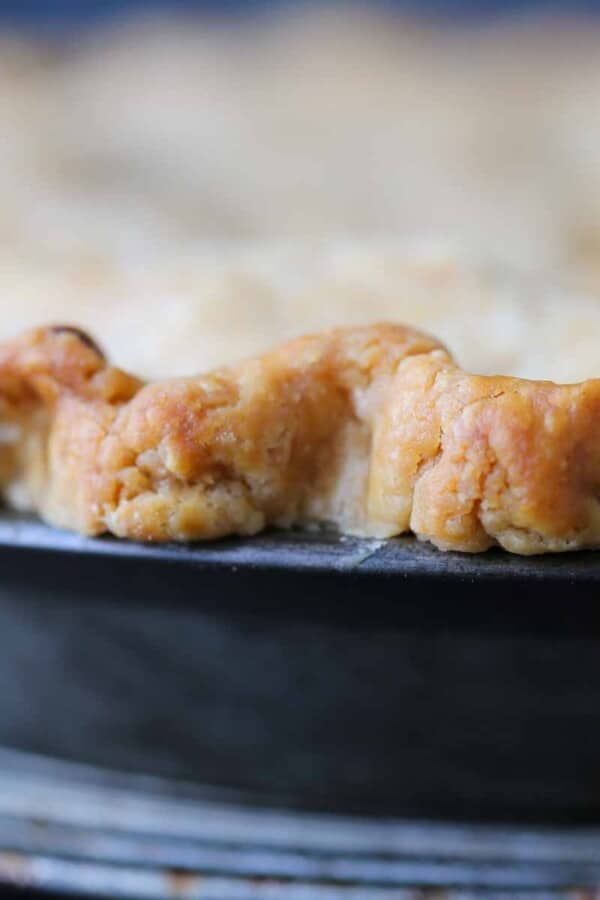
Step 7: Trim off any extra crust with more than 1 inch of overhang, then grab the edges as you would with any double crust pie, pinch and roll under. Press the tight roll onto the baking dish and gradually work your way around the whole pie. Using your knuckles, place one knuckle on the outside of the pie crust edge with two knuckles on the inside edge surrounding the outside one. Press the pie crust together so that the outside knuckle is in between the inside ones.
Step 8: Brush with heavy cream and sprinkle with turbinado or sanding sugar. This is optional but I love the glittery effect and the caramelized sugar topping. You can also brush with a beaten egg for a shiny top.
Chef Lindsey’s Recipe Tip
If you take nothing else away from this post, take this. It’s not that serious. Your crust will be beautiful no matter what, and if you started in one direction, you can finish in a totally different one when something goes wrong. I do this all the time, and sometimes, something really magical comes from these “mistakes.”
Lattice Pie Crust Inspiration

Frequently Asked Questions
A lattice pie crust is a method for weaving strips of pie crust into a lattice pattern for the top of a double crust pie. It is achieved by alternately folding back strips of dough and placing a new strip of dough perpendicular to the folds. Those first folded pieces are unfolded over the strip and the opposite pieces are folded back and the process repeats.
You can freeze latticed pie crusts between two pieces of parchment for up to 2 months. For the best results store flat on a baking sheet wrapped in plastic wrap. Allow it to warm just enough to be pliable before using.
Trim off any extra crust with more than 1 inch of overhang, then grab the edges as you would with any double crust pie, pinch and roll under. Press the tight roll onto the baking dish and gradually work your way around the whole pie. Using your knuckles, place one knuckle on the outside of the pie crust edge with two knuckles on the inside edge surrounding the outside one. Press the pie crust together so that the outside knuckle is in between the inside ones.
You can either lattice directly on the filled bottom crust or you can weave the lattice on a piece of parchment paper. Refrigerate the latticed crust and then slide it onto the filling.
If you tried this recipe and loved it please leave a 🌟 star rating and let me know how it goes in the comments below. I love hearing from you; your comments make my day!
How to Lattice Pie Crust
Ingredients
- 1 cup all-purpose flour
- ½ teaspoon kosher salt
- ½ teaspoon granulated sugar
- 4½ tablespoons unsalted butter cubed
- 1¼ oz cold water or as much or as little as needed
Instructions
- Use any of the 5 methods in this all butter pie crust recipe tutorial to prepare you pie crust or use store bought.
- Lightly flour a flat surface, the top of the dough, and a rolling pin.
- Roll the dough out to about 1/8th inch thickness in as close to a circle as possible. Chill for 30 minutes.
- Use a ruler to mark the dough in 12 equal pieces and then cut with a pizza cutter or pie wheel. You can also just cut strips in varying widths like I did here.
- Decide if you are going to lattice directly on the dough like the rhubarb pie below or on a piece of parchment. Place 6 strips vertically either on the parchment or directly on the pie filling.
- Lift up every other strip and fold it back onto itself. Place an unused strip of dough perpendicular to the folded back strips, right in front of the fold. Then fold each one back over the new strip of dough.
- Gently fold back the other strips of dough. These are the pieces that went under the strip you just placed on the pie. The idea is that the initial 6 strips alternately go over and under the cross pieces of dough you are placing. Repeat in both directions until the lattice is complete.
- Layered Lattice: You can also skip the weaving altogether and create a layered lattice like I did on the pie below. I feel this looks best when it appears intentional, which is why I cut different strips of different widths and I layer them asymmetrically. The same method works in a crisscross pattern.
Video
Notes
Nutrition
Before You Go
I hope you enjoyed this tutorial by a professional pastry chef. You might also want to look at our pie recipes, pie crust recipes or this tutorial on when to dock a pie crust.


The best thing about this is that you give different variations on how to lattice! I love it, and you are such a good teacher, I feel I can lattice anything now. Not only is your pie dough a dream to work with, but I have also used this technique for tarts.