This post may contain affiliate links. Please read our disclosure policy.
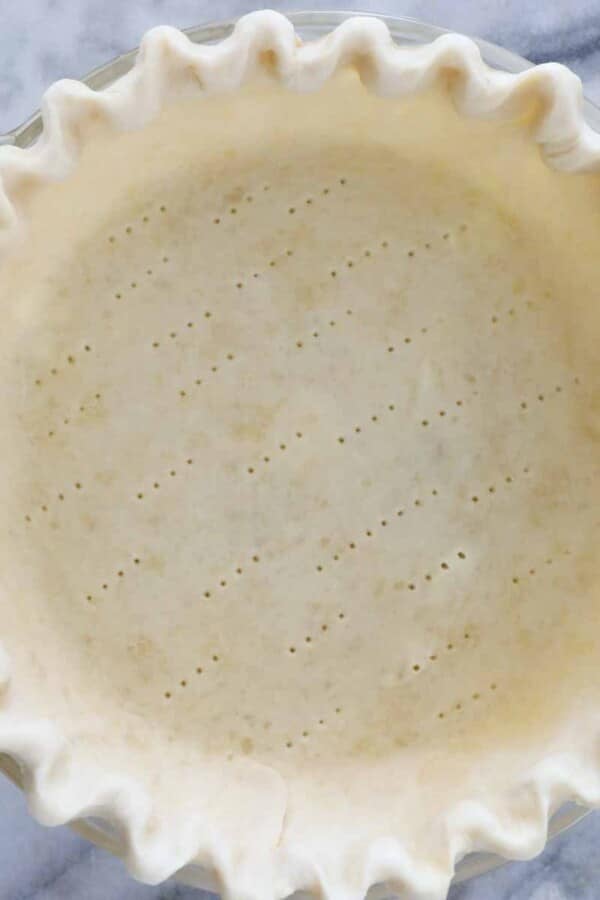
This recipe for almond flour pie crust is tender and crumbly. It is lightly sweetened and is the perfect pie crust for fruit pies, chocolate pies, or even a twist on banana cream pie.
This almond flour pie crust is one of the first recipes that I posted in 2013. It is tender, crumbly and the perfect pair for sweet fruit pies. Since then I’ve used it to make strawberry rhubarb pie, peach pie, cherry pie, blueberry pie, peach blackberry pie, and so many more.
The combination of shortening and almond flour makes the crust so tender it almost melts in your mouth! It is just as easy as my Crisco pie crust recipe, but made with almond flour!
Table of Contents
Why you will love this almond flour pie crust recipe
- No-shrink pie dough. Shortening not only makes for a tender dough, it also keeps this pie crust from shrinking. Using both all-purpose flour and almond flour also minimizes shrinkage.
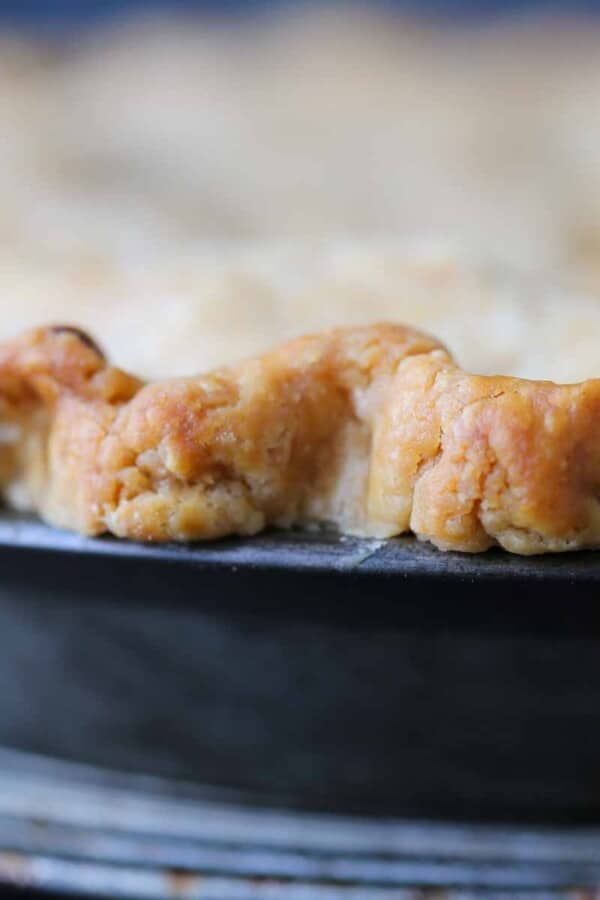
- Savory flavor. The almond flour lends a savory note to this pie crust. This makes it a perfect pair for any fruit pie! It would also be an intriguing twist on classic pumpkin pie!
- Old fashioned recipe modernized. This recipe is from The American Woman’s Cookbook (1944 Edition) but I give you all my modern pastry chef tips and tricks!
Ingredients
- All-purpose flour: All-purpose flour has just the right amount of gluten to make a tender, flaky pie crust when handled properly. You could also use pastry flour.
- Almond Flour: I use blanched almond flour because it is ground a bit finer than almond meal, but almond meal will also work. I generally use Bob’s Red Mill for the texture and flavor.
- Granulated Sugar: Sugar is here for sweetness, caramelization of the pie crust, and also tenderness.
- Kosher Salt: Kosher salt is less salty than table salt and a teaspoon weighs less than other finer ground varieties. It heightens the flavor here and will keep your pie crust from tasting dull or flat. It also inhibits gluten formation, which is critical in pie crust.
- Shortening: This recipe uses vegetable shortening which coats the gluten strands and keeps them from forming a strong, large network. Shortening when used exclusively in pie crust, makes a crumbly, tender crust rather than flakey.
- Whole Egg: The egg is here to add fat, moisture and flavor. The fat from the yolk adds richness and helps hydrate the dough without activating the gluten. This keeps the crust soft and tender.
- Cold Water: Water provides the remaining hydration needed to bind all the ingredients together. I use ice cold water and work the dough as little as possible after adding in order to limit gluten formation.
See the recipe card for full information on ingredients and quantities.
Substitutions & Variations
- Almond Flour: If you cannot find or do not want to purchase almond flour, you can grind blanched almonds in the food processor until as finely ground as possible.
- Alternative Flours: You can substitute any nut flour for the almond flour for a fun flavor variation. Toasted hazelnuts would be delightful!
- Butter: I have not tried this recipe with butter, so I do not know if it works. You can use this almond flour tart crust recipe instead, which uses butter.
How to make almond flour pie crust
Use these instructions to make the perfect almond flour pie crust every time! Further details and measurements can be found in the recipe card below.
Make the pie dough:
Step 1: It helps if all the ingredients are cold but it isn’t necessary. I do usually freeze my shortening because it warms so quickly.
Step 2: In a large bowl or in the bowl of a stand mixer fitted with the paddle attachment, combine all-purpose flour, almond flour, sugar, and salt. Add the cubed shortening and cut in with a pastry blender or mix on low until they are worked into the dry ingredients and are the size of peas.
The dough will change colors when it is done being mixed. When the shortening is “under cut in” the flour mixture will look white and dry. When the shortening is appropriately mixed in, the flour mixture will look like wet sand. This is almost more important than the size of the shortening pieces.
Step 3: Beat egg with a fork until smooth and no visible whites remain. Add to the bowl with the dry ingredients. Toss with a fork to incorporate or mix in on low.
Step 4: Add just enough water to hold dough together. I used 2 tablespoons but this will vary. You want the dough to stay in a ball, so if chunks are falling out, then add some more water. It doesn’t take as much as you think! Roll into a ball, place on plastic wrap, and flatten into a disk.
Step 5: Refrigerate for several hours or overnight.
Rolling & latticing the dough:
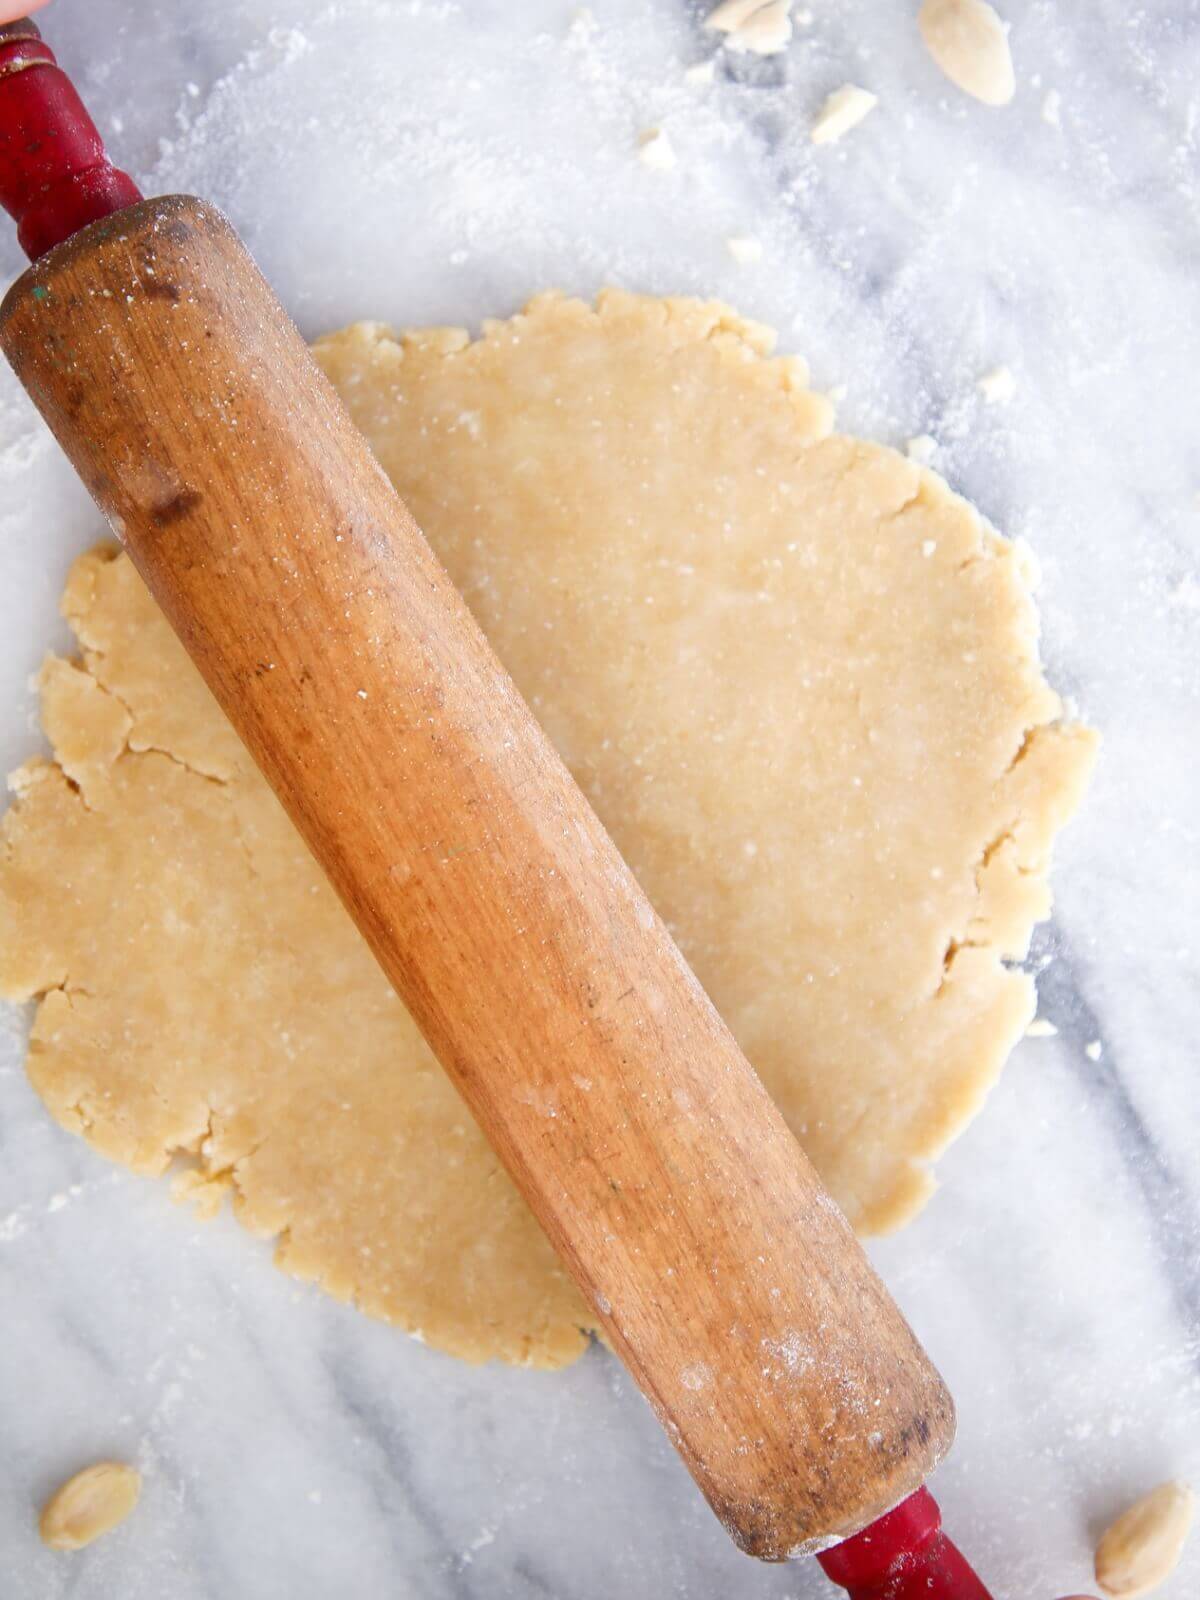
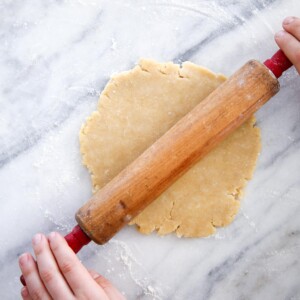
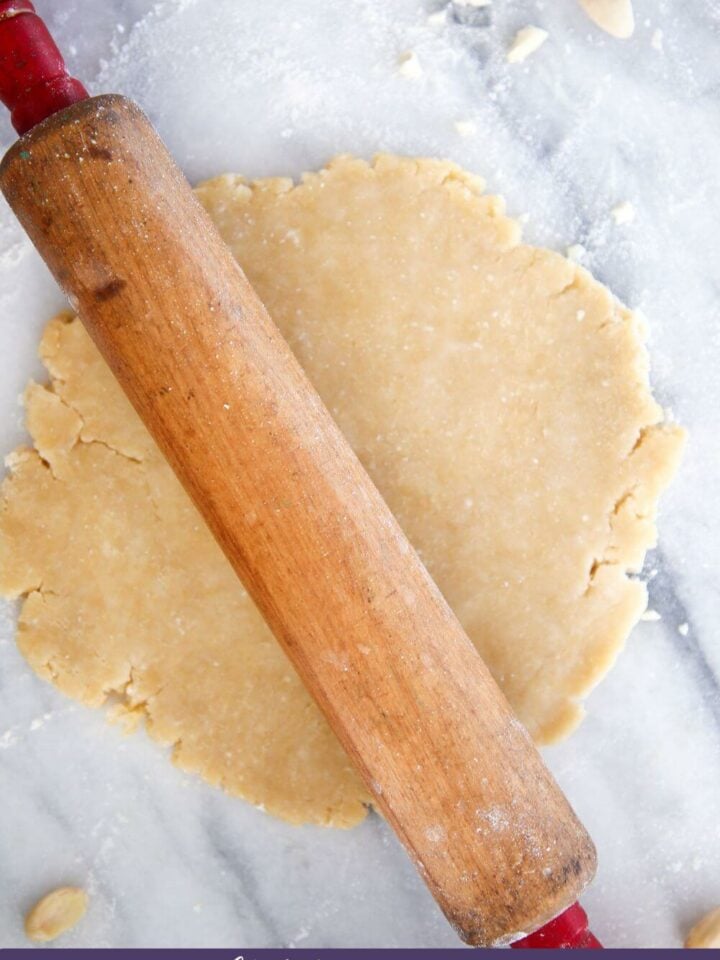
Step 6: Roll out to ¼ inch thick. If it cracks, it is a little too cold. Let it sit out for 5-8 minutes.
This dough is more fragile than my other go-to crust, so I use the rolling pin method for transferring the dough to a pan. Gently roll the dough onto the pin and unroll it over your pie dish.
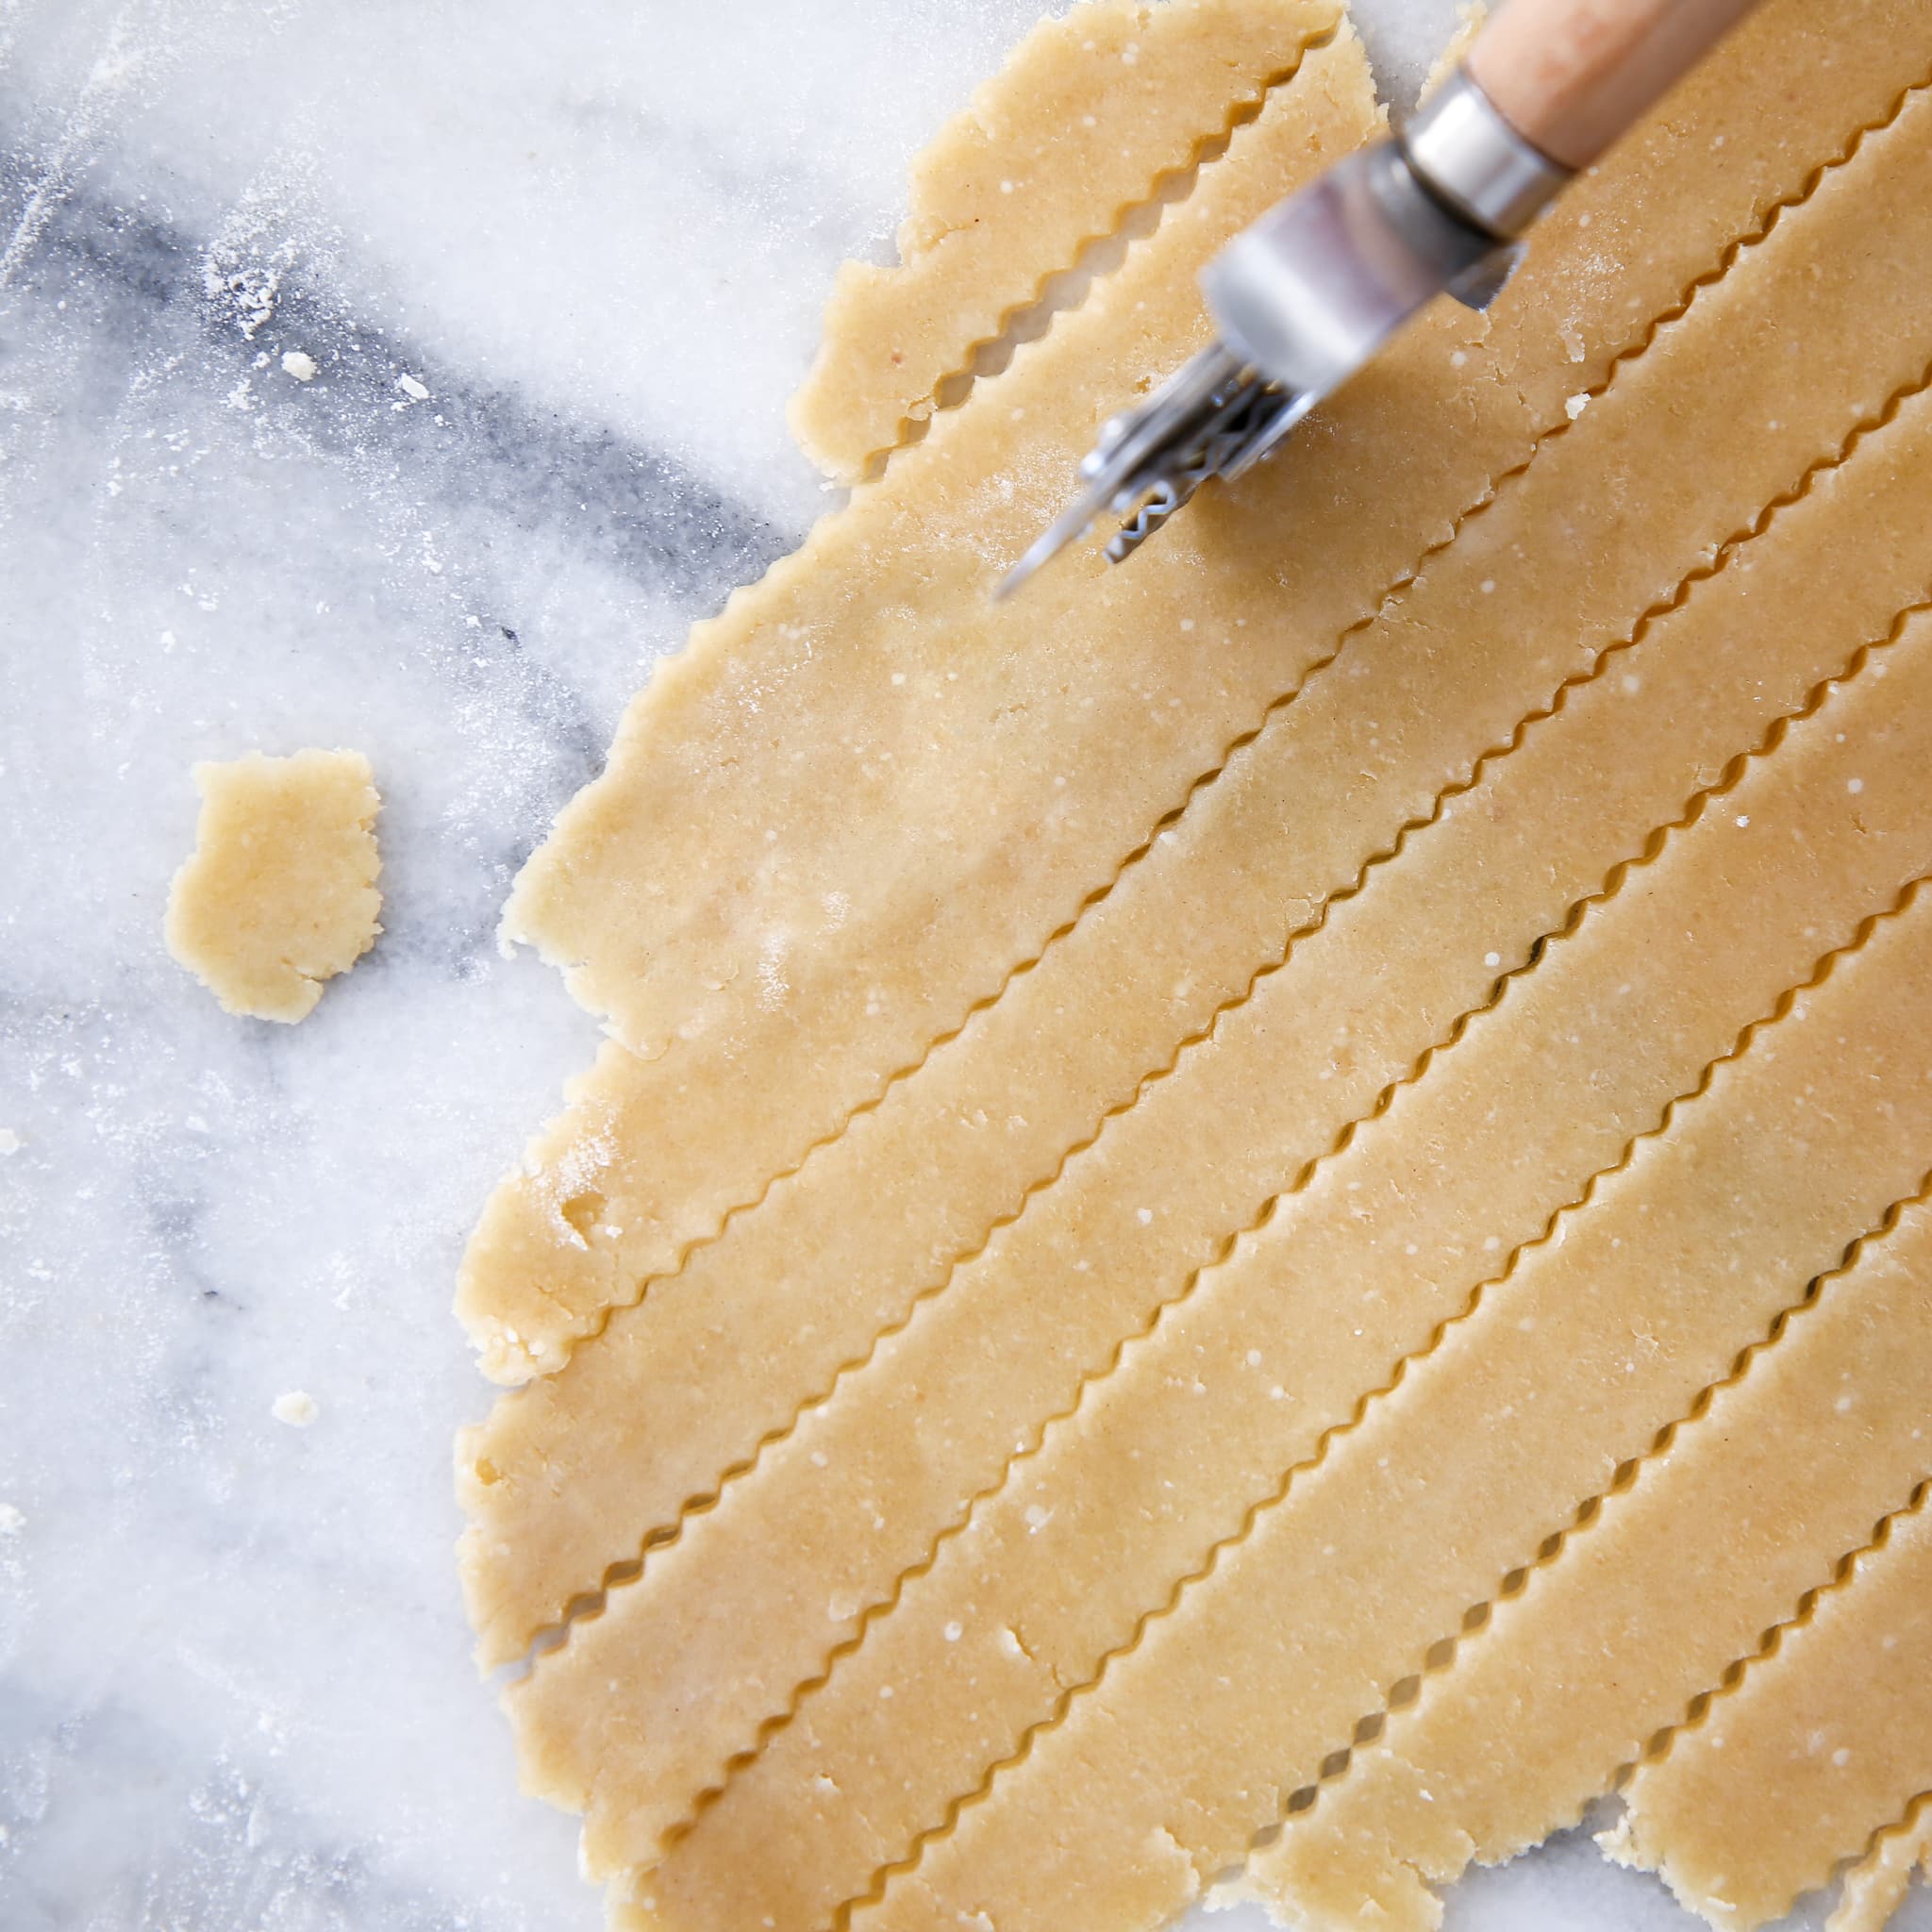
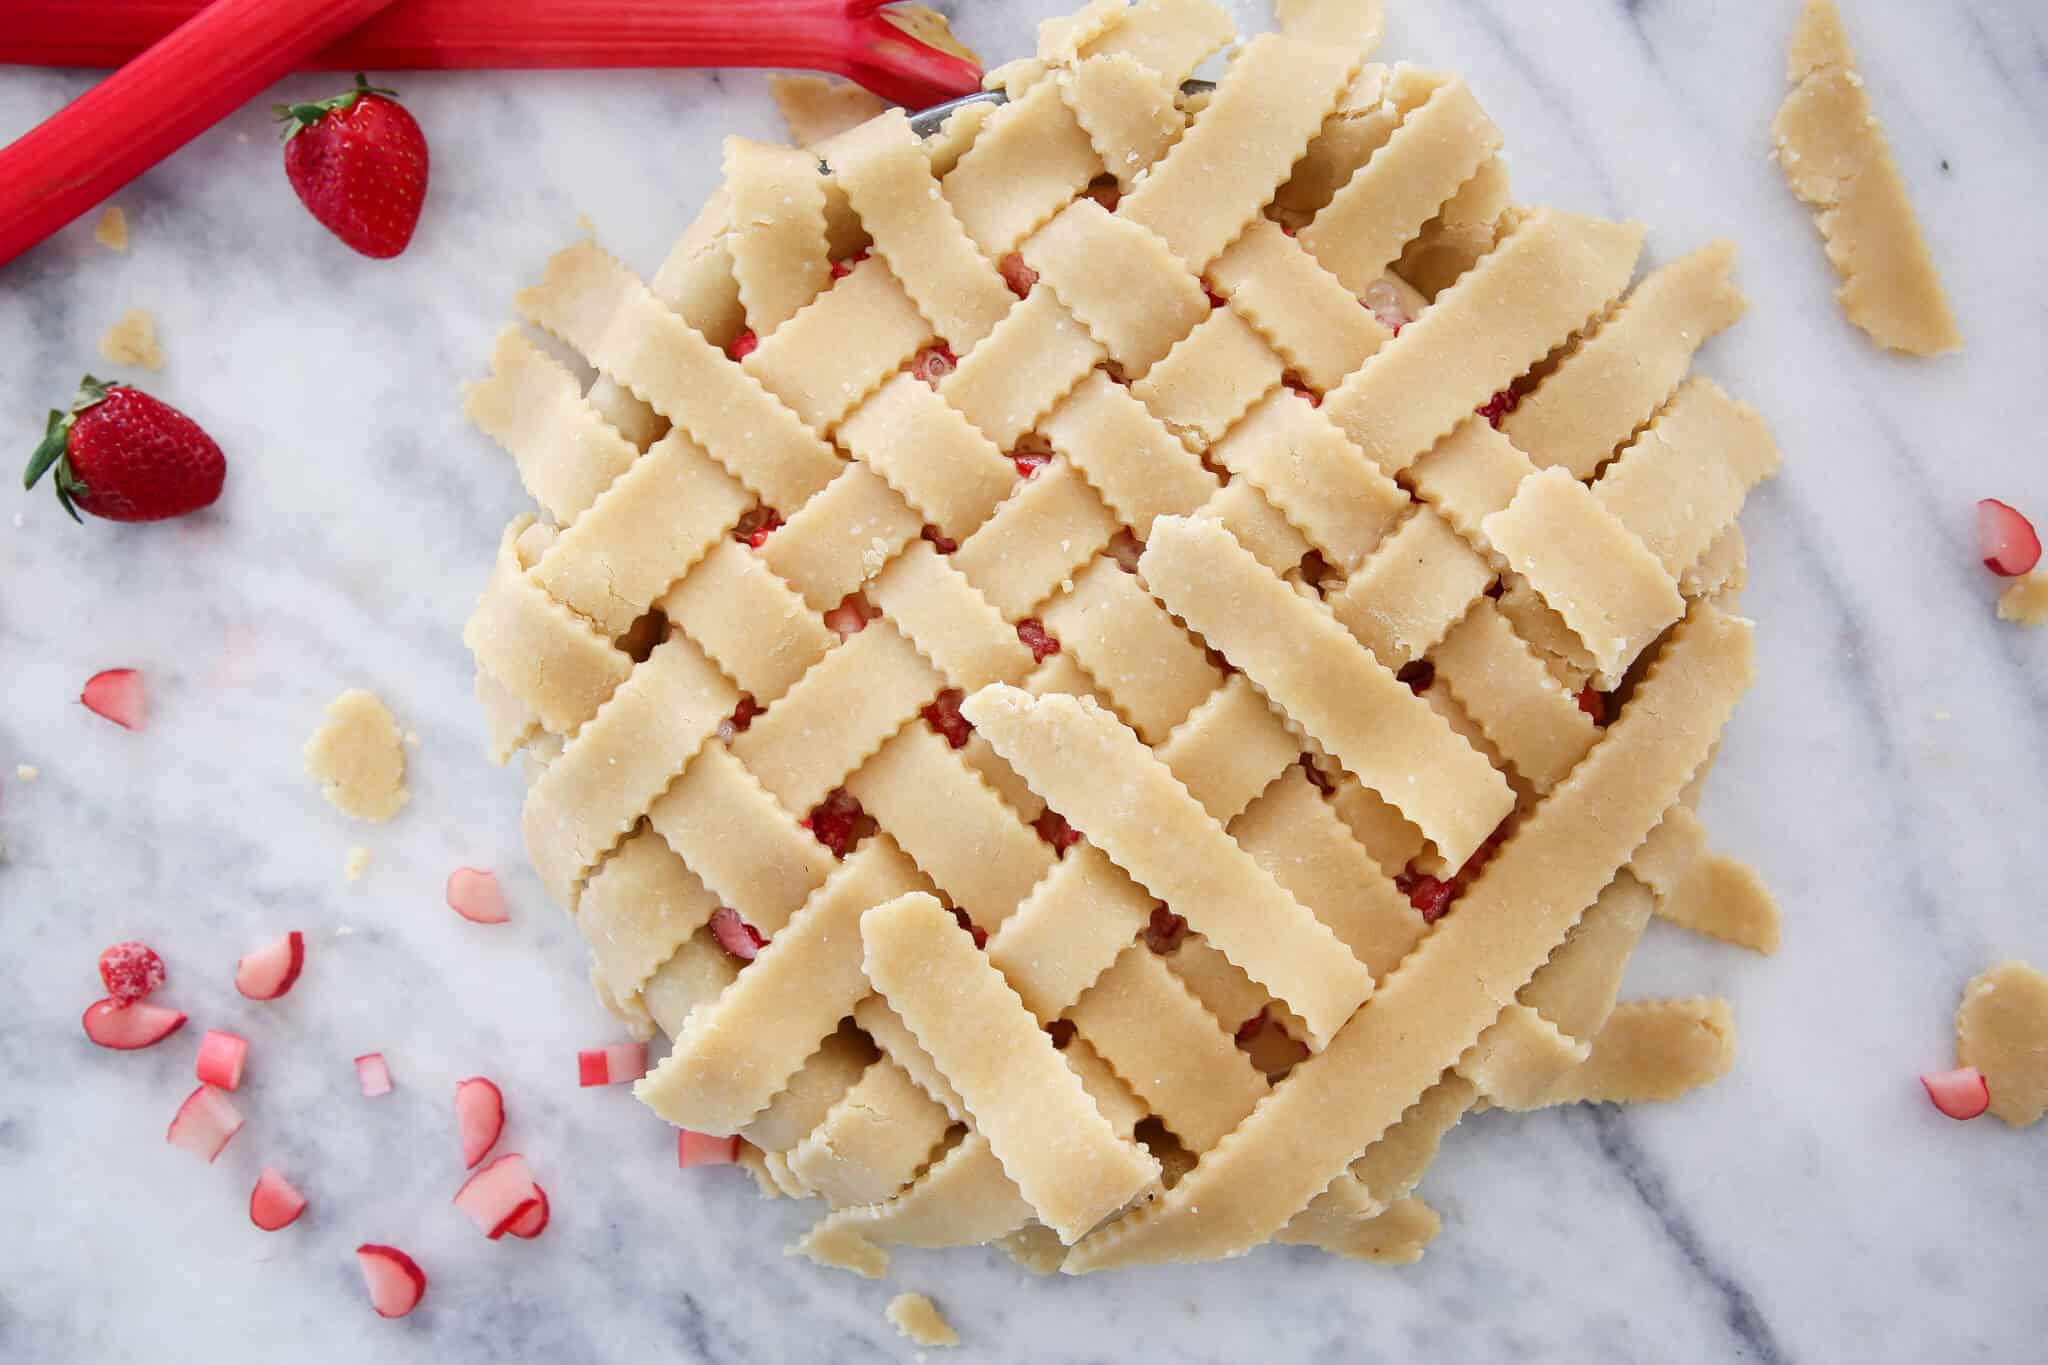
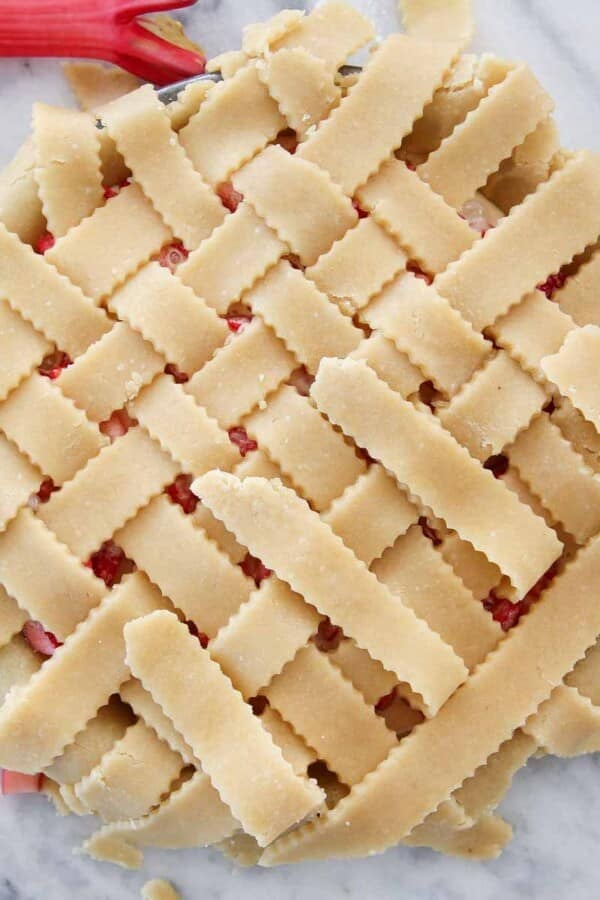
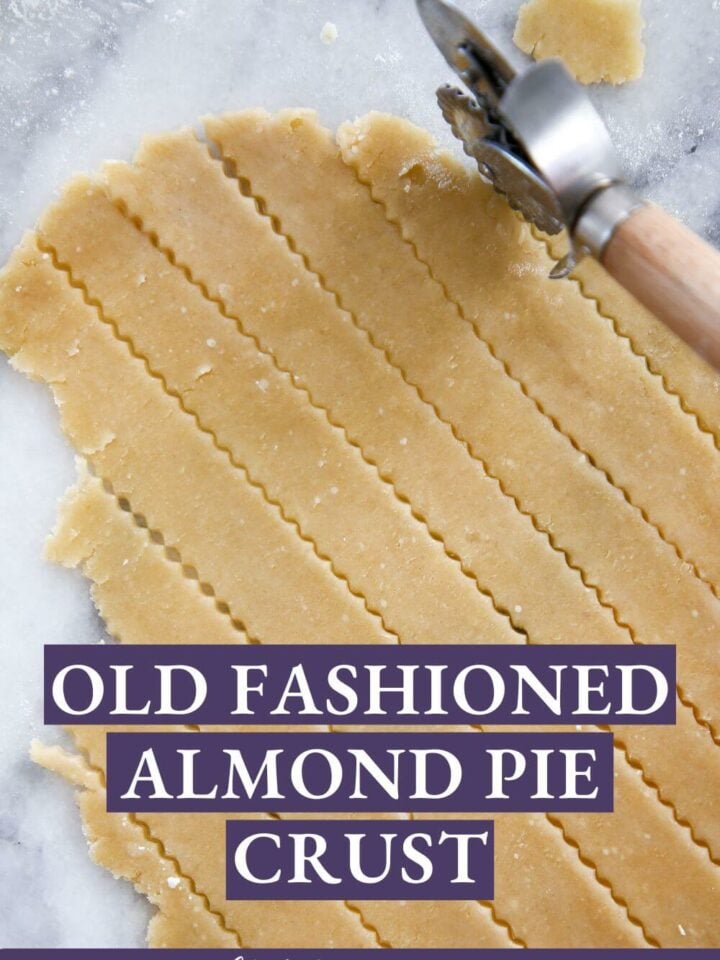
Step 7: If you are make a single crust pie, decoratively crimp the edges, place in the refrigerator for 20-30 minutes and then either add your filling or pre-bake the crust. If making a double crust, roll out the top crust. You can lattice the top crust like I did with the strawberry rhubarb pie or you can just cut a few vent holes like in this peach pie. You can watch this video on how to lattice a pie crust on my Youtube channel.
How to pre-bake the almond flour pie crust:
Step 8: Pre-heat your oven to 425°F. Prior to adding the pastry to your dish, cut parchment paper to fit inside and crumple it into a ball. Smooth it out. Now it is flexible enough to line your dough without poking holes.
Step 9: Cover chilled pie crust with prepared parchment, making sure to curl the edges over the entire crust. Add pie weights or fill with beans.
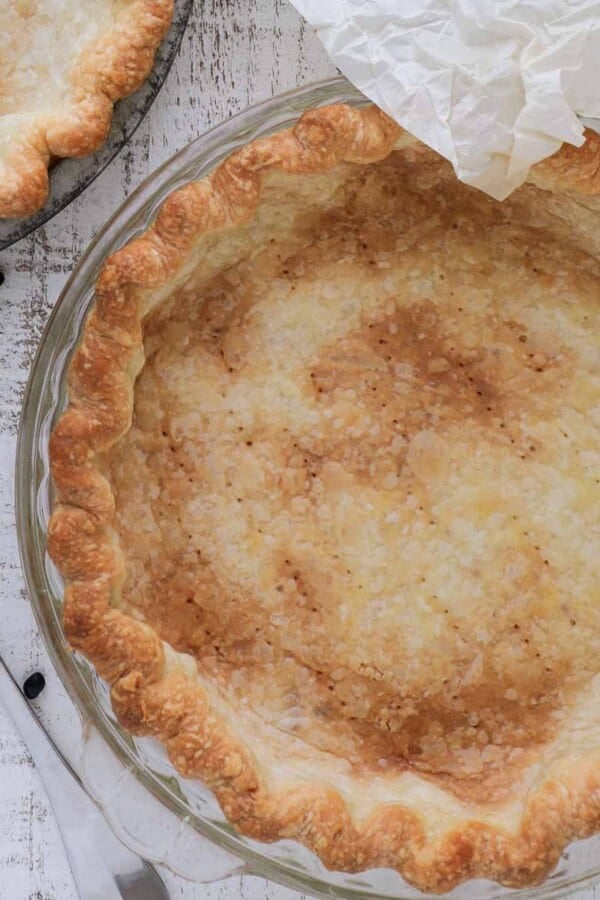
Step 10: Bake in pre-heated oven for 20 minutes. Remove parchment and either cool for a partially (par) baked pie crust, add filling per your recipe’s instructions, or continue baking uncovered until it is a golden brown in the center and no longer looks doughy. This last option is if you will not be baking the crust a second time with the filling like in banana cream pie or French silk pie.
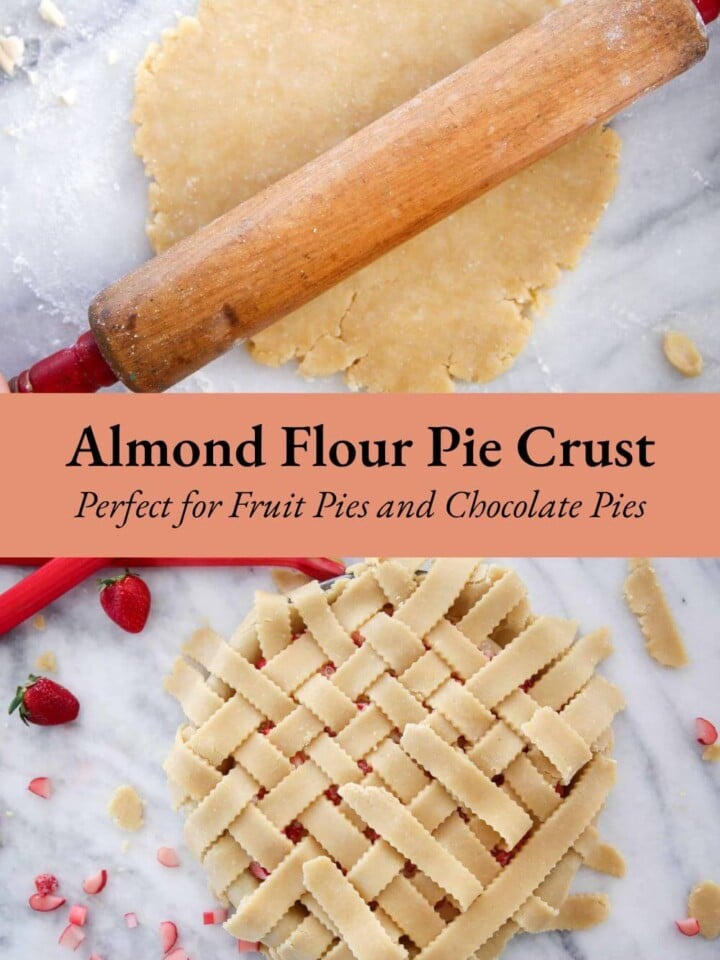
This crust’s melt-in-your-mouth quality also means that it is trickier to lattice. It’s not impossible though, as you can see in this photo of my strawberry rhubarb pie that uses this almond pie crust!
Chef Lindsey’s Recipe Tip
This recipe yields enough pie crust for a single crust pie. You will need to double it for a double crust pie. Simply toggle to “2x” in the recipe card to do this easily! You can also freeze half of the dough for a later pie!
Frequently Asked Questions
This almond flour pie crust pairs wonderfully with sweet fruit fillings like this strawberry rhubarb pie and this cherry pie, but it is also delicious with this easy chocolate pie, buttermilk pie or even in my favorite foolproof pumpkin pie!
This recipe is not gluten free and I have not tried to make it gluten free. If you are searching for a gluten free version try this almond pie crust from Wholesome Yum instead.
This pie dough is easy to prepare in advance. Store it well-wrapped in the refrigerator for up to a week and in the freezer for two months.
If you tried this recipe and loved it please leave a 🌟 star rating and let me know how it goes in the comments below. I love hearing from you; your comments make my day!
Almond Flour Pie Crust
Ingredients
- 1 ½ cups all-purpose flour
- 3 tablespoons almond flour I used Bob’s Red Mill Almond Flour
- 3 tablespoons granulated sugar
- ½ teaspoon kosher salt
- ½ cup vegetable shortening cut in small pieces
- 1 whole egg well beaten
- cold water
Instructions
Make the pie dough:
- It helps if all the ingredients are cold but it isn’t necessary. I do usually freeze my shortening because it warms so quickly.
- In a large bowl or in the bowl of a stand mixer fitted with the paddle attachment, combine all-purpose flour, almond flour, sugar, and salt. Add the cubed shortening and cut in with a pastry blender or mix on low until they are worked into the dry ingredients and are the size of peas. The dough will change colors when it is done being mixed. When the shortening is “under cut in” the flour mixture will look white and dry. When the shortening is appropriately mixed in, the flour mixture will look like wet sand. This is almost more important than the size of the shortening pieces.
- Beat egg with a fork until smooth and no visible whites remain. Add to the bowl with the dry ingredients. Toss with a fork to incorporate or mix in on low.
- Add just enough water to hold dough together. I used 2 tablespoons but this will vary. You want the dough to stay in a ball, so if chunks are falling out, then add some more water. It doesn’t take as much as you think! Roll into a ball, place on plastic wrap, and flatten into a disk.
- Refrigerate for several hours or overnight.
Rolling & latticing the dough
- Roll out to ¼ inch thick. If it cracks, it is a little too cold. Let it sit out for 5-8 minutes. This dough is more fragile than my other go-to crust, so I use the rolling pin method for transferring the dough to a pan. Gently roll the dough onto the pin and unroll it over your pie dish.
- If you are make a single crust pie, decoratively crimp the edges, place in the refrigerator for 20-30 minutes and then either add your filling or pre-bake the crust. If making a double crust, roll out the top crust. You can lattice like I did with the strawberry rhubarb pie or you can just cut a few vent holes like in this peach pie. You can watch this video on how to lattice a pie crust on my Youtube channel.
How to pre-bake the almond flour pie crust:
- Pre-heat your oven to 425 °F prior to adding the pastry to your dish, cut parchment paper to fit inside and crumple it into a ball. Smooth it out. Now it is flexible enough to line your dough without poking holes.
- Cover chilled pie crust with prepared parchment, making sure to curl the edges over the entire crust. Add pie weights or fill with beans.
- Bake in pre-heated oven for 20 minutes. Remove parchment and either cool for a partially (par) baked pie crust, add filling per your recipe’s instructions, or continue baking uncovered until it is a golden brown in the center and no longer looks doughy. This last option is if you will not be baking the crust a second time with the filling like in banana cream pie or French silk pie.
Notes
Variations – This same recipe will work with hazelnut flour or any other nut flour you desire!
Storage – This pie dough is easy to prepare in advance. Store it well wrapped in the refrigerator for up to a week and in the freezer for two months. Recipe from American Woman’s Cookbook This recipe yields enough pie crust for a single crust pie. You will need to double it for a double crust pie. Simply toggle to “2x” in the recipe card to do this easily! You can also freeze half of the dough for a later pie!
Nutrition
Before You Go
I hope you enjoyed this professional chef tested recipe. Check out our other delicious, chef-developed pie crust recipes!


Going to use for a cherry pie tomorrow. I wonder if the recipe above would have worked if you let the custard cool, delicately folded it into the meringue, dropped in the strawberries, and put it into the done crust… then refrigerated it as a cold icebox pie rather than baking it.
You are going to love the almond pie crust! Just be prepared that it is a less cohesive crust than flour crusts.
That is an interesting strategy that you suggest for the chiffon pie. I could definitely see that working, because as soon as you pour the hot custard into the meringue, you can see them start to separate. The flavors were amazing, so I should definitely give that a try! Let me know how you like the crust!
It was shockingly delicious! Did you notice that one of the two photos from yesterday’s post were of you reading me a book with me sitting in your lap!? Complete happenstance but apropos!
I’m in tears remembering my little (and not so little) girl in my arms especially in the rocking chair. Thank you for the sweet reasons for your choice of Mother’s Day recipe! So sorry it preferred being a soup rather than a pie. Though not best for photos, I bet it still tasted delicious! ~ mom