This post may contain affiliate links. Please read our disclosure policy.
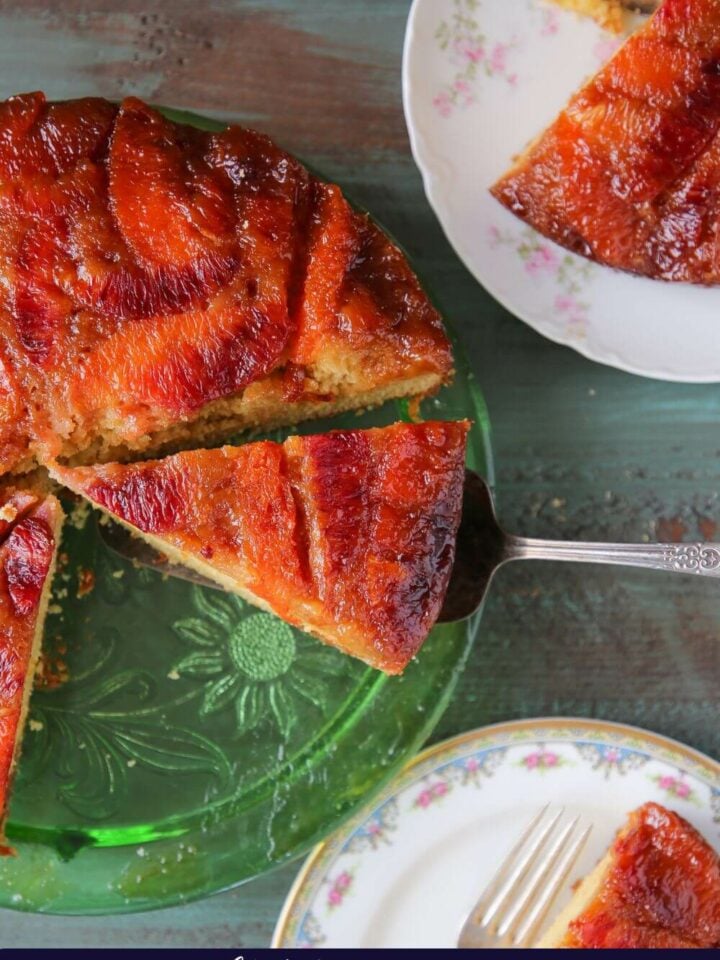
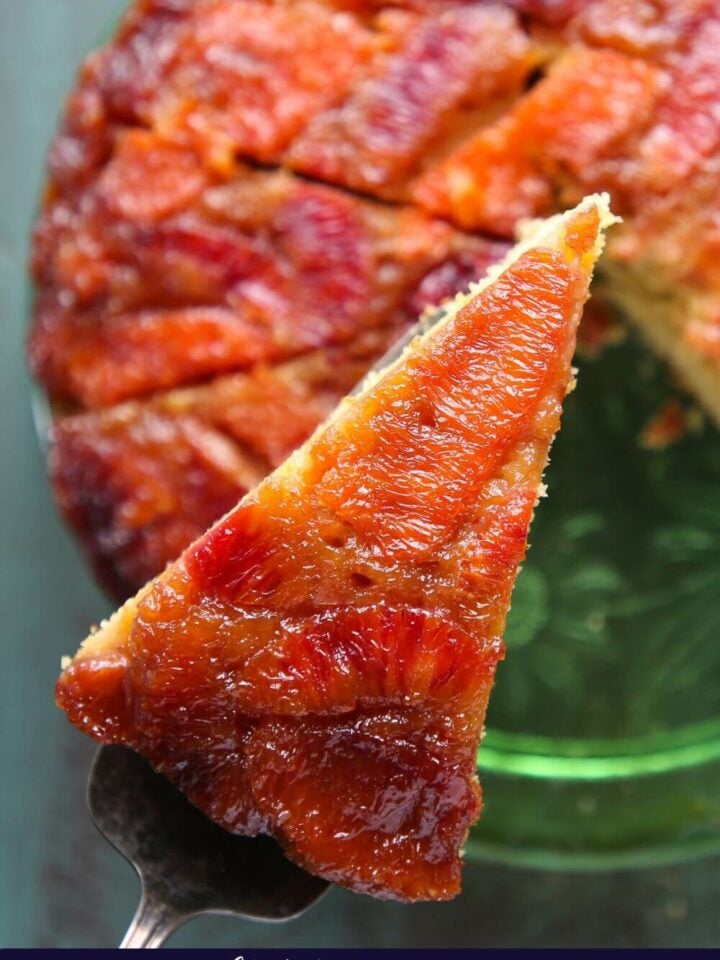
This orange upside down cake has variety of oranges baked in a buttery caramel under a tender, moist citrus cake. It is then flipped over for a delicious and gorgeous dessert!
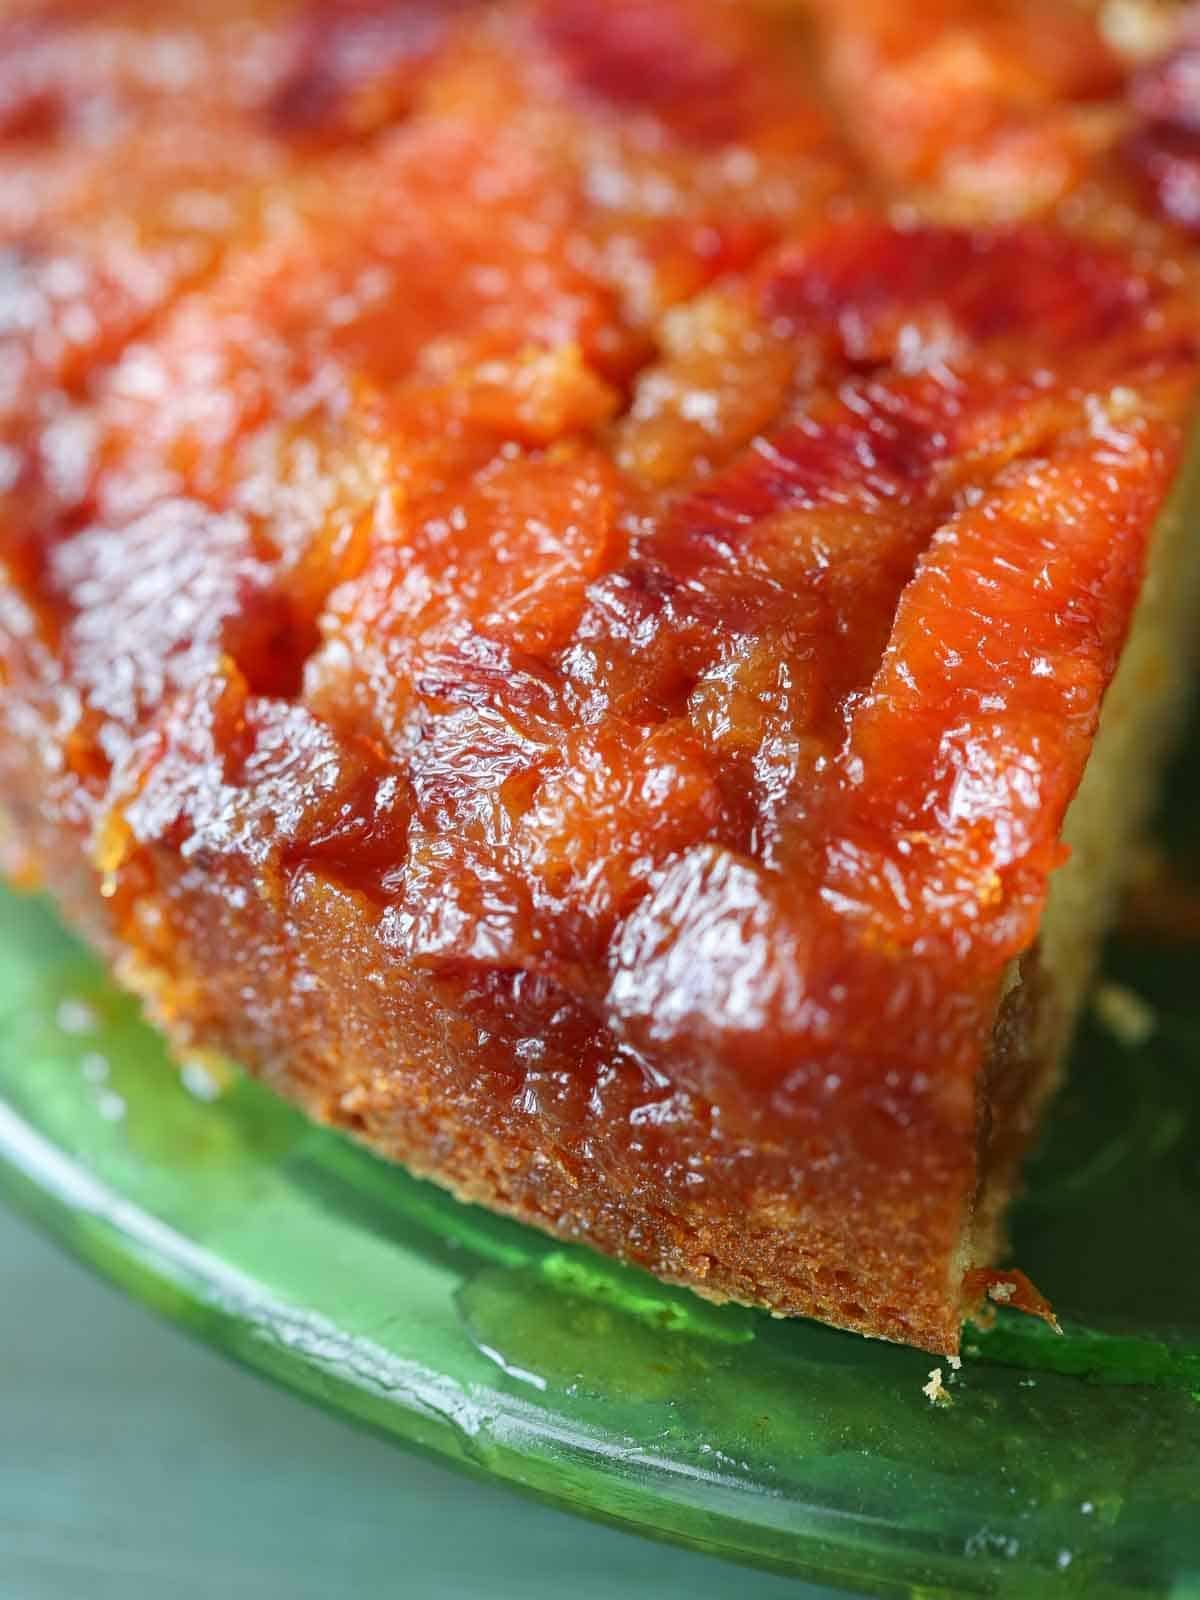
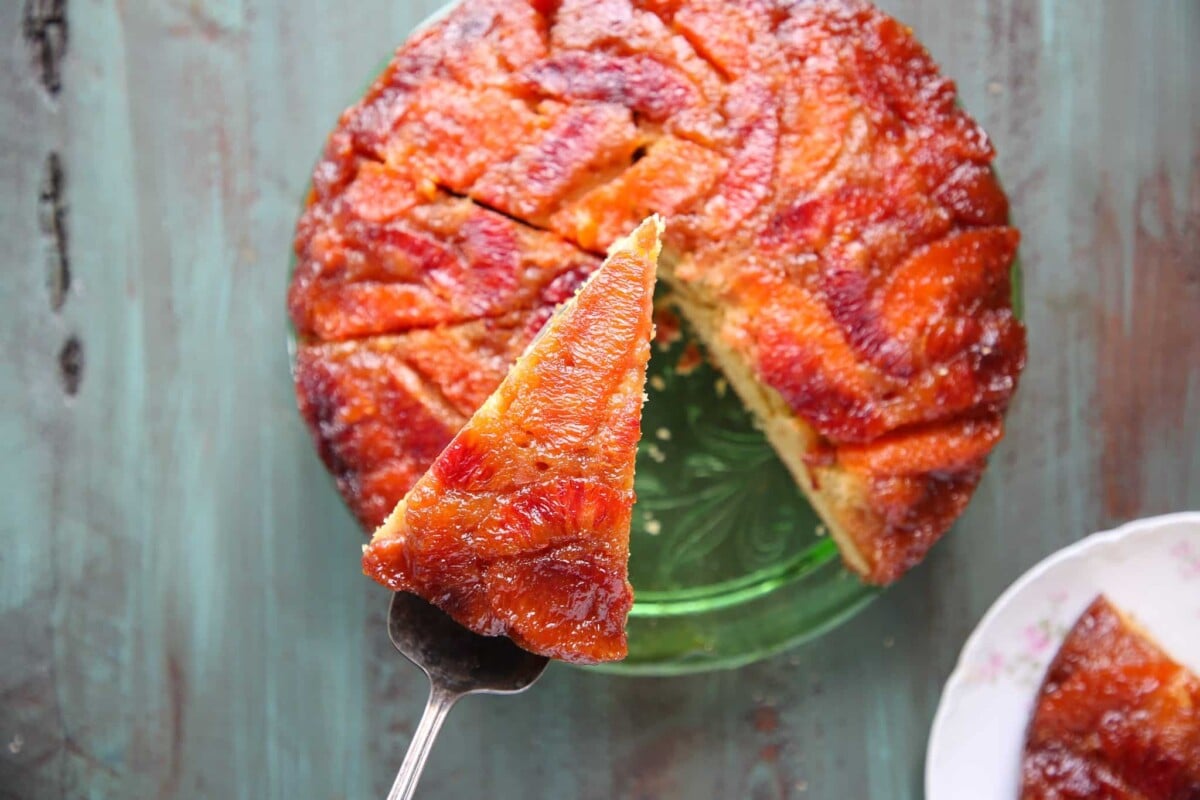
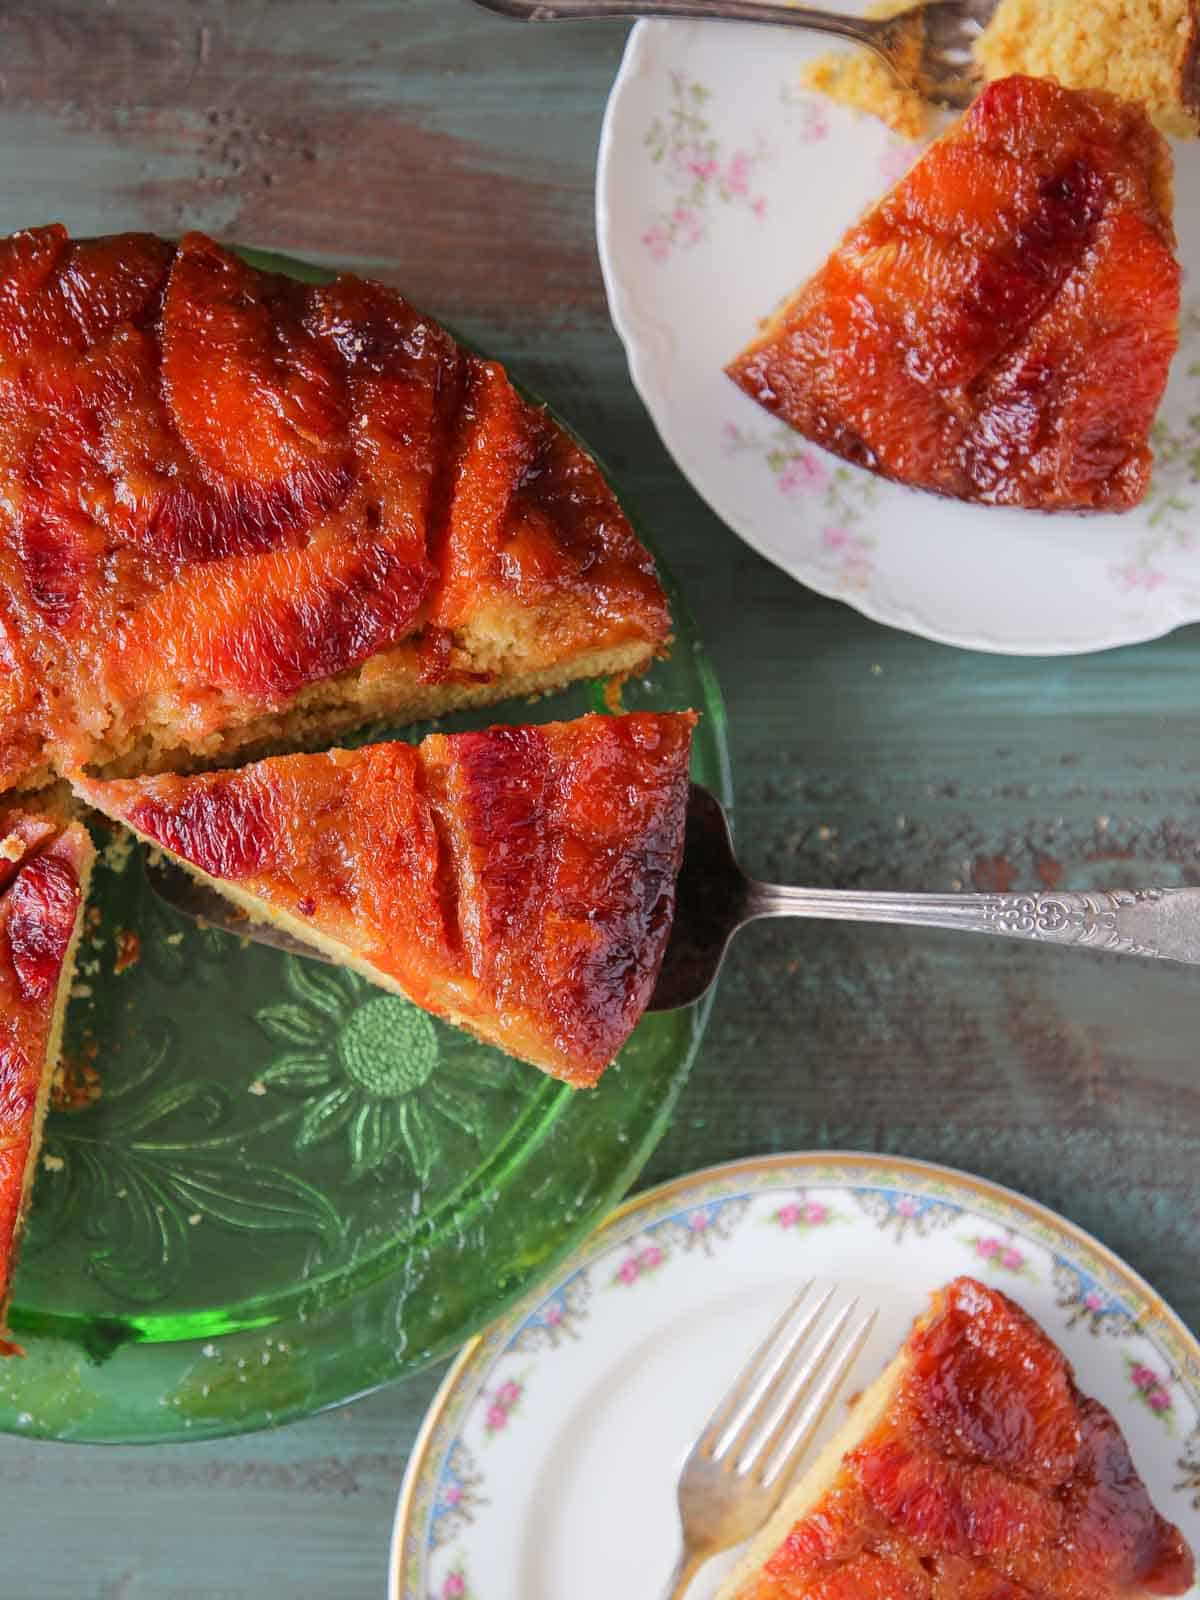
This orange upside down cake has a show-stopping caramelized orange top, but it is really all about the moist brown sugar orange cake underneath. A combination of buttermilk and brown sugar make for an extra moist cake with a fluffy, tender crumb.
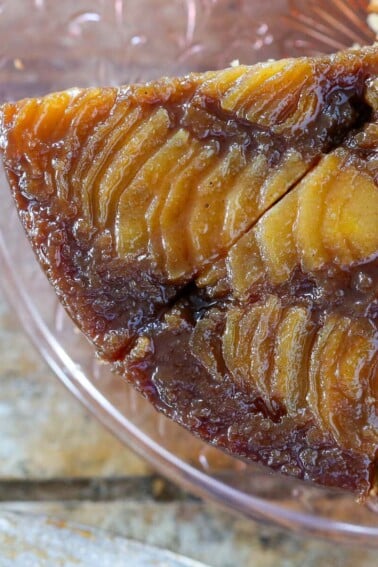
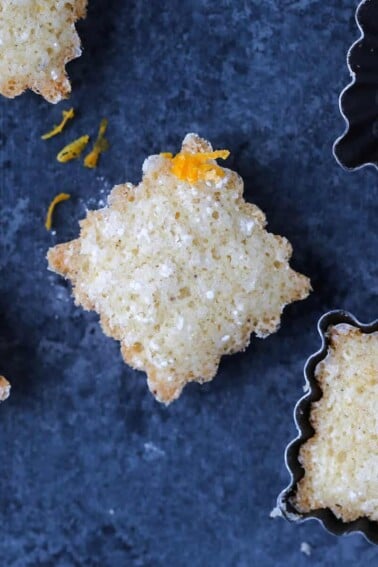
You are going to love the combination of tangy citrus, caramel and tender orange cake. There is also nothing quite so simple and elegant as an upside down cake like this one, or this pear upside down cake. I also love a classic apple tarte tatin for its delicious, gorgeous simplicity. For a bite sized orange cake, try these orange financiers!
Why You Will Love
- A mix of oranges make for a stunning top. I used a mix of blood oranges and cara cara oranges (or navel oranges) for a beautiful and delicious topping.
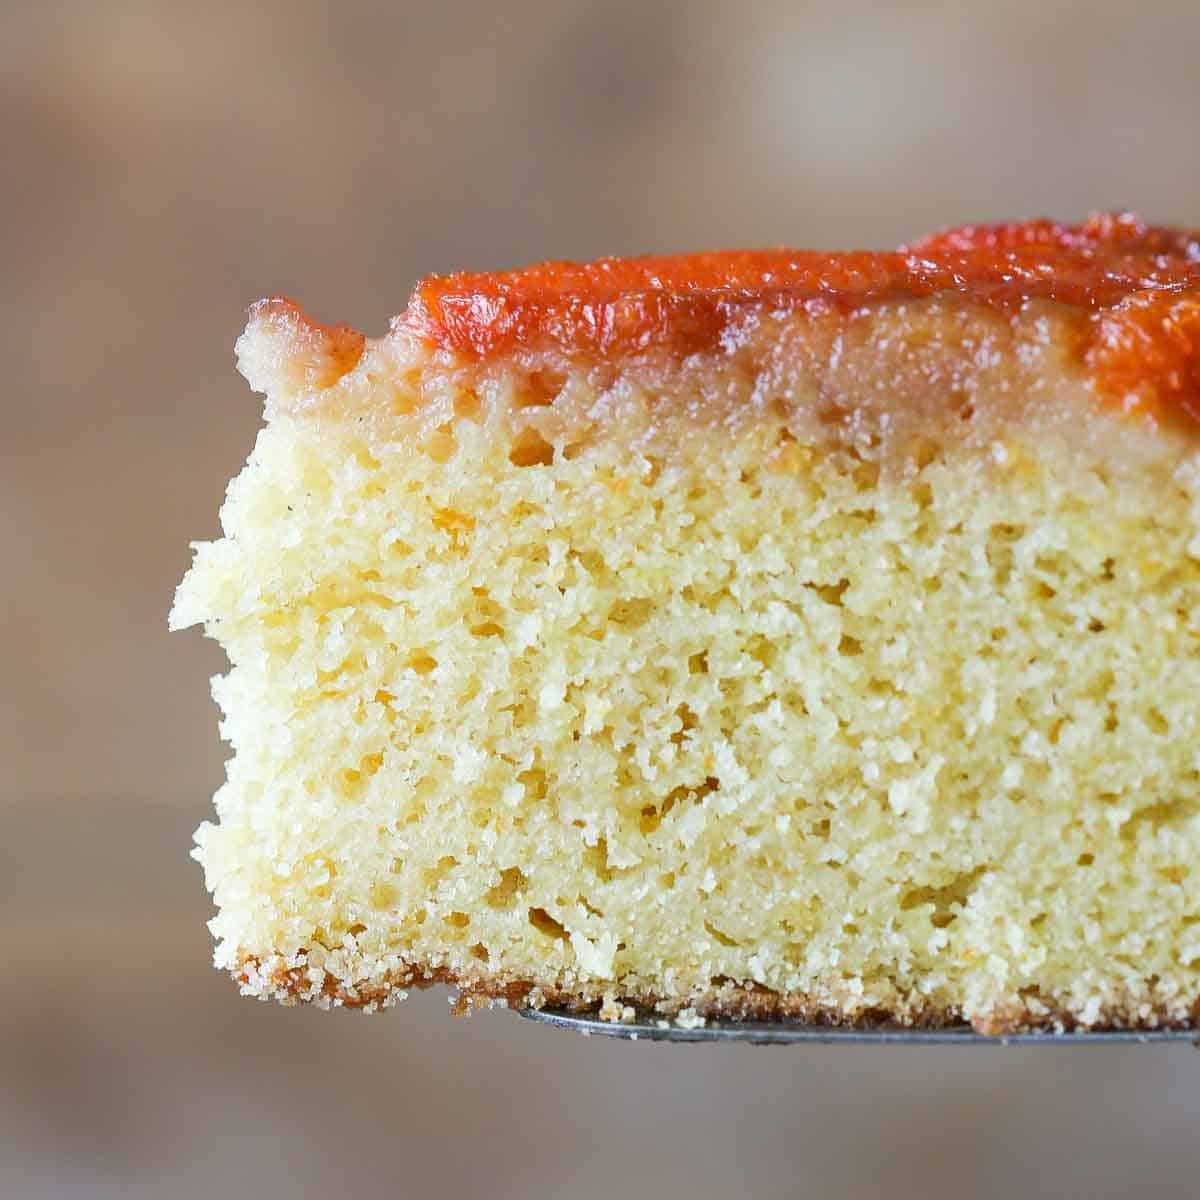
- Delicate orange cake. An upside down cake is only as good as the cake base! This easy buttermilk cake is flavored with orange zest and brown sugar, and it is light and fluffy!
- You can make the top as simple or elaborate as you want. I arranged a variety of orange sûpremes for the top but you could also use orange rings or just a simple layer of orange slices.
What is an upside down cake?
An upside down cake is made by baking a cake batter on top of a thin layer of caramel and fresh, sliced fruit. The cake is then turned out of the pan and served with the bottom facing upwards, hence the name “upside down cake.” The fruit can be arranged artfully or can be spread out in a single layer. The fruit bakes in the caramel as the cake bakes.
Ingredients
- Oranges: I used a mix of cara cara oranges and blood oranges for a diverse appearance and flavor, but any oranges would be delightful.
- Granulated Sugar
- Kosher Salt: Kosher salt heightens the flavor of the cake as well as tempers the sweetness of the caramel.
- Butter: Unsalted butter adds a smooth richness to the caramel. When beaten with the sugar, it adds a lightness to the cake and fat for a tender texture.
- Baking Powder & Baking Soda: Baking powder and soda work together to provide the ideal height and fluffiness in this cake. Baking soda reacts powerfully with the buttermilk to produce a high, light cake, while baking powder reacts more evenly and ensures an even, delicate crumb.
- Cake Flour: I use cake flour only when absolutely necessary. Just as with angel food cake, this is also one such instance. The lower gluten content and finer texture are essential for getting that light, airy finished cake!
- Light Brown Sugar: Using light brown sugar adds sweetness along with a little moisture. This will keep the cake softer while adding a nice, rich molasses flavor.
- Orange zested: Zesting the orange into the sugar will draw out the oils and flavor the cake with a delicate and floral orange flavor.
- Whole Eggs
- Vanilla Extract
- Buttermilk: I generally bake with low fat buttermilk rather than full fat. It provides just enough fat to keep cakes moist and enough moisture to hydrate the batter. The acidity also activates the baking soda for a nice, tall cake.
See the recipe card for full information on ingredients and quantities.
Variations & Substitutions
- Buttermilk: Making homemade buttermilk with milk and lemon juice isn’t the same thing, so I recommend substituting ½ cup sour cream mixed with 2 tablespoon water. The cake will be ever so slightly more dense.
- Change the cake flavor: You can flavor the cake with the zest of any citrus you’d like, or omit it and double the vanilla extract. This same cake is also exceptional with the addition of spice like I did in the cardamom cake for my pear upside down cake. Add apple pie spice, pumpkin spice, or even speculoos spice mix (use a light hand!).
- Use any fruit on top. This was one of my favorite desserts to make in the restaurants. I got pretty creative with the designs over the years. Use any fruit that holds its shape when baked. I would not use soft fruits like mango.
Professional Tips for Making Orange Upside Down Cake
- Use cake flour and sift it. I don’t often call for cake flour or sifting dry ingredients, but cake flour makes this cake extra tender and delicate. It will almost melt in your mouth!
- Line the cake pan with parchment paper. Skipping this simple step can lead to tears and all of the topping being stuck to the bottom of the pan.
- Turn the cake out while still warm. The oranges cook in a brown sugar caramel on the bottom of the pan and it will stick as it cools. I cut around the edges immediately then wait 15 minutes before flipping the cake out.
- I prefer to slice off the orange peel and bitter pith. It is an extra step but it is worth it to keep a smooth, not bitter flavor profile. You want guests to taste the delicate flavors of orange and caramel, not be overwhelmed by the bitter peel.
- Cut with a serrated knife. This tip is brought to you by my years of serving a version of this cake in Manhattan restaurants. A sharp serrated knife will slice right through the oddly shaped orange pieces for a clean slice.
How to Make Upside Down Cake
Use these instructions to make the perfect orange upside down cake every time! Further details and measurements can be found in the recipe card below.
How to sûpreme oranges:
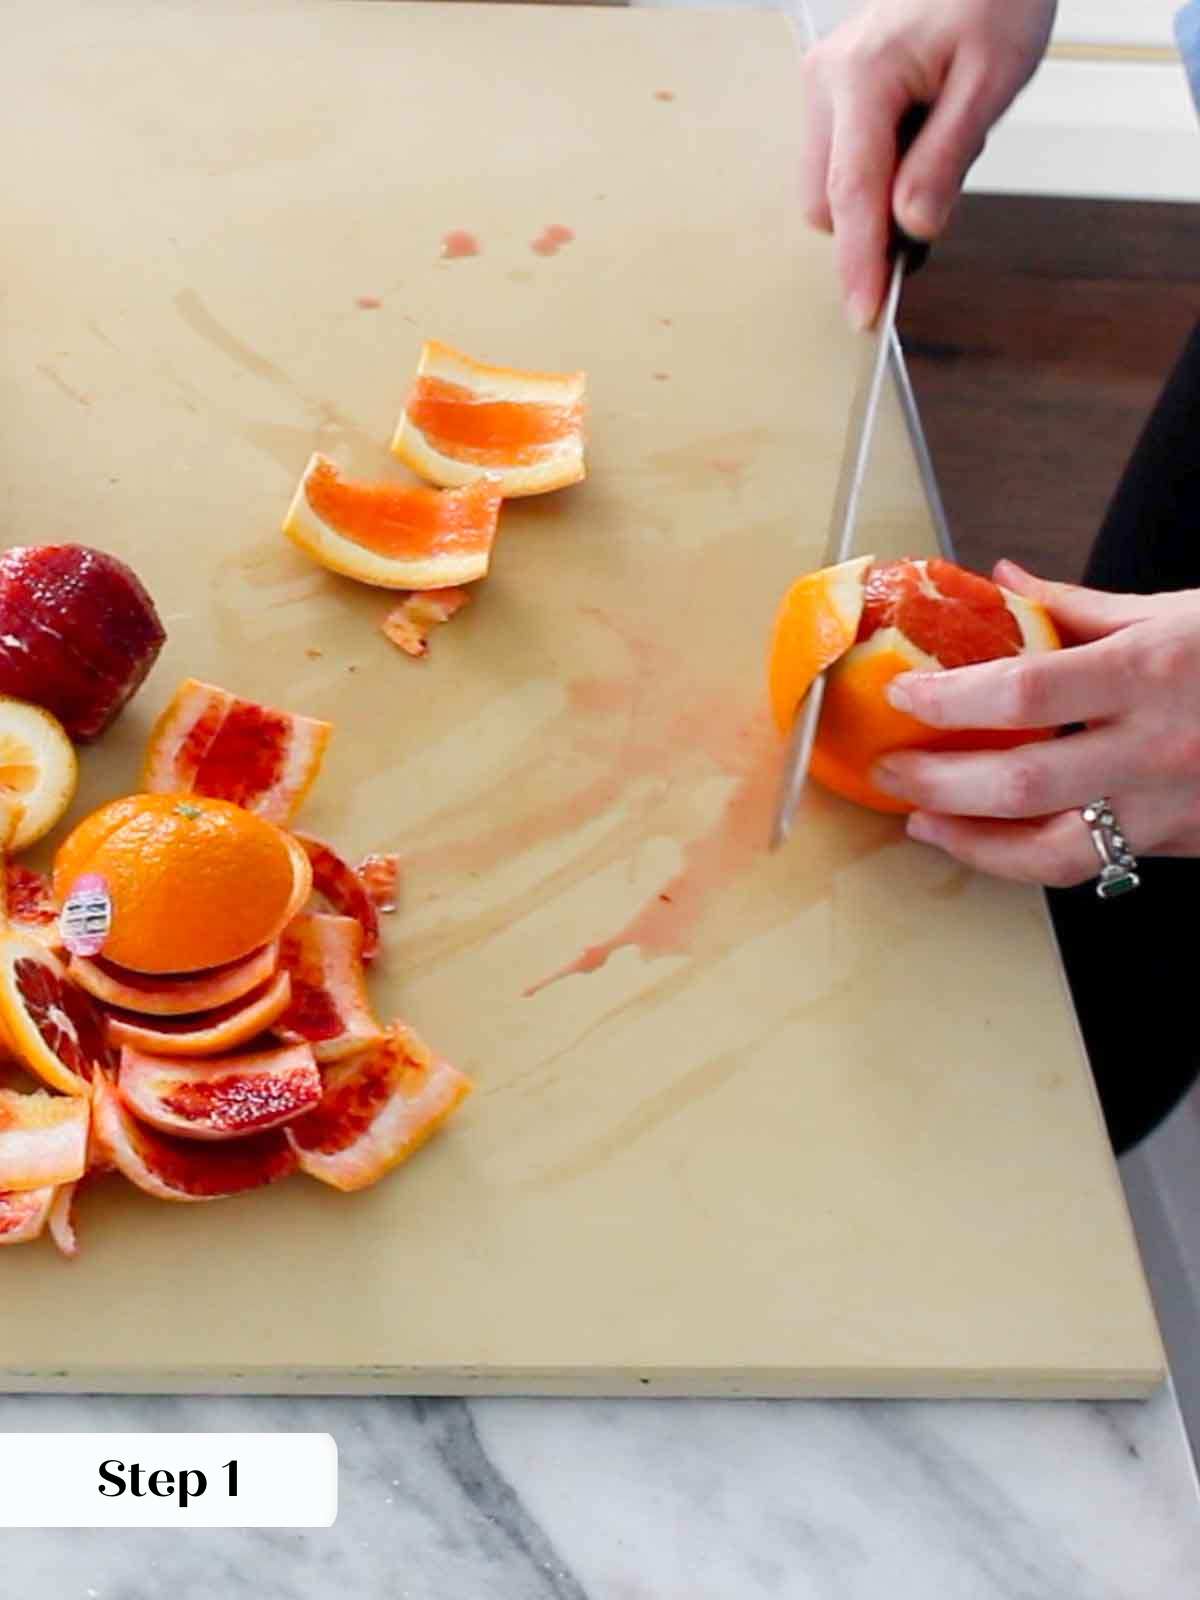
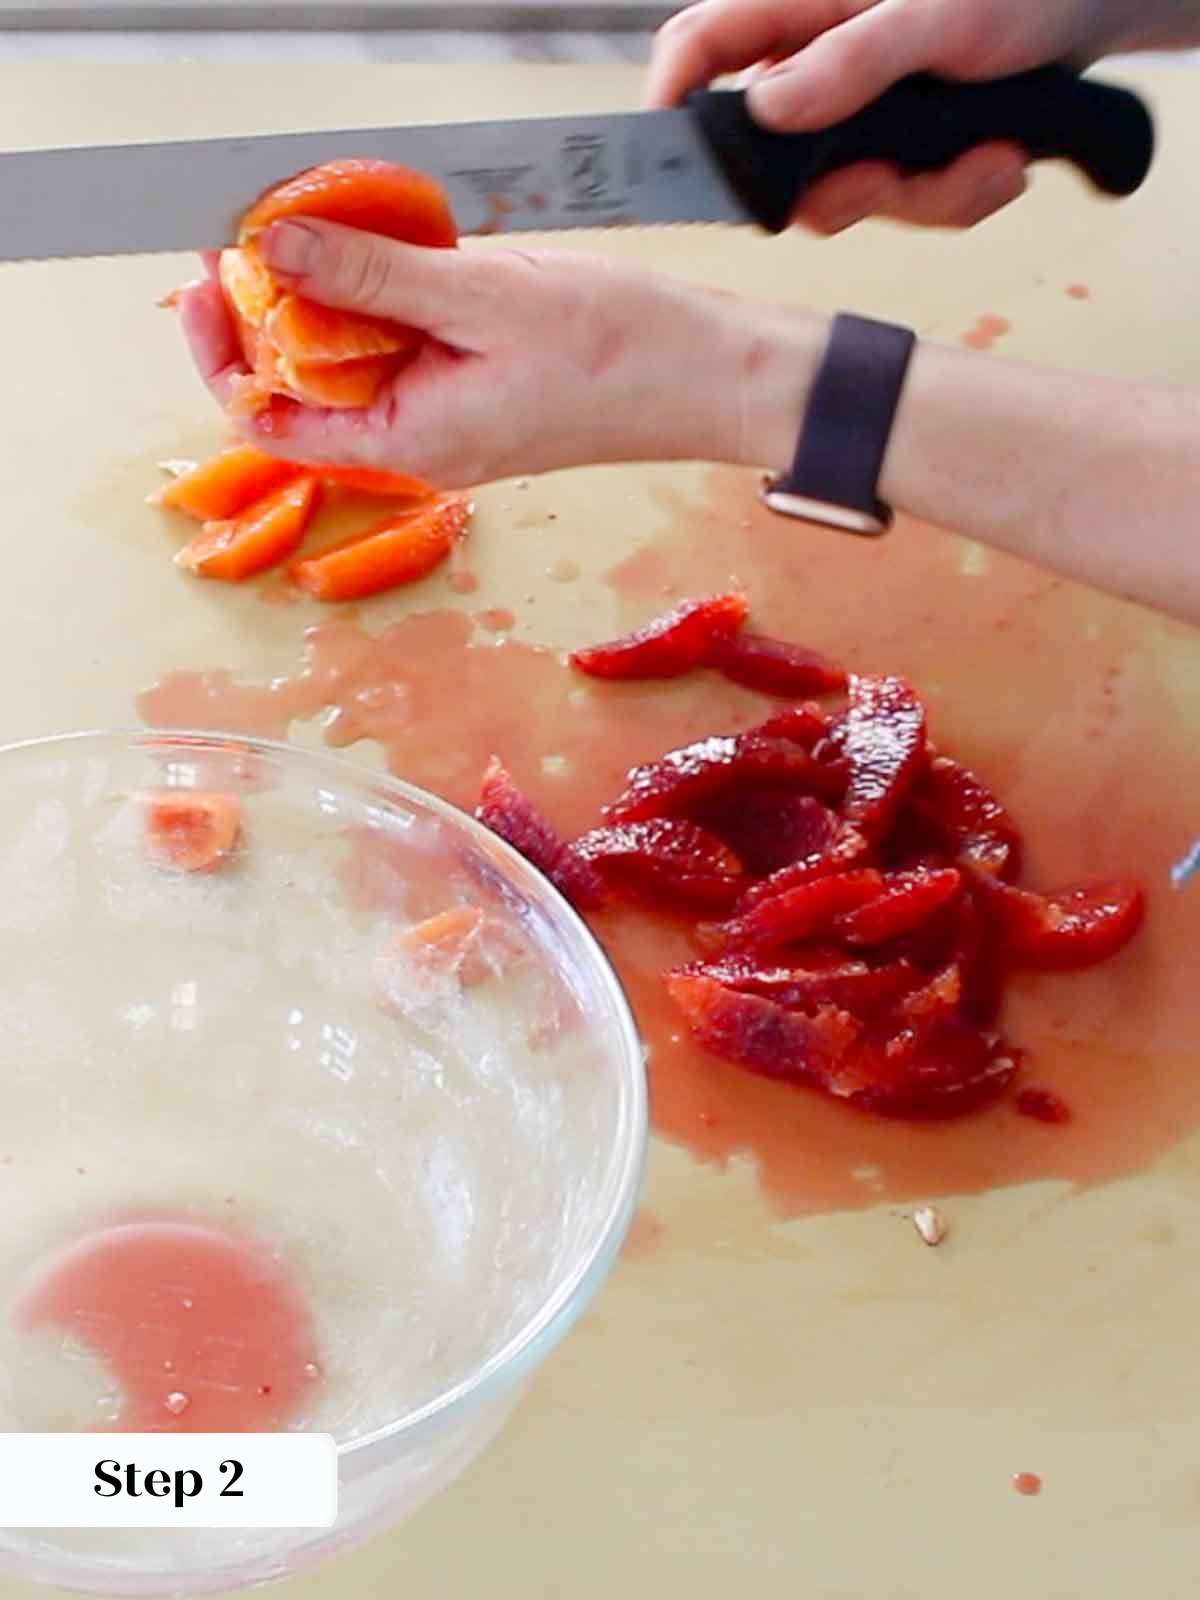
Step 1: Cut the oranges so that you slice off the rind and the thin skin exposing the pulp. This is actually easiest to do with a serrated knife.
Step 2: Cut out sûpremes (slice out the pulp from the pith in wedges) or slice them into rounds. The second method uses fewer oranges and is much faster!
Make the Caramel:
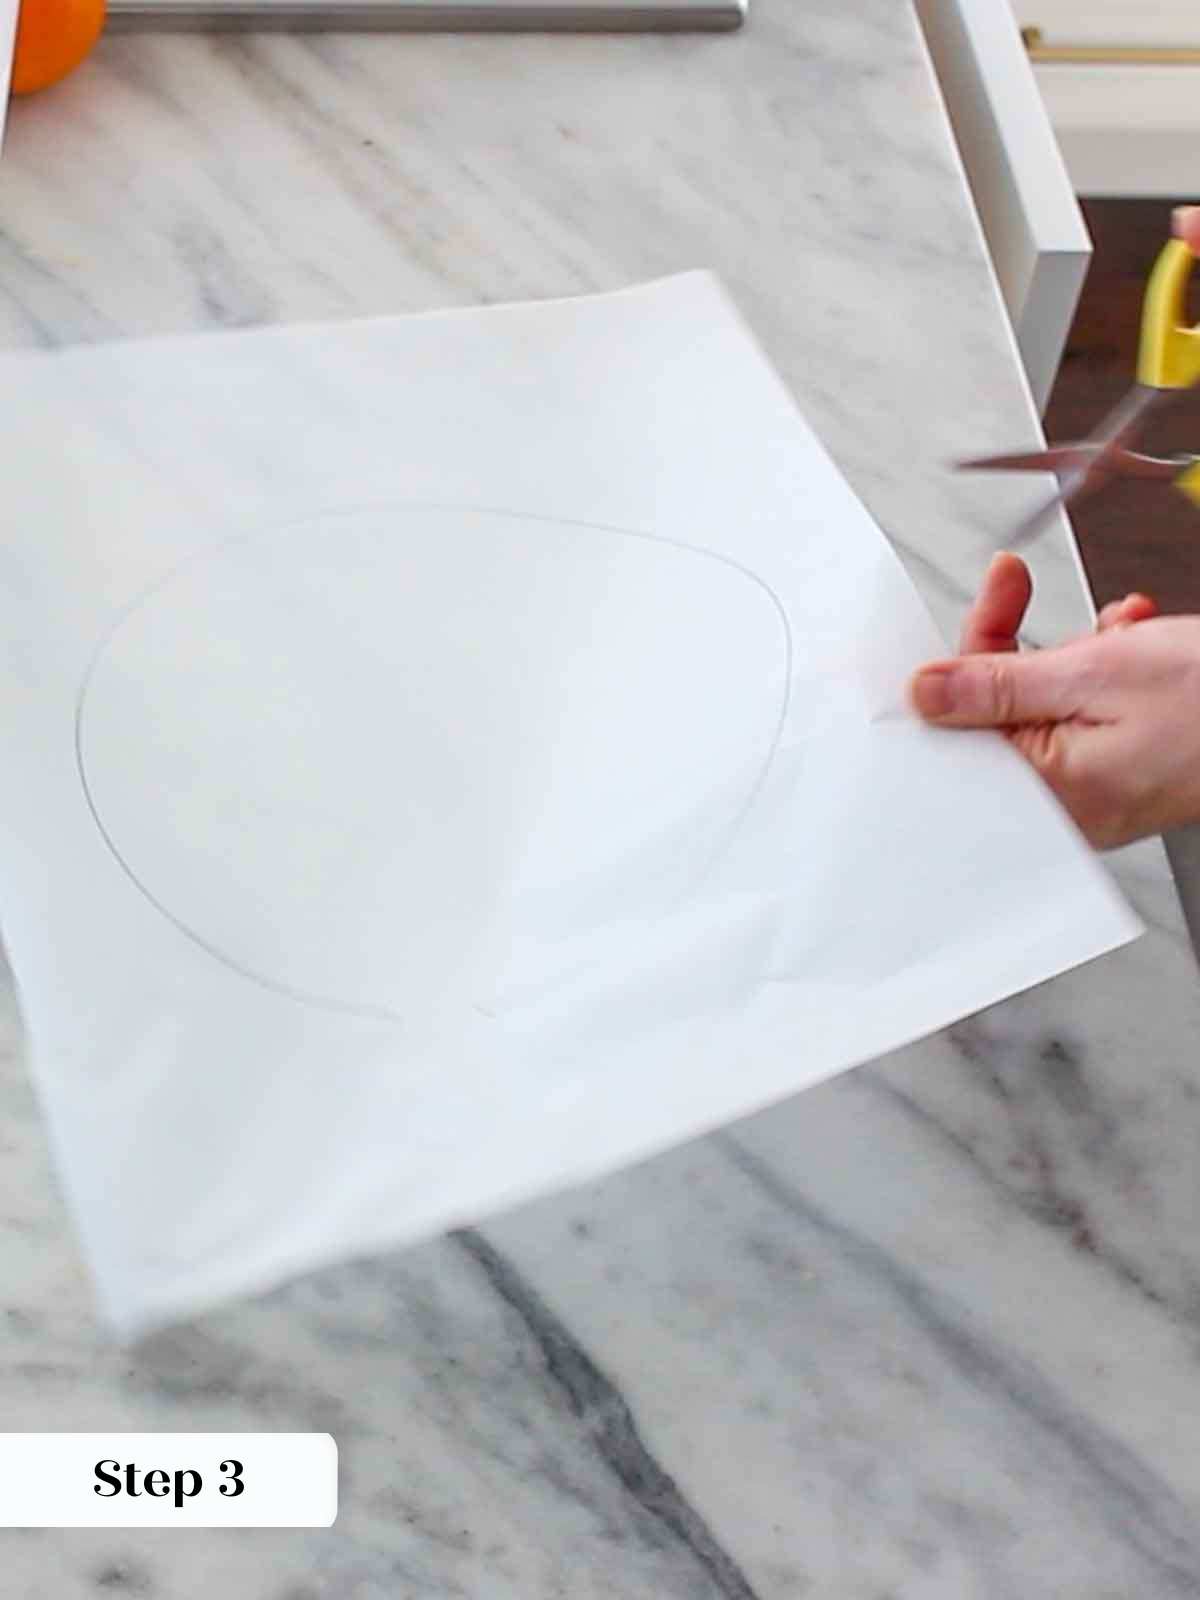
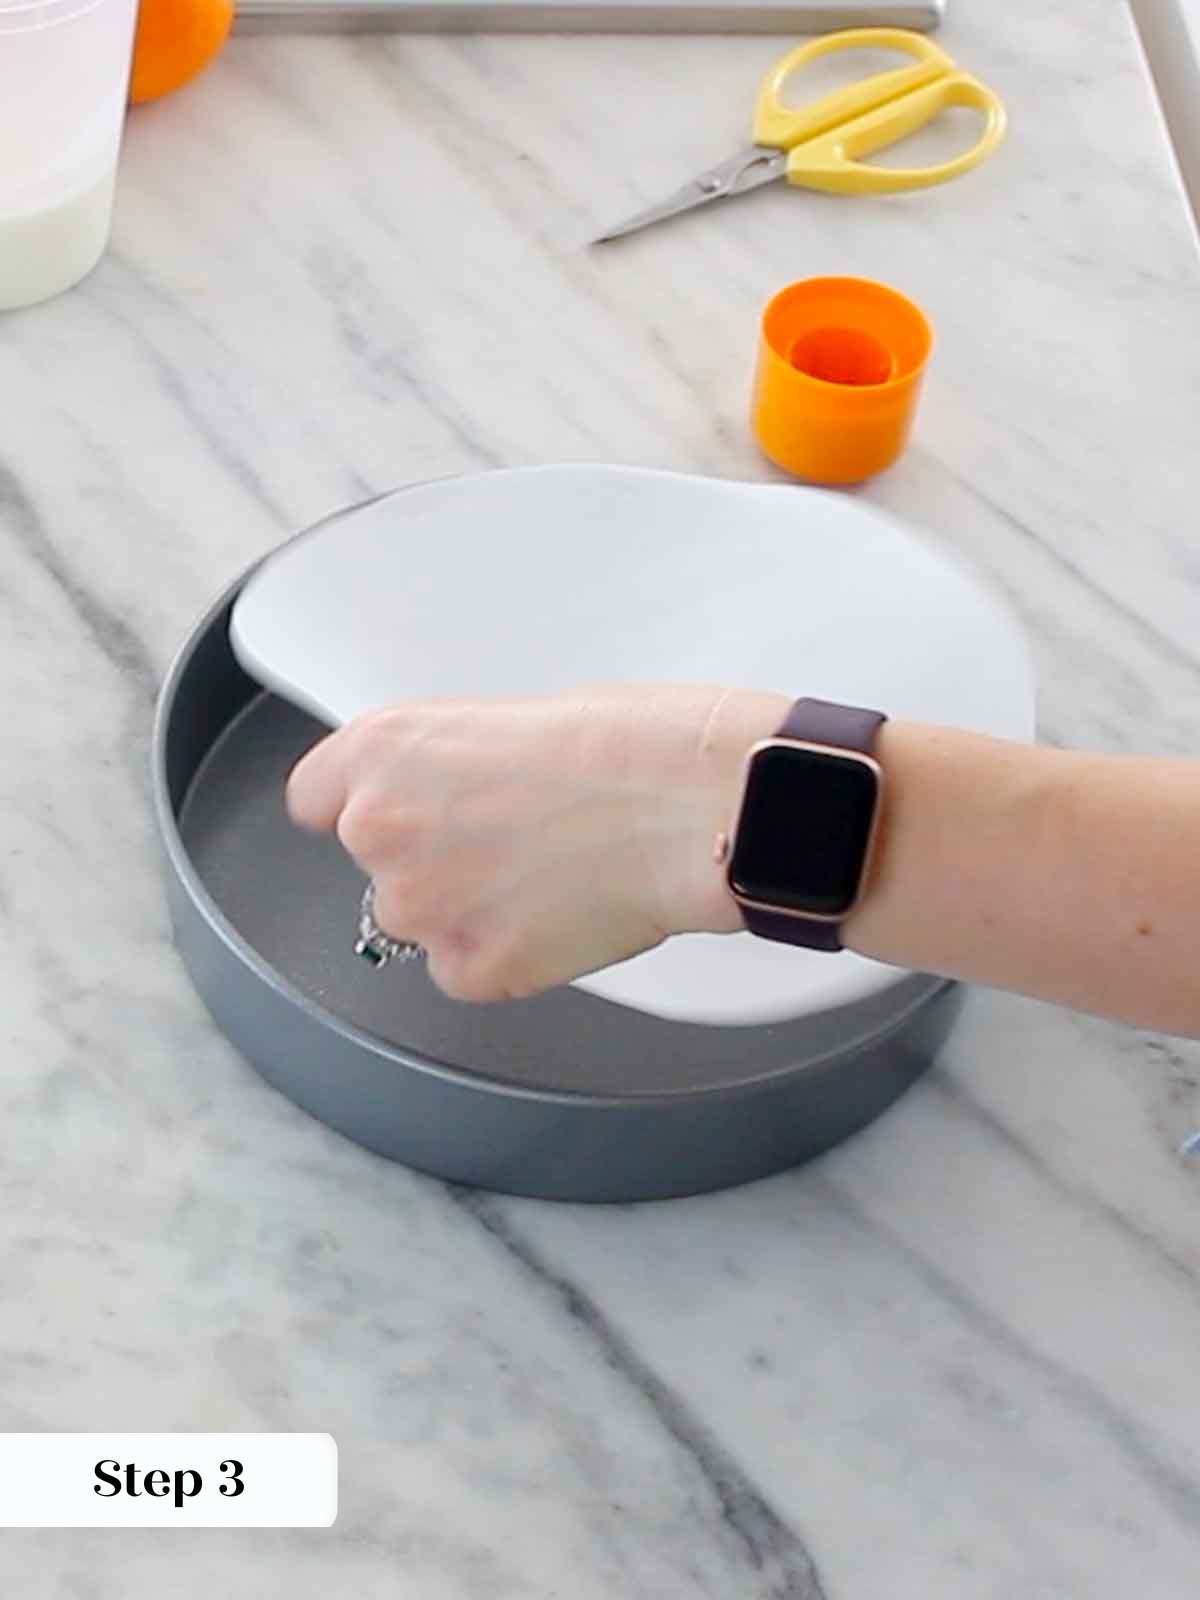
Step 3: Spray a 9 inch round pan with cooking spray and the line with parchment. Set aside, and preheat oven to 325°F convection (with the fan) or 350°F conventional (no fan).
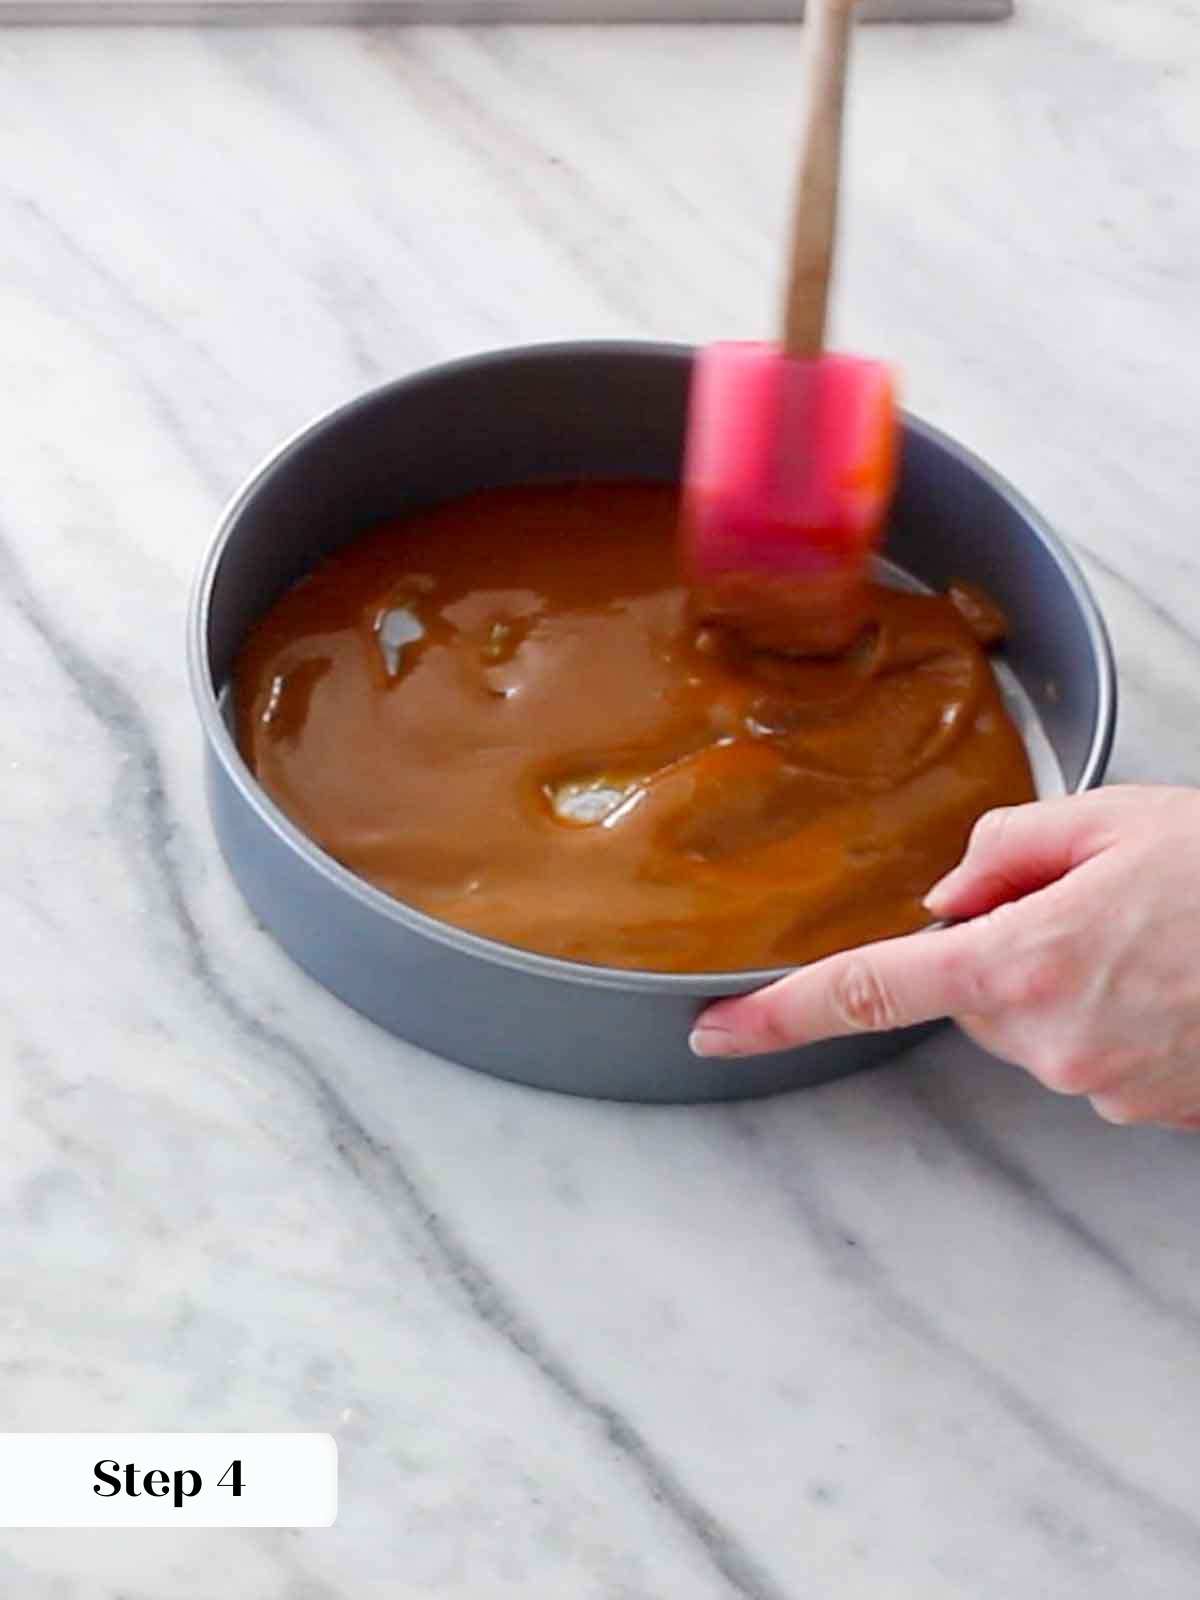
Step 4: Make the caramel, which will be your first layer in the pan. To do this, melt butter in a small sauce pot. Add remaining caramel ingredients and cook until boiling and sugar has dissolved and caramelized. It will be a medium amber color. The color of leaves in Fall. Pour in prepared pan and spread out.
Try to stir a little as possible while the caramel is cooking. This method for making caramel is easy but it is also more likely to crystallize. If it does crystallize, just keep going. It will not materially impact the final cake.
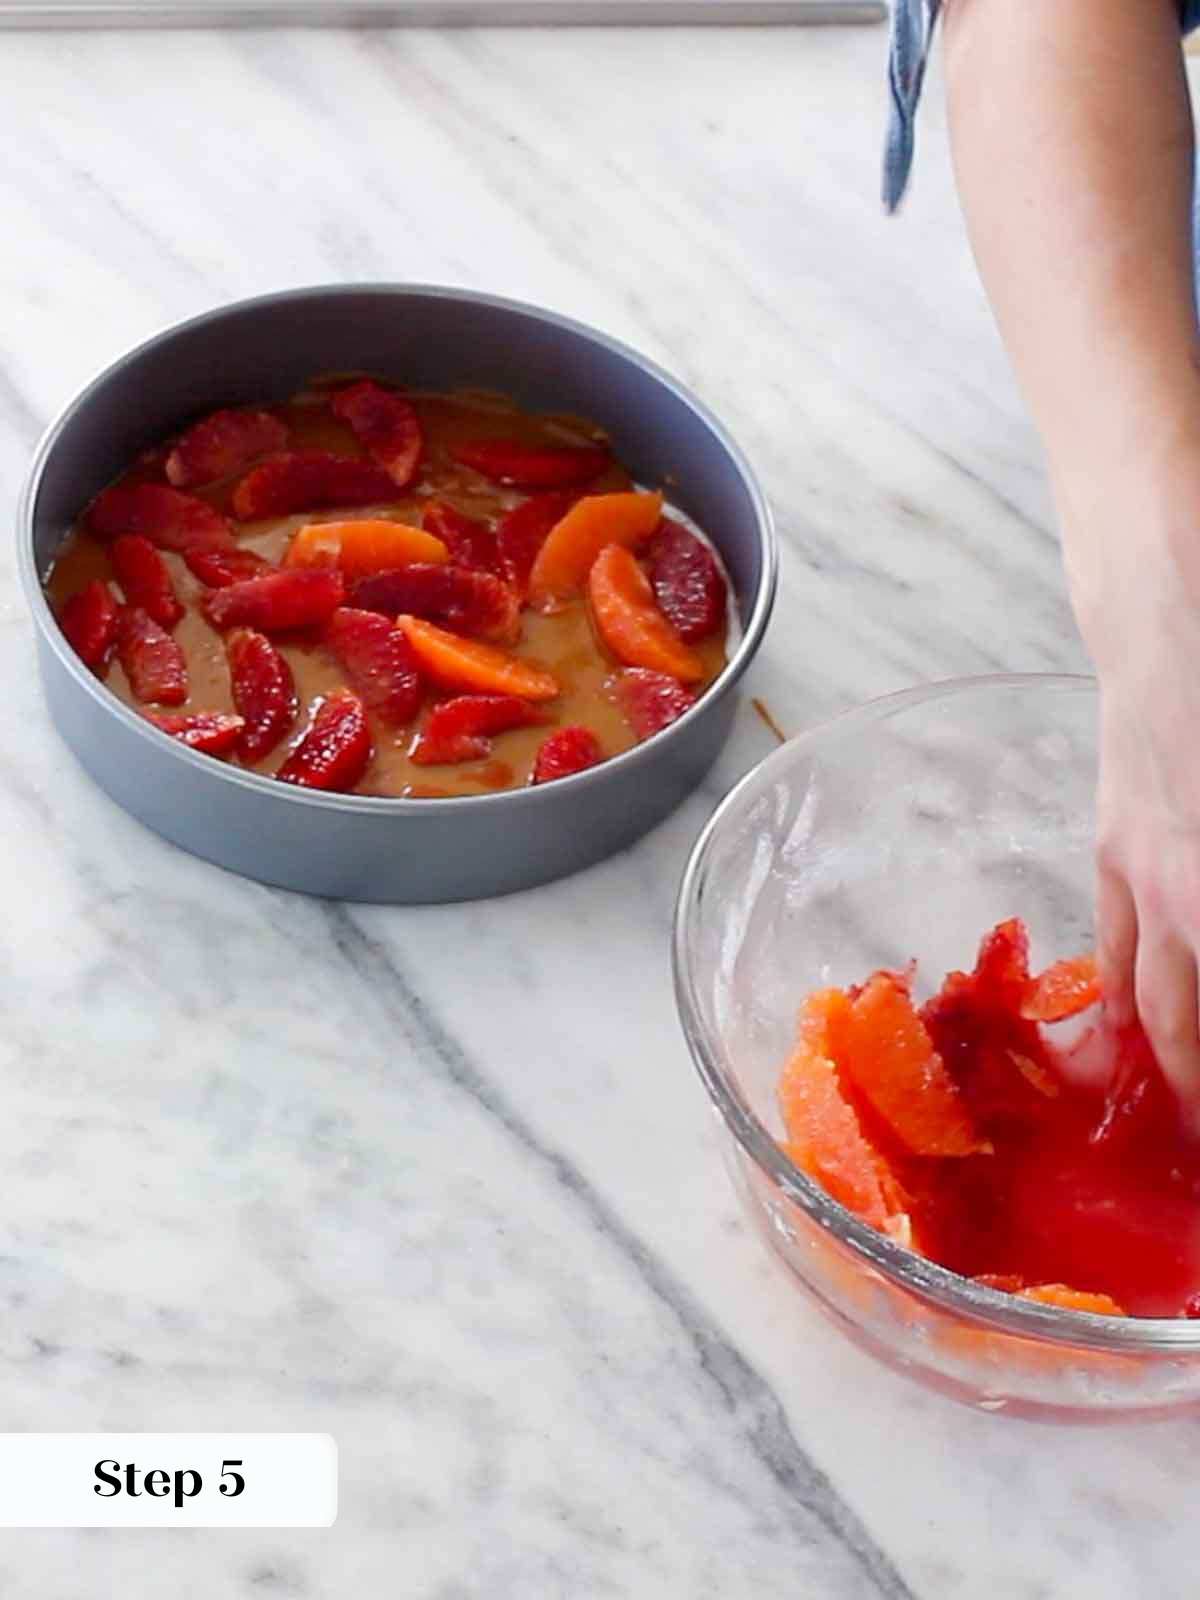
Step 5: Arrange orange slices on top artfully.
Make & bake the cake:
Step 6: Sift together cake flour, baking powder, baking soda and salt. Set aside.
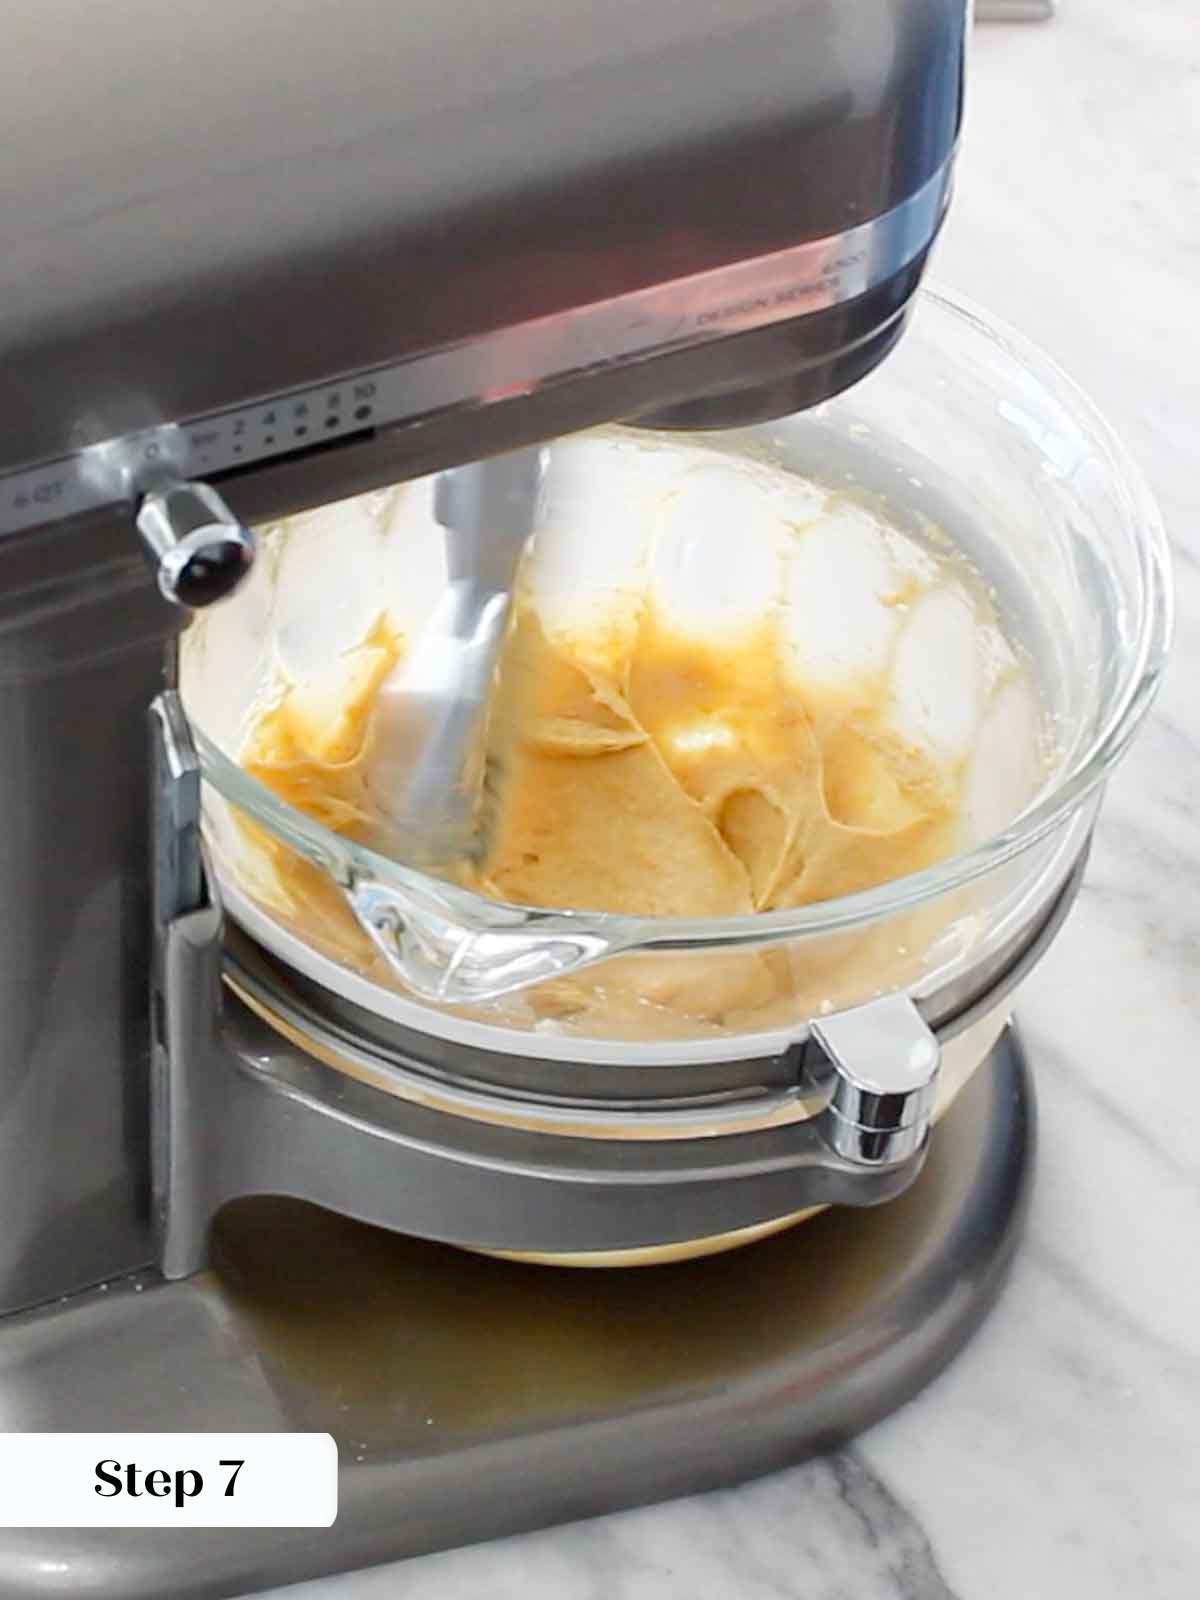
Step 7: In the bowl of a stand mixer, cream butter, sugar and zest until light and fluffy. Beat in the eggs one at a time, scraping down between each addition. Add the vanilla with the last egg.
Step 8: Reduce the mixer speed to low and alternately add the flour mixture with the buttermilk.
I like to do the last few folds with a spatula to make sure I don’t over mix the batter.
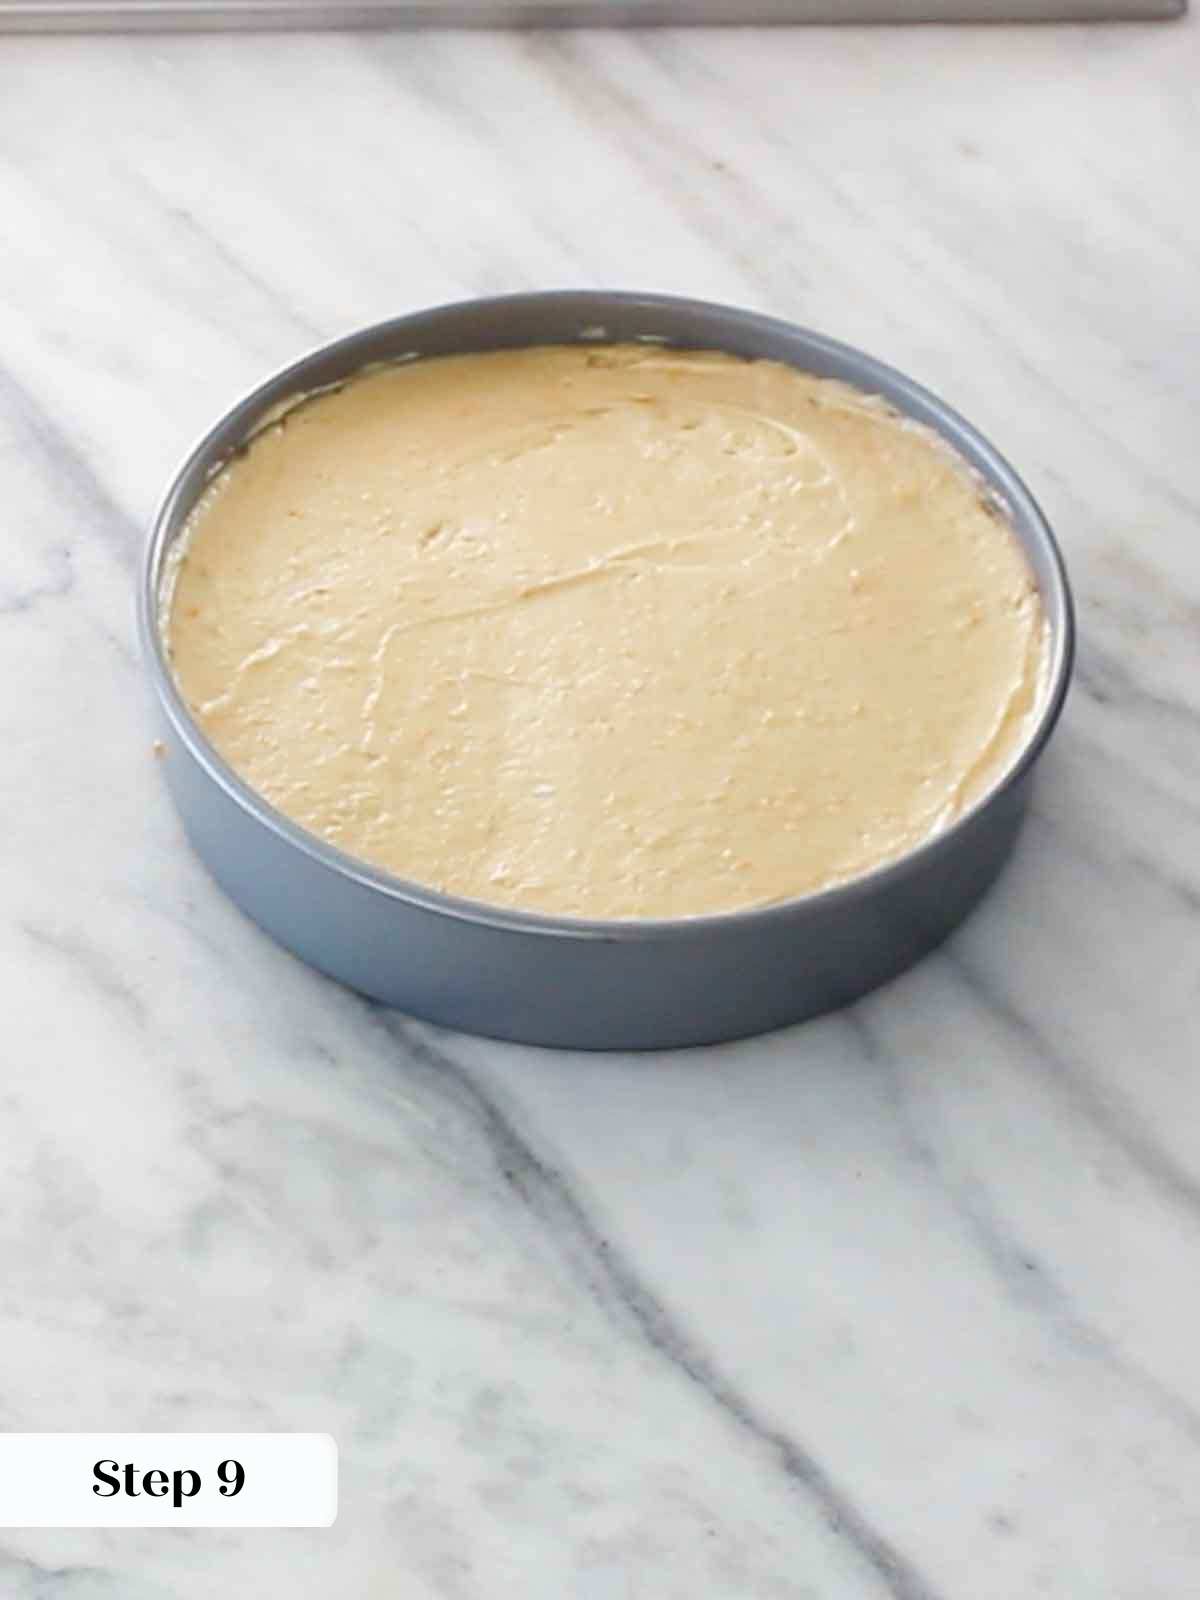
Step 9: Pour into prepared pan on top of citrus and then spread out with an offset spatula.
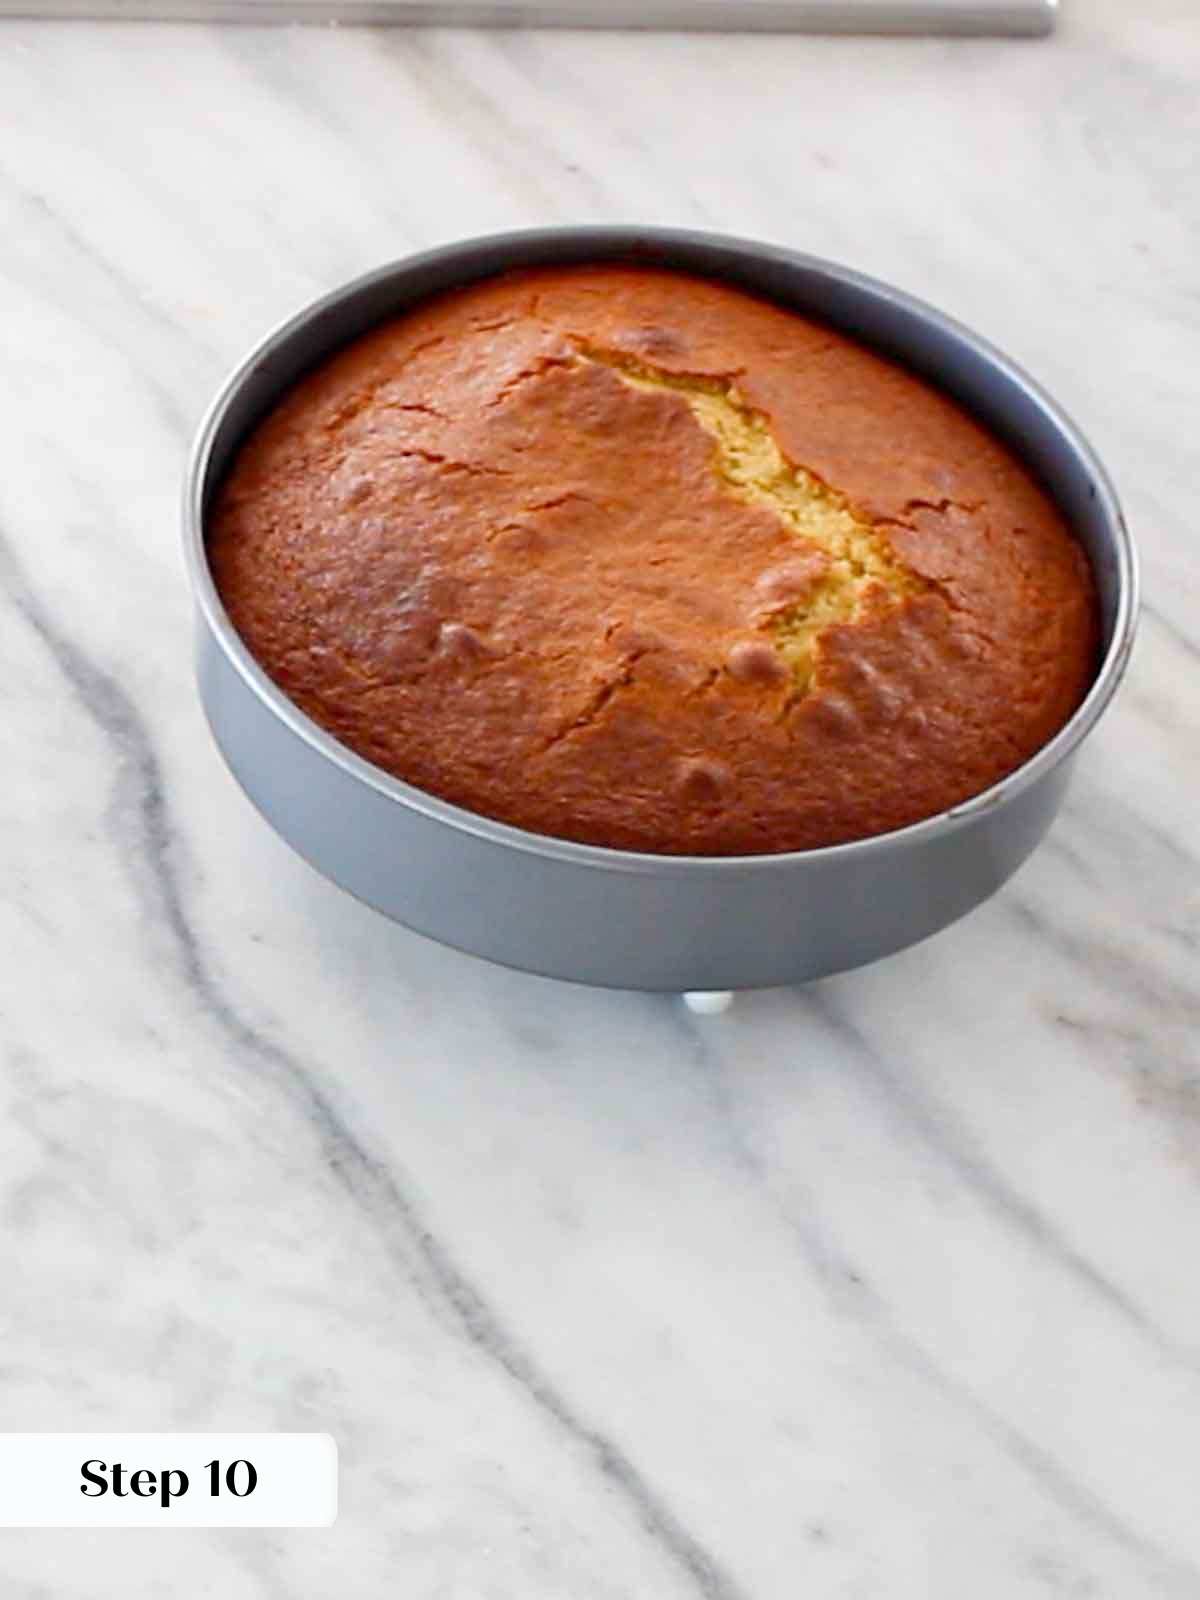
Step 10: Bake in preheated oven for 35-40 minutes or until puffed, golden brown and a cake tester comes out with a few clinging crumbs in the center.
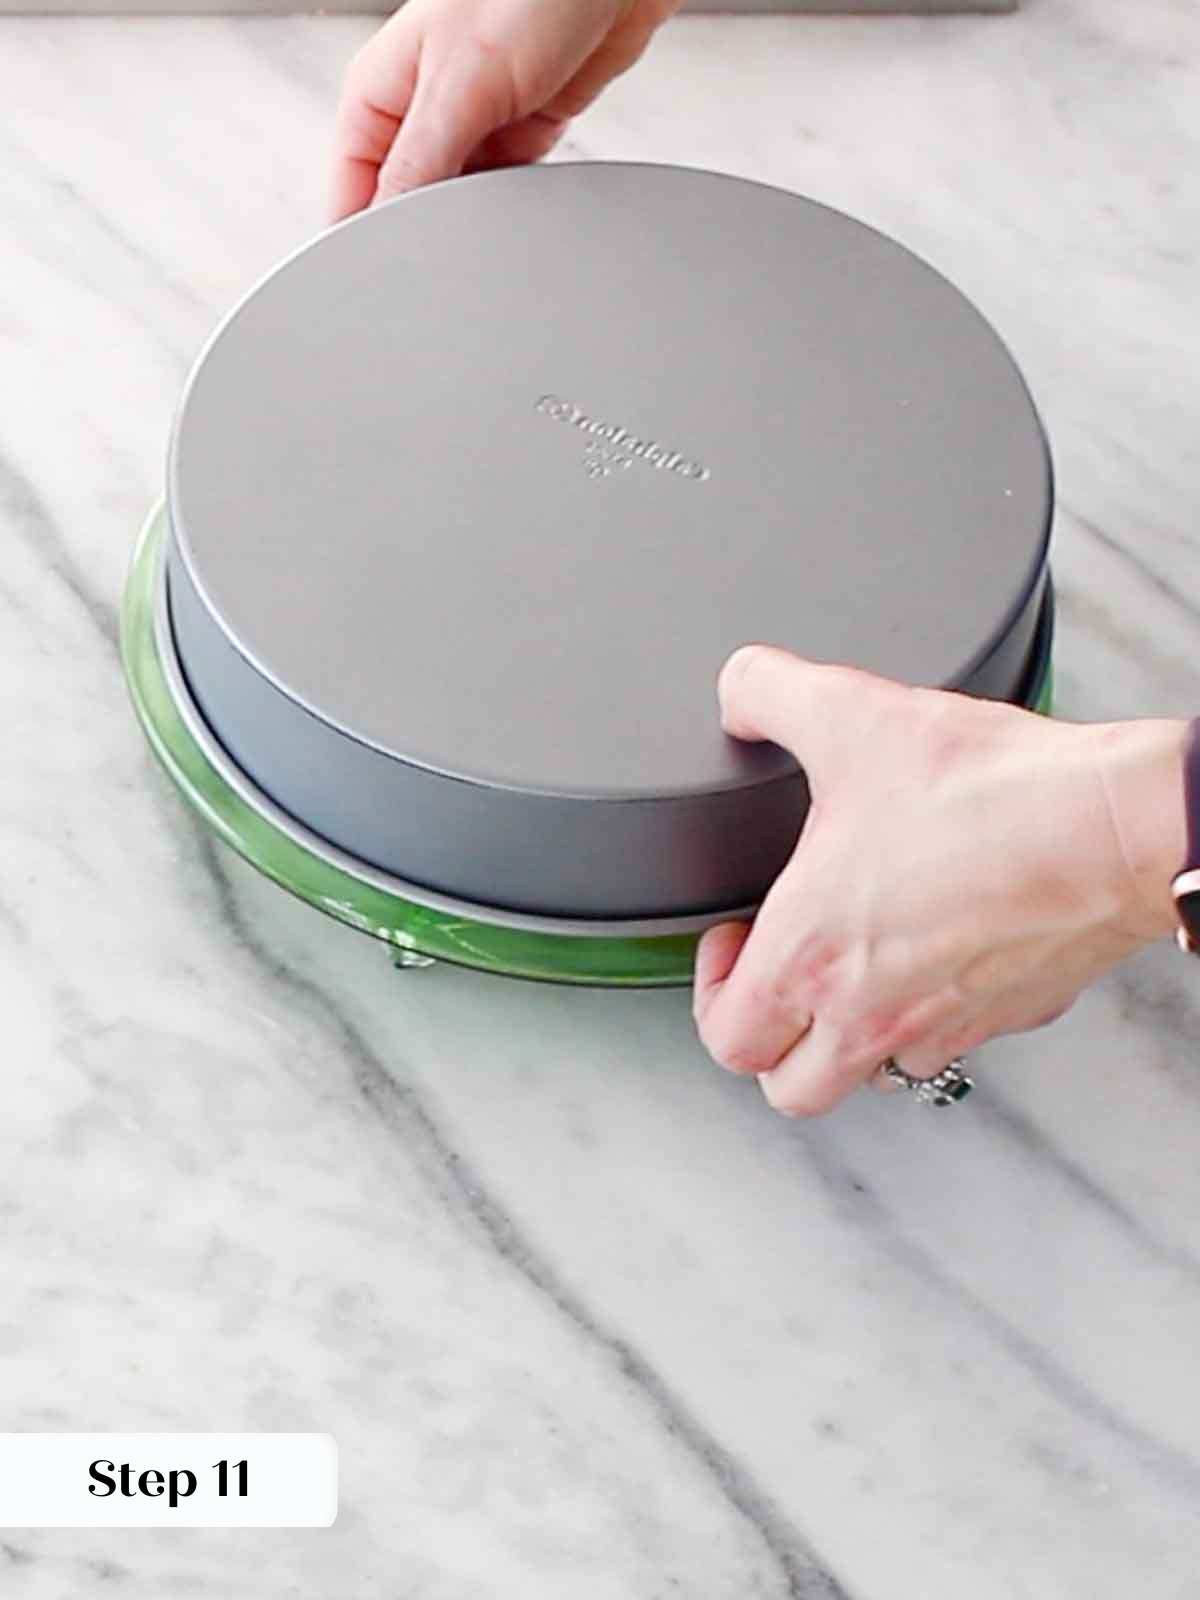
Step 11: Release the cake from the sides of the pan while still warm by running a butter knife or offset spatula around the edges. After 15 minutes, flip the cake out onto a rimmed baking sheet or cooling rack. The caramel will continue to drip, so make sure you have something to catch it!
If you wait too long to flip, the caramel will begin to cool and set, and it won’t want to release from the pan. If you flip too soon, the caramel will be too runny and you will end up with a pool of sauce on the counter and not in your cake! Fortunately if this happens, just pour it into a jar or other vessel and pour it over the top when you serve it. Voilà! Problem solved.

Chef Lindsey’s Recipe Tip
I prefer to remove the skins and white pith from oranges before baking. This lends the best overall flavor and texture, so it is worth the extra step. You can skip this step but the resulting cake will be slightly bitter.
Recipe FAQs
I recommend baking this cake immediately after mixing because of the quantity of baking soda. Cool, wrap and store at room temperature for up to 3 days, refrigerated for a week or frozen for several months.
I would also note that the sliced oranges will begin releasing juice after they are cut, so letting them sit will change the texture of the cake.
I allow the cake to cool 15 minutes before turning it out. For the best results, bake this cake in a pan lined with parchment paper. Run a knife or offset spatula around the edges to release it from the pan. Flip over and then allow to cool completely. I rearrange any shifted fruits and pour the excess caramel on top. This is a natural cake soak.
Serve this cake room temperature or warmed slightly. I like to serve it with a caramel sauce or butterscotch sauce and vanilla bean ice cream. It is also exceptional with a simple spoonful of crème anglaise.
Recommended Fruity Dessert Recipes
Cake Recipes
Pear Upside Down Cake
Christmas Cookie Recipes
Orange Financiers
Cake Recipes
Fruit Cake
Cake Recipes
Hummingbird Cake
If you tried this recipe and loved it please leave a 🌟 star rating and let me know how it goes in the comments below. I love hearing from you; your comments make my day!
Orange Upside Down Cake
Ingredients
- 4 oranges mix of blood orange and cara cara or navel
For Caramel:
- ¾ cup granulated sugar
- pinch kosher salt
- 3 tablespoons unsalted butter cubed
- 1 tablespoon lemon juice half a lemon
For the Batter:
- 2 cups cake flour
- 2 teaspoons baking powder
- ½ teaspoon baking soda
- 1 teaspoon kosher salt
- 9 ½ tablespoons unsalted butter room temperature
- 1 cup light brown sugar or dark
- 2 blood oranges zested, or 1 regular orange
- 2 whole eggs
- 1 ½ teaspoons vanilla extract
- 1 cup low fat buttermilk
Instructions
- Cut the oranges so that you slice off the rind and the thin skin exposing the pulp. Cut out sûpremes (slice out the pulp from the pith in wedges) or slice them into rounds. The second method uses fewer oranges and is much faster! Clearly I have regrets about my choices in the video!
- Spray a 9 inch round pan with cooking spray and the line with parchment. Set aside, and preheat oven to 325°F convection (with the fan) or 350°F conventional (no fan).
- Make the caramel, which will be your first layer in the pan. To do this, melt butter in a pot. Add remaining ingredients and cook until boiling and sugar has dissolved and caramelized. Pour in prepared pan and spread out. Arrange orange slices on top artfully.
- Sift together cake flour, baking powder, baking soda and salt. Set aside.
- In the bowl of a stand mixer cream butter, sugar and zest until light and fluffy.
- Beat in the eggs one at a time, scraping down between each addition. Add the vanilla with the last egg.
- Reduce the mixer speed to low and alternately add the flour mixture with the buttermilk. I like to do the last few folds with a spatula to make sure I don’t over mix the batter.
- Pour into prepared pan on top of citrus and then spread out with an offset spatula.
- Bake in preheated oven for 35-40 minutes or until puffed, golden brown and a cake tester comes out with a few clinging crumbs in the center.
- Release the cake from the sides of the pan while still warm by running a butter knife or offset spatula around the edges.
- After 15 minutes, flip out the cake onto a rimmed baking sheet or cooling rack. The caramel will continue to drip, so make sure you have something to catch it! If you wait too long to flip, the caramel will begin to cool and set, and it won’t want to release from the pan. If you flip too soon, the caramel will be too runny and you will end up with a pool of sauce on the counter and not in your cake! Fortunately if this happens, just pour it into a jar or other vessel and pour it over the top when you serve it. Voilà! Problem solved.
Video
Notes
Nutrition
Before You Go
I hope you enjoyed this professional chef tested recipe. Check out our other delicious, chef-developed cake recipes or find the perfect ice cream recipes to serve with it!



It came out beautiful and delicious!
Hi Irene! I’m so happy to hear that. Thank you for coming back to rate and comment, always makes my day!
Hi looks delicious, but have to be honest! It turned out an absoluted disaster for me. I followed the instructions exactly.
Not sure why, after an hour still raw and caramel burnt!
Hope others have better luck.
Hi Caro! I can help you troubleshoot if you give me more intel. It sounds like things might have gone sideways with your caramel or the oven’s internal temperature was reporting inaccurately. I hope you’ll give it another go, this one is usually a surefire winner!
I don’t bake often, but this looks delicious!
Thank you so much!
Delicious, thank you!
Thank you for commenting, Mrs. Z!