This post may contain affiliate links. Please read our disclosure policy.
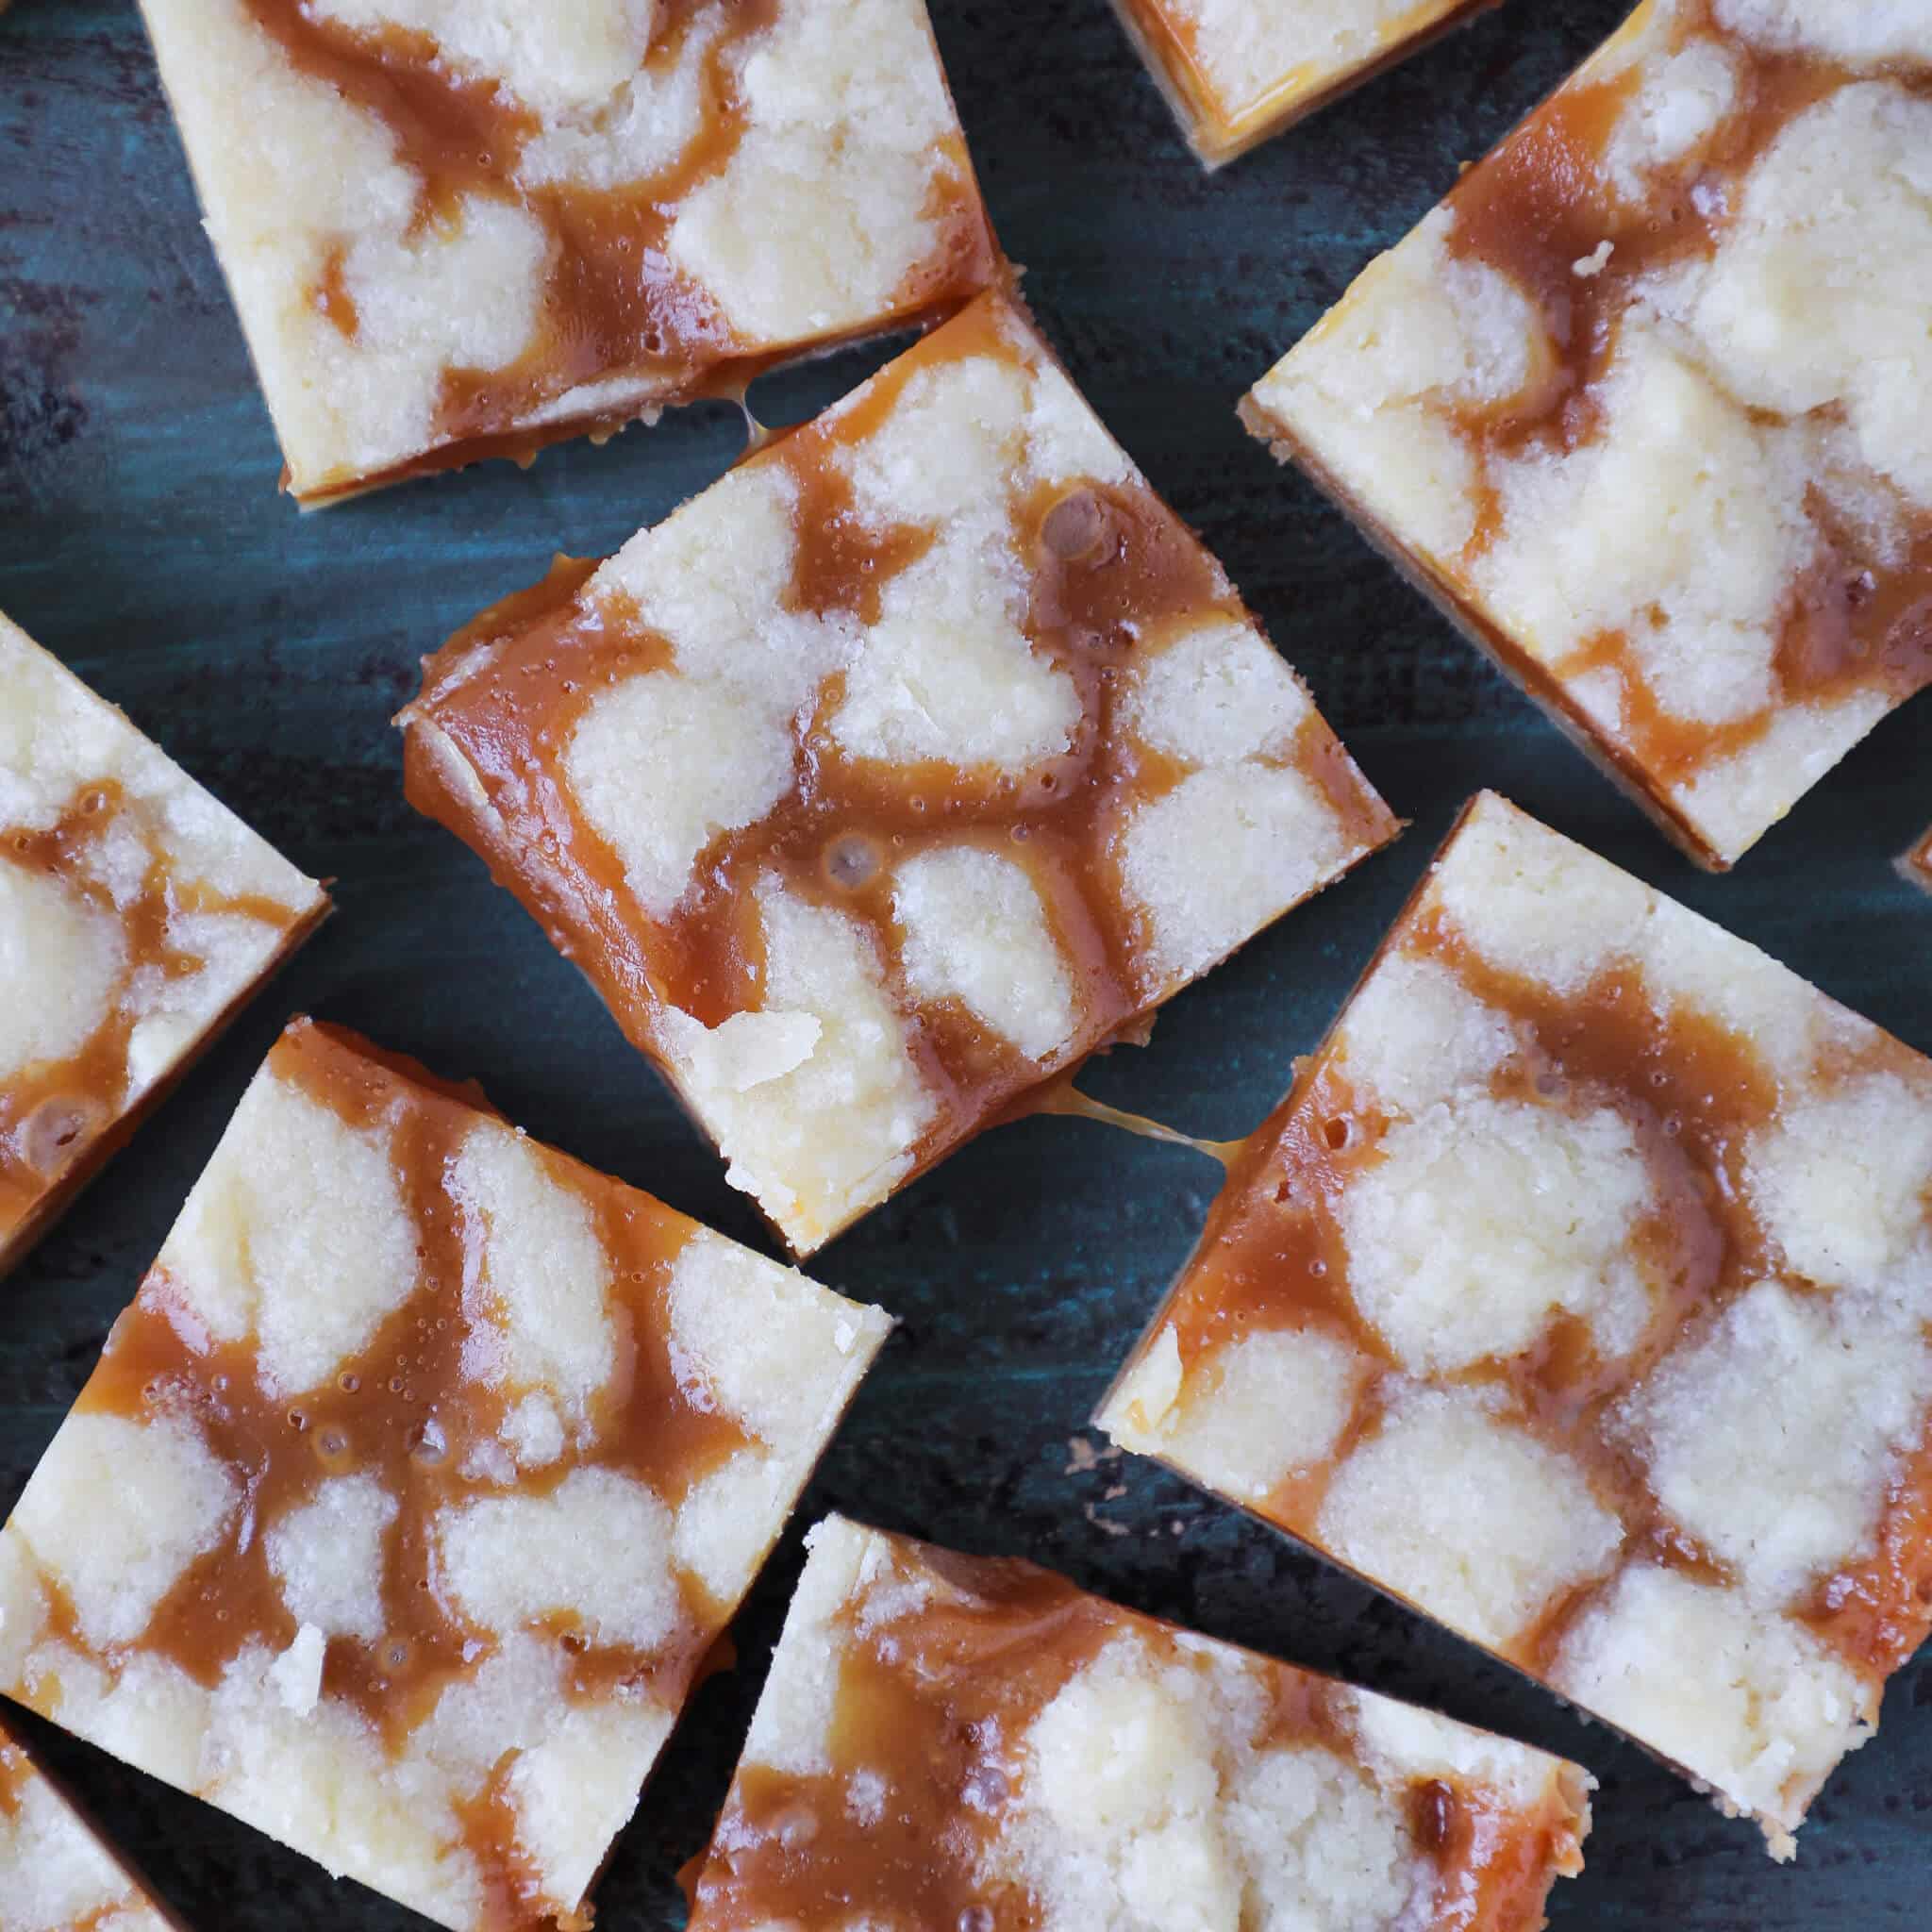
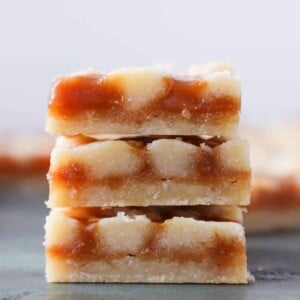
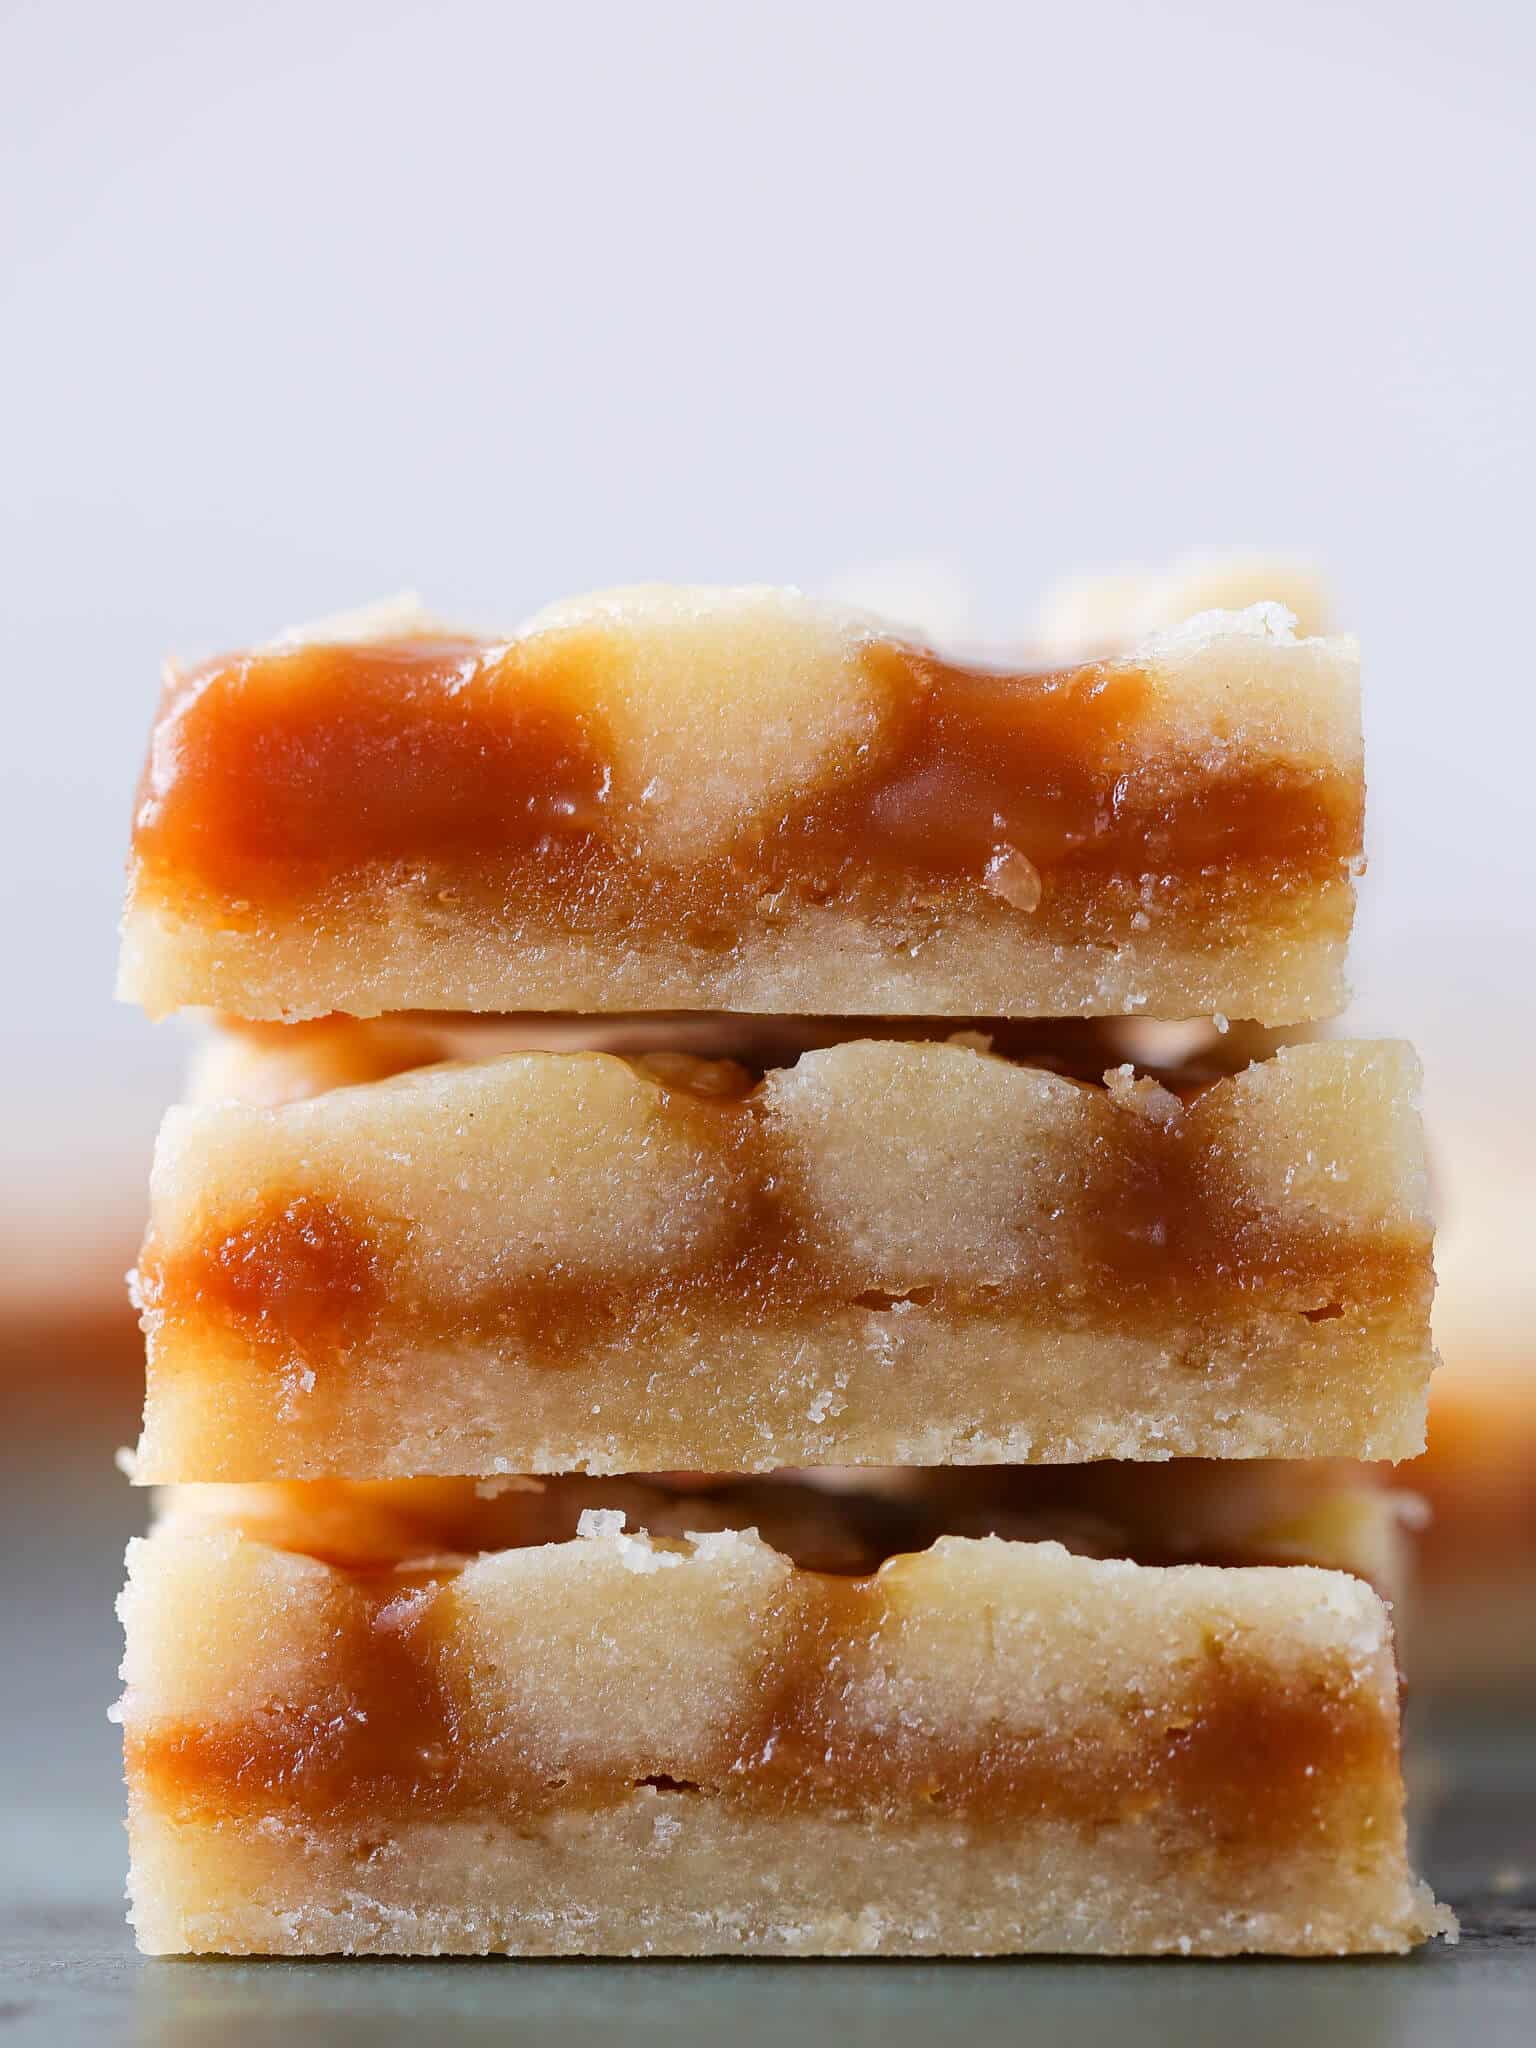
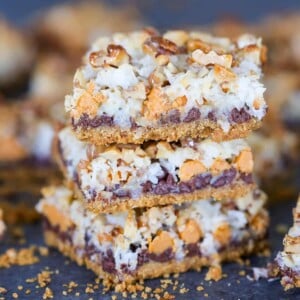
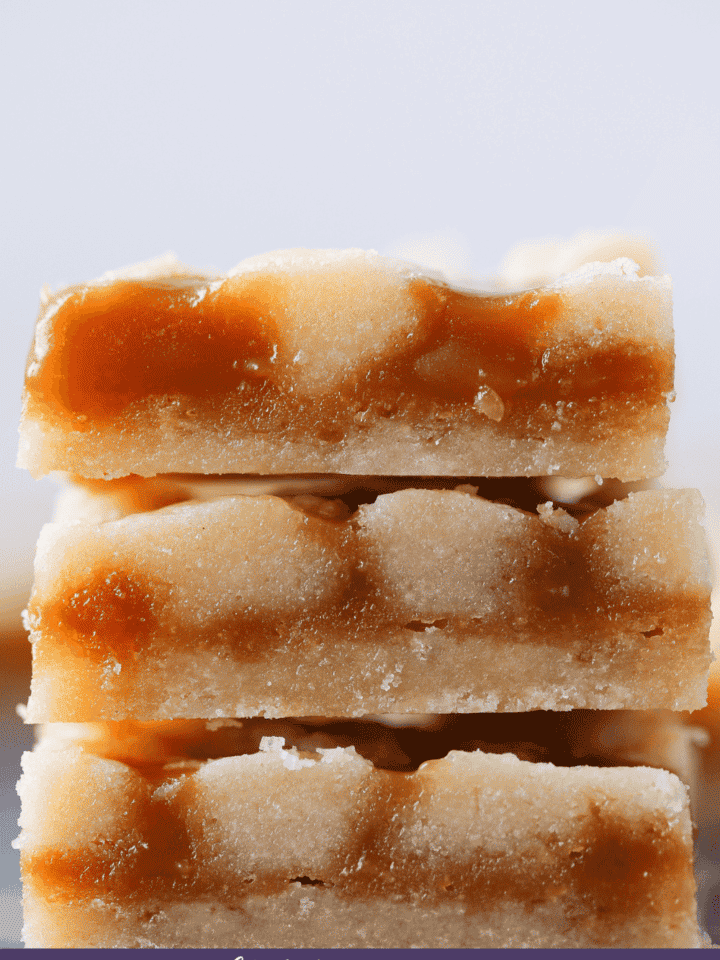
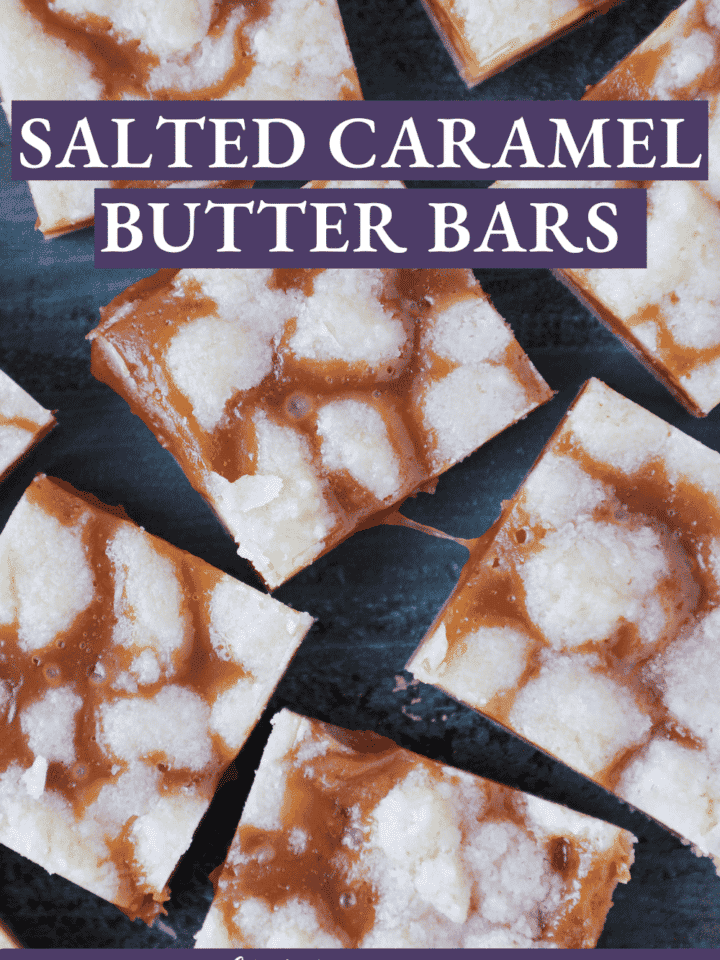
These salted caramel bars are incredibly easy! A buttery shortbread crumble surrounds a salted caramel filling for the perfect salty-sweet dessert!
A Quick Look At The Recipe
This is a brief summary of the recipe. Jump to the recipe to get the full details.
Jump to RecipePrep Time
20 minutes
Cook Time
45 minutes
Total Time
1 hour 5 minutes
Servings
24 people
Difficulty
Easy
Calories *
341 kcal per serving
Technique
Press-in shortbread dough baked in two stages with a caramel layer built between.
Flavor Profile
Buttery shortbread, sweet-salty caramel, golden crumble finish.
* Based on nutrition panel
I made these for a work event and they disappeared before I could get one myself. The caramel stayed perfectly set when cut into squares, not runny at all, and the crumble top gave just the right contrast to the soft filling. Will be making a double batch next time. ⭐⭐⭐⭐⭐
Renata
Why This Recipe Works
- Shortbread does double duty. The same dough forms both the base and the crumble topping, so you press half into the pan, make the filling, and scatter the rest on top. One dough, two textures, just like these raspberry crumble bars.
- The crumble topping stays crisp. Because the top layer is scattered rather than pressed, it bakes up sandy and golden while the base stays dense and buttery, giving you a real contrast in every bite.
- Simple to make! One dough and caramel! That’s it! I use this salted caramel sauce because I had some in my fridge, but you could use caramel candies to simplify these bars even further.
Table of Contents
These salted caramel butter bars are the recipe I pull out when I need something indulgent that comes together in under an hour, because, you know, even busy moms need a treat. The shortbread base is rich without being heavy, and the caramel layer is soft enough to give when you bite into it but firm enough to slice cleanly.
If you are looking for more easy desserts, check out these lemon blondies or this easy chewy blondie recipe! For a more ornate bar, check out these maple pecan blondies!
Ingredients & Substitutions
- Salted Butter: The foundation of the shortbread, and the reason these bars taste so rich. You can use unsalted butter, of course, if that’s what you have. Just add 1 tsp of kosher salt to the dough.
- Sugar and Powdered Sugar: These two work together to give the shortbread its texture. Granulated sugar adds a slight crispness to the base, while sifted powdered sugar keeps the crumb tender and fine, which is what I always look for in a proper shortbread.
- Vanilla Extract
- All-Purpose Flour
- Caramel Candies: The base of the filling. A full 14-ounce bag of wrapped caramels melts down into a smooth, soft layer that slices cleanly once cooled. If you prefer to skip the candy-melting step entirely, you can swap in 1 cup of homemade salted caramel sauce instead.
- Milk or Cream: Thins the melted caramel to a pourable, spreadable consistency. Cream will give you a slightly richer filling; whole milk works fine if that is what you have.
- Coarse Sea Salt: Scattered over the top before baking. Fine salt disappears into the dough; coarse salt gives you those distinct, occasional bursts of contrast that make these bars worth making again.
See the recipe card for full information on ingredients and quantities.
Variations on This Salted Caramel Butter Bars
- Change the filling. You swap out the caramel for your favorite jam or jelly! Take inspiration from these cranberry cinnamon jam bars!
- Apple Caramel Bars! Layer in some apple pie filling, drizzle with caramel sauce, and top with the dough. Bonus points for adding apple pie spice to the dough.
- Carmelita inspired! Add some chocolate chips to the base before you add the caramel sauce! Just like when making this carmelitas recipe!
Professional Tips
- Press the base layer thin and even. One-third of the dough needs to cover a 9×13 pan in a uniform layer, roughly a quarter inch thick. Uneven spots mean the thinner areas overbake before the thick spots are done. Use the bottom of a flat measuring cup to help.
- Refrigerate the reserved dough while the crust bakes. Cold dough crumbles rather than smears when you scatter it over the caramel. If it warms up and turns soft, it will press together and bake into a solid sheet instead of a sandy topping, which is the one thing that will ruin the texture contrast.
- Let the bars cool completely before cutting. The caramel filling needs time to set, and cutting too soon gives you a layer that oozes out rather than holds its shape. I tested cutting at 30 minutes versus fully cooled, and fully cooled wins every time for clean squares.
- Line the pan with parchment. Leaving an overhang on two sides lets you lift the whole slab out before cutting, which gives you much cleaner edges than cutting and serving from the pan.
How to Make Salted Caramel Butter Bars
Start by getting your crust dough together first, since it does double duty as both the base and the crumble topping.
Step 1: Preheat the oven and prepare your pan. Set the oven to 325°F. Butter a 9×13 baking dish or line it with parchment paper.
Criss-cross parchment is what I always do here because it makes lifting the bars out for clean cutting much easier.
Step 2: Cream the butter and sugars. In a large bowl, combine the room temperature butter, sugar, and powdered sugar. Mix on medium speed until the mixture is creamy and uniform, about 2 to 3 minutes. Add the vanilla and beat until combined. The mixture will look pale and slightly fluffy.
Step 3: Mix in the flour to form the dough. Add the flour on low speed and mix until a smooth, soft dough forms. It will come together into something that feels like a cross between shortbread dough and cookie dough, tender but not sticky. Do not overmix once the flour is incorporated.
Step 4: Press the base layer and bake. Press one third of the dough evenly into the prepared pan. Refrigerate the remaining two thirds. Bake the base at 325°F for 20 minutes, until the edges are a pale golden brown. The center may still look slightly underdone, which is completely normal. It will continue to bake with the filling on top.
Step 5: Melt the caramel candies. While the crust bakes, place the unwrapped caramel candies and cream in a microwave-safe bowl. Microwave on high for 1 minute, then stir. If the caramels are not completely melted, continue microwaving in 30-second intervals, stirring after each one, until the mixture is fully smooth. Stir in the vanilla and set aside until the crust finishes baking.
If your melted caramel seizes up or looks grainy after stirring, it likely needs another 15 to 20 seconds in the microwave. A small splash of additional cream will also smooth it back out. The caramel needs to be fluid enough to pour evenly over the crust.
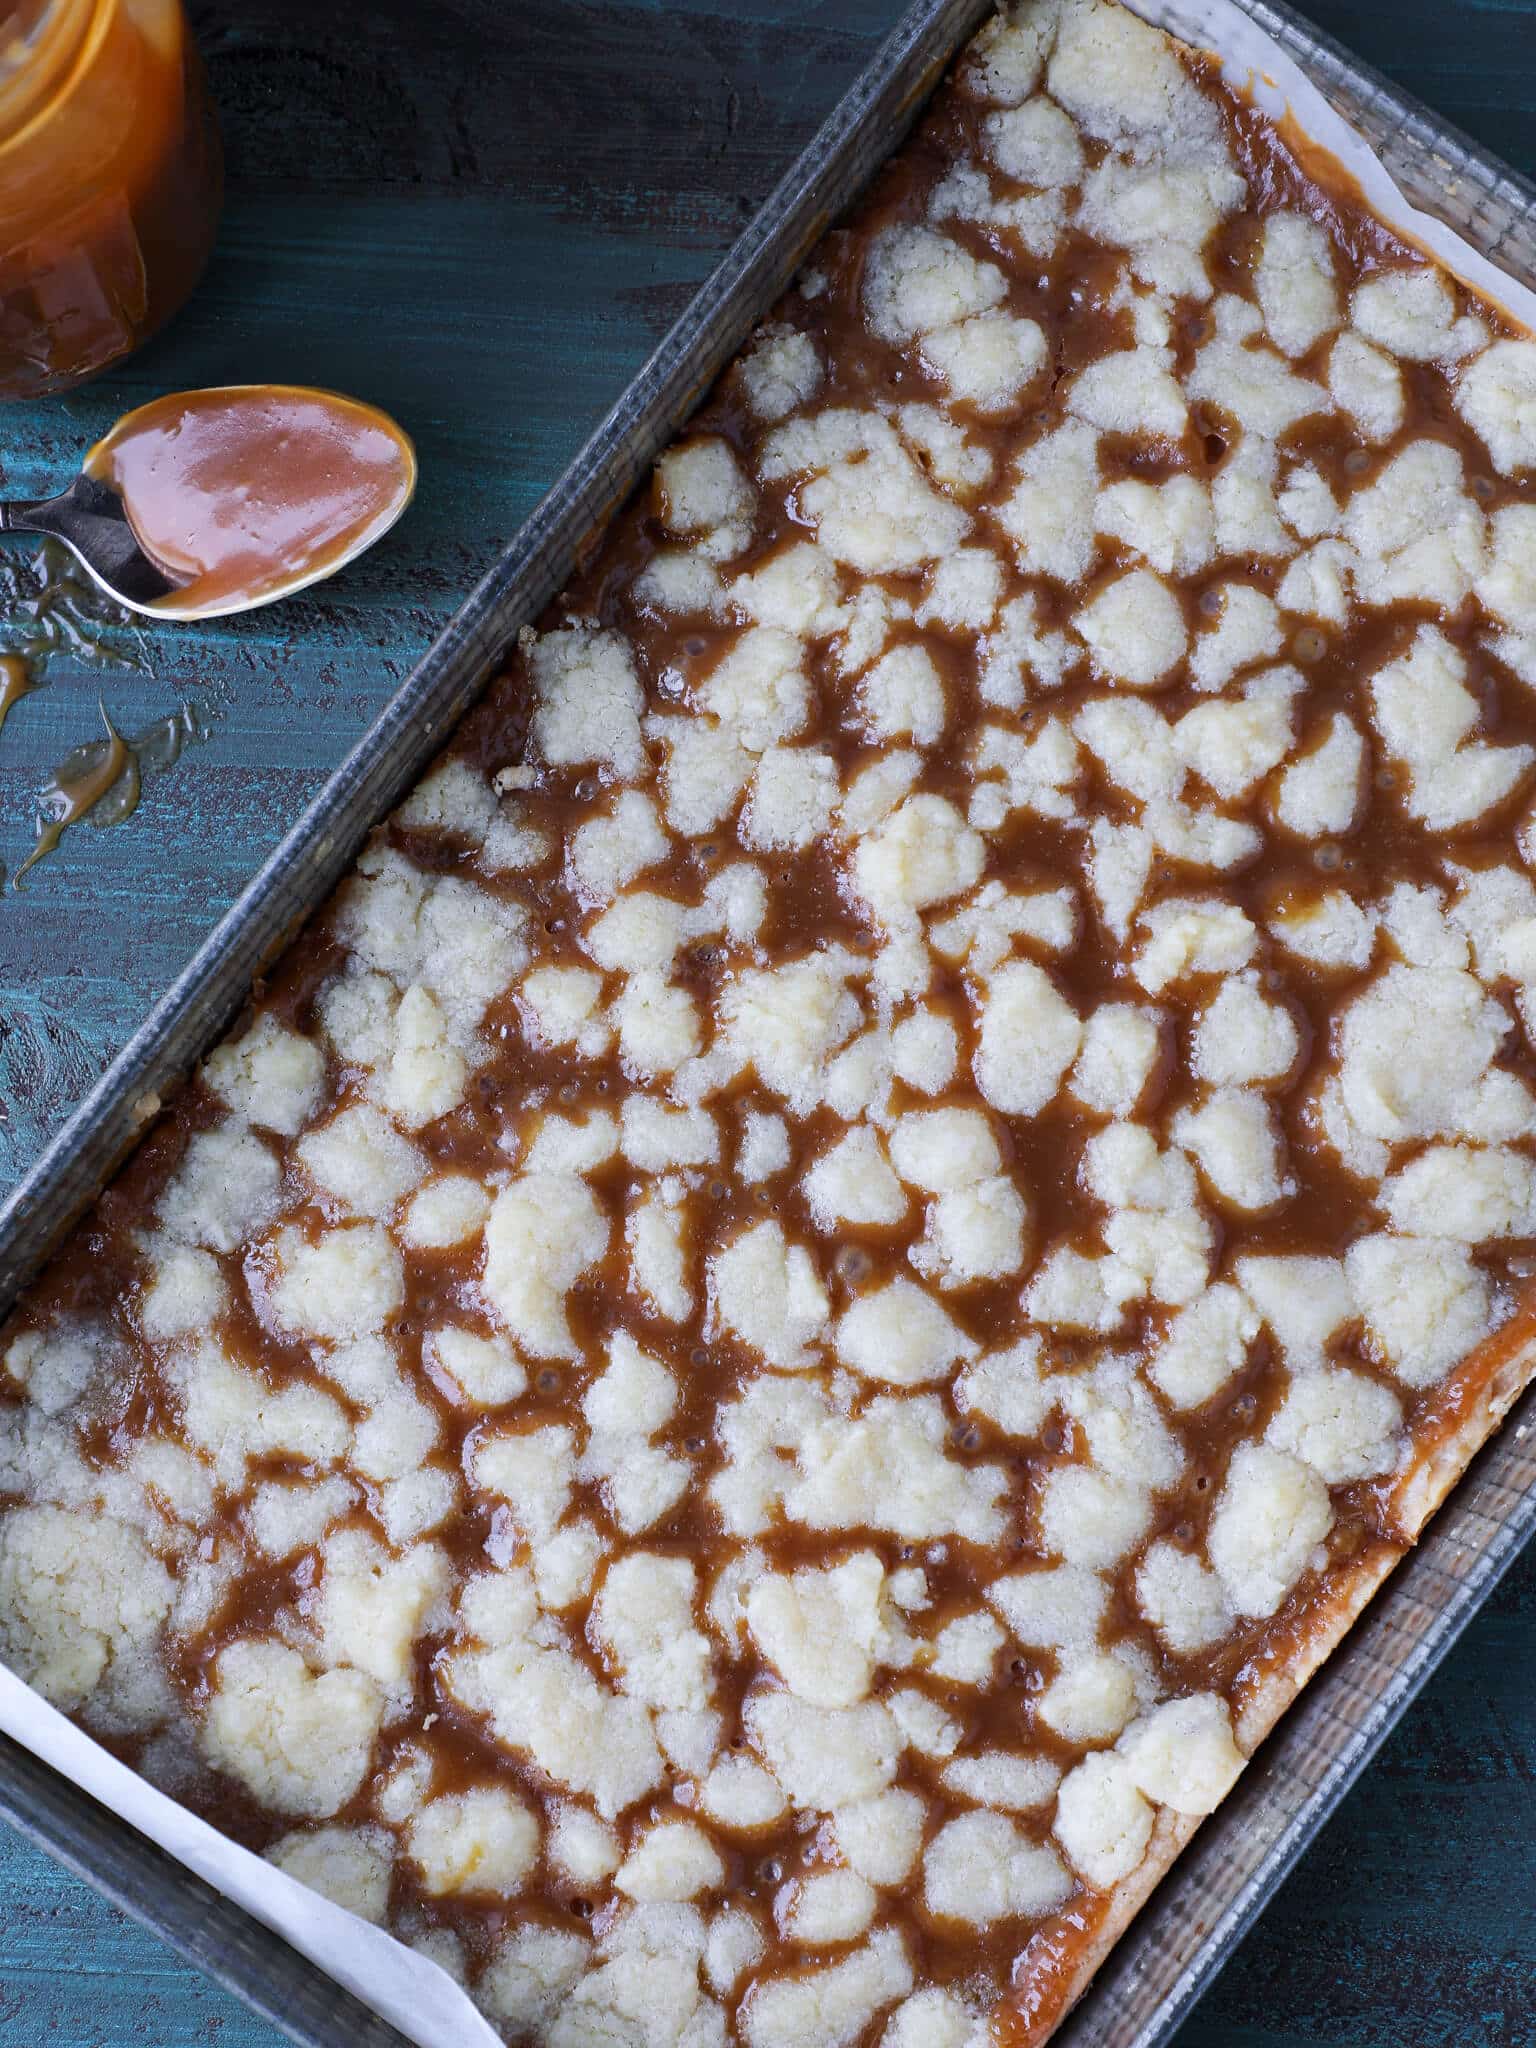
Step 6: Assemble and bake. Pour the caramel filling evenly over the baked crust. Sprinkle the coarse sea salt directly over the caramel, then crumble the remaining two thirds of the refrigerated dough over the top in irregular pieces. You want some gaps in the topping so the caramel can bubble up through. Bake at 300°F convection or 325°F conventional for 25 to 30 minutes, until the filling is visibly bubbling around the edges and the topping is firm and lightly golden.
The refrigerated dough will be firm when you pull it from the fridge, and that is fine. Cold dough crumbles more easily into uneven pieces, which gives you a better-textured topping than if you tried to work with it at room temperature. Just break it apart with your fingers directly over the pan.
Step 7: Cool completely before cutting. Remove the pan from the oven and let it cool at room temperature until the caramel has set and is no longer liquid when you press near the center, which should take at least 1 to 2 hours. The caramel will still look slightly soft when the pan comes out, which is completely normal. It firms as it cools. Once cooled, cut into squares and serve. (I know, I know, go ahead and cut a corner out for quality control. The things we must do as bakers.)
Chef Lindsey’s Recipe Tip
The caramel filling will look slightly thin when you first pour it over the crust, and that is by design. Because it bakes a second time with the crumble topping, it thickens and sets into a fudgy layer rather than staying pourable. If you use a homemade caramel that is already thick, you may want to warm it briefly so it spreads easily over the crust without tearing the base.
Recipe FAQs
Yes. Bake and cool the bars completely, then wrap the pan tightly in plastic wrap and refrigerate for up to one week. They actually slice more cleanly when fully chilled, so making them a day ahead is a good move.
Wrap the bars tightly in plastic wrap and keep them in the refrigerator for up to one week. Bring them to room temperature for about 15 minutes before serving if you prefer a softer texture.
Yes, halve all ingredients and bake in an 8×8 dish. The bake times stay roughly the same, so watch for the same visual cues: pale golden edges on the base and a bubbling, lightly golden topping on the second bake.
Recommended Bar Recipes
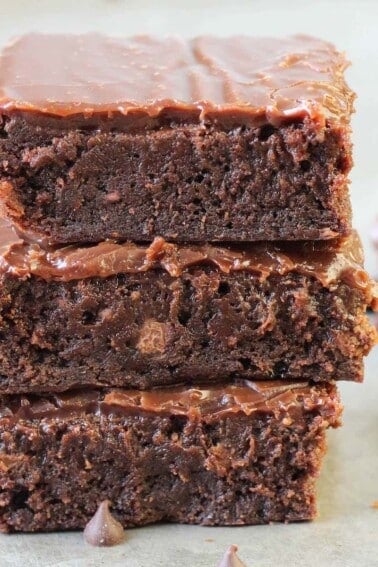
Brownies & Bars Recipes
Milk Chocolate Brownies
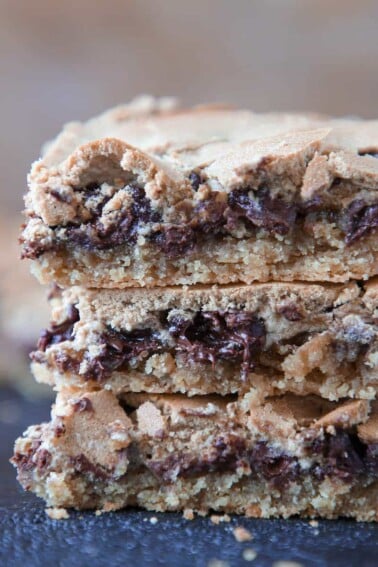
Brownies & Bars Recipes
Chocolate Halfway Bars
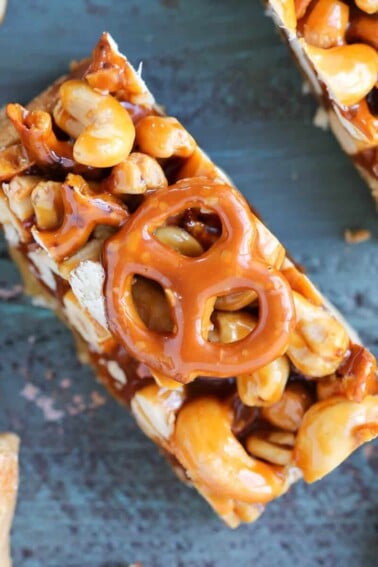
Brownies & Bars Recipes
Cashew Caramel Pretzel Blondies
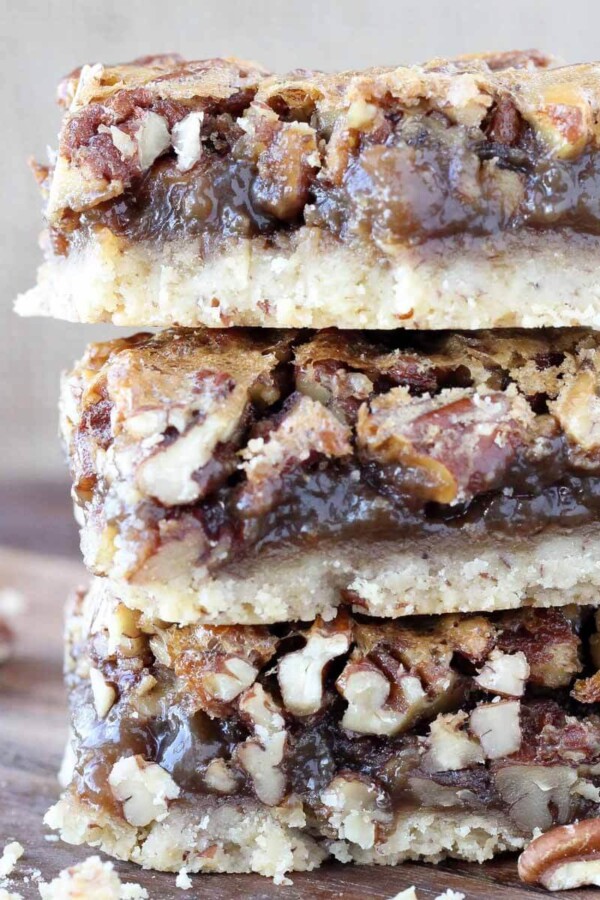
Brownies & Bars Recipes
Pecan Pie Bars
If you tried this recipe and loved it please leave a 🌟 star rating and let me know how it goes in the comments below. I love hearing from you; your comments make my day!
Salted Caramel Bars
Ingredients
Shortbread Dough
- 2 cups salted butter — room temperature
- 1 cup granulated sugar
- 1 ½ cups powdered sugar
- 2 tablespoons vanilla extract
- 4 cups all-purpose flour — sifted
Caramel Filling
- 14 oz caramel candies 1 bag
- ⅓ cup milk or cream
- ½ teaspoon vanilla extract
- 1 tablespoon coarse sea salt
Instructions
- Preheat the oven to 325°F. Butter a 9×13 baking dish or line it with parchment paper.
- Beat butter, sugar, and powdered sugar together on medium speed until creamy. Add the vanilla and beat until combined.
- Add the sifted flour on low speed and mix until a smooth, soft dough forms.
- Press one-third of the dough into an even layer in the prepared pan. Bake for 20 minutes, until the edges are pale golden brown. Refrigerate the remaining dough while the crust bakes.
- While the crust bakes, place the unwrapped caramel candies and cream in a microwave-safe bowl. Microwave on high for 1 minute, then stir until smooth. If any candies remain unmelted, continue in 30-second intervals, stirring after each, until fully smooth. Stir in the vanilla.
- Pour the caramel filling over the baked crust, sprinkle evenly with the coarse sea salt, and crumble the remaining chilled dough over the top.
- Return the pan to the oven and bake for 25 to 30 minutes, until the filling is bubbling and the topping is firm and lightly golden. Cool completely before cutting into squares.
Notes
Doneness Cue: The filling should be visibly bubbling at the edges and the crumble topping should feel firm, not soft, when the pan is gently shaken.
Storage: Wrap bars tightly in plastic wrap and refrigerate for up to one week. Bring to room temperature for about 15 minutes before serving if you prefer a softer texture.
Make Ahead: Bake and cool completely, then wrap the pan tightly and refrigerate up to one day ahead for cleaner slicing.
Nutrition
Before You Go
These buttery, salted caramel bars are the kind of thing that disappears before you expect it to. If you want more recipes like this one, browse my brownies and bars recipes or just make these 7 layer bars next!


Just so you know, the metric conversion for the caramels – one 14-oz bag to 28.25 grams – is not correct. If you convert 14 oz into metric, it equals about 397 grams.
Hi Erika! You’re absolutely right, thank you for catching that. I’ll update the recipe card to reflect that correction. Happy baking!
Absolutely divine! (I made them with the homemade salted caramel.)
Hi Kellie! Oh my, wonderful! Thank you for coming back and letting me know 🙂
I’ve just made this for the 3rd time and it came out great as usual! It’s so very rich so the only time I can justify making it is for special occasions or I’d need a whole new wardrobe lol. This is the 2nd Christmas that I’ve made it and I also made it for my God-daughters baby shower….and there wasn’t a crumb left! This is becoming a staple on my Christmas cookie platter and for good reason.
Oh, Jane, that is wonderful to hear! Thank you so much for taking the time to come back and comment and rate! I really appreciate it! Your comment made my day 🙂 And I completely agree with you on needing a whole new wardrobe if these bars were around frequently! Merry Christmas! ~Lindsey
I can’t wait to try this recipe! I was wondering what is the measurement of caramel sauce for this recipe? I have leftover caramel sauce from an ice cream sundae night and I wanted to use that up first? Many thanks!
Hi Kathy, In the notes below the recipe you’ll see that I used 1 cup of homemade salted caramel sauce. When I update the post, I will make the measurement more clear! Thank you for helping me improve my recipes! ~Lindsey
I just made mine they are in the oven as I speak, homemade Carmel worked perfectly and this was my first time making Carmel in this way ( been intimidated in the past as I have seen many baking competitions and bakers fail😳).
Only question I have is when splitting up the dough into thirds and only 1/3 goes to bottom while 2/3 is used to crumble on top… I ended up using a little more than 1/3 for top because I felt if I used more it would have buried my Carmel layer. I’m scared I made a bad decision has this ever been a concern for you?
Haha, Kim, I understand the stress of the crumble distribution. Whatever you chose will be delicious! I am a fan of the heavy crumble or streusel topping but not everyone is!
I am overjoyed that you had success with the homemade caramel! Now that you have made it, the gloves are off and you are about to salted caramel all the things. 🙂 The good thing about making caramel is that it’s just sugar, so if you burn it, just start again! If you make the whole sauce and its got sugar chunks in it, just strain it. There is no shame in caramel making ~ Lindsey
Super, super yummy!!! Definitely will be adding this to my treat arsenal!
I’m so glad!
Question: I made these salted caramel butter bars and they are amazing! Everybody loves them. Can I make a batch ahead of time and freeze them? How do they do in the freezer? I am going to be in a Christmas craft show and I am prepping ahead of time and really need to put stuff in the freezer.
I made the homemade salted caramel and I did make an adjustment to the recipe. I used ground sea salt in the homemade caramel recipe and it was far, far too salty. I read it again with half a tablespoon and it was perfect.
Hi Julia! Absolutely freeze away! Just wrap them really well and put them in a ziplock bag to keep the flavor as fresh as possible! Happy baking!
I want to ship these to someone deployed, it usually takes about 10 days for the food to get there. do you think these will last 10 days at room temp?
10 days might be pushing it depending on the heat. If its super hot, I wouldn’t. Otherwise, sure! I’m sure they will appreciate these! Make sure to send enough to share! They are addicting!