This post may contain affiliate links. Please read our disclosure policy.
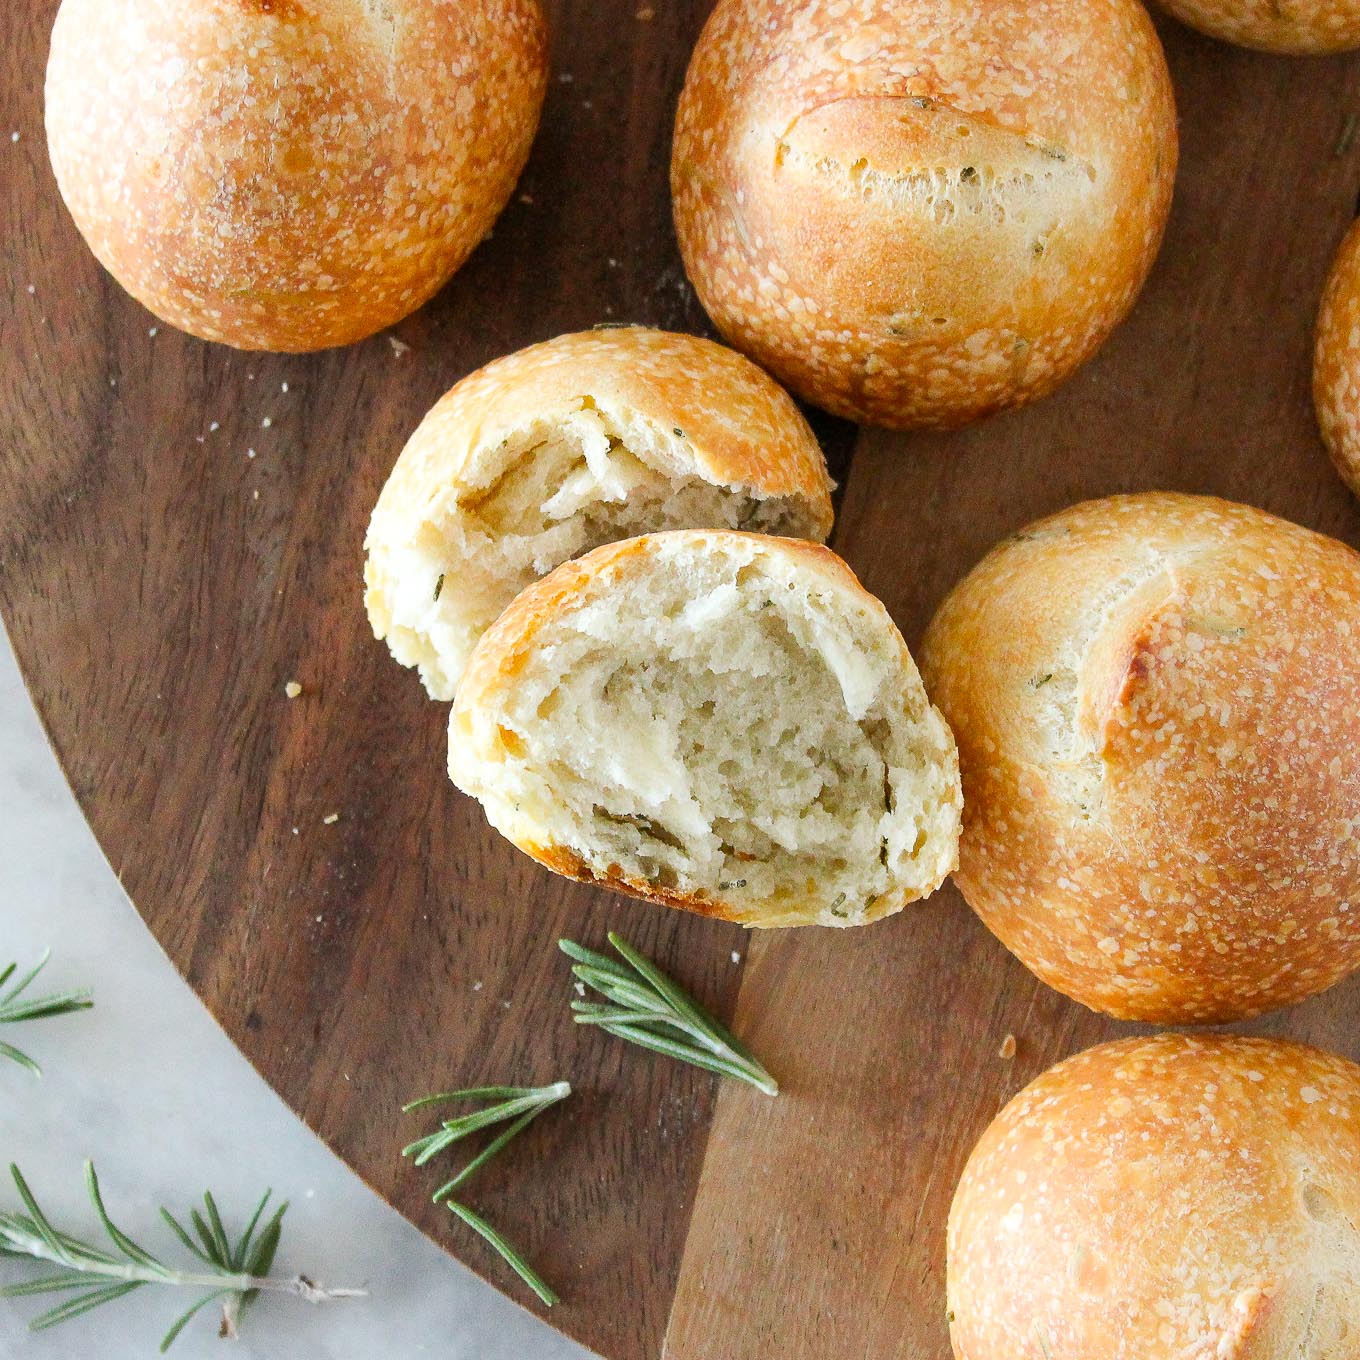
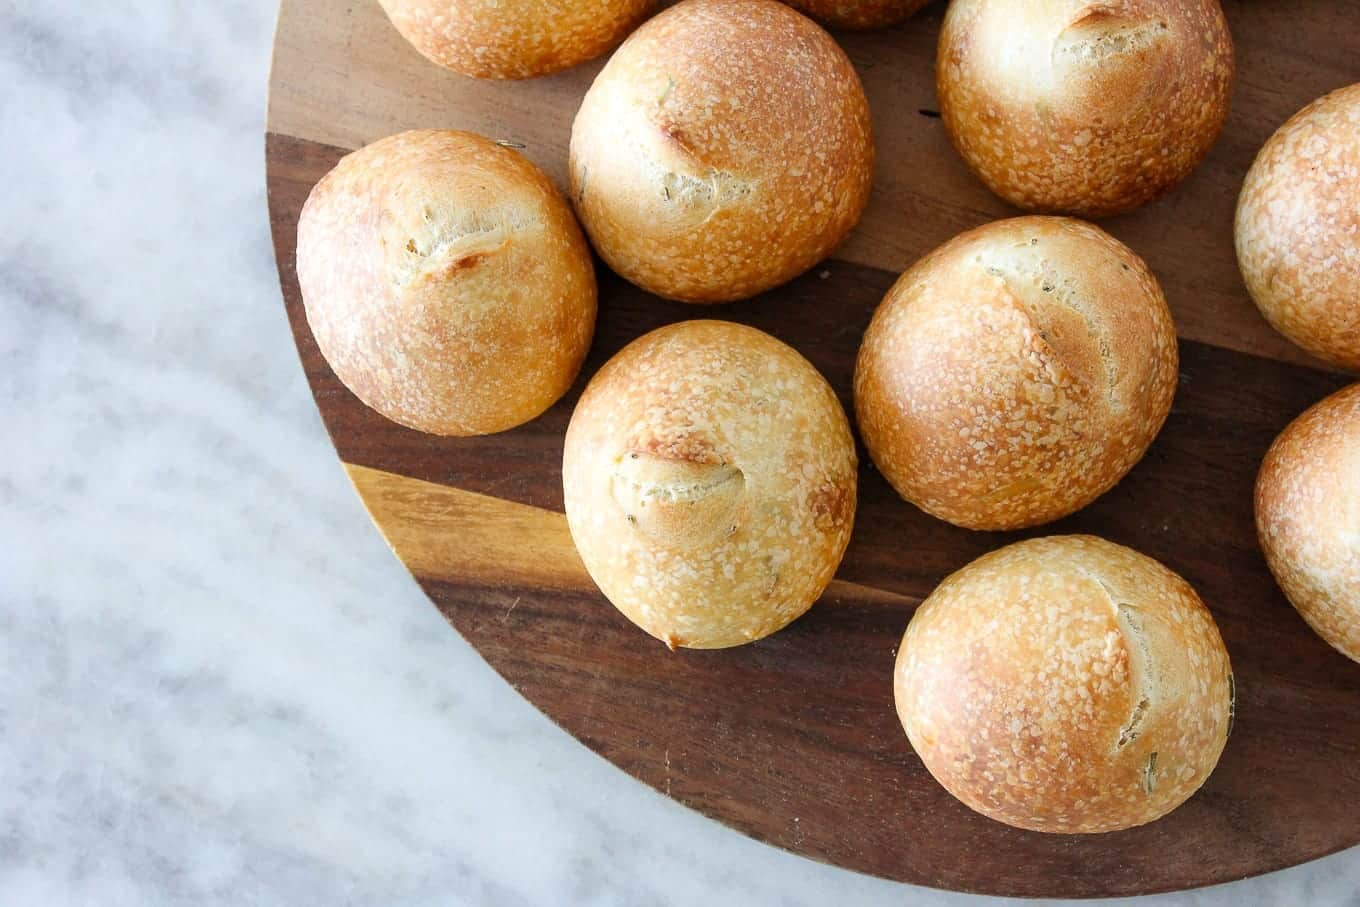
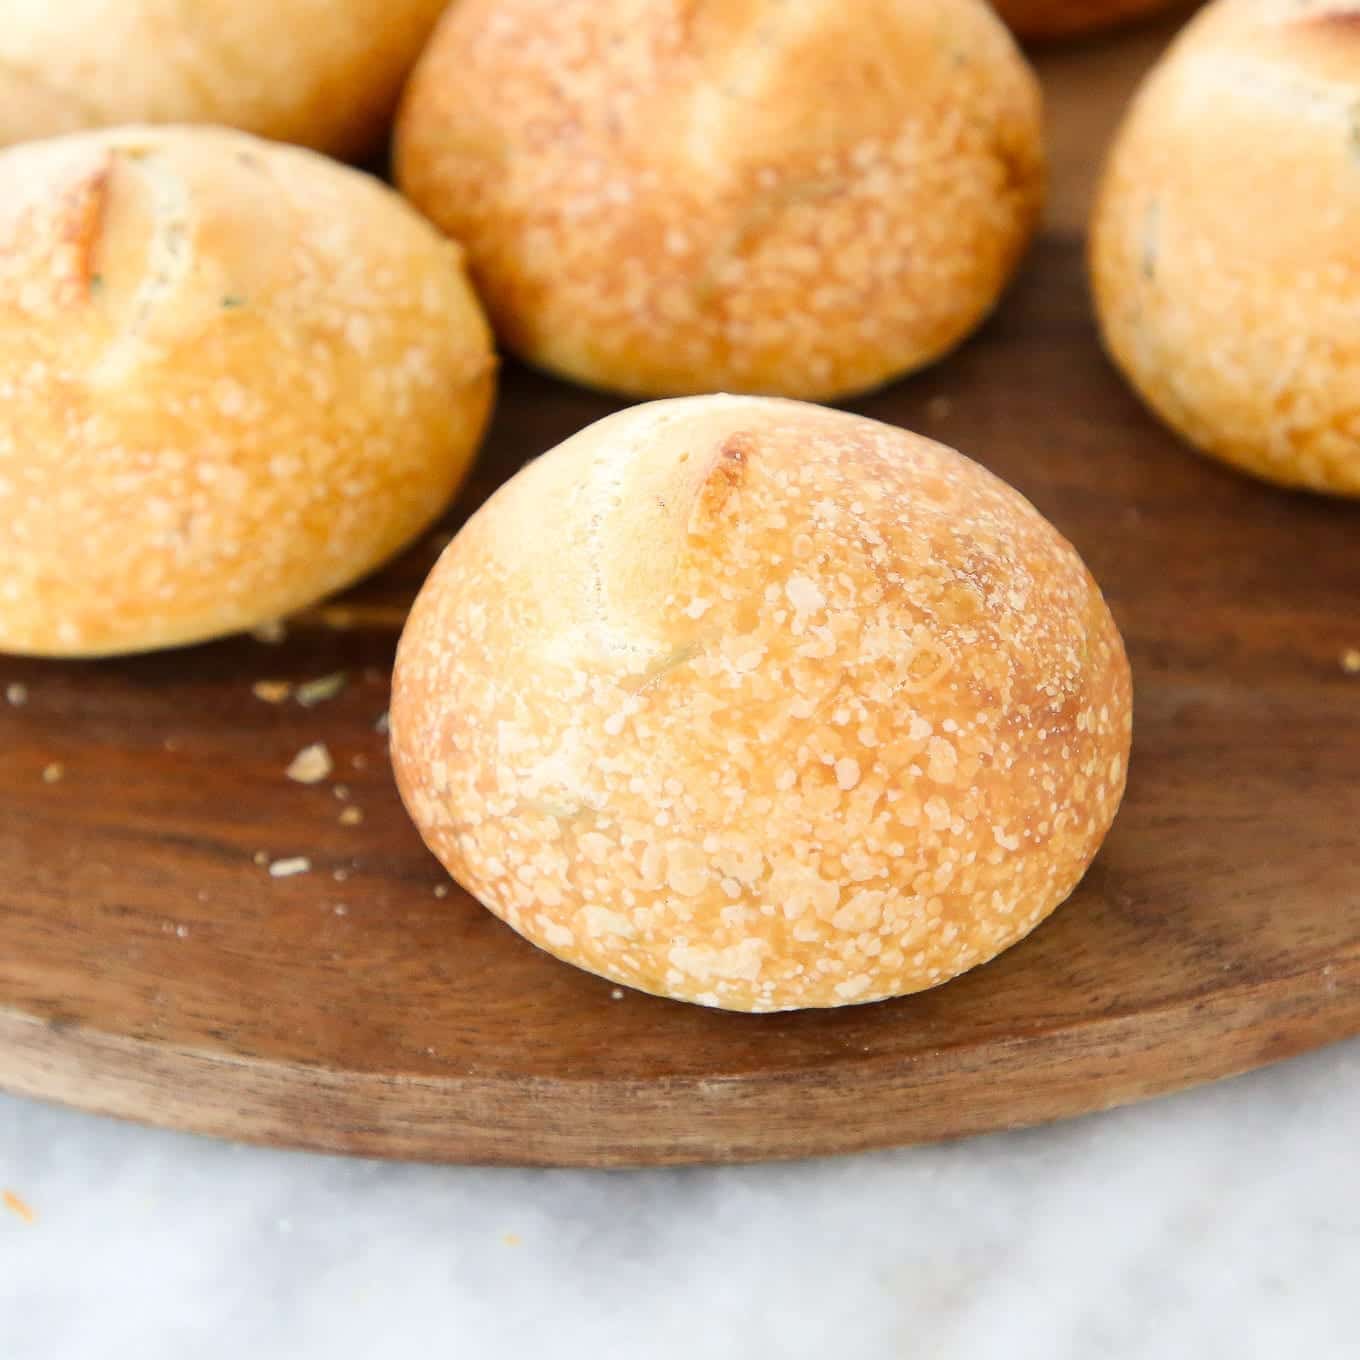
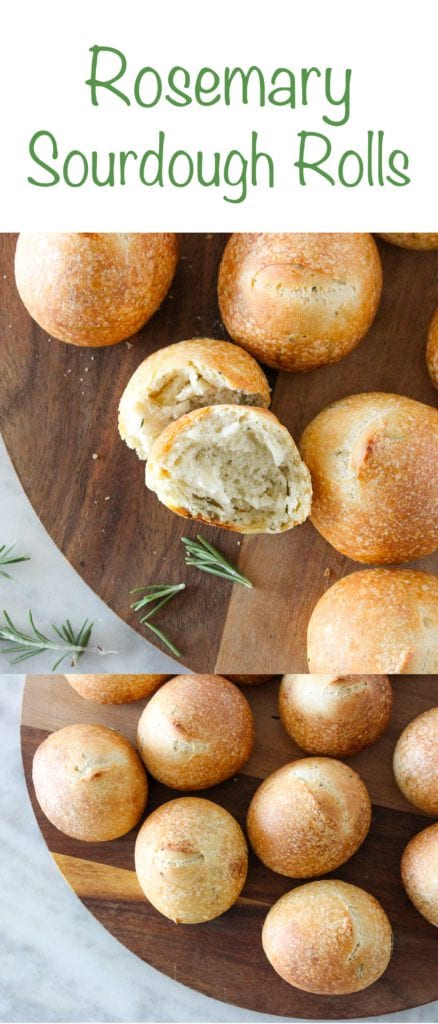
These sourdough rolls are soft on the inside and crunchy on the outside! Leavened with a sourdough starter, they are light, airy, and have a perfect fresh rosemary flavor!

A Quick Look At The Recipe
This is a brief summary of the recipe. Jump to the recipe to get the full details.
Jump to RecipePrep Time
25 minutes
Cook Time
20 minutes
Proof
3 hours
Total Time
3 hours 45 minutes
Servings
16 rolls
Difficulty
Intermediate, but easy to handle with simple, clear steps.
Calories *
191 kcal per serving
Technique
Build a levain, mix the dough, develop gluten, fold, shape, and bake until golden.
Flavor Profile
Soft, airy interior with a crunchy crust and bright fresh rosemary flavor.
* Based on nutrition panel
I have been making your sourdough recipe several times a week since last spring (always doubling it and often adding cheddar cheese) – I just love it! It is fast, easy and delicious. Thanks so much for sharing!! ⭐⭐⭐⭐⭐
Josephine Havlak
Why You Will Love These
- Crunchy, chewy, and perfectly rosemary. This bread has the crust of your dreams and a chewy, soft inside.
- Flavored with fresh rosemary, they are the perfect dinner rolls for Thanksgiving, Christmas or just a weeknight dinner.
- Easy dough to work with. The whole milk and olive oil make this dough a dream to work with. The extra fat creates a silky smooth dough that’s easy to shape.
- Perfect for prepping ahead! Make a 2 or 3x batch and store these rolls in the freezer for easy, ready-to-eat dinner rolls.
Table of Contents
All your dinner roll dreams are about to come true! These sourdough dinner rolls are flavored with fresh rosemary and have a soft and chewy inside. The crust is crunchy and delicious. This bread is perfect to pair with any dinner, like steak chili or this lamb stew recipe!
I’m going to link to my post on sourdough starter recipe for all your questions about starting and maintaining a starter! This recipe uses a fed starter, but you can use your discard to make these sourdough discard crackers or my sourdough pizza dough recipe!
Ingredients & Substitutions
- All-Purpose Flour
- Water
- Active Sourdough Starter: You will need an active starter to make these rolls. If you are looking to make dinner rolls with commercial yeast, check out this easy dinner roll recipe!
- Bread Flour: Bread flour typically has a protein content between 12-13% and will make a more elastic, chewier sourdough than one made with all-purpose flour.
- You can substitute all-purpose flour; it will just take longer to develop the gluten. If you are looking to make this bread with whole wheat flour, try making this whole wheat sourdough and adding rosemary. Whole wheat flour hydrates differently than bread or AP flour.
- Whole Milk: I use whole milk in yeasted breads for the added flavor and fat. It has a lower water content, and the extra fat helps keep the rolls tender and moist.
- Kosher Salt
- Liquid Levain: This recipe calls for a liquid levain, which means the percentage of water is higher than the flour. You will feed your starter 12-14 hours before you want to mix your dough. I generally work with 125% liquid levains when it comes to most of my sourdough recipes.
- Olive oil: Olive oil adds some fat to the bread. It also makes the dough an absolute dream to work with and helps create a fantastic crust. You can substitute other oils like sunflower oil or avocado oil.
- Fresh Rosemary: Fresh rosemary is one of my favorite flavors. If left to my own devices, I would flavor everything with it: foolproof grilled rosemary chicken, roasted rosemary potatoes, and this roasted vegetable salad.
See the recipe card for full information on ingredients and quantities.
Variations for Sourdough Rolls
- Change the herb. You can use fresh or dried herbs in these rolls. Use a blend like Italian herb seasoning or use fresh thyme, basil, or oregano.
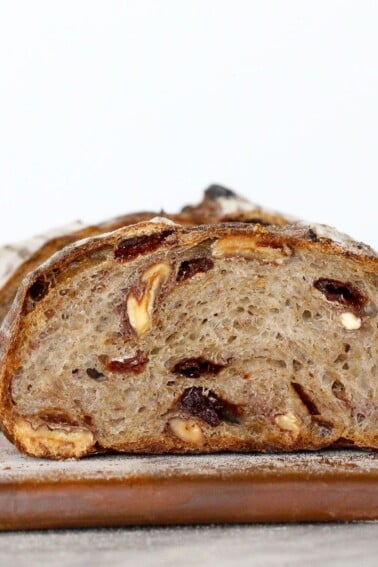
- Add some mix-ins. Once the gluten is developed, add in some hard cheese like Parmesan, cheddar, or mozzarella with the olive oil. You could also add some olives, dried fruit, and nuts, like with this cherry sourdough bread.
- Bake the bread in a dish or as a loaf. Bake the rolls in a ceramic or glass dish for delicious pull-apart bread. You can also make larger loaves or bake the bread in a loaf pan, like my easy sourdough bread recipe!
- Brush the rolls. You can brush the top of the rolls with melted butter or egg wash before baking to create a nice, shiny crust. You can additionally brush them with garlic butter when they come out of the oven. The bread will absorb the butter when it is hot.
Professional Tips
- Make large batches and freeze for an easy weeknight dinner roll. Reheat the rolls at 400°F oven until hot, and then serve alongside dinner! Or make a mini deviled egg salad sandwich! They taste just as good as they were the day I made them! The key is the oven reheat. It makes the outside crunchy again and as good as fresh!
- Control your Ingredients: Use a kitchen scale for accuracy! I didn’t include volume measurements for a reason. They are inconsistent, and bread is a delicate balance of flour, water, salt, and yeast; adding just an extra tablespoon of one will change the whole recipe.
- The proofing of the dough. You want a slow and controlled rise with sourdough, so that it has a chance to develop flavor and the gluten needed to support the structure.
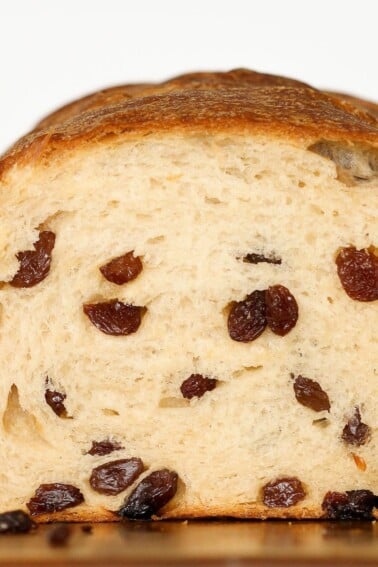
- You can add a bit of commercial yeast to the dough, like I do with my sourdough raisin bread, and it will rise faster, but you will sacrifice some flavor. Sometimes, this is totally worth it.
- Gluten development. If your mixer is struggling to handle gluten development, try a longer autolyse of 20-25 minutes to help develop the gluten. This dough is on the wet side so I don’t suggest kneading by hand.
How to Make Sourdough Rolls
Use these instructions to make these herbaceous sourdough rolls! Further details and measurements can be found in the recipe card below.
Build the levain:
Step 1: 12 to 14 hours before you want to mix your dough, build the levain. In a clean container, combine the flour, water, and starter. Stir with a small spatula until the water has hydrated the flour.
With this small quantity, I find it easier to double the amount of the levain build, so that there is room for waste and you have enough to make your dough and enough to feed for tomorrow!
Make the Final Dough:
Step 2: Combine the bread flour, water, milk, salt, and levain in the bowl of a stand mixer fitted with the paddle attachment. You can also incorporate the ingredients with a dough hook attachment, but it will take longer. Once the flour has been completely incorporated, let the dough sit for 15 minutes covered with plastic wrap (autolyze) to develop gluten.
Step 3: Develop the gluten. Switch to the dough hook and turn the mixer up to medium speed to develop the gluten.
With a dough that has this amount of water, it will be difficult to develop all the gluten in a home stand mixer, so mix until you see strands forming on the top and the dough looks like it is pulling away from the sides of the bowl. This dough will not form a ball around the hook because it is too wet (which is exactly what we want!).
Step 4: Add oil and herbs. Reduce the mixer to low and slowly add the olive oil and the rosemary. Mix on low until all the oil has been absorbed into the dough. The dough should no longer look greasy. It will have a smooth and silky appearance.
Step 5: Scoop the dough into an oiled bowl and cover with plastic wrap.
Proofing and Shaping:
Step 6: Start the proof. Place in a warm spot for 45 minutes. If your apartment or house is cold, you can use the proof setting on your oven.
Step 7: Set of folds: Fold each of the four sides of the dough into the center, pulling the dough up and allowing it to smack down on top of the remaining dough in the bowl. This is developing more gluten and redistributing the yeast!
Step 8: Bulk Ferment: Cover the dough with a damp tea towel or plastic wrap and place it back into the warm spot to proof. Check the dough every 45 minutes. This will take about 2.5 hours. You want to oil or flour your hand and feel the dough. It should feel light and airy and not stiff or dense.
Step 9: Pre-shape: Dust the top of the dough in the bowl with flour. Turn the dough out onto a lightly floured work surface.
Step 10: Divide the dough into 16 equal pieces (75g each). Take each piece, fold it in half, and then place the seam side down on the counter. Roll in the palm of your hand into a ball.
If you have too much flour on your surface, the dough will not tuck into itself. Scrape the excess flour away with a bench scraper if needed. I suggest you watch my sourdough rolls video.
Step 11: Once you have a round ball with a smooth top, repeat with the rest of the dough balls. Cover with plastic wrap and allow it to sit and bench rest for 15 minutes.
You need to organize the gluten strands to trap as much steam and gas as possible so you end up with large, beautiful holes in the crumb. This begins with the preshape. Don’t skip it! The preshape allows the gluten to become accustomed to its final shape. Think of it like easing it into the bread’s final home. Then the bench rest allows the gluten to relax so that you can final shape without tearing or aggravating the gluten.
Step 12: Final Shape: Repeat the same process as with the pre-shape. Place the dough on a parchment-lined sheet pan or a greased rectangular baking dish. Cover with plastic wrap.
Baking:
To bake the same day: Place the dough back into the warm spot and allow to rise another 1-2 hours or until it feels light and airy and has doubled in volume. The volume will be tough to tell if you are proofing it on parchment because it doesn’t contain or control the shape of the sourdough. Proceed to the baking step below.
To bake the next day: Place the covered dough into the fridge to retard the dough overnight. This will slow the proofing of the yeast and will allow you to bake 12-18 hours later.
Step 13: Preheat the oven to 425°F convection. To easily score rolls, I use a kitchen scissor to snip the top. You can also score with a lame or sharp knife.
Step 14: Bake the rolls in the preheated oven for 20-25 minutes or until nice and golden brown on the outside.
Step 15: Let the bread cool completely, allowing the crumb to set and the alcohol to evaporate. However, I find self-control around sourdough to be overrated. But wait at least a few minutes so as not to burn your mouth! Enjoy!
Chef Lindsey’s Recipe Tip
Temperature is one of the most important factors in making bread from scratch. It is also one of the most difficult to control. Controlling temperature starts with the temperature of your water.
When I want my dough to rise faster, I use warmer water, but when I want it to rise slowly and controlled (or my apartment is hot), I use cold water. If I am relying on “a warm place” in the winter, I use warm water.
Recipe FAQs
Store the rolls at room temperature for up to 1 day. After that, store them in a bread box or resealable plastic bag at room temperature for an additional 1-2 days. You can store the rolls well-wrapped in the freezer for up to 2 months.
Sourdough bread isn’t just delicious; its fermentation process offers several health benefits. It can improve digestion, lower blood sugar, and make nutrients more available. Plus, its unique flavor and texture make it a more digestible choice for some people.
Yes, make the dough and then follow my shaping and baking in my easy sourdough bread recipe.
Recommended Homemade Bread Recipes
Dinner Roll Recipes
Potato Rolls

Dinner Roll Recipes
Easy Dinner Roll Recipe
Sourdough Bread Recipes
Cherry Sourdough Bread
Sourdough Bread Recipes
Sourdough Raisin Bread
If you tried this recipe and loved it please leave a 🌟 star rating and let me know how it goes in the comments below. I love hearing from you; your comments make my day!

Sourdough Rolls
Ingredients
Levain Build:
- 9 ¾ tablespoons all-purpose flour
- 6 tablespoons water
- 1 ½ teaspoons yesterday's starter
Final Dough:
- 5 cups bread flour All-Purpose such as King Arthur’s will work fine
- 6 teaspoons milk
- 1 ½ cups water
- 2 ½ teaspoons kosher salt
- 11 ½ tablespoons liquid levain above
- 4 tablespoons olive oil
- 3 tablespoons fresh rosemary picked and chopped
Instructions
Build the levain:
- 12 to 14 hours before you want to mix your dough, build the levain. In a clean container, combine the flour, water, and starter. Stir with a small spatula until the water has hydrated the flour.
Make the Final Dough:
- Combine the bread flour, water, milk, salt, and levain in the bowl of a stand mixer fitted with the paddle attachment. You can also incorporate the ingredients with a dough hook, but it will take longer. Once the flour has been completely incorporated, let the dough sit for 15 minutes covered with plastic wrap (autolyze) to develop gluten.
- Switch to the dough hook and turn the mixer up to medium speed to develop the gluten. Mix until you see strands forming on the top and the dough looks like it is pulling away from the sides of the bowl.
- Reduce the mixer to low and slowly add the olive oil and the rosemary. Mix on low until all the oil has been absorbed into the dough. The dough should no longer look greasy. It will have a smooth and silky appearance.
- Scoop the dough into an oiled bowl and cover with plastic wrap.
Proofing and Shaping:
- Place in a warm spot for 45 minutes. If your apartment or house is cold, you can use the proof setting on your oven.
- Set of folds: Fold each of the four sides of the dough into the center, pulling the dough up and allowing it to smack down on top of the remaining dough in the bowl. This is developing more gluten and redistributing the yeast!
- Bulk Proof: Cover the dough and place it back into the warm spot to proof. Check the dough every 45 minutes. This will take about 2.5 hours. You want to oil or flour your hand and feel the dough. It should feel light and airy and not stiff or dense.
- Pre-shape: Dust the top of the dough in the bowl with flour. Turn the dough out onto a lightly (I mean lightly!) floured surface.
- Divide the dough into 16 equal pieces (75g each). Take each piece, fold in half, and then place the seam side down on the counter. Roll in the palm of your hand into a ball.
- Once you have a round ball with a smooth top, repeat with the rest of the dough. Cover with plastic wrap and allow it to sit and bench rest for 15 minutes.
- Final Shape: Repeat the same process as with the pre-shape. Place the dough on a parchment-lined sheet pan or a greased rectangular baking dish. Cover with plastic wrap.
Baking:
- To bake the same day: Place the dough back in the warm spot and allow to rise another 1-2 hours or until it feels light and airy and has doubled in volume. The volume will be tough to tell if you are proofing it on parchment because it doesn’t contain or control the shape of the sourdough. Proceed to the baking step below.
- To bake the next day: Place the covered dough into the refrigerator to retard the dough overnight. This will slow the proofing of the yeast and will allow you to bake 12-18 hours later.
- Preheat the oven to 425°F convection. To easily score rolls, I use a kitchen scissor to snip the top. You can also score with a lame or sharp knife.
- Bake the rolls in the preheated oven for 20-25 minutes or until nice and golden brown on the outside.
- Let the bread cool completely, allowing the crumb to set and the alcohol to evaporate. However, I find self-control around sourdough to be overrated. But wait at least a few minutes so as not to burn your mouth! Enjoy!
Video
Notes
Nutrition
Before You Go
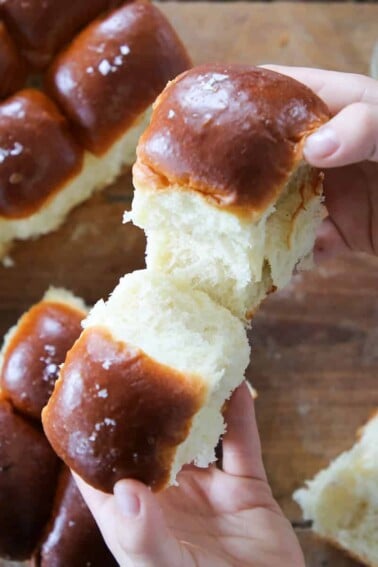
I hope you enjoyed this herb dinner roll recipe. Check out our other delicious dinner roll recipes! Make sure you try these foolproof potato dinner rolls, or these pumpkin herb dinner rolls!


I made these rolls twice. The only thing I changed was that I left out the rosemary I didn’t have it the fist time. The 2nd time I put half whole wheat flour with half bread flour. I like wheat so to me the wheat had more flavor. However both are great. Thank you for the recipe and all your tips.
Hi Ab! So glad you made them twice, and yes, they work great without the rosemary! Your whole-wheat swap makes sense too: whole wheat hydrates differently and all-purpose substitutions will just take longer to develop the gluten, so a wheat blend can behave a little differently but still bake up beautifully. Thanks for taking the time to share and happy baking!
Can you omit milk and just use water?
Hi Sunny! You can, they’ll just be less rich. Happy baking!
Hi,
My stand mixer is too small to use for this size batch, can you send me the hand mix and kneading recipe version? I have mastered begginer’s sourdough but still need a lot of guidance for new recipes. Thank you!
Hi Jennifer! Mastering beginners’ sourdough is a big deal! Welcome to bread baking! For this recipe, you can just about do everything the same with a couple differences if you’re doing it by hand:
Mixing: Combine the flour, water, milk, salt, and levain by hand in a large bowl. Stir until it forms a rough dough.
Kneading: Instead of using the stand mixer, turn the dough out onto a lightly floured surface and knead by hand for about 8-10 minutes until it’s smooth and elastic.
Otherwise follow the recipe! Can’t wait to hear how they turn out!
Chef,
Does the levain go into the fridge for 12-14 hours?
Thank you!
Cheers,
Gene
Hi Gene! No, the levain will ferment at room temperature for 12-14 hours. It will still ferment in the refrigerator but it will take a lot longer. Happy baking! Lindsey
I have been making your sourdough bread recipe several times a week since last spring (always doubling it and often adding cheddar cheese an jalapeños to one of the loafs) – I just love it! It fast, easy and delicious. I wish I had seen these sooner, but but I will make them asap! And then on to the cookies. Thanks so much for sharing!!
Hey Josephine! I’m so happy to hear you’ve mastered the sourdough loaf! I don’t think I could resist the cheddar jalapeño one!
Tis the season!!!! I’m selling Christmas Cookie Tins this year so I am literally baking cookies around the clock!