This post may contain affiliate links. Please read our disclosure policy.
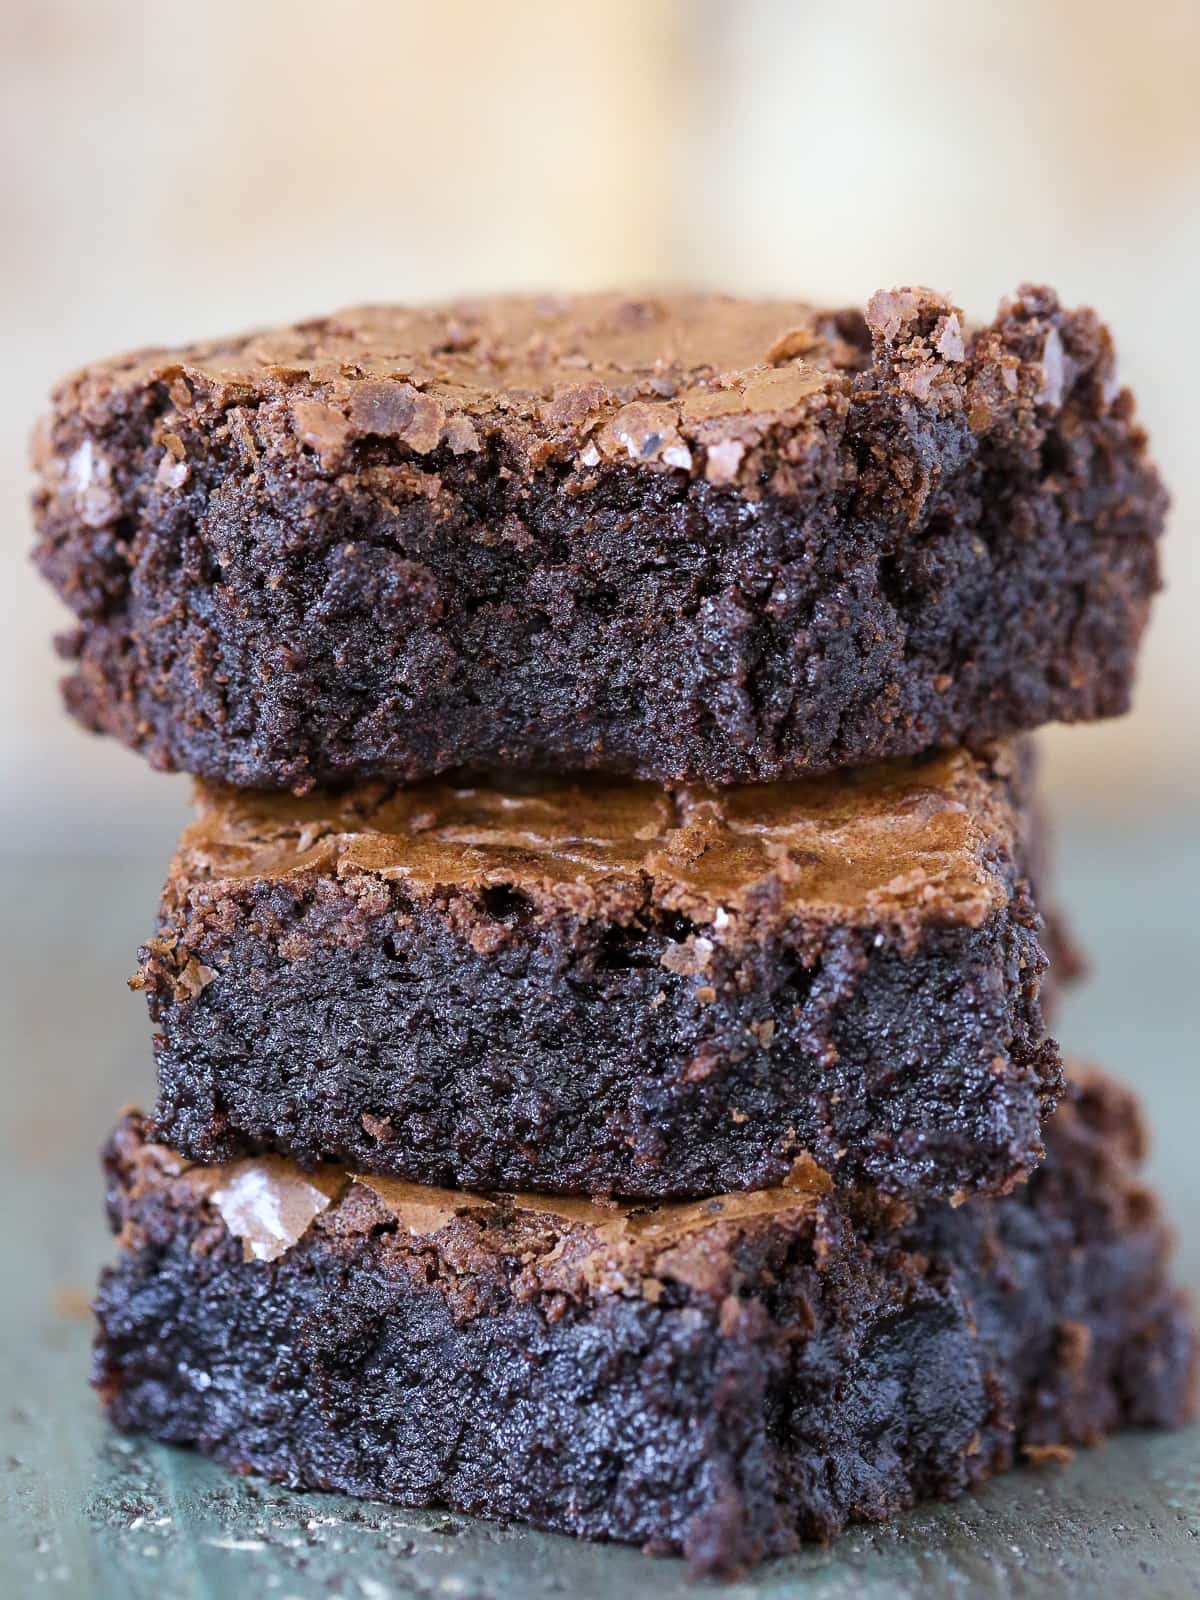
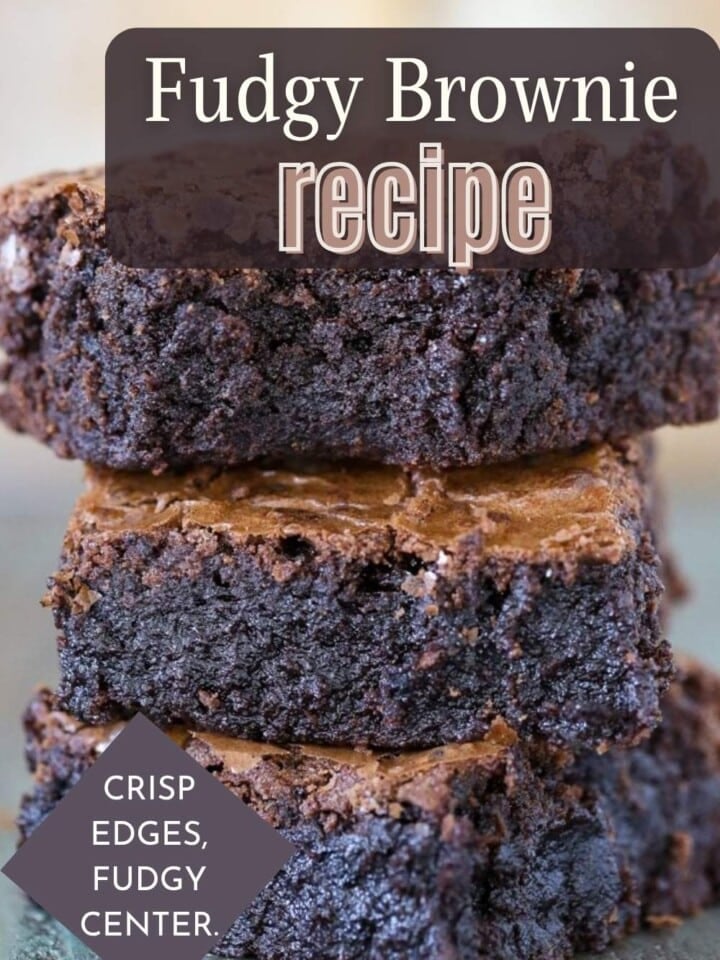
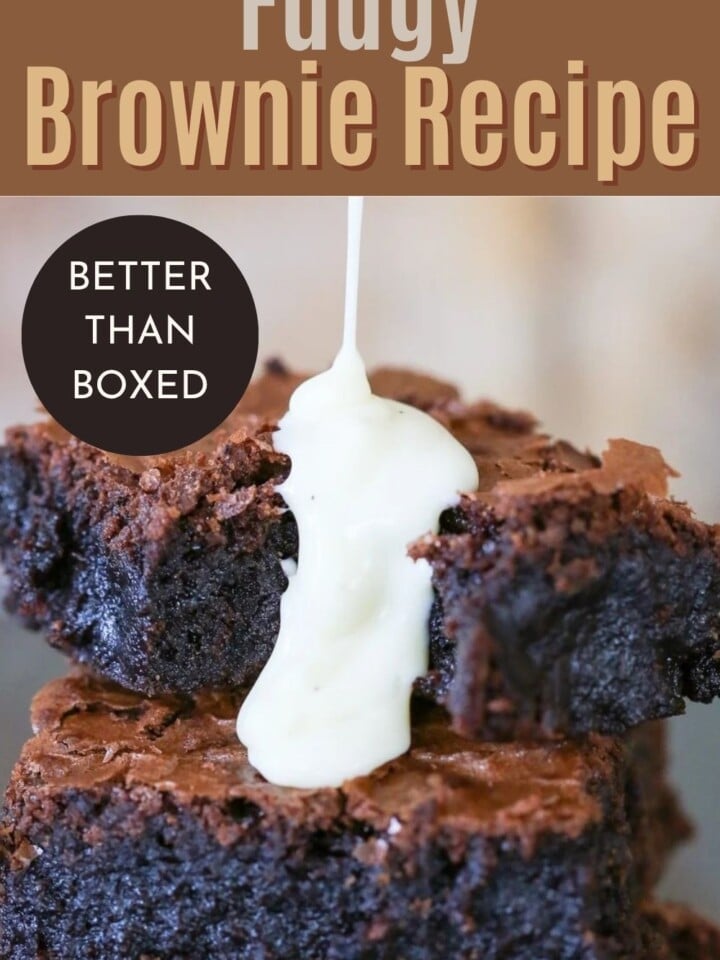
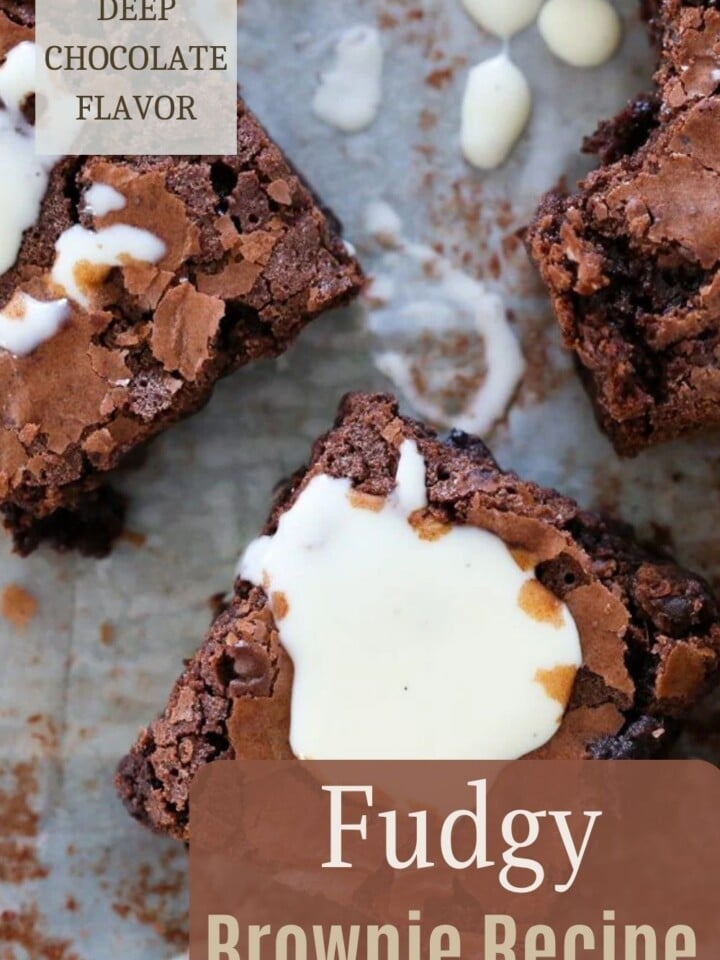
Believe me when I say this is the best fudgy brownie recipe! They taste like a better version of your favorite box mix, with that cakey yet fudgy texture that we all grew up on!
A Quick Look At The Recipe
This is a brief summary of the recipe. Jump to the recipe to get the full details.
Jump to RecipePrep Time
15 minutes
Cook Time
40 minutes
Total Time
55 minutes
Servings
18 brownies
Difficulty
Easy
Calories *
374 kcal per serving
Technique
Melt butter and chocolate together, whisk in eggs and sugar, fold in dry ingredients, and bake.
Flavor Profile
Deep, bittersweet chocolate, dense and fudgy with a chewy edge.
* Based on nutrition panel
I have made a lot of brownie recipes over the years and this one is the one I keep coming back to. The texture is exactly what I want: fudgy in the center with that slightly chewy edge. I followed the tip about using high-quality chocolate and it made a noticeable difference. ⭐⭐⭐⭐⭐
Renee
Why This Recipe Works
- Melted butter instead of creamed. Starting with melted butter rather than creamed butter produces a denser, fudgier crumb. There is no air being incorporated, which means the texture stays tight and rich rather than cakey, just like with this caramel brownie recipe.
- Real chocolate plus cocoa powder. Using both melted chocolate and cocoa powder layers the chocolate flavor in a way that neither ingredient achieves alone. The melted chocolate adds fat and body; the cocoa adds intensity.
- Eggs and sugar are whisked together first. Beating the eggs and sugar before adding the other ingredients begins to dissolve the sugar and slightly aerates the batter, which gives the top of the brownie that characteristic thin, crinkled crust.
Table of Contents
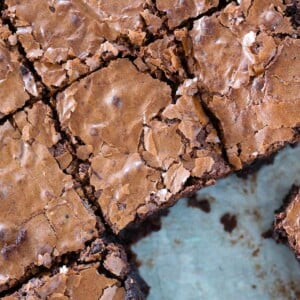
This fudgy brownie recipe is far superior to box mix brownies! Whether you are an edge or a middle piece person, these brownies will rock your world! The edges have that crispy chew, and the centers are delightfully fudgy and soft!
Now you know me, and I want my chocolate desserts to taste rich and chocolatey, so you know I couldn’t just let cocoa powder do all the heavy lifting! Just like in my banana brownies and brown butter brownies, I invited melted chocolate and an epic amount of butter to this party.
Ingredients & Substitutions

- Cocoa Powder: Adds concentrated chocolate intensity that melted chocolate alone cannot deliver. I use Dutch-processed cocoa powder, but you can use your favorite and then make these brownie cookies next.
- 54% Chocolate: This is the ingredient I am most particular about. Use a quality bittersweet chocolate in the 54% range, or any bittersweet you trust. The fat content and flavor complexity of real chocolate are what set this brownie apart from one made with chocolate chips.
- Unsalted Butter: Melted butter creates the dense, fudgy crumb that defines this recipe. Using unsalted lets you control the salt level precisely, which matters when cocoa and chocolate are both in play.
- Eggs: Build structure and contribute to the crinkled top when beaten with the sugar. Use large eggs at room temperature so they incorporate evenly into the melted butter and chocolate.
- Vanilla Extract: Rounds out the chocolate and adds background warmth. You can substitute 1 teaspoon of coffee extract, which amplifies the chocolate without tasting like coffee.
- Baking Powder: Used in small amounts to provide just enough lift so the brownie does not feel leaden. This is not a cakey brownie, and the quantity reflects that.
See the recipe card for full information on ingredients and quantities.
Variations on This Fudgy Brownie Recipe
- Add a swirl or drizzle. You can swirl into the batter or, once the brownies have cooled, drizzle salted caramel sauce, jam, Nutella, or peanut butter as I do in my peanut butter brownies!
- Peppermint Chocolate. Swap in peppermint extract in place of the vanilla, and fold in chopped dark chocolate for a variation that leans closer to my peppermint brownies, which I love for the holidays. You can even top them with this peppermint frosting!
- The perfect vessel for all your favorite candy mix-ins?! I’m thinking Reese’s, M&M’s, Snickers, or even OREO’s! They’d also be delightful with milk chocolate, white chocolate, or butterscotch chips! You could go completely in a butterscotch direction and make a batch of butterscotch brownies as well!
How to Make This Fudgy Brownie Recipe
Use these instructions to make the best fudgy brownies.


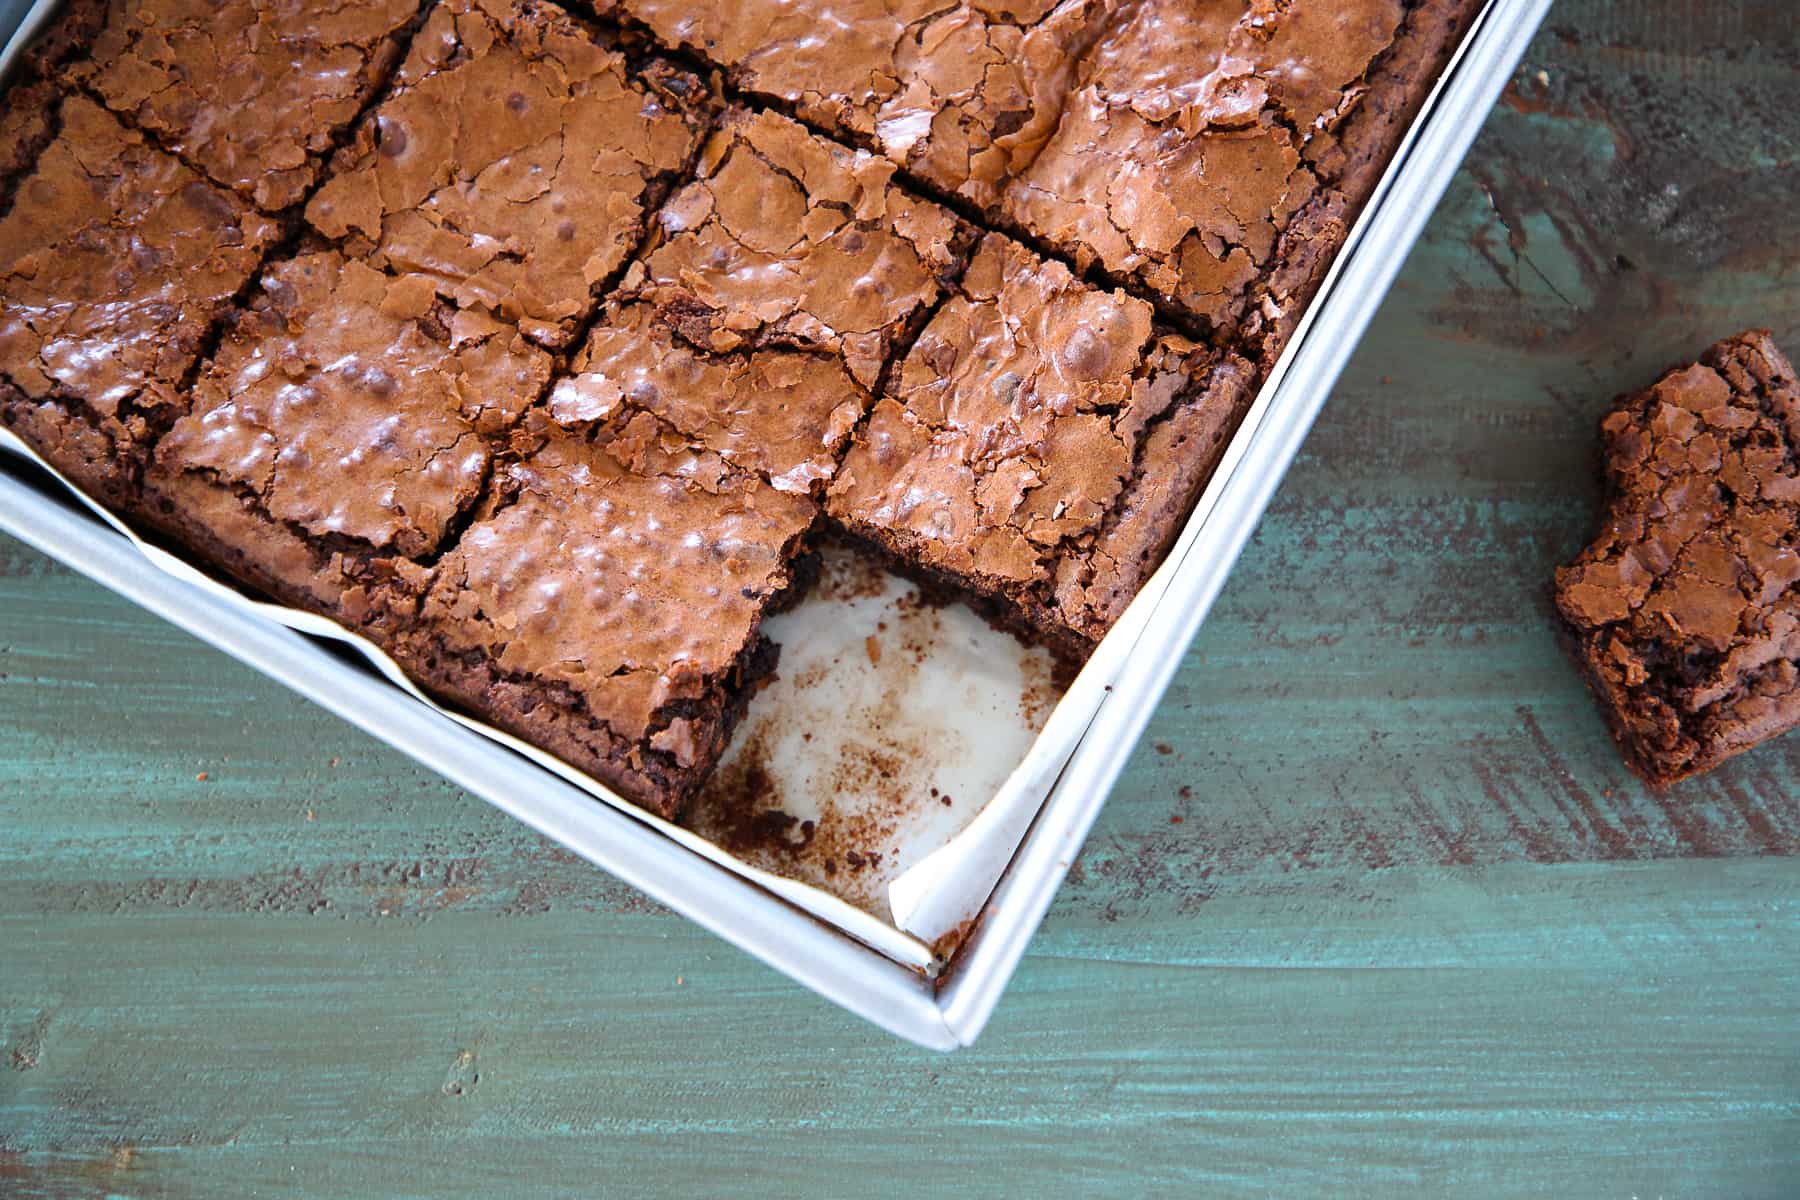
Step 1: Preheat the oven and prepare the pan. Set your oven to 325°F. Line a 9×13-inch pan with two pieces of parchment paper laid in opposite directions so they cross each other, leaving enough overhang on each side to lift the cooled brownies straight out of the pan. (photo 1 above)
Step 2: Whisk the dry ingredients. In a large bowl, whisk together the flour, cocoa powder, salt, and baking powder until evenly combined. (photo 2)
Mixing the dry ingredients separately keeps you from having pockets of unmixed cocoa powder and baking powder! I even mix my dry ingredients separately in my one bowl brownies!
Step 3: Melt the butter and chocolate. Combine the butter and chocolate in a heatproof bowl and melt them together either in the microwave in 30-second bursts, stirring between bursts, or by setting the bowl over a pot of simmering water. Stir until completely smooth with no lumps remaining. The mixture should look glossy and fluid. (photo 3)
If you are using the microwave, the chocolate can look unmelted even when it is very close to done. Stir aggressively between bursts, then add more heat; residual warmth usually finishes the job without any risk of scorching.
Step 4: Whisk the eggs, sugar, and vanilla. In a large bowl, whisk the eggs until broken up, then add the sugar and vanilla extract. Whisk until the mixture is fully combined with no visible streaks of egg remaining. ( photo 4)


Step 5: Add the chocolate mixture to the eggs. Pour the melted butter and chocolate into the egg mixture and whisk until fully incorporated. The batter will turn glossy and dark, which is exactly what you want to see. ( photo 5 above)
If your chocolate mixture is very hot, cool it briefly in the refrigerator or over an ice bath, stirring frequently, before adding it to the eggs. Adding very hot chocolate to raw eggs risks scrambling them, and no one wants that.
Step 6: Fold in the dry ingredients. Add the dry ingredients to the chocolate mixture all at once. You can whisk them in gently or switch to a rubber spatula and fold until just combined, with no dry streaks remaining. Stop as soon as the batter looks uniform.(photo 6)
Step 7: Pour the batter and bake. Pour the brownie batter into the prepared pan and spread it into an even layer with a rubber spatula. Bake at 325°F for 38 to 40 minutes. Start checking at 38 minutes: the middle should have puffed up, and a cake tester or toothpick inserted into the center should come out clean with no wet crumbs clinging to it. The edges will look set, and the top will have a thin, papery crust, which is exactly what you want to see. (photo 7)
If your cake tester comes out with fudgy smears rather than clean, give the brownies another 2 minutes and test again. Every oven runs slightly differently, and 40 minutes is not a hard ceiling; the visual and texture cues matter more than the clock.
Step 8: Cool completely before cutting or icing. Set the pan on a wire rack and let the brownies cool completely before lifting them out or adding any frosting. Cutting into warm brownies compresses the texture and gives you ragged, uneven edges. If you want the cleanest cuts possible, refrigerate the fully cooled brownies for 30 minutes before slicing; the cold firms the chocolate and makes every cut sharper.


Chef Lindsey’s Recipe Tip
Brownies are built on fat, sugar, and very little flour, amplifying every characteristic of the chocolate you use, including any waxy or artificial notes. Reach for a bar-style bittersweet or semisweet chocolate with at least 60% cacao rather than standard chocolate chips, which are formulated with stabilizers that affect how they melt and how the batter ultimately sets. Save your chocolate chip for this carmelita recipe!
Recipe FAQs
The ratio of fat to flour is what drives fudginess. This recipe uses a high proportion of butter and chocolate relative to flour, which keeps the crumb dense and moist rather than open and airy. Using whole eggs rather than beaten egg whites and skipping any creaming step also reinforces that dense, fudgy texture.
Store them in an airtight container at room temperature for up to 3 days, in the refrigerator for up to a week, or in the freezer for up to 2 months. Zip-top bags work well for freezing individual pieces. Let frozen brownies come to room temperature before serving.
The milk chocolate ganache from my milk chocolate brownies is one of my favorite finishes because it sets into a thin, glossy layer without competing with the brownie itself. Cream cheese buttercream frosting is also excellent if you want something lighter to pair with the bittersweet chocolate base.
Recommended Bar Cookie Recipes!
Brownies & Bars Recipes
Butterscotch Brownies
Brownies & Bars Recipes
Salted Caramel Bars
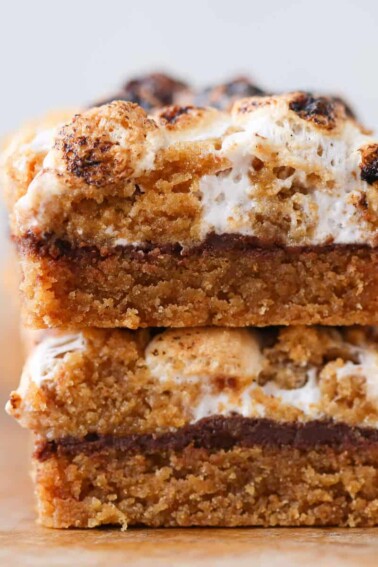
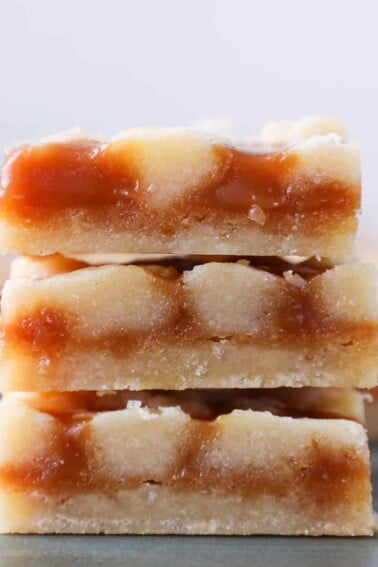
Brownies & Bars Recipes
Soft Chewy Smores Crumble Bars
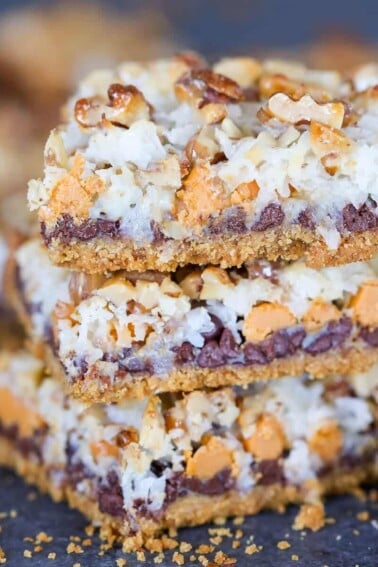
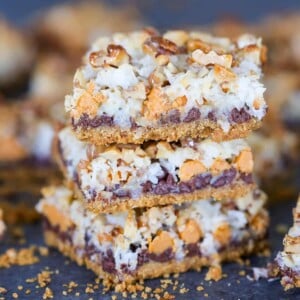
Brownies & Bars Recipes
7 Layer Bars (Magic Bars)
If you tried this recipe and loved it please leave a 🌟 star rating and let me know how it goes in the comments below. I love hearing from you; your comments make my day!
Fudgy Brownie Recipe
Ingredients
- 1 ½ cups all-purpose flour
- ⅔ cup cocoa powder
- 2 teaspoons kosher salt
- ¾ teaspoon baking powder
- 1 ½ cups unsalted butter
- 1 cup 54% chocolate — or anything bittersweet
- 6 eggs
- 2 teaspoons vanilla extract — or 1 teaspoon of coffee extract
- 2 ⅔ cups sugar
Instructions
- Preheat the oven to 325°F. Line a 9×13 inch pan with criss-crossed parchment paper to create a handle for easy removal.
- Whisk together the flour, cocoa powder, salt, and baking powder in a bowl; set aside.
- Melt the butter and chocolate together in the microwave in 30-second bursts, stirring between each, or in a heatproof bowl set over simmering water. Stir until fully smooth.
- In a large bowl, whisk the eggs, then add the sugar and vanilla extract. Whisk until well combined with no streaks of egg remaining.
- Add the melted butter and chocolate to the egg mixture and whisk until fully incorporated. If the chocolate mixture is too hot, cool it briefly in the refrigerator or over an ice bath, stirring frequently, before adding it to the eggs.
- Add the dry ingredients and fold in with a rubber spatula or whisk until just combined and no dry streaks remain.
- Pour the batter into the prepared pan and bake for 38 to 40 minutes, until the center has puffed and a cake tester comes out clean with no clinging crumbs.
- Cool completely before icing or removing from the pan.
Video
Notes
Doneness Cue: The middle of the brownie should be fully puffed and a cake tester inserted in the center should come out clean with no clinging crumbs.
Storage: Store in an airtight container at room temperature for up to 3 days, in the refrigerator for up to a week, or in the freezer for up to 2 months. Zip-top bags work well for freezing individual pieces.
Technique: I find it helpful to mix the dry ingredients separately in their own bowl so that the gluten isn’t overdeveloped. I want that perfect level of chewiness in your brownie!
Nutrition
Before You Go
These deeply fudgy, crinkle-topped brownies are worth keeping in permanent rotation. Find more recipes like this in my brownies and bars recipe, or head right over and make my favorite peanut butter cup blondies!


I have made a lot of brownie recipes over the years and this one is the one I keep coming back to. The texture is exactly what I want: fudgy in the center with that slightly chewy edge. I followed the tip about using high-quality chocolate and it made a noticeable difference.
Thank you so much for taking the time to come back and comment and rate! ~CLF team
I can’t stop making these brownies! The flavor and texture are unmatched by any other brownie I’ve had! I made them for my sister when she came to visit and she said she needed the recipe to bring to her church!
These are the best Brownie’s I have ever made and eaten Lindsay there the best hands down!
Hi Ted! Thank you so much, that truly means a lot! Thanks for baking and taking the time to comment!
I wanted a classic brownie without any add-ins, and this one was exactly that. The top got that shiny, crackly crust that’s impossible to fake! I brought some to rehearsal and they vanished in under five minutes.
I definetely will make it. question – how do you do to make these cracking tops? I love to know how. Thank you for answering.
Hi Cassia! I’m so glad you’re planning to try these! That signature crackly top comes from whisking the eggs as described in the instructions, they are the main leavening agent. Happy baking and let me know how they turn out!
Looks so good!!
Hi Robert! Thanks so much, happy baking!
Those look AMAZING!! What brand of cocoa powder did you use? I like how dark it is. You said dutch-processed? Also is there really 600g of sugar? Thanks in advance!
Hi Kathleen! This is the cocoa powder I used! And yes, the sugar measurement is accurate. Happy baking, can’t wait for you to try these!
How much flour for this recipe?
Hi Lindsay, So sorry about that! Looks like a little copy/paste error. It has been updated. 192 g or 1 1/2 c + 1/2 T
Happy baking! I hope you enjoy!