This post may contain affiliate links. Please read our disclosure policy.
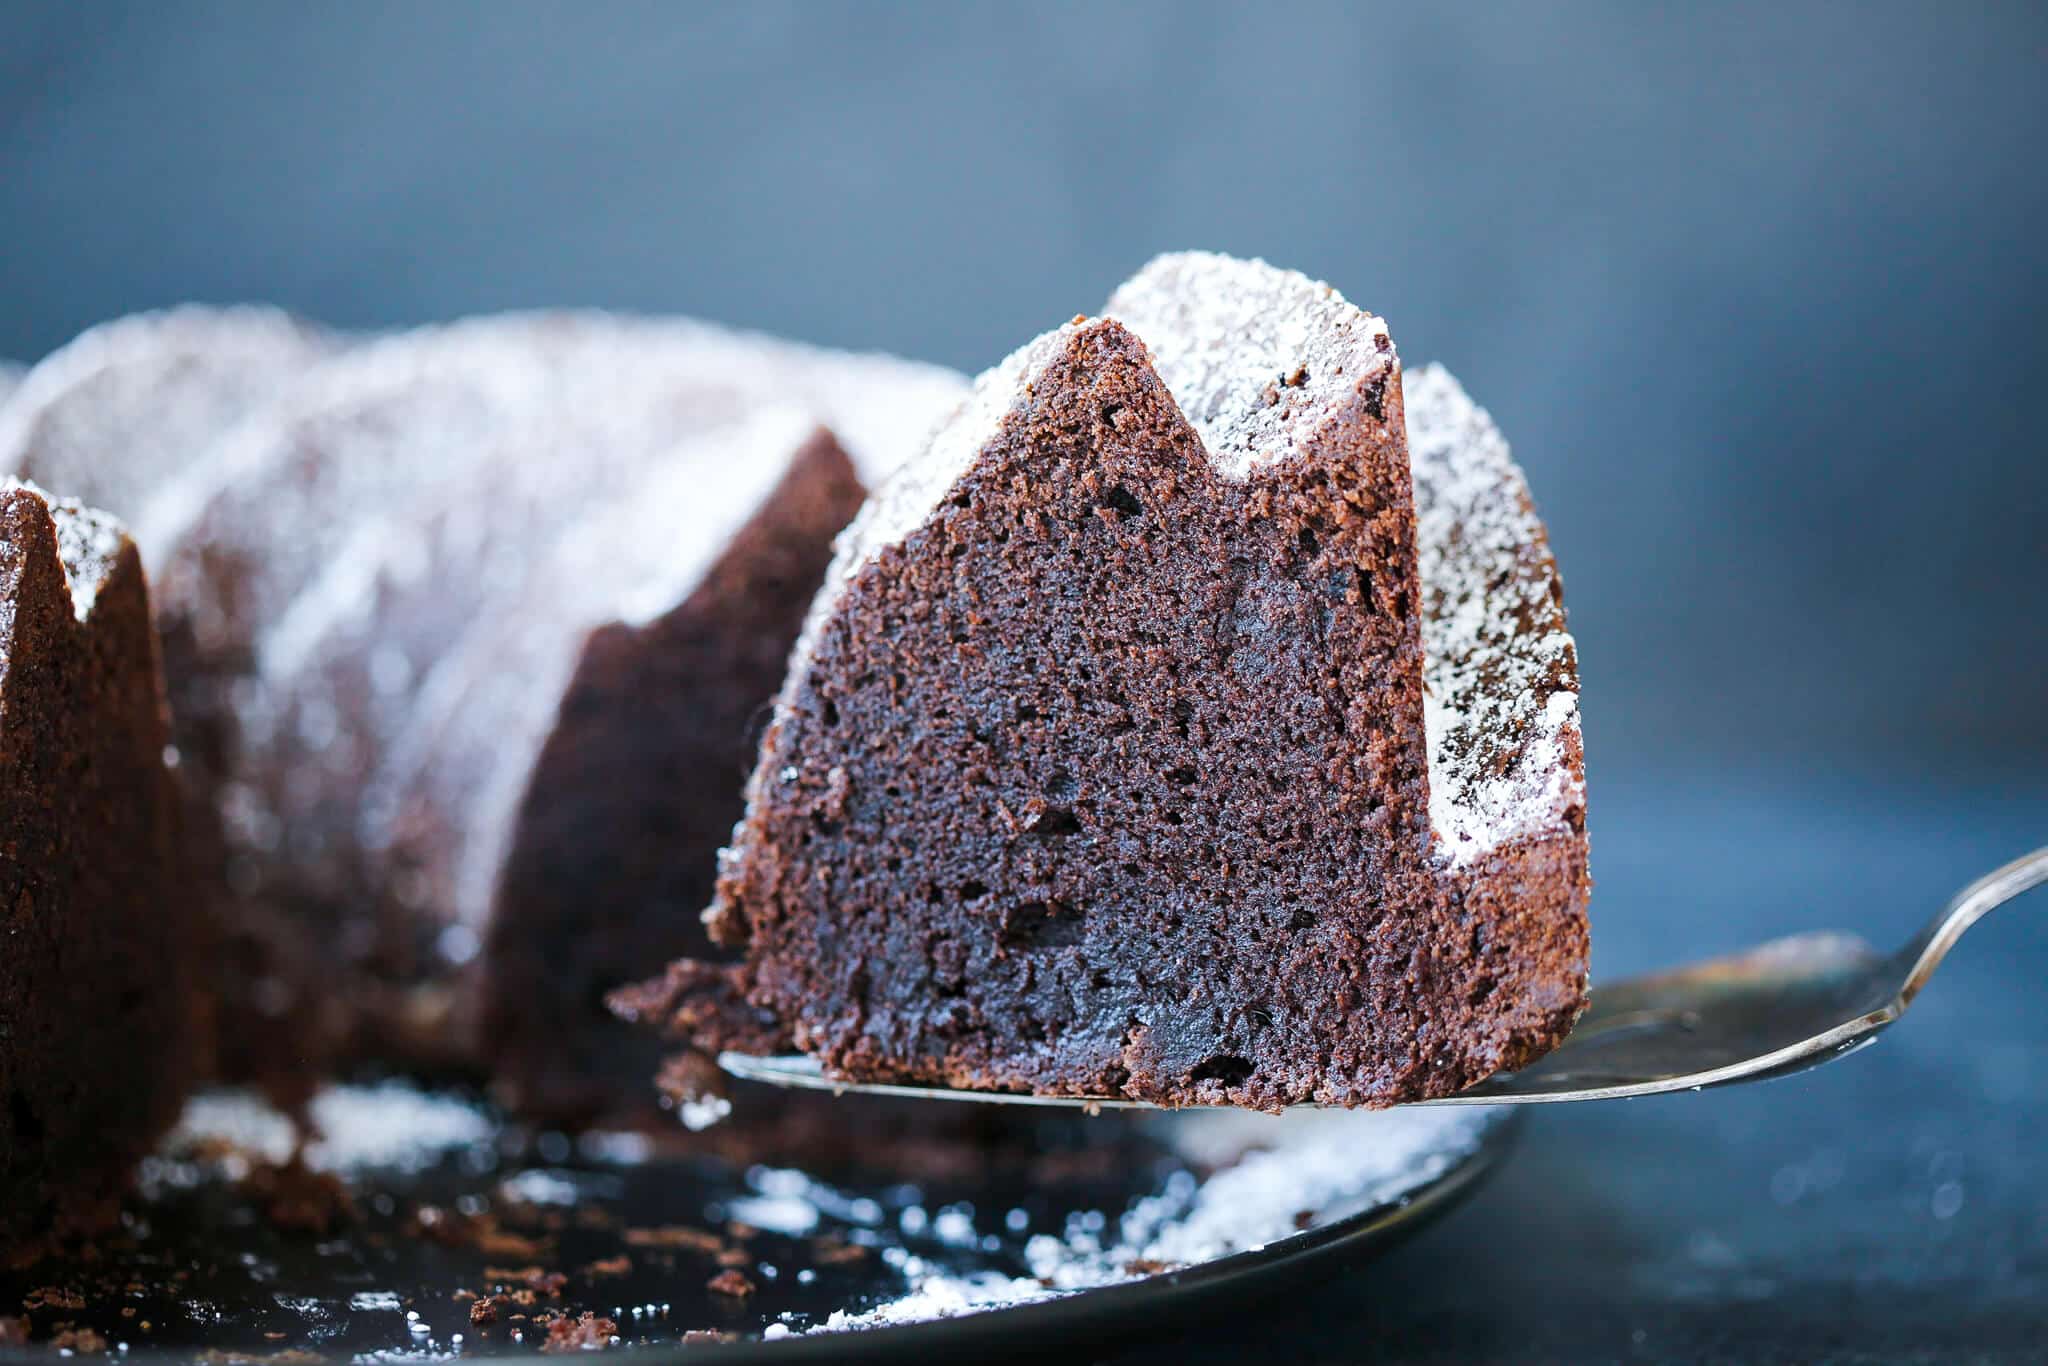
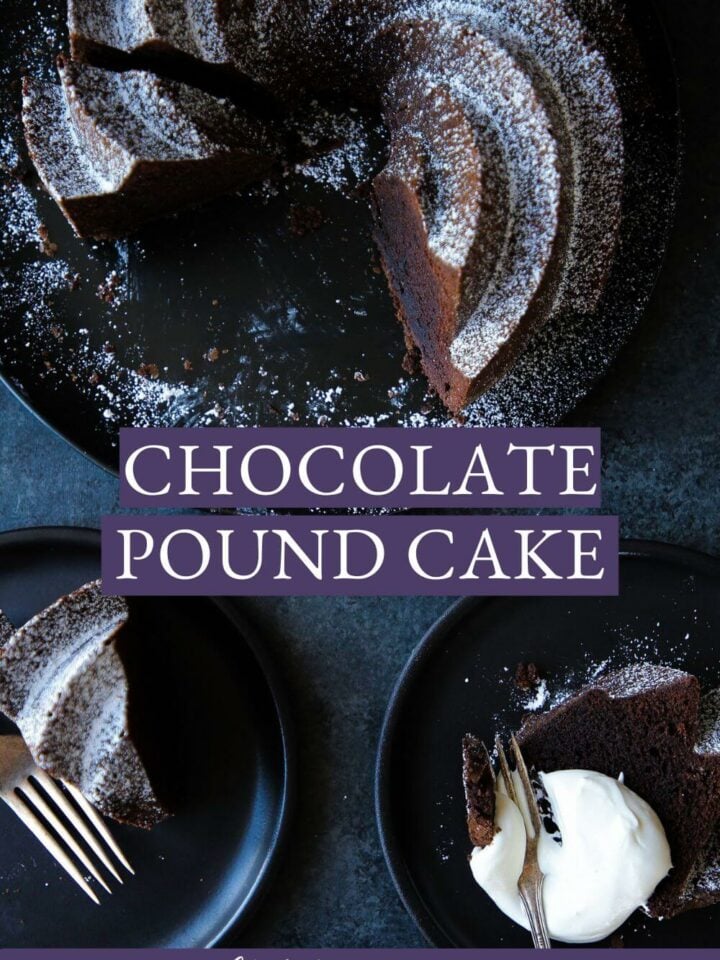
This is the best Chocolate Pound Cake! It has a rich and decadent flavor with a perfectly dense, tender and moist crumb.
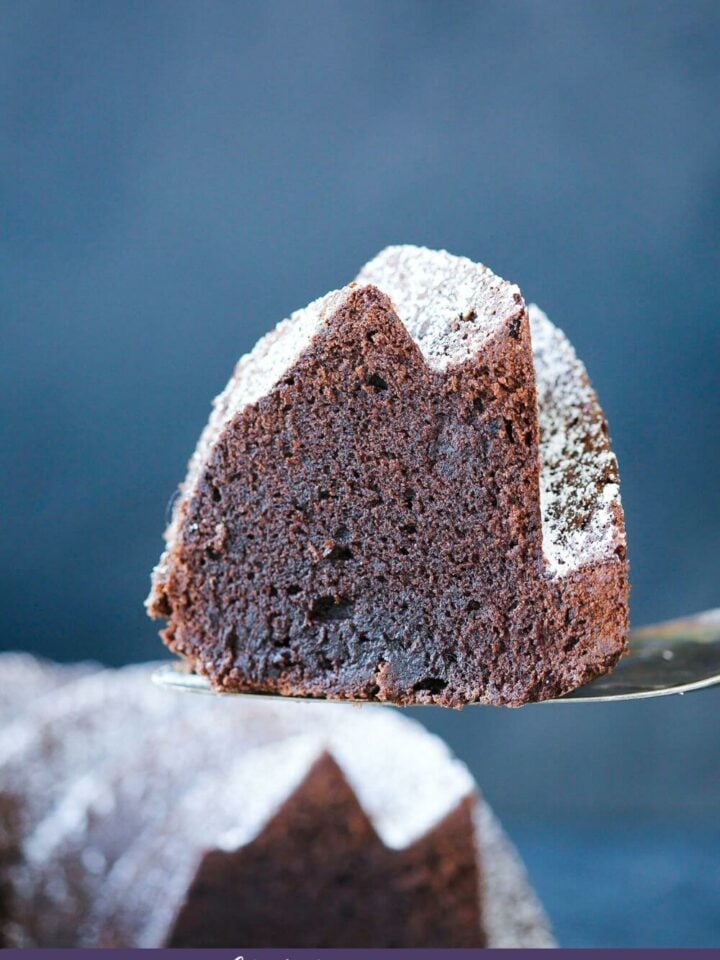
Every slice of this cake has the perfect pound cake texture and a deep chocolate flavor from an epic amount of cocoa powder. The intense chocolate flavor will sate all your chocolate cravings! I know my way around a chocolate recipe, as can be seen in my light and airy French silk pie, old fashioned chocolate fudge recipe, and rich and thick easy chocolate pie recipe. But, I have to say, this chocolate pound cake has unparalleled chocolate power.
Once you have your stepladder out to grab your bundt pans, why not make it a party? Cherry Almond Pound Cake, mardi gras bundt cake, Maple Pound Cake, Red Velvet Pound Cake, and Lemon Pound Cake are all ready and waiting!
Table of Contents
- Why this is the best chocolate bundt cake recipe:
- Professional Tips
- What makes a pound cake different from a regular cake?
- Ingredients
- A loaf pan and other variations:
- Dutch-processed cocoa and other substitutions:
- How to Make Chocolate Pound Cake
- Chef Lindsey’s Recipe Tip
- How to get pound cakes to come out of a Bundt pan?
- Frequently Asked Questions
- Chocolate Pound Cake Recipe
- Before You Go
Why this is the best chocolate bundt cake recipe:
- Sinfully intense chocolate flavor. The ingredients are flawlessly balanced to get you just the right amount of sweetness and chocolate in every bite.
- Tight crumb that still melts in your mouth. This professional recipe deviates from the traditional 1:1 ratio of butter to sugar so that the crumb is perfectly dense without being heavy. The batter is luscious and smooth, complemented further by the low liquid content in the sour cream.
- Perfected by a pastry chef. I’ve tested and re-tested this recipe so you have a no-fuss step-by-step process with the perfect ratio of ingredients, by weight and by volume!
Professional Tips
- I highly suggest weighing your ingredients. I even feel this way about something as simple as my easy moist chocolate cake. Toggle to ‘Metric’ in the recipe to view the ingredients by weight! Eggs vary in sizes and a cup of flour can vary by 50 grams. If you do measure by volume, fluff your flour in the bag then spoon it into the cup, mounding it on the top. Use a knife to slice off the excess but don’t tap or compress it.
- Avoid over-creaming your butter and sugar. Creaming your butter and sugars just until they form a paste is what gives you that dense pound cake texture. This is because you haven’t whipped extra air in between the molecules.
- Keep an eye on your cake while it’s baking. If you over bake this cake, it will be dry. It’s done baking when a cake tester comes out clean, with just a few clinging crumbs!
What makes a pound cake different from a regular cake?
A pound cake is different from a regular cake due to its historic ratio of 1 pound each of butter, sugar, eggs, and flour. So a pound cake would typically weigh plus or minus 4 pounds total! Compare this to a regular cake, which will have a much wider range of ingredients and variety of ratios–oftentimes with the end goal of a light and fluffy texture. The pound cake’s famous dense and rich texture, as a result of its classic ingredient proportions, has remained about the same for hundreds of years. Though it originated in Europe, pound cake is now a proud American culinary tradition.
Ingredients
- Butter: I use unsalted butter for baking, because you want to control the amount of salt you are adding.
- Granulated Sugar: Granulated sugar is here for sweetness. It also helps create a tight crumb for a dense, moist pound cake.
- Light Brown Sugar: Using light brown sugar adds sweetness along with a little moisture. This will keep the cake softer while adding a nice, rich molasses flavor.
- Whole Egg: The eggs are here to add fat, moisture and leavening. The fat from the yolk adds richness and helps keep the pound cake moist. Eggs also emulsify the batter and keep everything texturally perfect.
- Vanilla Extract: Vanilla Extract adds a beautiful flavor itself but it also boosts the flavor of other ingredients around it, like chocolate and brown sugar.
- All-purpose flour: All-purpose flour has just the right amount of gluten to make a dense, tender pound cake.
- Cocoa Powder: I use dutch processed cocoa powder in this and in my Glazed Chocolate Donuts, which just means it has been treated with an alkaline solution. This neutralizes the acidity, which means it will not react with baking soda or baking powder. It has a rich, deep flavor and a darker color than other cocoa powders.
- Sour Cream: Sour cream is essential for the dense texture of this chocolate pound cake just as it is in my sour cream pound cake! It has just enough moisture to hydrate the flour and cocoa powder, and enough fat to inhibit the gluten formation.
- Kosher Salt
- Baking Soda
- Water
See the recipe card for full information on ingredients and quantities.
A loaf pan and other variations:
- Death By Chocolate: Add up to a cup of chocolate chips to the batter before baking. And then positively drown the cake in phenomenal chocolate fudge glaze! You can also make my chocolate bundt cake recipe, which has both cocoa powder and melted chocolate and I poured on a chocolate ganache! Perhaps lighten the chocolate with the chocolate cream cheese frosting from my chocolate mayonnaise cake.
- Experiment with glaze: This chocolate pound cake recipe would be delightful with my vanilla donut glaze, salted caramel sauce or a cream cheese buttercream. You could also use the cream cheese glaze from my cinnamon scones.
- Use a loaf pan: You can certainly use a loaf pan instead of a bundt pan! Be aware that a standard loaf pan only holds about 6 cups, so it would be best to halve this recipe. You can follow all other instructions as detailed, but your bake time will be slightly different as you do not have the middle portion of a bundt to help bake the cake. However, it would be less batter to bake!
- Make a trifle: Use the recipe for this Raspberry Trifle with any leftovers from your chocolate pound cake and you have a brand new dessert!
Dutch-processed cocoa and other substitutions:
- Cocoa Powder: Just as in my chocolate raspberry cake, you could substitute standard unsweetened cocoa powder for Dutch processed cocoa powder in this recipe. The flavor will be slightly more acidic and the color will be lighter with a reddish tint.
- Sour Cream: I almost always bake with full-fat dairy because the fat adds to the texture and intensity of flavor. Low fat versions or even Greek yogurt can be substituted in most cases, the texture will just be slightly different.
- Cake Flour: You could certainly substitute cake flour for all-purpose flour, but the resulting texture will be ever so slightly lighter. Be sure to sift it!
How to Make Chocolate Pound Cake
Further details and measurements can be found in the recipe card below!
Make cake batter:
Step 1: Preheat the oven to 325°F (convection or standard) and prepare your pan. Spray it with cooking spray and then dust it with flour, tapping the flour around until every inch is covered.
Step 2: In a medium bowl, whisk together dry ingredients: flour, cocoa powder, baking soda, and salt. In a different bowl, whisk together sour cream and water.
Just this tiny amount of baking soda will immediately react with the acid in the sour cream. This reaction will add just the right amount of leavening!
Step 3: In the large bowl of a stand mixer fitted with the paddle attachment, cream together softened butter and sugars until a thick paste forms. Beat in the eggs one at a time, scraping down the sides of the bowl as you go.
Step 4: Switch the mixer to low, and alternately add the flour mixture and sour cream mixture. Mix until it is just combined before the next addition.
I don’t wait until all the flour has incorporated until I add the next batch. I just keep adding with two hands. Pro-style. I do stop the mixer to add the last of the sour cream because I like to scrape it all out with a rubber spatula.
Step 5: Add in the vanilla. Turn the mixer speed up so everything incorporates. Your batter will be silky and smooth.
Bake:
Step 6: Pour into the prepared pan and smooth the top. Bake in a preheated oven until a cake tester or toothpick comes out with a few clinging crumbs. Mine took 70 minutes. Yours could take anywhere between 60-85 minutes depending on your oven.
Step 7: Let the cake cool for 20 minutes in the pan, and then loosen the edges with a paring knife and turn it out onto a wire rack. Allow the cake to cool completely.
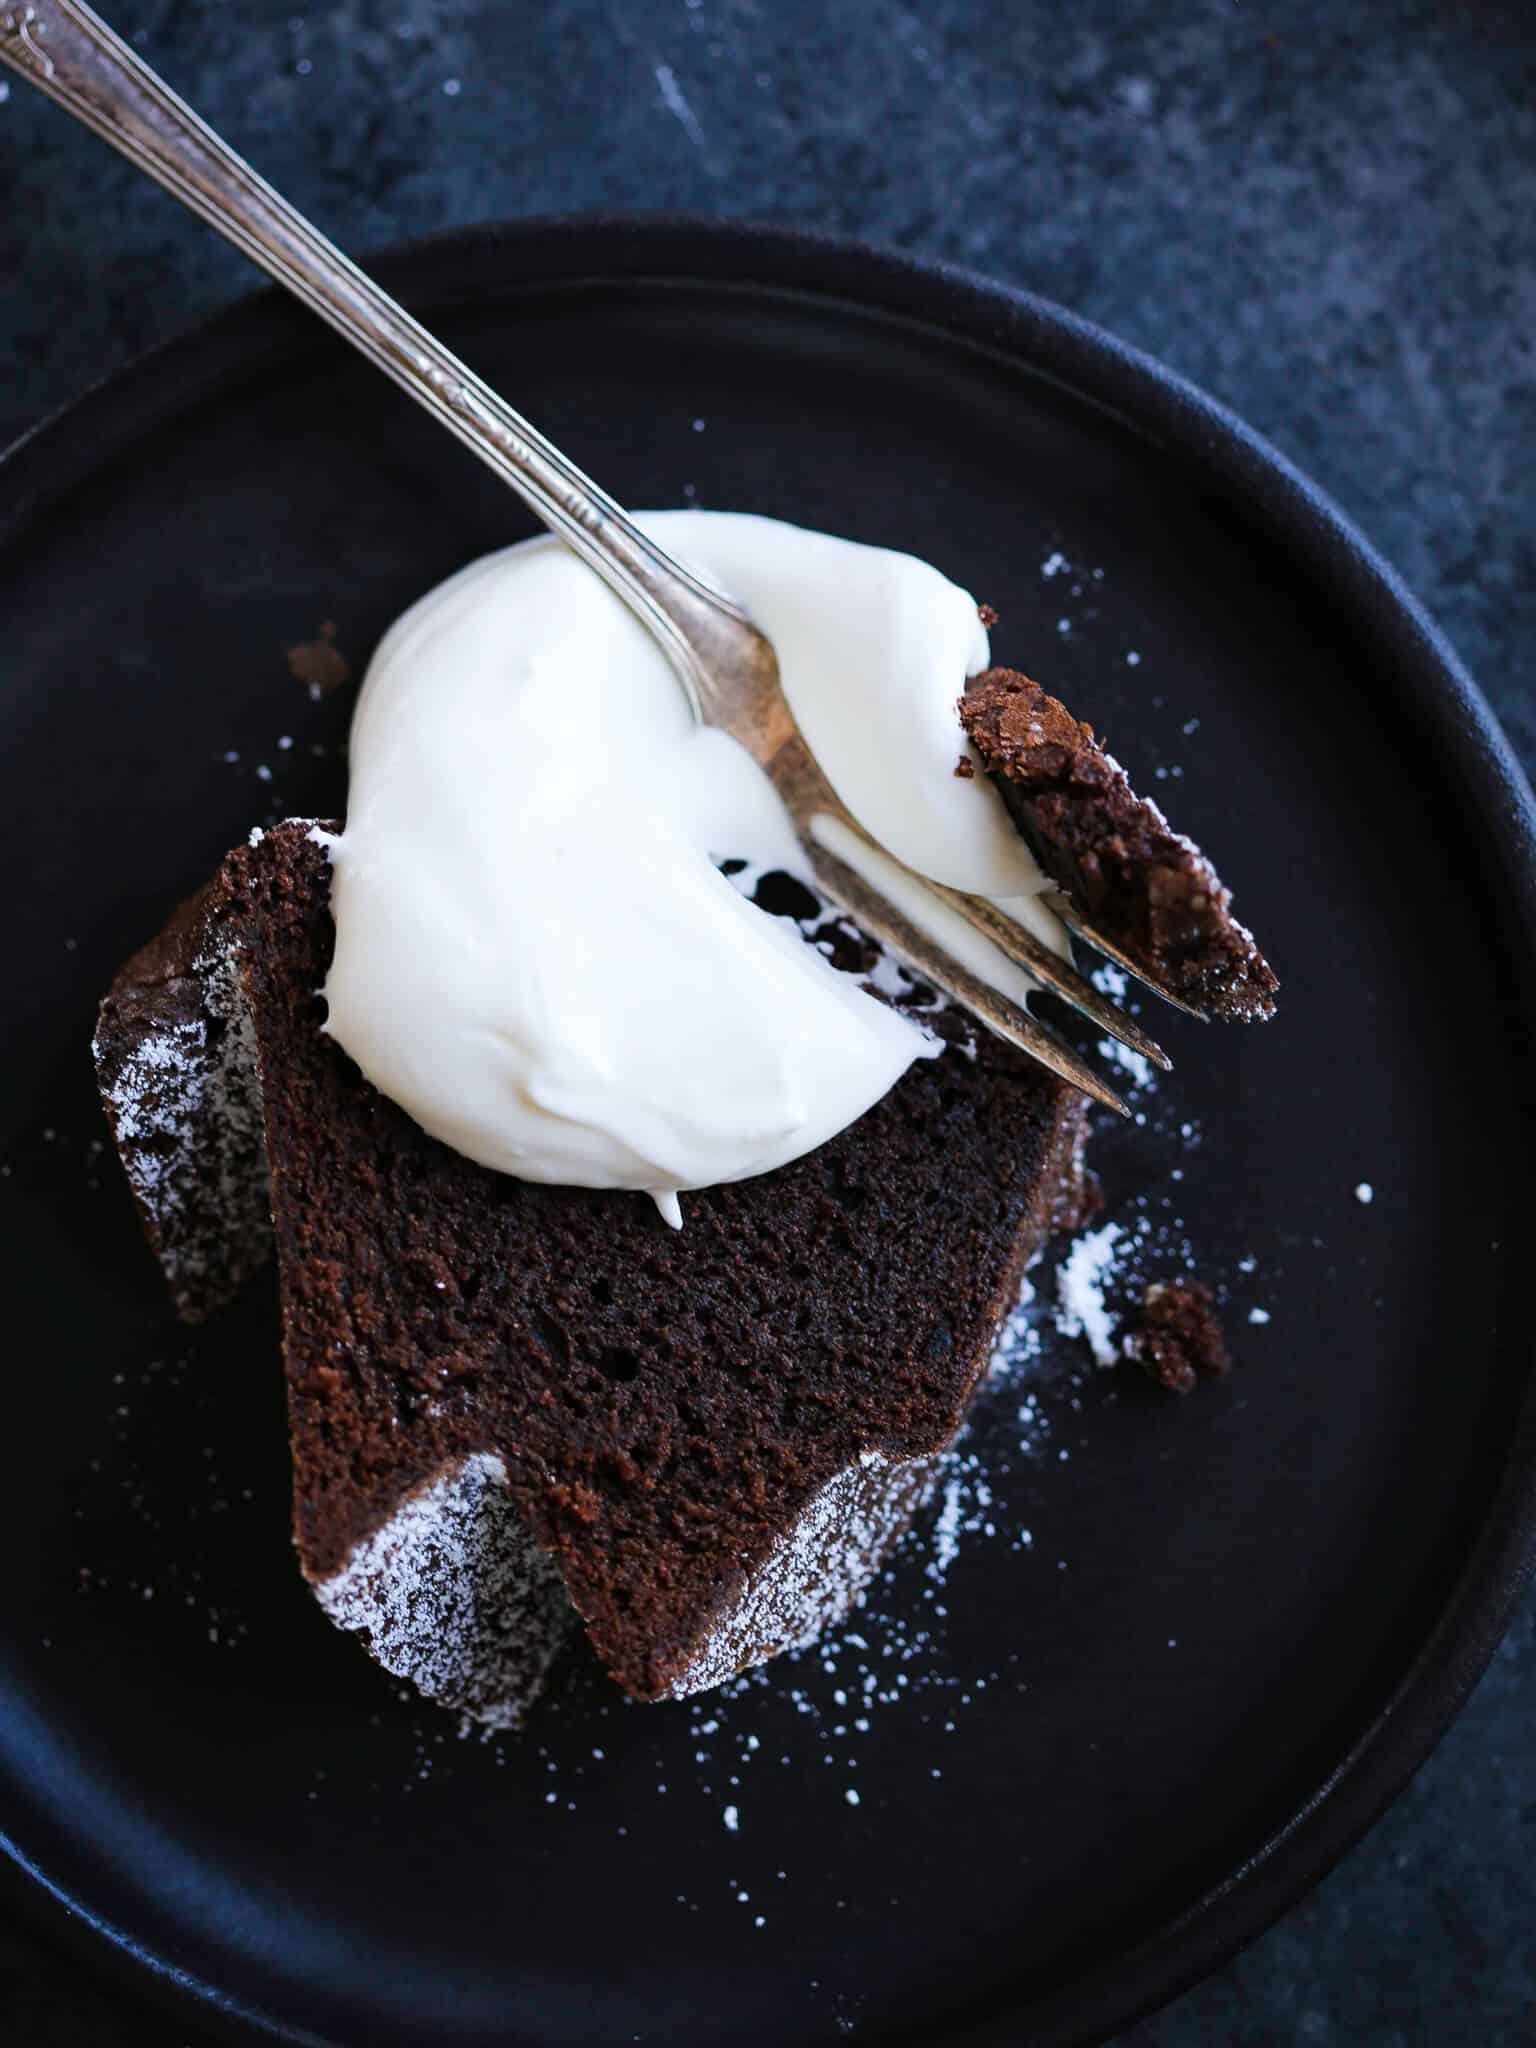
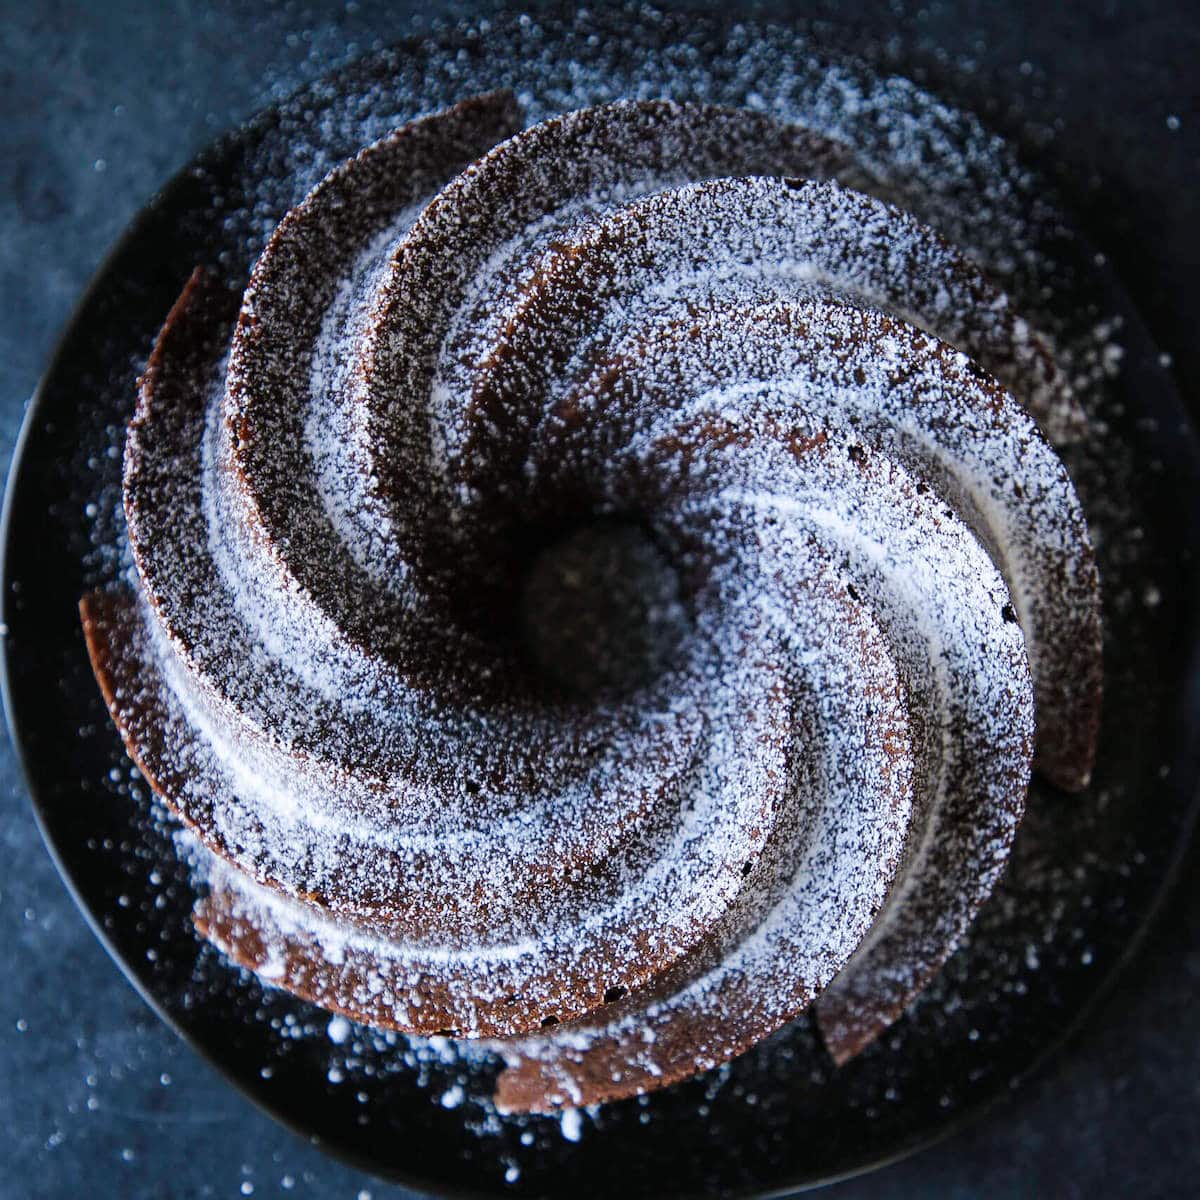
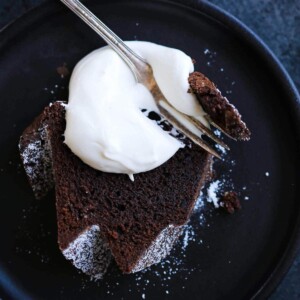
Step 8: Once the cake is cooled, dust with powdered sugar or drizzle a glaze over the top. After the glaze has set, slice and enjoy!
You could simply dust your chocolate pound cake with confectioner’s sugar. But, I also suggest a scoop of vanilla ice cream, a spoonful of crème anglaise, or a generous dollop of crème fraîche whipped cream to really bring out the chocolate notes!
Chef Lindsey’s Recipe Tip
It’s important to let your cake cool in two stages. Let your cake cool for 20 minutes in its pan, and then turn it out to cool completely. If you cut your cake when it is still too warm, it will not have enough time to set its crumb.
How to get pound cakes to come out of a Bundt pan?
- Grease and flour your pan. Do not underestimate the power of a well-greased and floured pan. It is especially key with a detailed fluted Bundt pan like the one I used for the pictures. While developing this recipe, I actually added my flour from the parchment sheet back to the pan. I then tapped it around a second time in the opposite direction. Then tap that out as well to avoid weird flour patches.
- Wait for the cake to cool more. When you apply pressure to a warm cake, it weakens its structure because the crumb hasn’t set. Let the cake cool completely and then try again. If she still will not be released, I find that using a small offset spatula or paring knife will help get a better angle when coaxing the sides of the cake away from the mold.
Frequently Asked Questions
Store chocolate pound cake well-wrapped in plastic wrap at room temperature, refrigerated or frozen. Pound cakes will keep 5 days at room temperature, two weeks refrigerated, or 3 months frozen. For optimal freshness, serve within 2 days of baking or freeze for longer term storage.
You can make the batter up to one day ahead. Or, you can bake, cool and freeze the cake for serving at a later date.
Check this cake about halfway through the bake time. Checking too early will not allow enough time for the crumb to set and could result in a sunken cake! I gently press on the center-most part and when it provides a little resistance I will double check with a cake tester or toothpick. The tester should come out with only a few clinging crumbs but no streaks of batter. Be sure the tester goes into the center of the cake!
If you tried this recipe and loved it please leave a 🌟 star rating and let me know how it goes in the comments below. I love hearing from you; your comments make my day!
Chocolate Pound Cake
Equipment
Ingredients
- 1 ½ cups unsalted butter
- 2 ¼ cups sugar
- ¾ cup light brown sugar
- 6 eggs
- 1 ½ teaspoons vanilla extract
- 2 ¼ cups all-purpose flour
- ¾ cup Dutch processed cocoa powder
- 1 ½ teaspoons kosher salt
- ¼ teaspoon baking soda
- 1 cup sour cream
- 2 tablespoons water
- confectioner’s sugar for dusting
Instructions
Make cake batter:
- Preheat the oven to 325°F (convection or standard) and prepare your pan. Spray it with cooking spray and then dust it with flour, tapping the flour around until every inch is covered.
- In a medium bowl, whisk together dry ingredients: flour, cocoa powder, baking soda, and salt. In a different bowl, whisk together sour cream and water.
- In the large bowl of a stand mixer fitted with the paddle attachment, cream together softened butter and sugars until a thick paste forms. Beat in the eggs one at a time, scraping down the sides of the bowl as you go.
- Switch the mixer to low, and alternately add the flour mixture and sour cream mixture. Mix until it is just combined before the next addition.
- Add in the vanilla. Turn the mixer speed up so everything incorporates. Your batter will be silky and smooth.
Bake:
- Pour into the prepared pan and smooth the top. Bake in a preheated oven until a cake tester or toothpick comes out with a few clinging crumbs. Mine took 70 minutes. Yours could take anywhere between 60-85 minutes depending on your oven.
- Let the cake cool for 20 minutes in the pan, and then loosen the edges with a paring knife and turn it out onto a wire rack. Allow the cake to cool completely.
- Once the cake is cooled, dust with powdered sugar or drizzle a glaze over the top. After the glaze has set, slice and enjoy!
Notes
Nutrition
Before You Go
I hope you enjoyed this professional chef tested recipe. Check out our other delicious, chef-developed cake recipes or Easy Chocolate Desserts next!


Chef Lindsey, This is the best chocolate cake I’ve ever made. 😋 ❤️
Hi Sherry this comment made our week! 😋❤️ Nothing better than hearing that thank you for sharing! ~CLF team
I made this for a family dinner because I needed a dessert that wouldn’t fall apart in the car. I baked it earlier in the day, wrapped it once it cooled, and dusted it with powdered sugar right before serving. People went back for seconds, and my dad asked if there was more to take home. Thank you for a really solid cake recipe!
I made this cake and topped it with strawberry jam, and it was so good. I want to try it with the jam swirled into the cake. I know you add cherry jam to the almond pound cake, and it works, so fingers crossed. The chocolate flavor is unreal and the texture of the pound cake is my favorite.
I’m curious about why don’t you scale your ingredients? I’m sure you did so when you worked commercially. Could you provide the ingredients in grams instead of volume measurements. It looks like a great cake and I’d love to try it.
Hi Julie! You’re totally correct, I scale my ingredients when I bake commercially, and also most of the time at home as well. The measurements by weight are available in the recipe block, if you toggle over to metric. I always like them to be available both by volume and by weight so folks can choose for themselves what is more feasible. Happy baking!
You say the baking temp. is 325 in a convection oven – I don’t have a confection oven, just a regular one. What temp. should I bake this cake at? Thank you!
Hi Janet! 325 regular is fine. I have updated the recipe to reflect that. Sorry for the confusion. The cake bakes so long that 350 is too hot and it will start to dry out. The convection fan will just reduce bake time. Happy baking!