This post may contain affiliate links. Please read our disclosure policy.
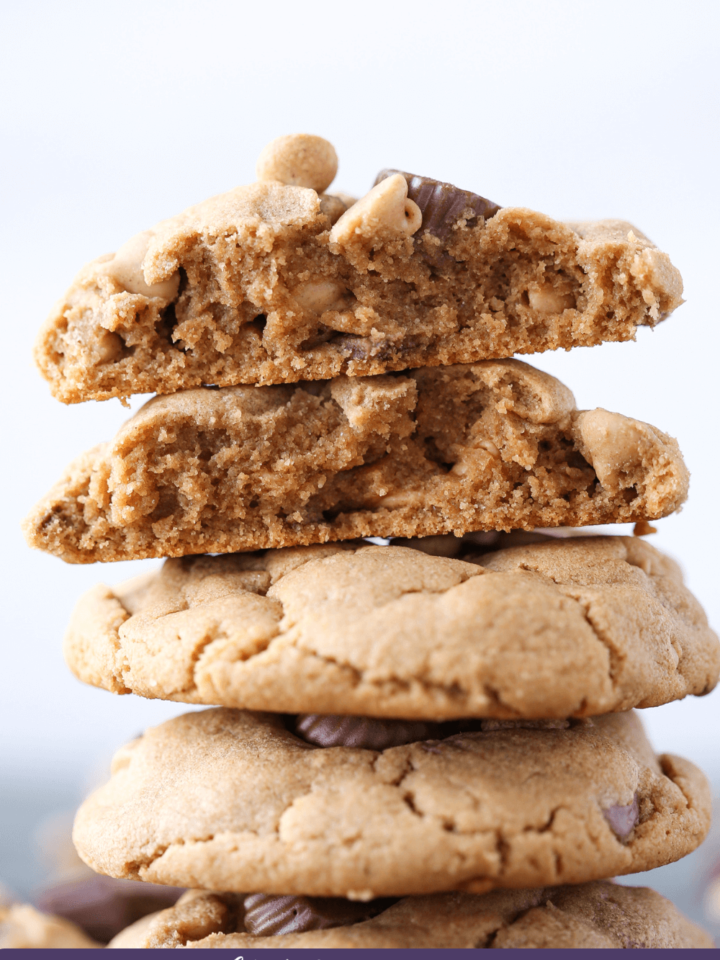
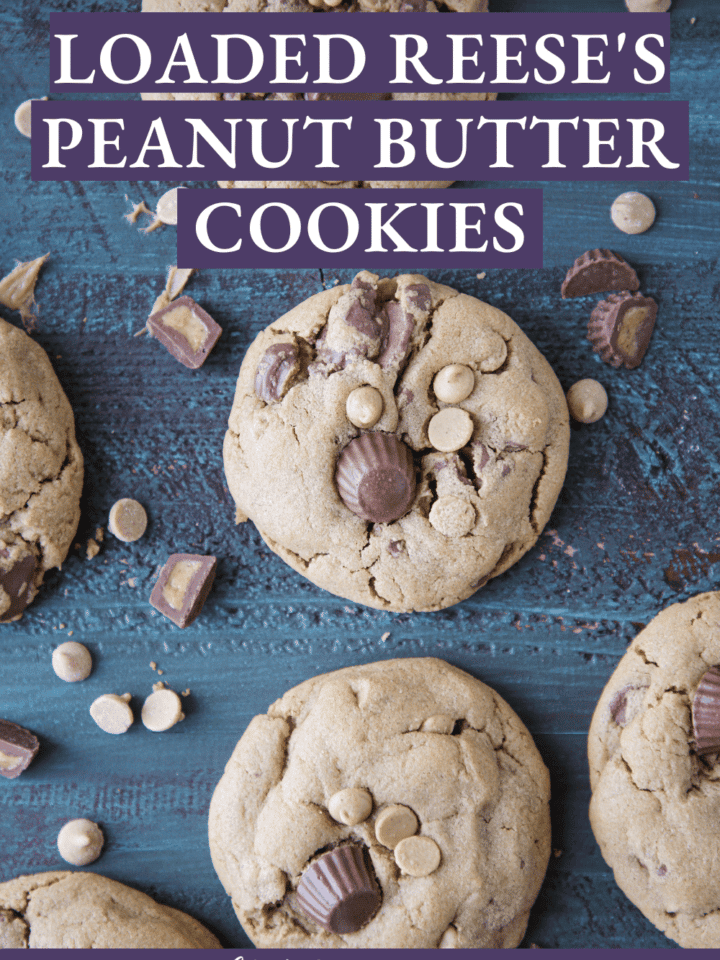
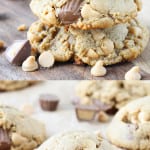
These bakery-style Reese’s Peanut Butter Cookies are thick, chewy cookies that you can have in the oven in 5 minutes! They are loaded with peanut butter chips and mini Reese’s.
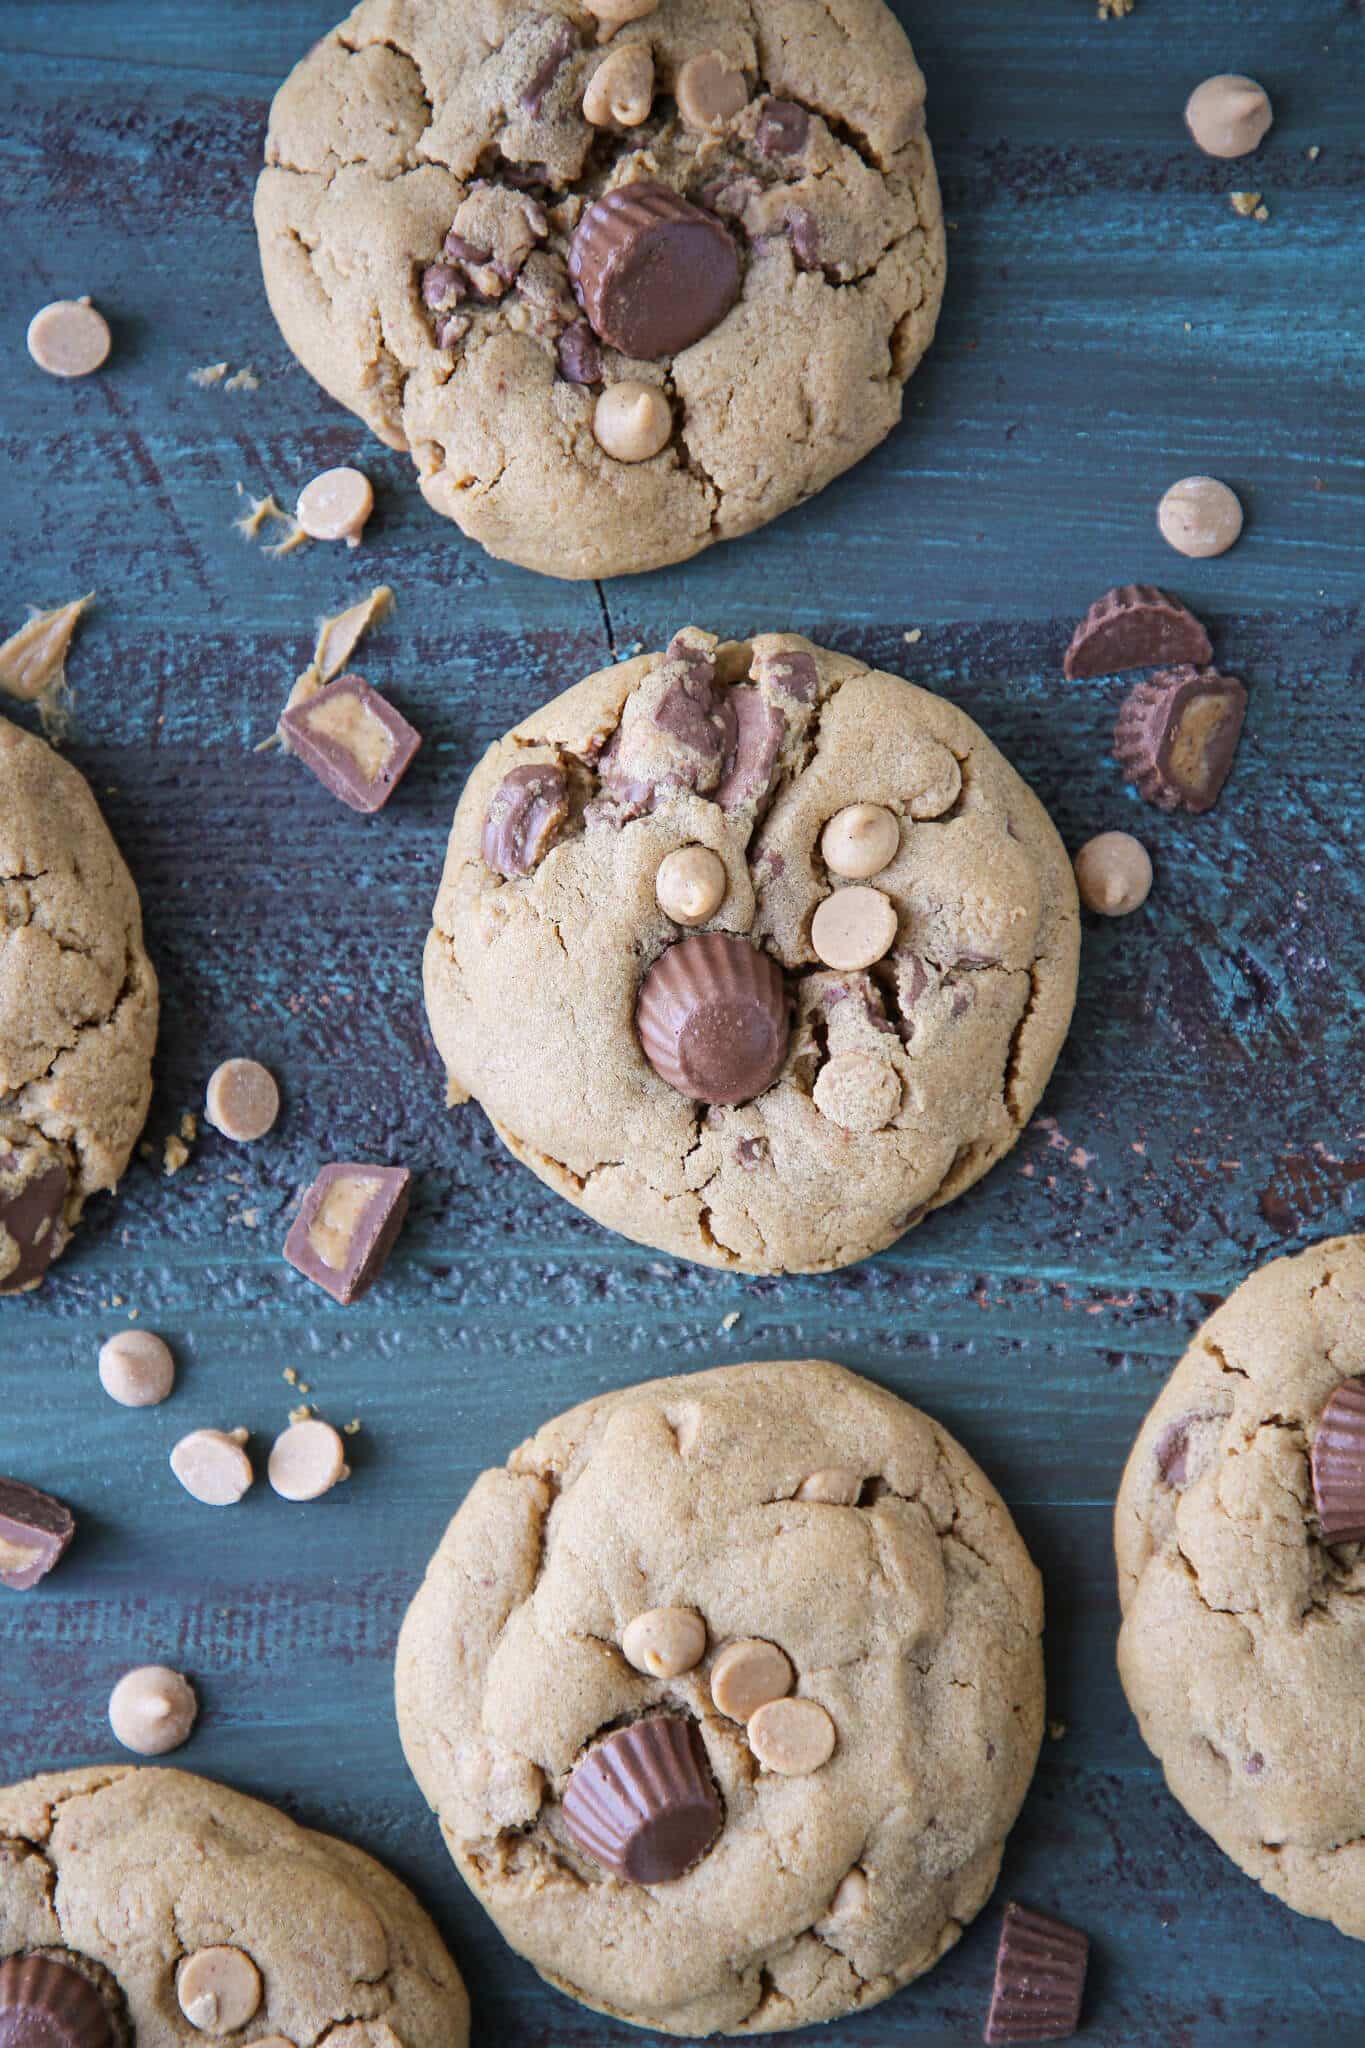
There are times when a peanut butter craving hits that is so serious only the largest bakery-style cookie will do, which is when I reach for these epic Reese’s peanut butter cookies! The cookie only has 5 ingredients and it is gluten free! To really up the peanut butter flavor, I folded in as many Reese’s and peanut butter chips as the batter could hold!
If you are leaning more towards a crunchy cookie experience, try my great-grandmother’s old-fashioned peanut butter cookies instead. Or, if you don’t want to turn on your oven, then these no bake peanut butter cookies are for you!
Table of Contents
Why you will love these Reese’s Peanut Butter Cookies
- No chill cookie. Simply mix the dough, fold in the mix-ins, scoop and bake! No chilling and, honestly, waiting for the first one to cool is optional too!
- Easy, no fuss recipe. The dough only has 5 ingredients and comes together in under 5 minutes!
- Gluten free & butter free! That’s right, you read that correctly, this easy peanut butter cookie recipe is gluten free and butter free! No specialty flours are needed. You probably have all the ingredients on hand.
- The best texture. They are chewy, thick and soft with the perfect amount of peanut butter for flavor and texture.
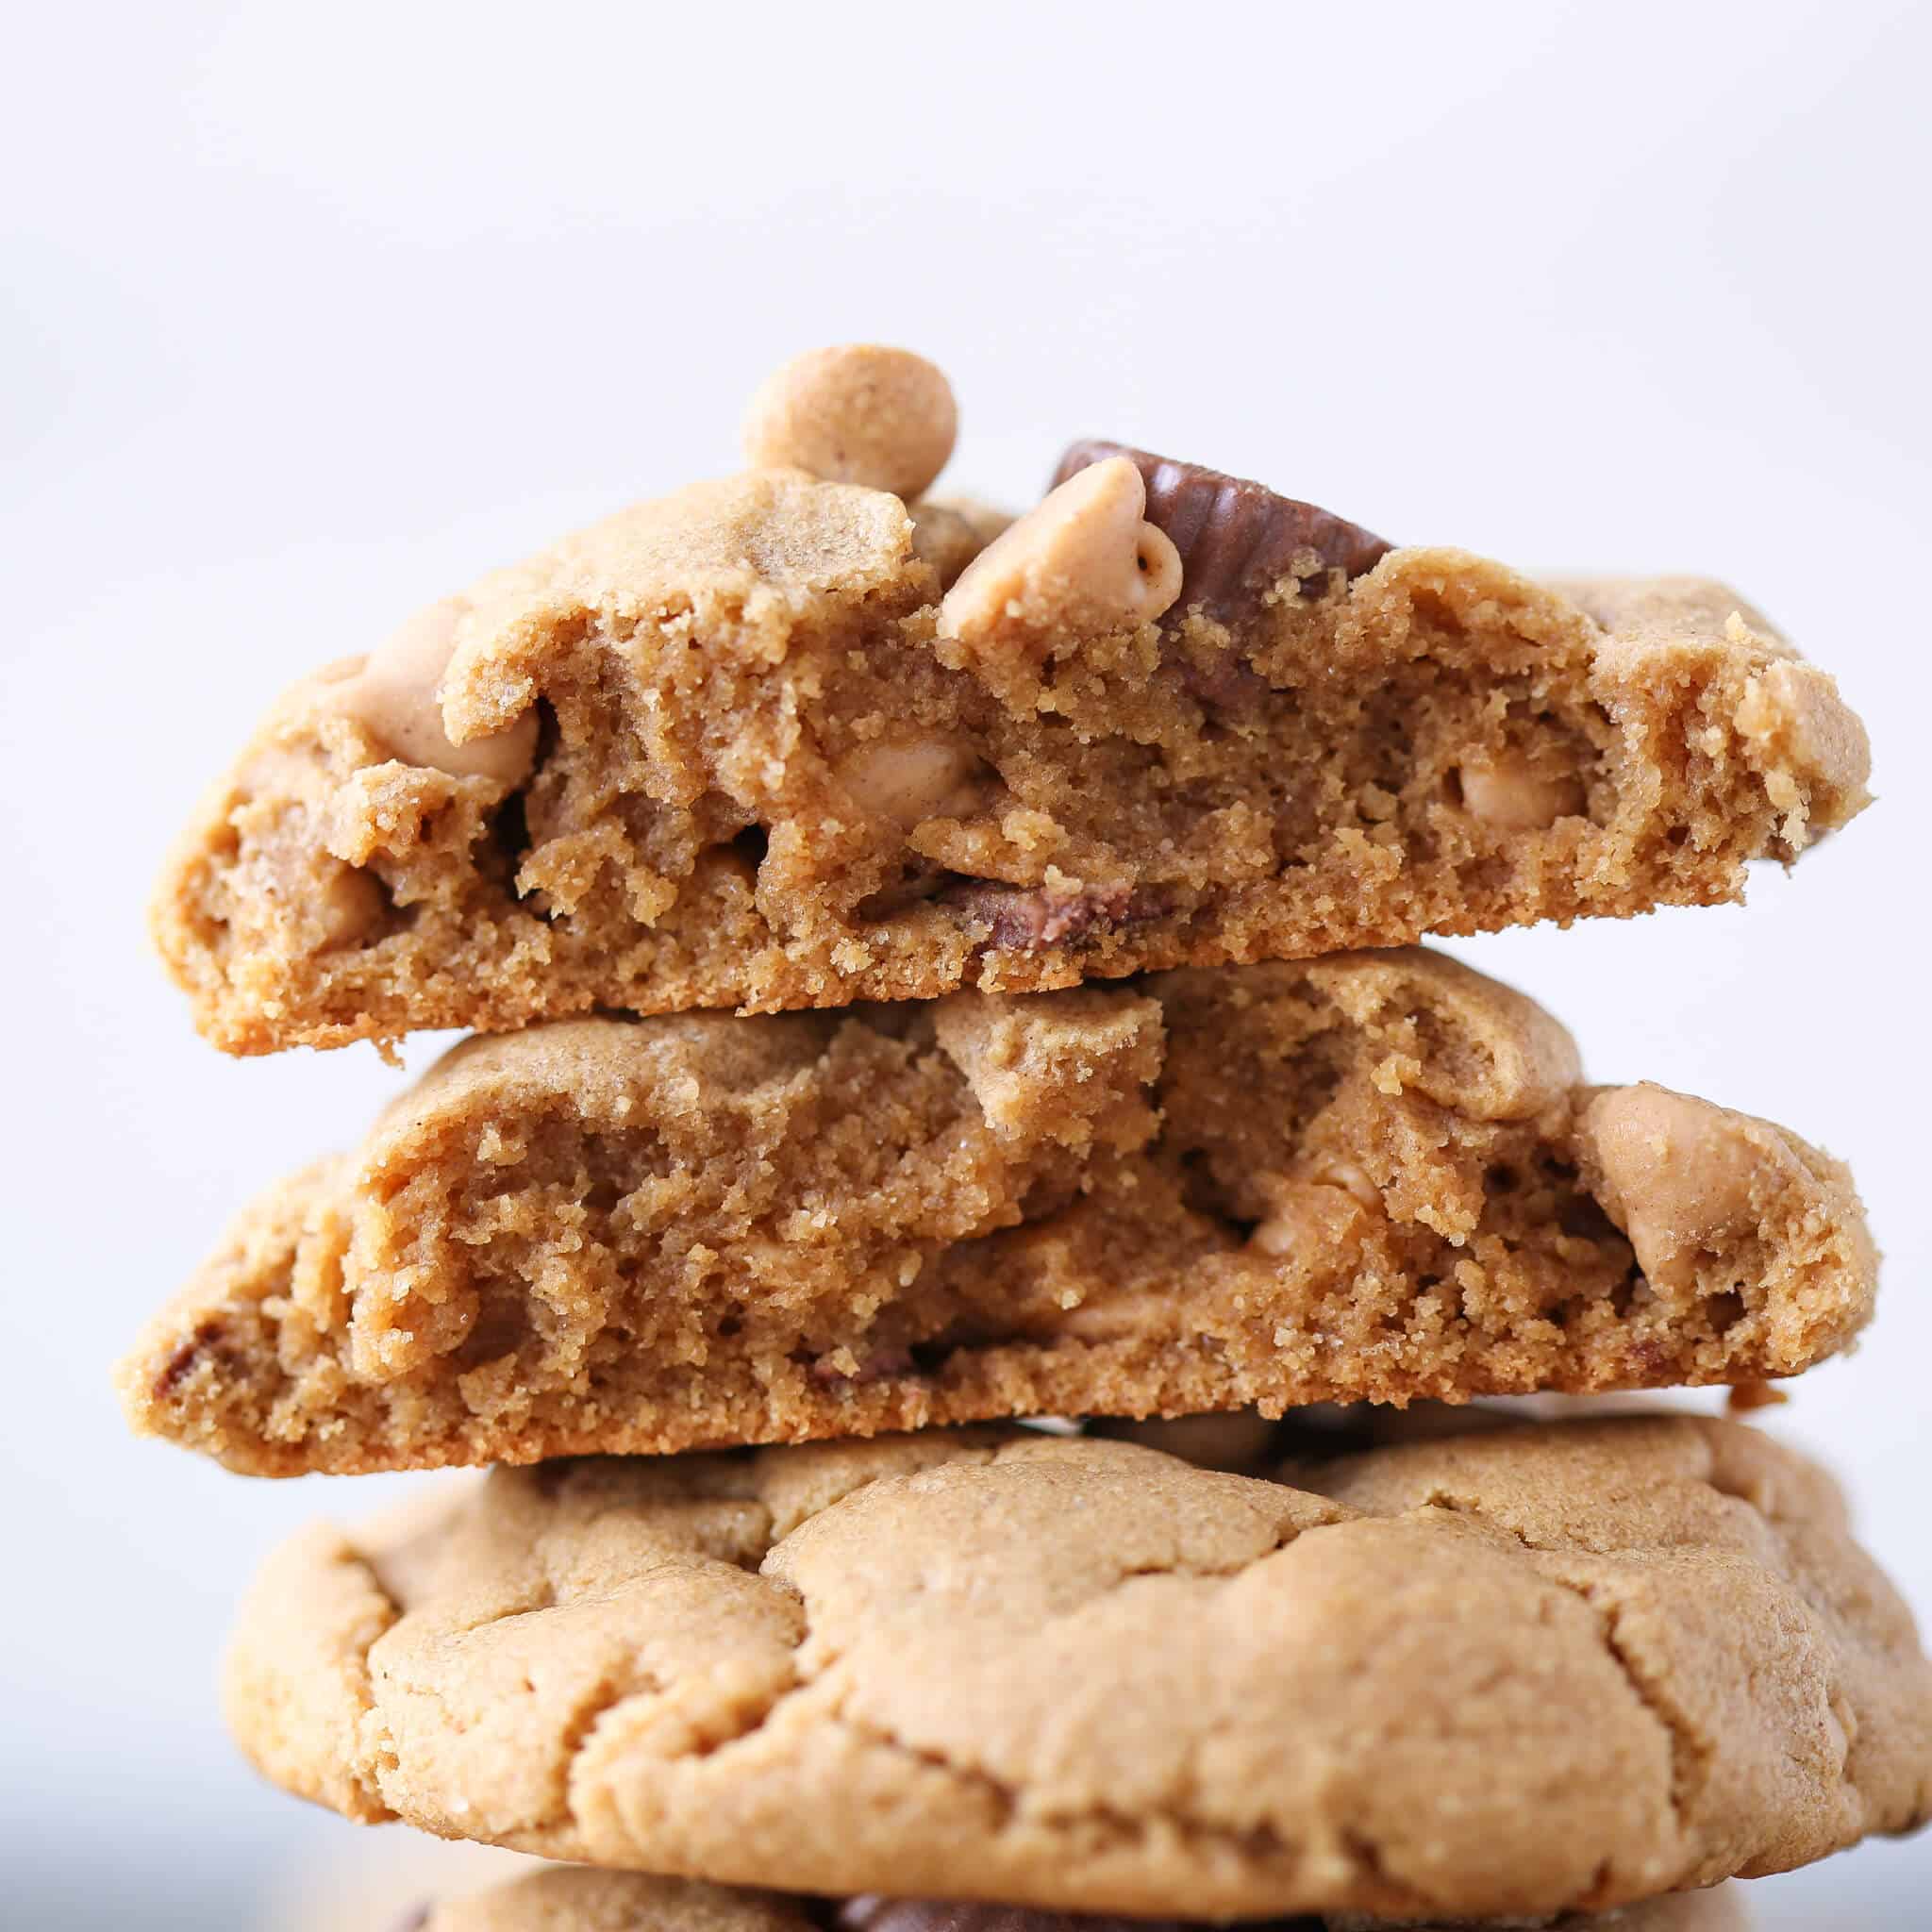

Professional tips for making chewy peanut butter cookies
- No-stir peanut butter. For this recipe to work, you need to use no-stir peanut butter. That means not a natural peanut butter. I use Jiff in all my baking for the texture and flavor, but you do you. As long as it’s no-stir.
- Don’t cream excessively. For the thickest, chewiest cookies just barely cream the peanut butter and sugars. You could even mix them entirely by hand if you wanted.
- Brown sugar is essential. You can use dark or light brown sugar, whichever you have on hand, but don’t substitute 100% granulated white sugar. The cookies will not be as thick and they will spread more.
Ingredients
- Peanut Butter: I use Jiff peanut butter in all my baking. I prefer its flavor to the other brands of no-stir peanut butter. I generally do not bake with natural peanut butter because the texture is inconsistent and it is runnier than no-stir peanut butters. This will affect the texture of you baked goods including these cookies.
- Whole Egg: The egg is here to add fat, moisture and leavening. The fat from the yolk adds richness and helps keep the cookies chewy. Beating in the eggs just enough will add a little or a lot of leavening depending on the desired texture. Eggs also emulsify the batter and keep everything texturally perfect.
- Granulated Sugar: Granulated sugar is obviously here for sweetness, but if you add too much in proportion to the peanut butter, the cookies will spread rather than stay tall and chewy.
- Dark Brown Sugar: Using dark brown sugar adds sweetness along with a little moisture. This will keep the cookies softer while adding a nice, rich molasses flavor.
- Baking Soda: Baking soda reacts with an acid, the molasses in the brown sugar in this instance, to leaven the cookies. It reacts more powerfully than baking powder and will create a more dramatic rise, but will not continue to react in the heat of the oven or without the presence of an acid.
- Mini Reese’s peanut butter Cups: I use Mini Reese’s peanut butter cups in these cookies because they are cute and it saves the steps of unwrapping and chopping large Reese’s cups. You can chop Reese’s if that is what you have or you want even more peanut butter!
- Reese’s Peanut Butter Chips: I use Reese’s peanut butter chips but you can use any peanut butter chips or chocolate chips!
Variations
- Turn them into bars: I used this same recipe and transformed it into these fudgy peanut butter milk chocolate bars! I added a milk chocolate ganache on top for an extra decadent touch.
- Experiment with mix ins: Throw in some chocolate chips, Reese’s pieces, some chopped Snickers bars or even Butterfingers instead of the Reese’s! This cookie dough is a great base recipe to awaken your creativity!
- Add a frosting: Why not guild the lily and frost them with an easy cream cheese frosting for cookies? Or even the best chocolate buttercream recipe. Perhaps a sprinkle of chocolate jimmies and mini Reese’s would be a nice finishing touch.
- Ice Cream Sandwiches: These cookies are delicious with a scoop of ice cream between them. Use a rich, decadent chocolate ice cream or vanilla bean ice cream for a classic pairing or try an unexpected flavor combination like this cherry caramel ice cream!
Substitutions
- Natural Peanut Butter: This recipe will not yield the same results with natural peanut butter. Natural peanut butter separates and must be stirred together prior to using. It is too runny for this recipe because there is no flour or dry ingredient other than sugar. If you want to make peanut butter cookies with natural peanut butter, try these peanut butter cup cookies or these chewy peanut butter chocolate chip cookies instead!
- Crunchy Peanut Butter: You can use crunchy peanut butter for a little texture as long as it is a no-stir peanut butter. See note above.
- Sugar: You can use dark or light brown sugar, whichever you have on hand, but don’t substitute 100% granulated white sugar. The cookies will not be as thick and they will spread more.
- Reese’s Peanut Butter Cups: I use the mini ones to save time unwrapping and chopping, but these cookies are also delicious with chopped Reese’s. If you have the patience, you will be rewarded with even more peanut butter flavor!
How to Make Reese’s Peanut Butter Cookies
Use these instructions to make the perfect chewy Reese’s peanut butter cookies! Further details and measurements can be found in the recipe card below.
Step 1: Preheat oven to 350°F and line 2 baking sheets with parchment paper.
Step 2: Add peanut butter, egg, both sugars, and baking soda in a bowl and mix with a hand mixer until well blended but not light and fluffy, about 1-2 minutes. Stir in chips and mini Reese’s cups.
Step 3: Divide the dough into 8 pieces. Roll into balls and place on cookie sheet about 2 inches apart.
Wasn’t that crazy easy? Tap your foot in impatience until the oven actually finishes preheating.
Step 4: Bake 11-14 minutes until the edge are a golden brown and the centers have puffed and no longer look doughy. Let them cool on the cookie sheet before removing.
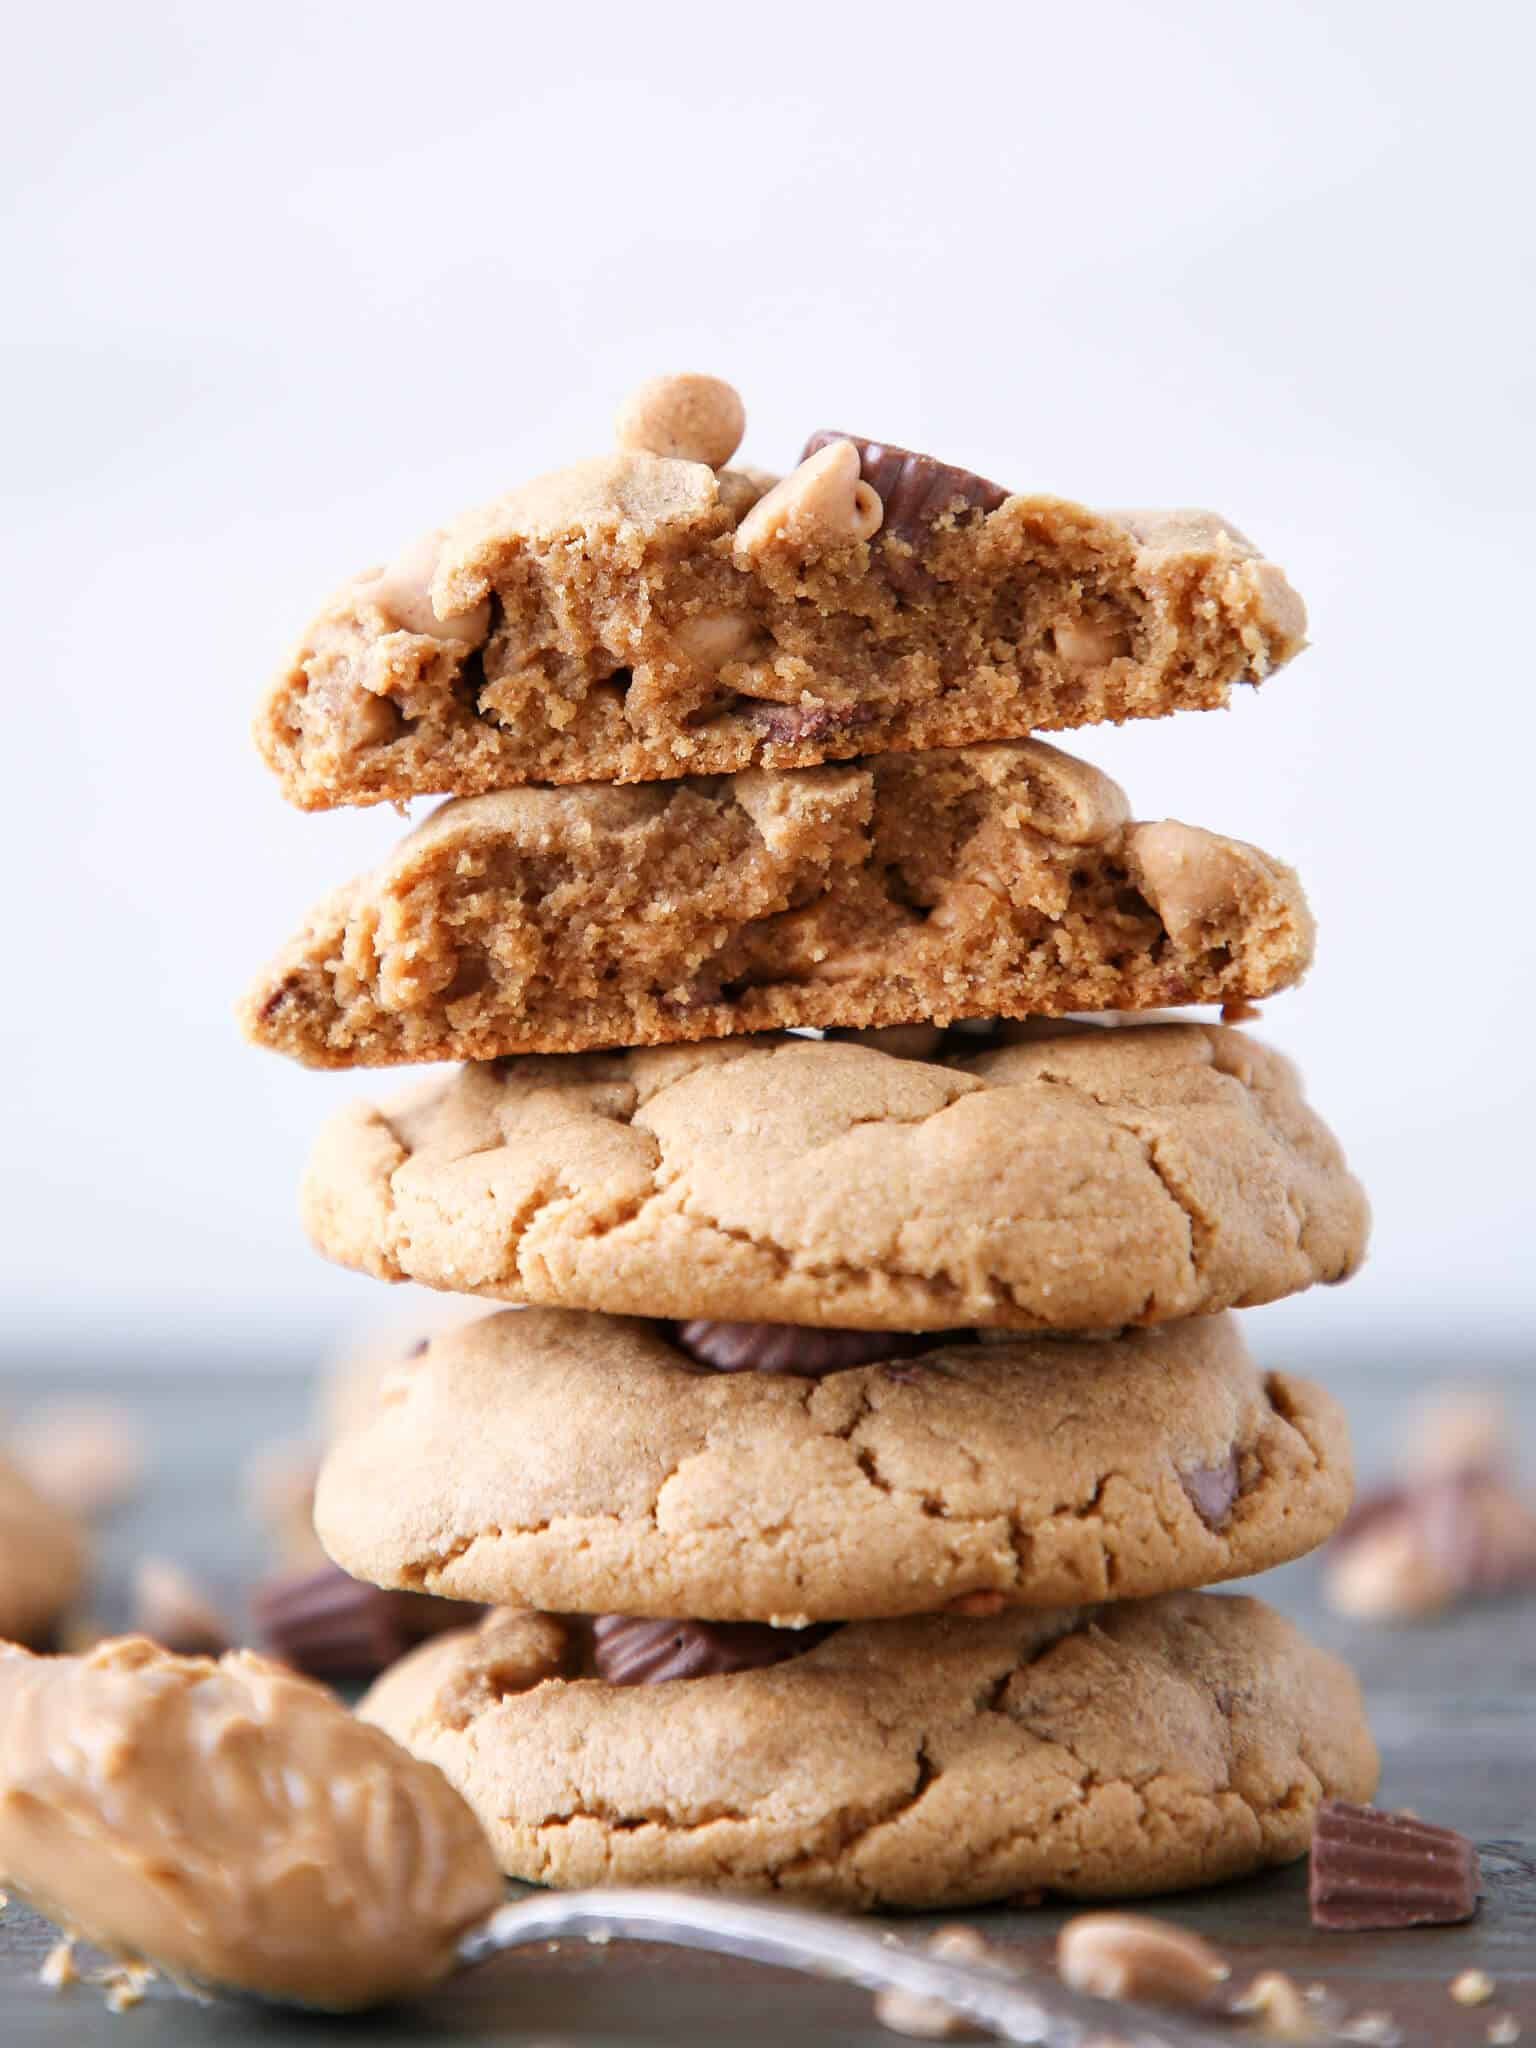
Chef Lindsey’s Recipe Tip
For the prettiest cookies, press a few extra mini Reese’s and peanut butter chocolate chips to the tops before baking.
Frequently Asked Questions
Store these cookies at room temperature for up to a week or in the freezer for several months. I prefer to freeze the baked cookies because the dough can get a bit crumbly when frozen.
These chewy peanut butter cookies ship very well! They arrive moist and chewy with very minimal damage.
There is no need to chill these cookies prior to baking! Just mix, roll and bake!
I prefer to freeze the baked cookies rather than the dough, because the dough can get a bit crumbly when frozen.
If you tried this recipe and loved it please leave a 🌟 star rating and let me know how it goes in the comments below. I love hearing from you; your comments make my day!
Reese’s Peanut Butter Cookies
Ingredients
- 1 cup no-stir peanut butter I use Jiff
- 1 egg
- ½ cup dark brown sugar loosely packed
- ½ cup granulated sugar
- 1 teaspoon baking soda
- ½ cup mini Reese’s peanut butter cups
- ¼ cup Reese’s peanut butter chips
Instructions
- Preheat oven to 350°F and line baking sheets with parchment paper.
- Add peanut butter, egg, both sugars, and baking soda in a bowl and mix with a hand mixer until well blended but not light and fluffy, about 1-2 minutes. Stir in chips and mini Reese’s cups.
- Scoop 2” cookie scoop sized balls of dough onto baking sheet, or simply divide the dough into 8 portions. Roll into balls and place them 2 inches apart on prepared baking sheets.
- Bake 11-14 minutes until the edge are a golden brown and the centers have puffed and no longer look doughy. Let them cool on the cookie sheet before removing.
- Try not to eat them all in one sitting.
Notes
Nutrition
Before You Go
I hope you enjoyed this professional chef tested recipe. Check out our other delicious cookie recipes!




I have made these so many times. My favorite!!! Thank you!
Hi Kimberly! I’m so happy to hear that, they’re one of my faves as well!