This post may contain affiliate links. Please read our disclosure policy.
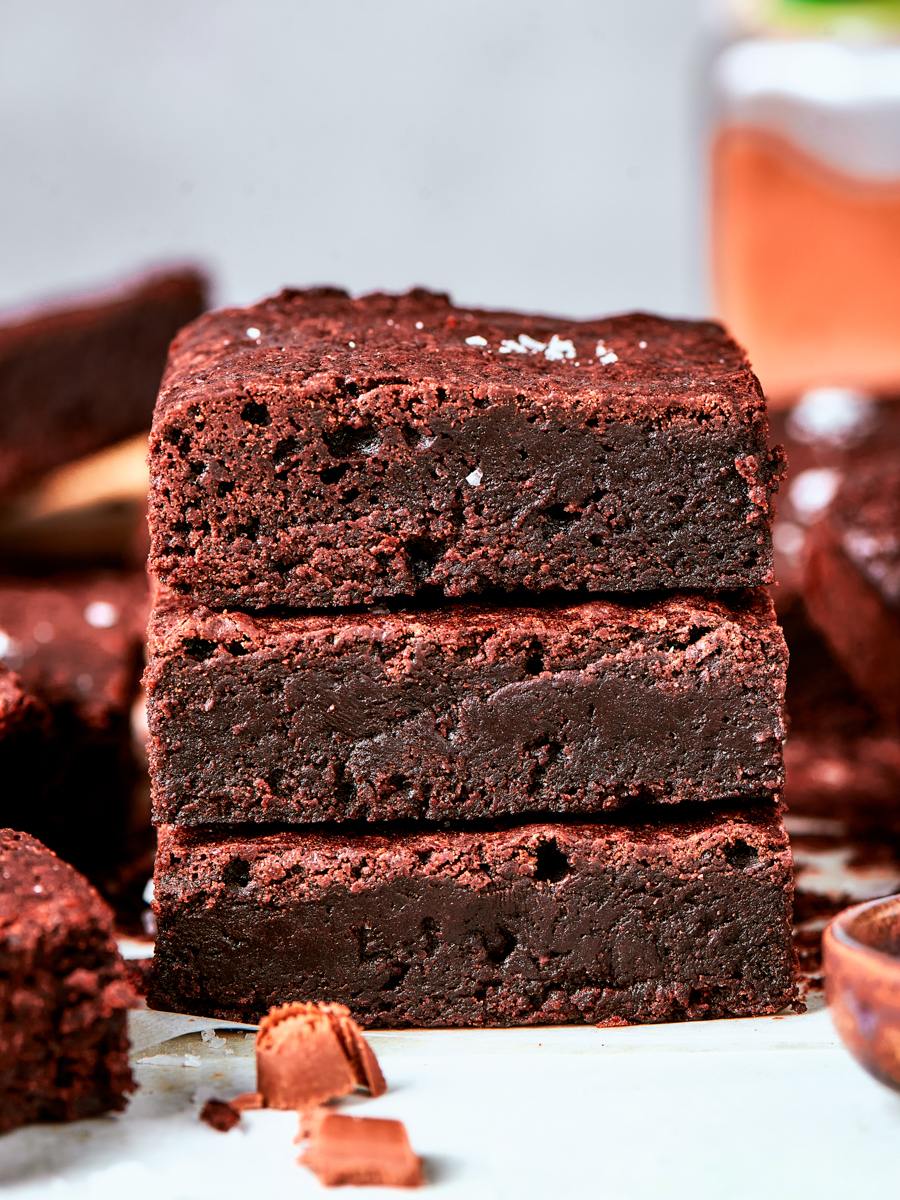
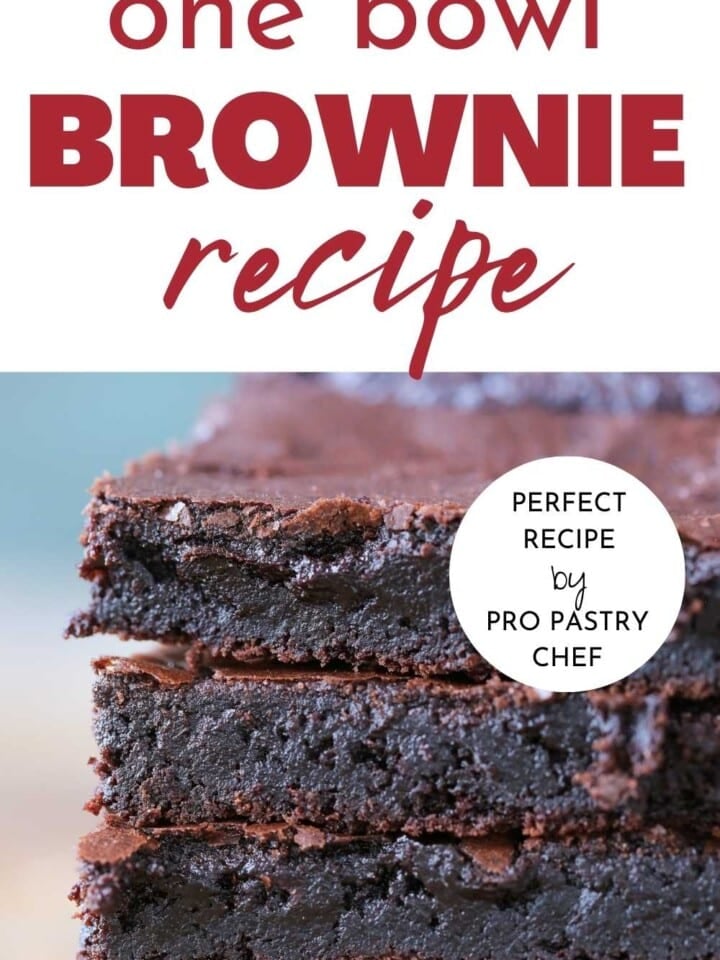
One bowl brownies are exactly what they sound like: rich, chewy, deeply chocolatey, and made in a single bowl with no mixer required!
A Quick Look At The Recipe
This is a brief summary of the recipe. Jump to the recipe to get the full details.
Jump to RecipePrep Time
15 minutes
Cook Time
25 minutes
Cooling TimeCooling Time
20 minutes
Total Time
1 hour
Servings
24 brownies
Difficulty
Easy
Calories *
176 kcal per serving
Technique
Make batter, pour into prepared pan and bake!
Flavor Profile
Rich and fudgy brownies!
* Based on nutrition panel
I was skeptical that a one-bowl recipe could produce brownies this good, but the chewy center and crisp edges were exactly right. I followed the tip about not overbaking and pulled them at 25 minutes! This is the perfect recipe for when the brownie craving hits at night! ⭐⭐⭐⭐⭐
Lauren
Why This Recipe Works
- One bowl, minimal cleanup. Thats right a fudgy brownie using one bowl! If you want something just as easy but without the chocolate, my butterscotch brownies are the perfect solution.
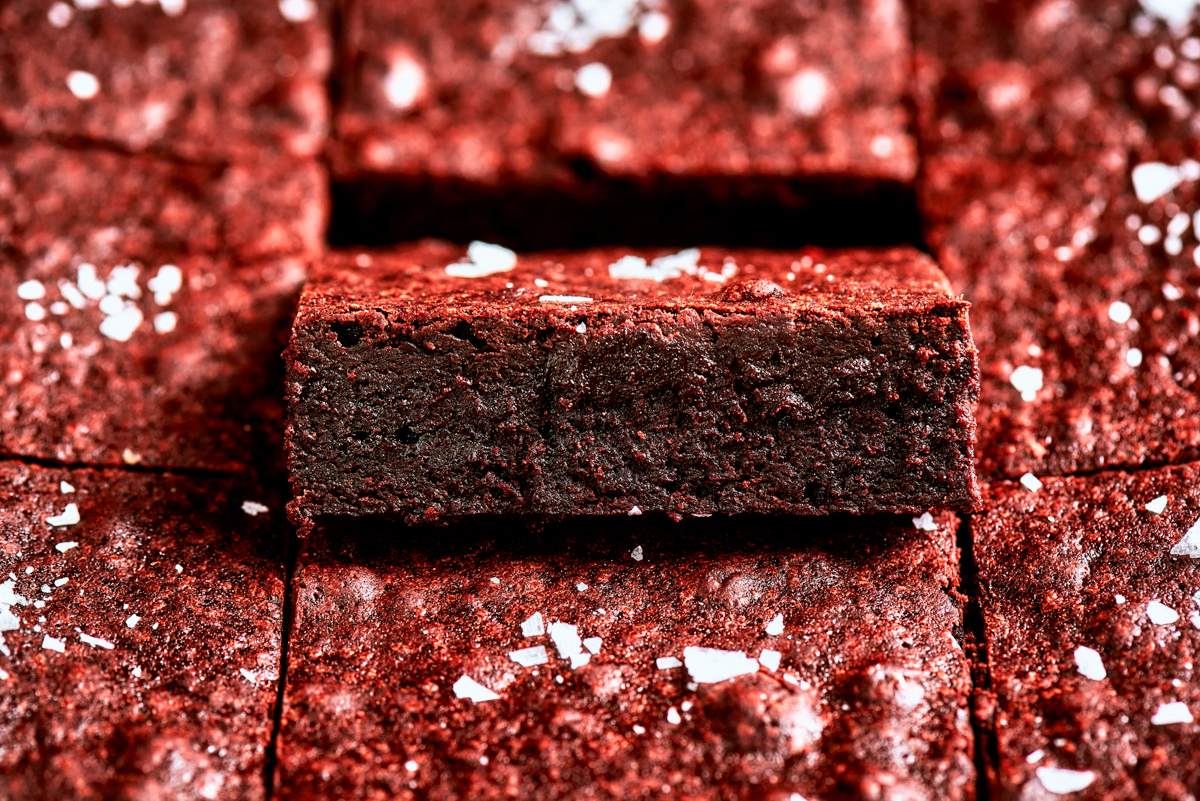
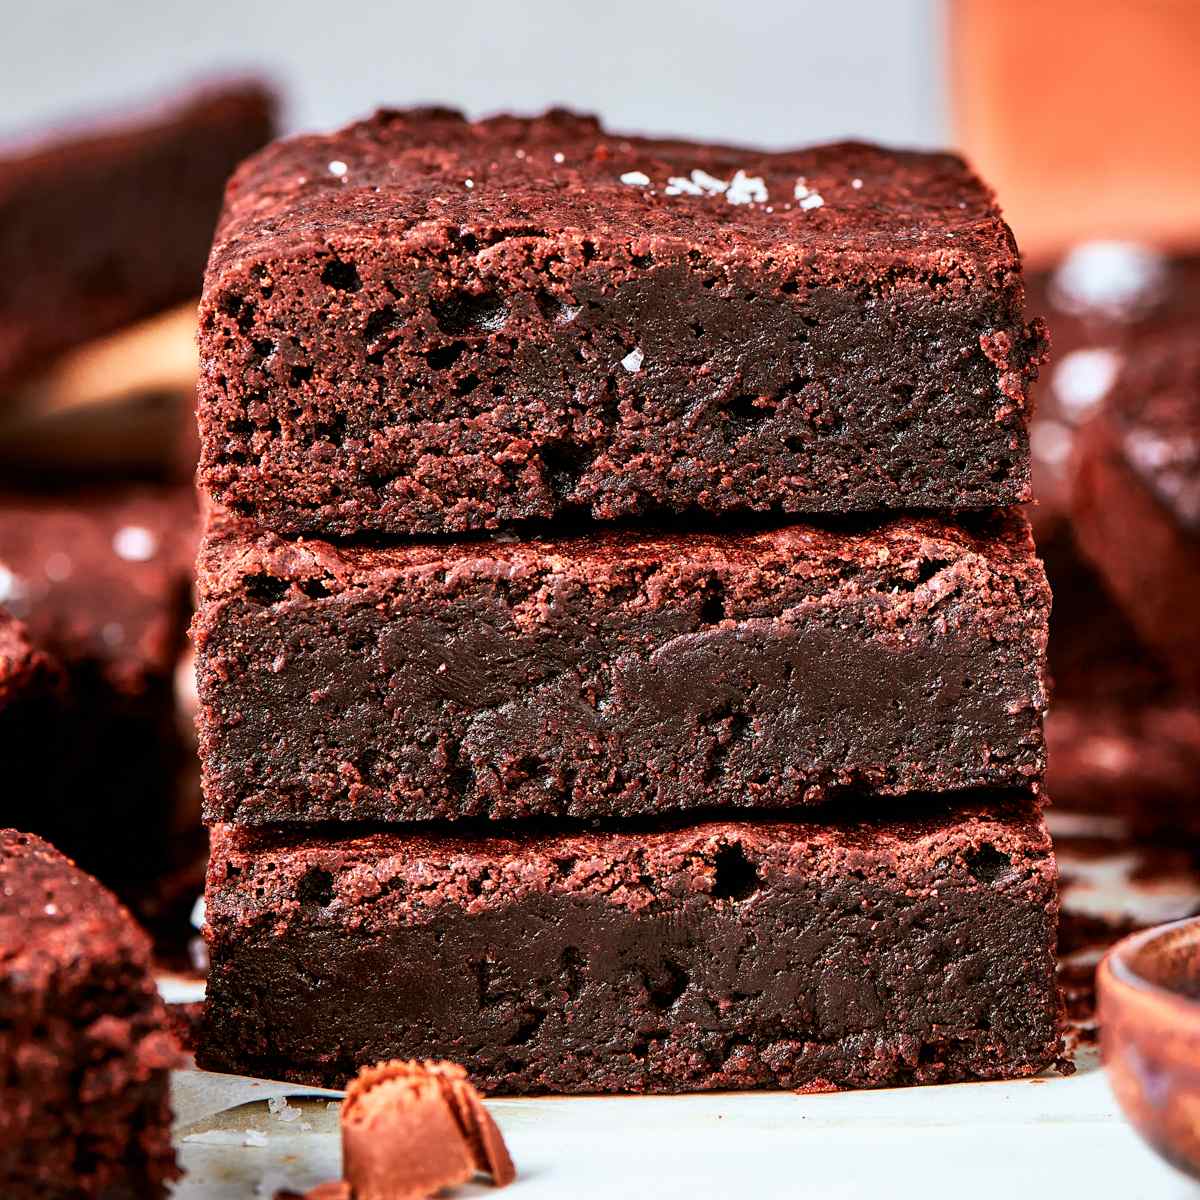
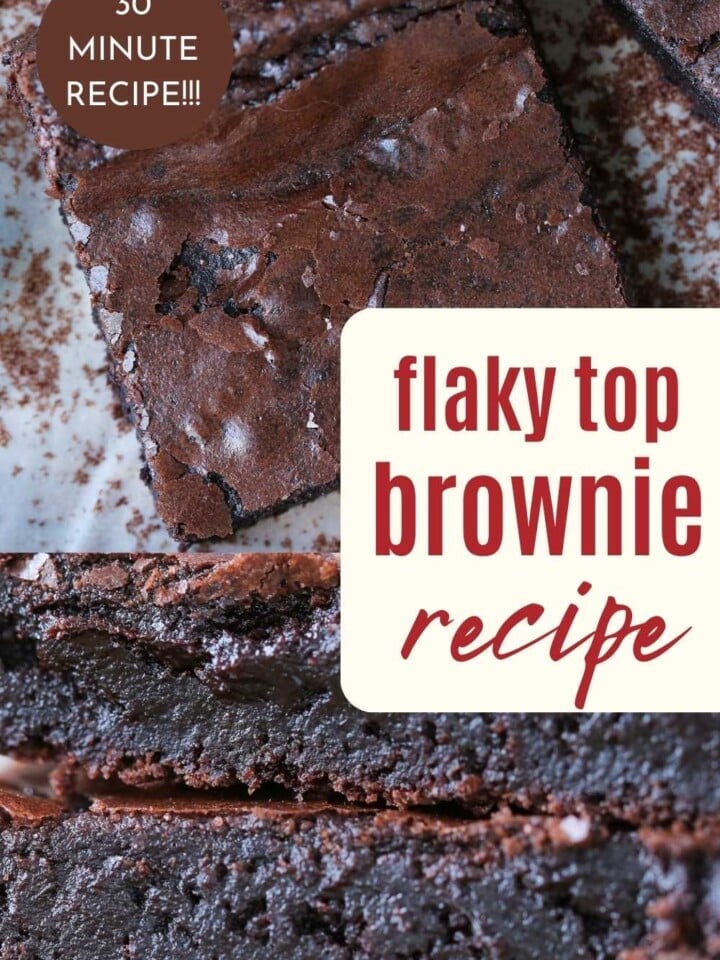
- Chewy center, crisp edges every time. The ratio of butter to sugar to eggs is calibrated specifically for texture. These brownies stay chewy even after cooling completely, which is where many brownie recipes fall short.
- Rich chocolate flavor with depth. A small amount of coffee extract amplifies the chocolate without making the brownies taste like coffee. If you love a deeply chocolatey brownie, this easy moist chocolate cake uses a similar approach to building flavor.
- Standard pantry ingredients, no specialty equipment. Melted butter, sugar, eggs, cocoa, and flour are the core. No stand mixer, no double boiler, nothing that requires planning ahead.
Table of Contents
I developed this one bowl brownie recipe as a weeknight staple: fast enough to make on a whim, reliable enough to bring anywhere. The goal was a brownie that baked up with a crackly top, chewy center, and crisp edges without requiring a second mixer bowl or a candy thermometer.
These brownies hold their texture for days, which I love, and the coffee extract adds a layer of flavor that makes them taste more complex than the ingredient list suggests. If you want to see the full depth of what a brownie can be, these brown butter brownies are one of my favorites, and I also have a fudgy brownie recipe if you prefer a denser, more intensely fudgy result.
Ingredients & Substitutions
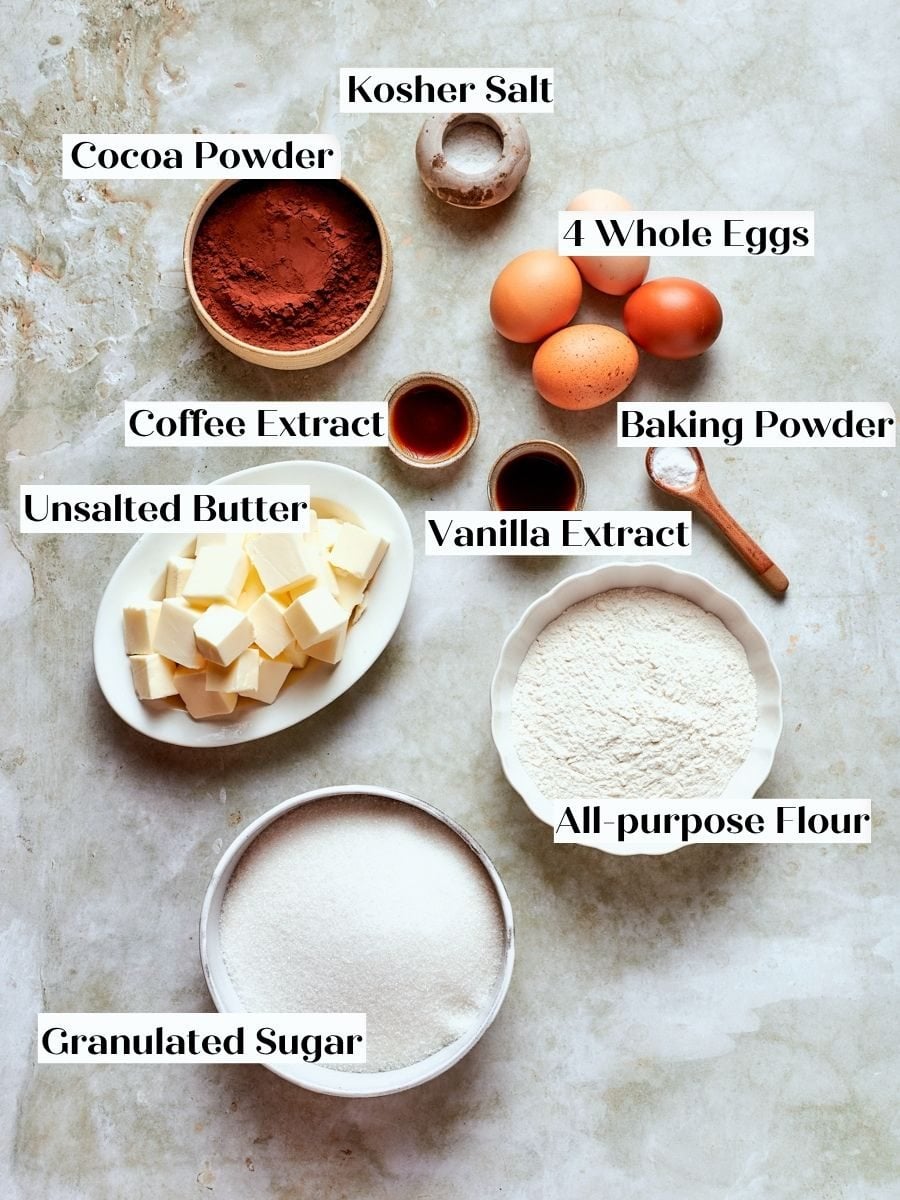
- Granulated Sugar: Sugar does more than sweeten here. Dissolved into the warm butter and beaten eggs, it creates that signature shiny, crackly top and keeps the brownies moist and chewy by slowing how quickly the starch and protein set during baking.
- Whole Eggs: Eggs are the primary structure builder, holding the high fat and sugar content together once baked.
- Coffee Extract: Coffee extract deepens the perceived chocolate flavor without making the brownies taste like coffee. It is highly concentrated, so the small dose is enough to add real depth without throwing off the liquid balance. If you do not have it, simply omit it or substitute an equal amount of vanilla extract. You could also whisk 1 tablespoon of instant espresso powder directly into the dry ingredients. I am particular about brands here: I typically use Nielsen-Massey but have recently tried and loved Watkins.
- Cocoa Powder: Cocoa is the primary chocolate component, delivering deep flavor without adding extra fat or sugar. Use the correct gram weight here. Its starch content lightly thickens the batter, and too much will make the brownies dry and crumbly. If you love an intensely chocolatey baked good, check out these [double chocolate chip cookies](https://cheflindseyfarr.com/triple-chocolate-chip-cookies!
- Baking Powder: A very small amount of lift helps keep the brownies from being overly dense or greasy. The quarter teaspoon is intentional. More would push them toward cakey territory.
See the recipe card for full information on ingredients and quantities.
Variations on This One Bowl Brownies
- Add some mix-ins. You can go crazy with your mix-ins! Fold in up to 1 cup of chocolate chips, butterscotch chips, Heath bar pieces, Reese’s Pieces, or chopped candy bars before the batter goes into the pan!
- Add a swirl! Swirl in some Nutella, cookie butter, jam, or peanut butter like these peanut butter brownies! You could also use slated caramel sauce like I do with my caramel brownie recipe!
- Add a topping! Top the cooled brownies with this peanut butter buttercream or you could go double chocolate with this chocolate buttercream frosting recipe! The milk chocolate ganache from these milk chocolate brownies would be a great way to elevate these!
Professional Tips
- Cool the butter slightly before adding the eggs. Hot butter will begin to cook the eggs the moment they hit the bowl, leaving you with streaks or, worse, scrambled bits in your batter. Let the melted butter sit until it no longer feels warm to the touch.
- Sift lumpy cocoa powder before adding it. Cocoa clumps stubbornly and does not fully disperse in a whisked batter the way it would in a creamed one. Lumps that make it into the batter bake into dry, bitter pockets. If your cocoa looks at all clumped in the bag, sift it.
- Pull the pan when the center still jiggles. Bake at 325°F convection or 350°F conventional, and start checking at 22 minutes. The brownies are done when the center puffs slightly and moves like Jello when you gently shake the pan. An overbaked brownie will look set all the way through, and it will slice clean and taste dry.
How to Make One Bowl Brownies
Use these instructions to make fudgy, chewy one bowl brownies every time! Further details and measurements can be found in the recipe card below.
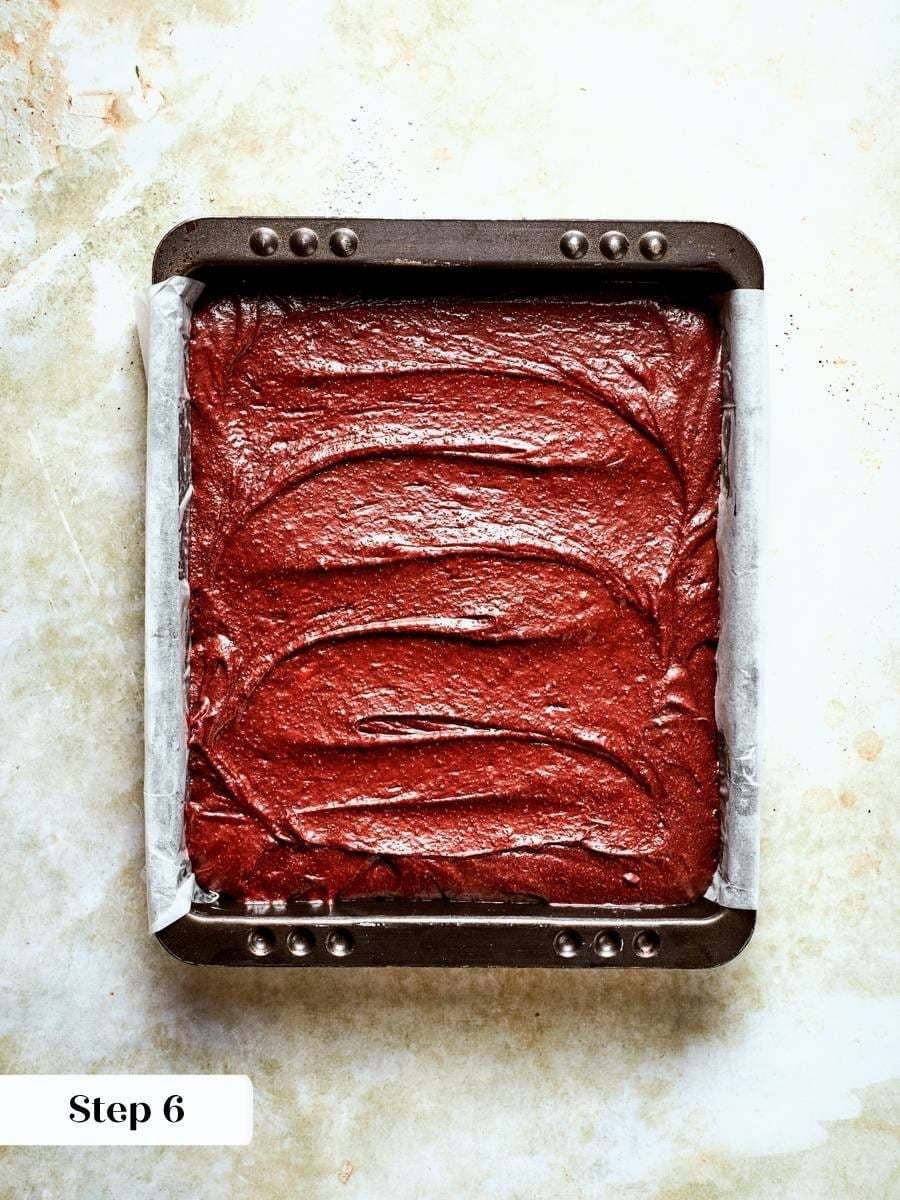
Step 1: Prepare the pan and preheat the oven. Heat the oven to 350°F, conventional, not convection. Spray a 9×13-inch pan, then line it with a single piece of parchment paper that runs lengthwise with a slight overhang on each side. Those overhanging edges act as handles, making it effortless to lift the whole slab out of the pan later.
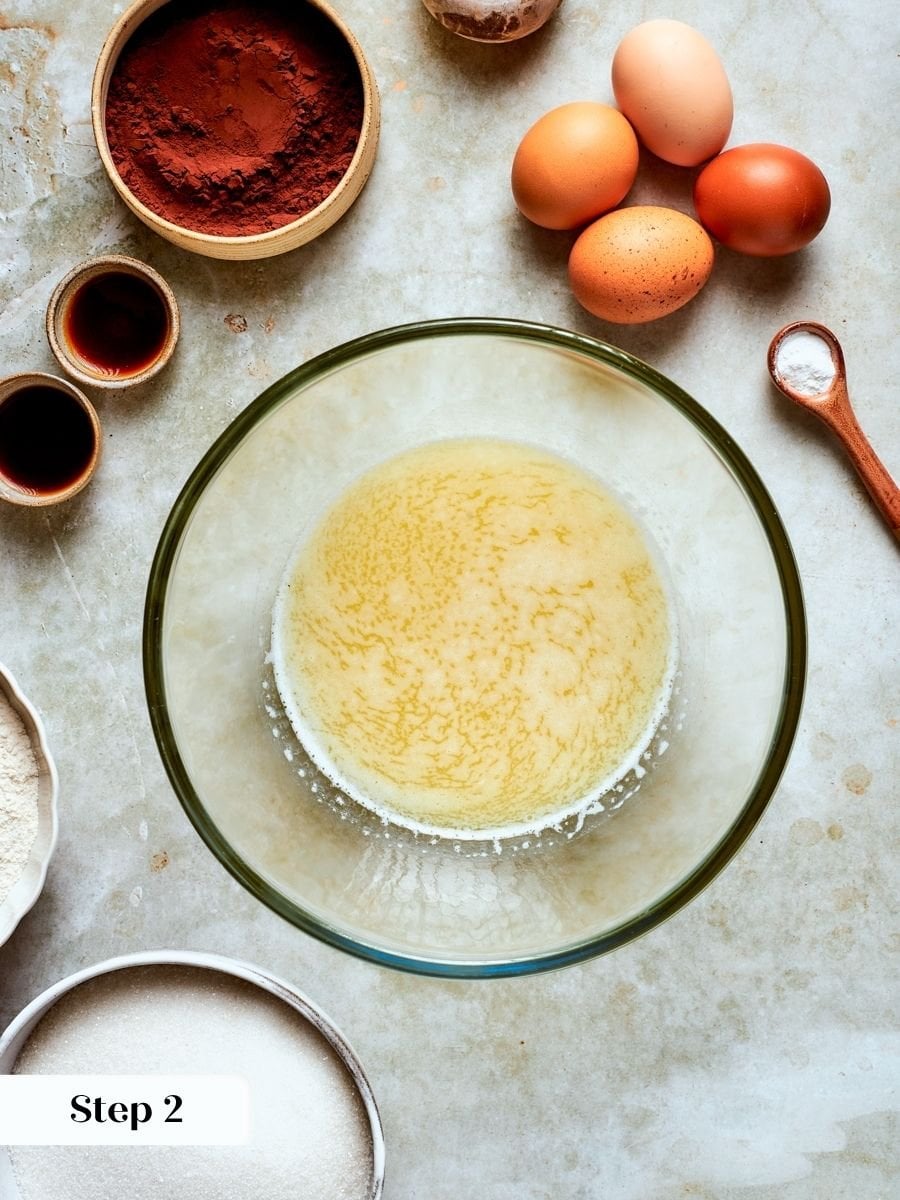
Step 2: Melt the butter. Melt the butter in a large heatproof bowl in the microwave in 30-second bursts, stirring between each, or set the bowl over a pot of barely simmering water. Either way, set it aside once melted. You want it warm, not hot, before the sugar goes in. (photo 1 above)
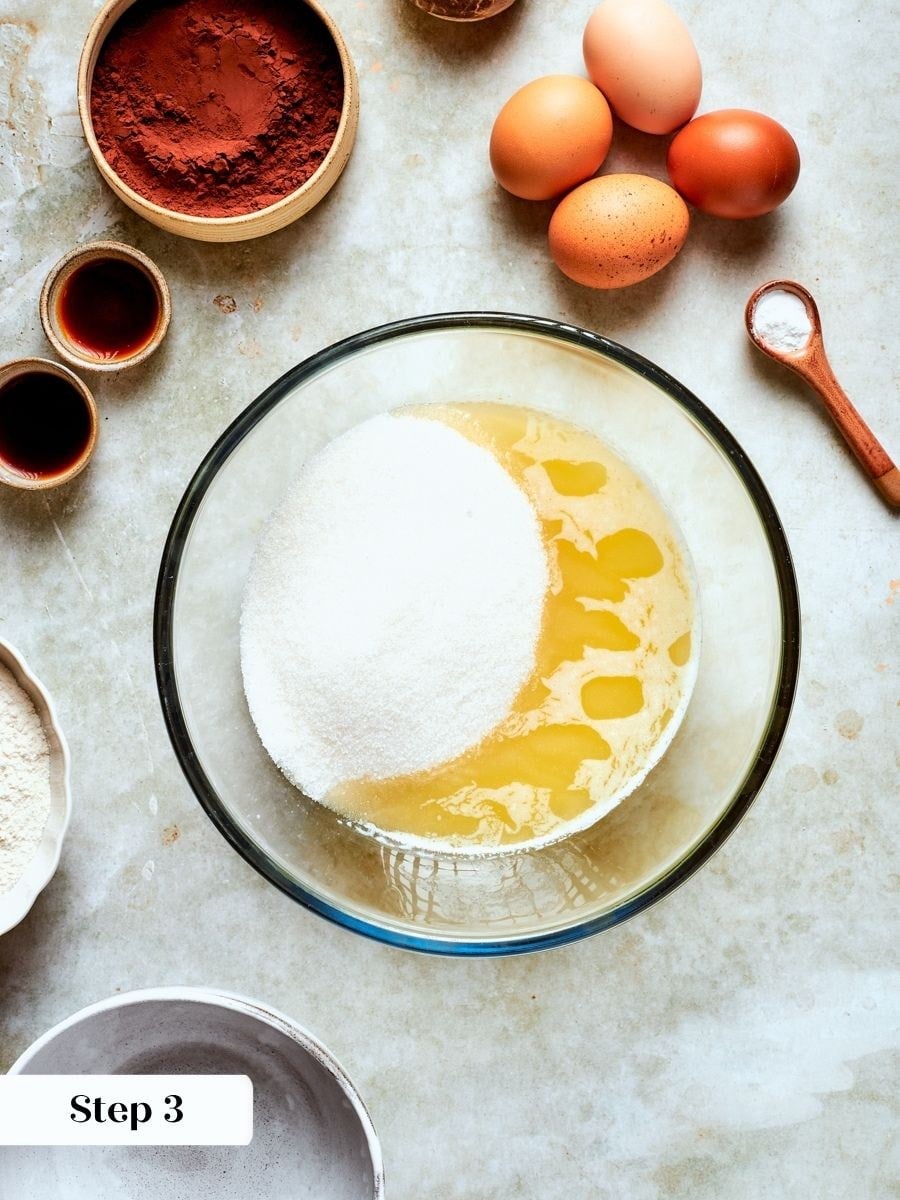
Step 3: Whisk in the sugar. Add the sugar directly to the bowl of melted butter and whisk vigorously until the mixture is smooth and fully combined. It will look grainy at first, then gradually come together into a thick, glossy paste as you keep whisking. (photo 2)
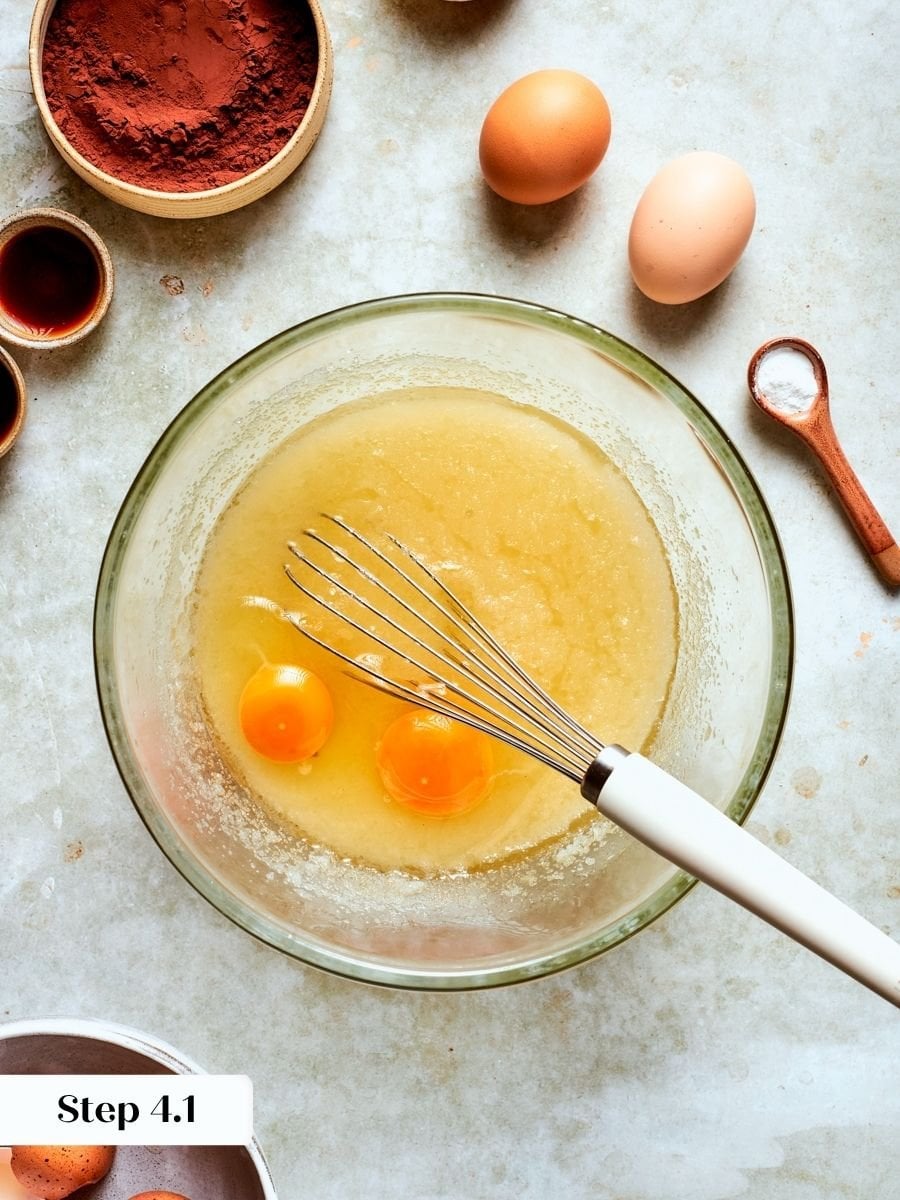
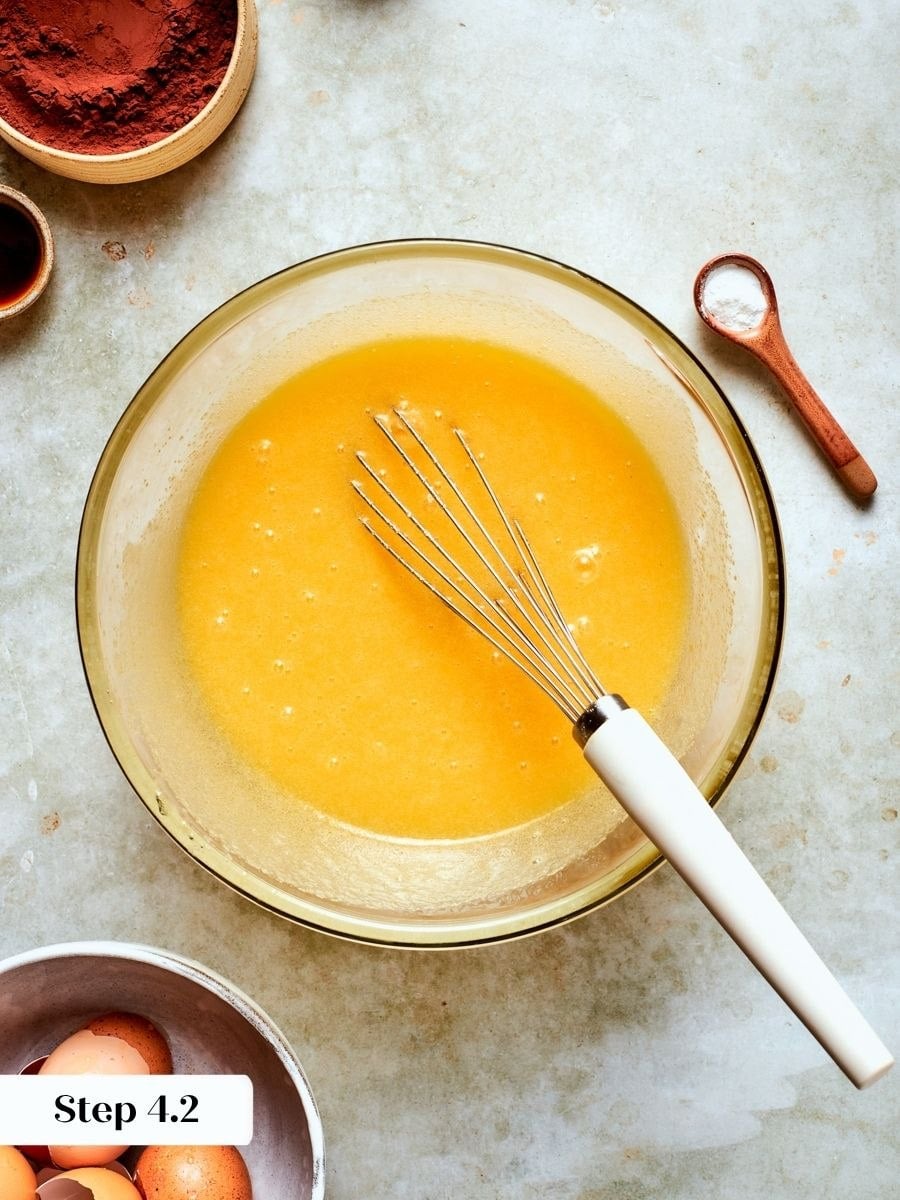
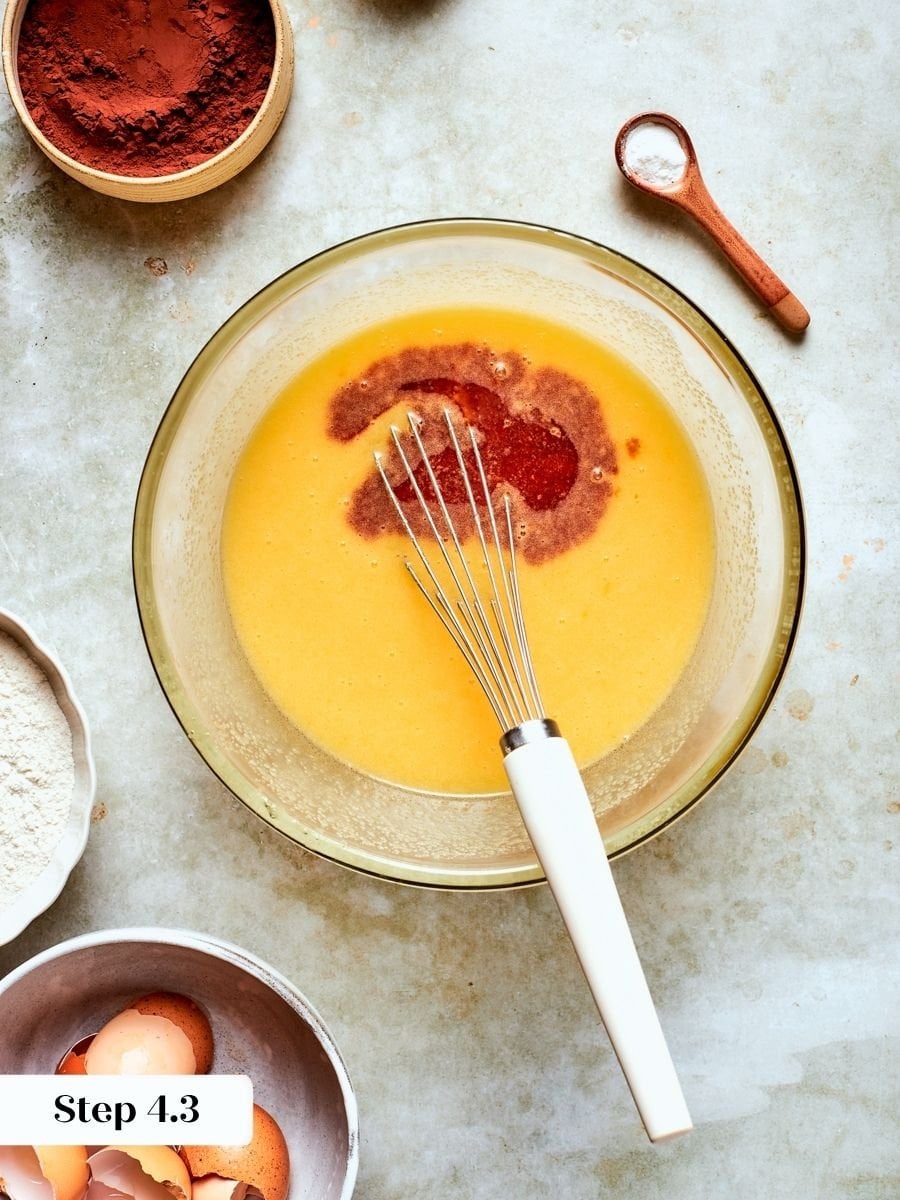
Step 4: Beat in the eggs and extracts. Whisk in the beaten eggs and extracts, and whisk. Keep whisking until the mixture looks uniform and slightly lightened. (photo 3-5 above)
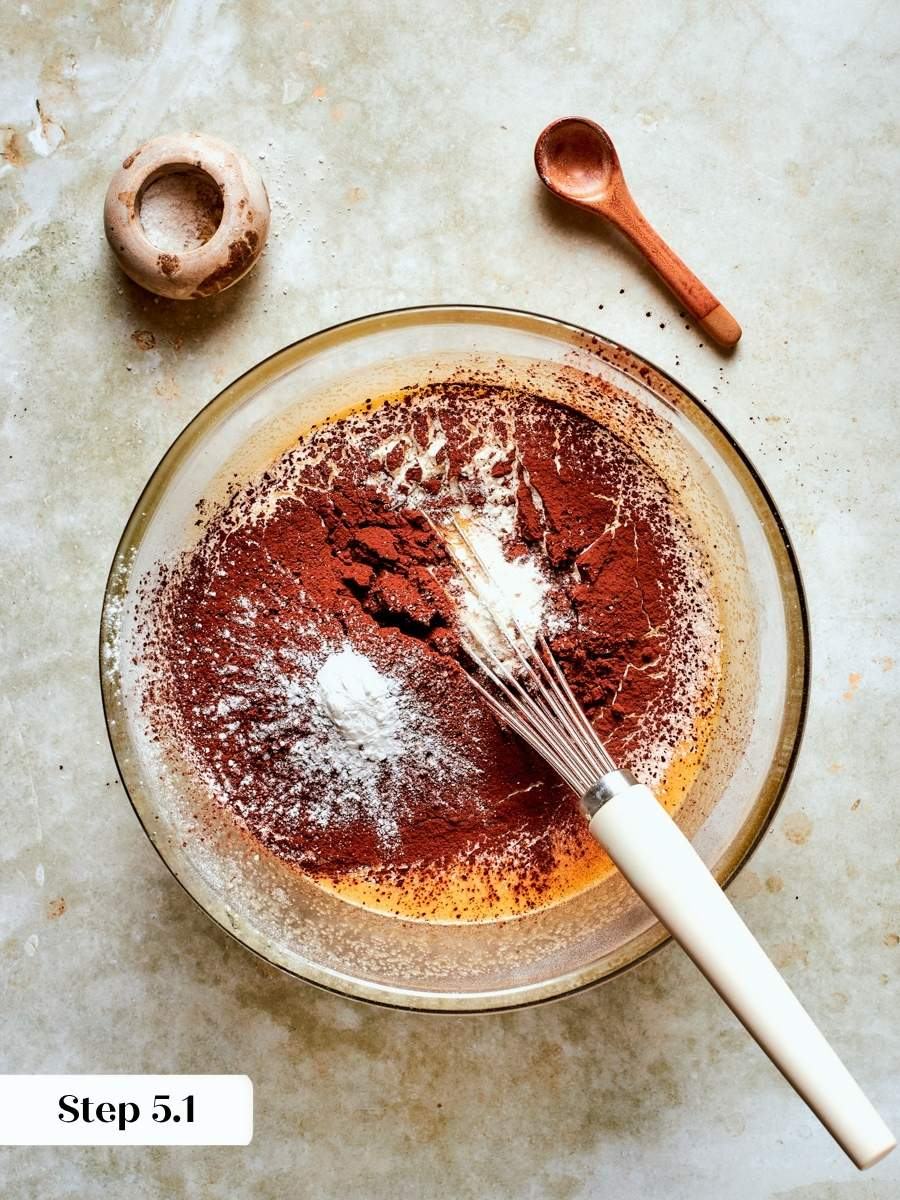
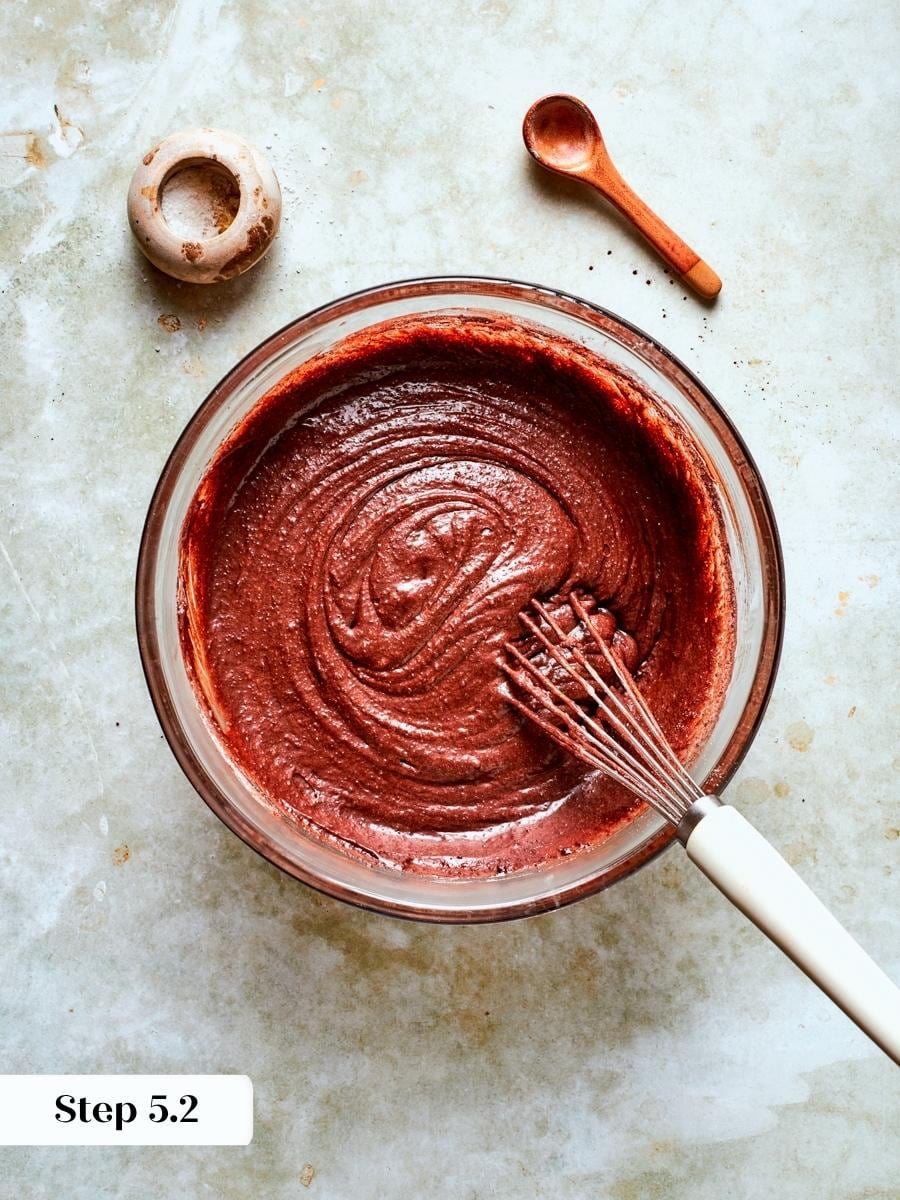
Step 5: Whisk the dry ingredients separately, then combine. Add the dry ingredients to the wet batter and whisk until no lumps remain. The batter will be thick, fudgy, and deeply dark. (photo 6 & 7)
I know this is called a one bowl recipe, but whisk the flour, cocoa powder, baking powder, and salt together in a separate bowl before adding them to the batter. Just because you can make something in one bowl does not mean you should. If your cocoa powder has any lumps, sift it before whisking.
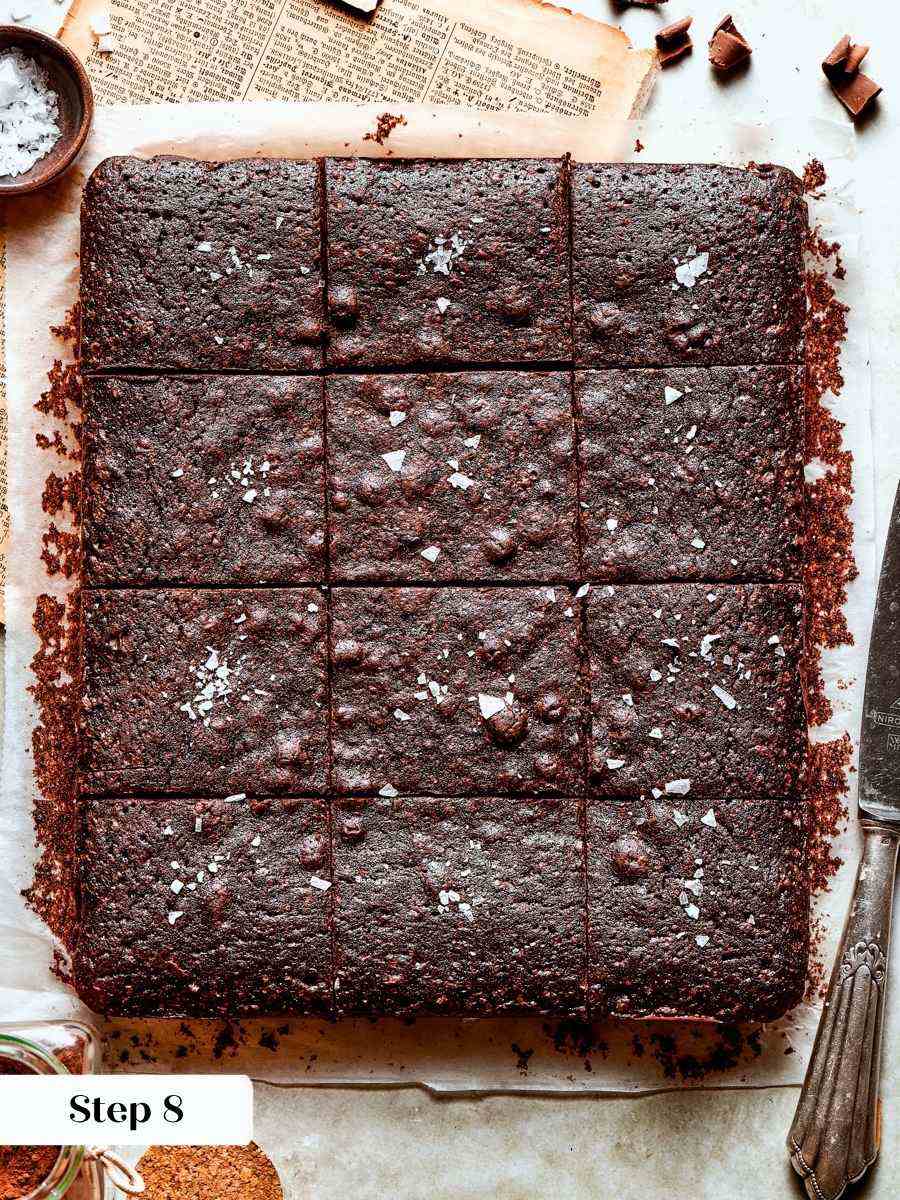
Step 6: Bake the brownies. Pour the batter into the prepared pan and spread it into an even layer. Bake at 350°F in a conventional oven for 22 to 25 minutes. Start checking at 22 minutes. The brownies are done when the center has puffed slightly and the whole pan jiggles like Jello when you give it a gentle shake. The center will look soft and matte rather than glossy and wet. (photo 8)
Step 7: Cool completely before slicing. Set the pan on a wire rack and let the brownies cool fully to room temperature in the pan. They will continue to set as they cool, and the chewy texture you are after develops during this rest. Do not rush this step.
For clean, sharp slices, wrap the cooled pan in plastic wrap and refrigerate for at least 2 hours before cutting. Slice with a large, sharp chef’s knife, wiping the blade between cuts. The cold brownies hold their edges and cut far more neatly than room-temperature ones.
Step 8: Remove and slice. Use the parchment overhang to lift the entire slab straight out of the pan onto a cutting board. Cut into squares with one clean downward press per cut rather than dragging the knife through the batter. (photo 9)
Chef Lindsey’s Recipe Tip
The name “one bowl brownies” is slightly misleading, and intentionally so: whisk the dry ingredients together in a separate bowl before you combine everything. Just because you can make something in a single bowl does not mean you should. Cocoa, flour, baking powder, and salt need to be evenly distributed before they hit the wet ingredients, and a quick separate whisk is the only way to ensure that.
Recipe FAQs
The center should puff slightly and jiggle like Jello when you gently shake the pan. If the entire surface looks fully set with no movement, they have gone too far. Pull them earlier than feels comfortable and let the carryover heat finish the job while they cool in the pan.
Store cooled, sliced brownies wrapped individually in plastic wrap or in an airtight container. They will stay soft and chewy for a week at room temperature, up to 2 weeks in the refrigerator, or up to 2 months in the freezer. Keep in mind that once they are wrapped or sealed, the crisp edges will soften slightly, which is the trade-off for extended freshness.
Yes, and they actually slice better when made a day ahead. Cool the brownies completely to room temperature, then wrap the whole pan and refrigerate for at least 2 hours before cutting. Use a large, sharp chef’s knife and slice in one clean downward motion for neat edges.
The combination of melted butter and the specific ratio of eggs to flour is what drives the texture here. Melted butter does not incorporate air the way creamed butter does, which keeps the crumb dense and fudgy rather than light. The eggs are beaten until fully smooth, which builds just enough structure to hold the high fat and sugar content together without pushing the brownies toward cake.
Recommended Bar Recipes
Brownies & Bars Recipes
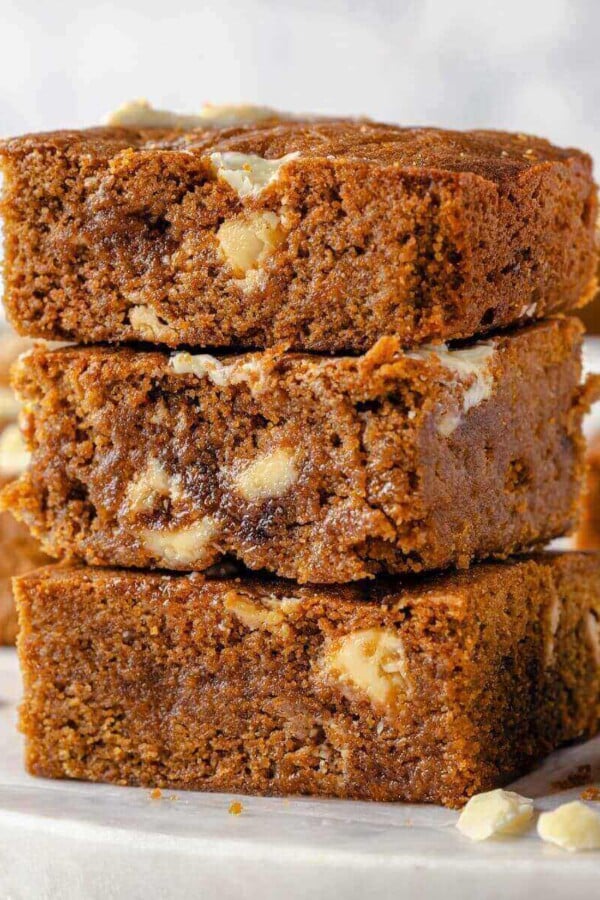
Butterscotch Brownies
Brownies & Bars Recipes
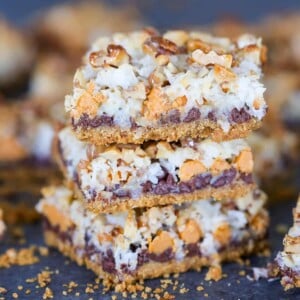
Salted Caramel Bars
Brownies & Bars Recipes
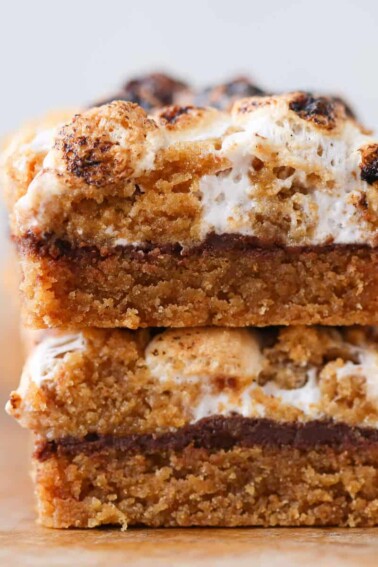
Soft Chewy Smores Crumble Bars
Brownies & Bars Recipes
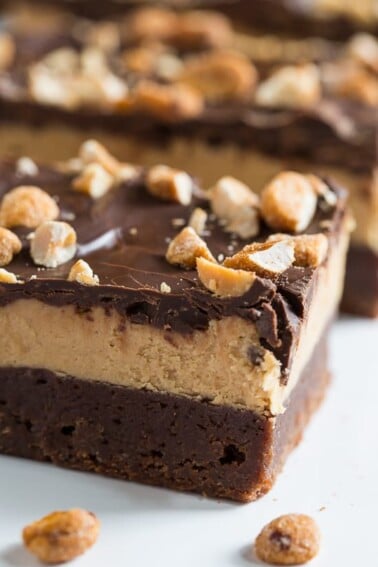
Chocolate Peanut Butter Bars
If you tried this recipe and loved it please leave a 🌟 star rating and let me know how it goes in the comments below. I love hearing from you; your comments make my day!
One Bowl Brownies
Ingredients
- 1 cup unsalted butter melted and cooled slightly
- 2 ¼ cups granulated sugar
- 4 whole eggs well beaten
- 1 teaspoon vanilla extract
- ½ teaspoon coffee extract
- 1 cup all-purpose flour
- ¾ cup cocoa powder
- ¼ teaspoon baking powder
- 1 ½ teaspoons kosher salt
Instructions
- Preheat oven to 350°F (conventional, not convection). Spray a 9×13 inch pan and line one side with parchment paper, leaving an overhang on the edges for easy removal.
- Melt butter in a large heatproof bowl and set aside to cool slightly while you measure the remaining ingredients.
- In a separate bowl, whisk together the flour, cocoa powder, baking powder, and salt until evenly combined. Set aside.
- Add the sugar to the bowl with the cooled melted butter and whisk vigorously until smooth.
- Whisk in the beaten eggs and extracts, beating very well until the mixture is uniform and slightly looser than before.
- Add the dry ingredient mixture to the wet ingredients and whisk until no lumps remain. If your cocoa powder is lumpy, sift it first.
- Pour the batter into the prepared pan and spread evenly. Bake for 22 to 25 minutes, until the center puffs slightly and jiggles like Jello when the pan is gently shaken.
- Cool completely in the pan. For clean slices, wrap the cooled pan and refrigerate for at least 2 hours, then cut with a large, sharp chef’s knife.
Video
Notes
Coffee extract: If you do not have coffee extract, omit it, substitute an equal amount of vanilla extract, or whisk 1 tablespoon of instant espresso powder into the dry ingredients. None of these options will make the brownies taste like coffee.
Storage: Store cooled, sliced brownies wrapped in plastic wrap or in an airtight container. They will keep soft and chewy for 1 week at room temperature, up to 2 weeks in the refrigerator, or up to 2 months in the freezer. Once wrapped or sealed, the crisp edges will soften slightly.
Nutrition
Before You Go
If these rich, fudgy brownies have you craving more, you will find plenty to love in the brownies & bars recipe, or just make these banana brownies next!


I was skeptical that a one-bowl recipe could produce brownies this good, but the chewy center and crisp edges were exactly right. I followed the tip about not overbaking and pulled them at 25 minutes! This is the perfect recipe for when the brownie craving hits at night!
This makes me so happy to read! That night-time brownie craving is exactly what these were built for! So glad they delivered! ~CLF team
Hi! I have a question before I try to make these… You mentioned 350°F for non-convection ovens, do you have a suggested temperature for convection ovens? Thanks!
Hi Flora! For a convection oven I recommend 325°F convection (about 25°F lower). Start checking on the early side of the 18–22 minute bake time, as convection browns faster. Happy baking!
Hello! I just made these and they smell delicious! My niece is a coach for a fencing team, and I made them for her to bring to her team. These were very easy to make, and if they are anything like your other recipes, I know they are going to be loved!
Hi Kerry! I can’t wait for your niece’s fencing team to have some! Thank you so much for taking a moment to leave me a comment, it made my day!