This post may contain affiliate links. Please read our disclosure policy.
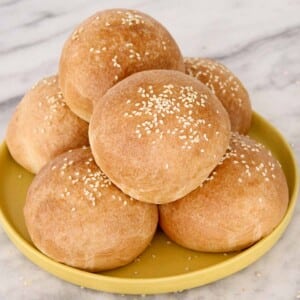
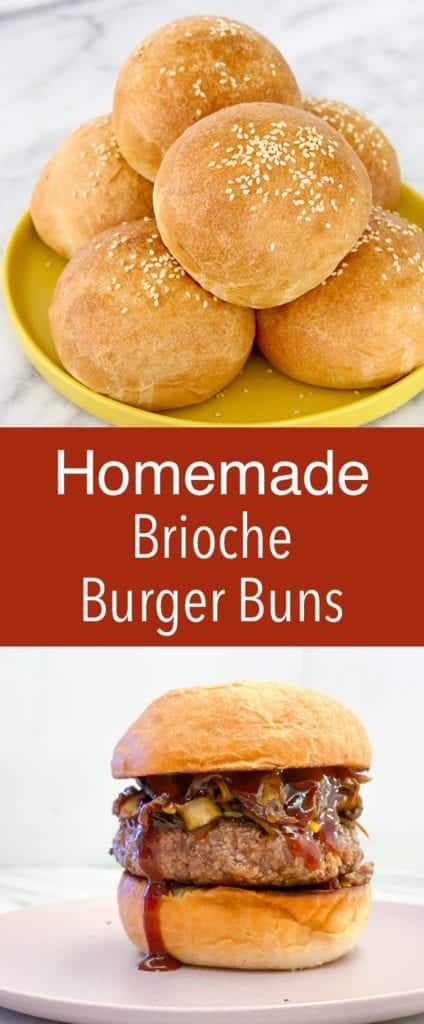
This Brioche Bun Recipe makes soft, buttery hamburger buns! An easy to follow recipe developed and perfected in a Manhattan steakhouse. These are the best buns for hamburgers, slow cooker bbq chicken sandwiches, or as an instant upgrade to any sandwich!
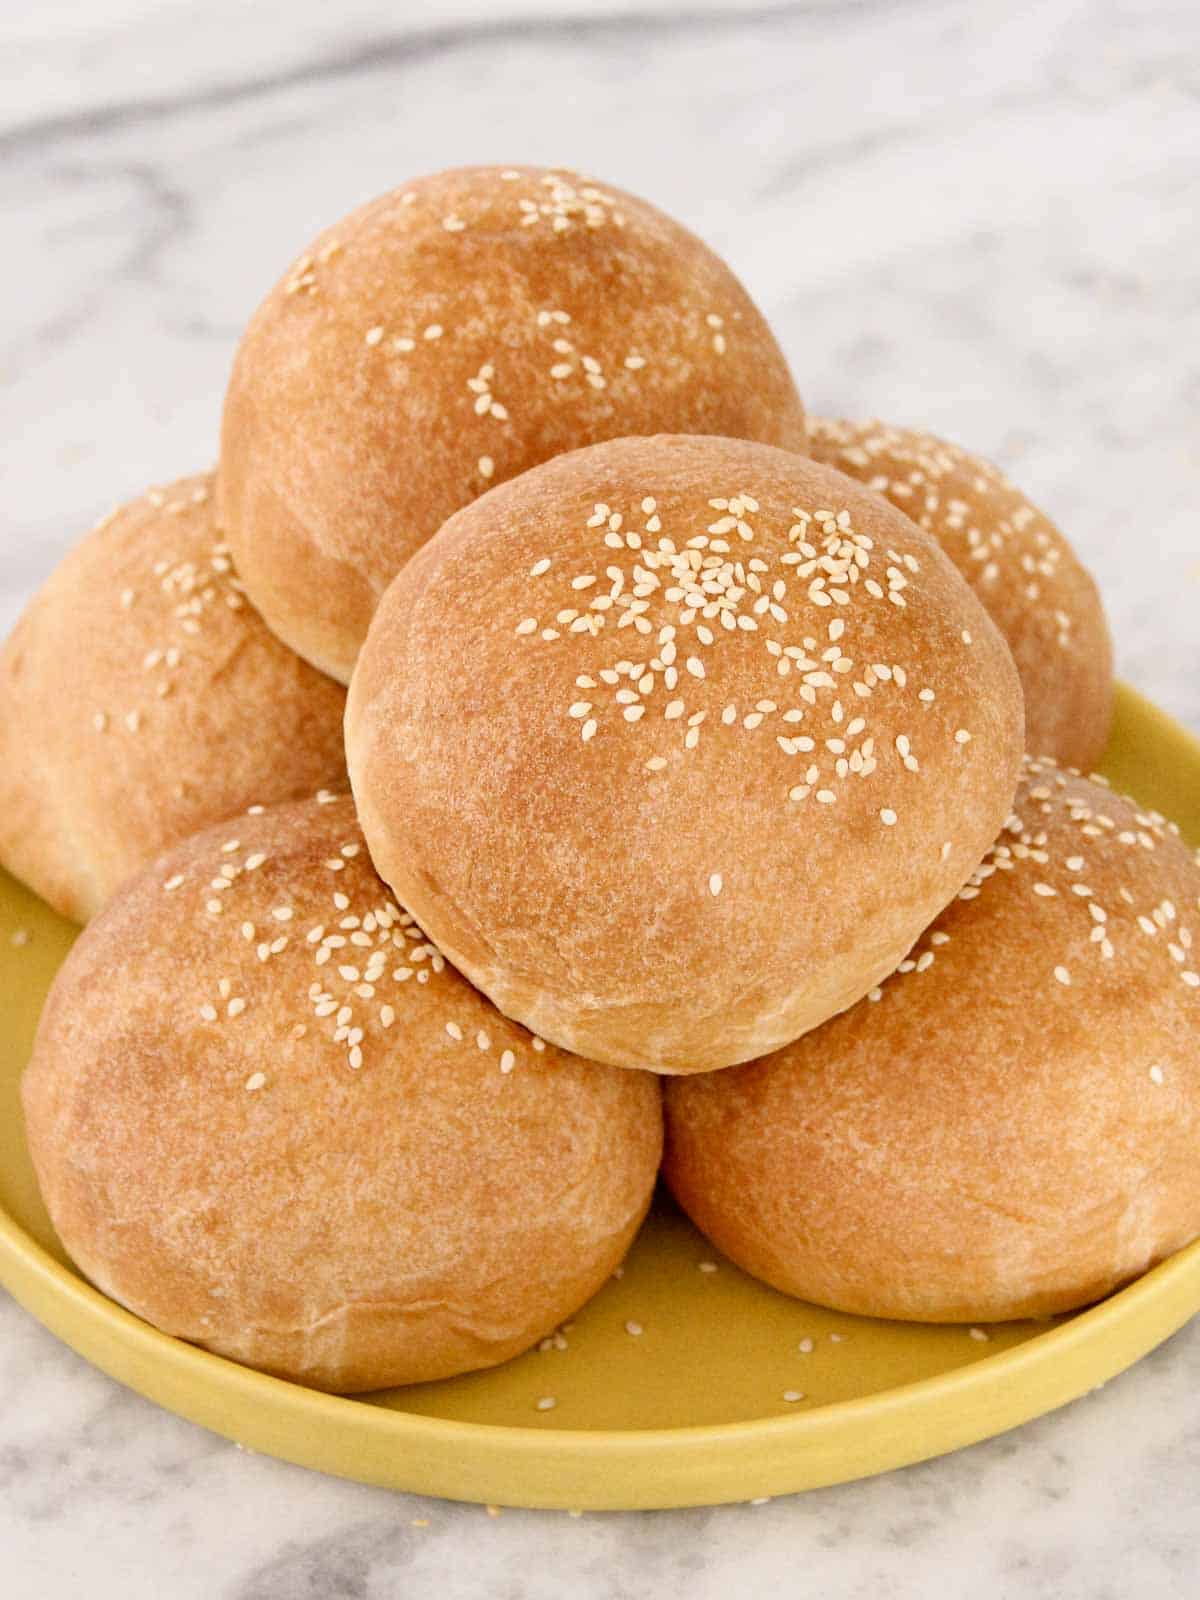
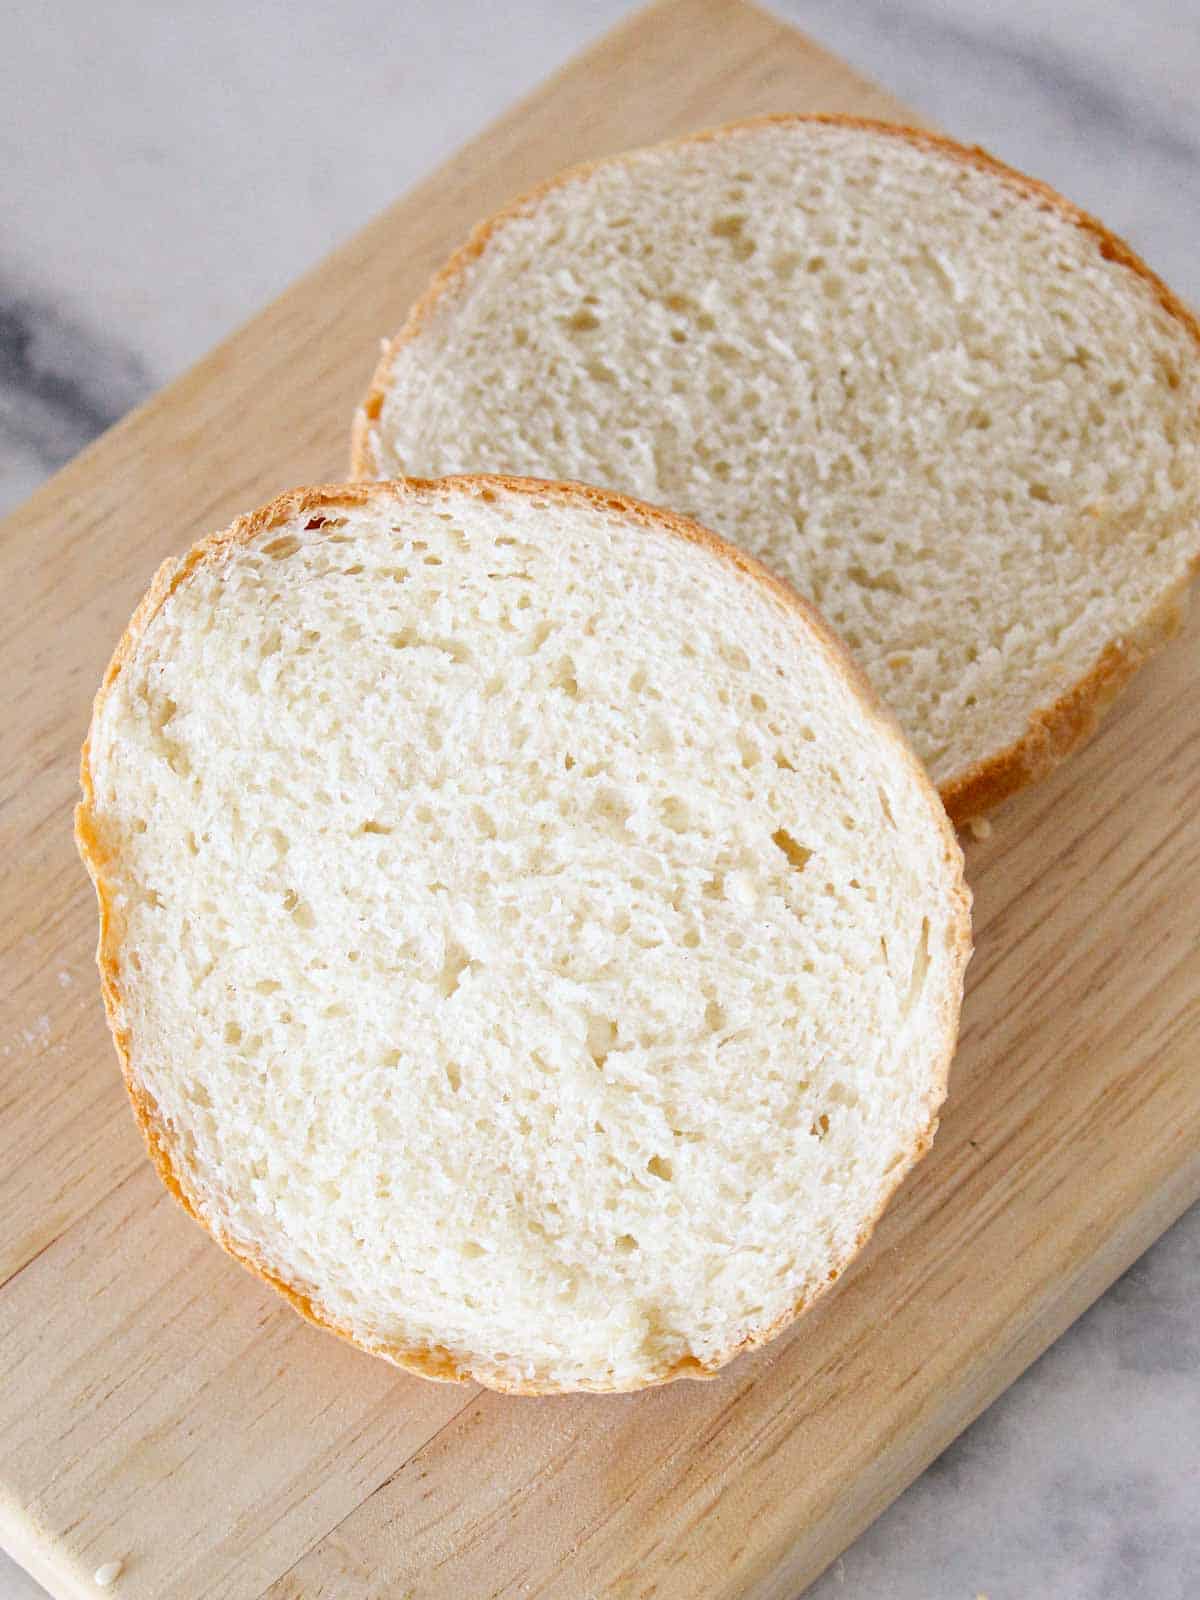
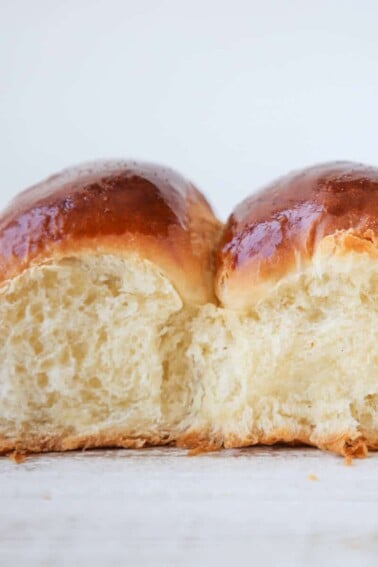
This professional brioche bun recipe makes soft, fluffy buns that are easier than you think! The flavor is perfectly buttery with just a hint of sweetness. They don’t use as much butter as my brioche bread recipe but they just as flavorful.
I’m not going to mention any names, but these brioche hamburger buns are the ones that we made every single day at a certain NYC steakhouse where I worked while I was in culinary school. They have been my favorite hamburger bun ever since. This is the bun to which I compare all other buns!
Table of Contents
Why You Will Love this Brioche Bun Recipe
- Developed in a NYC Steakhouse. They taste like they came out of a restaurant kitchen, because they did! Tested and perfected in a Manhattan steakhouse for the perfect (and easiest) bun.
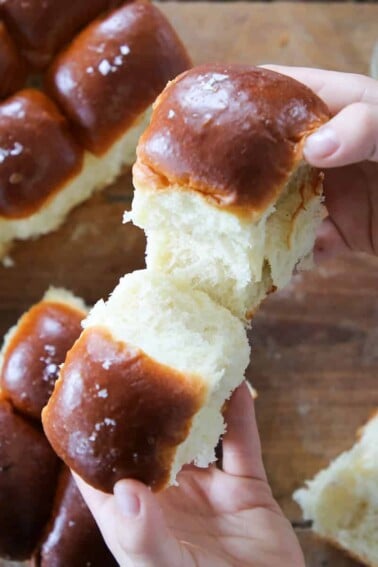
- Soft, tender buttery. The flavor is unparalleled! Just the right amount of butter and a hint of sweetness. The perfect backdrop for any burger or sandwich!
- An easy, versatile dough. Use this same dough to make excellent slider buns, dinner rolls, or hamburger buns! I give you instructions for all 3!
Ingredients
- Milk: I use whole milk for the flavor as well as the additional fat. Low fat or alternative milk will also work.
- Dry Active Yeast: I use dry active yeast because it is more consistent than instant yeast. The additional proofing time ensures the best flavor and gives the gluten network enough time to strengthen, so they can be the perfect mate to turkey sloppy joes!
- Granulated Sugar
- All-Purpose Flour: I use all-purpose flour because it has just enough gluten to provide a strong network but not enough to make the bread too chewy or tough. Bread flour will also work in this recipe but the texture will be a little less light.
- Unsalted Butter
- Kosher Salt: There is a significant amount of salt in this recipe. Be sure you are using kosher salt, which is less salty per teaspoon than table salt or sea salt because the granules are larger. The salt is essential for flavor and texture.
- Whole Egg: Brushing the tops of the buns with beaten egg will give it that classic burger bun shine. You can also brush them with butter before baking but the resulting buns will be more matte.
- Sesame Seeds: In the restaurant we used a mixture of black and white sesame seeds, but any seeds you have on hand will be lovely.
See the recipe card for full information on ingredients and quantities.
Professional Tips
- Consistency is key. An inexpensive kitchen scale will not only ensure you have the right amount of ingredients in the dough but also that each bun is the same size. Consistently sized buns will proof and bake at the same time.
- Don’t skip either proofing. It is tempting to skip the bulk proof (the first proofing), but resist the urge because that time is essential for developing the flavor and structure of the brioche bun dough.
- Measure by weight to easily scale this recipe up or down. You can make as large a batch as your mixer can hold with confidence. You can also divide the recipe in half to only make 4 burger buns or 18 sliders. I have made 40 quarts of this recipe in a commercial kitchen, so use a kitchen scale and bake with confidence.
How to Make Brioche Hamburger Buns
Use these instructions to make the perfect buns every time! Further details and measurements can be found in the recipe card below.
Make & Shape the Brioche Dough:
Step 1: In the bowl of a stand mixer whisk together active dry yeast, warm milk (warmed to between 100 – 110°F) and sugar. Allow to sit, undisturbed, for about 10 minutes until bubbly.
Step 2: To the yeast mixture in the mixer bowl add flour, butter and salt. Mix with paddle attachment to combine then switch to the dough hook and mix on medium to develop gluten. Mix until smooth dough forms. It will pull away from the sides of the bowl and the surface will be smooth and slightly glossy.
You can also develop the gluten first and then add the butter. This will decrease the total mixing time because butter inhibits gluten formation. Once a smooth dough forms, reduce mixer speed to low and add the butter all at once. Once the butter works in completely and there are no visible pieces or streaks of butter, proceed to step 3!
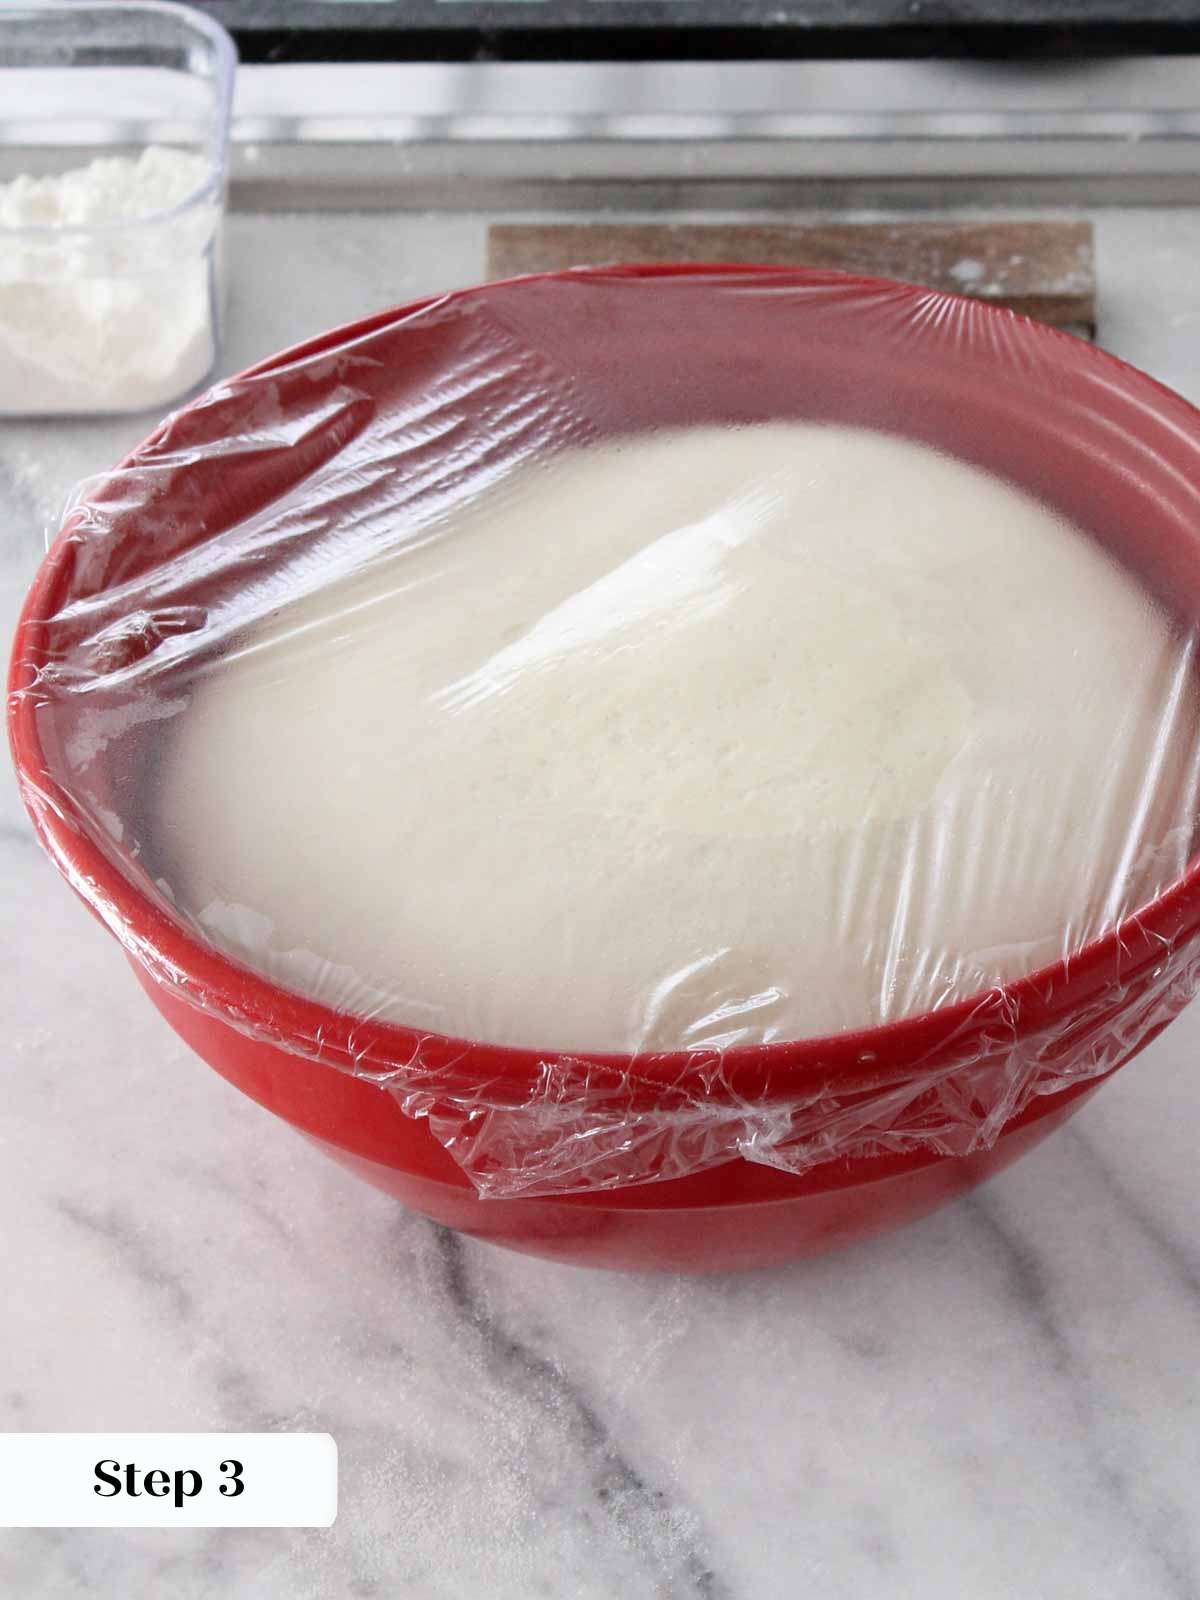
Step 3: Place in large bowl coated with cooking spray or lightly oiled. Cover the bowl with plastic wrap and proof in a warm spot until double in size. This will take approximately 1 – 1.5 hours.
Step 4: For burger buns divide into 110 – 115 g pieces, or just eye-ball eight pieces. Slider buns or rolls should be between 45-50g and hotdog buns should be between 75-85g. This recipe will yield 8 hamburger buns, 36 slider buns or 22 hotdog buns.
Step 5: Shape the dough: Take each piece and fold the four corners into the center. Flip it over (seam side down) onto an un-floured surface. Let the natural stickiness work with you here. Roll in the palm of your hand without letting the dough roll around, tighten it into a ball. Use your thumb to press the dough under itself and then pull back towards you with your other fingers. Tightening until the surface is smooth and the ball stands up tall and proud on the counter.
If the surface begins to crack during shaping, then they are too tight! Continuing to shape will only make the gluten contract more. Just shape the next one less! The ideal amount of shaping makes a dough ball that sits up tall on the counter and has a smooth top surface.
Step 6: Place on parchment paper lined baking sheet about 3 inches apart. Spray the surface of plastic wrap with non-stick cooking spray and cover the dough directly on the surface.
Final Proofing & Baking:
Step 7: Final Proofing: Let the dough rise in a warm spot until they feel light and airy when gently squeezed. They will be a bit more than doubled, approximately 30-45 minutes depending on the heat of your kitchen.
Using plastic wrap or a reusable option will lock in the moisture during the proofing process. This keeps the top of the dough from drying out. If you must use a towel, dampen it.
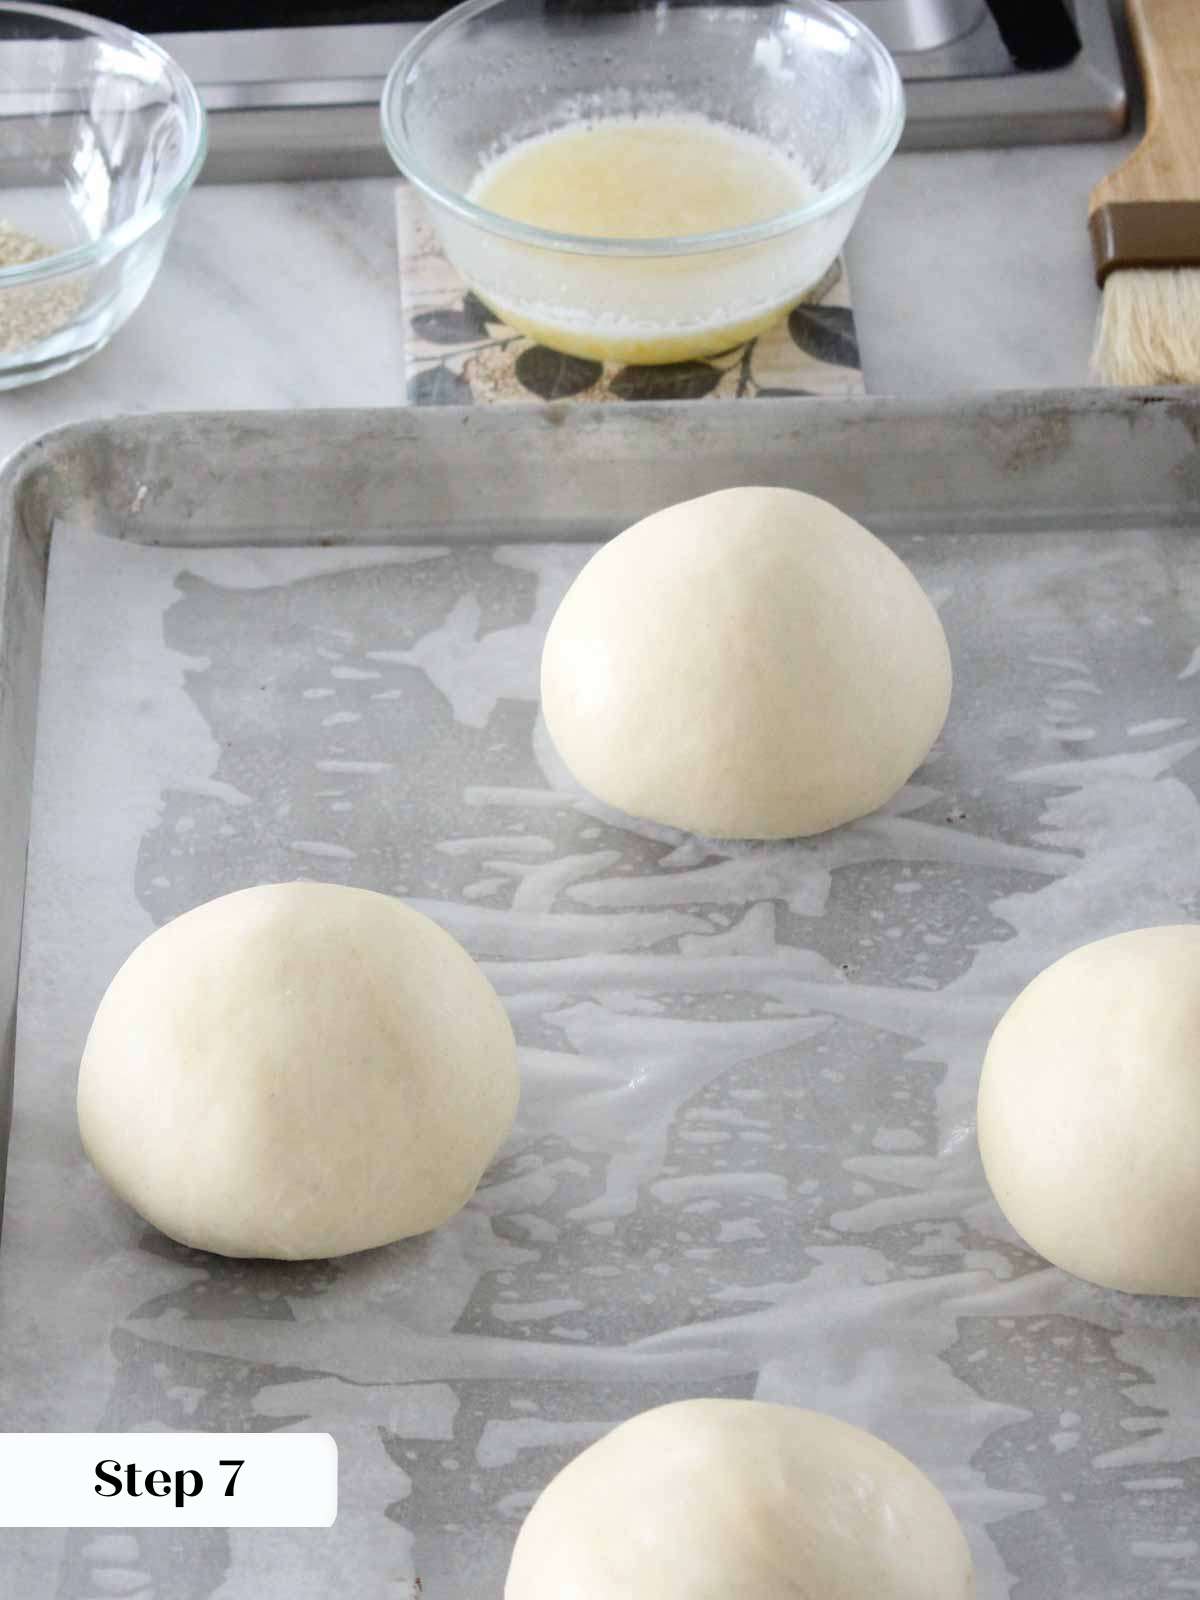
Step 8: Pre-heat the oven to 350°F convection (with the fan) or 375°F conventional (no fan) while the buns proof.
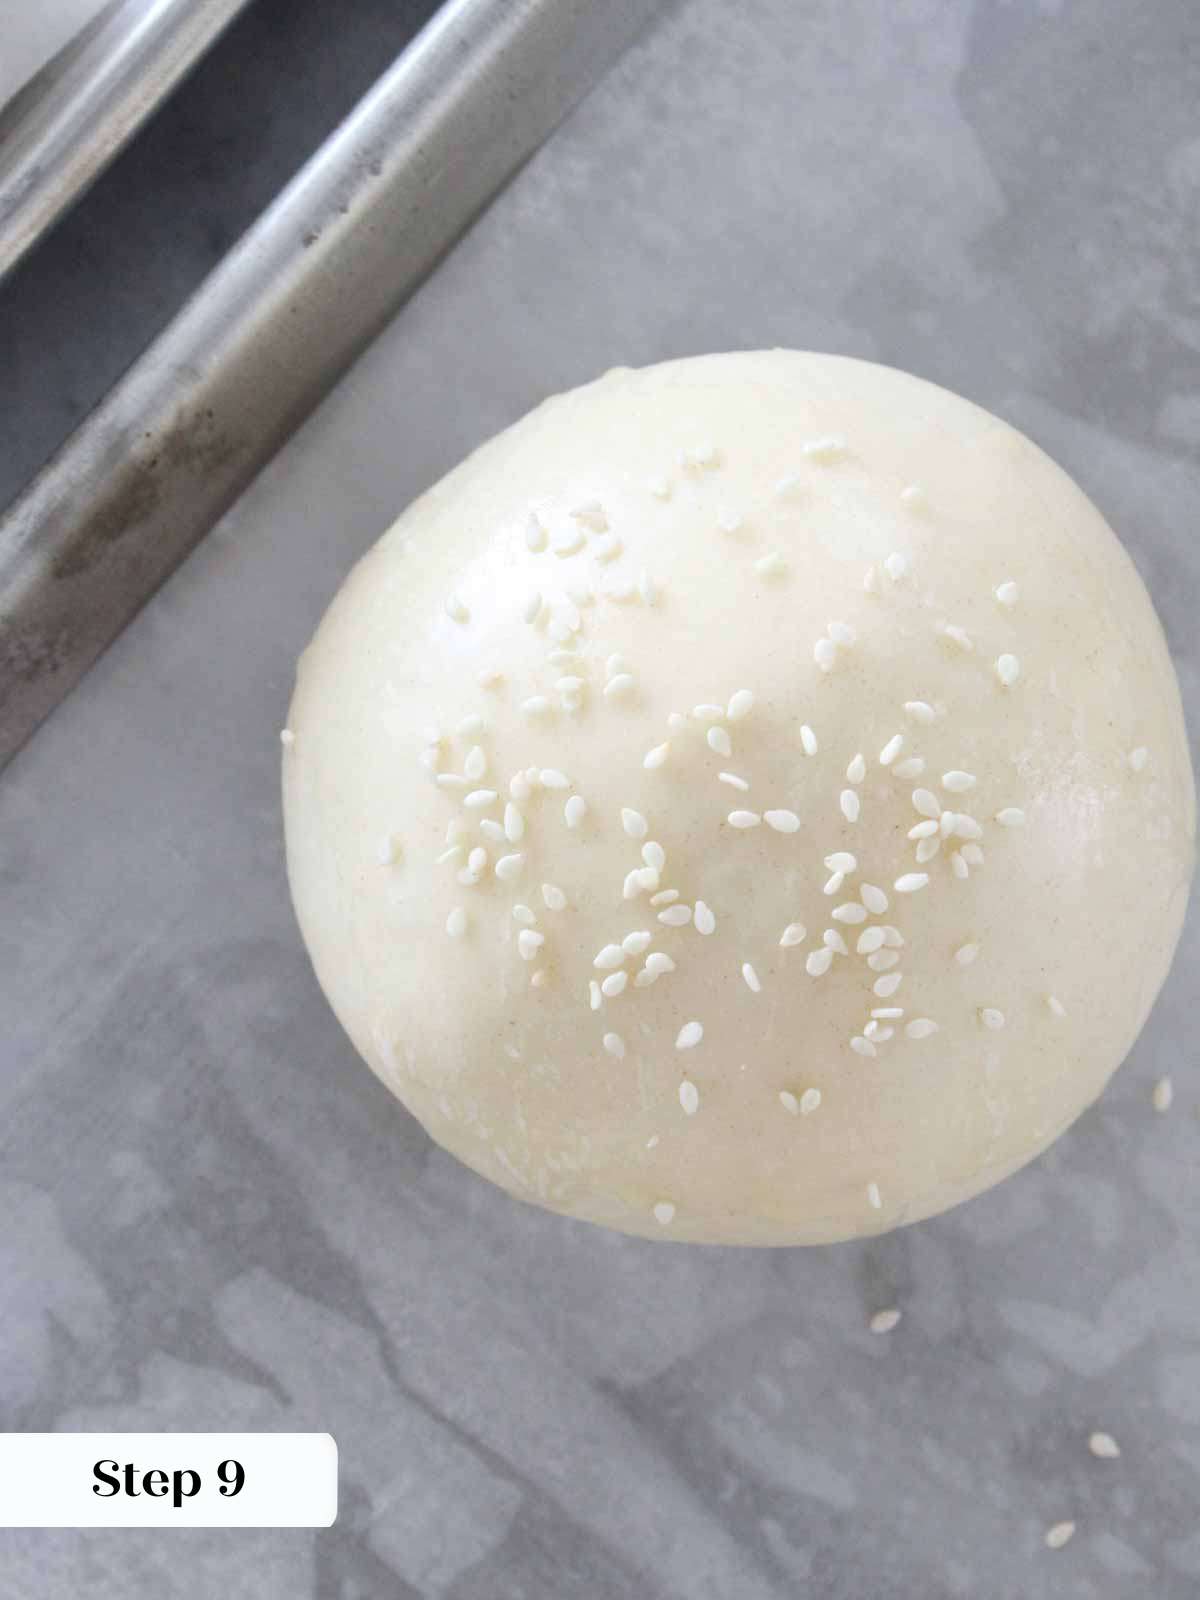
Step 9: Brush the tops with beaten egg or melted butter. Sprinkle with sesame seeds (optional)
Step 10: Bake in preheated oven until golden brown, approximately 12-15 minutes.
Chef Lindsey’s Recipe Tip
Feel is more important than time when making bread. Developing those instincts take time, so be patient and welcome mistakes! That is how we learn. Buns proof too little time will be dense, but proofed too long they will deflate, have a slightly sour taste and the texture will be light but flat.
Ideas for Serving
The options are almost endless for this versatile brioche bun recipe!
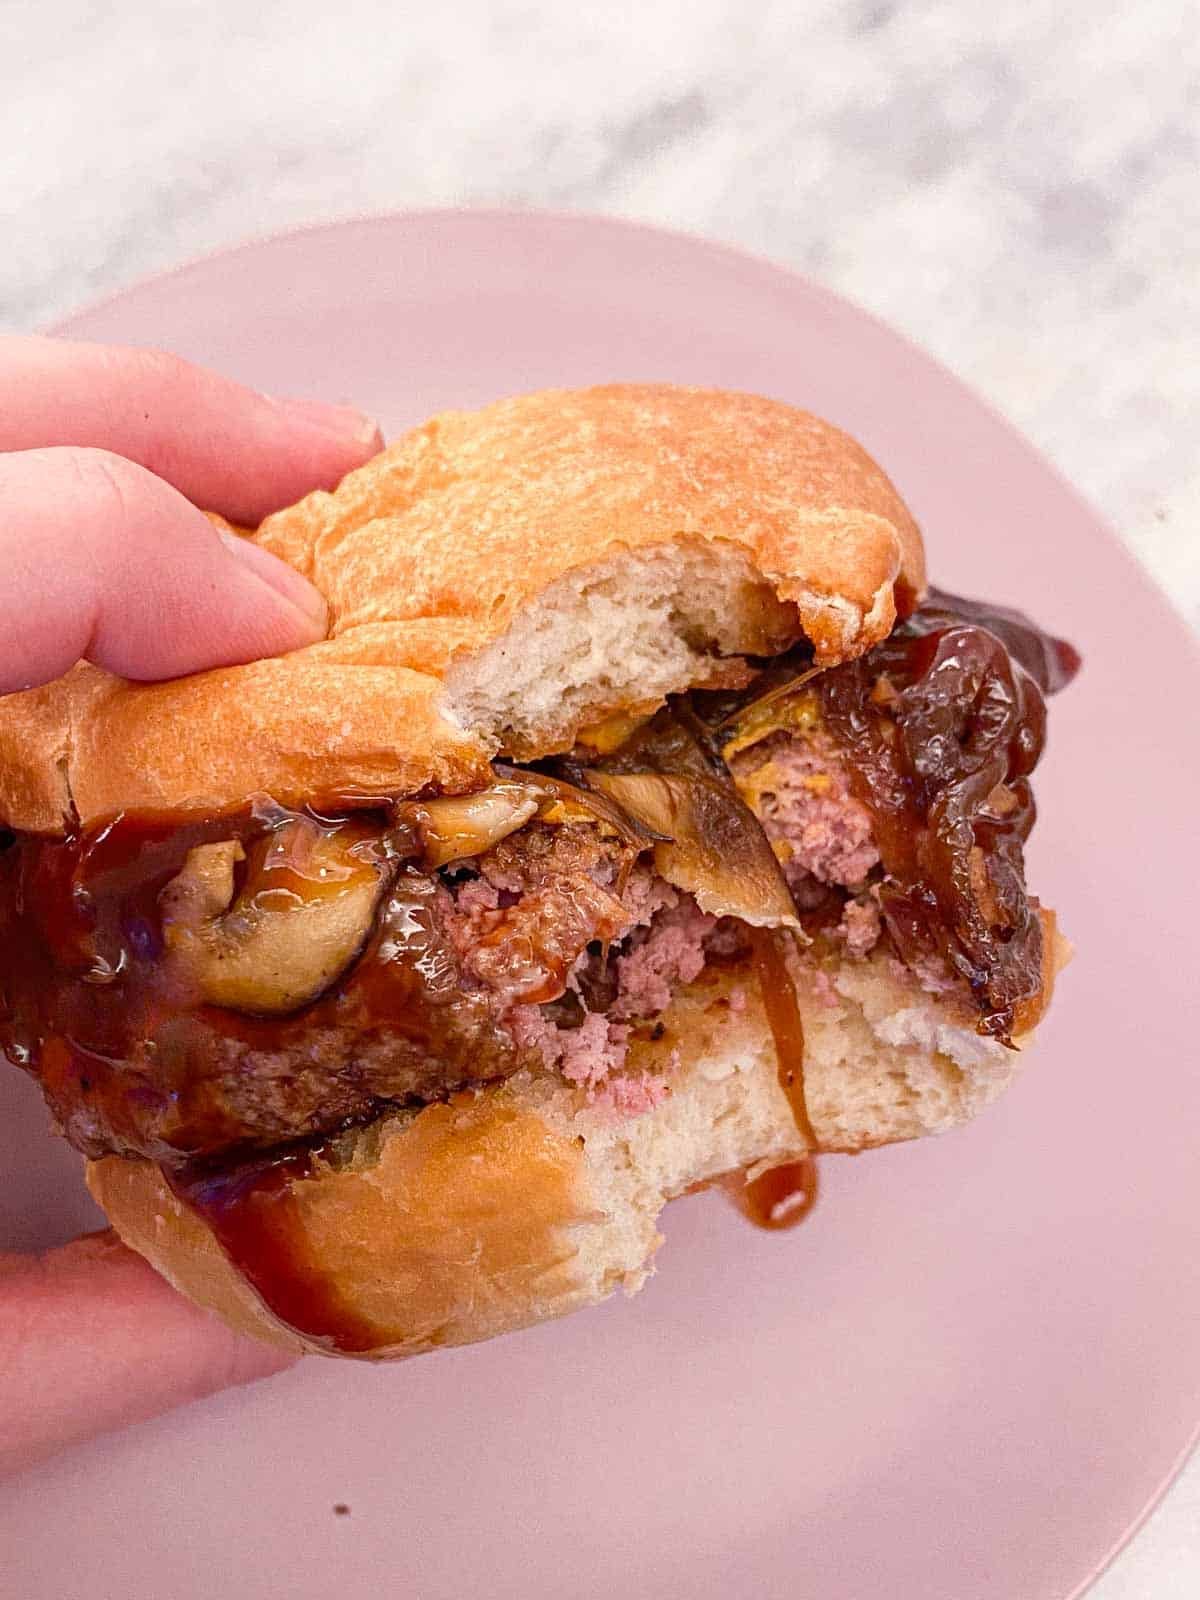
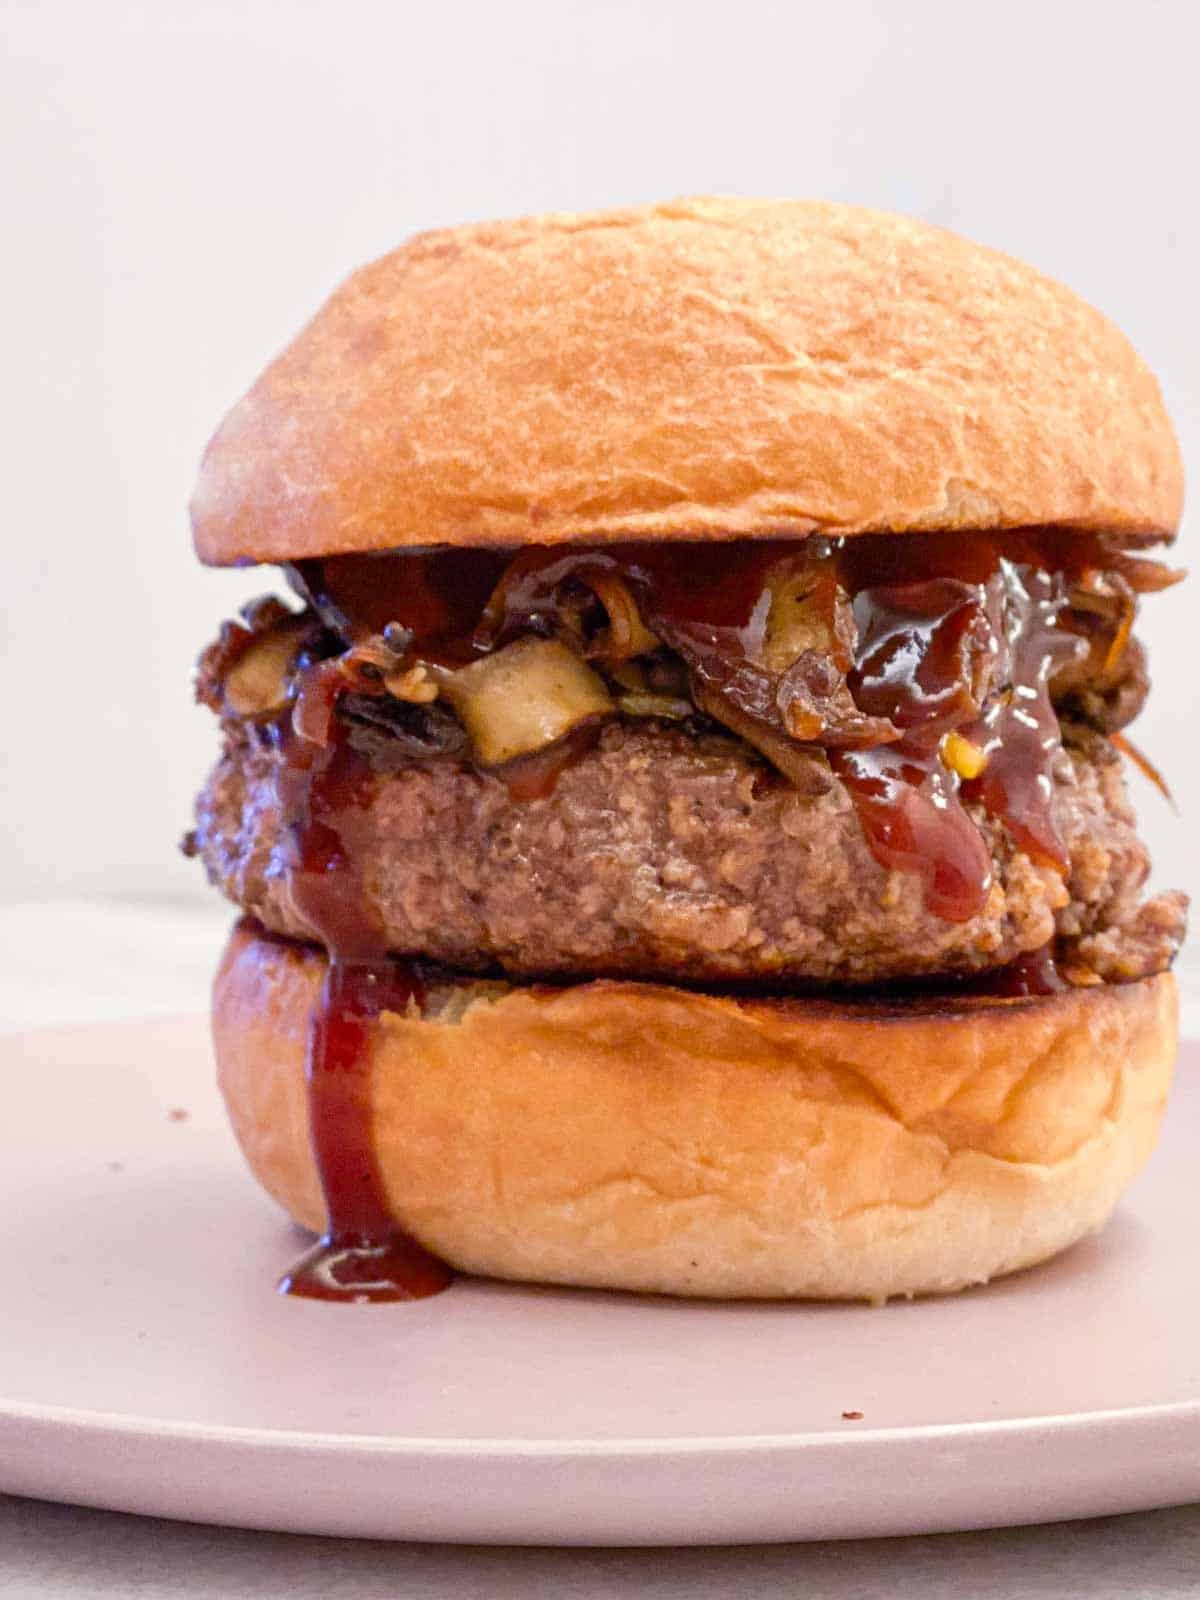
- Use it to up-level your next burger night. They are phenomenal one these ground chicken burgers, turkey burgers or mounded with caramelized onions, sauteed mushrooms and an easy BBQ sauce like I did in these hamburgers. Try an easy yum yum sauce for another instant upgrade.
- Make them smaller: This same recipe will make 36 slider buns or rolls. They are a great alternative to my easy dinner rolls or to pile with your favorite toppings for sliders. You could even make miniature deviled egg salad sandwiches for a light brunch idea.
- Make the best hotdog buns! These rolls shaped into a hotdog bun are fabulous for your favorite Frank or as a decadent lobster roll.
- Make any sandwich better: The easiest way to turn a good sandwich into an excellent sandwich is to upgrade your bread! Try it warm with these roast beef melts, my grandmother’s tuna melt, or make a spicy pimento cheese sandwich.
Tips for Storing
- Store, well-wrapped, at room temperature for up to 2 days. They will keep up to 5 days at room temperature but I find the texture best when consumed during 2 days. You can store them in the refrigerator for a week but it will dry them out faster and could impact the flavor.
- Longer storage in the freezer: To keep fresh longer than 2 days, store in an air-tight bag or well-wrapped in the freezer for up to 2 months. Thaw them unwrapped at room temperature.
Recipe FAQs
I topped mine with white sesame seeds, but you can keep them naked or top with white or black sesame seeds, poppy seeds or everything bagel seasoning! Oh yes you can! For that characteristic glossy top, brush the dough with well-beaten egg before baking. It will also adhere the toppings to the surface better than butter.
Brioche is a bread enriched with milk, sugar, butter and sometimes eggs. Brioche bread can have up to 50% of the weight of the flour in butter! Typical brioche buns do not have that much butter, but they do have enough to make a soft, tender and flavorful dough.
In my opinion, brioche buns make the best burgers. They are soft, tender and their buttery flavor adds to the whole burger experience. They are absorbent but don’t get soggy too easily, which makes them perfect for soaking up those burger juices!
Recommended Bread Recipes
Yeasted Bread Recipes
Brioche Bread Recipe
Date Night
Easy Dinner Rolls
Date Night
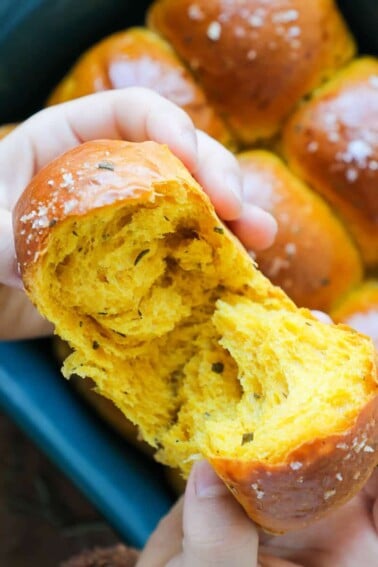
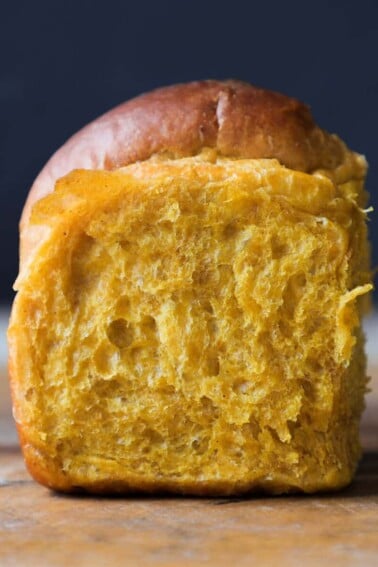
Potato Dinner Rolls
Breakfast Pastry Recipes
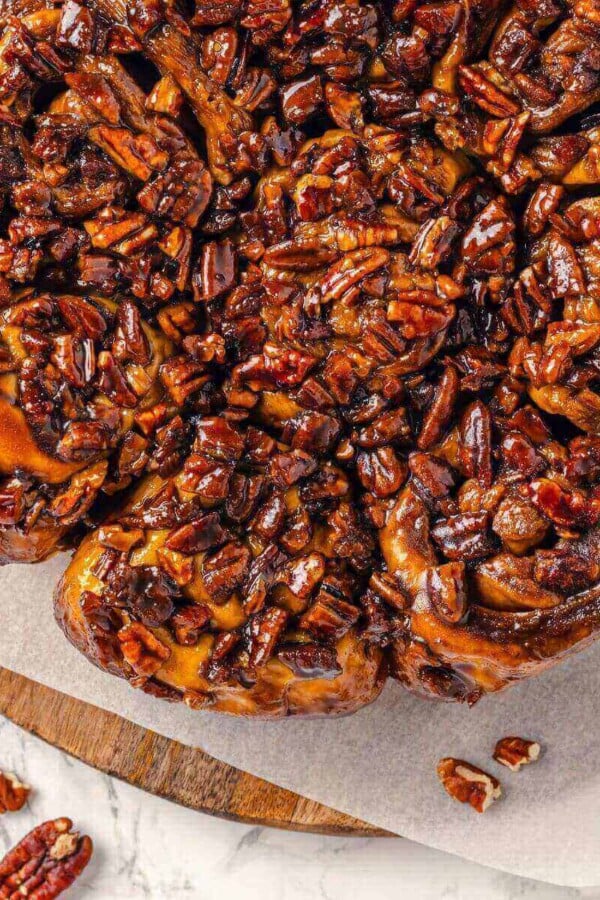
Pecan Sticky Buns Recipe
If you tried this recipe and loved it please leave a 🌟 star rating and let me know how it goes in the comments below. I love hearing from you; your comments make my day!
Brioche Buns
Ingredients
- 1 cup +2 tbsp whole milk warm
- 4 teaspoons dry active yeast 13g
- 2 tablespoons granulated sugar heaping
- 4 cups all-purpose flour
- 5 tablespoons unsalted butter
- 1 tablespoon kosher salt
- 1 whole egg beaten for egg wash
- ¼ cup sesame seeds
Instructions
- In the bowl of a stand mixer combine yeast, milk (warmed to between 100 – 110°F) and sugar. Allow to sit, undisturbed, for about 10 minutes until bubbly.
- To the mixer bowl add flour, butter and salt. Mix with paddle attachment to combine then switch to hook attachment and mix on medium to develop gluten. Mix until smooth dough forms. It will pull away from the sides of the bowl and the surface will be smooth and slightly glossy.
- Place in large bowl coated with cooking spray or lightly oiled. Cover the bowl with plastic wrap and proof in a warm spot until double in size. This will take approximately 1 – 1.5 hours.
- For burger buns divide into 110 – 115 g pieces, or just eye-ball eight pieces. Slider buns or rolls should be between 45-50g and hotdog buns should be between 75-85g. This recipe will yield 8 hamburger buns, 36 slider buns or 22 hotdog buns.
- Shape the dough: Take each piece and fold the four corners into the center. Flip it over (seam side down) onto an un-floured surface. Roll in the palm of your hand without letting the dough roll around, tighten it into a ball. Use your thumb to press the dough under itself and then pull back towards you with your other fingers. Tightening until the surface is smooth and the ball stands up tall and proud on the counter. Place on parchment lined baking sheet about 3 inches apart.
- Spray the surface of plastic wrap with non-stick cooking spray and cover the dough directly on the surface.
- Proof in a warm spot until they feel light and airy when gently squeezed. They will be a bit more than doubled, approximately 30-45 minutes depending on the heat of your kitchen.
- Pre-heat the oven to 350°F convection (with the fan) or 375°F conventional (no fan) while the buns proof.
- Brush the tops with beaten egg or melted butter. Sprinkle with sesame seeds (optional)
- Bake in preheated oven until golden brown, approximately 12-15 minutes.
Video
Notes
Nutrition
Before You Go
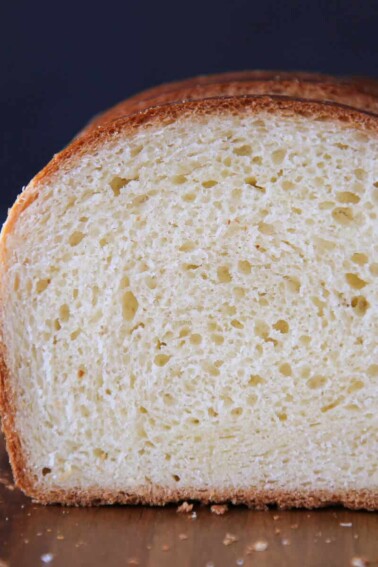
I hope you enjoyed this sandwich bun! Peruse all our yeasted bread recipes or make my whole wheat sandwich bread recipe next!


dare i ask if these will work with gluten-free flour? i already know the answer but hope springs eternal and i miss brioche 🙁
Haha! Best of luck with that, Liz! Probably not but you already knew the answer to that didn’t you? You can give it a go but put the butter in with all the ingredients. With gluten free flour substitutions, I cut the butter in with the paddle attachment and then hydrate.
It would be helpful if the name of the item appeared on the printed recipe.
Did you forget what the post was by the time you got there!?! lol
I added it for you though. 🙂